Unknown's avatar

About leighdudenhoeffer

I'm an accomplished fiber artist and mixed media artist who creates beautiful 3-dimensional pieces called, Trees of Diversity®. My work has been shown at Angel Orensanz Gallery in New York, Altered Aesthetics Gallery in Minneapolis, The Neville Public Museum - Studio 210 in Green Bay, Hazelwood House in Allouez, WI, and Xanadu Gallery in Scottsdale, AZ. I'm a loved wife, a loved mom, and a loved Nana! I enjoy finding new and creative ways to add more knowledge of what I do and so I may teach others who want to learn.

My favorite weaving pattern for now….

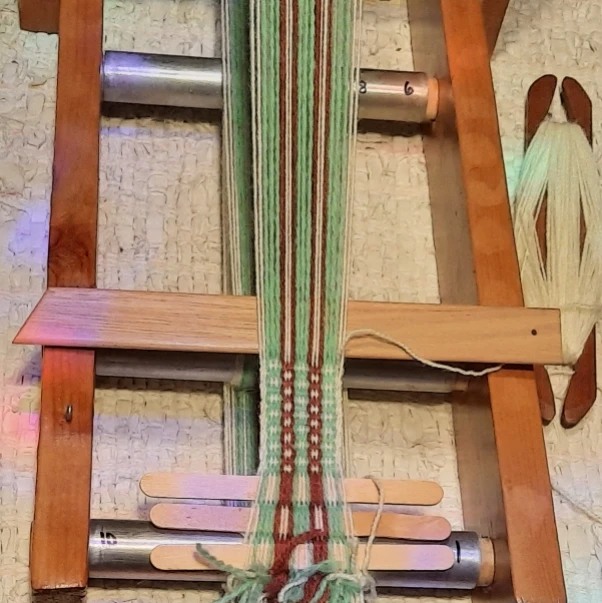
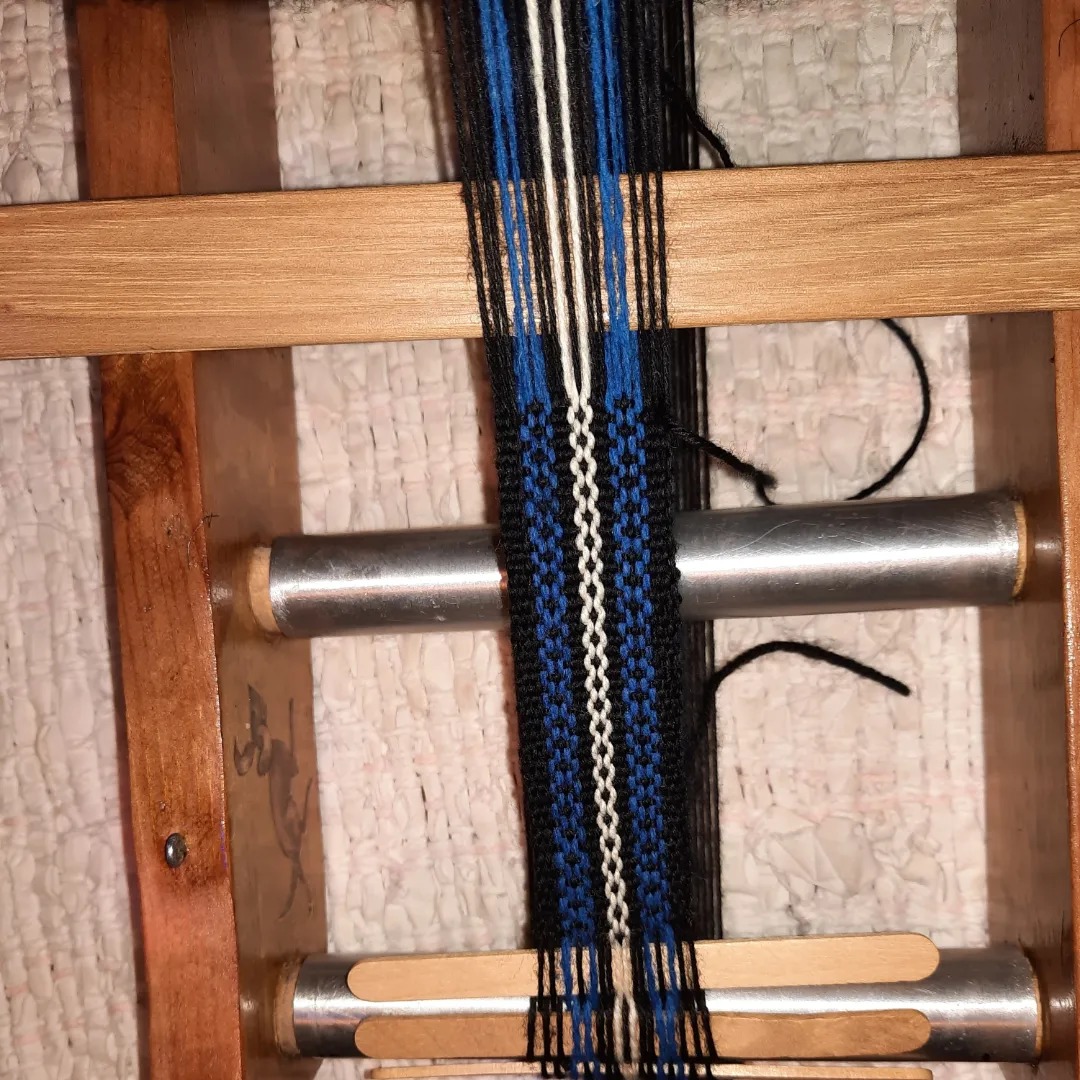
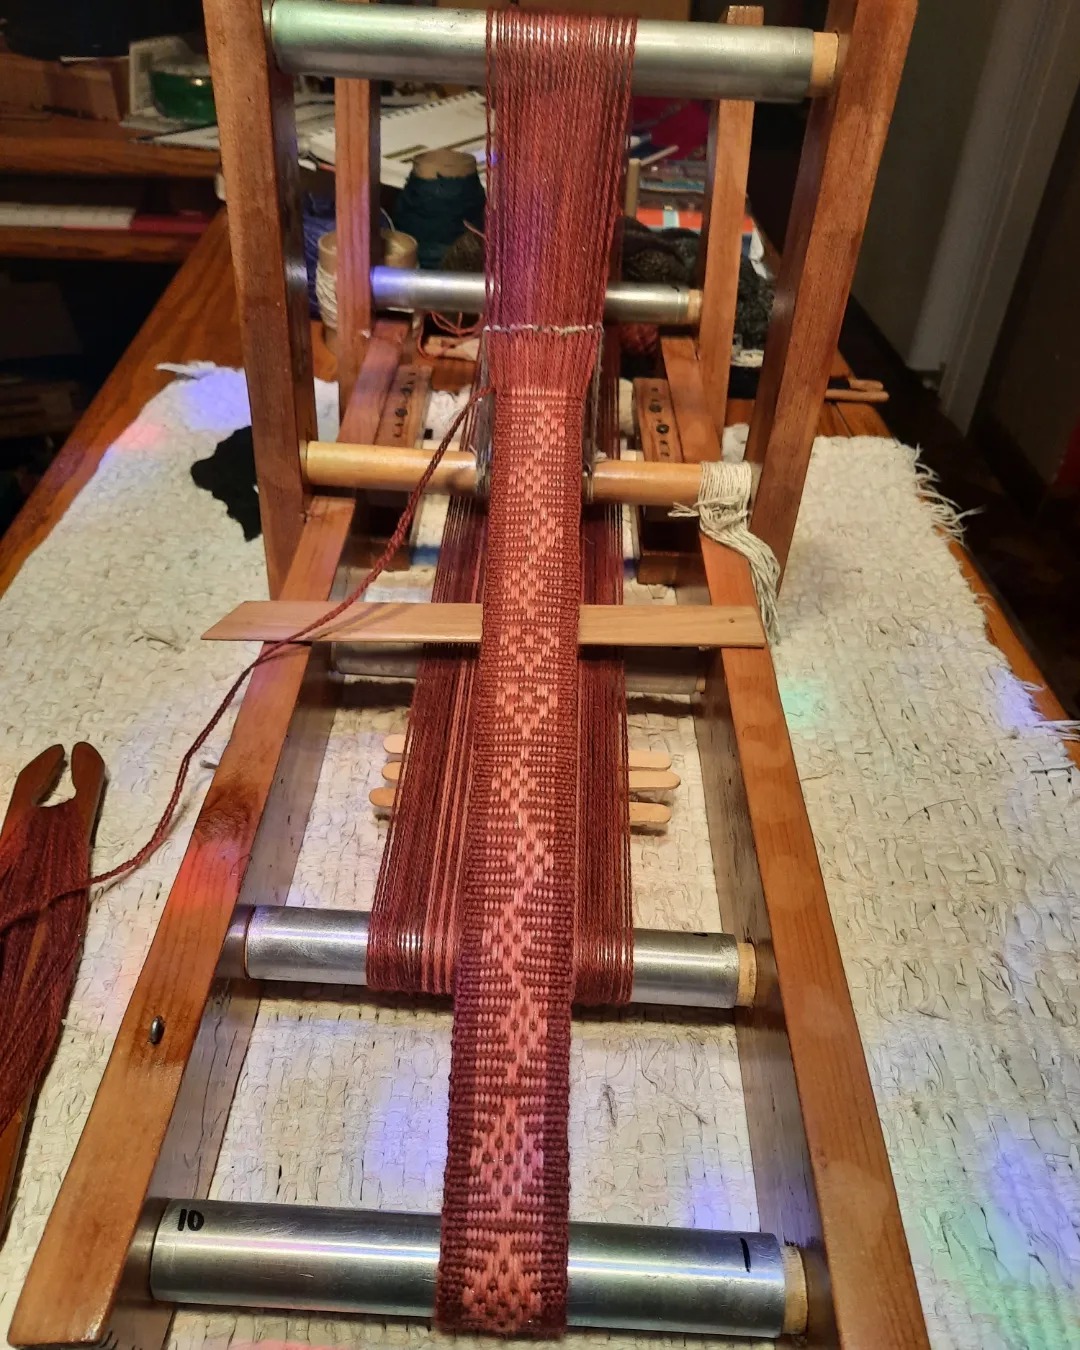
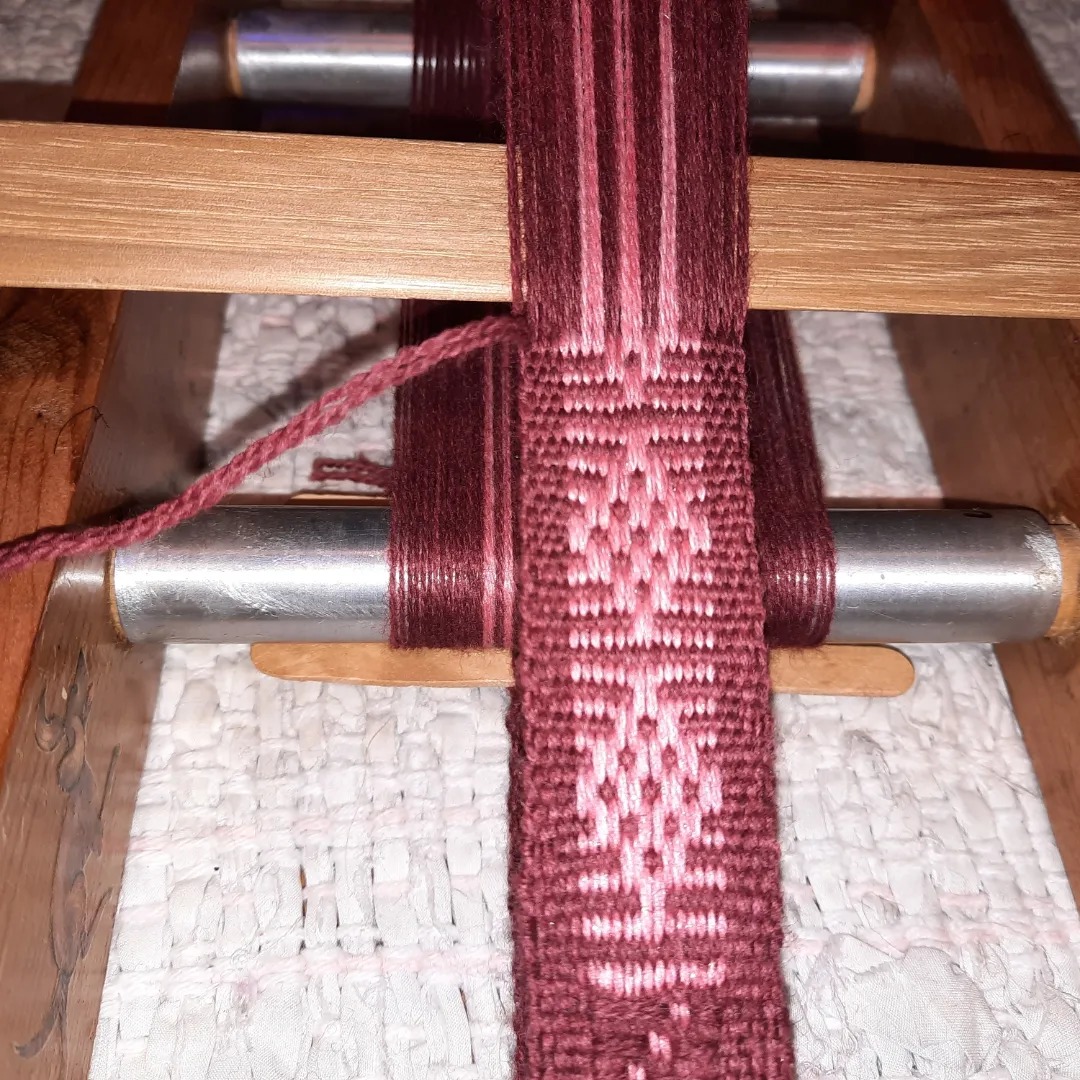
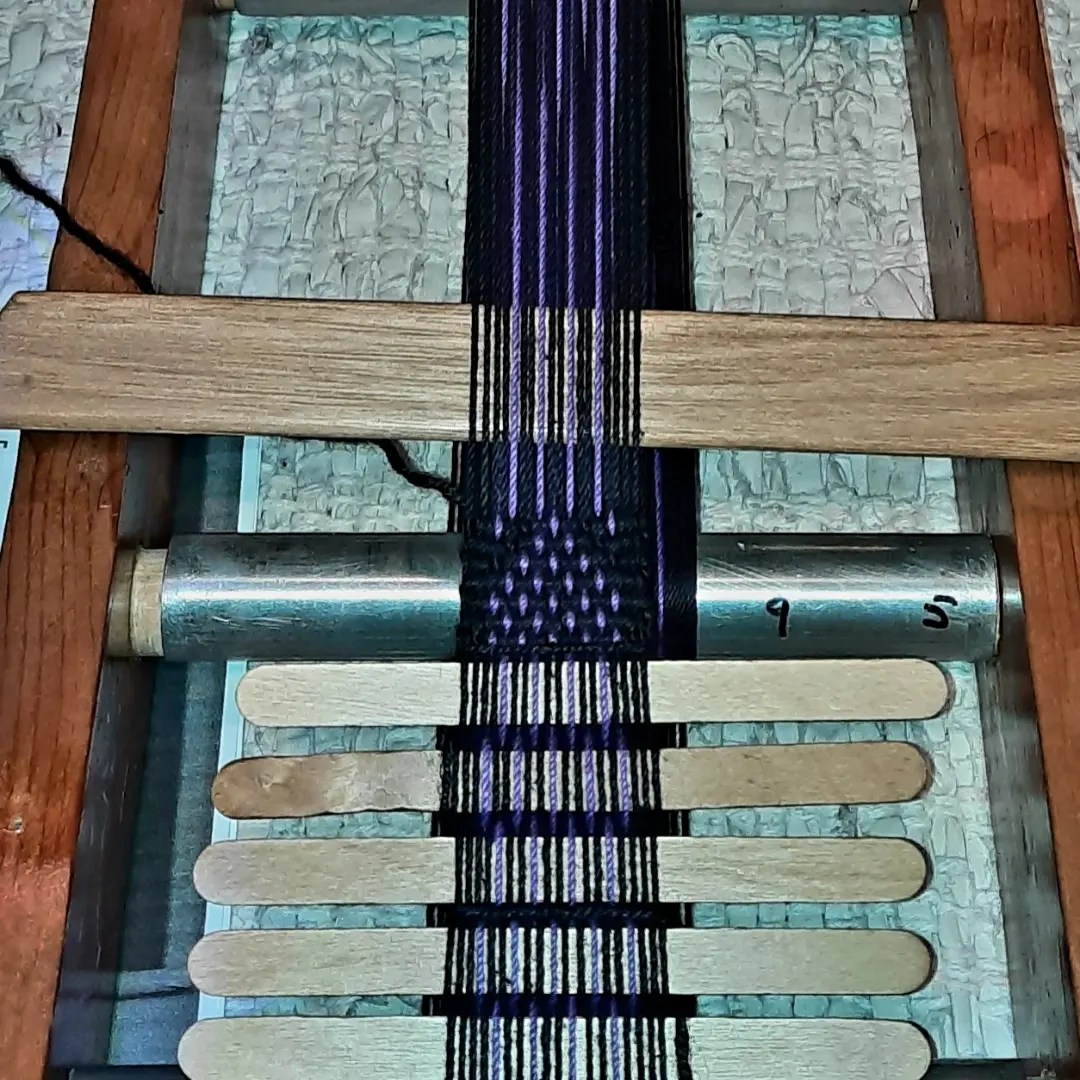
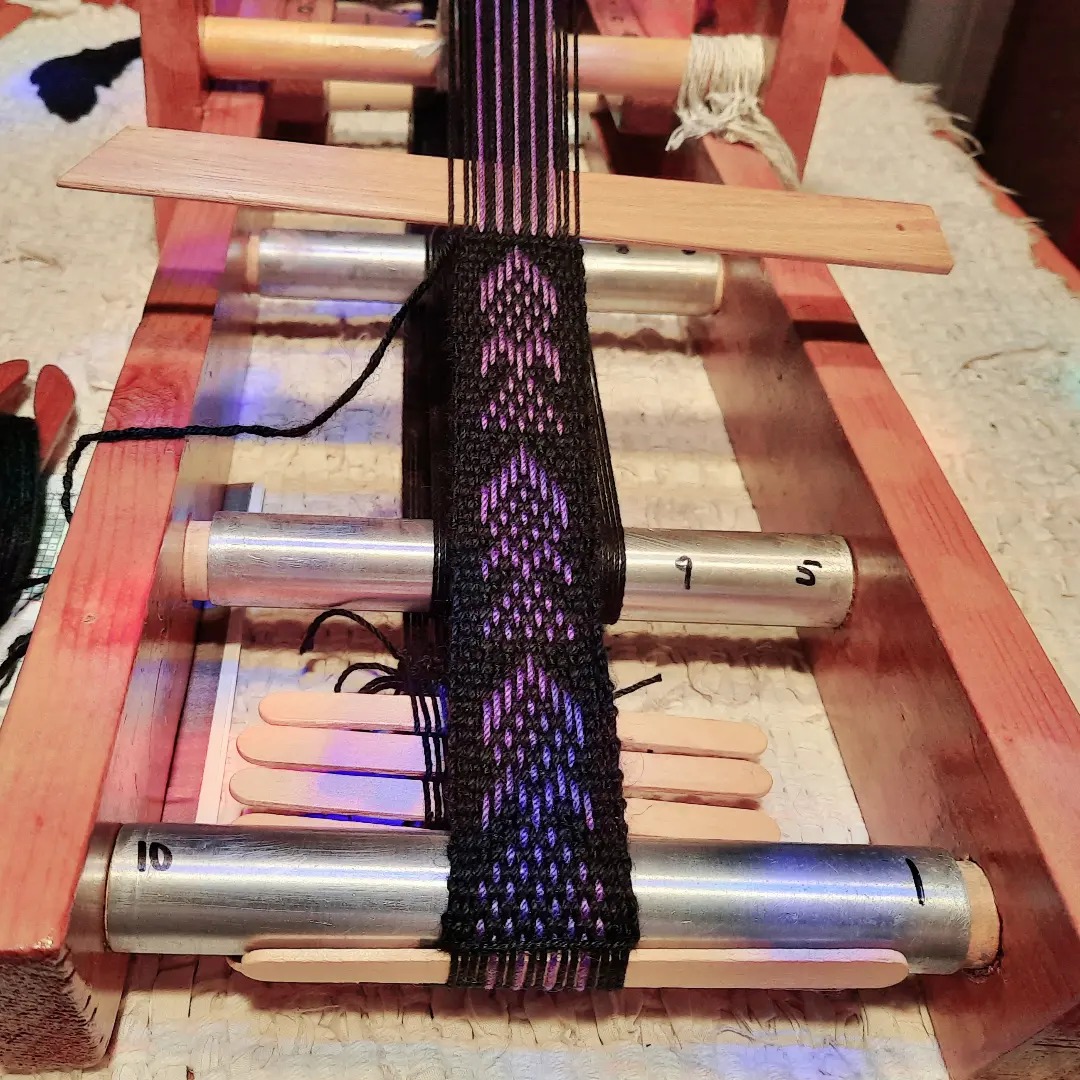
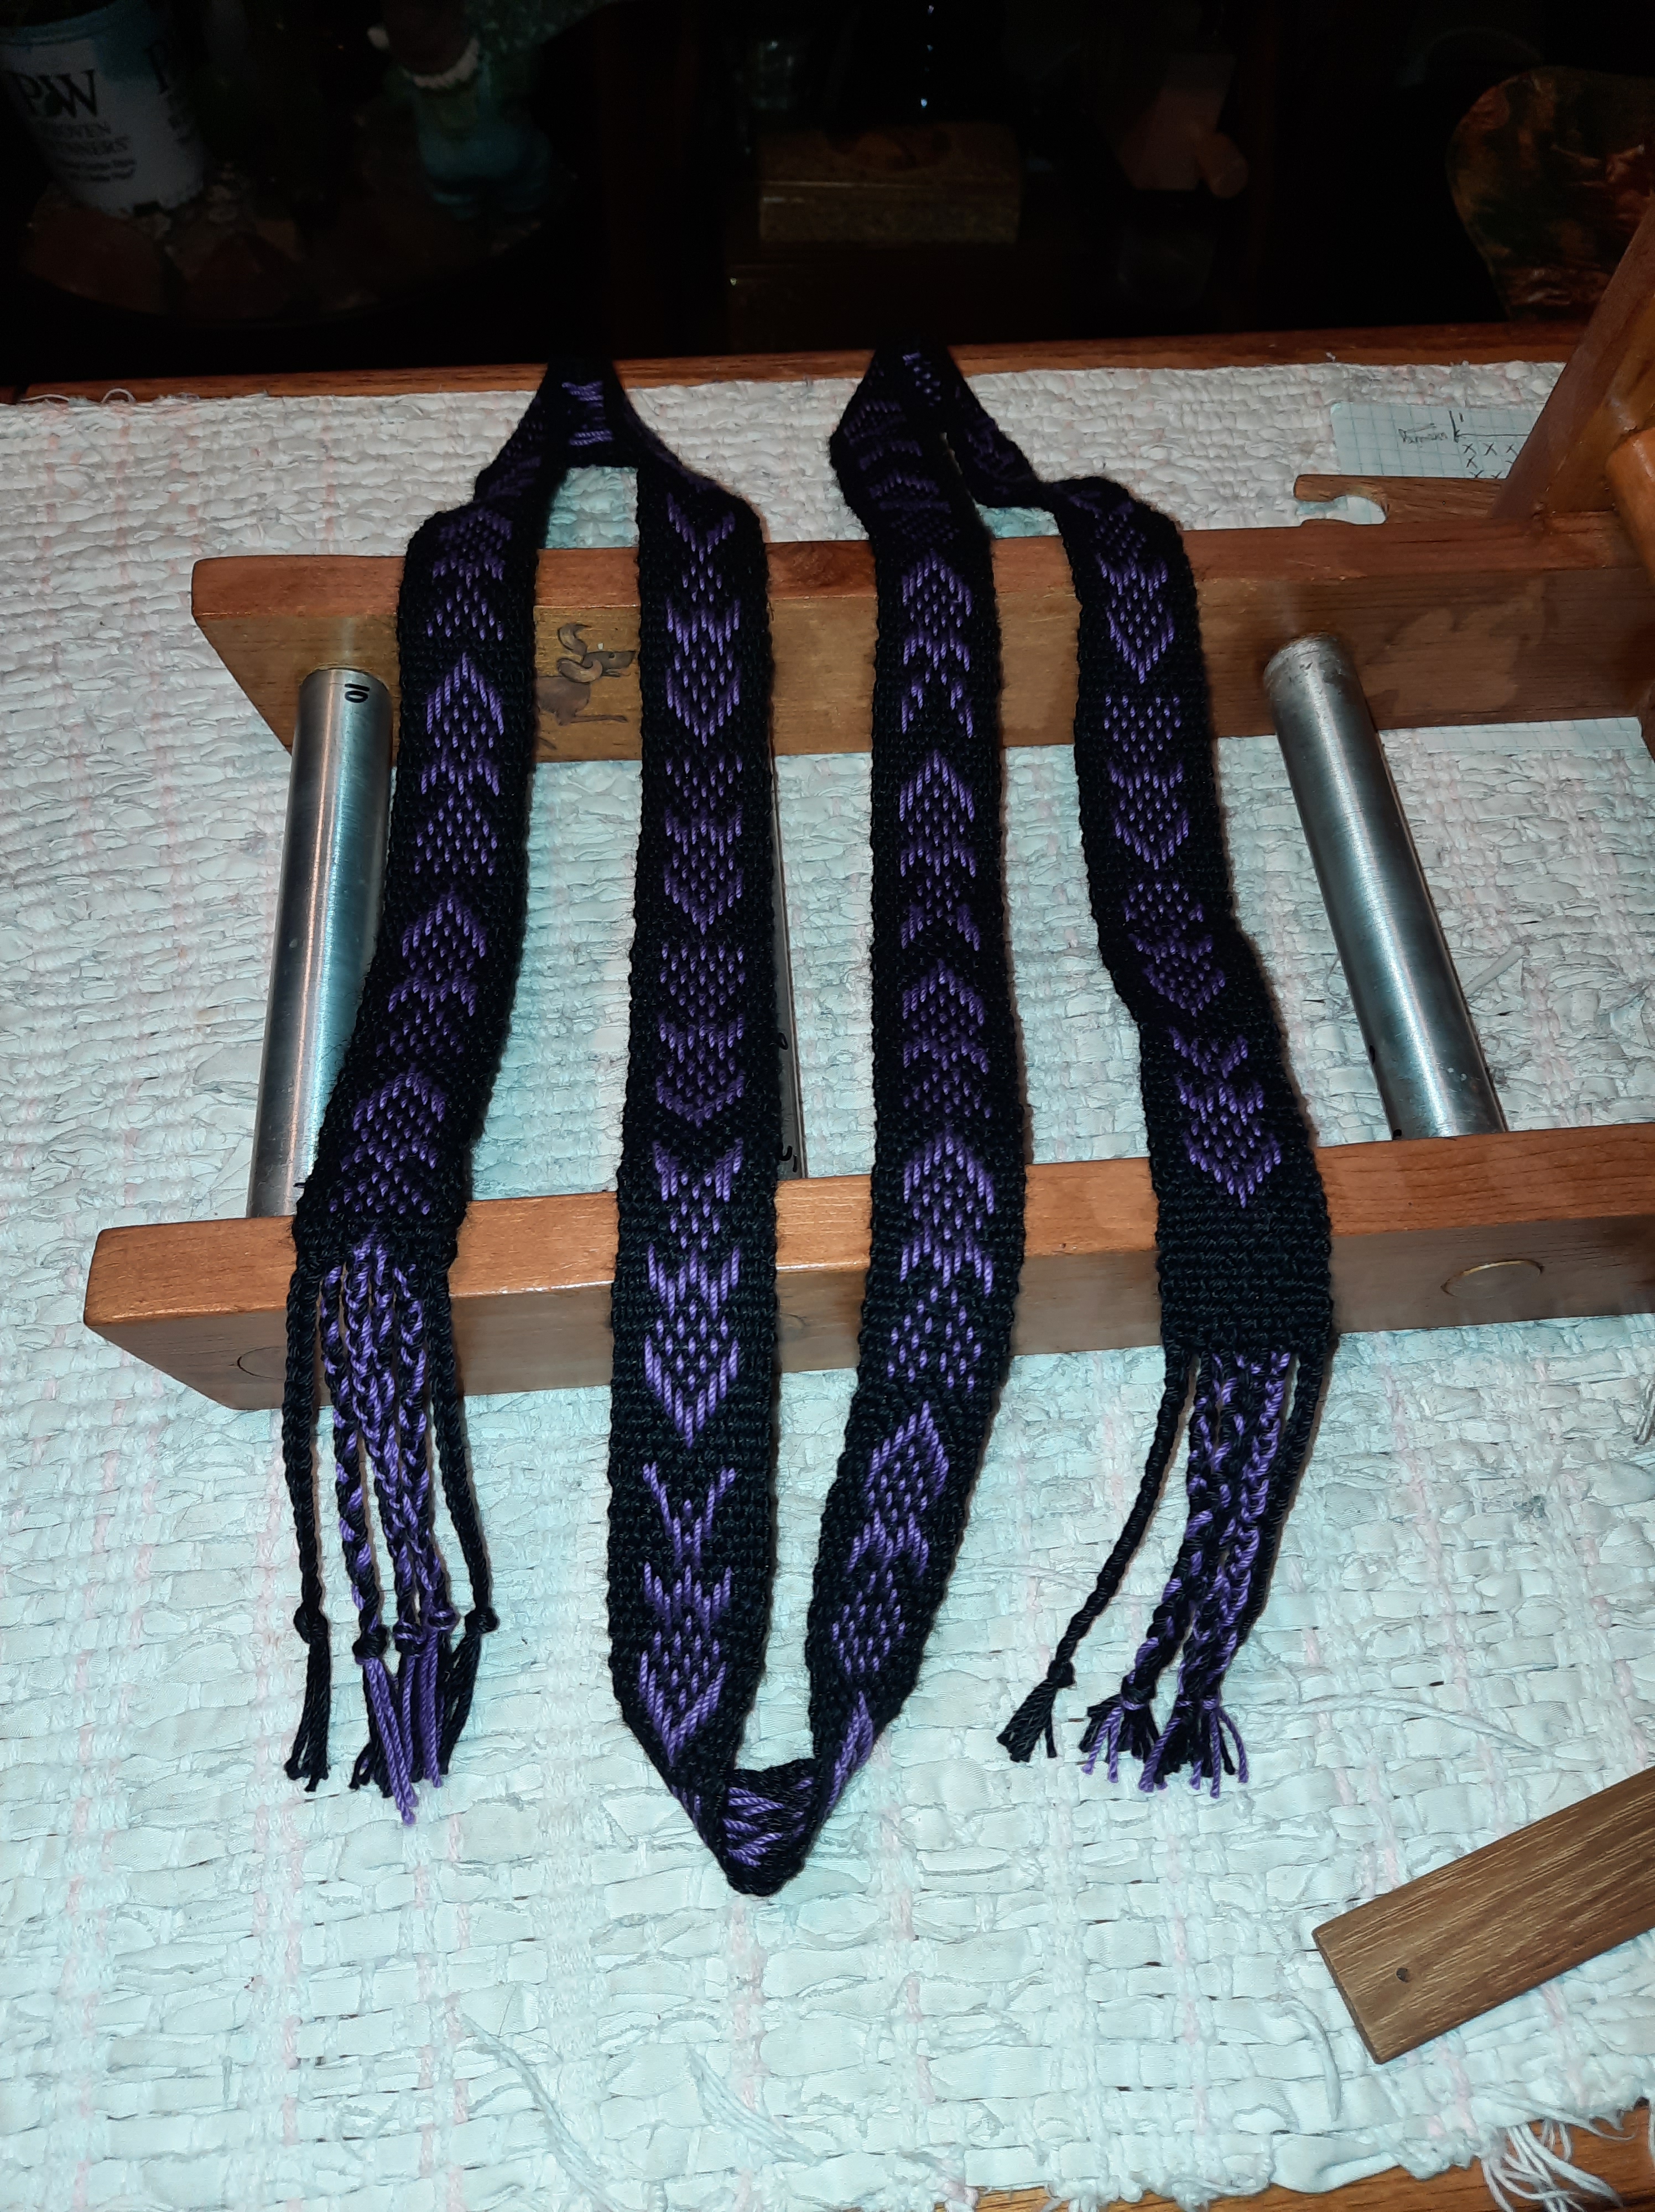
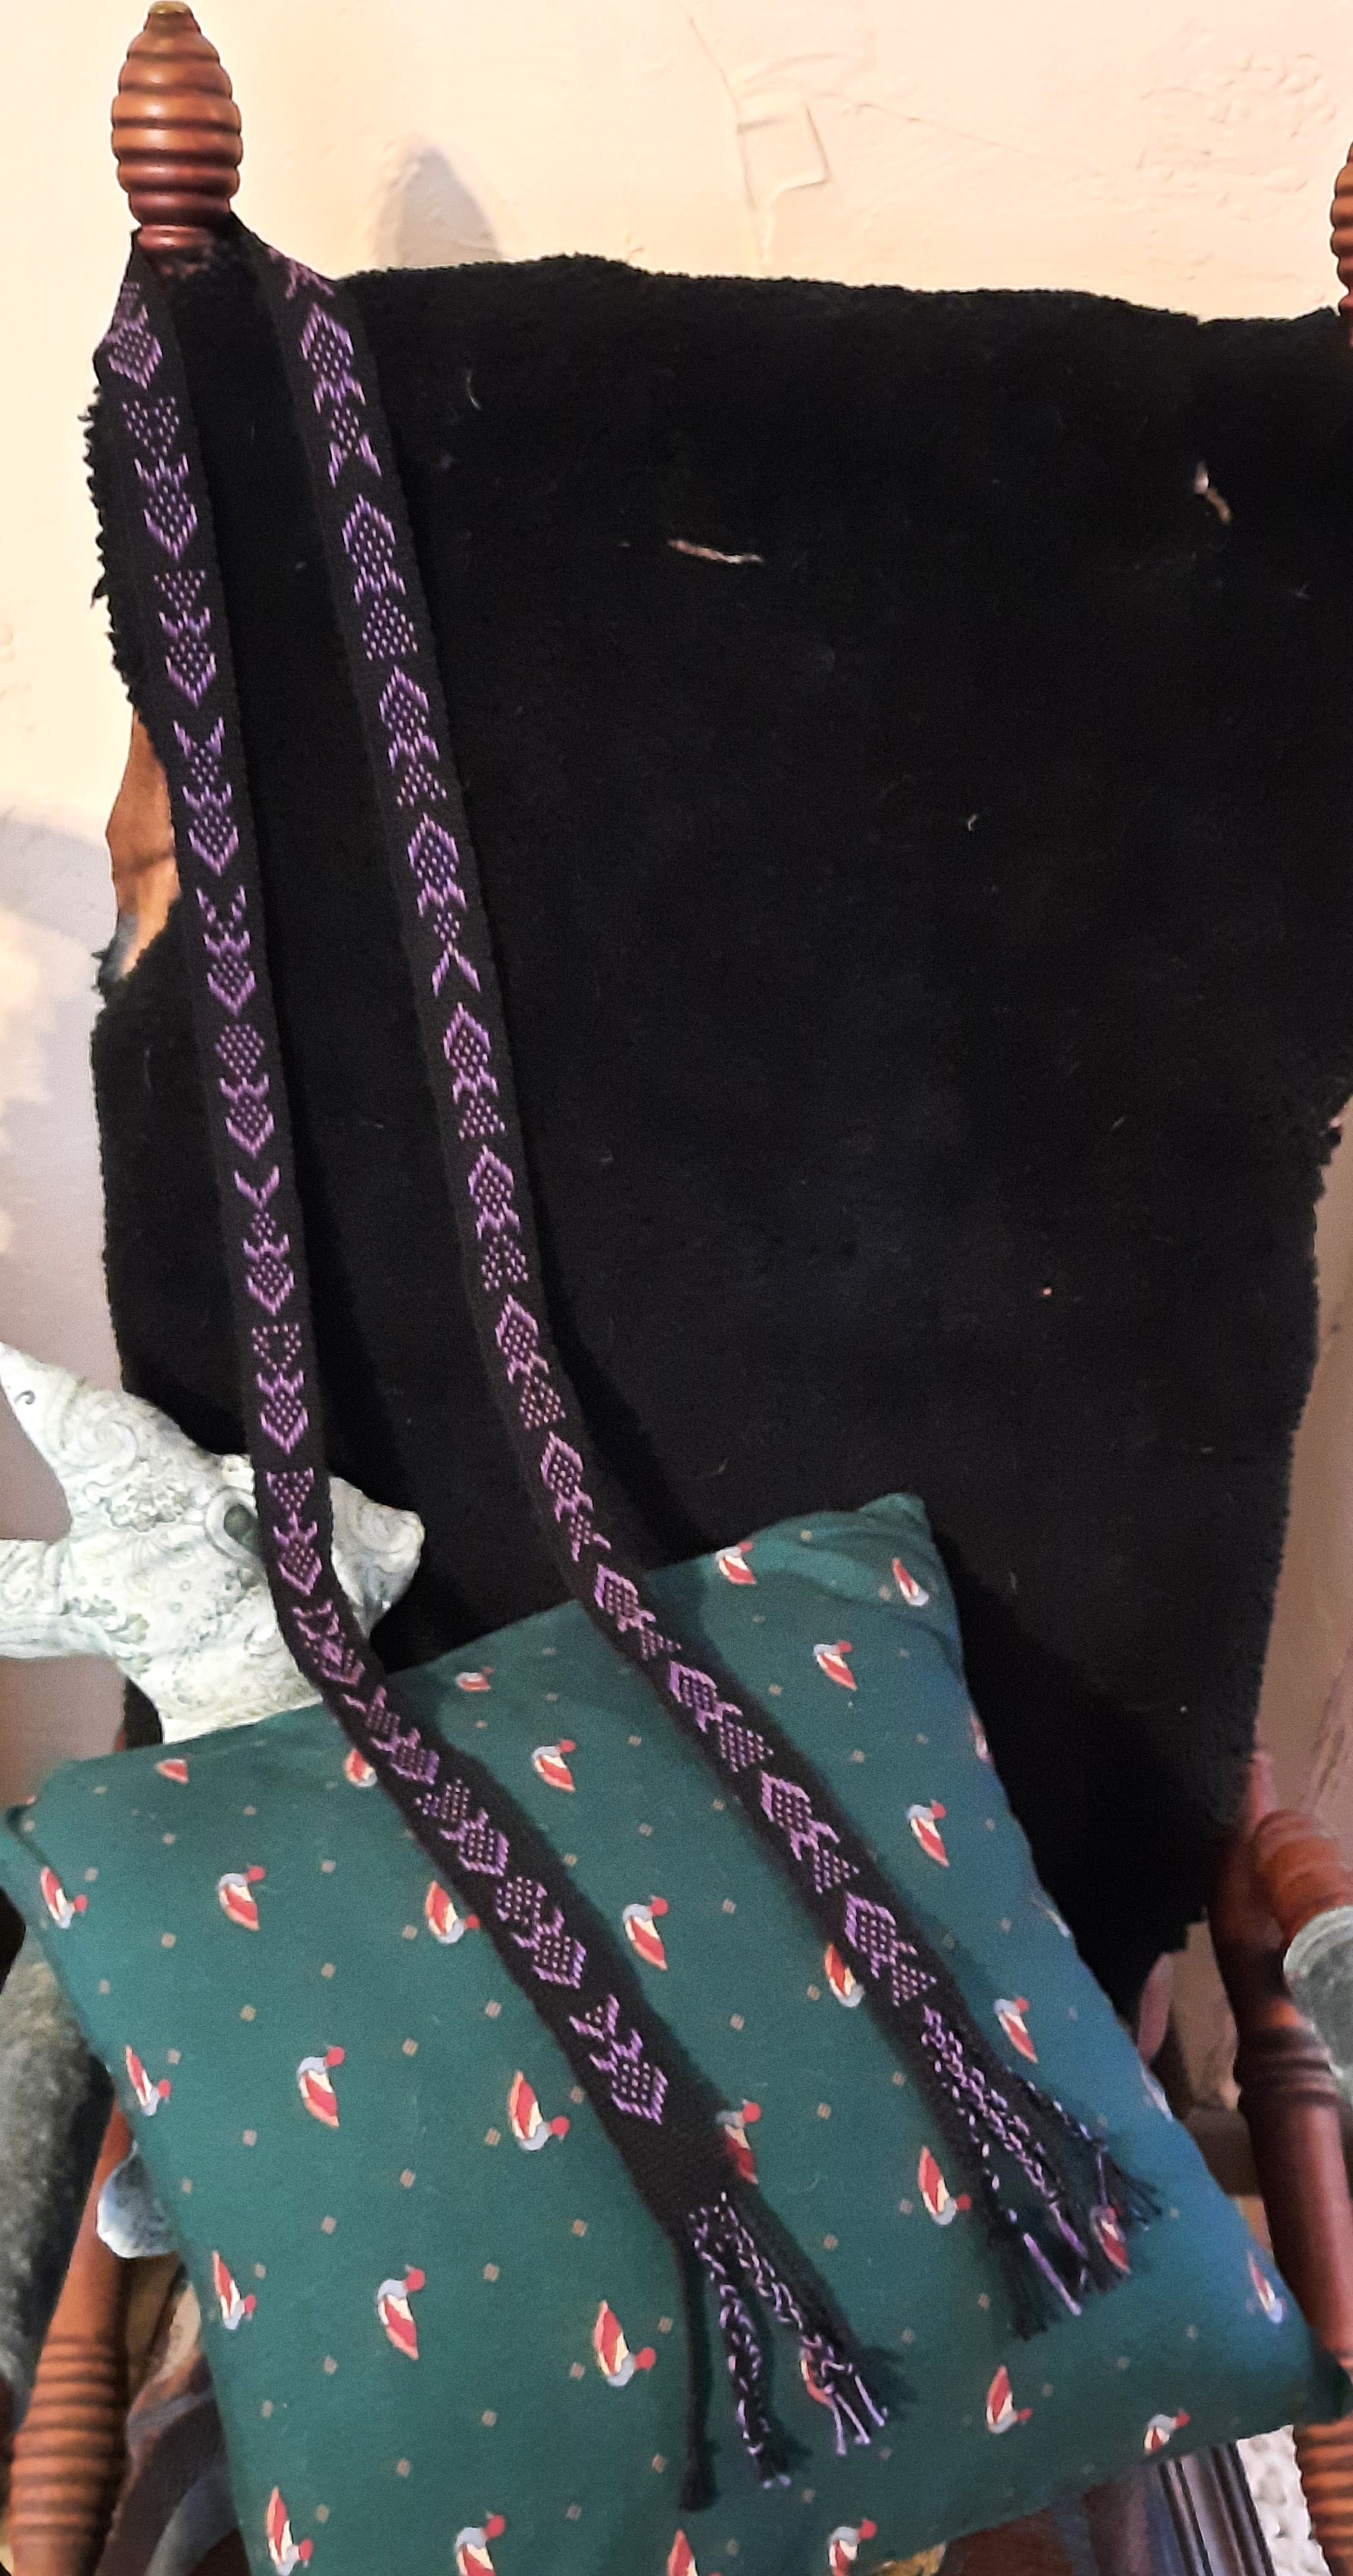
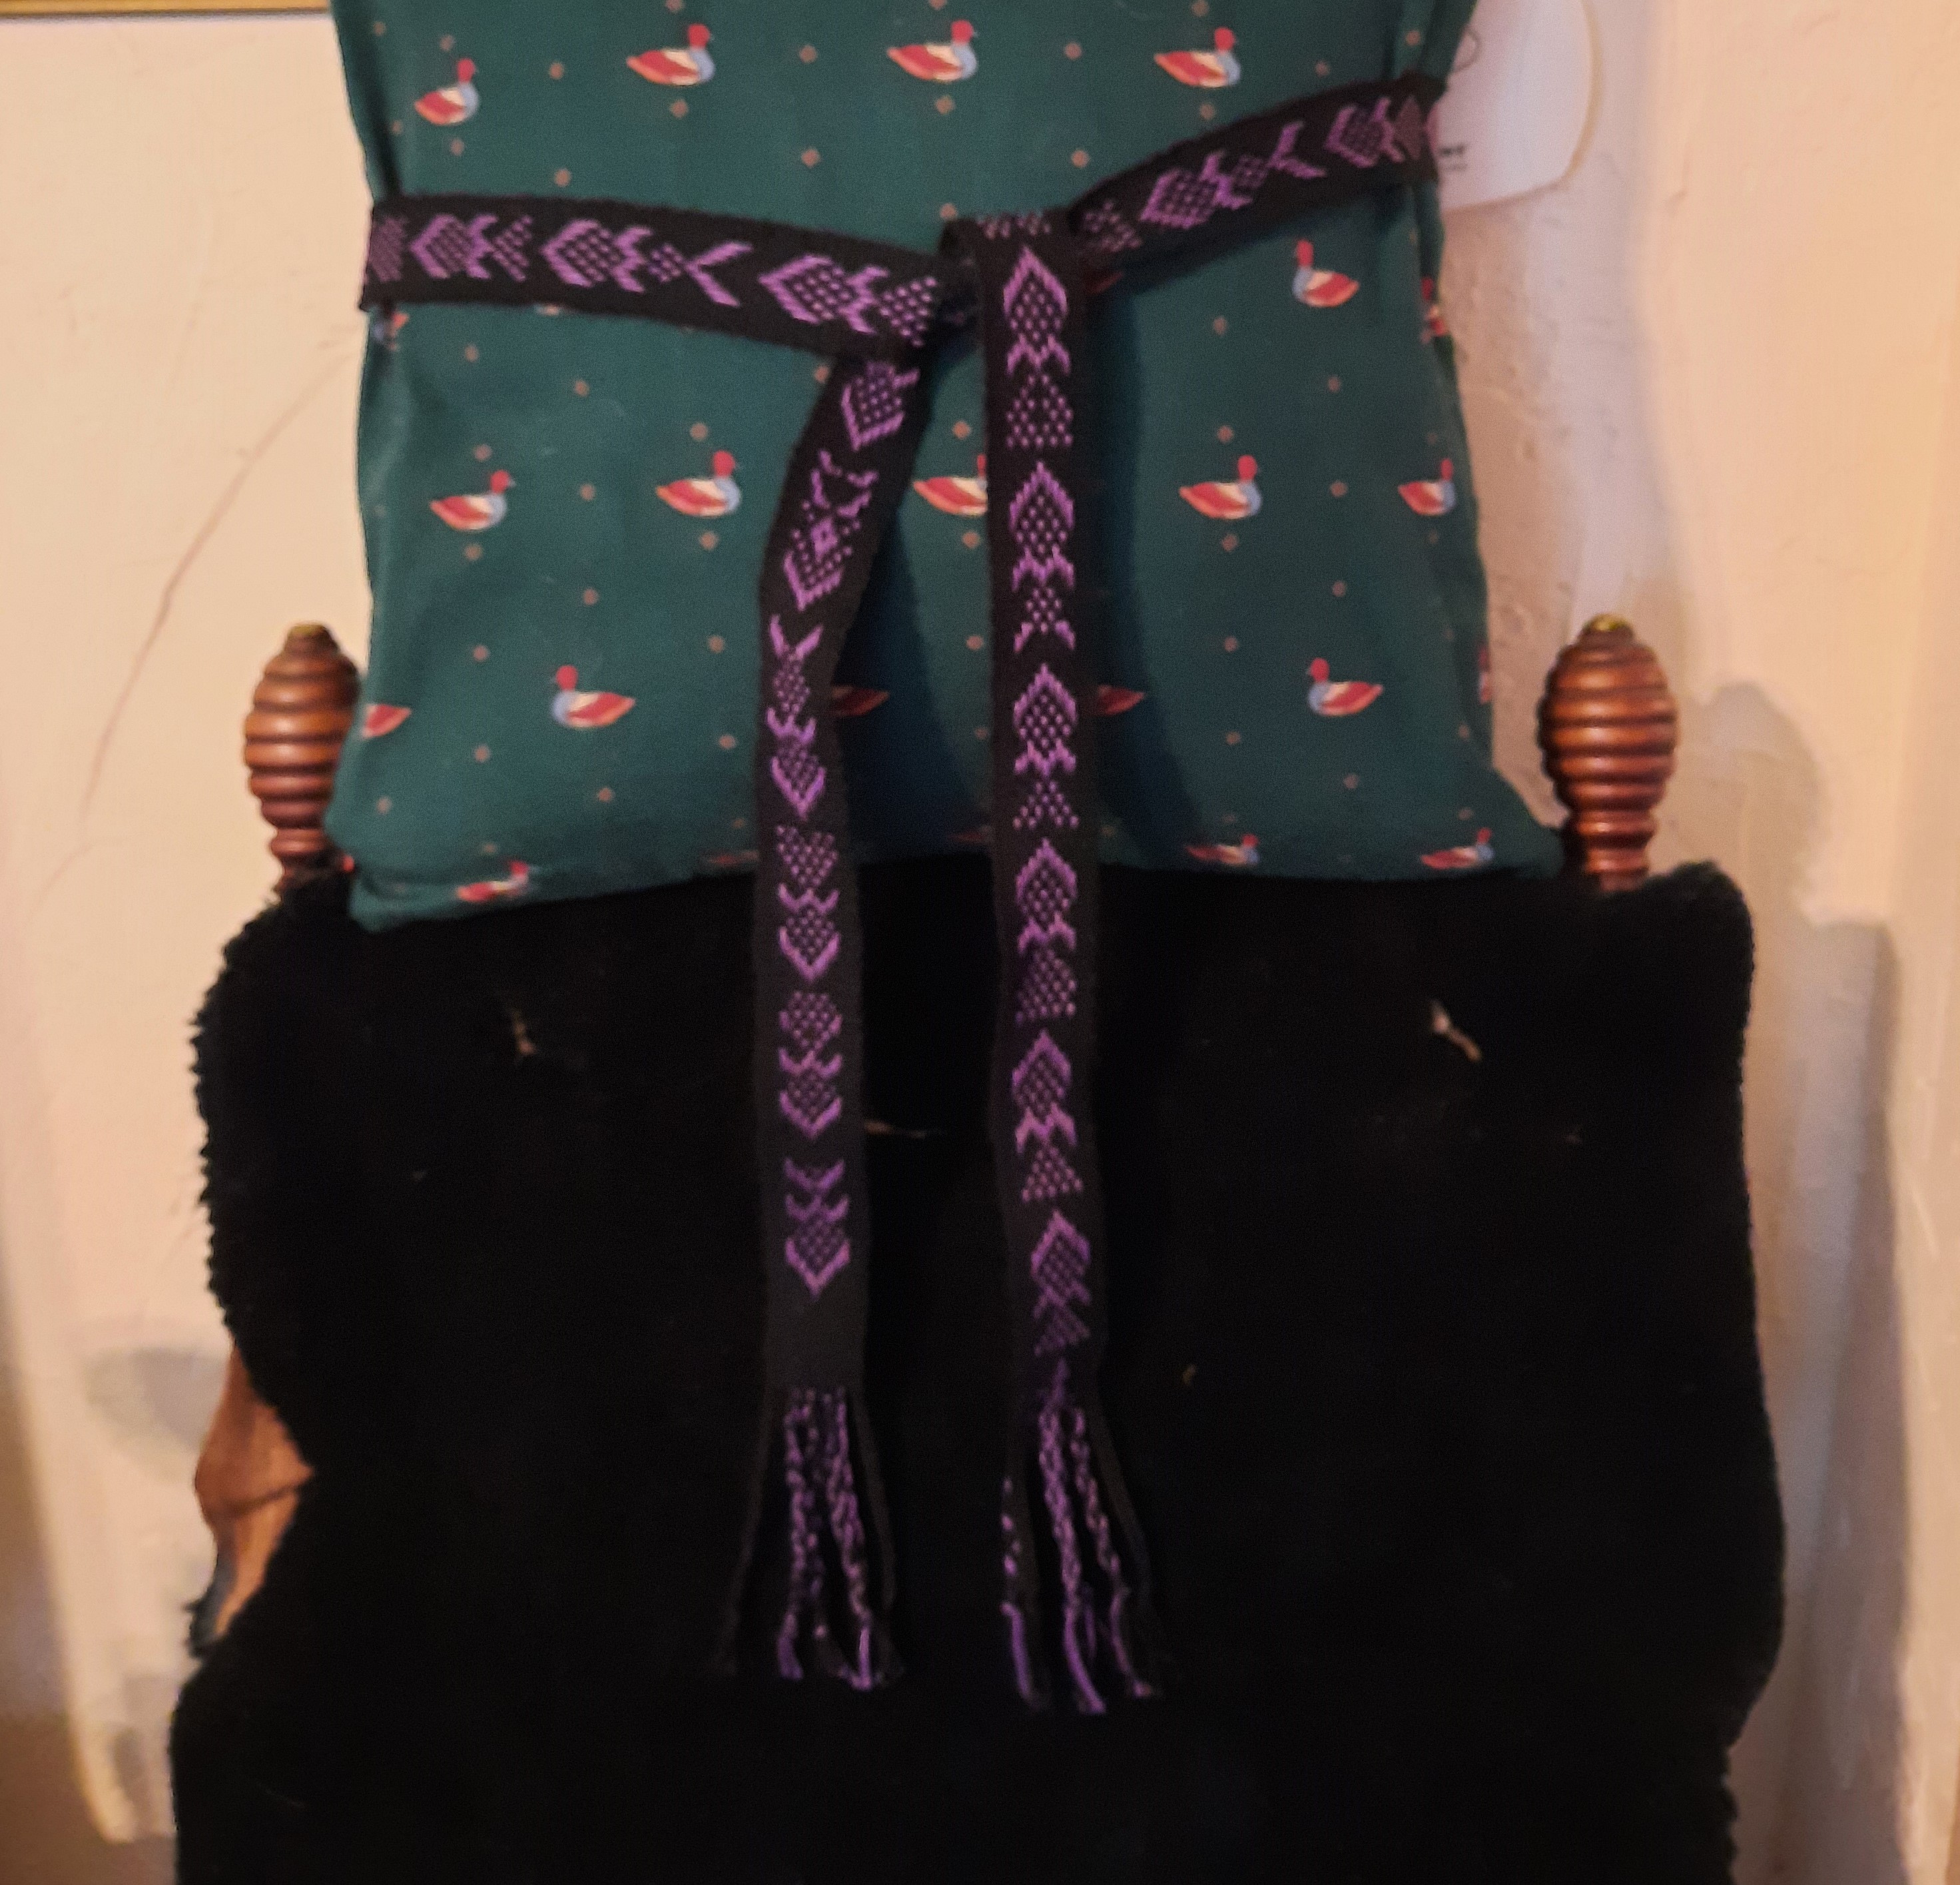
I modified a pattern from the book, The Weaver’s Inkle Pattern Directory, that looks like snowflakes and diamonds. It’s on pg. 77 and is called simply, Baltic-13 2 (it’s actually the one at the bottom of the chart on pg. 77. It’s a neat pattern, but when I started the first one I redrew it so it’s snowflakes and hearts with a 3 row space between each sequence.

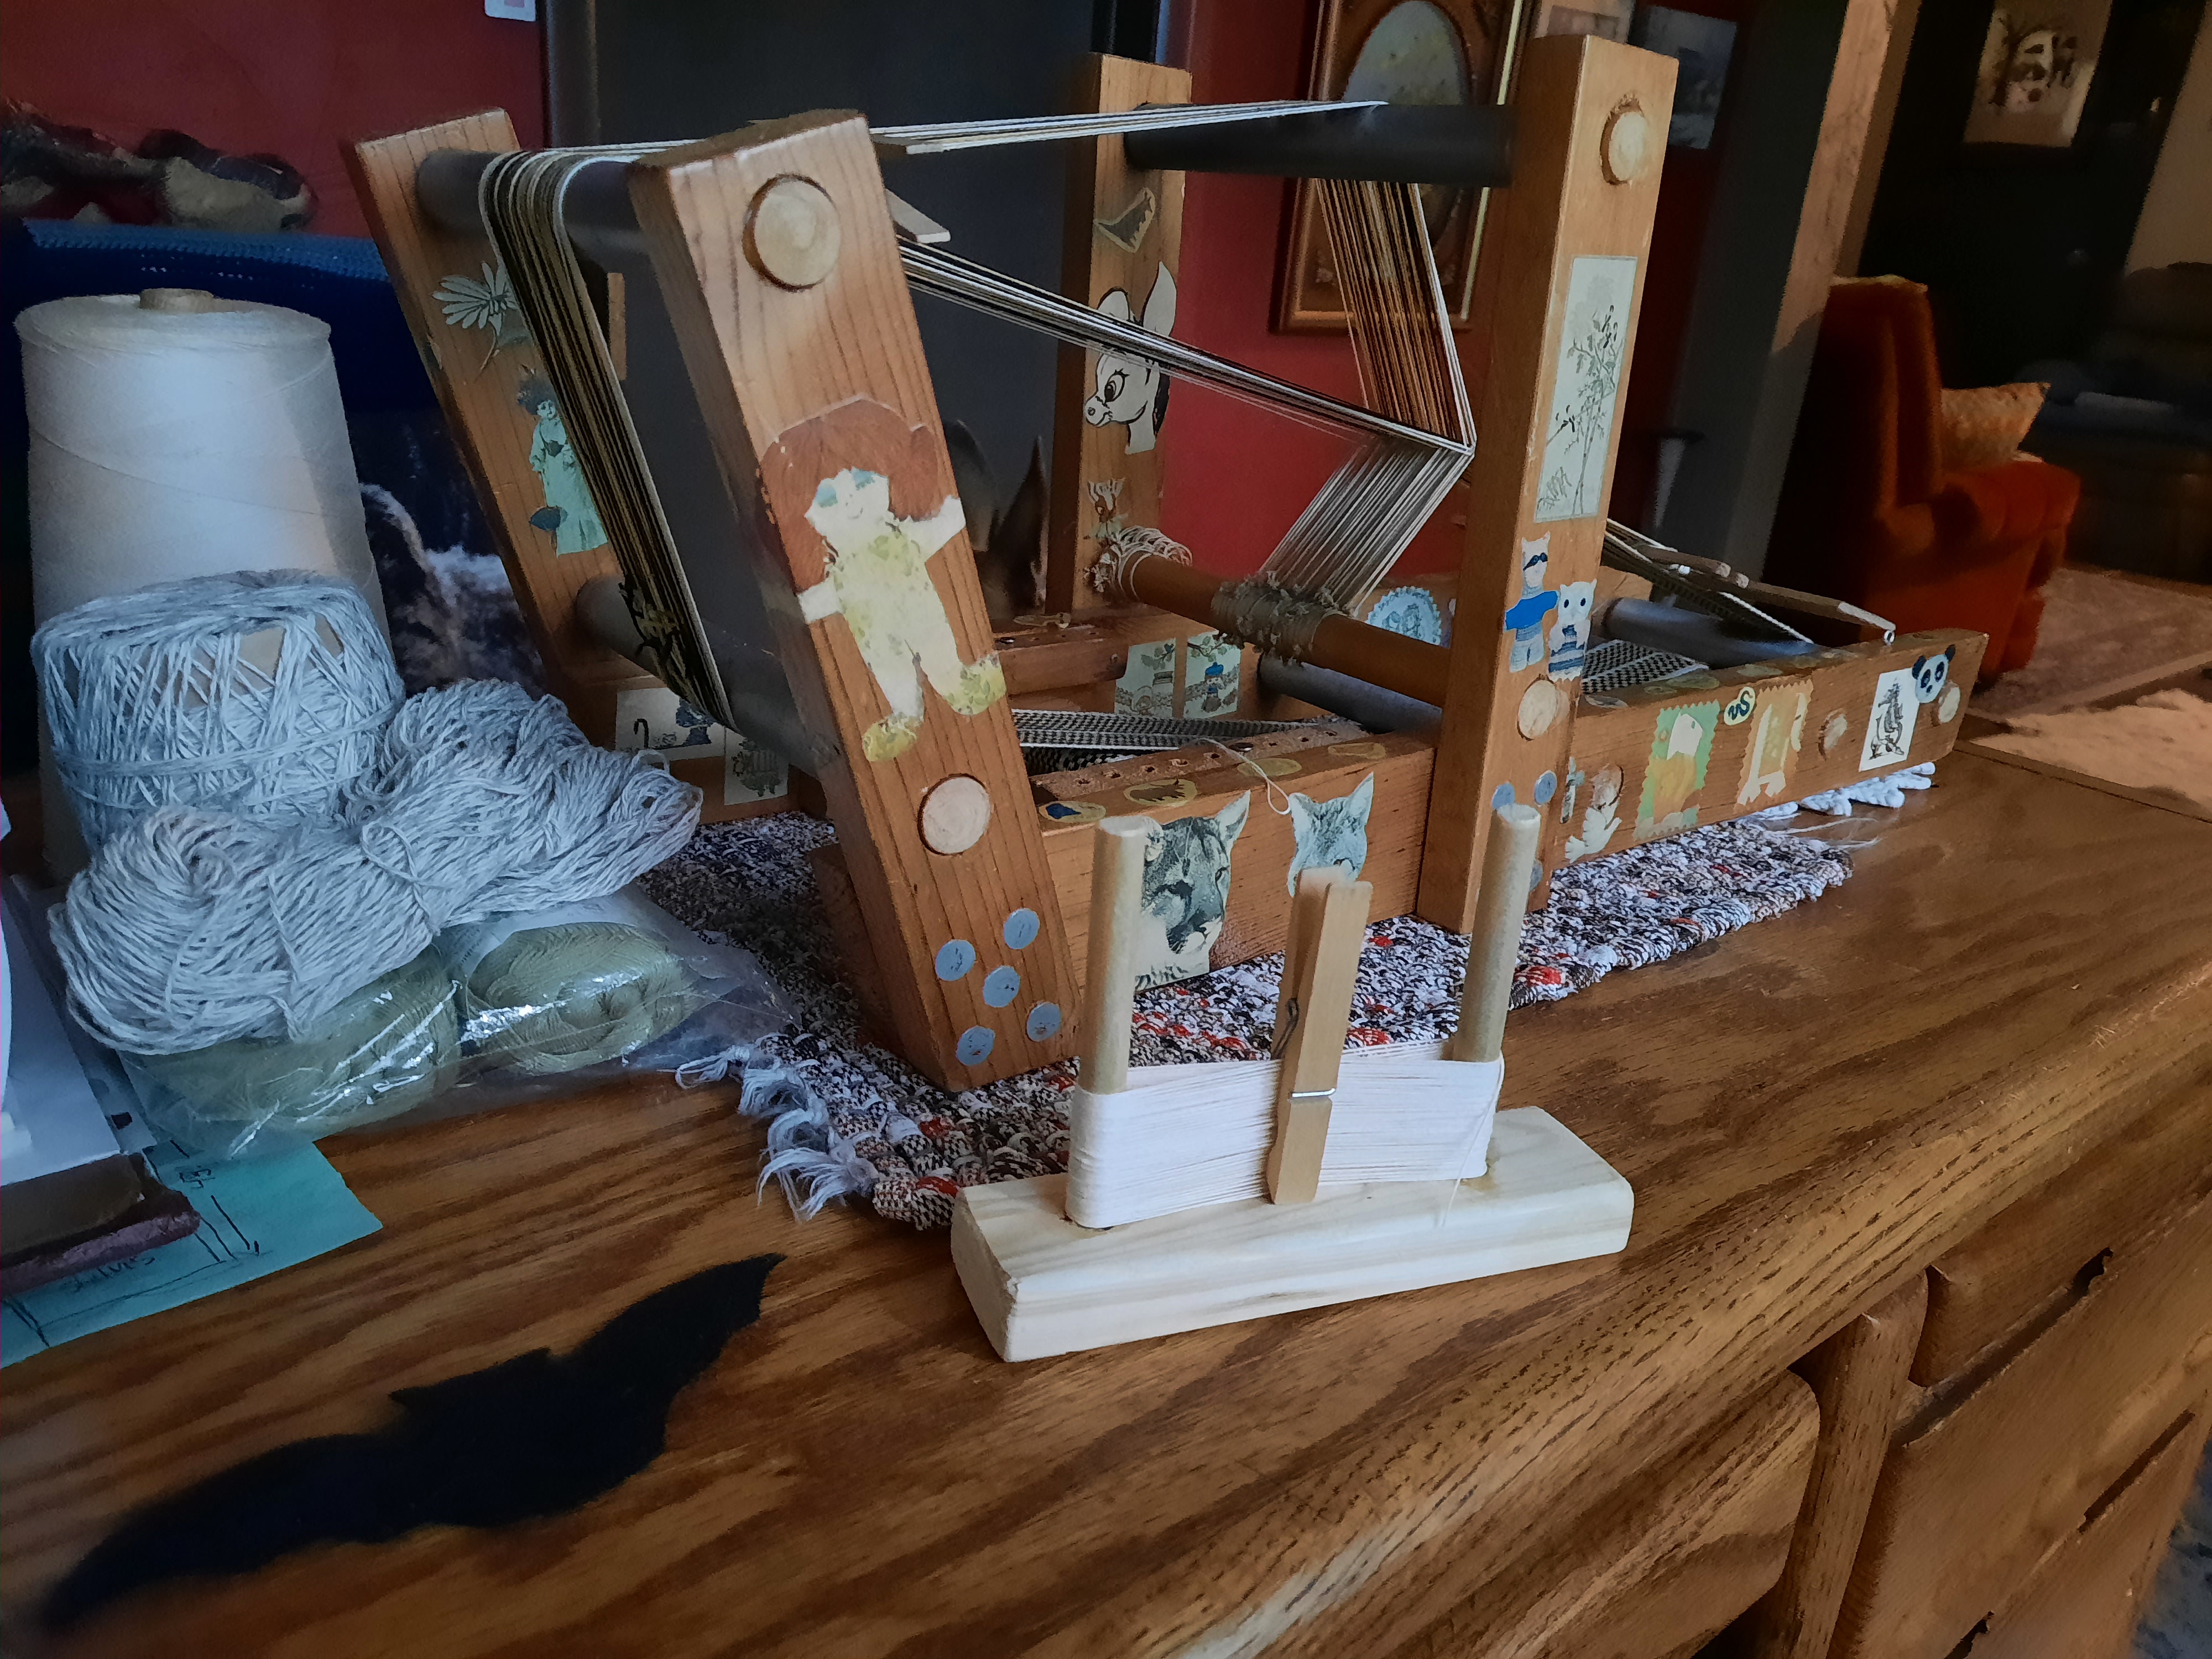
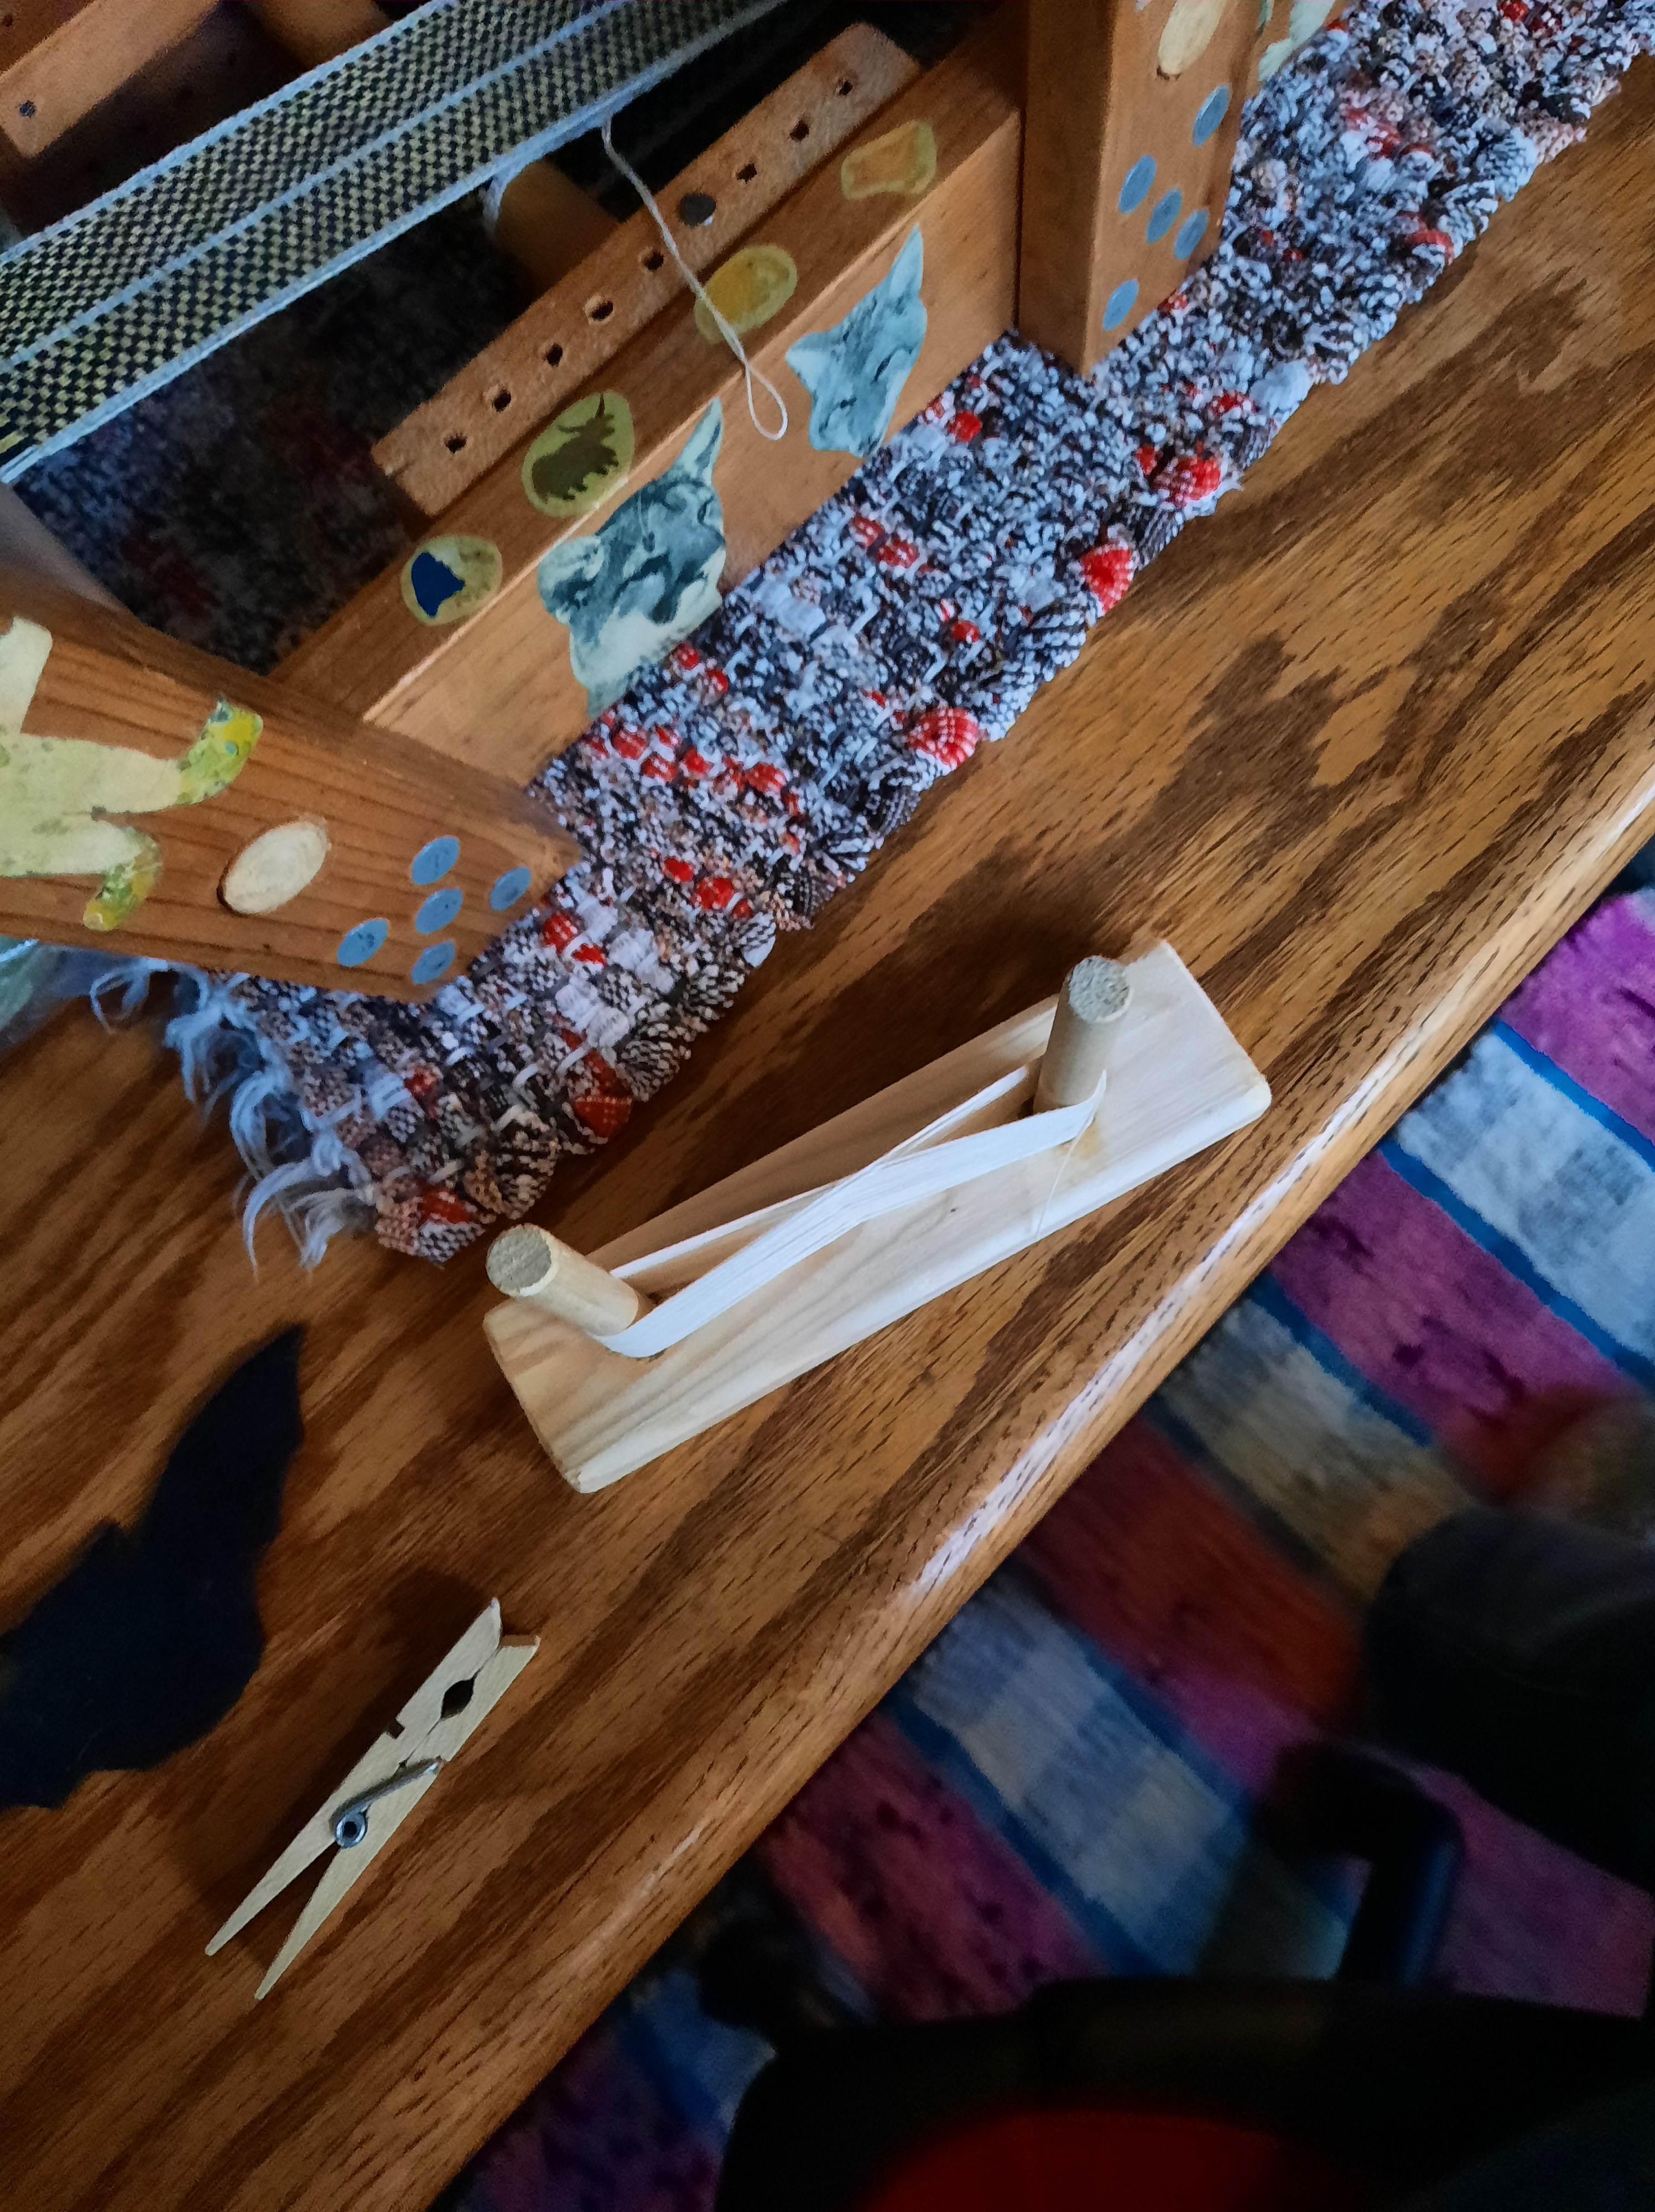
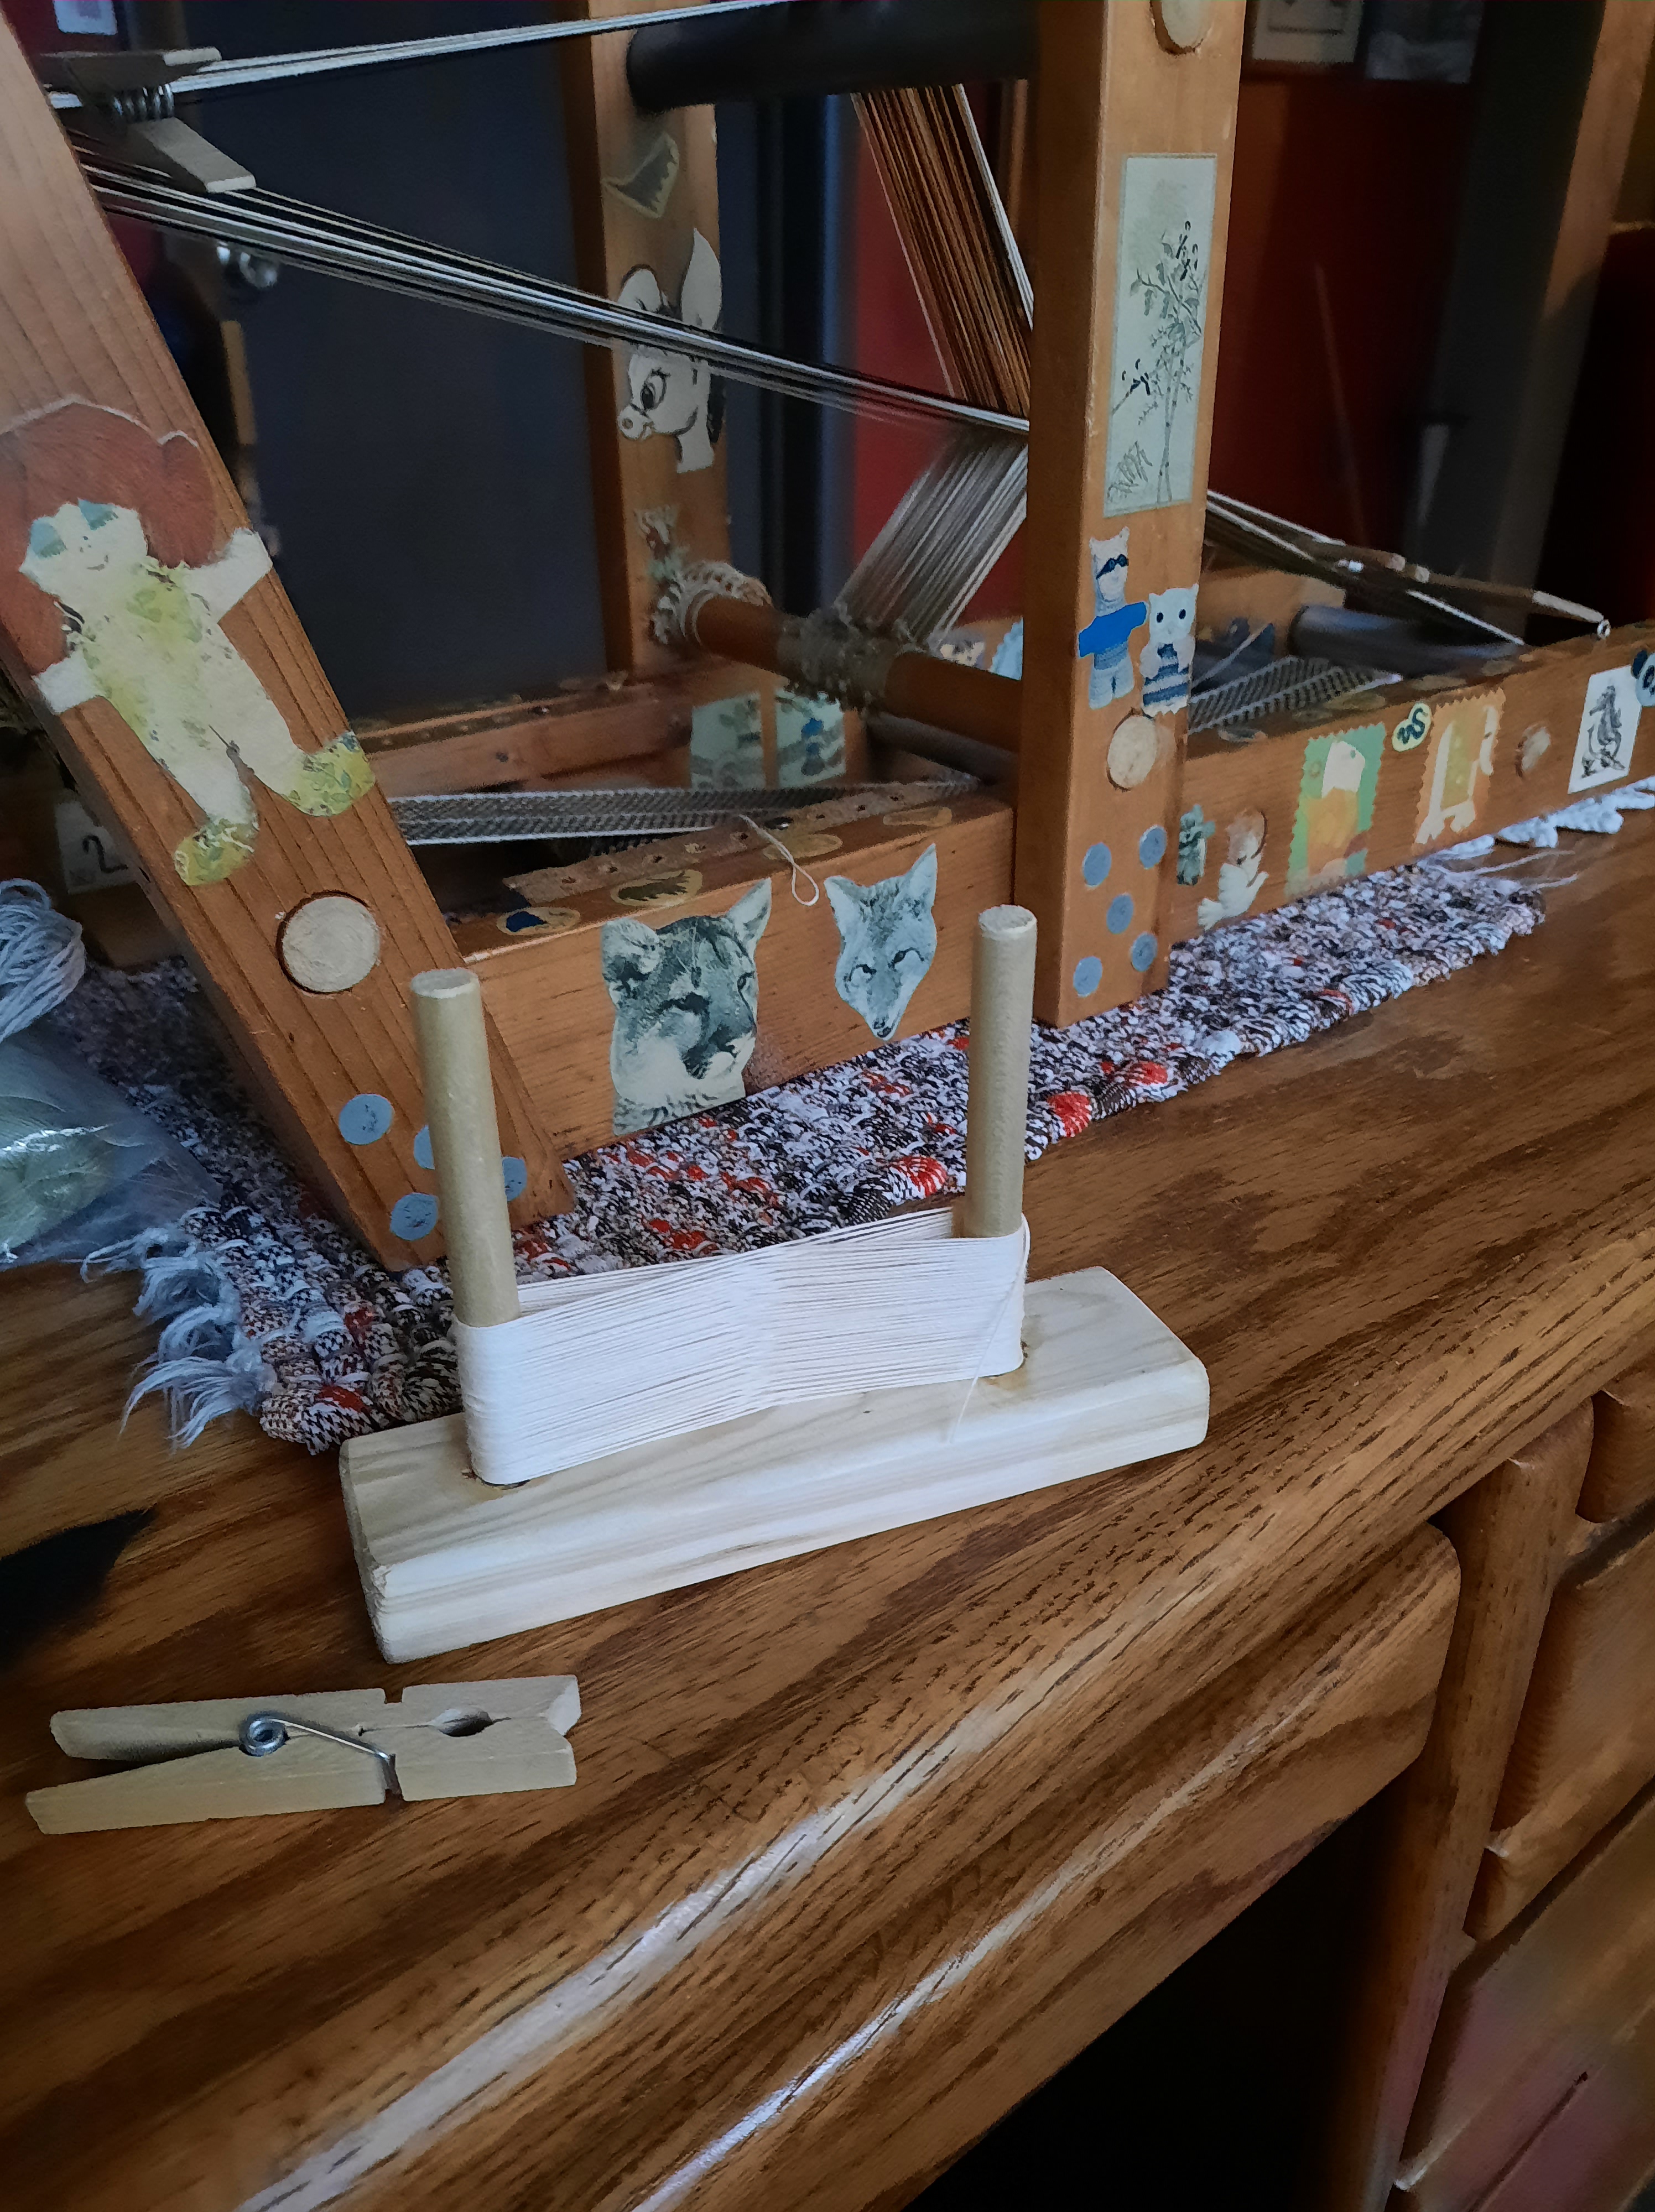
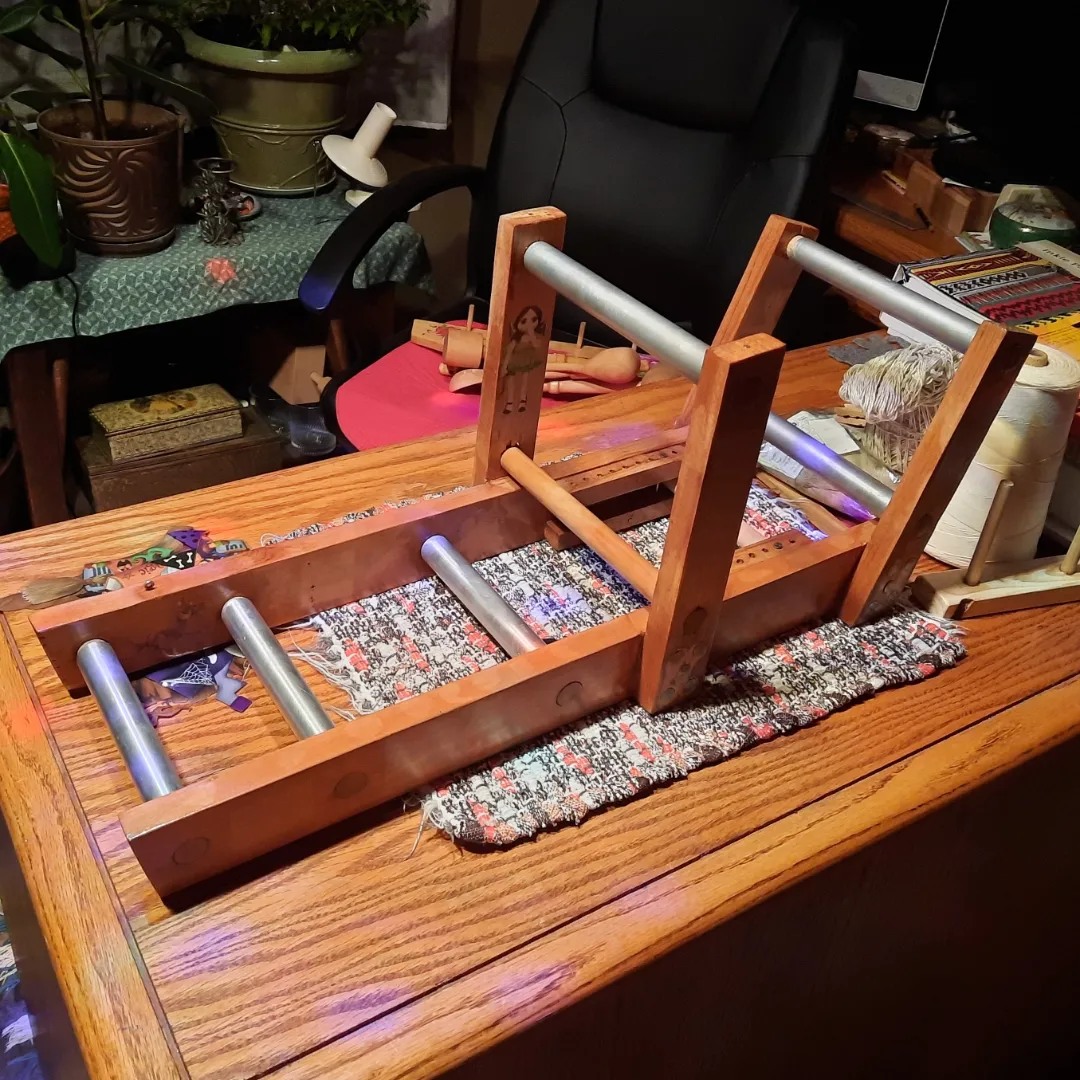
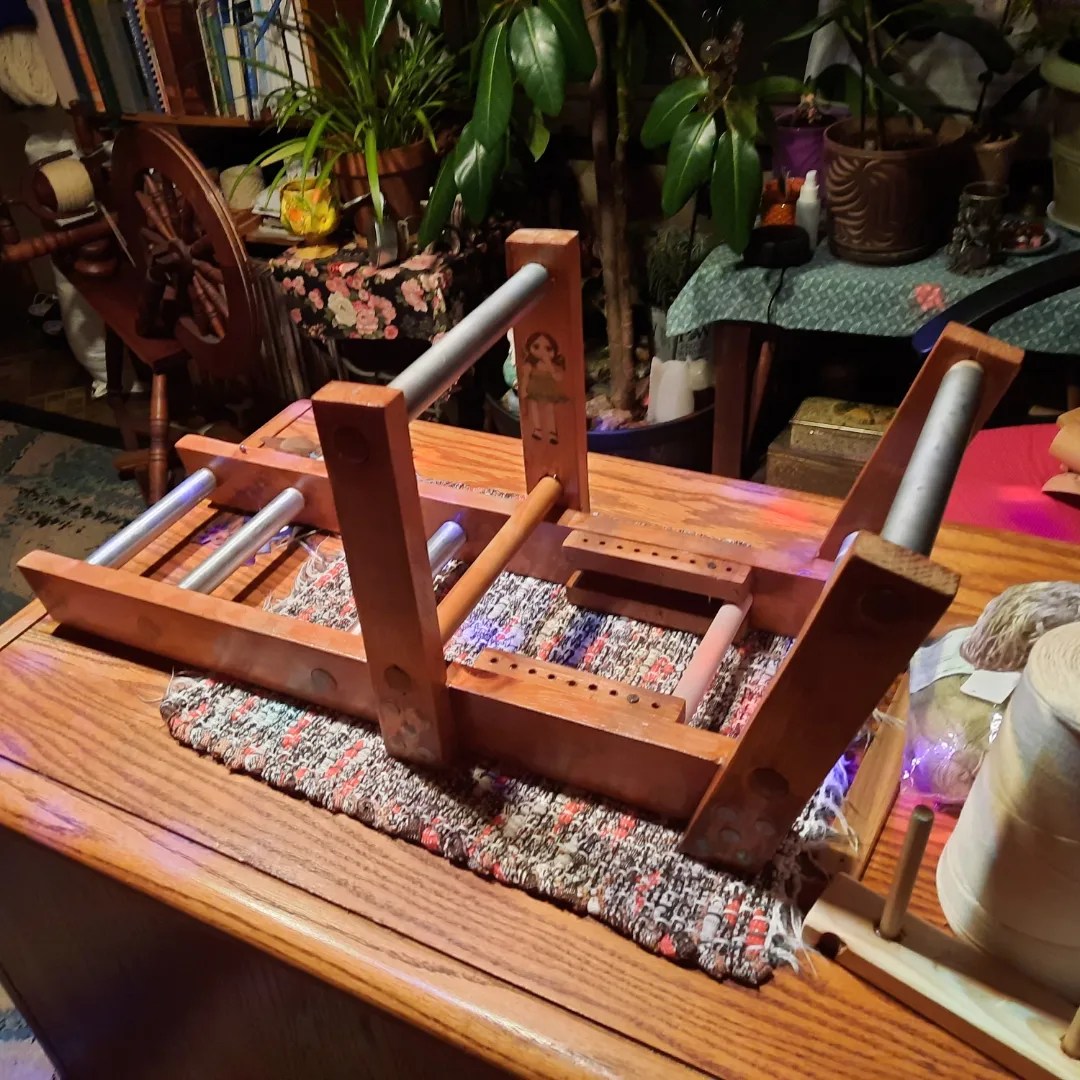
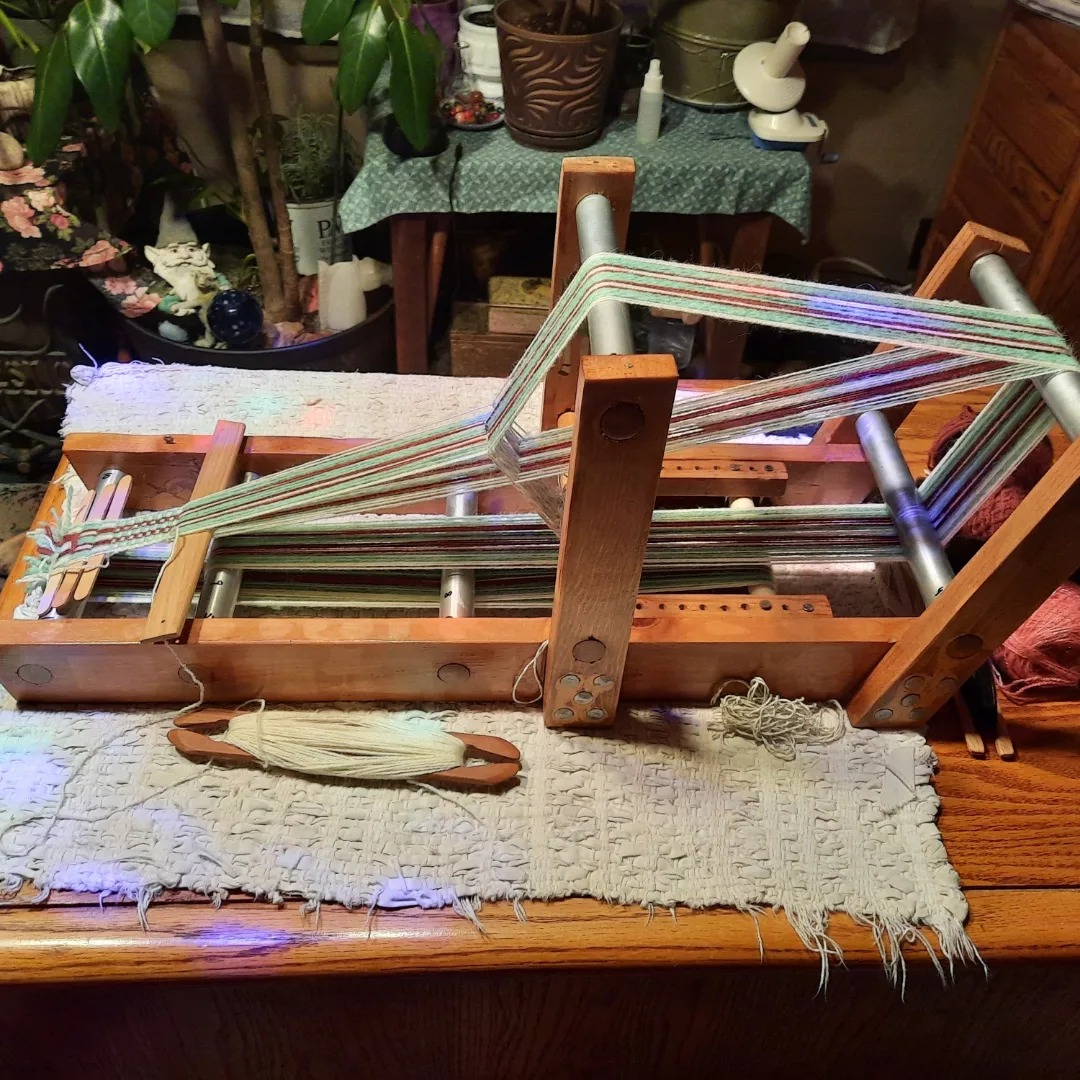
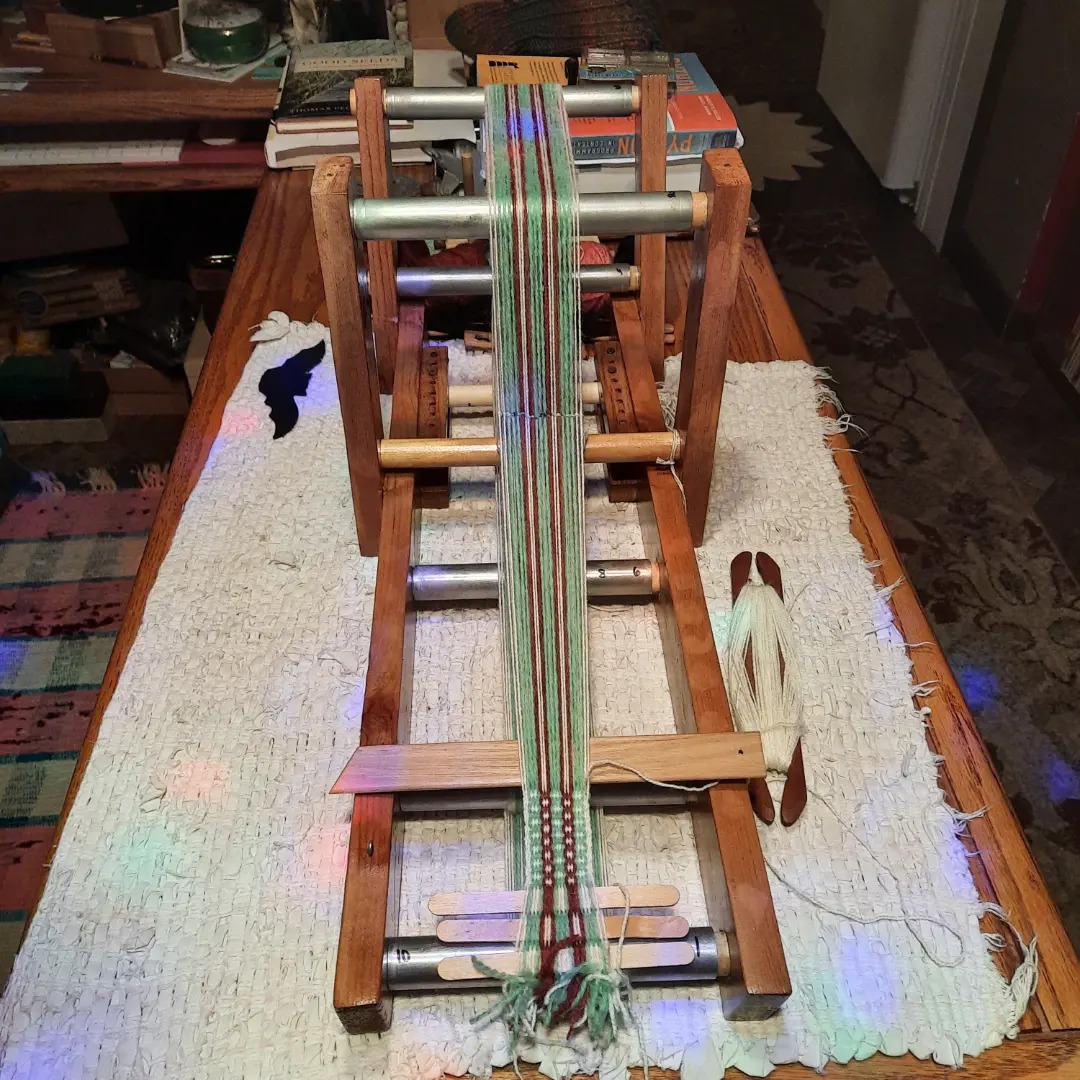
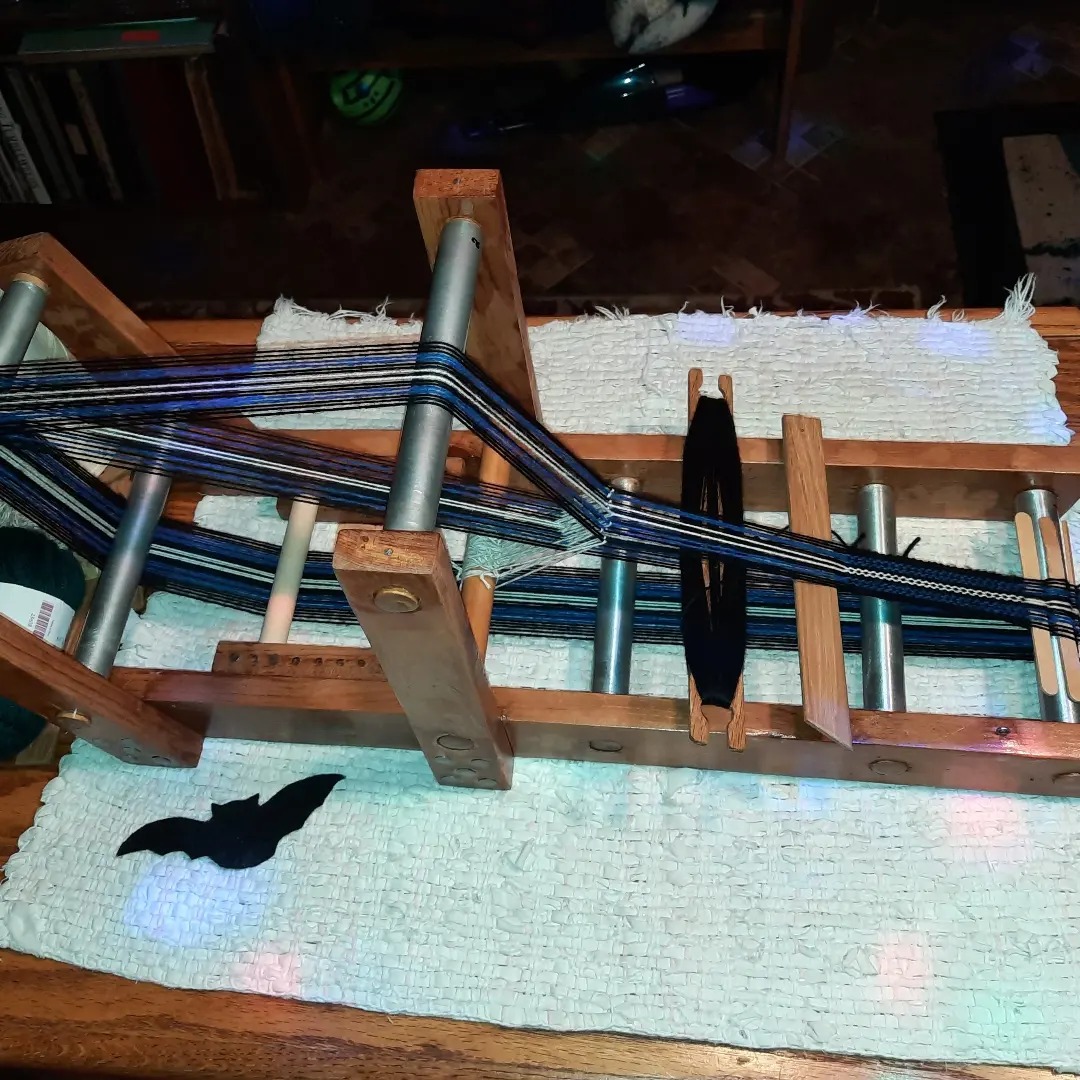
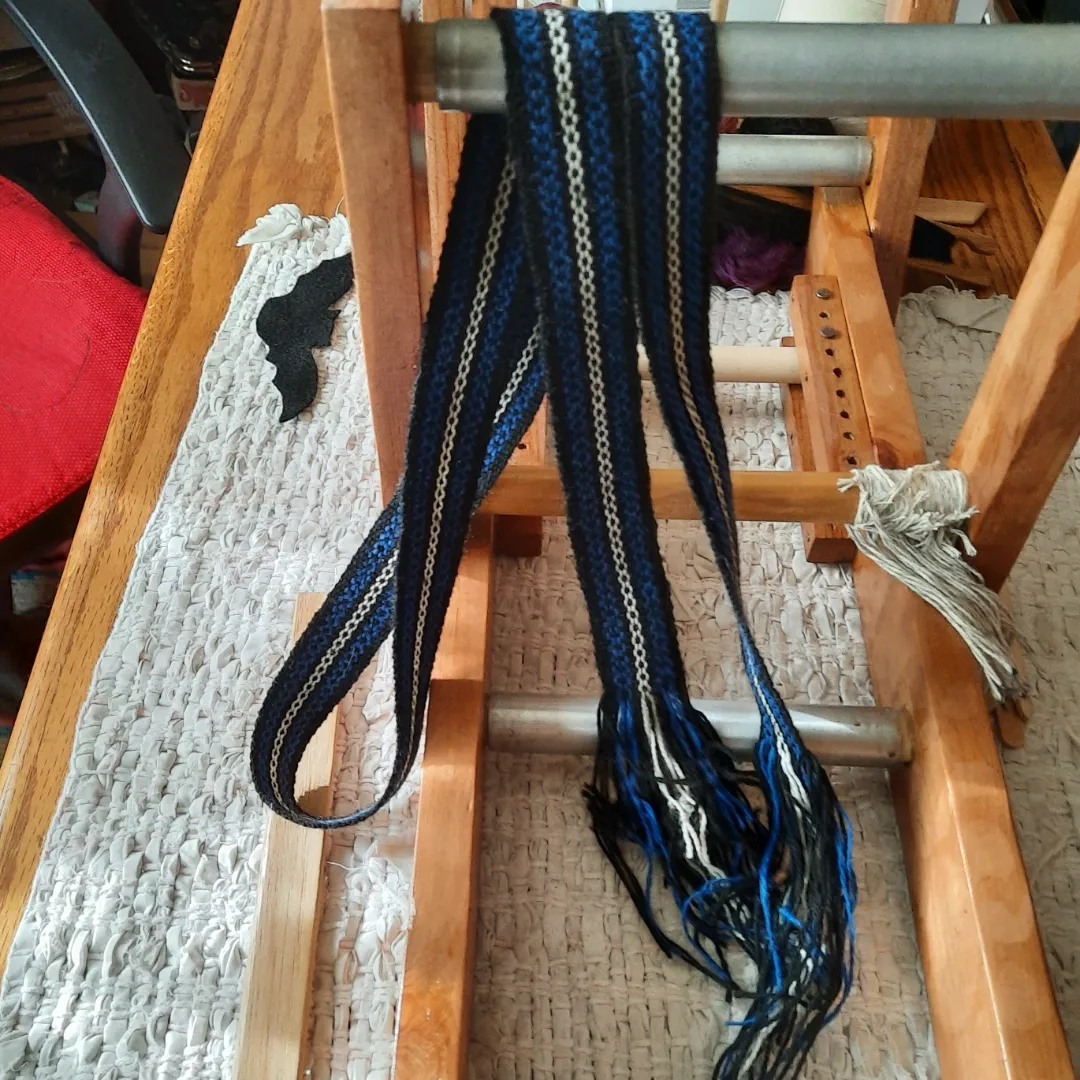
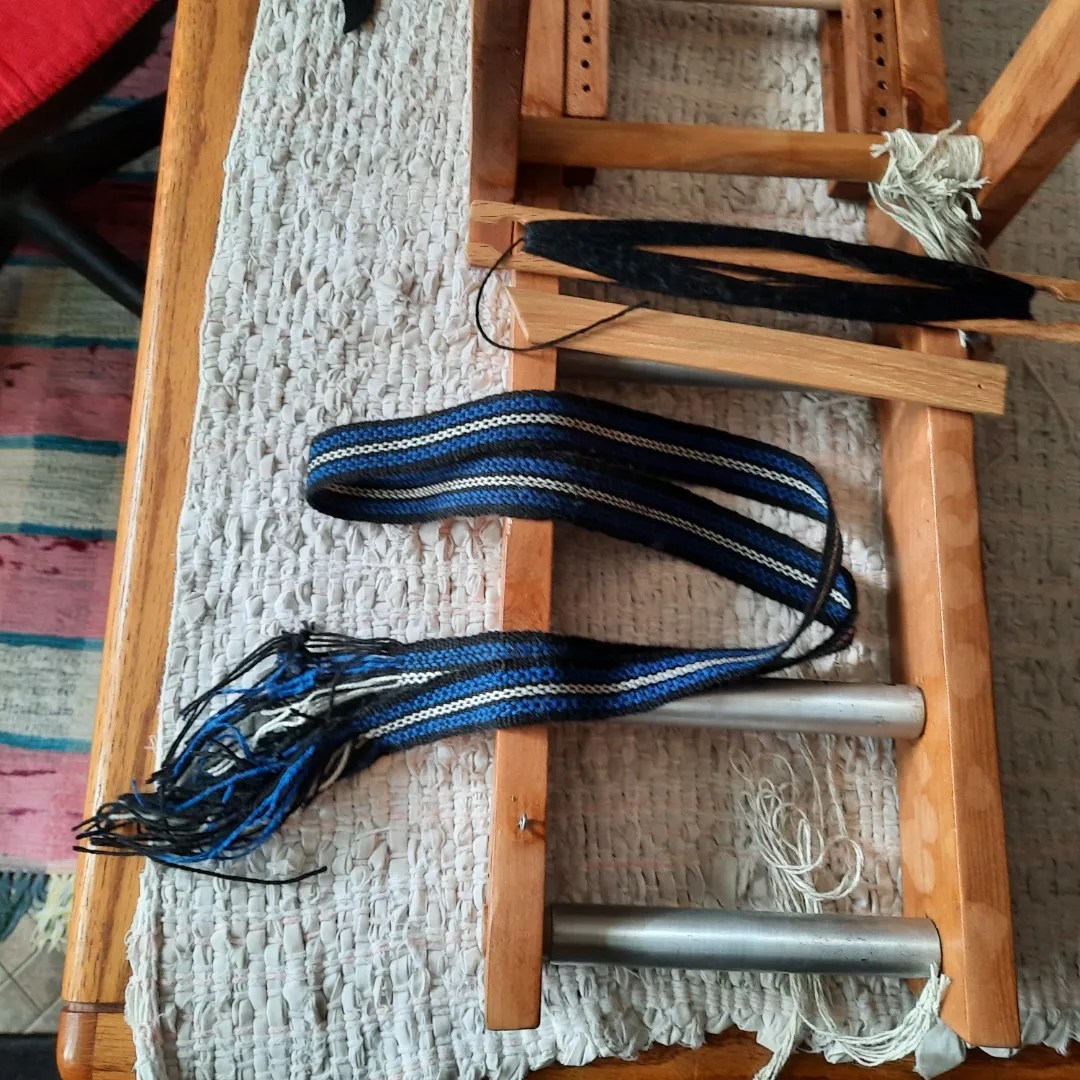
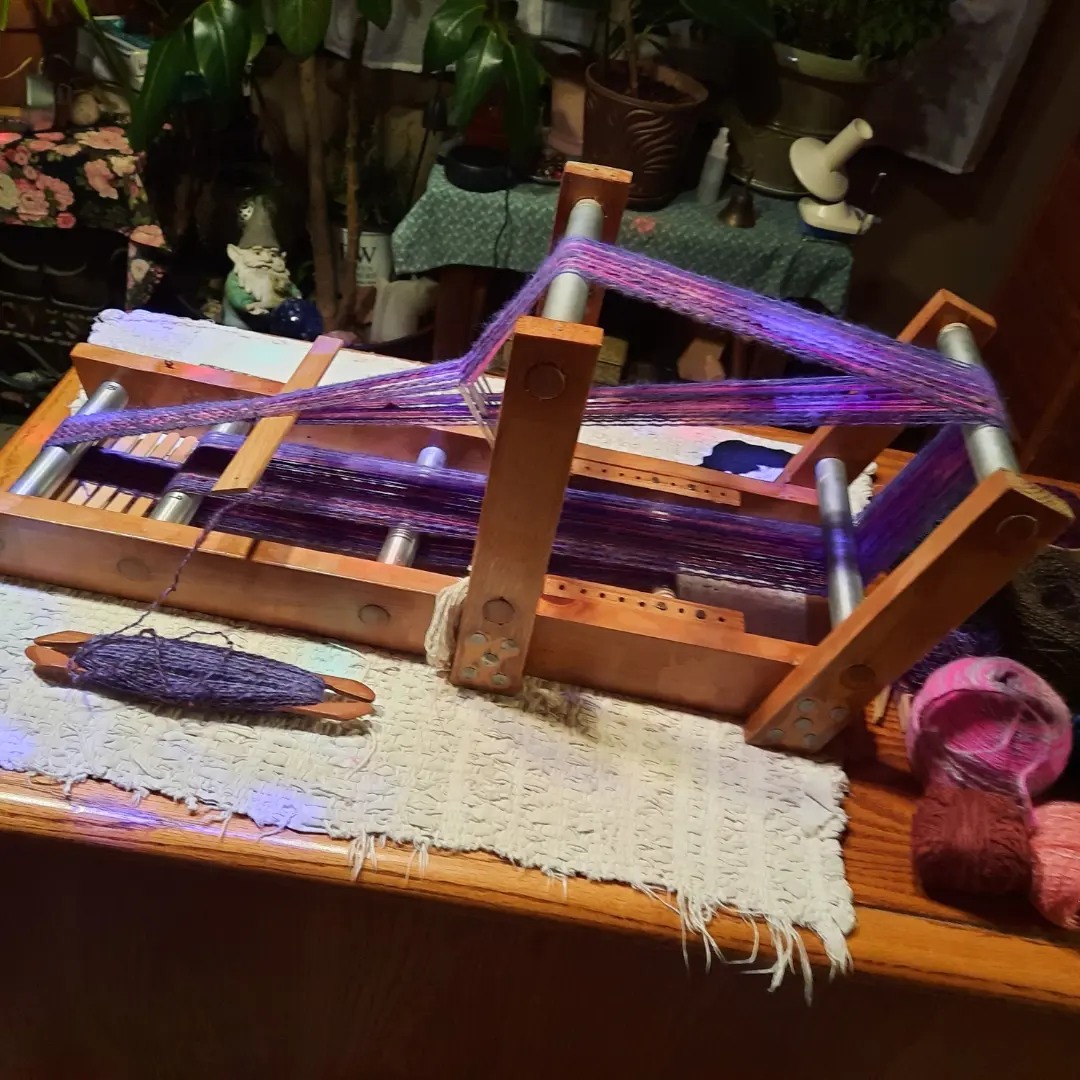
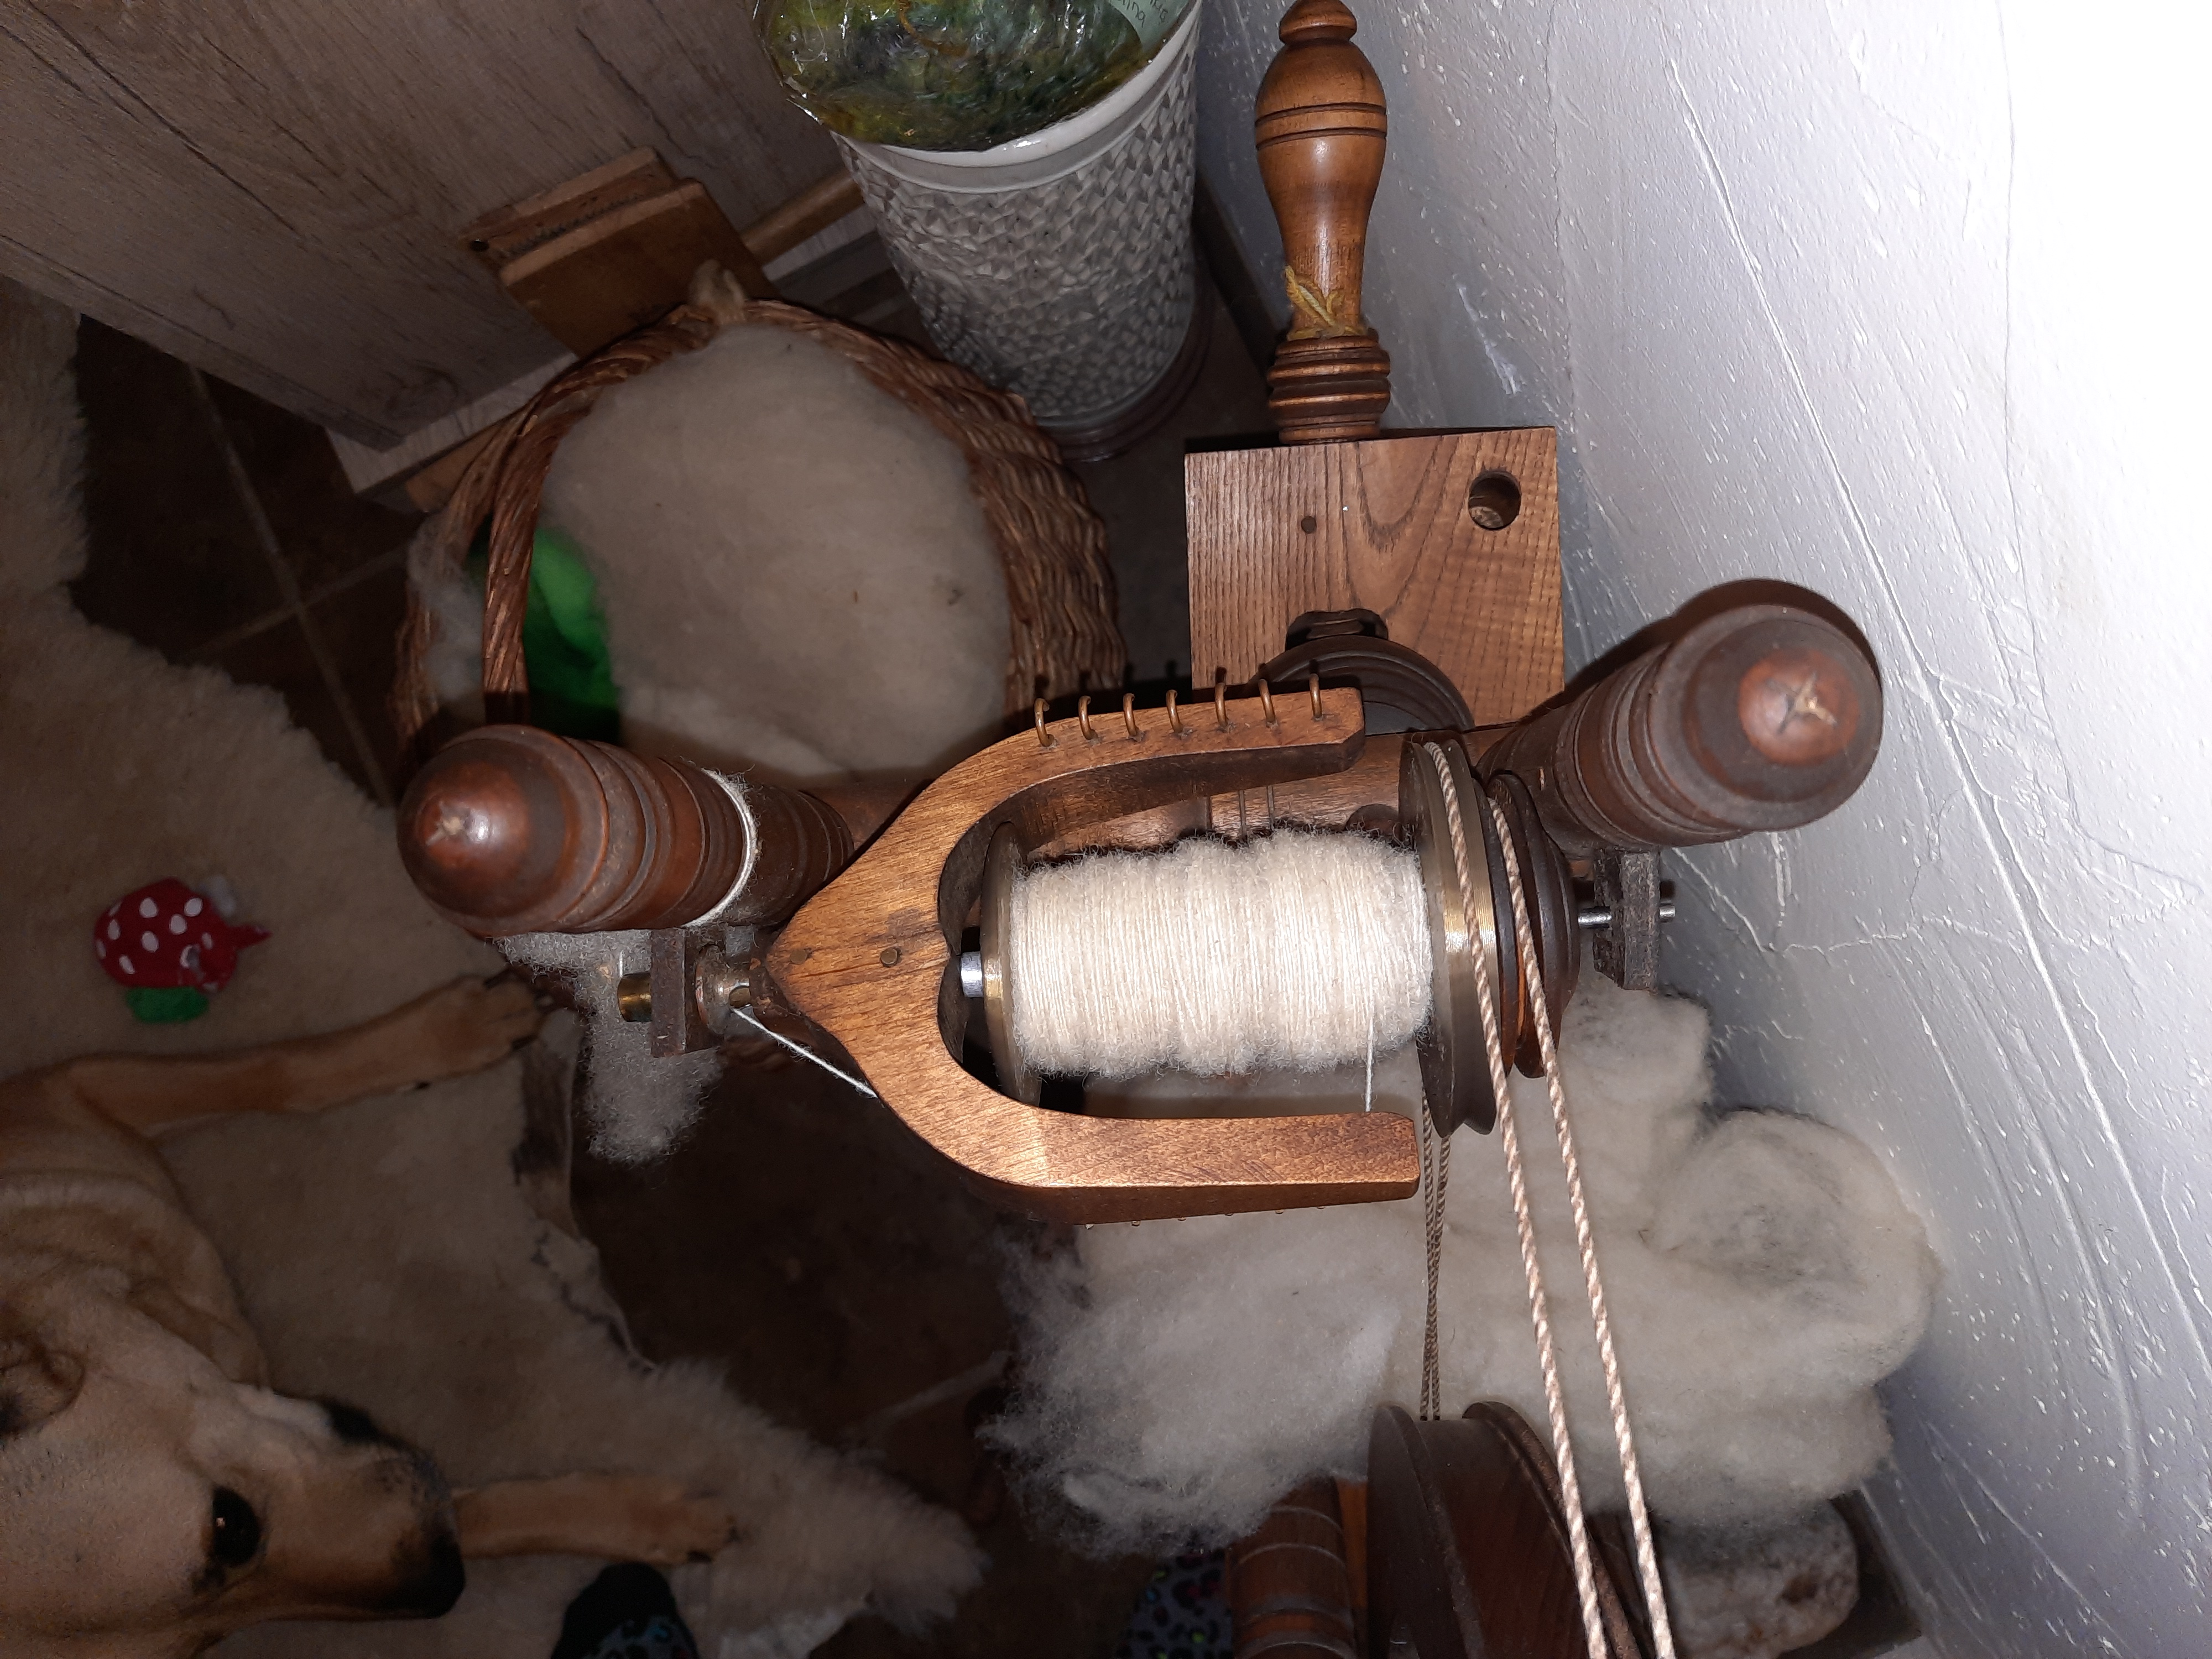
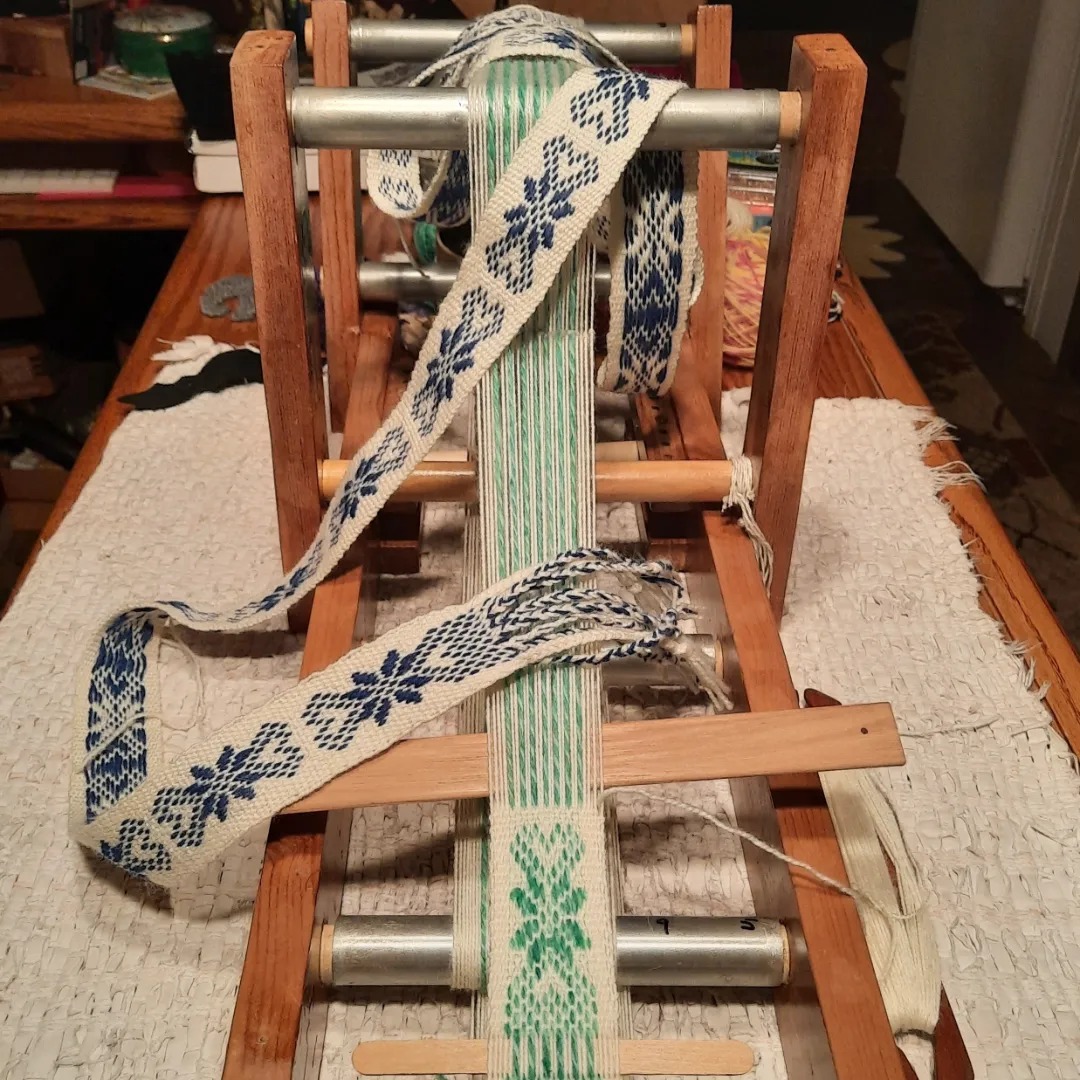
I finished the first belt using this pattern in cream white wool and royal blue sized wool. I rewarped the inkle loom with the cream white and my handspun, handdyed turquiose green wool for the next band/belt.

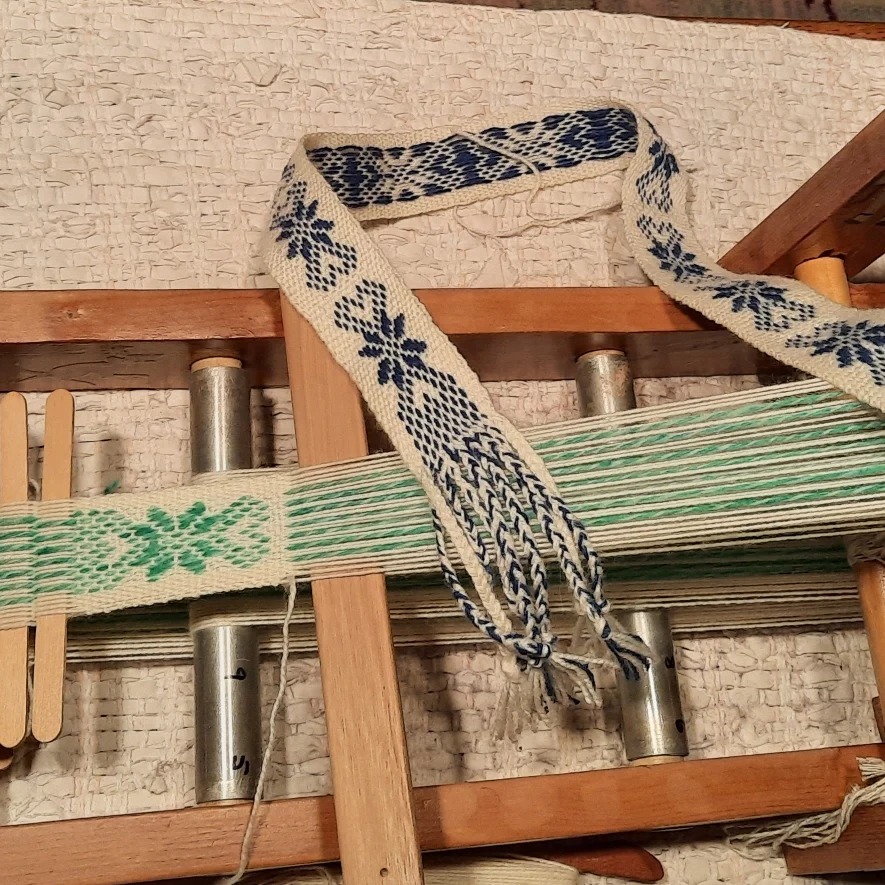
I graphed a draft of my derivation of the Baltic-13 2 draft and changed the colors for the next belt I will be weaving next. The next image is the weaving draft to be used with the threading chart of Baltic-13 2.

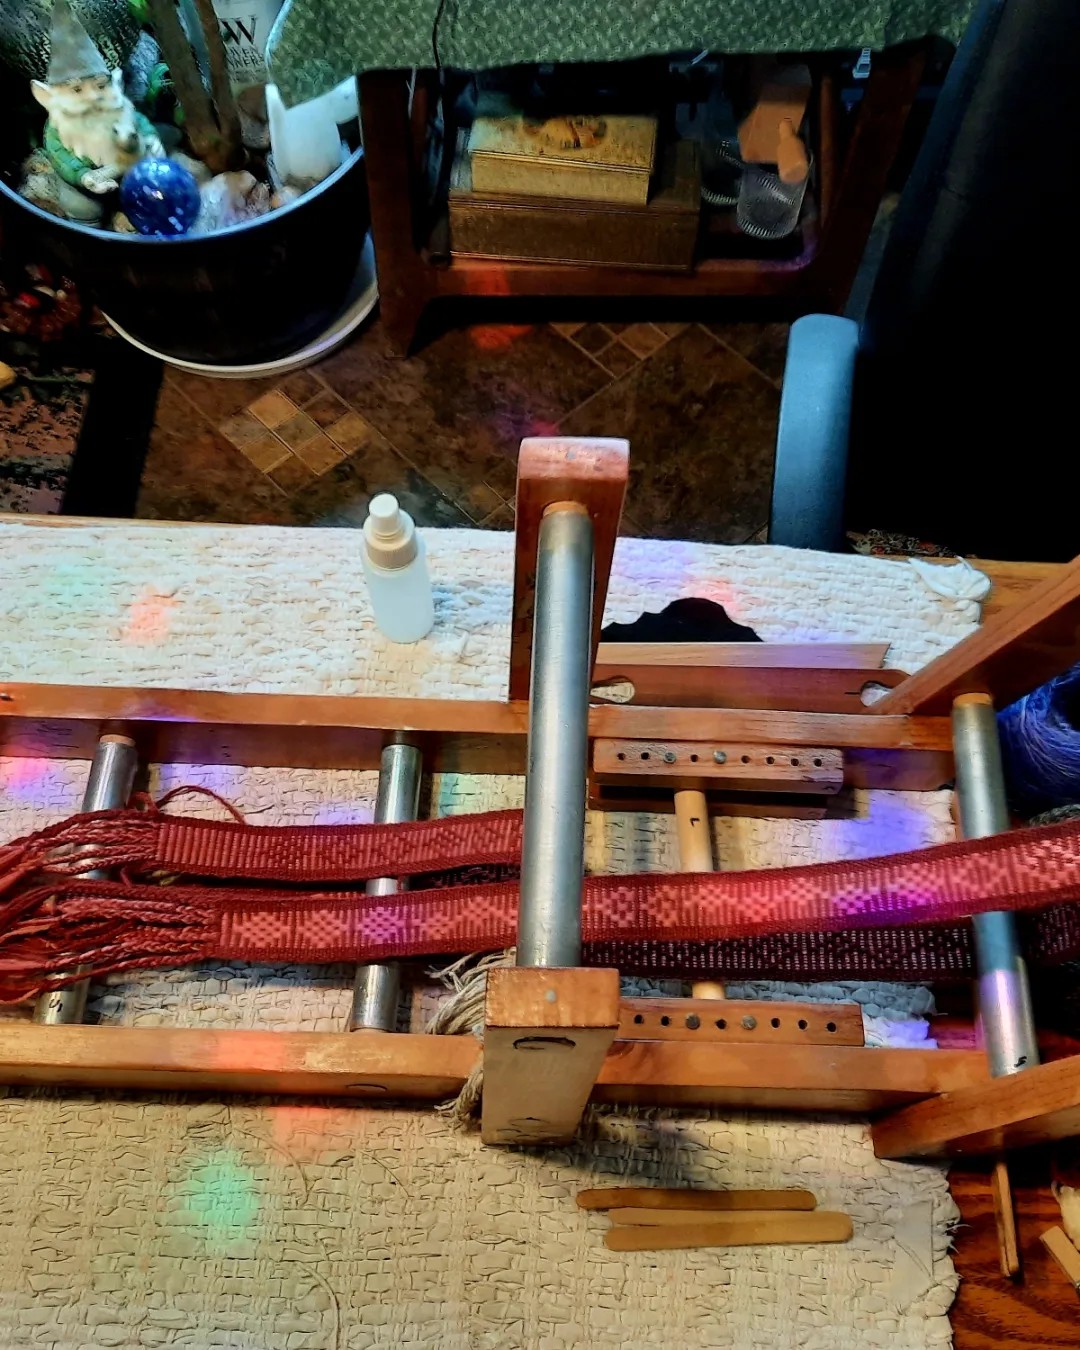
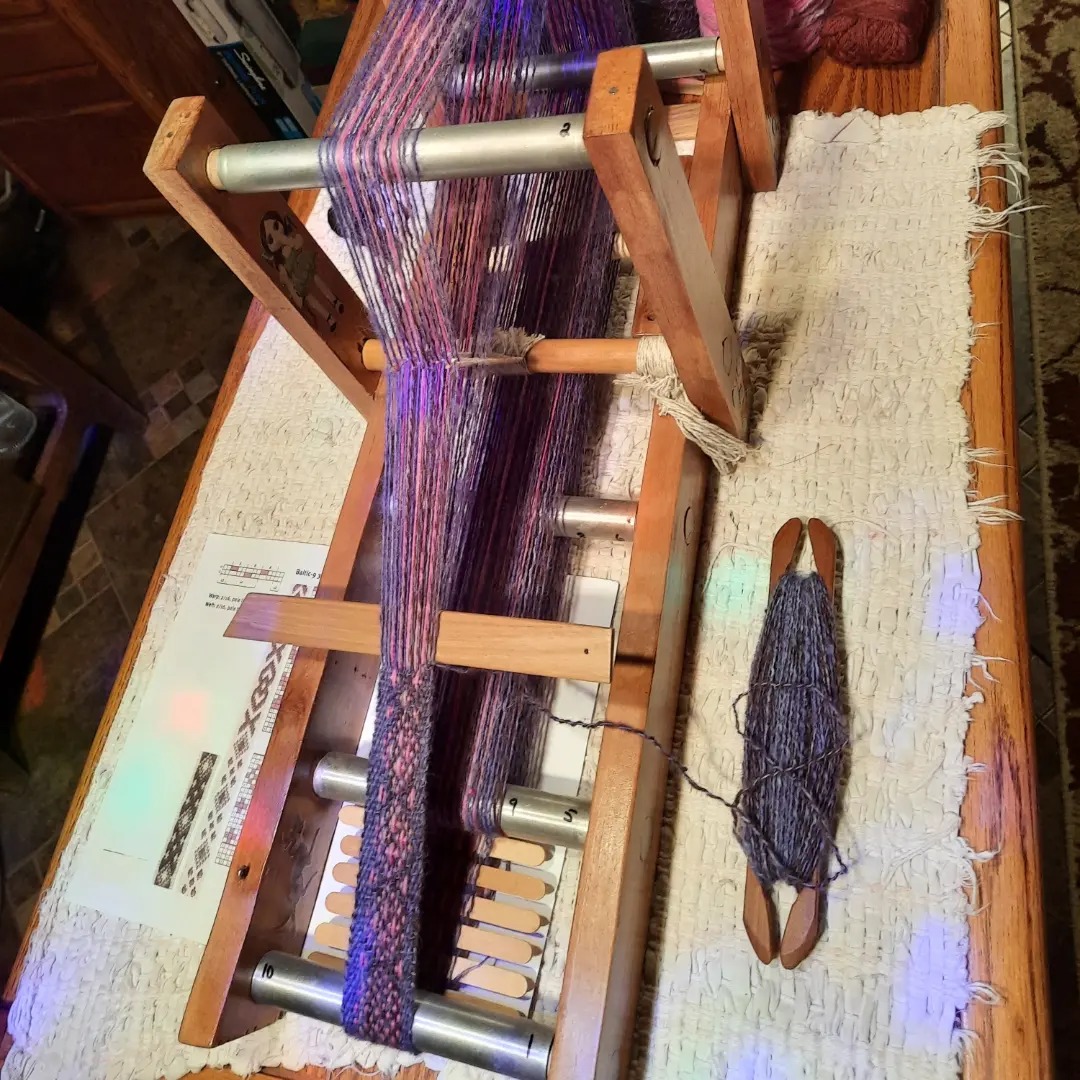
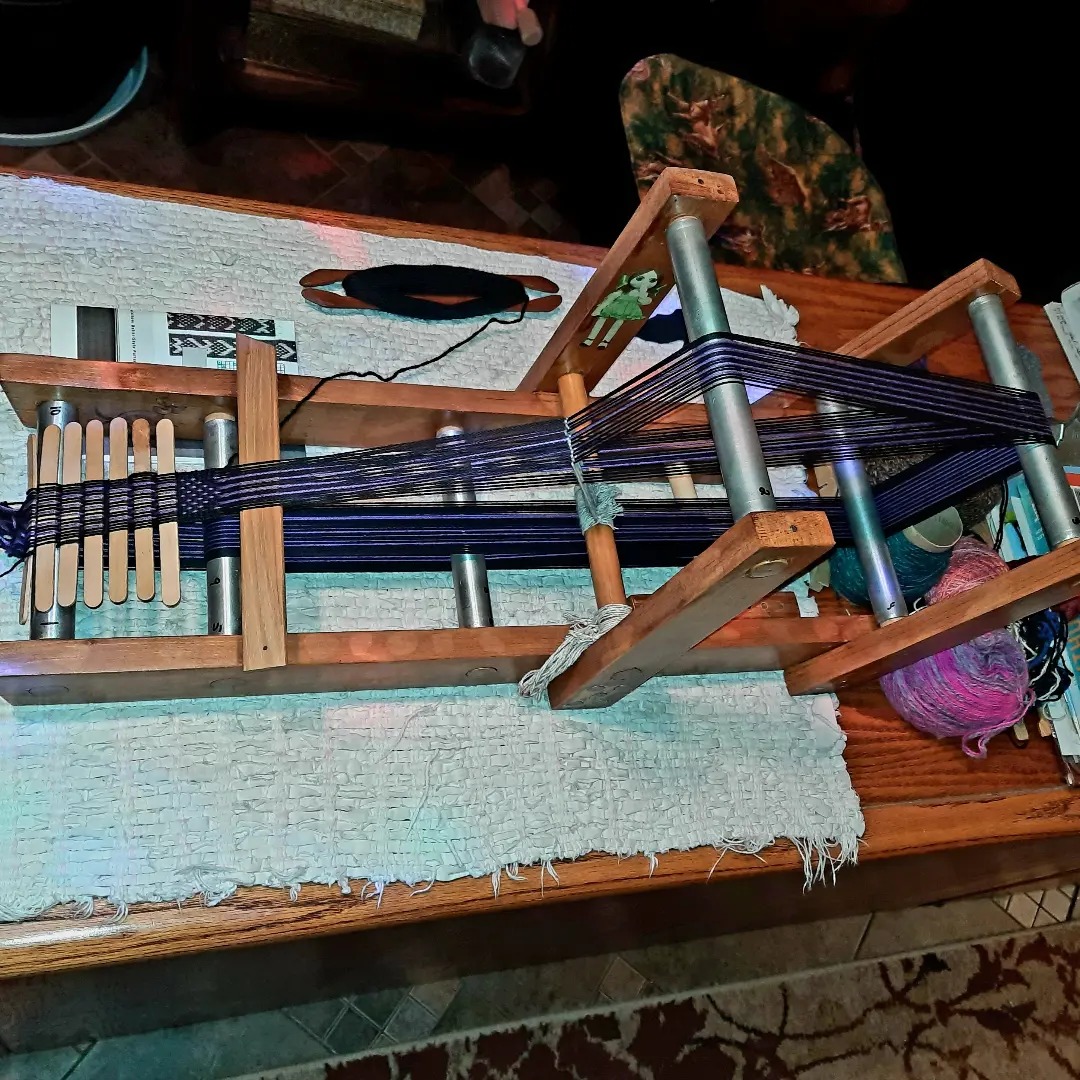
I’ve been warping the inkle loom with 9 extra warp threads (4 up and 5 down) on each side of the pattern(s) because I like more selvage on the edges. This next band/belt will be in dark violet, handspun handdyed light turquoise green, forest green, and the single outside pattern edge in hte dark violet.

When I have time, I’ll post progress pictures on facebook and instagram as I go along.

Get going and make something AMAZING!!! Feel free to use the chart for weaving, knitting, crocheting, etc.

Inkle Loom Weaving Has Been Brought Back Into My Life!

It’s been over 10 years since I started weaving on an inkle loom again. I sold the first inkle loom I had, well over 10 years ago, because there was a lot of life happening with us. Mind you, I like life happening, but not exactly the way it was doing so at that time.

Fast forward 10+ years and about 30 weaving books later: We went to a local auction house and there were tons of weaving looms up for auction. There were floor looms, table top looms, and a couple of small looms that included an inkle loom. I was able to score a handmade inkle loom for under $10 and another loom I might discuss at a later date (after I learn how to use it).

The inkle loom came with a lot of cute stickers all over it and a sample block, inkle band already in progress. I finished weaving it after I dusted, vacuumed, and cleaned the loom and band so I could finish it.

My hubby and I stripped most of the stickers off of it. I left the stickers of the little girl in the green dress and her dog on inside of the loom because I liked them. I sanded it and hubs varnished it.

I rewarped it with rust brown and light green wool for a simple inkle band.

There’s a saying, “If you don’t use it, you’ll lose it.” I still knew the basics, but I had to relearn how to do the string heddles warping procedure.

After I cut off the brown and green band, I rewarped it again, with black, blue, and white wool for another very short band because I once again forgot to place the unheddled warp threads in the right place.

With the 4th band, I feel that I’m back in the swing of it and it’s coming along quite nicely.

I dove right in and finished this Baltic style 9, diamond sampler belt with braided ends, rather quickly. I wove another sampler after that.

Obviously, I need to weave in the ends on this one, but otherwise I’m pleased with it because it’s woven using my handspun wool yarn! This is made of 2 Baltic style 9 samples from the book, “The Weaver’s Inkle Pattern Directory”.

This black and purple band became completely a Baltic style 9 freestyle. It’s fishes! Every shape of fish I could graph on paper because I needed to see every variation!

This fish band is my fav right now, however it is listed in my Etsy shop for sale right now along with the rust brown and pink diamond band!!

Get busy and make something! Anything!! It doesn’t matter what it is so long as you give it a go!!!

A New Spindle, Bobbin, and Spinning Wheel Maker to Check Out

While reading the February/March 2023 issue of Mother Earth News, I came across a very interesting article titled, “3D-Printed Charkha, Spinning in the Digital Age” written by Joseph Bjork. Out of curiosity and a desire to have a few more bobbins for my fastest spinning wheel, I acquired a spindle kit and a spare bobbin kit from the GoodandBasic shop on Etsy.

3D Printed Charkha, Spinning in the Digital Age as seen in the February March 2023 issue of Mother Earth News

The spindle kit comes with a pine wood dowel, a brass hook, and a neat, geometric, 3-D printed whorl in a huge selection of colors. I substituted an oak dowel that was longer and balanced the better with the whorl. I always like to carve the spindle dowels so they’re tapered at both ends and wax them before I secure the whorl.

This is a beautifully balanced spindle and the whorl is beautifully designed and crafted. I’m spinning black Corriedale fleece on it and it’s spinning up quite nicely.

The spare bobbin kit came with 3 large end whorls, 3 small end whorls, and 3 aluminum tubes. I measured the bobbin from my favorite speed demon spinning wheel, cut the tubes to the proper length with the hacksaw, and smoothed out edges with the grinder. I finished deburring the whorls and assembled the new bobbins. I now have 3 extra bobbins to use with my favorite wheel that hold 1.5 times more yarn than the original.

Good and Basic, which is owned by Joseph Bjork, also makes 3-D printed wool combs, flax hackles, full size spinning wheels, and has recently added a 3-D printed weaving loom in different sizes.

Now that you’re finished reading this (well, mostly), get busy and make something!!

**Disclaimer: I’m not affiliated with Mother Earth News, the Good and Basic shop, or Joseph Bjork. I’m just a happy customer.

A New Polymer Spindle

I pulled out the original Sculpey polymer clay from 2006 – 2008, for the first time in several years. I hadn’t realized how long it was since I last worked with polymer clay and I was a bit worried it wouldn’t be viable as it hadn’t been used since 2012. It was okay, but required a lot of kneading. It worked out very well.

After blending and kneading for about 20 minutes, I started shaping it into my new spindle whorl in purple and iridescent white swirls.

After the whorls were completed, they were baked in a toaster oven at 275°F for 15 minutes. The oven was turned off and the whorls cooled in the oven with the door open.

I cut and bent a heavy wire into the new, purple and iridescent white spindle whorl and glued it in place with some E6000 cement.

I cut and carved an oak dowel to be used as the spindle for the blue/green/iridescent white whorl, stained it with mahogany stain, dried it, and cemented it to the blue/green/iridescent whorl.

After they both cured, I tested the wood and polymer spindle to make sure the whorl was centered and not wobbly. It spins very nicely.

A well spun single!! This spindle will hold approximately 300 yards of single spun yarn.

What are you waiting for? Get busy and create/build/make something!!

A Restored Antique Burlington Basket Sewing Stool With Storage

I recently finished a complete restoration of an antique combination sewing stool with storage from 1929 that was originally created for production in 1923. I didn’t take any photos of the original as the fabric was extremely faded and the piece had been ill-used and ill-stored.

This project was started the week before the Super Bowl and included the removal of asbestos paperboard that the sides were originally made of and reupholstering the sewing stool as well as keeping it as close to the original as possible. The legs are turned oak with metal feet. The frame of the sewing stool is hardwood, however I’m not sure what kind as the paint isn’t chipped anywhere. The corners appear to be hardwood as well.

I finally made the decision to get it completed on Super Bowl Sunday and was able to complete it before the game was over.

I used the original fiberboard material that the lid is made of because after some research I was comfortable knowing that it’s wasn’t asbestos. I also reused all of the hardware, legs, and original label. I discarded the cloth covered asbestos paperboard sides and made double-sided fabric sides.

_________________________________________________________________________

I used all new fabric for the entire restoration, including the same vintage Alexander Henry fabric that I used to make a handsewn pillow cover for a new, handsewn pillow I made back in August of 2022. **See the bottom of the post for the creation photos of the pillow. The fabric for the front and back sides is called “Hot Flash” and is fairly modern.

_________________________________________________________________________

The lid was a bit challenging with the recreation of the elastic storage pockets on the inside of the lid.

_________________________________________________________________________

The sides were sewn together and attached around the frame. I also re-attached the original label to the lid as a reminder that we shouldn’t throw out that which can be restored and/or reupholstered!

_________________________________________________________________________

I brought it downstairs for finishing and I wanted to watch the second half of the Super Bowl! The lid was reattached to the basket base with the original hinges and screws and yes, a bit of wood glue was involved because the wood under the left hinge was cracked (which is typical for a lot of these old pieces). I watched some of the game while the glue dried.

_________________________________________________________________________

I attached the legs after the glue was dry and placed it by my favorite 1950’s chair with the pillow I made featuring the first use of the Alexander Henry fabric.

_________________________________________________________________________

Here are the photos of the pillow project!

What are you waiting for?? Get busy and create something!!!

Alpaca Fleece Scouring and Carding

A chestnut alpaca fleece drying

I’m privileged once again to have some alpaca fiber to process into yarn! It’s very exciting because it’s been over 5 years since I last had a whole fleece. I washed the chestnut alpaca fleece on Friday and have started carding it.

It took about 20 minutes to run up 2 batts rea

I washed the dark brown alpaca fleece today. It took quite awhile because this particular creature had a penchant for rolling around in hay, straw, and cockle burrs! It’s not as fine as the chestnut, but will card up nicely.

What are you waiting for? Get busy and do something!