I'm an accomplished fiber artist and mixed media artist who creates beautiful 3-dimensional pieces called, Trees of Diversity®. My work has been shown at Angel Orensanz Gallery in New York, Altered Aesthetics Gallery in Minneapolis, The Neville Public Museum - Studio 210 in Green Bay, Hazelwood House in Allouez, WI, and Xanadu Gallery in Scottsdale, AZ. I'm a loved wife, a loved mom, and a loved Nana! I enjoy finding new and creative ways to add more knowledge of what I do and so I may teach others who want to learn.
I know I promised to do a video of me making dryer balls, but when I get hella busy, I don’t do much blogging or video recording. I wrote a post which was pretty much a brief tutorial on how I make my dryer balls (https://mrsdsfiberodyssey.wordpress.com/2014/04/08/this-is-how-my-dryer-balls-are-made/). So, after several months of being super busy and finally moving into a nice studio space, I am now, finally making good on my promise.
My new studio space has made a huge difference for me in production! The laminate flooring makes it super easy to clean up after and God knows I can be very messy at times. It has tons of natural light, which I crave and need in order to create beautiful woolly and fibery things.
When you’ve finished watching the vid, you can scroll down and take a peek at all the fibery things I’ve been creating!
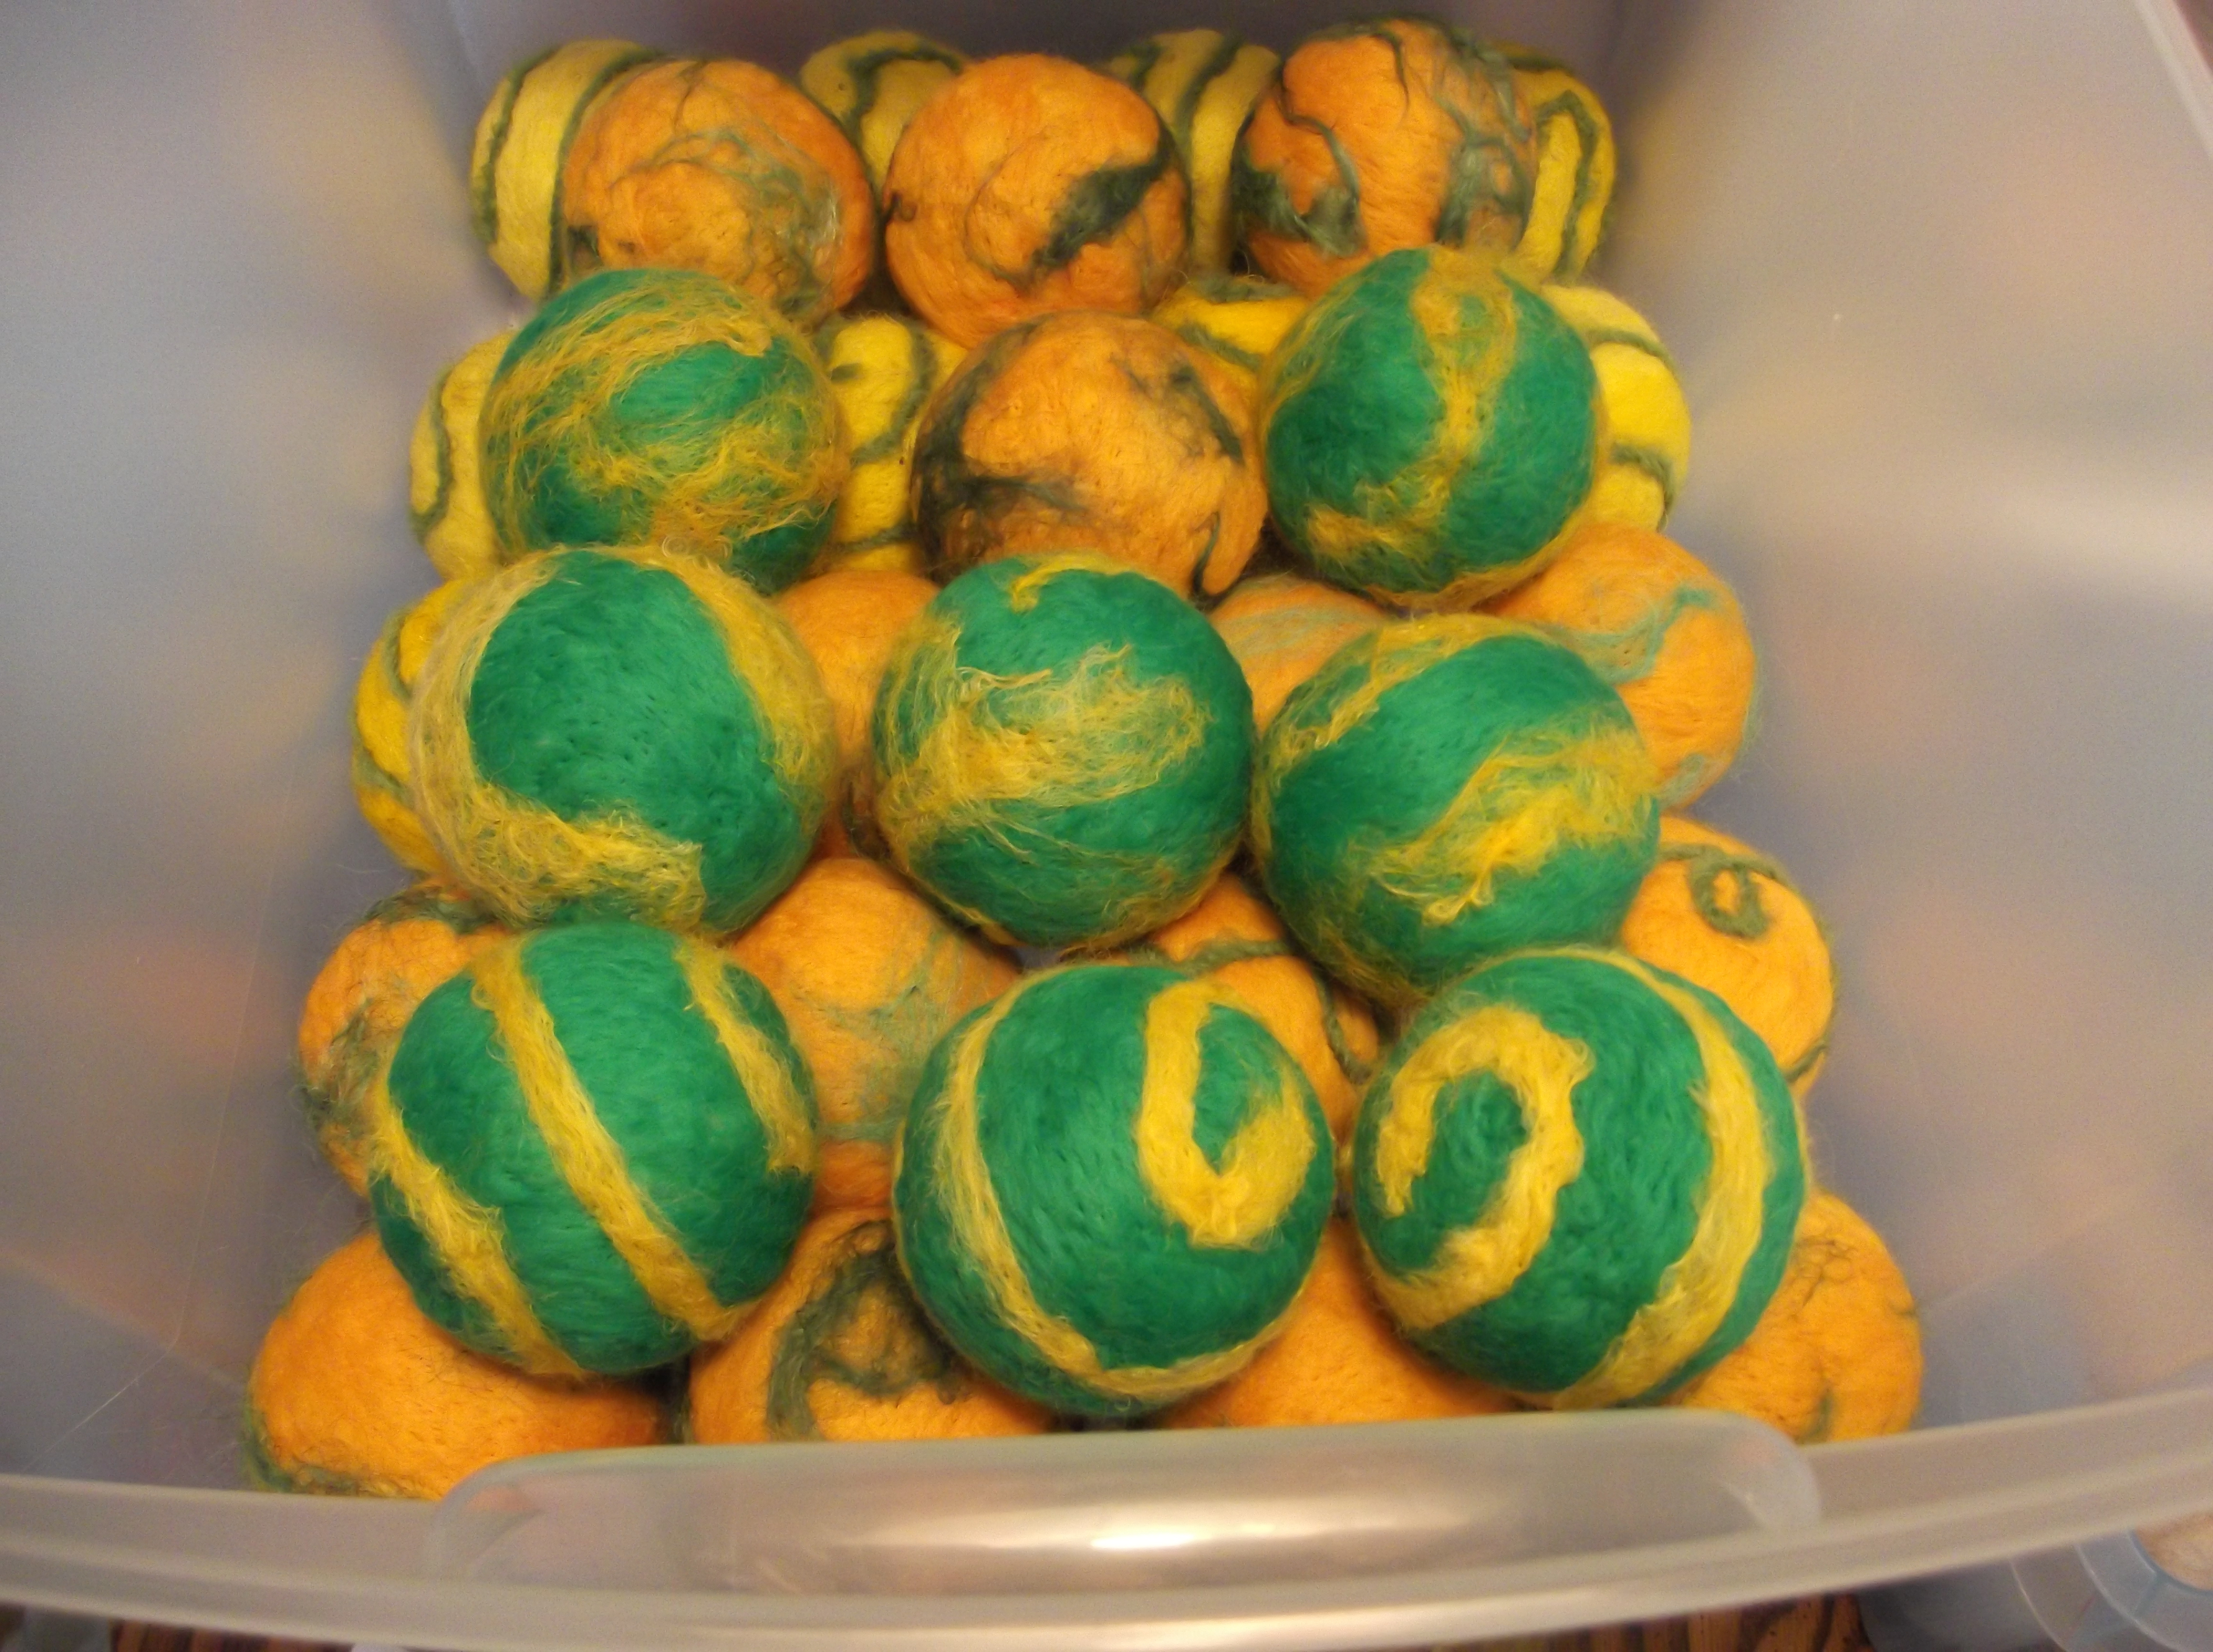
Green Bay Packers dryer balls
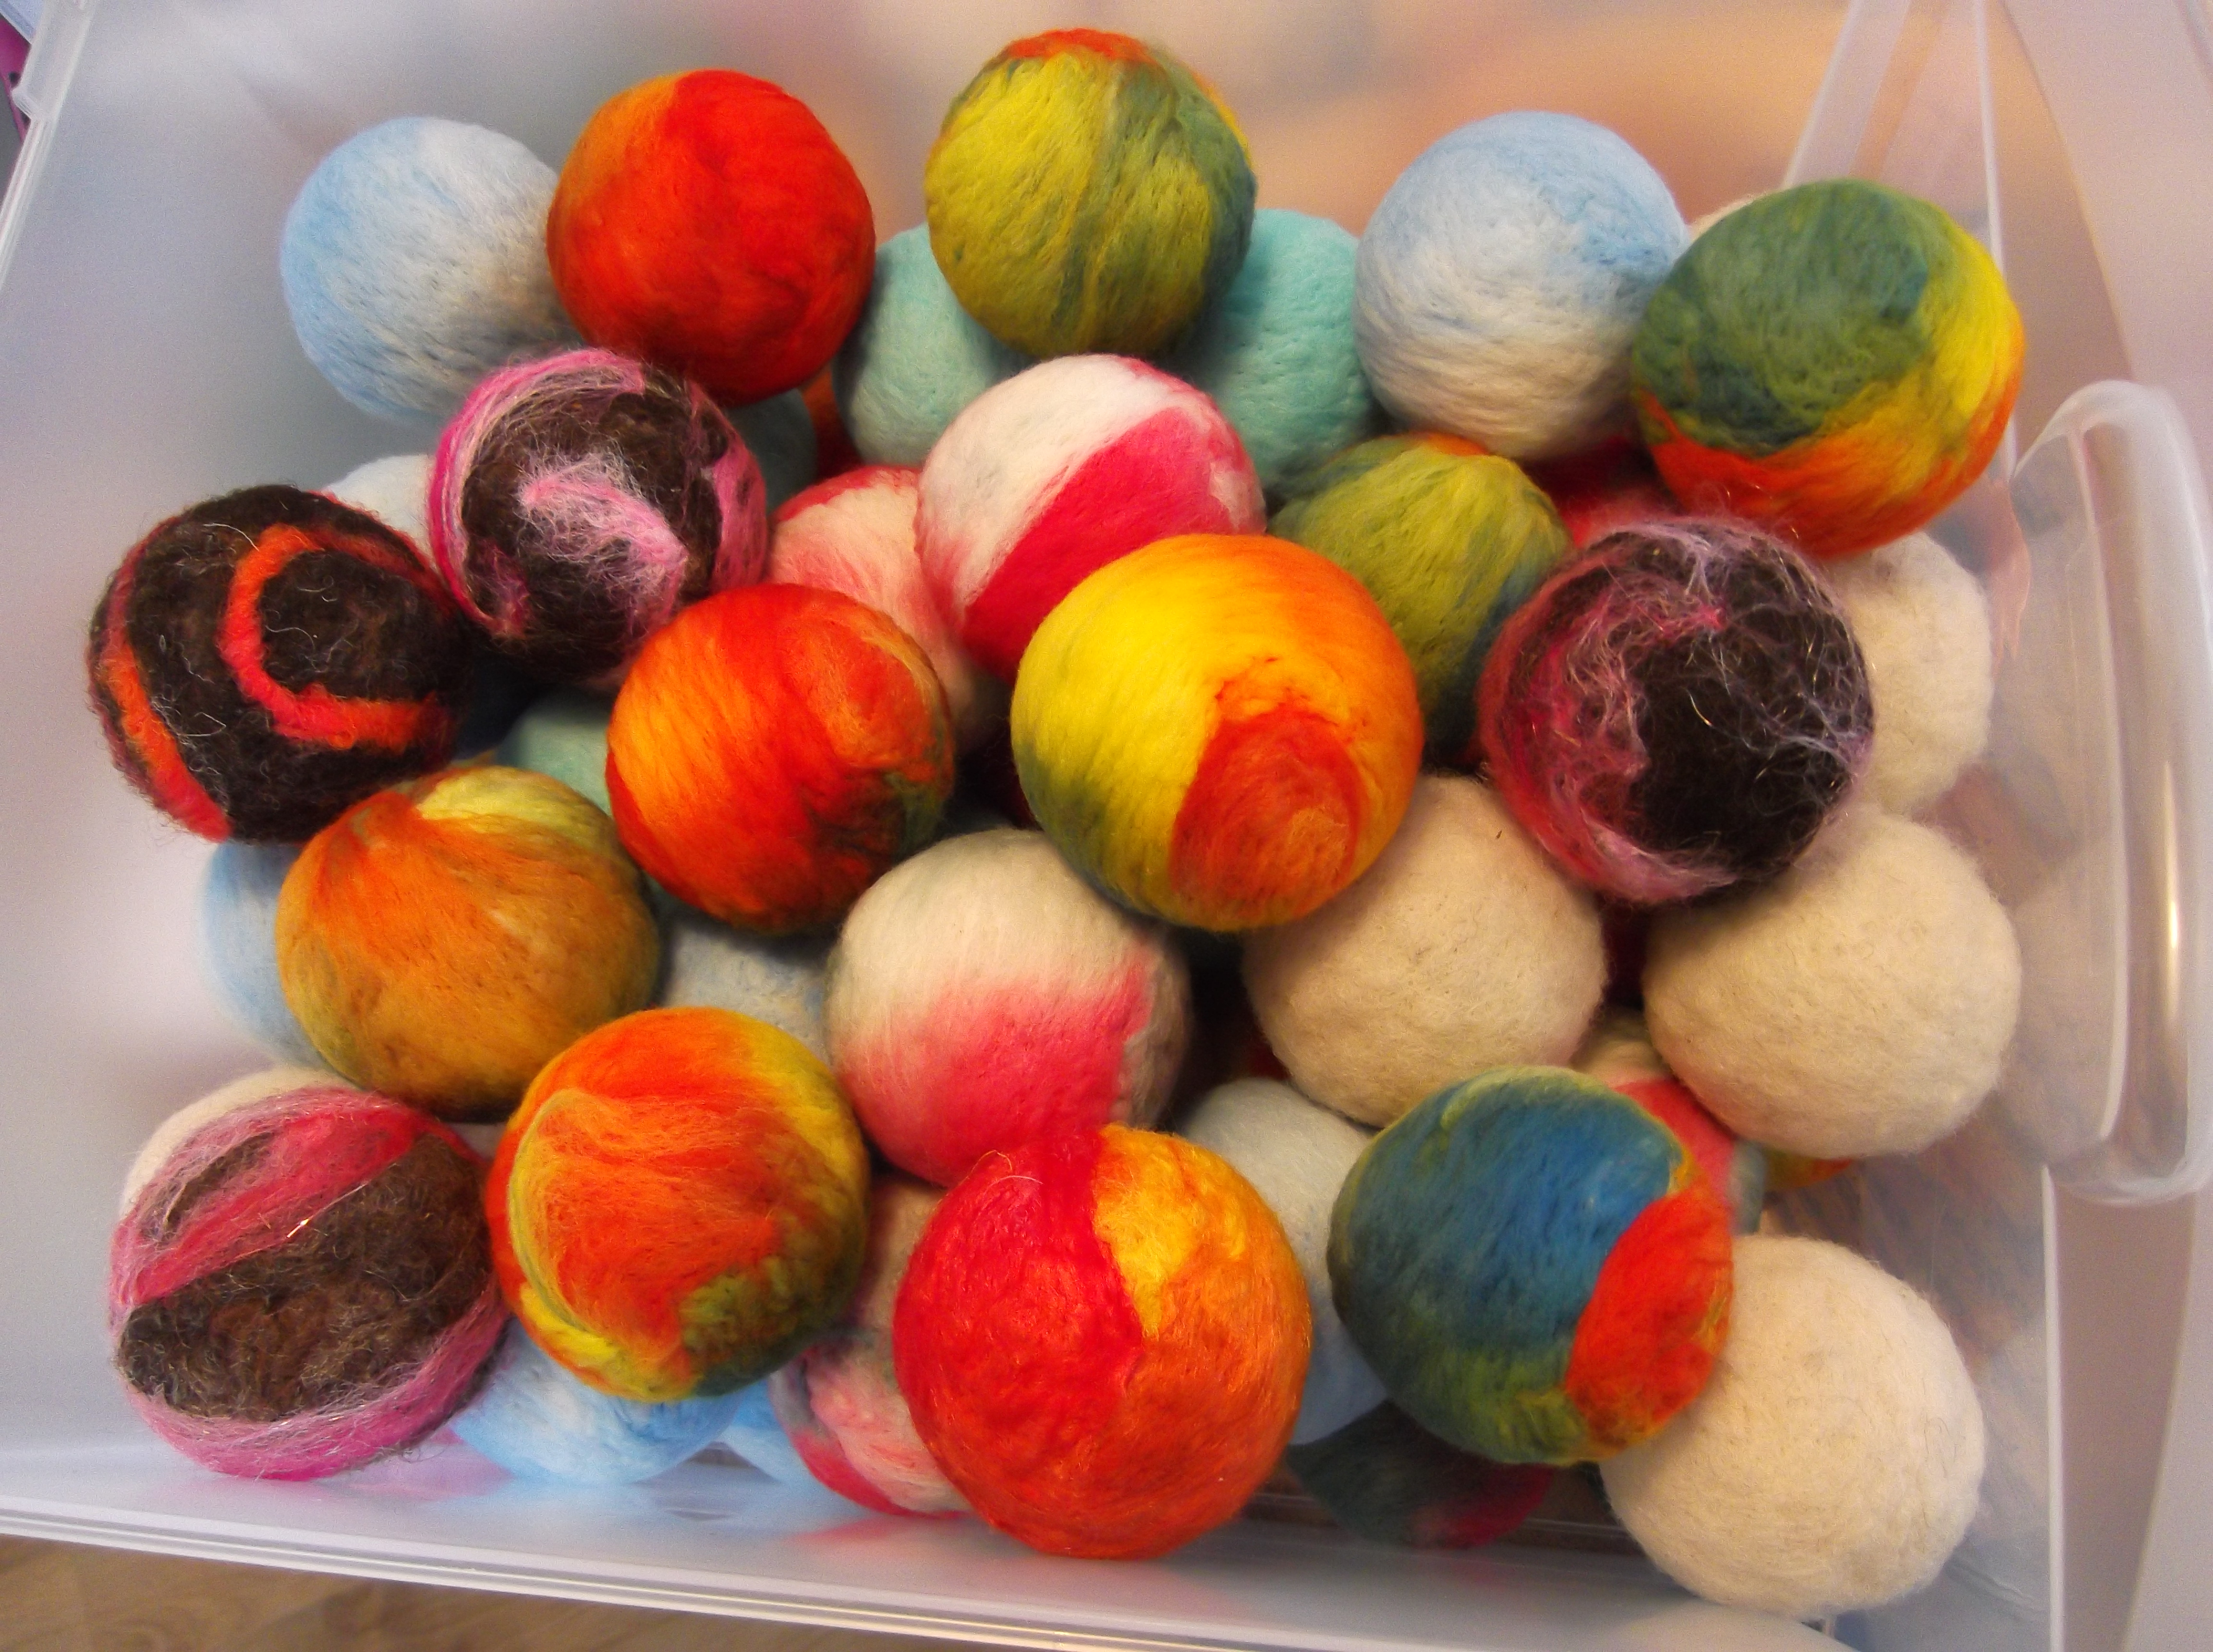
Bright colored dryer balls
Green Bay Packers dryer balls
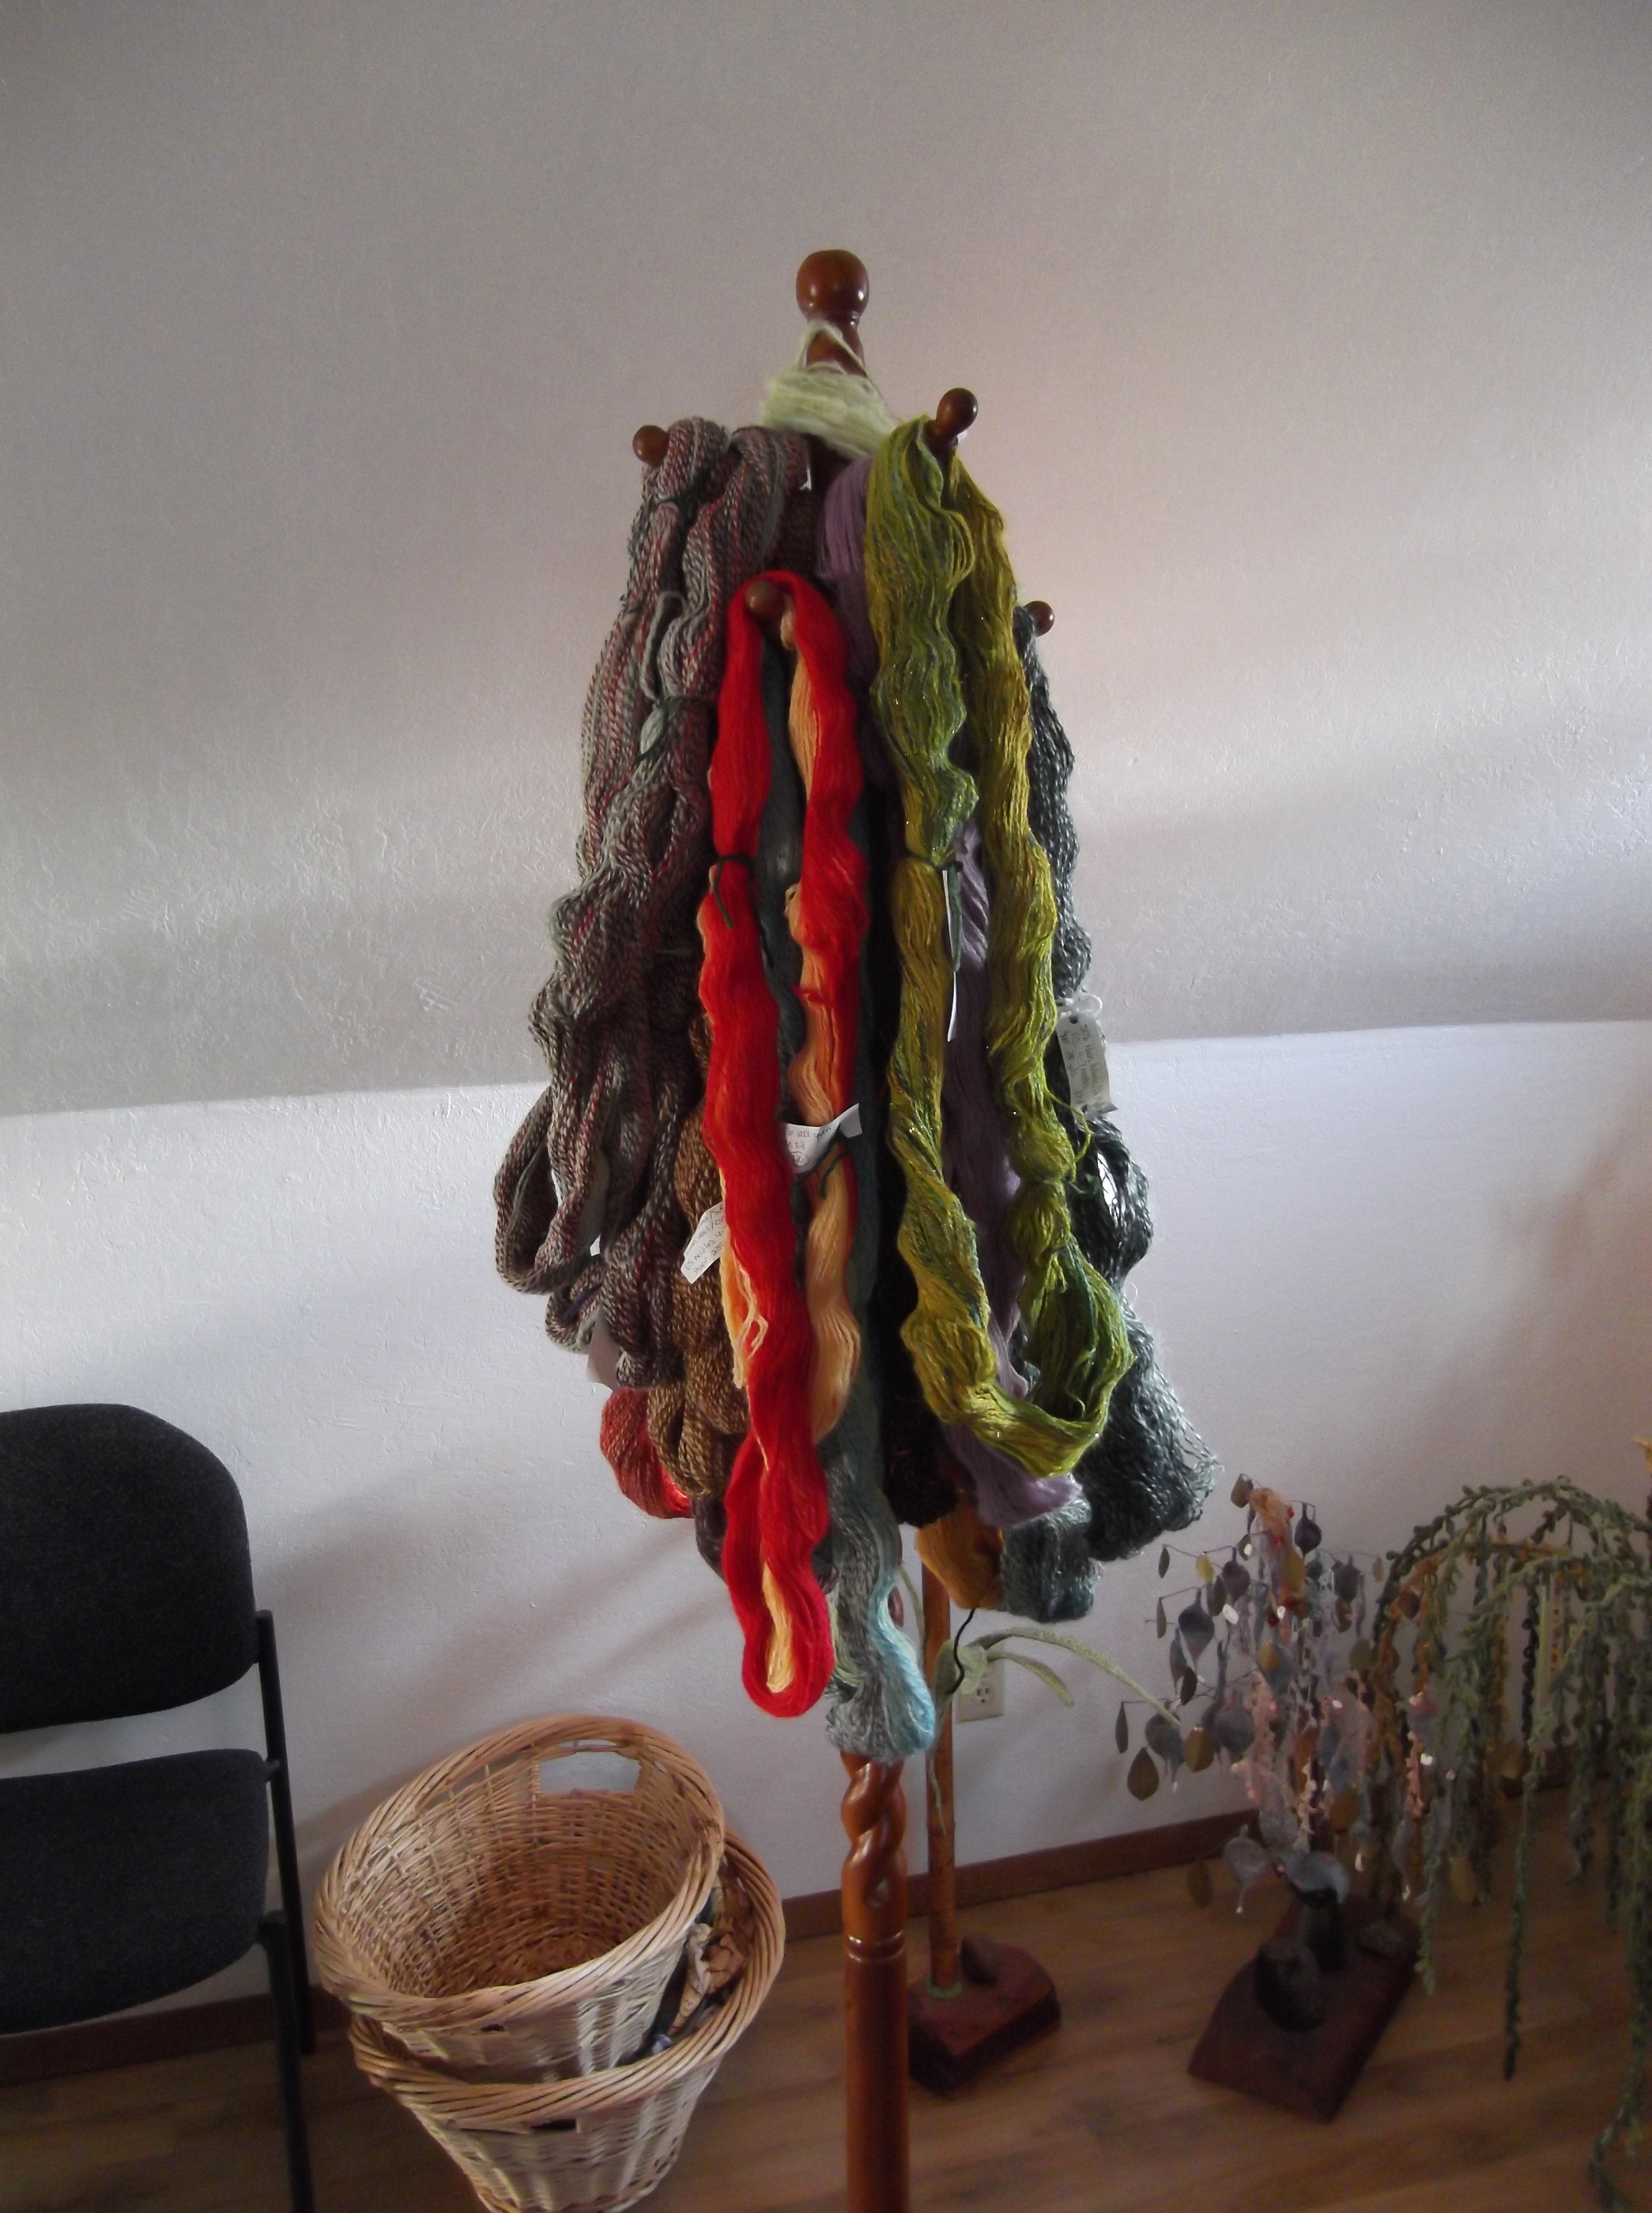
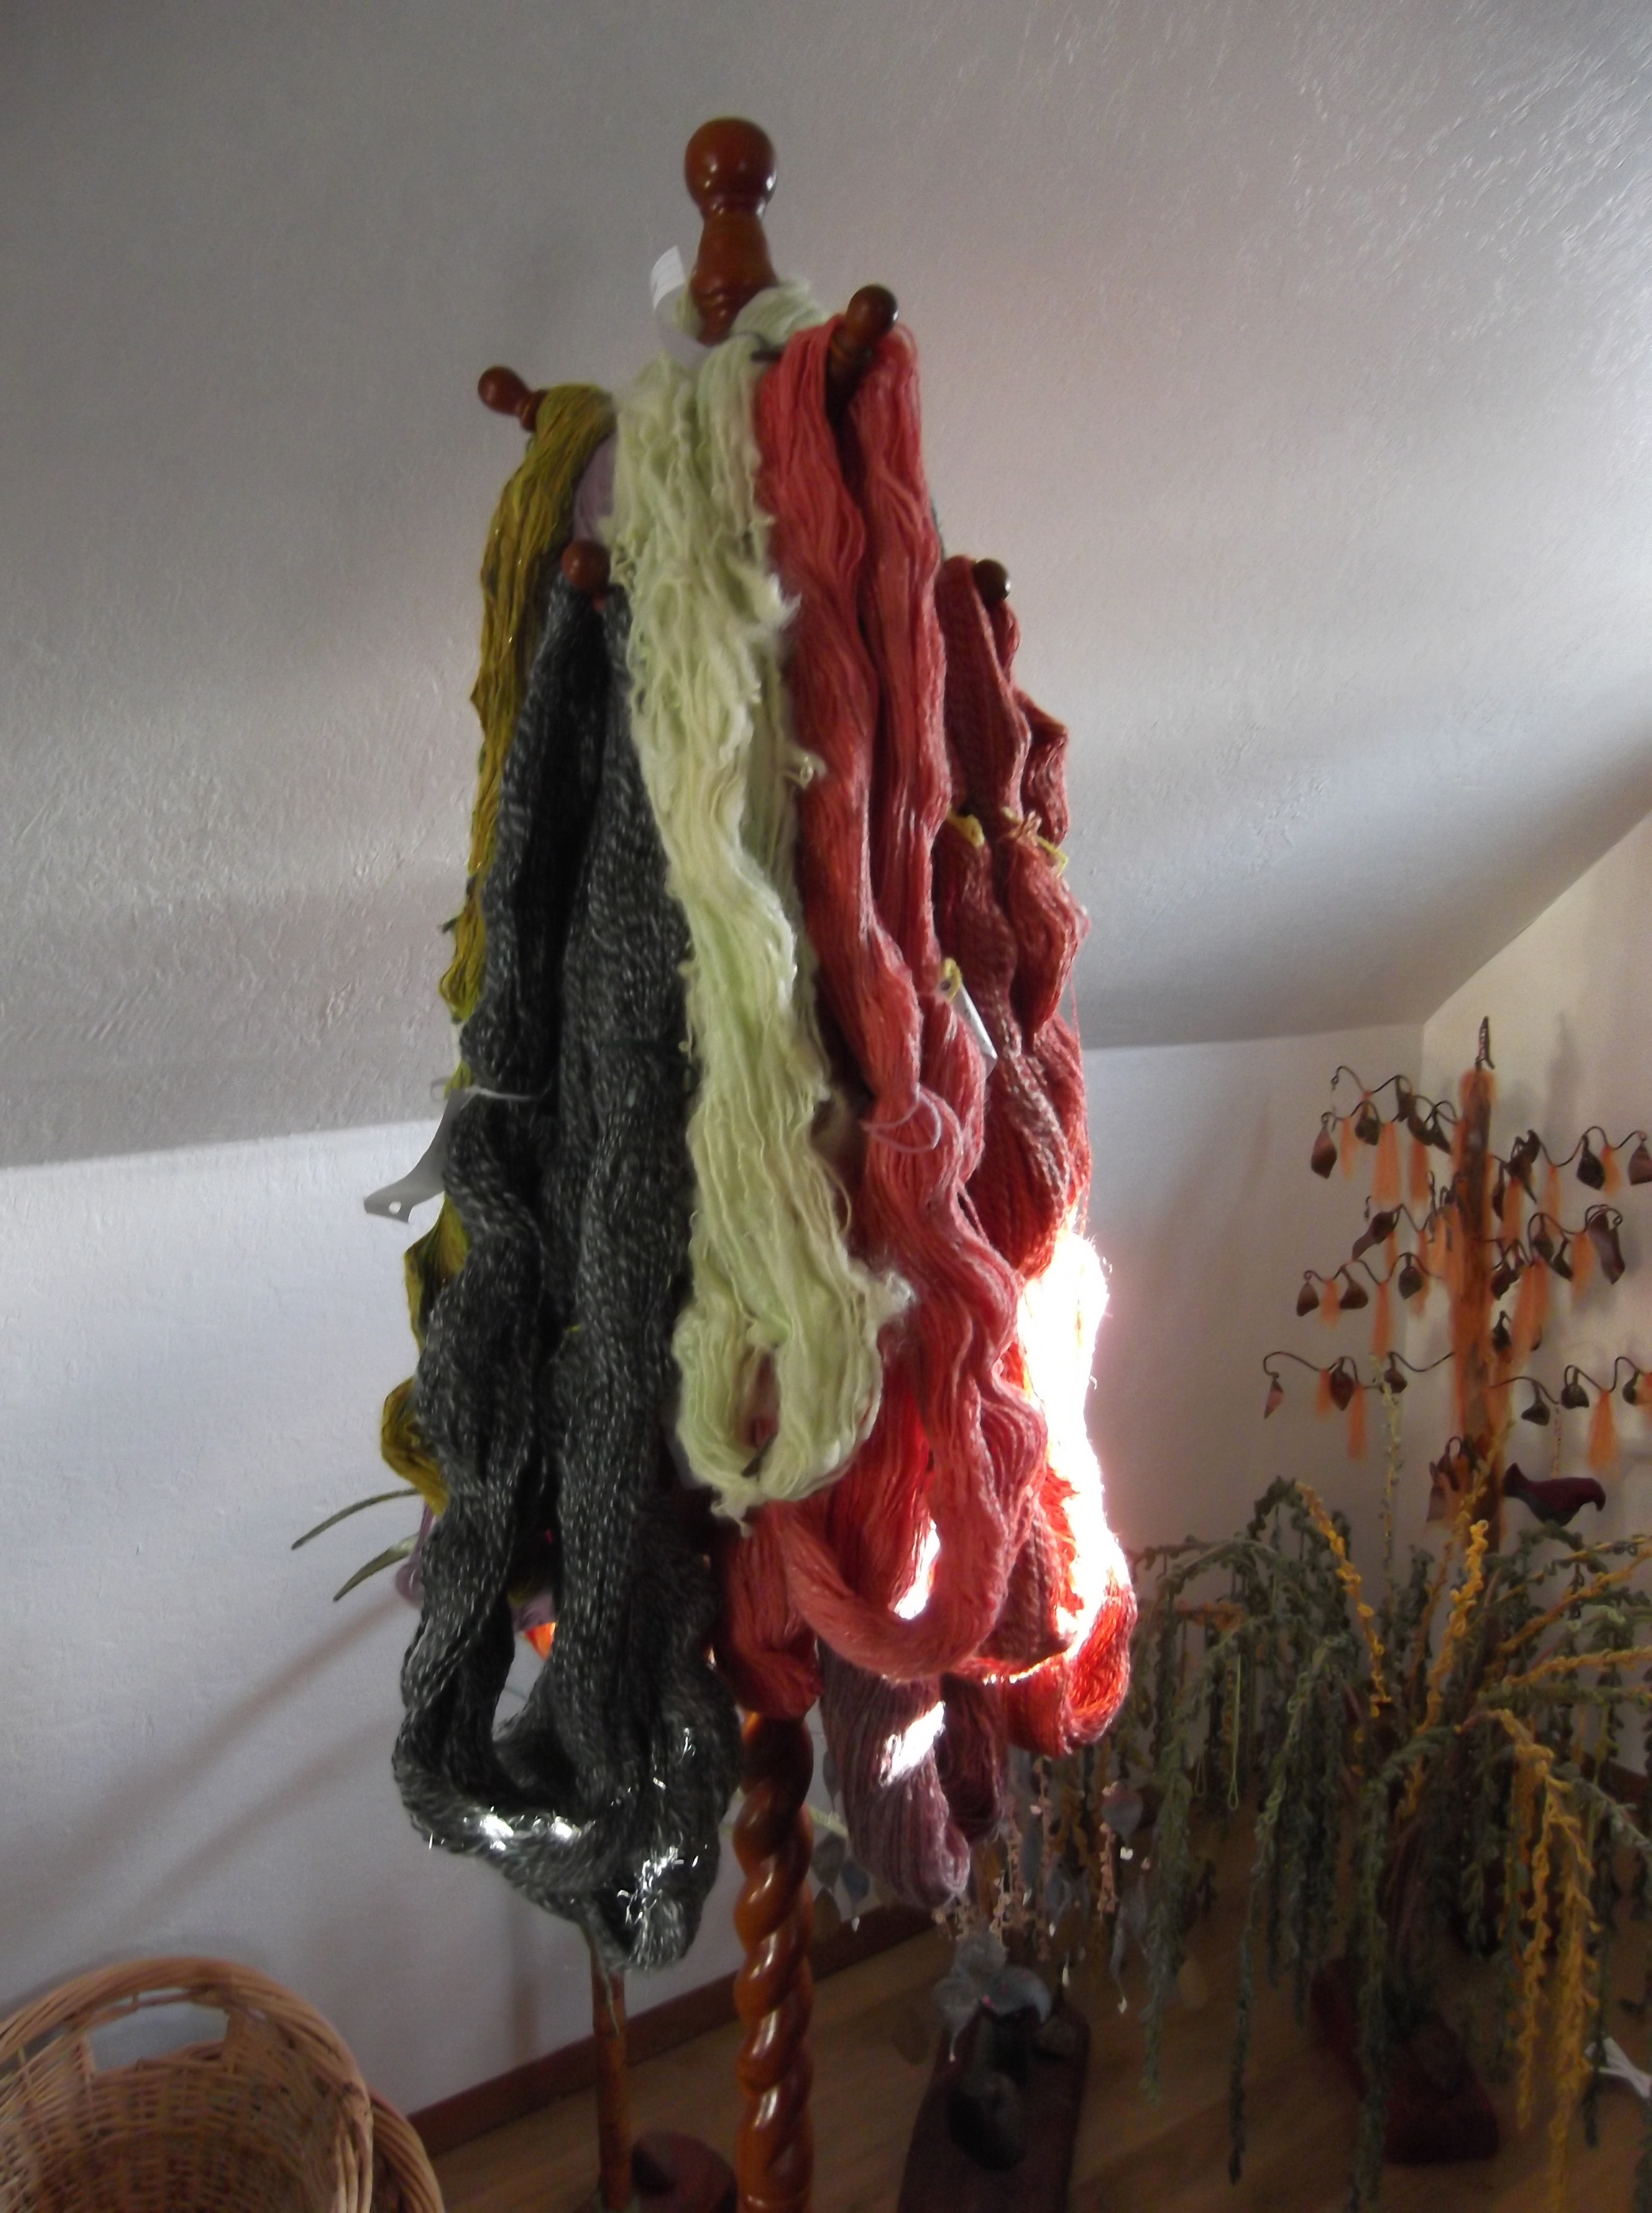
the coat tree I turned into a yarn tree for display
close-up of the coat tree I turned into a yarn tree
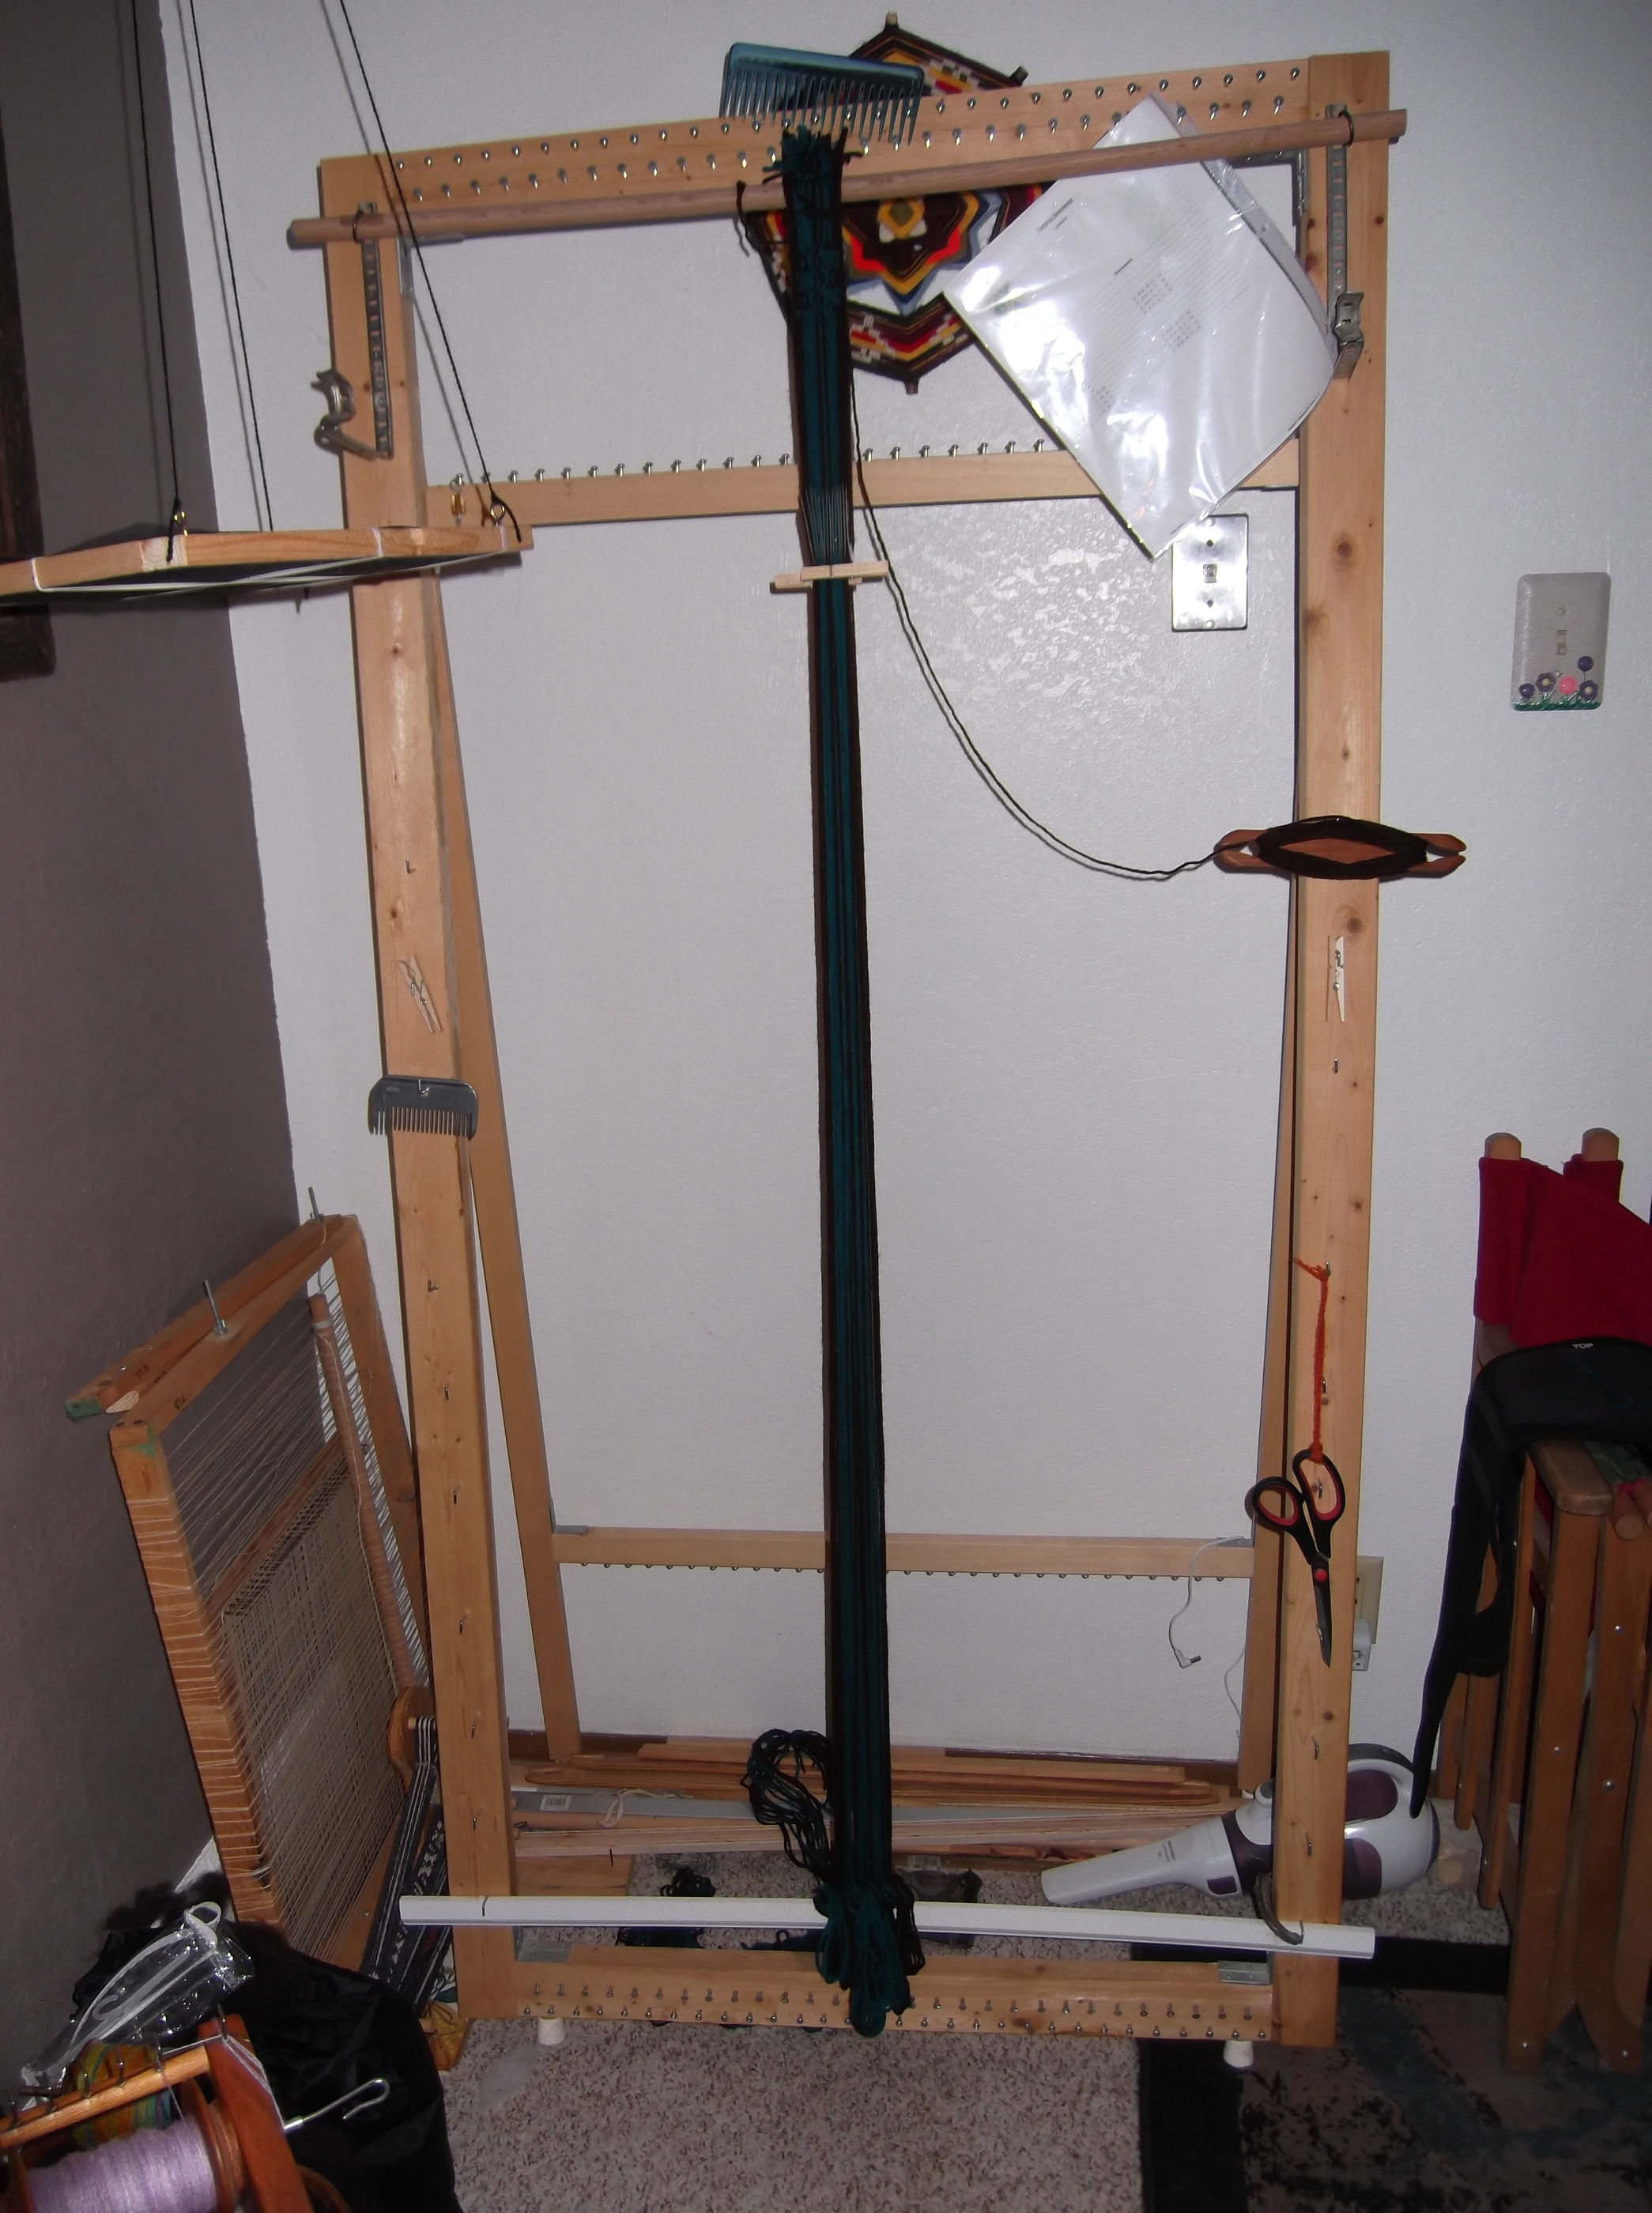
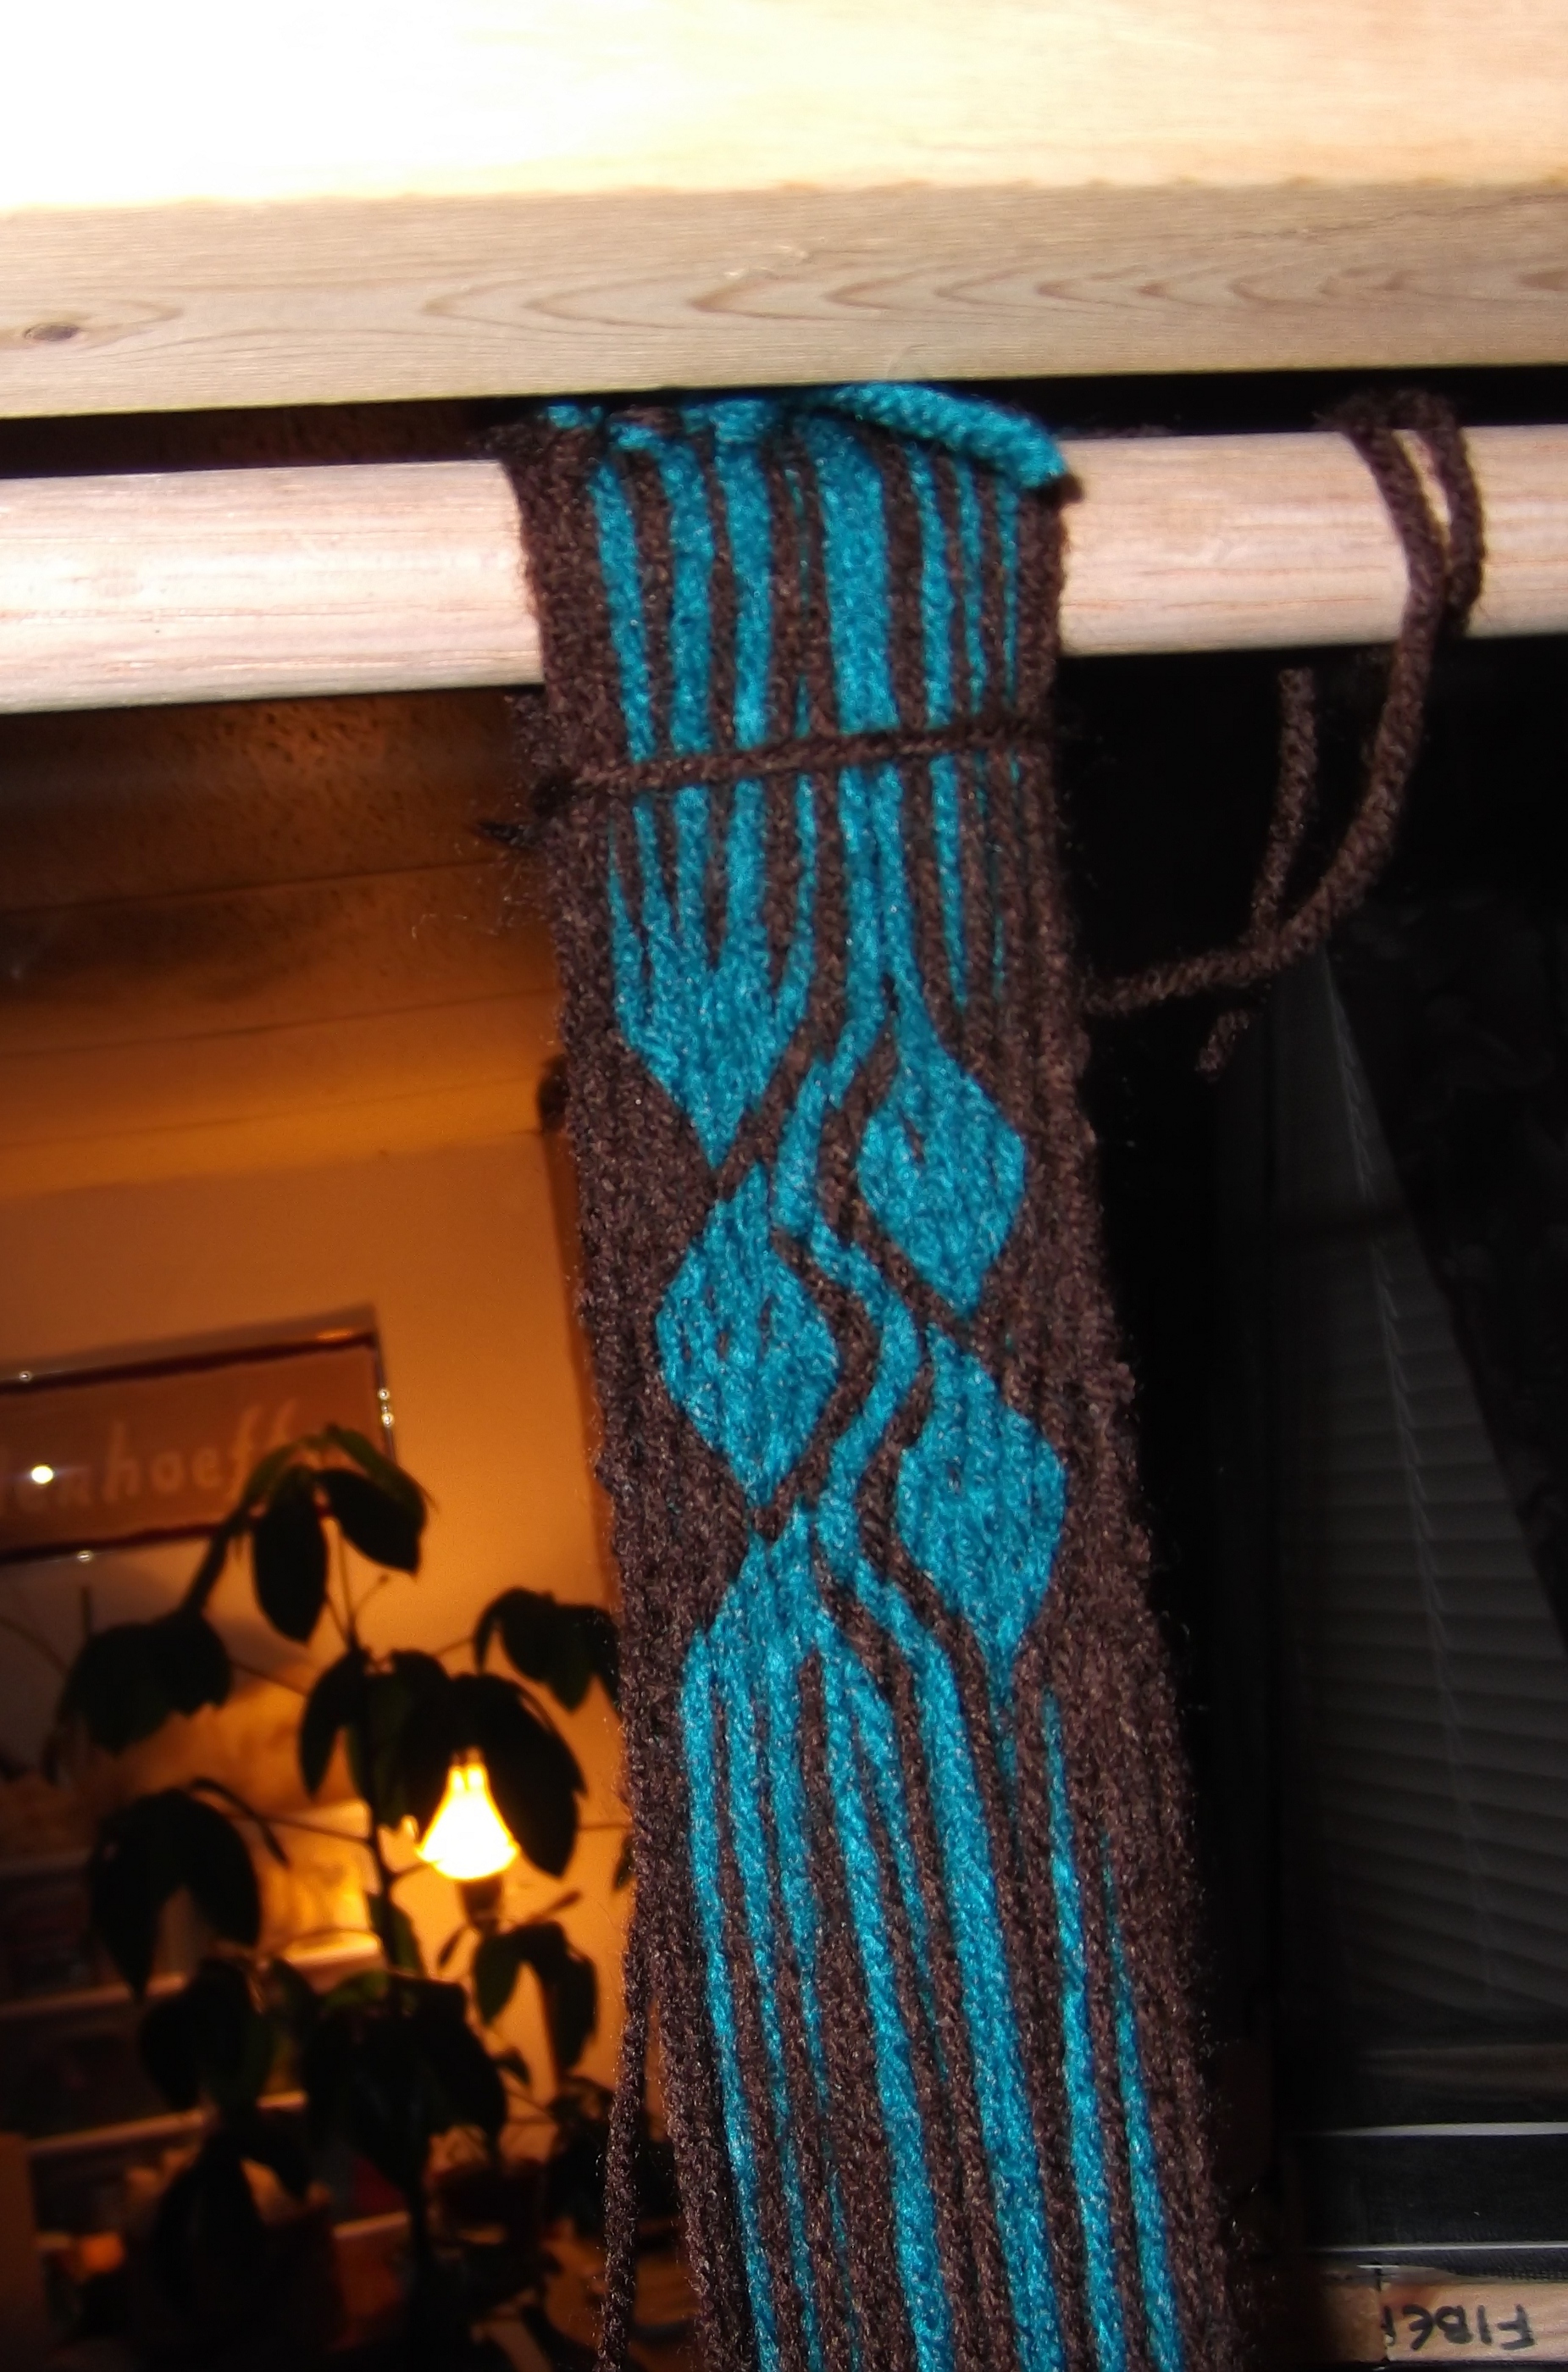
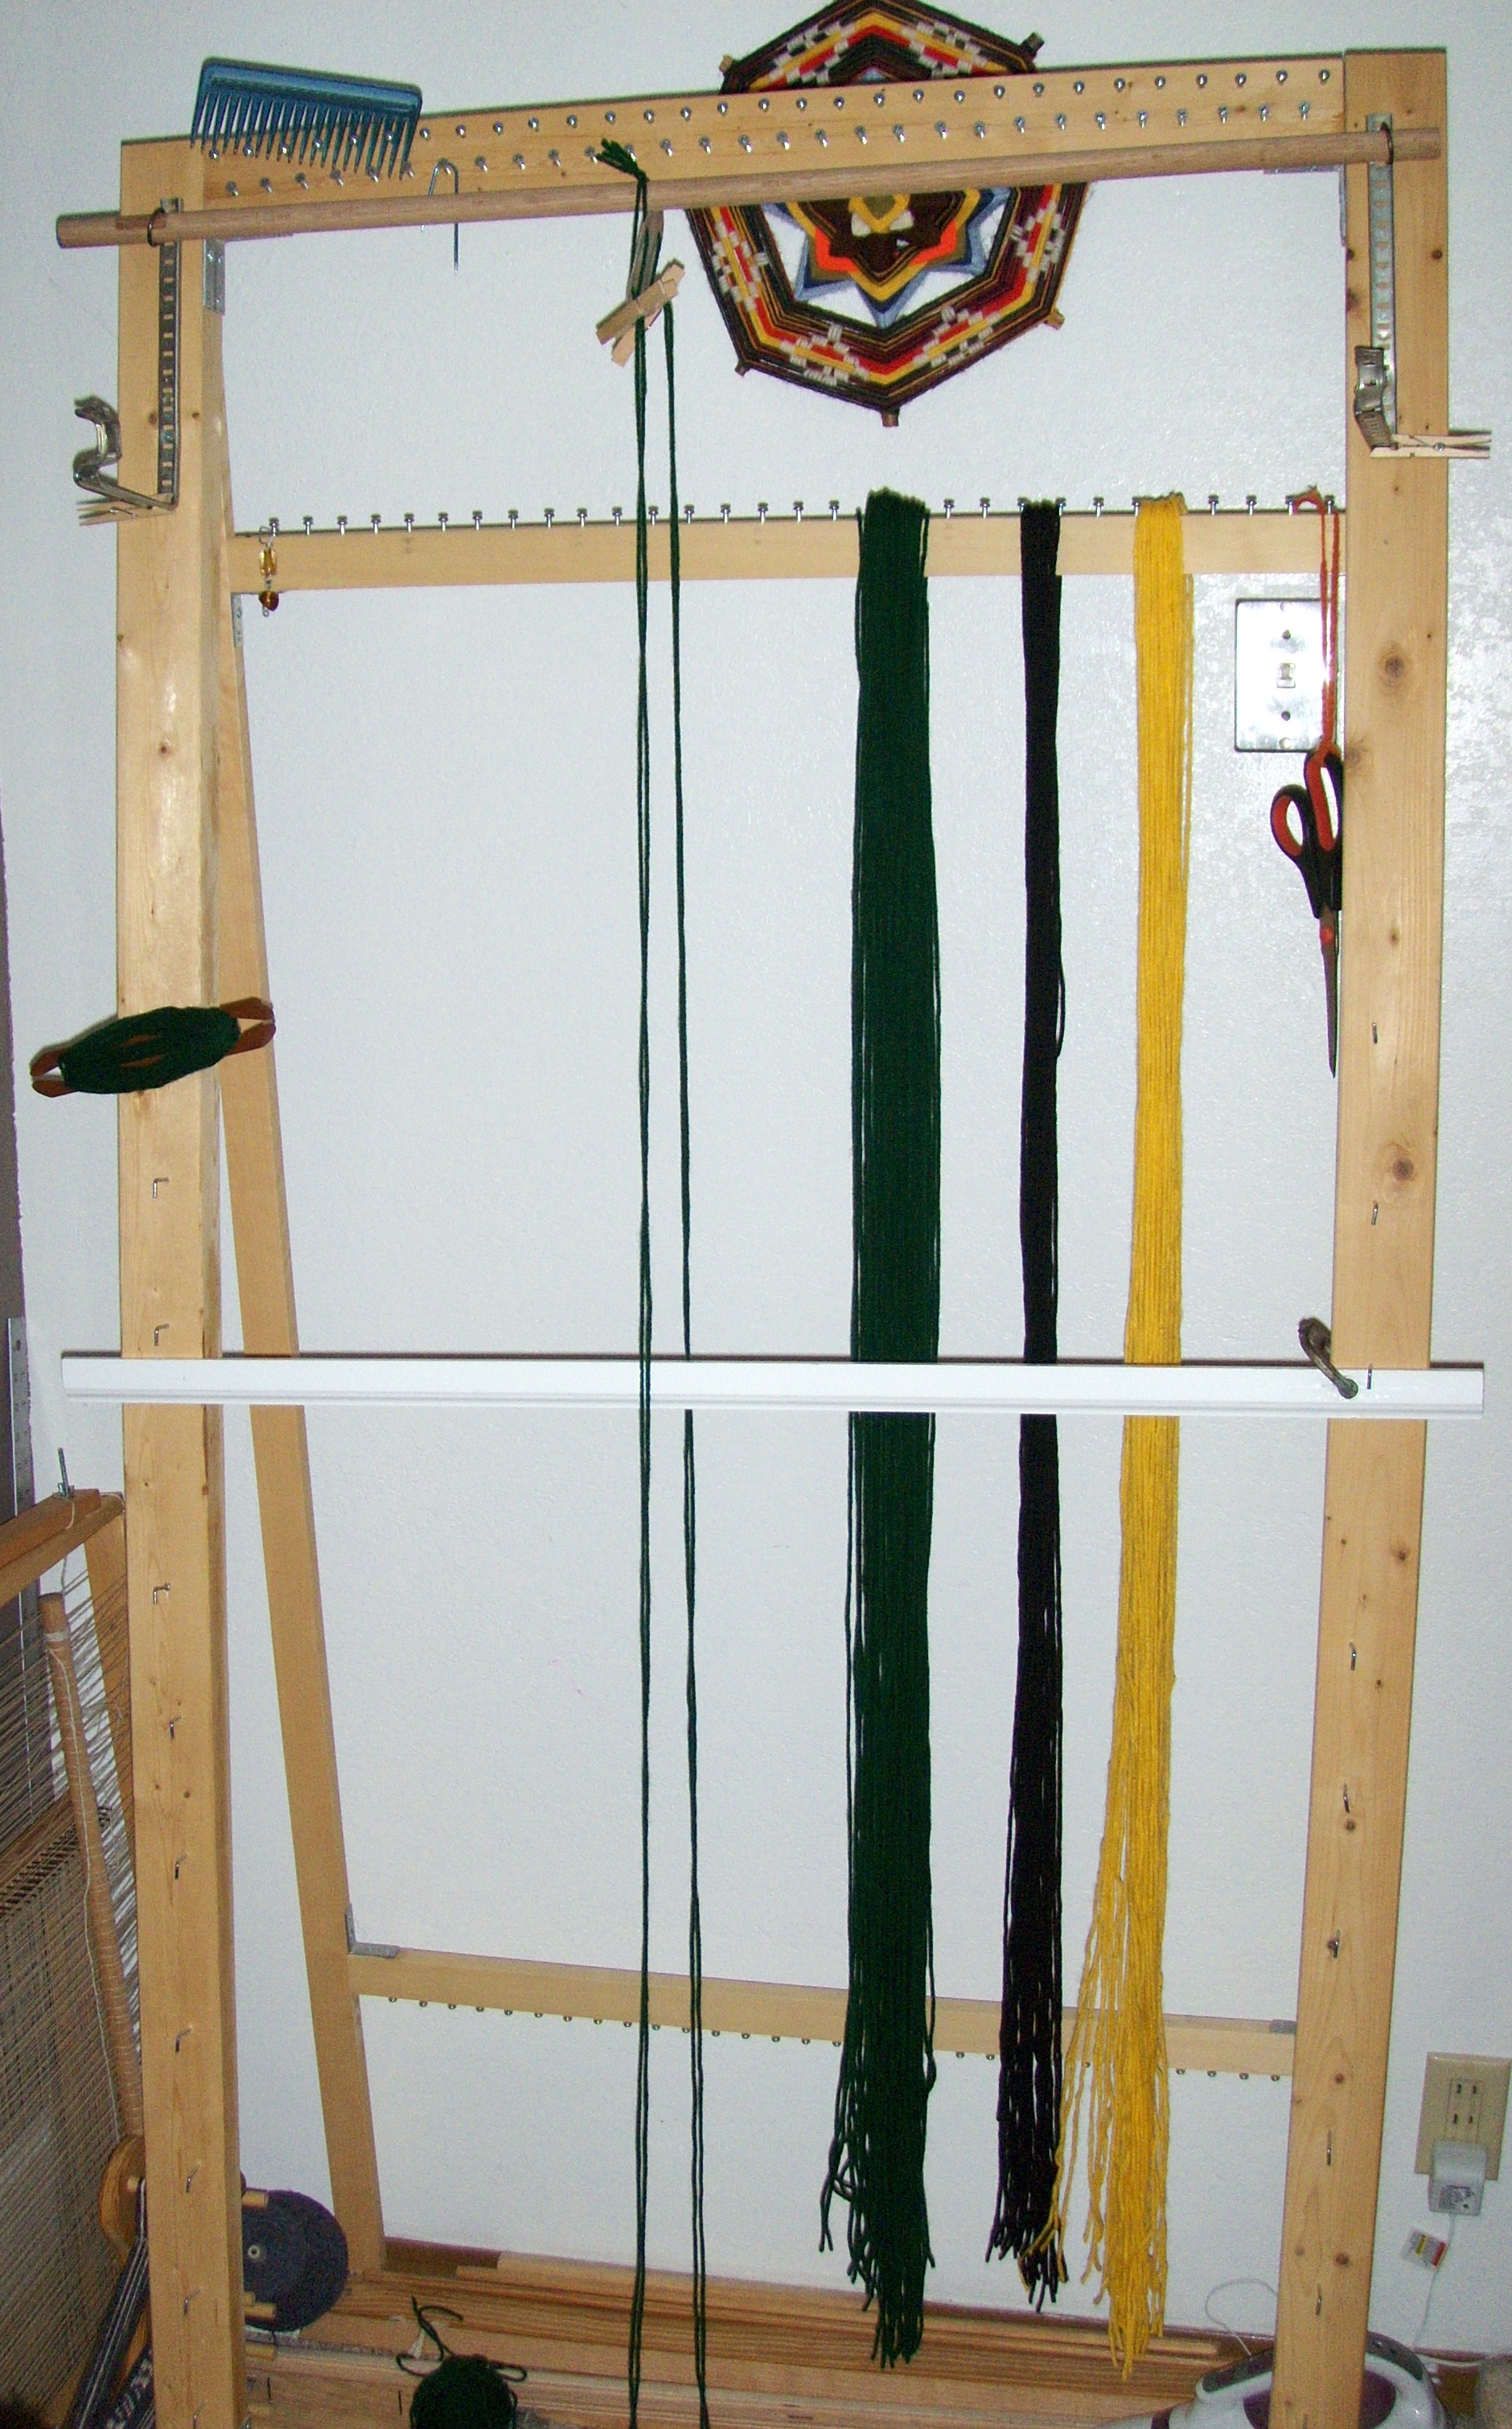
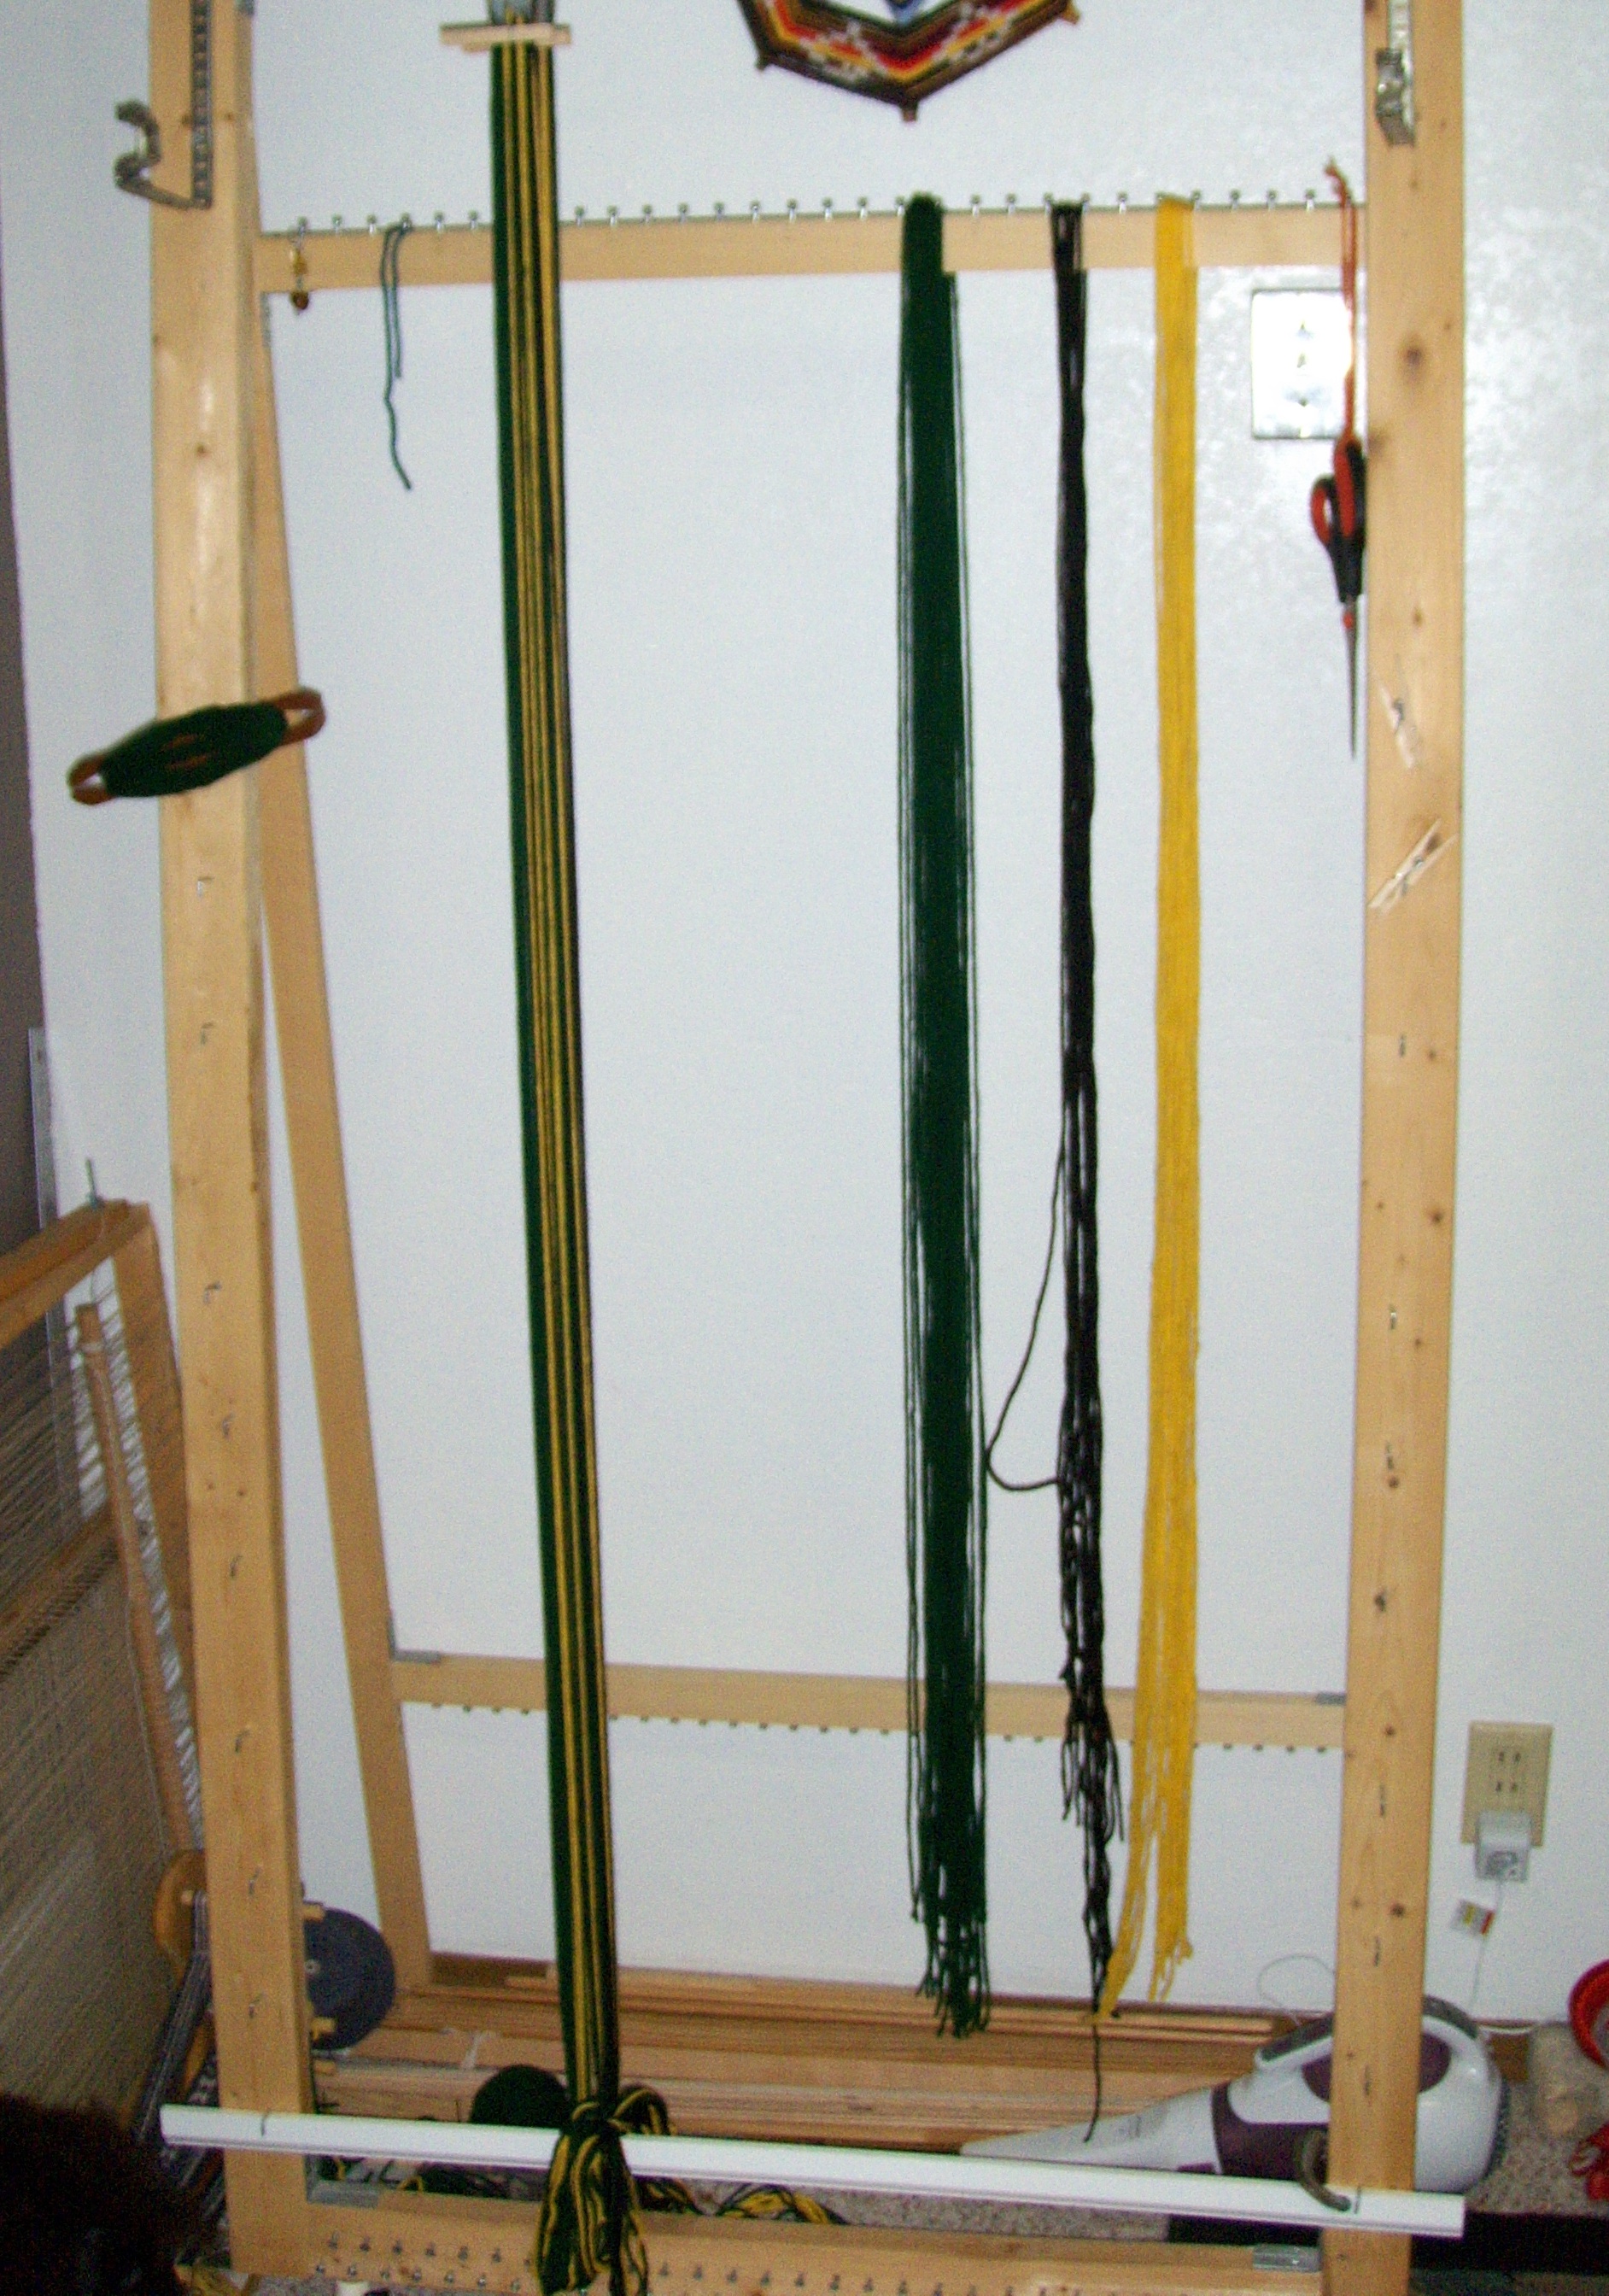
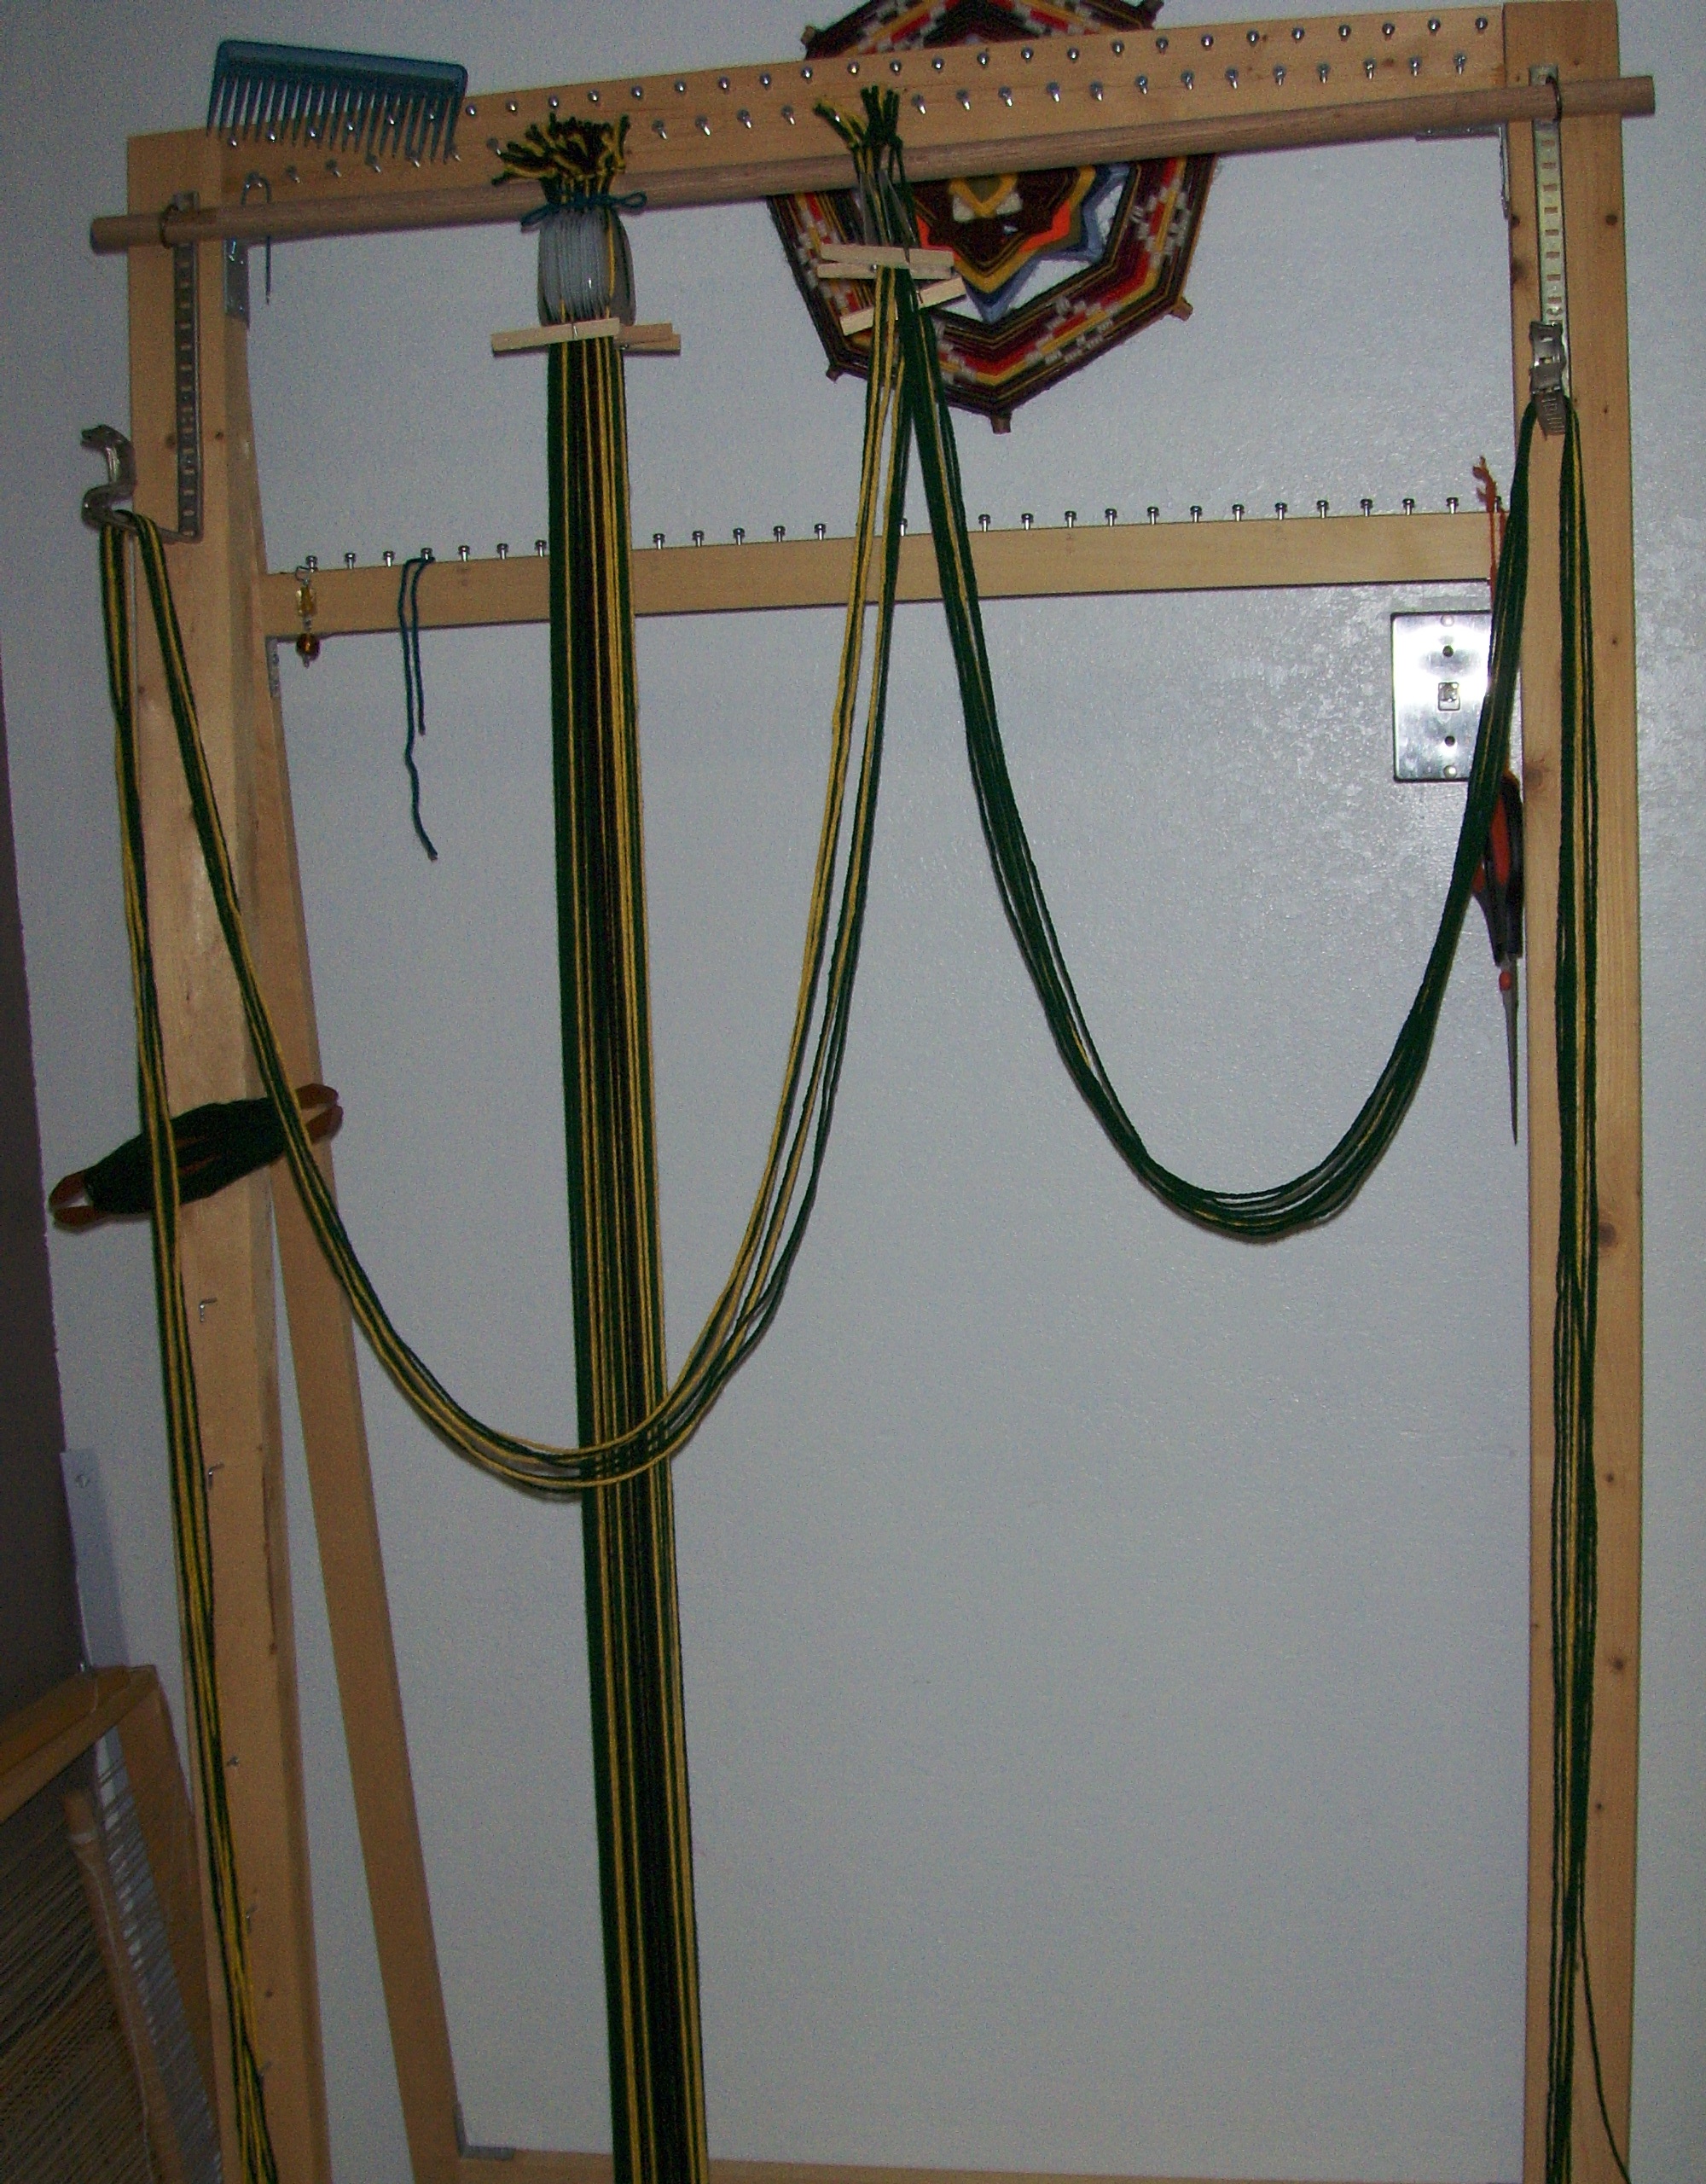
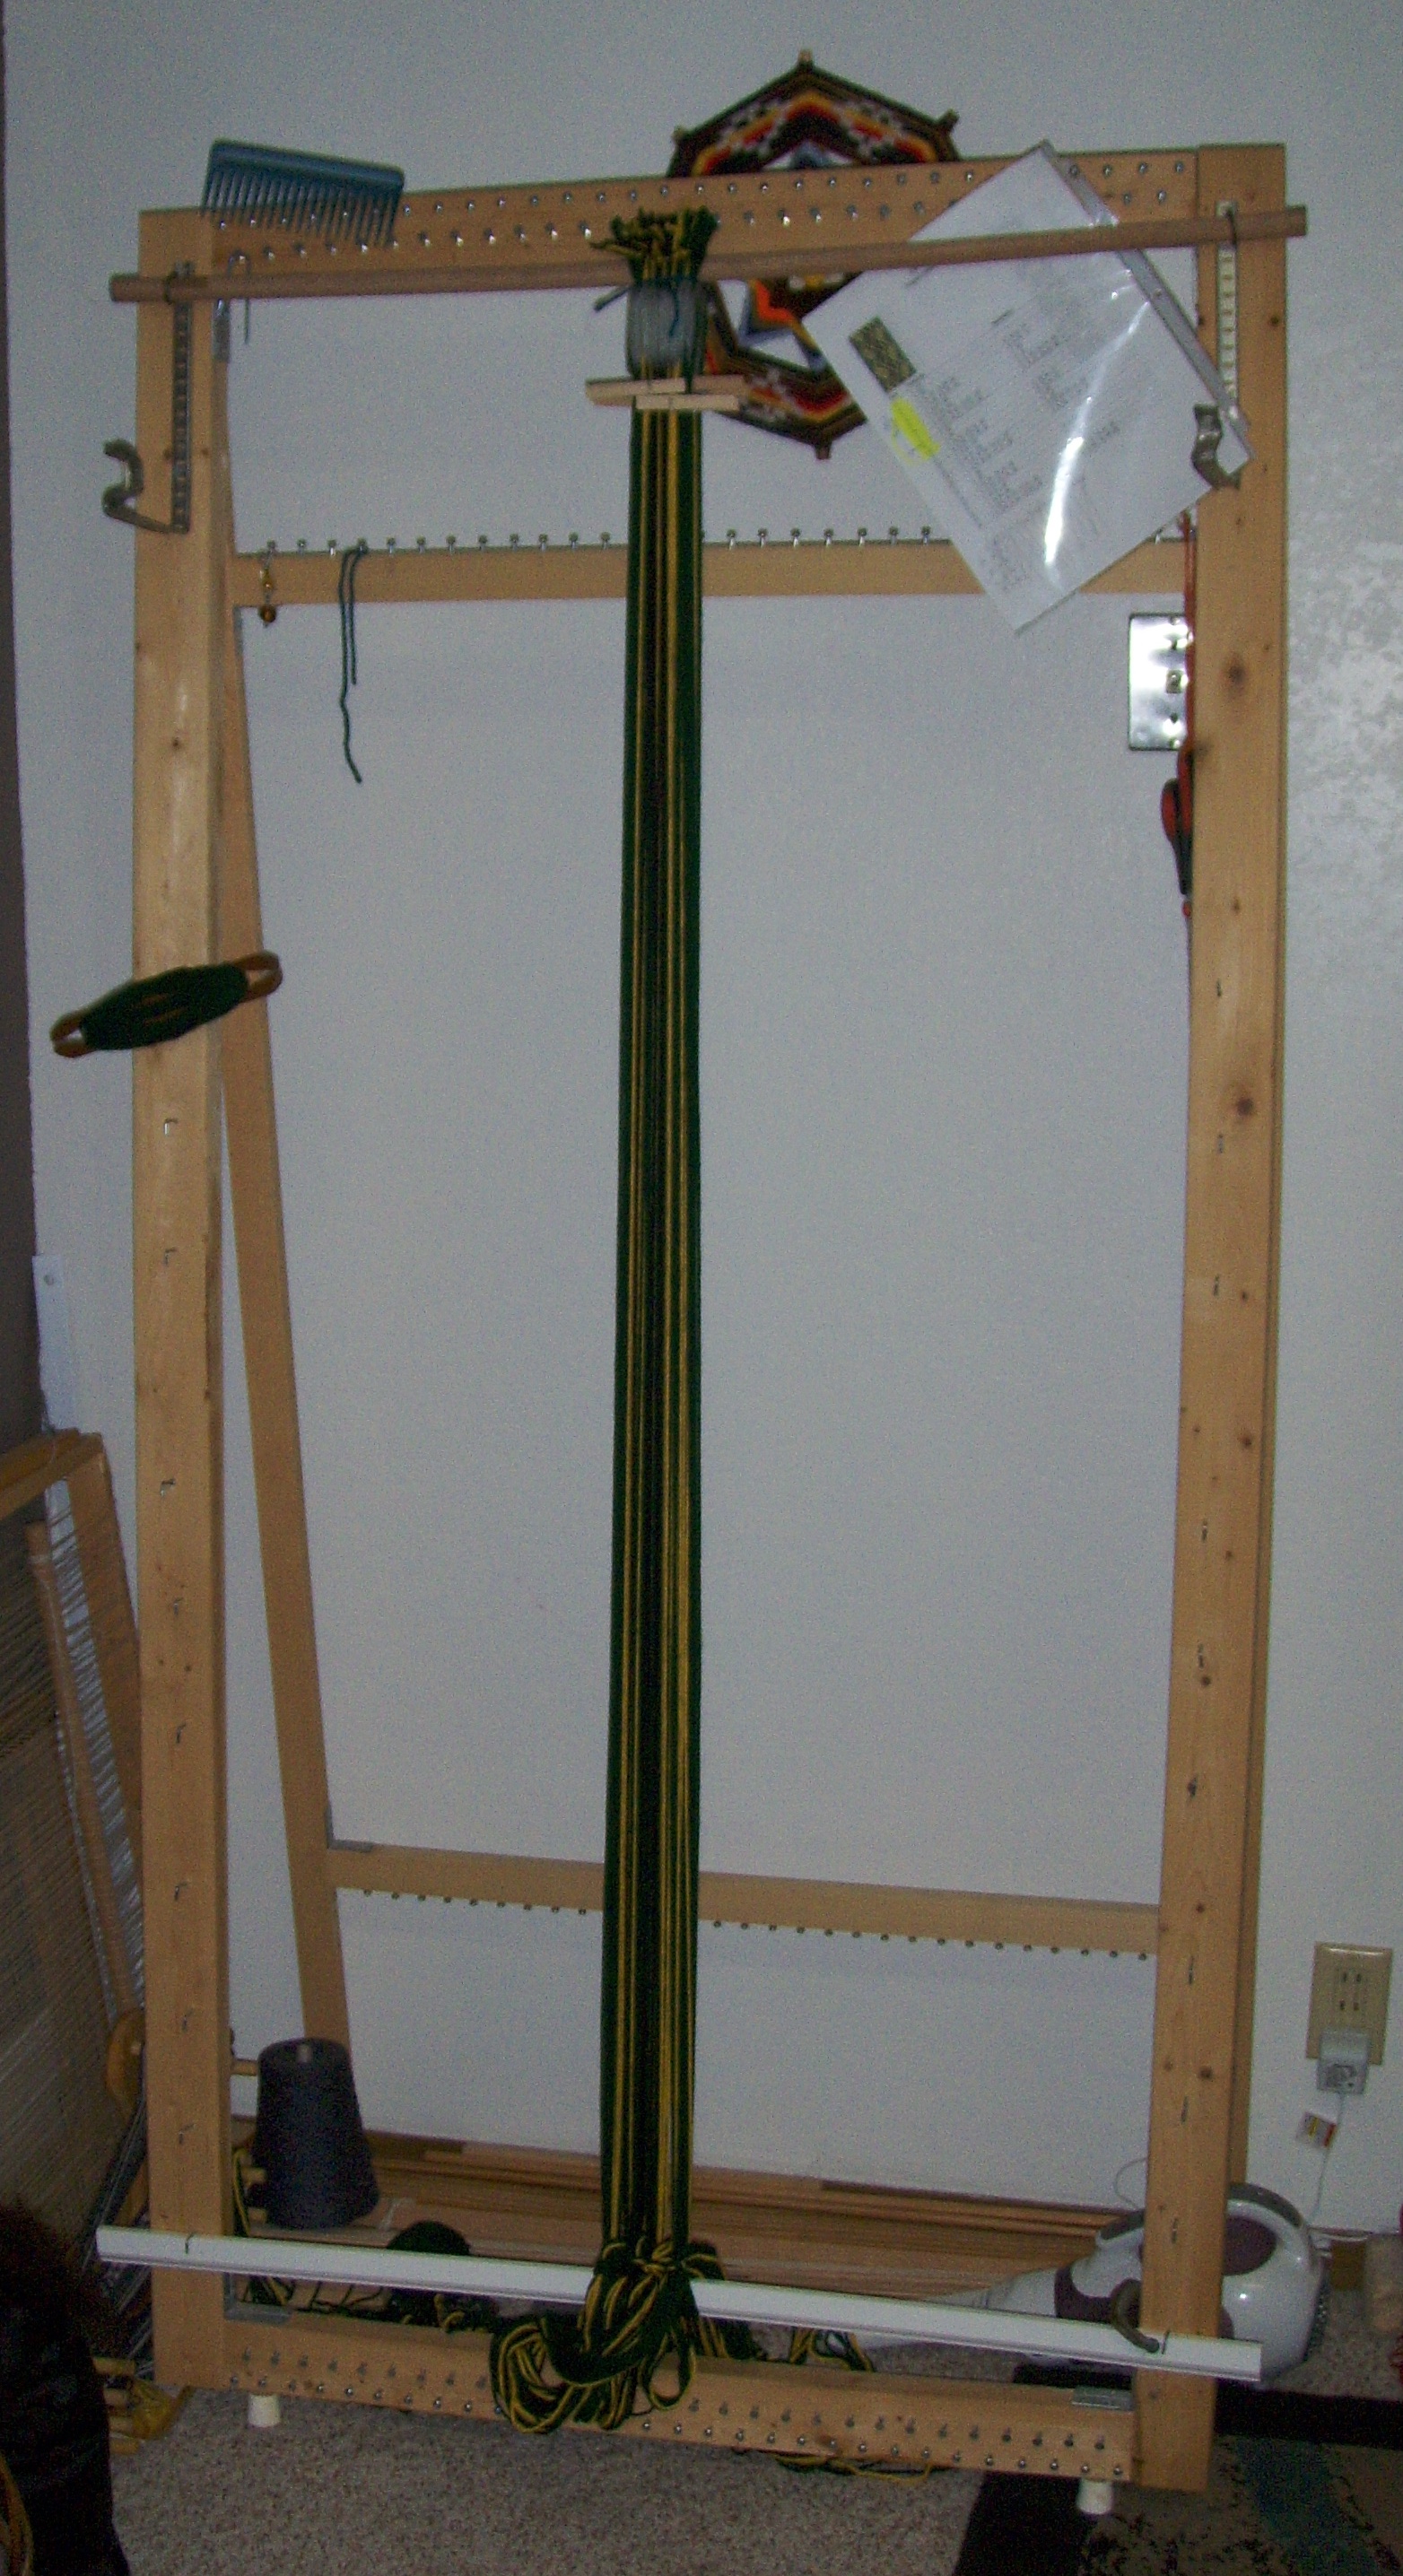
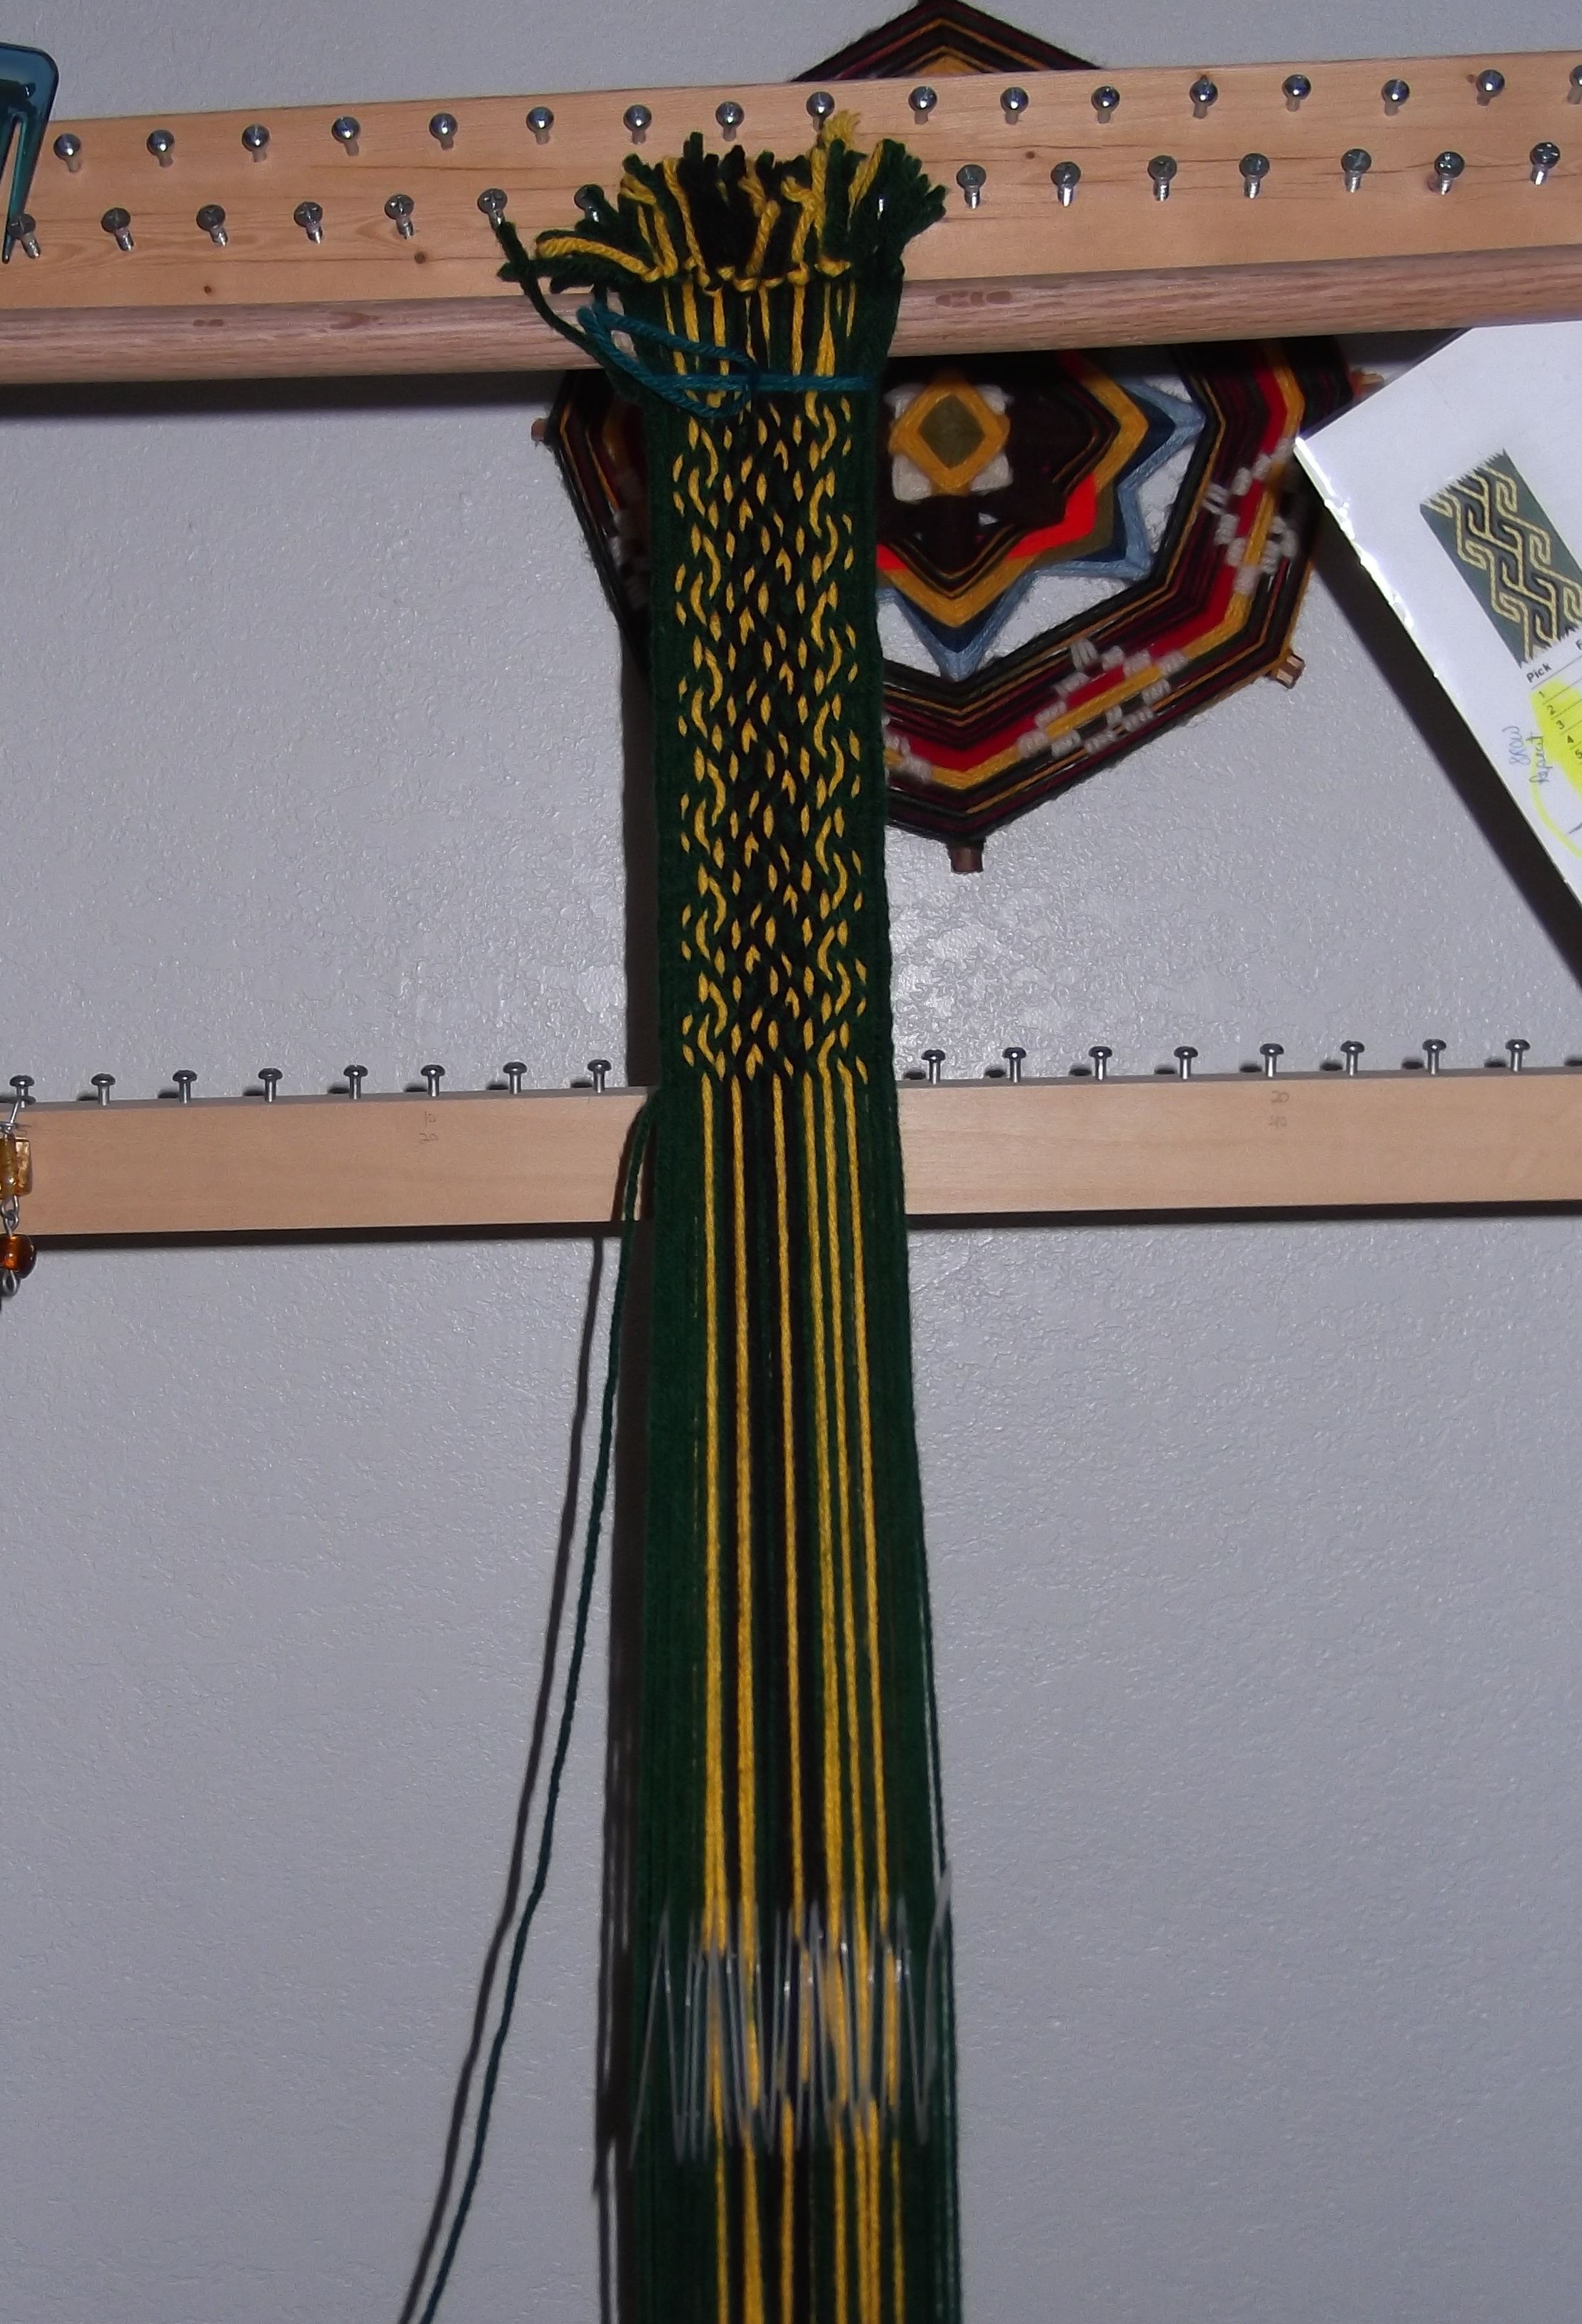
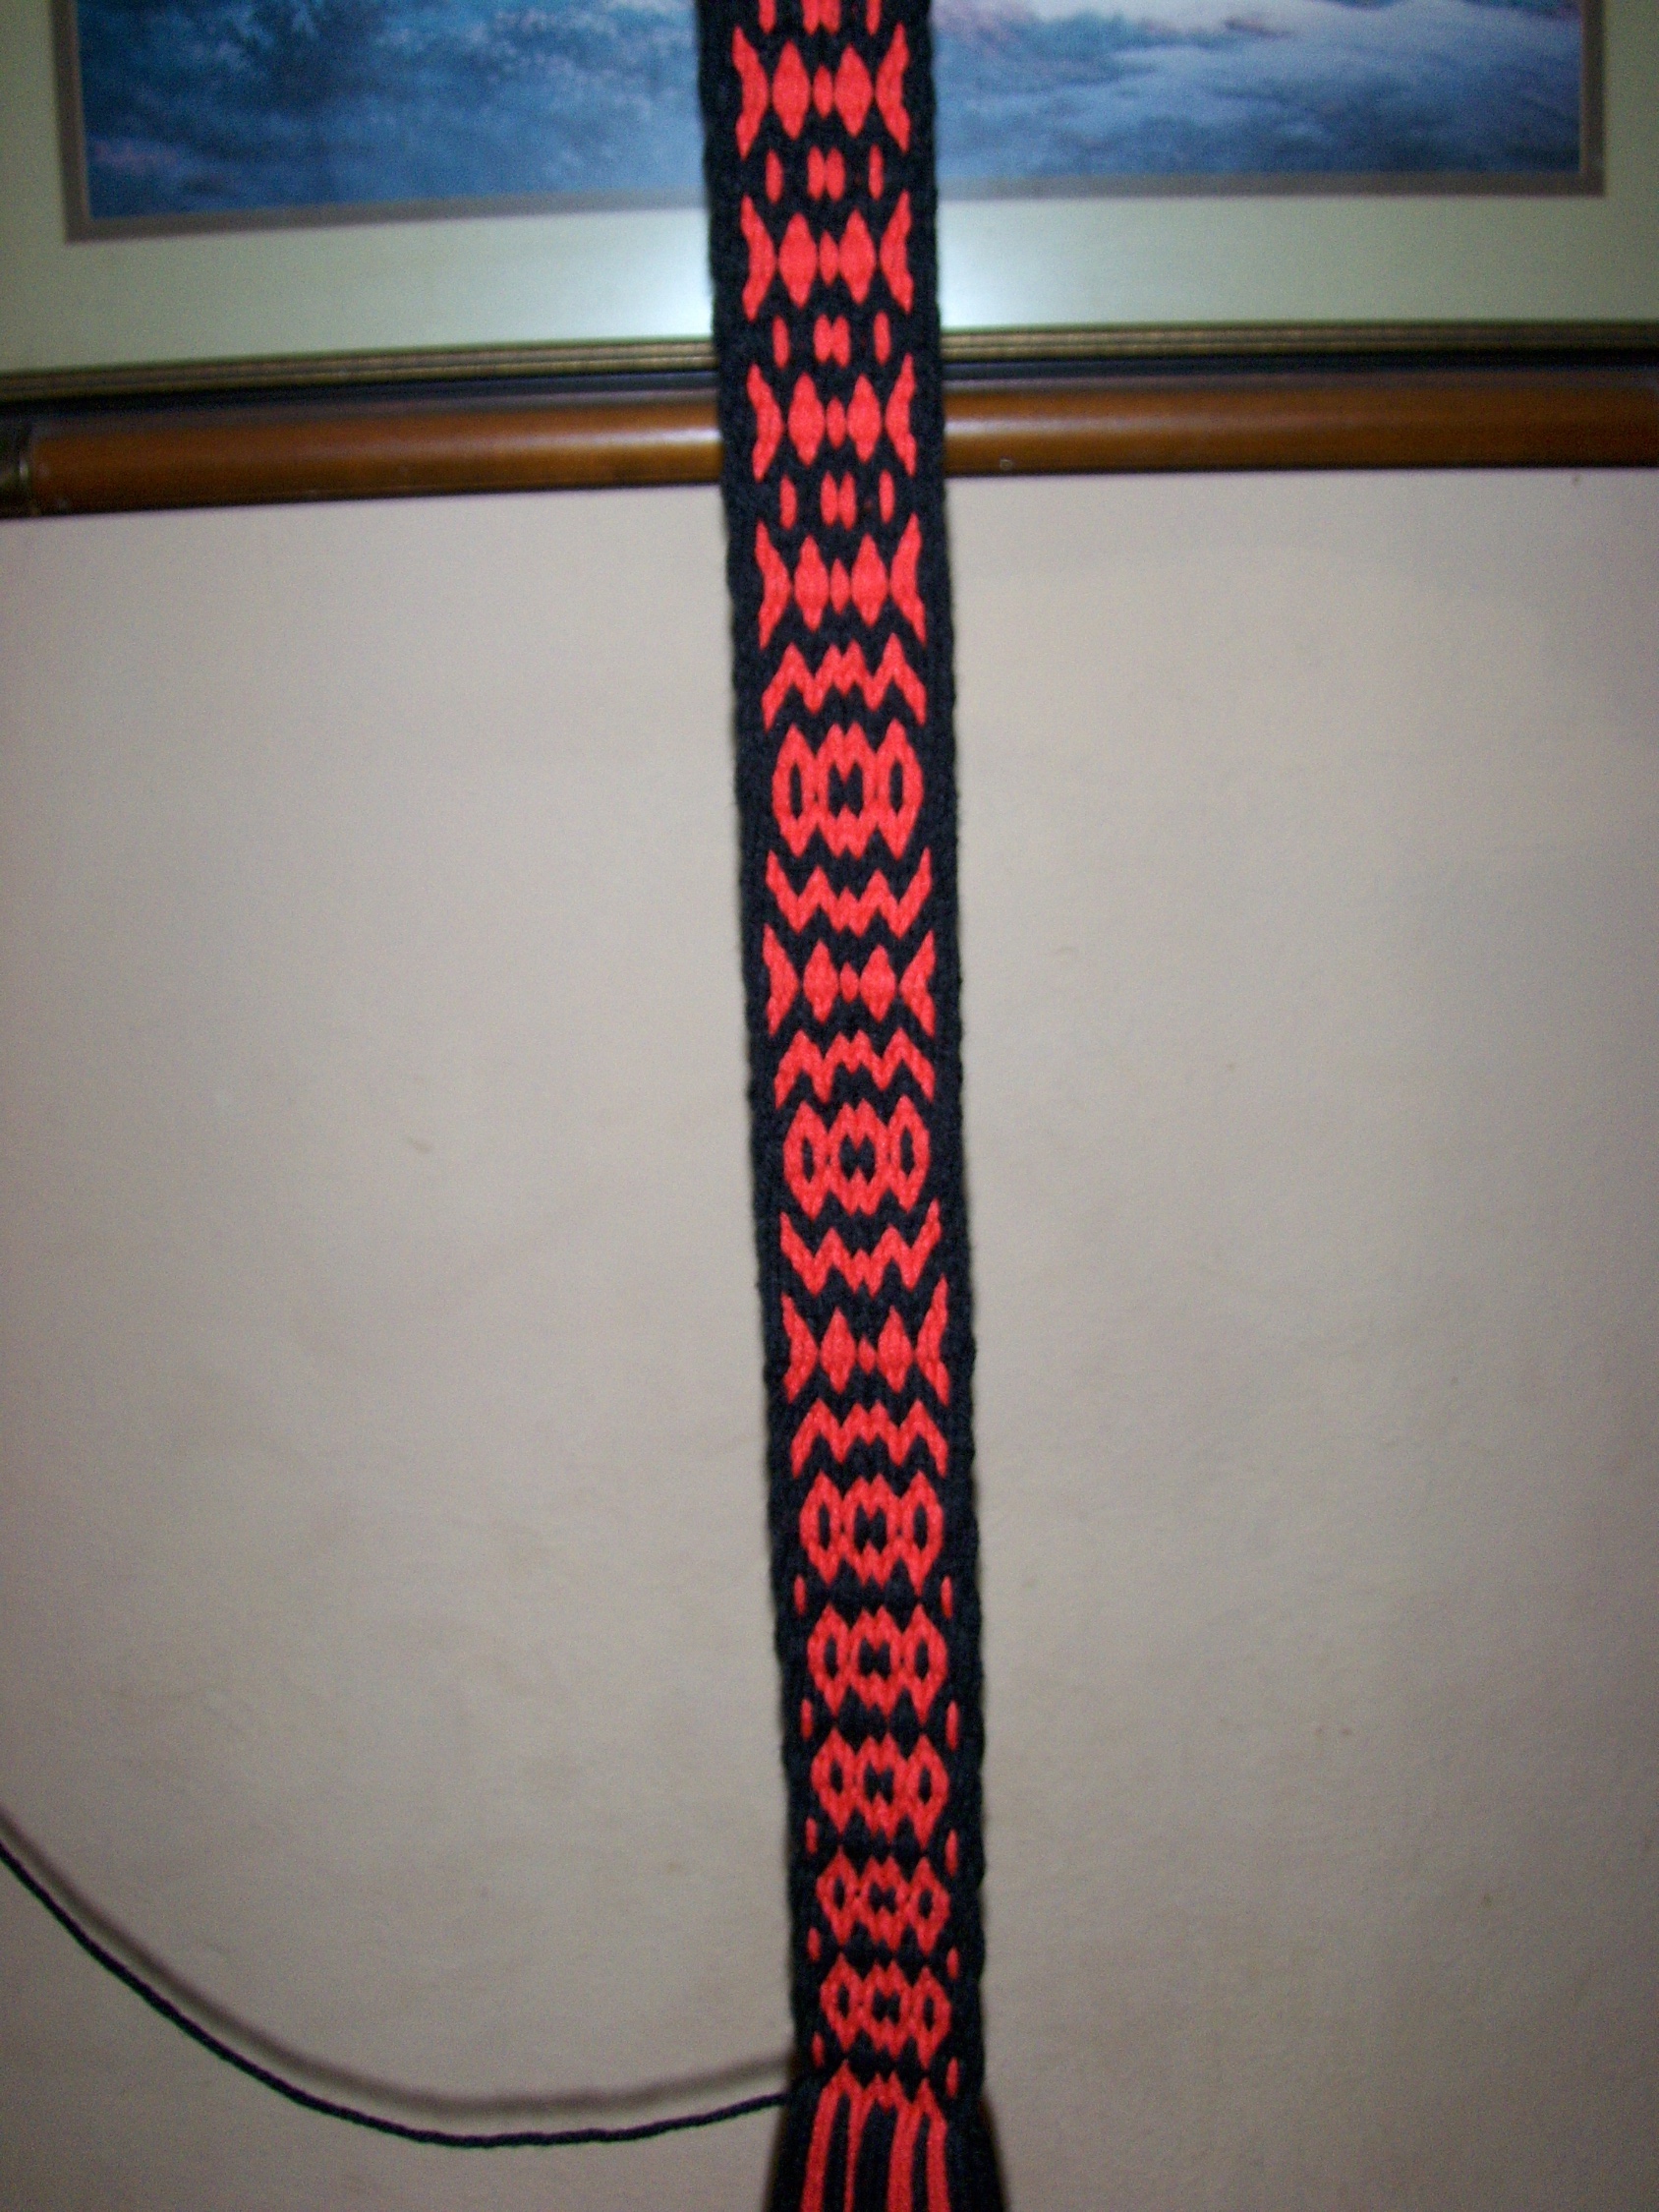
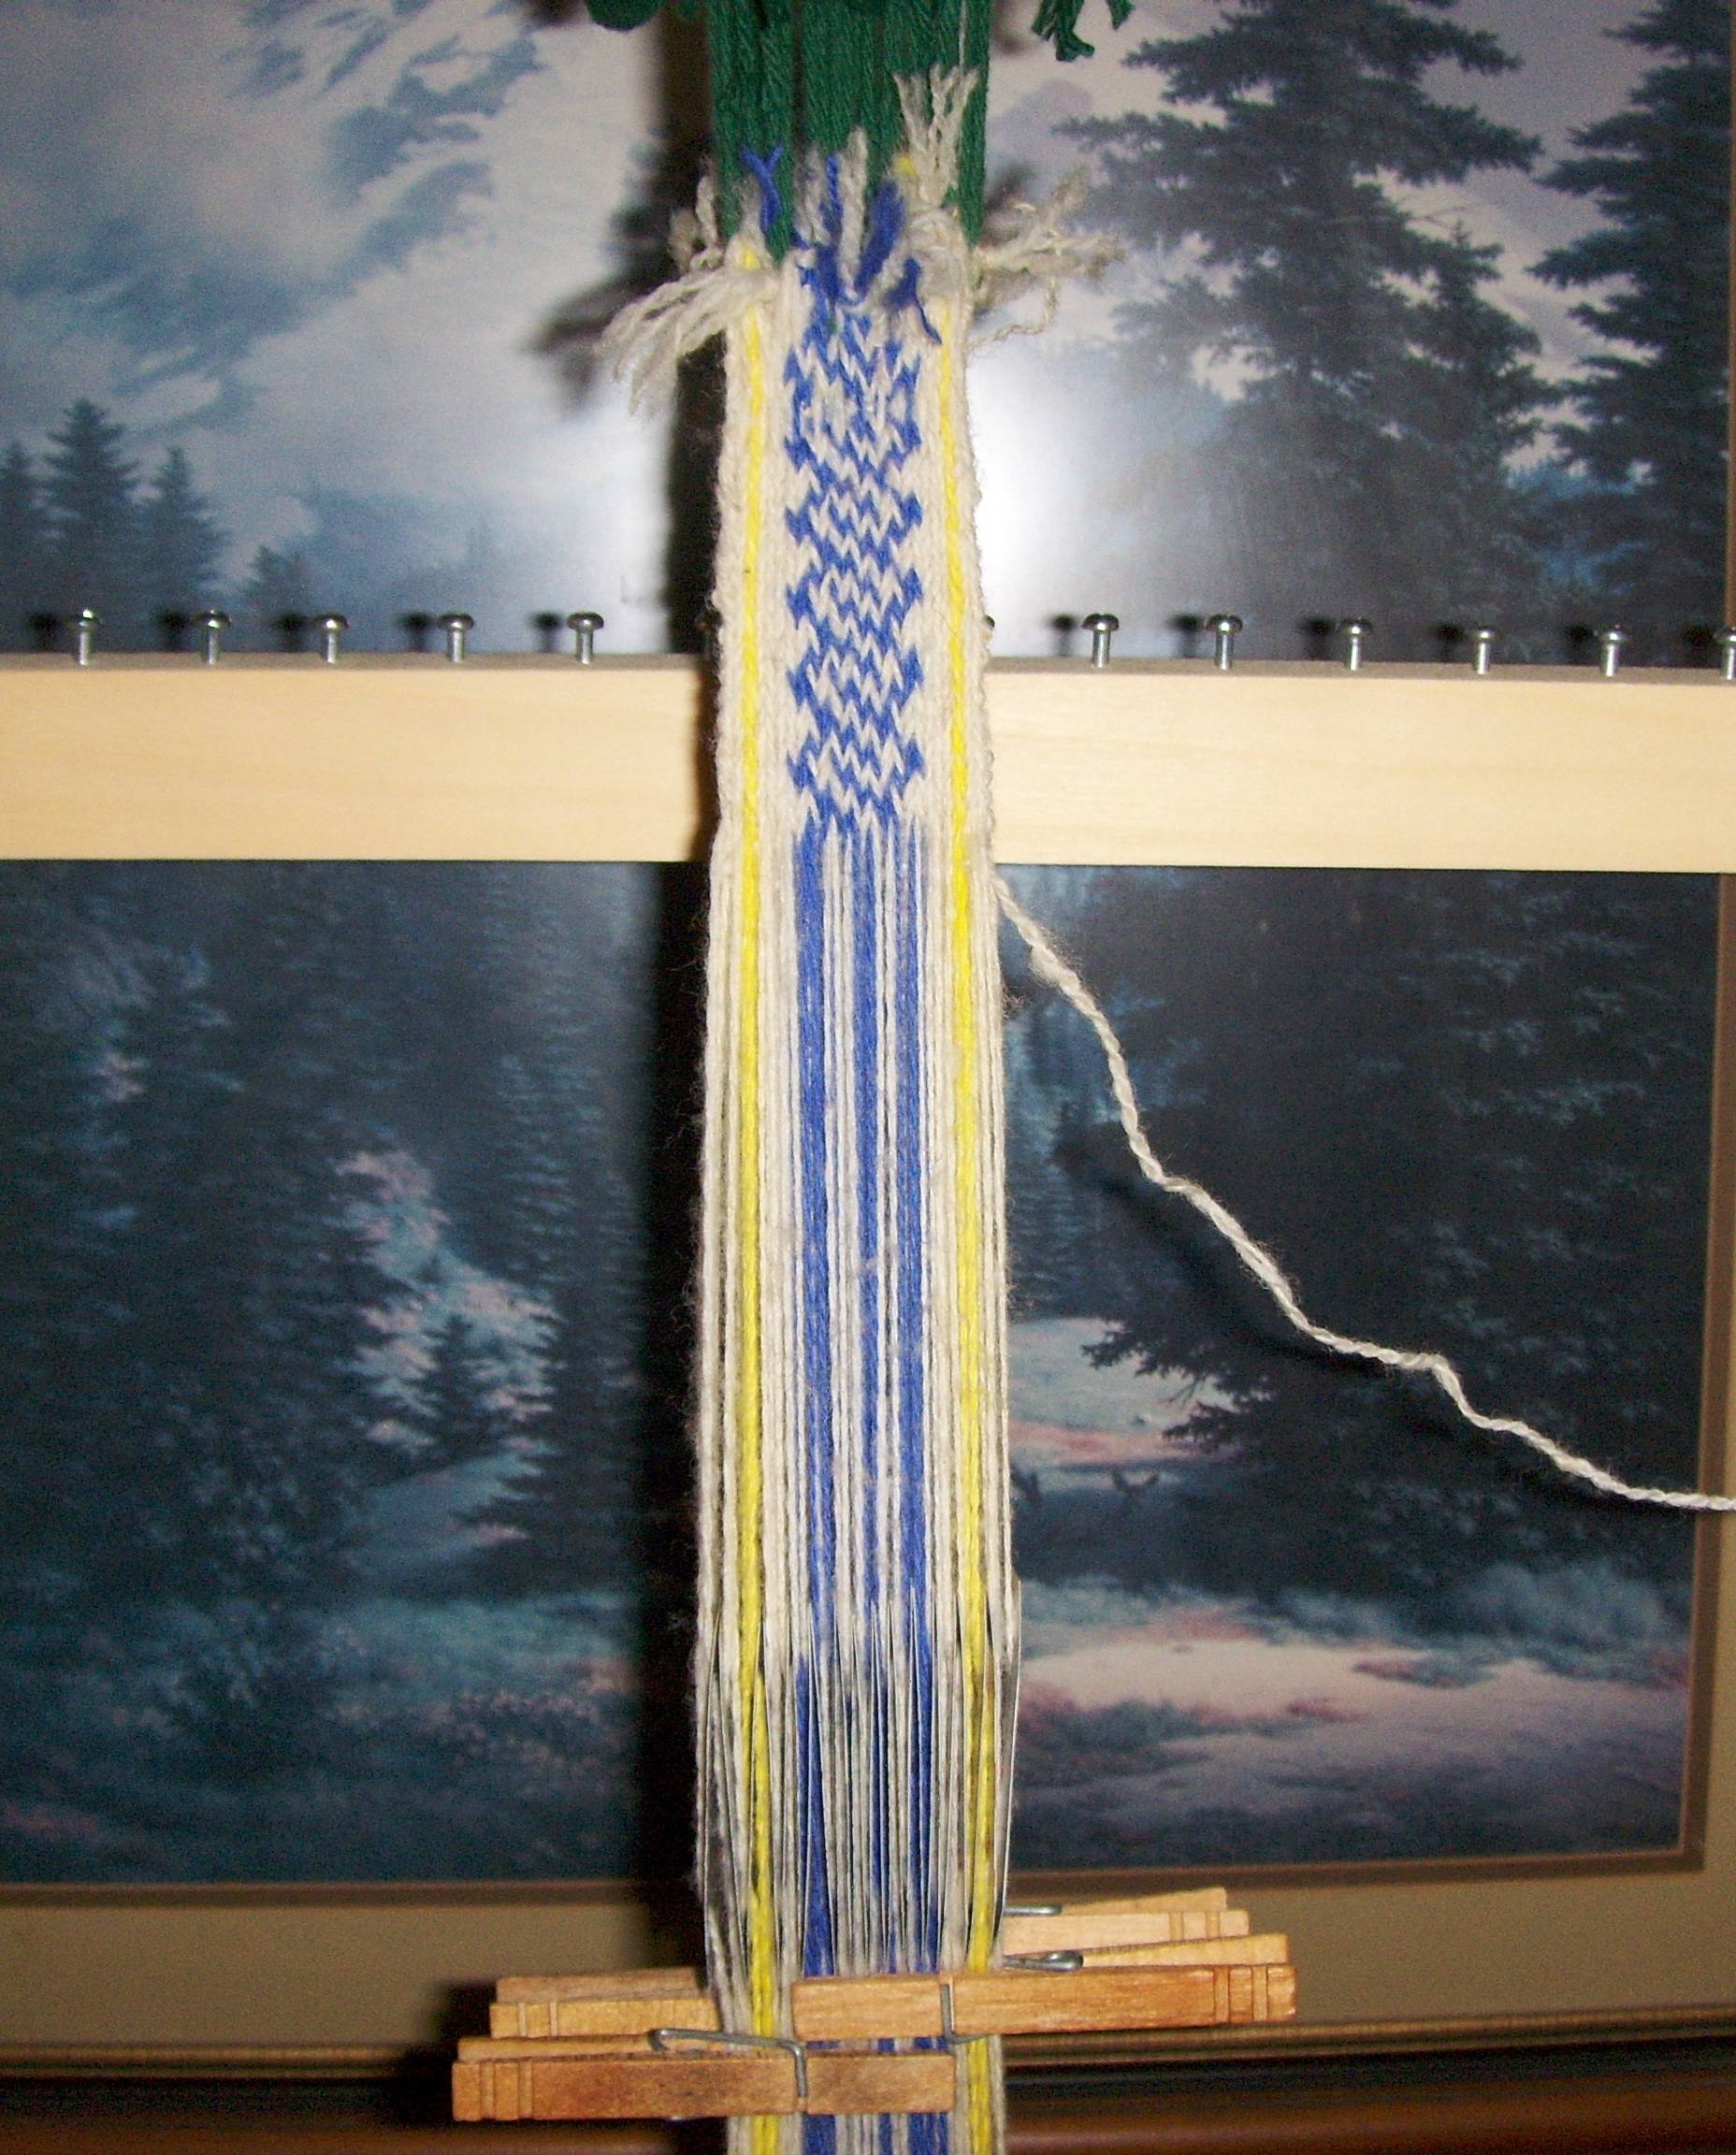
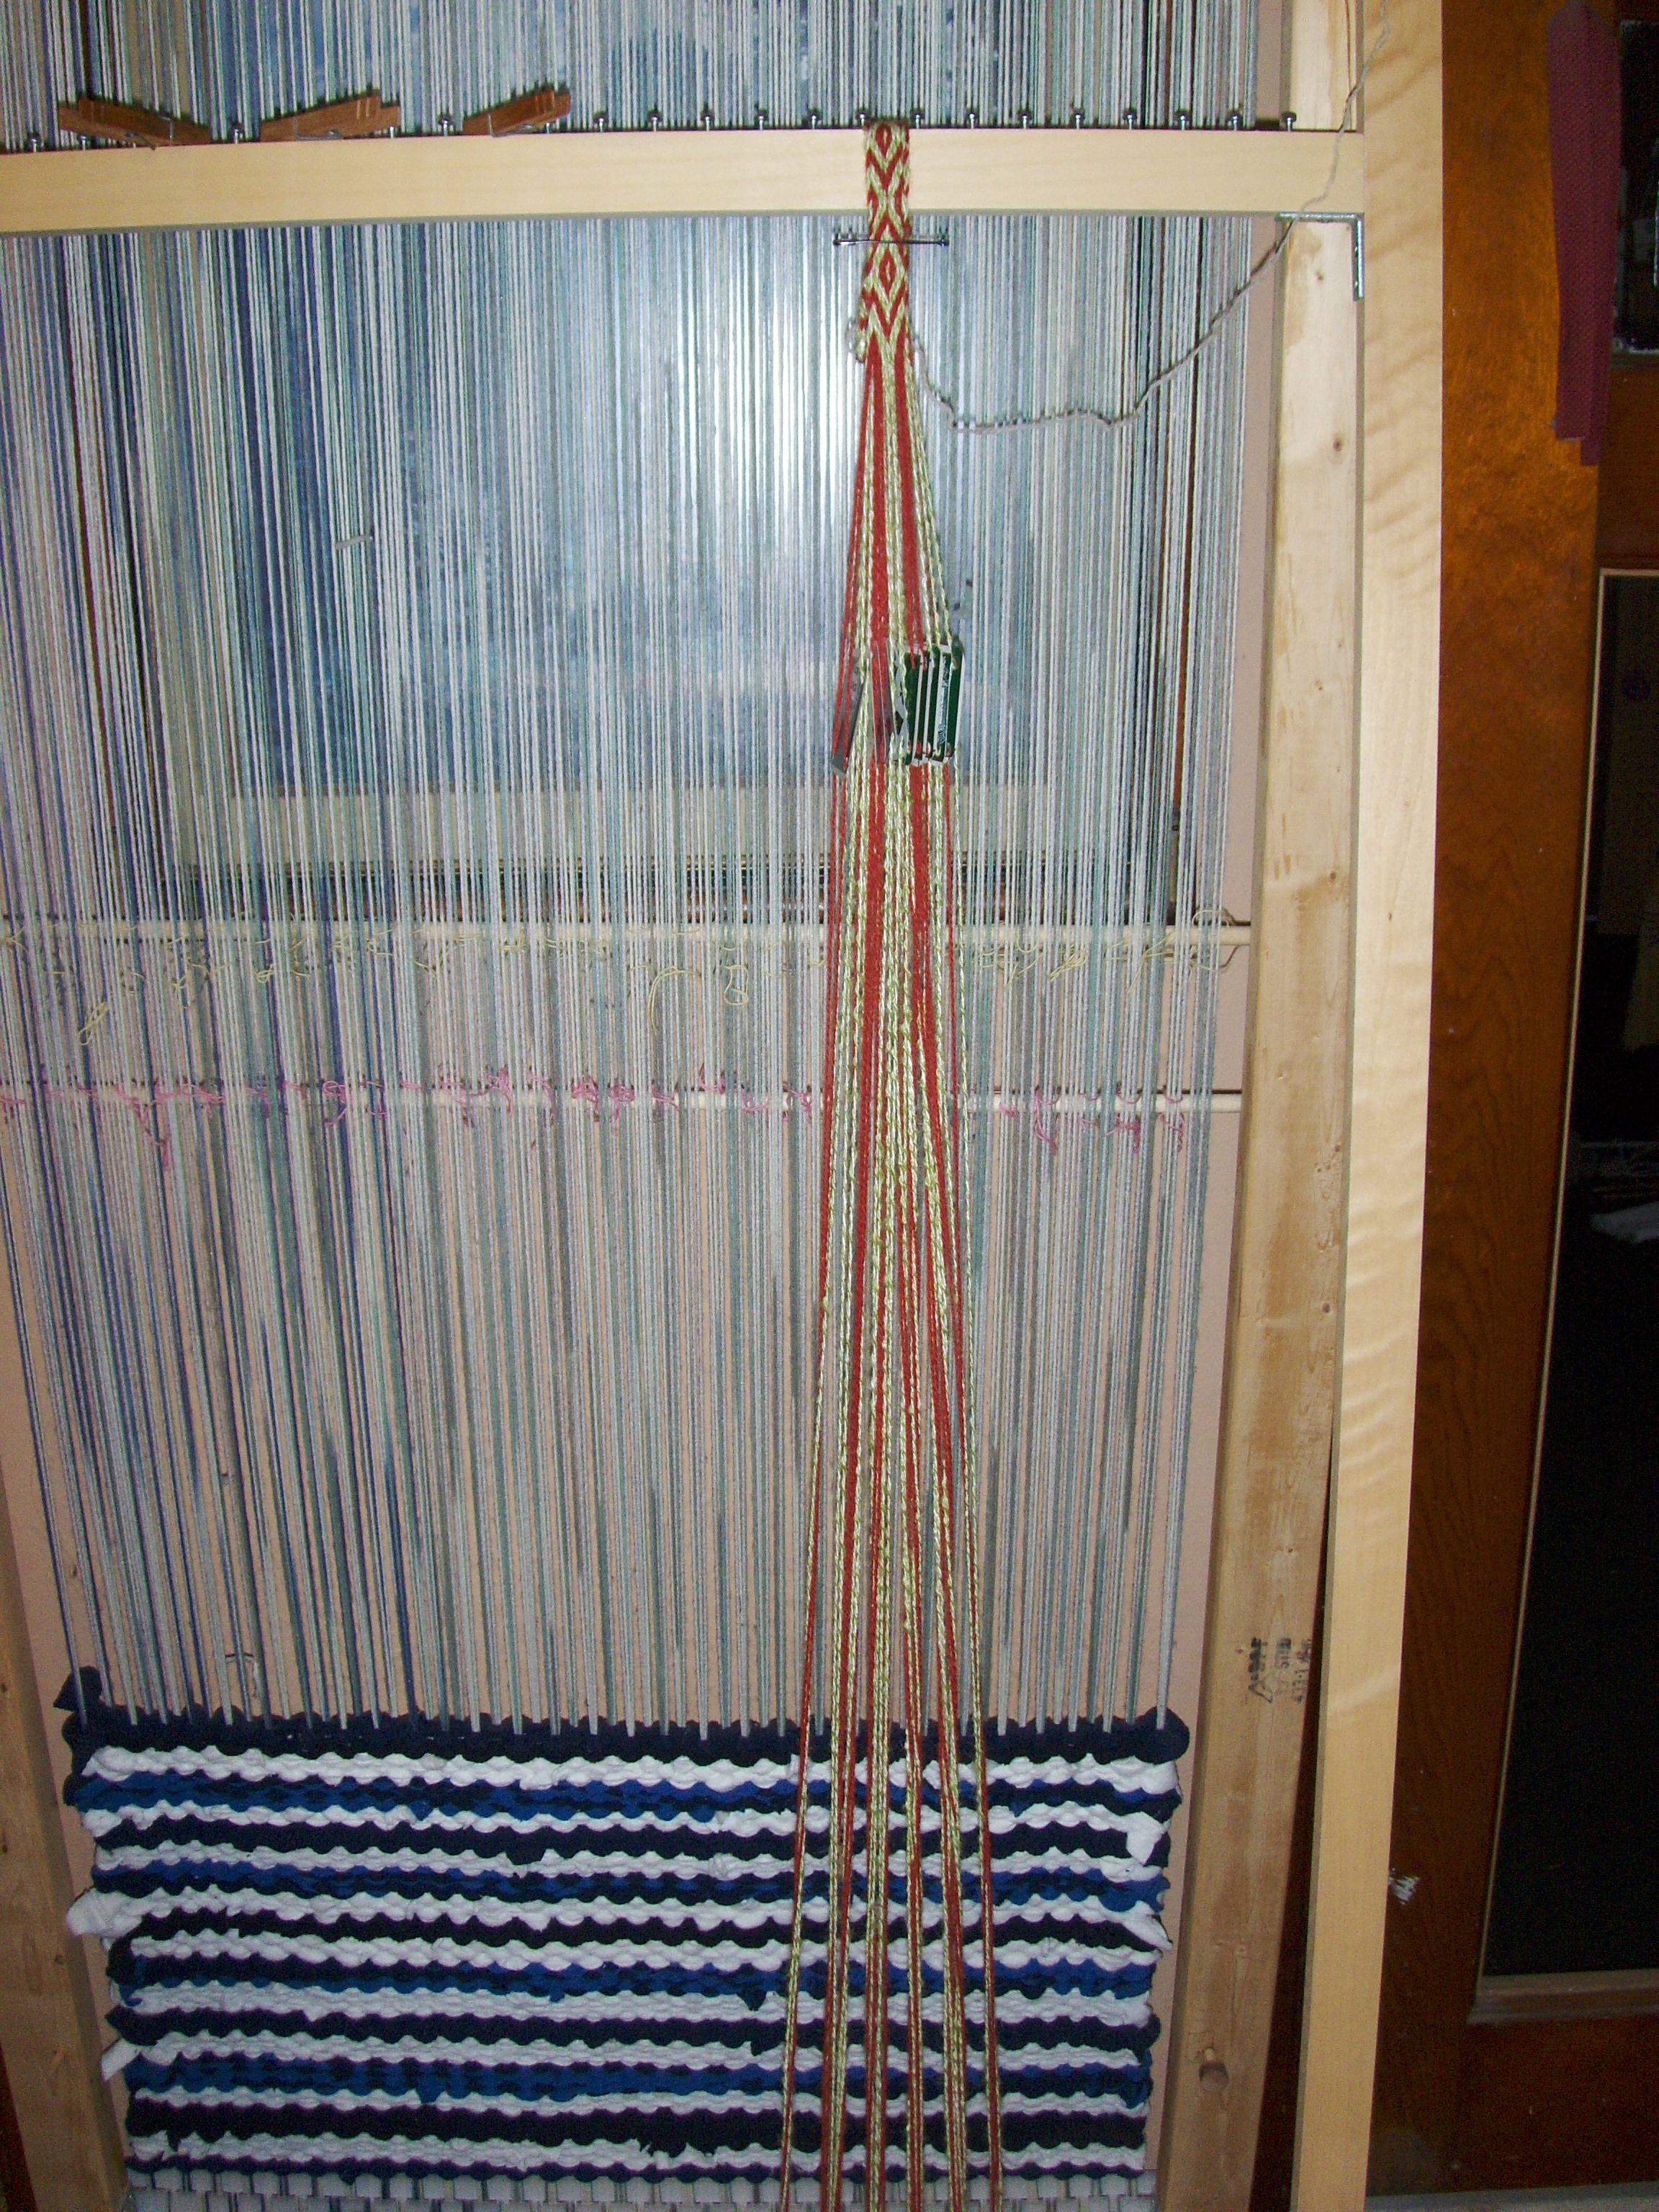
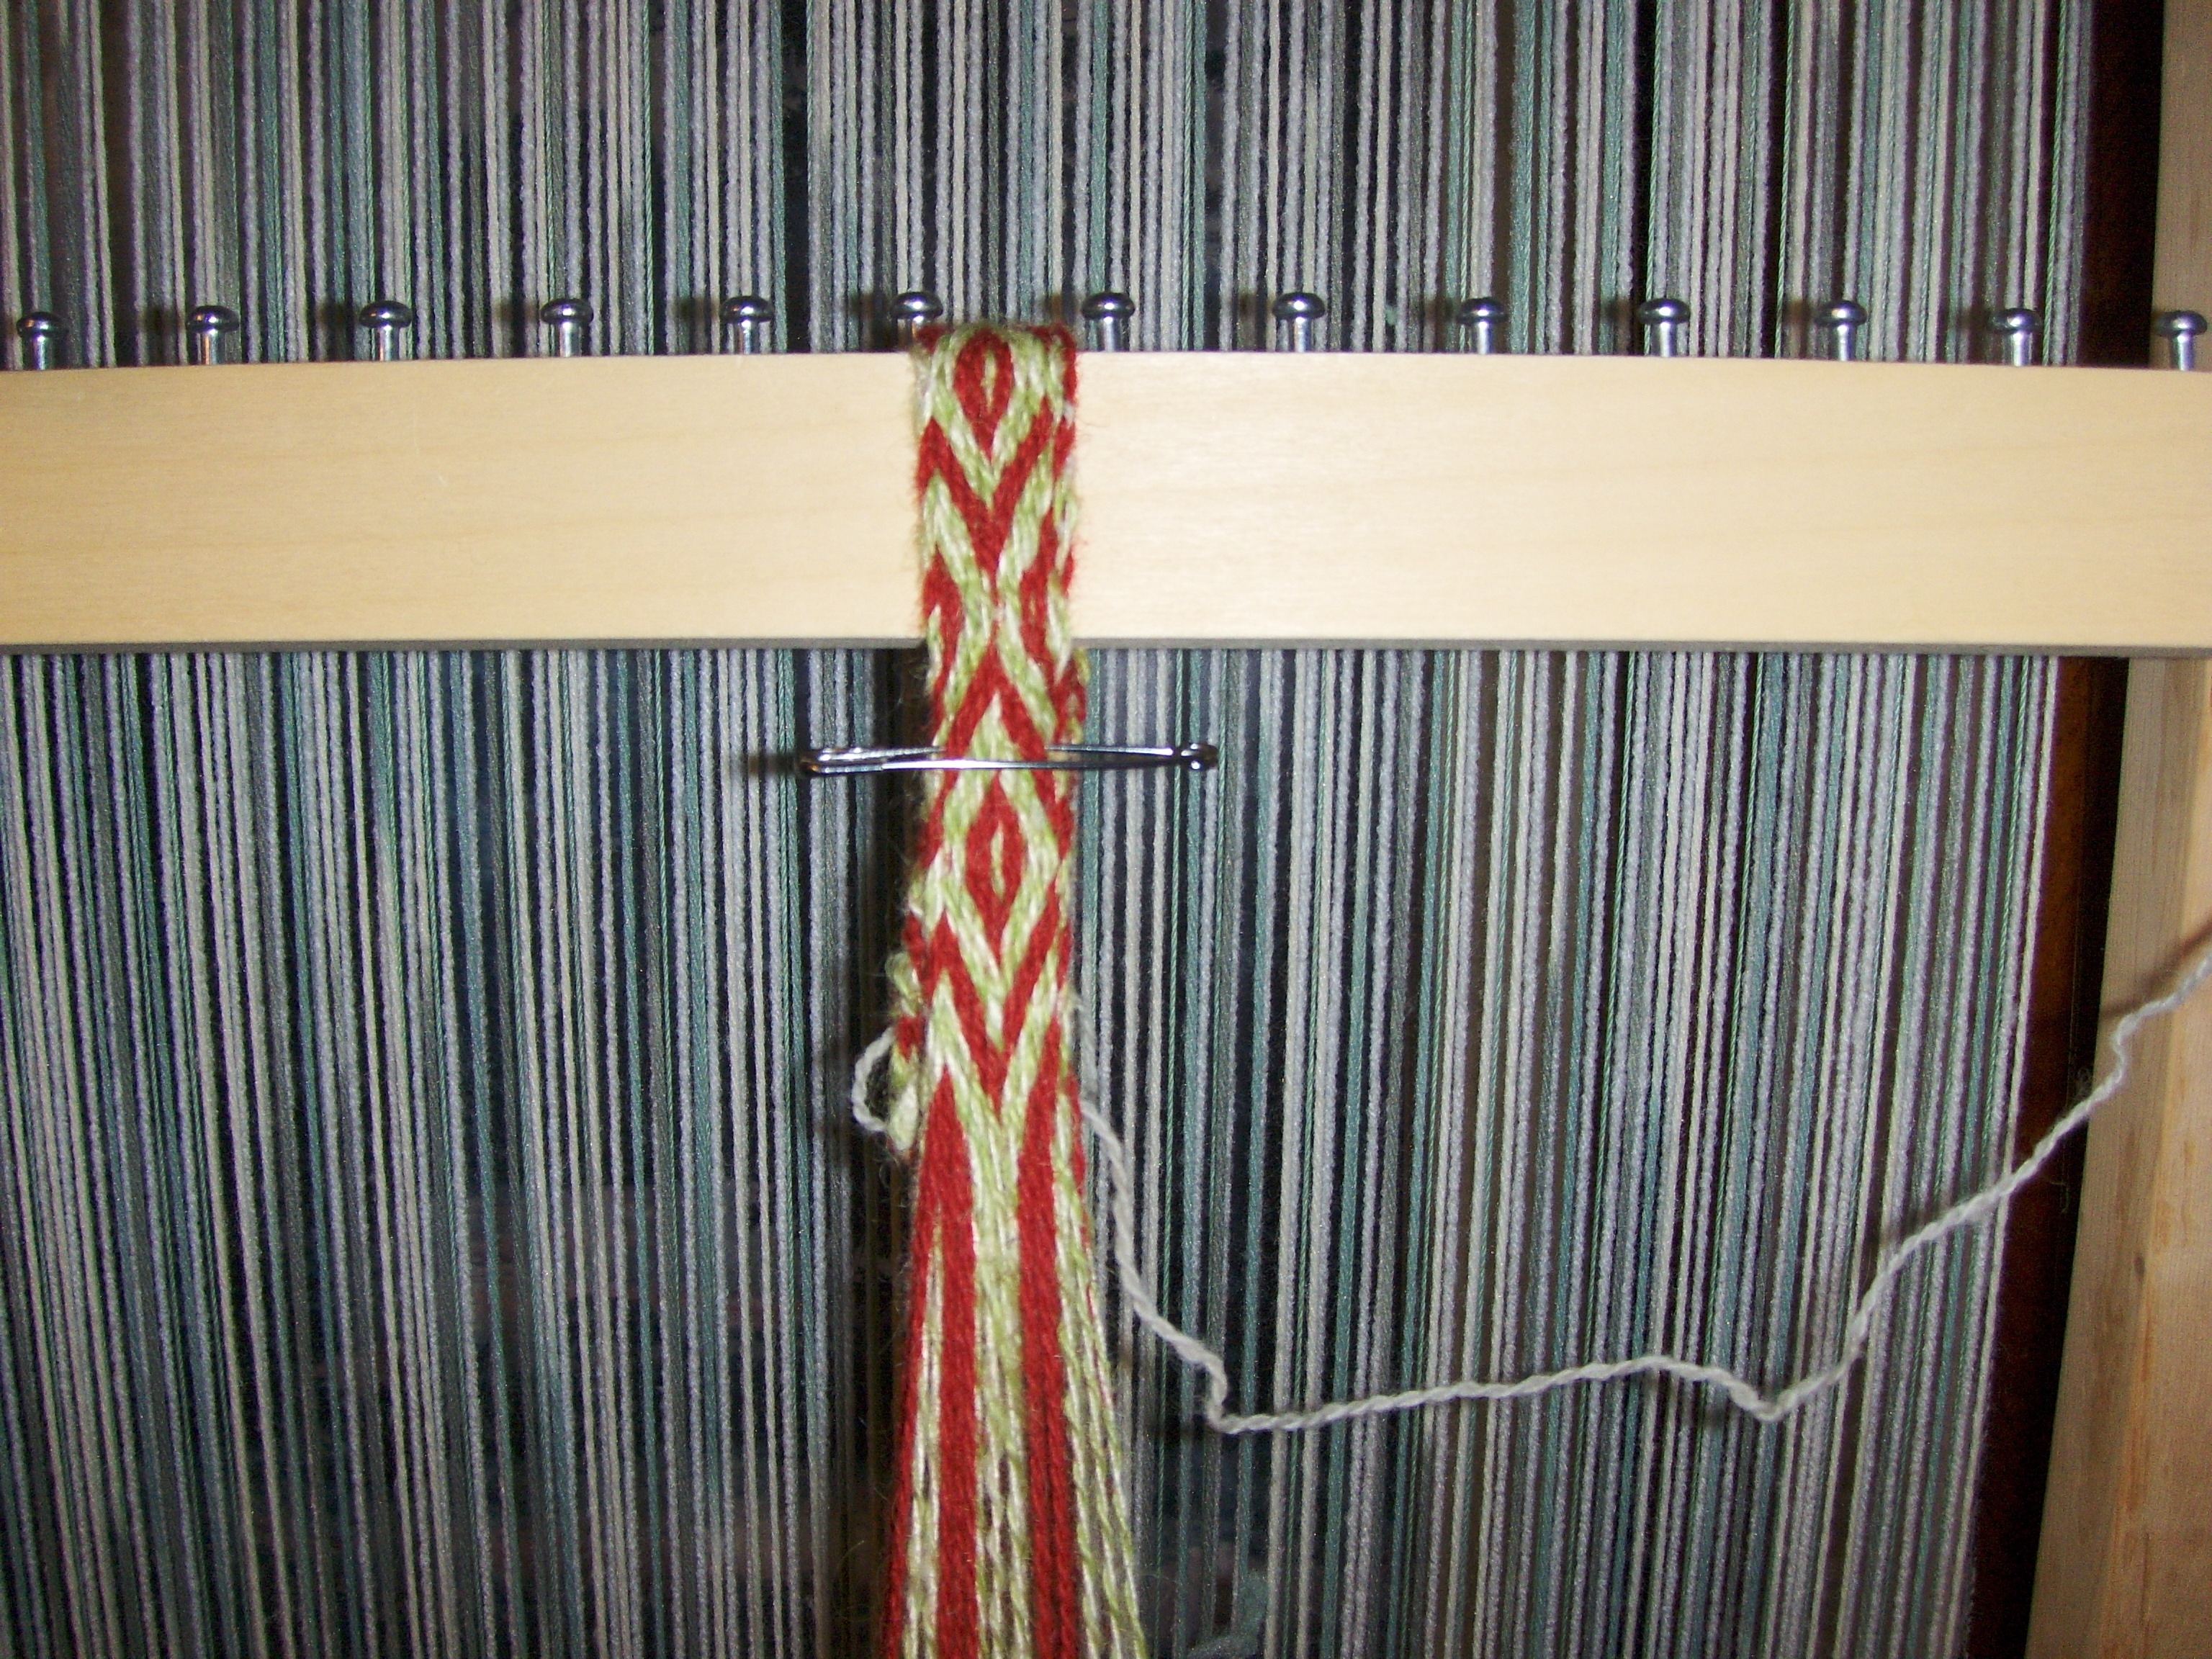
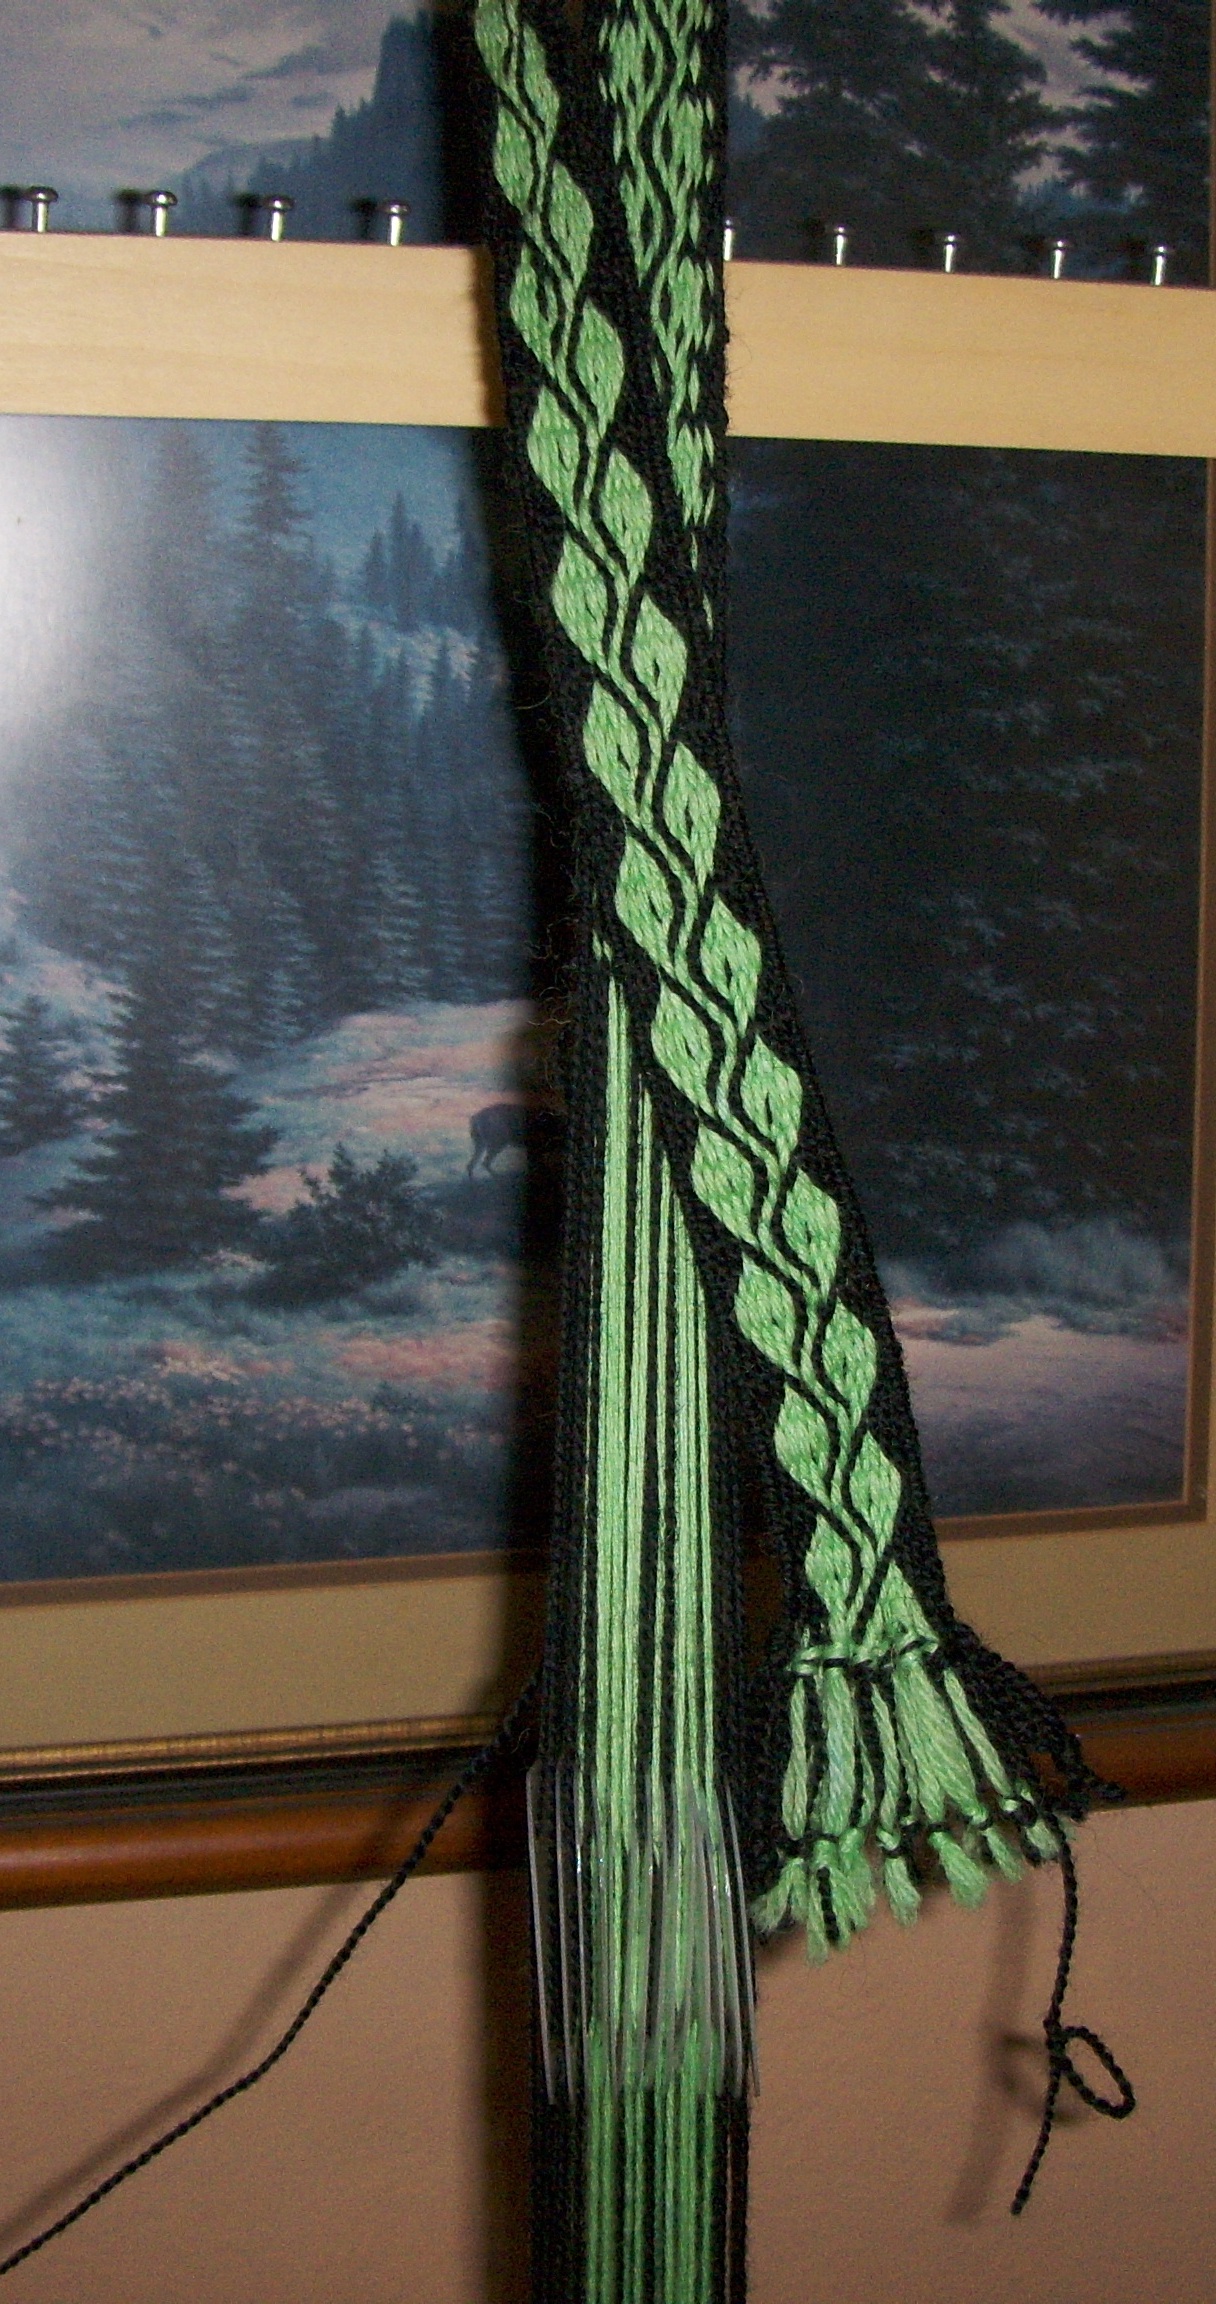
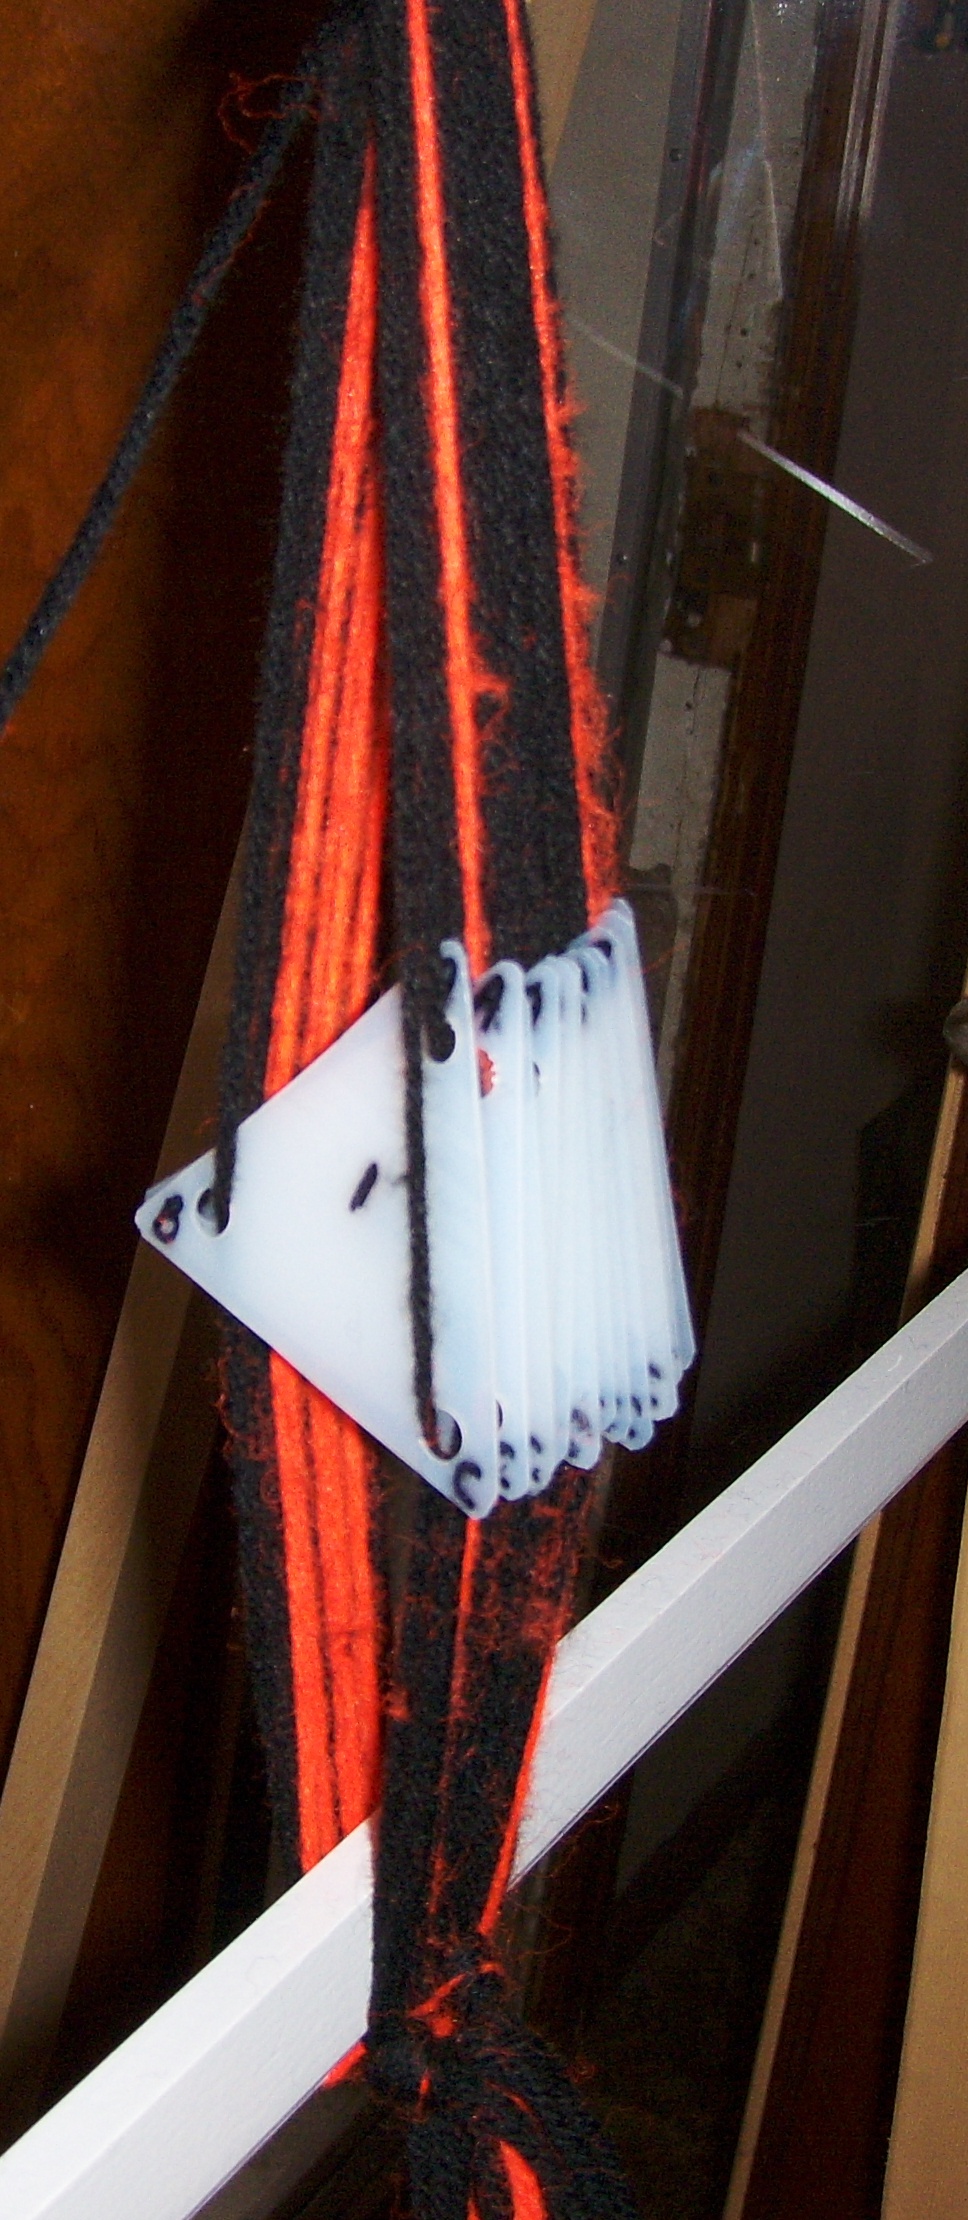
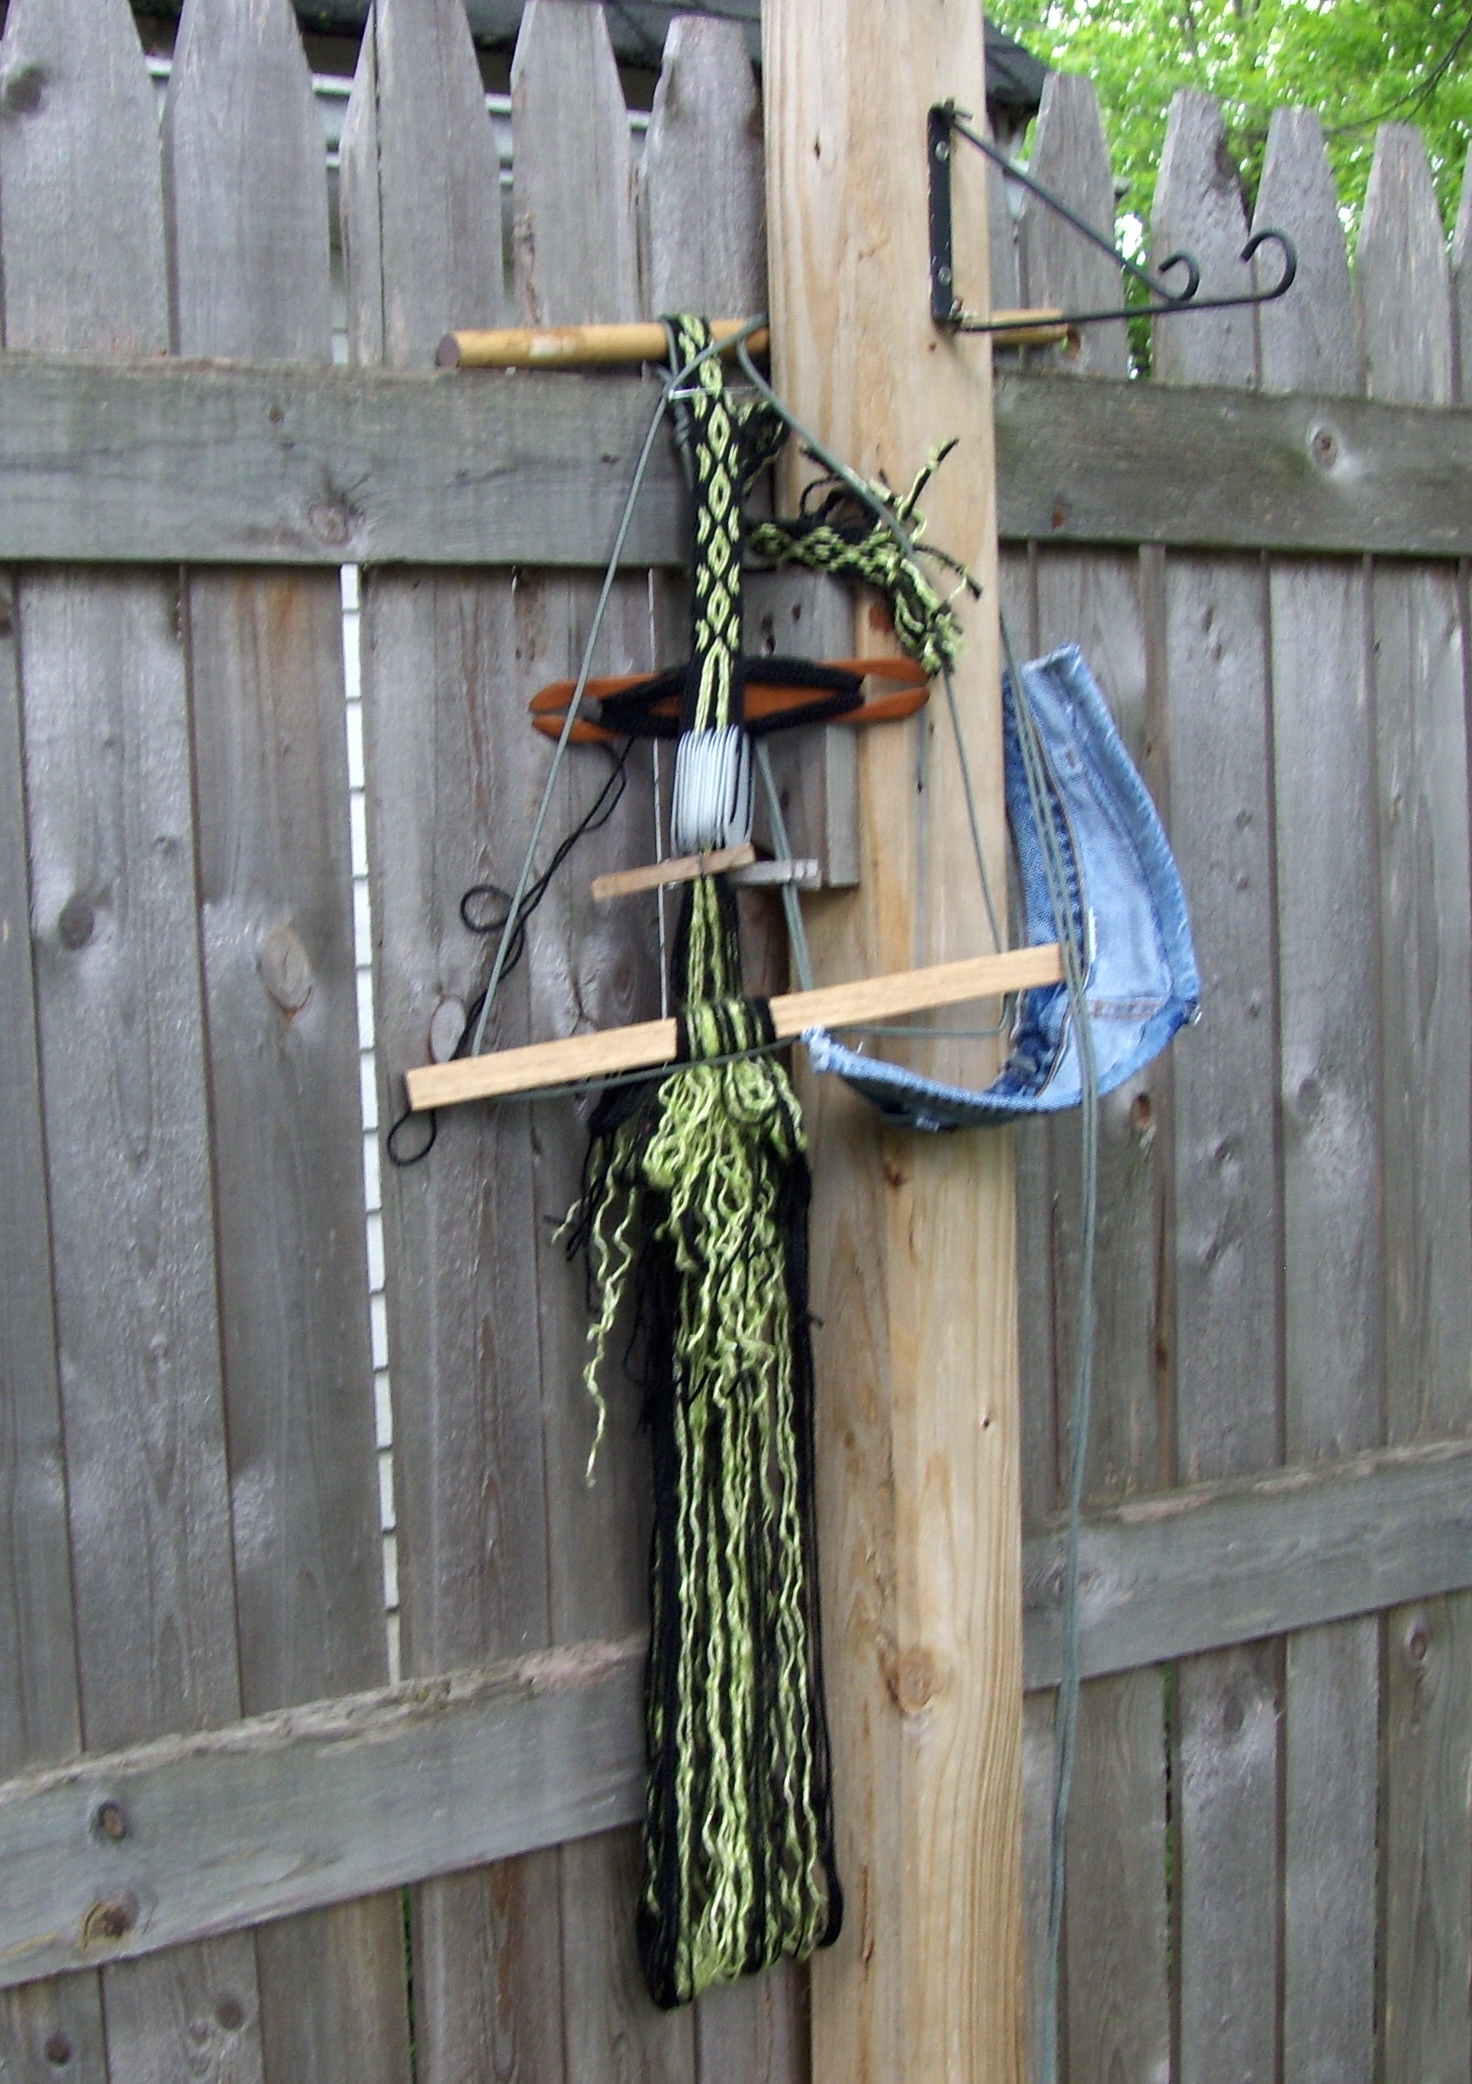
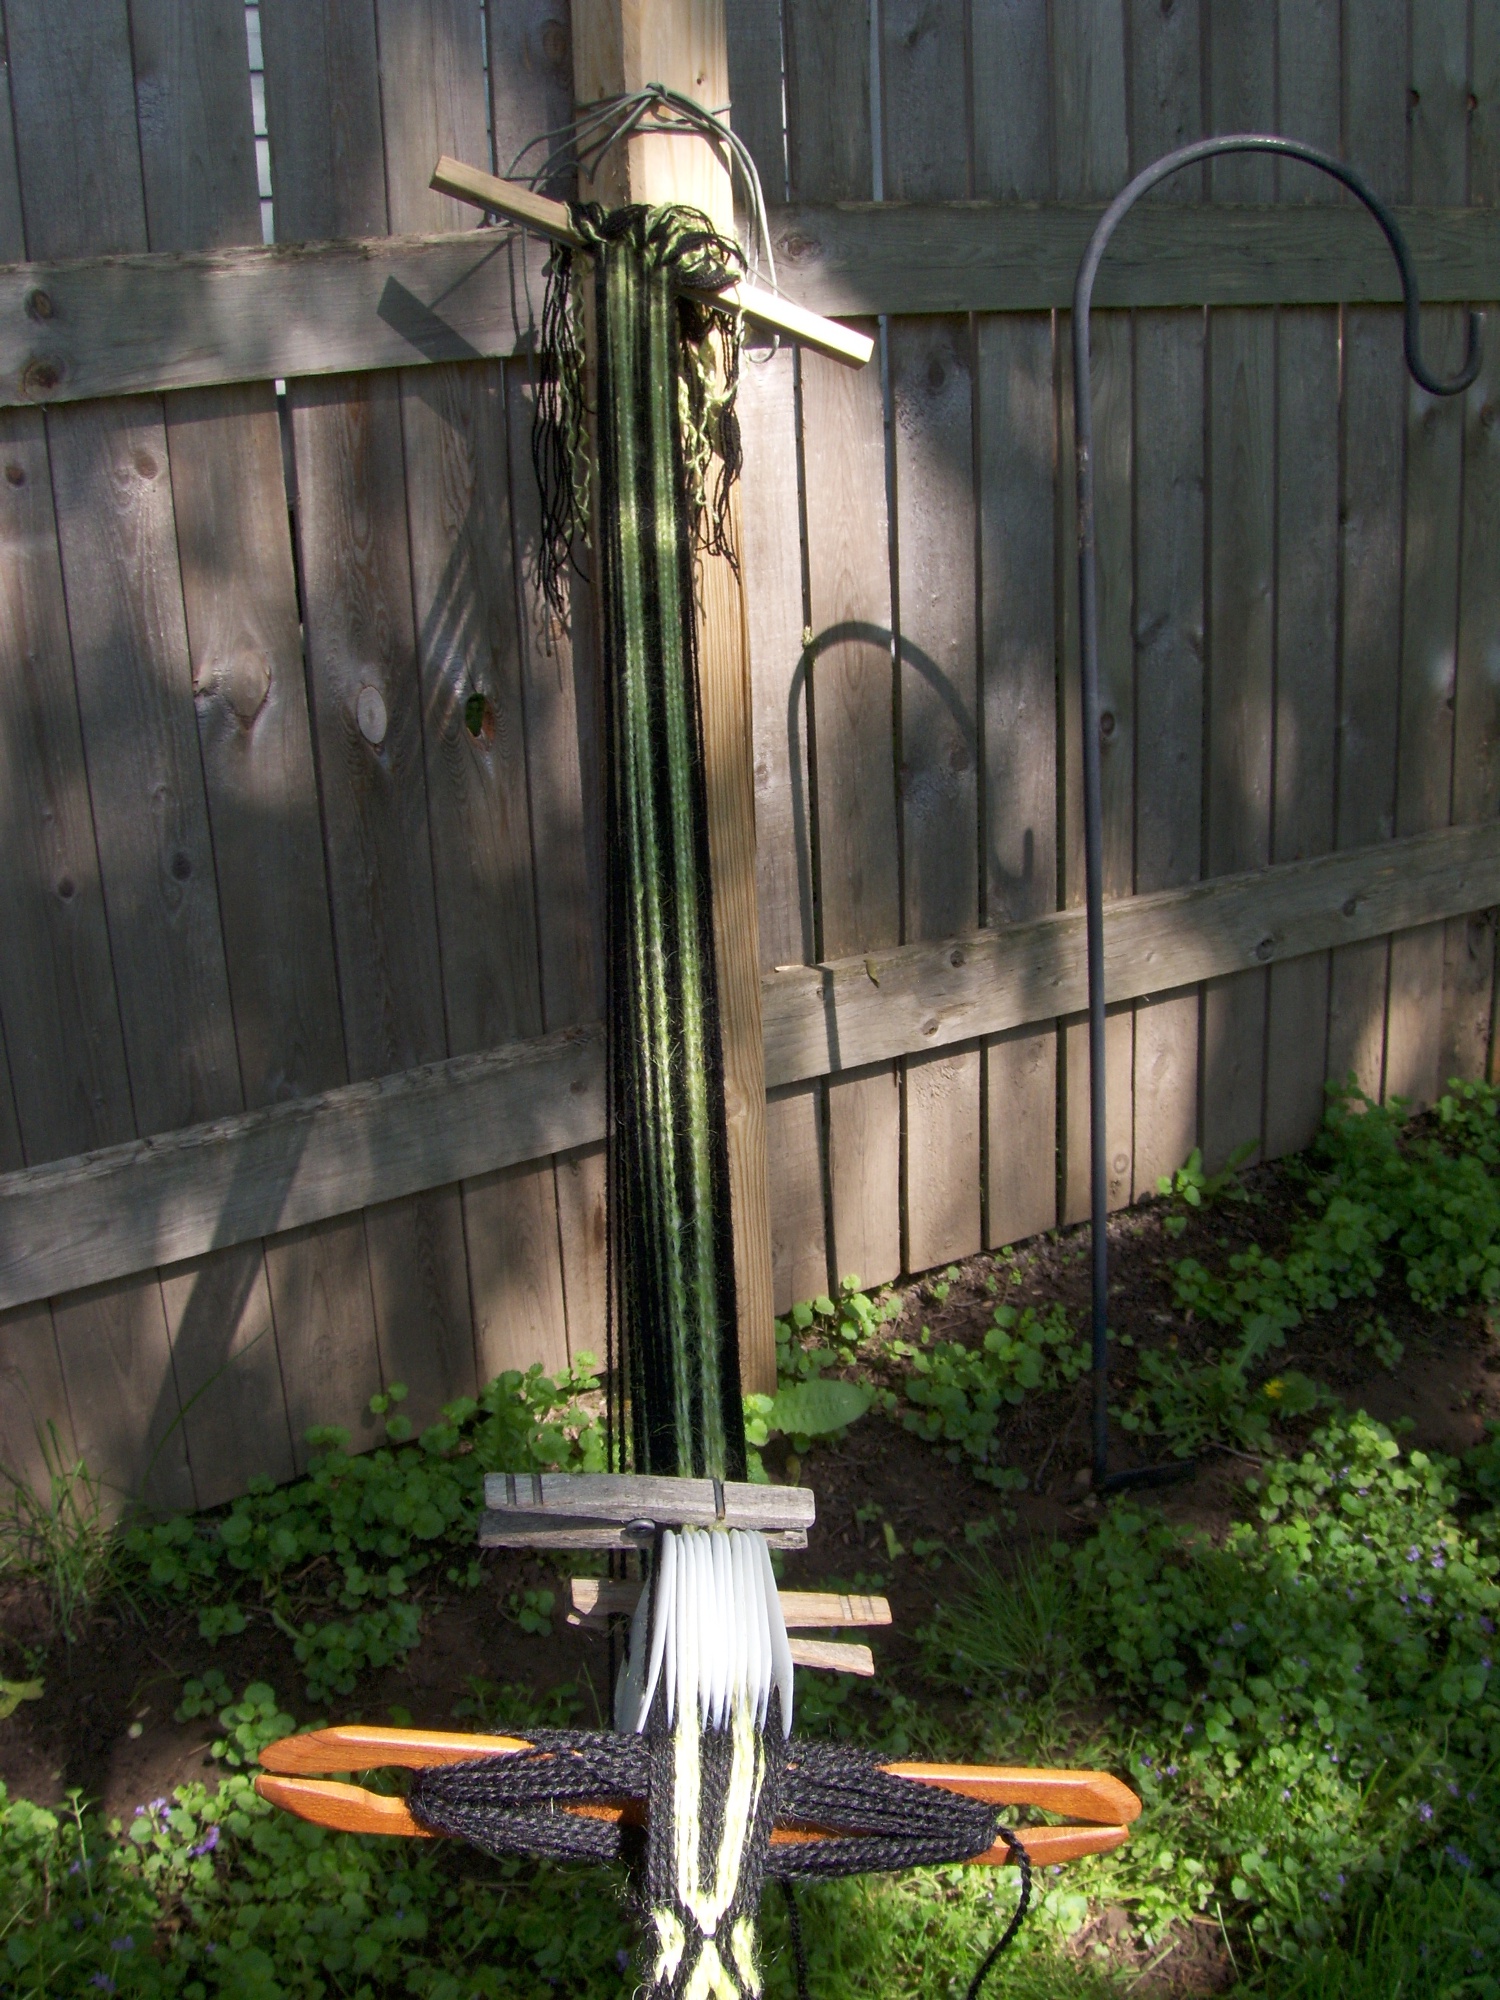
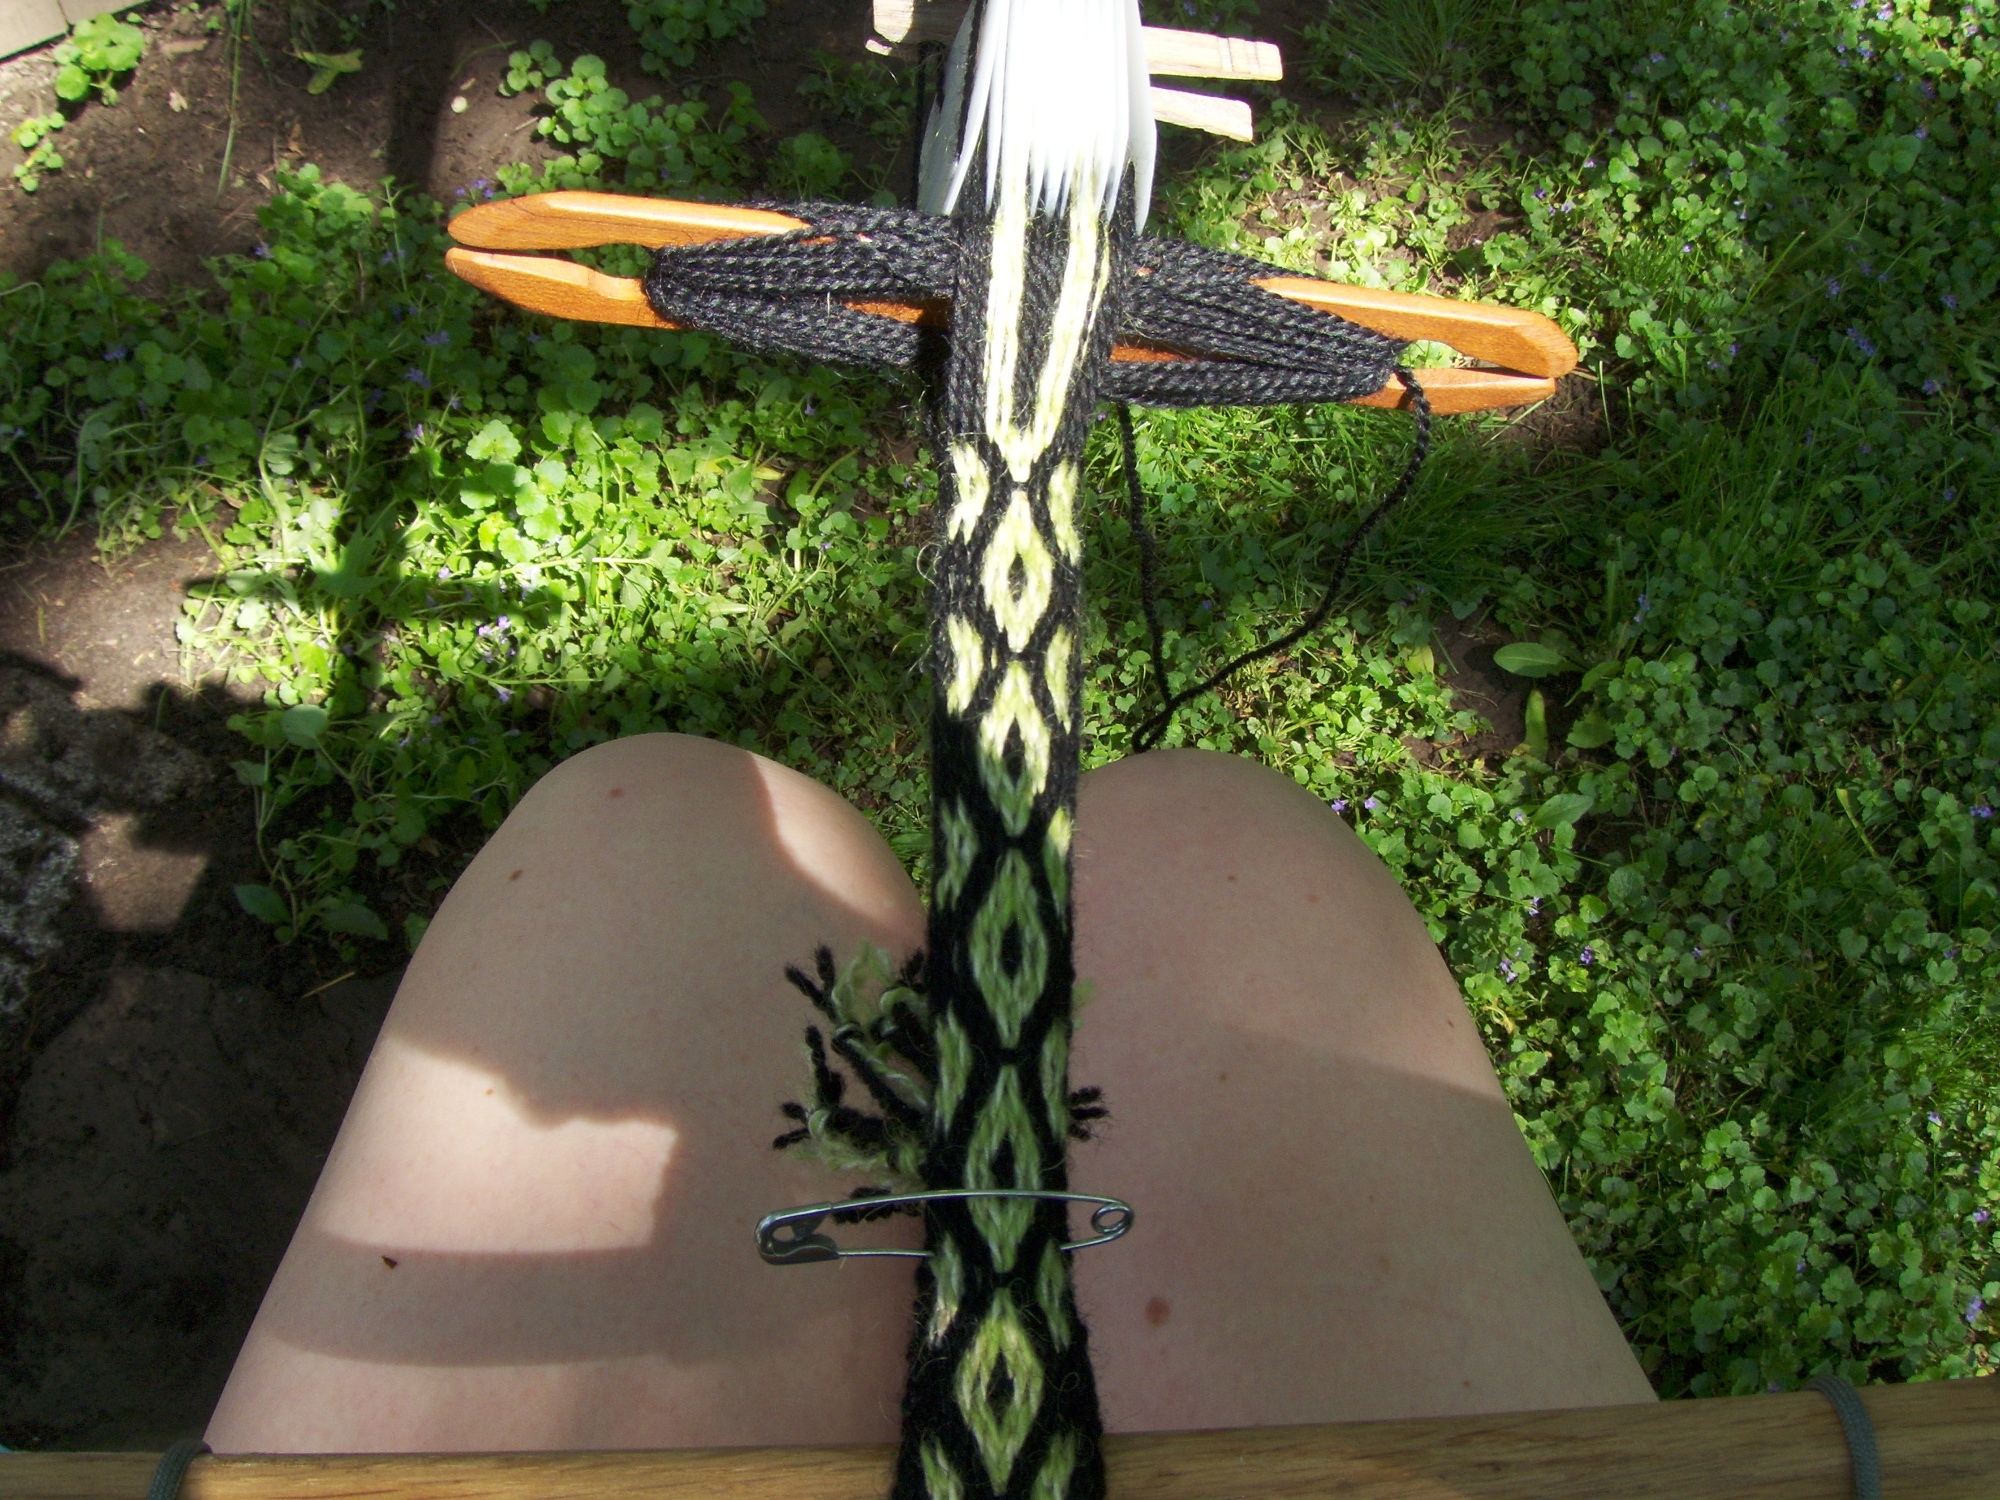
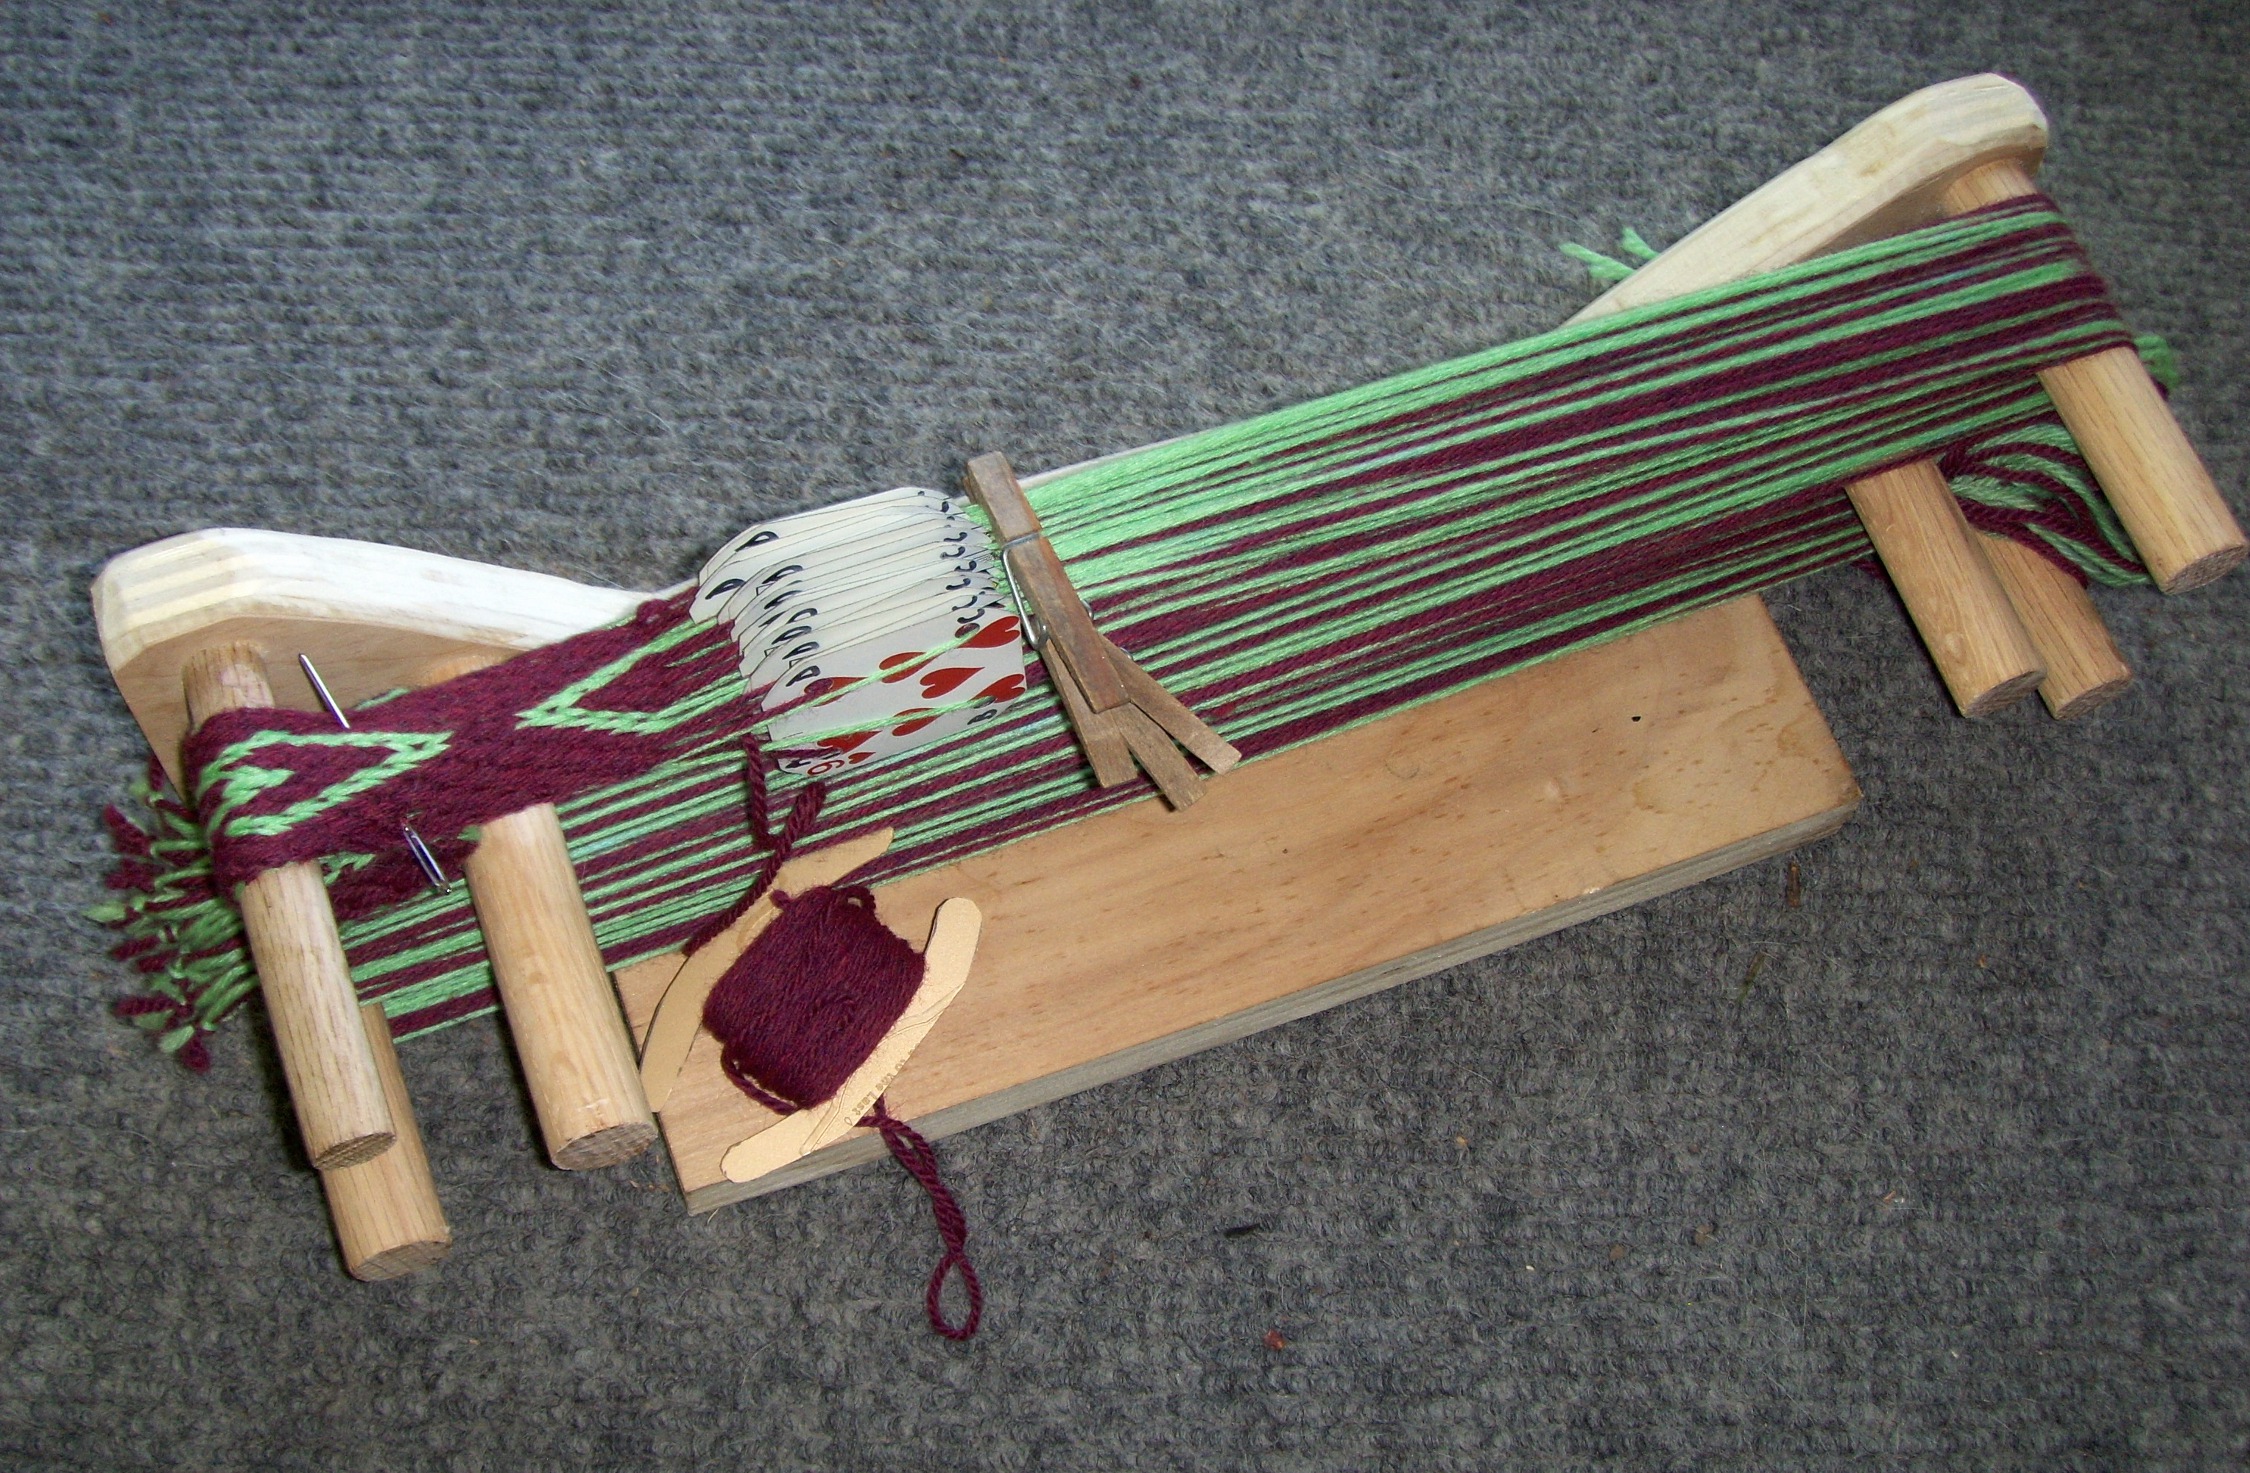
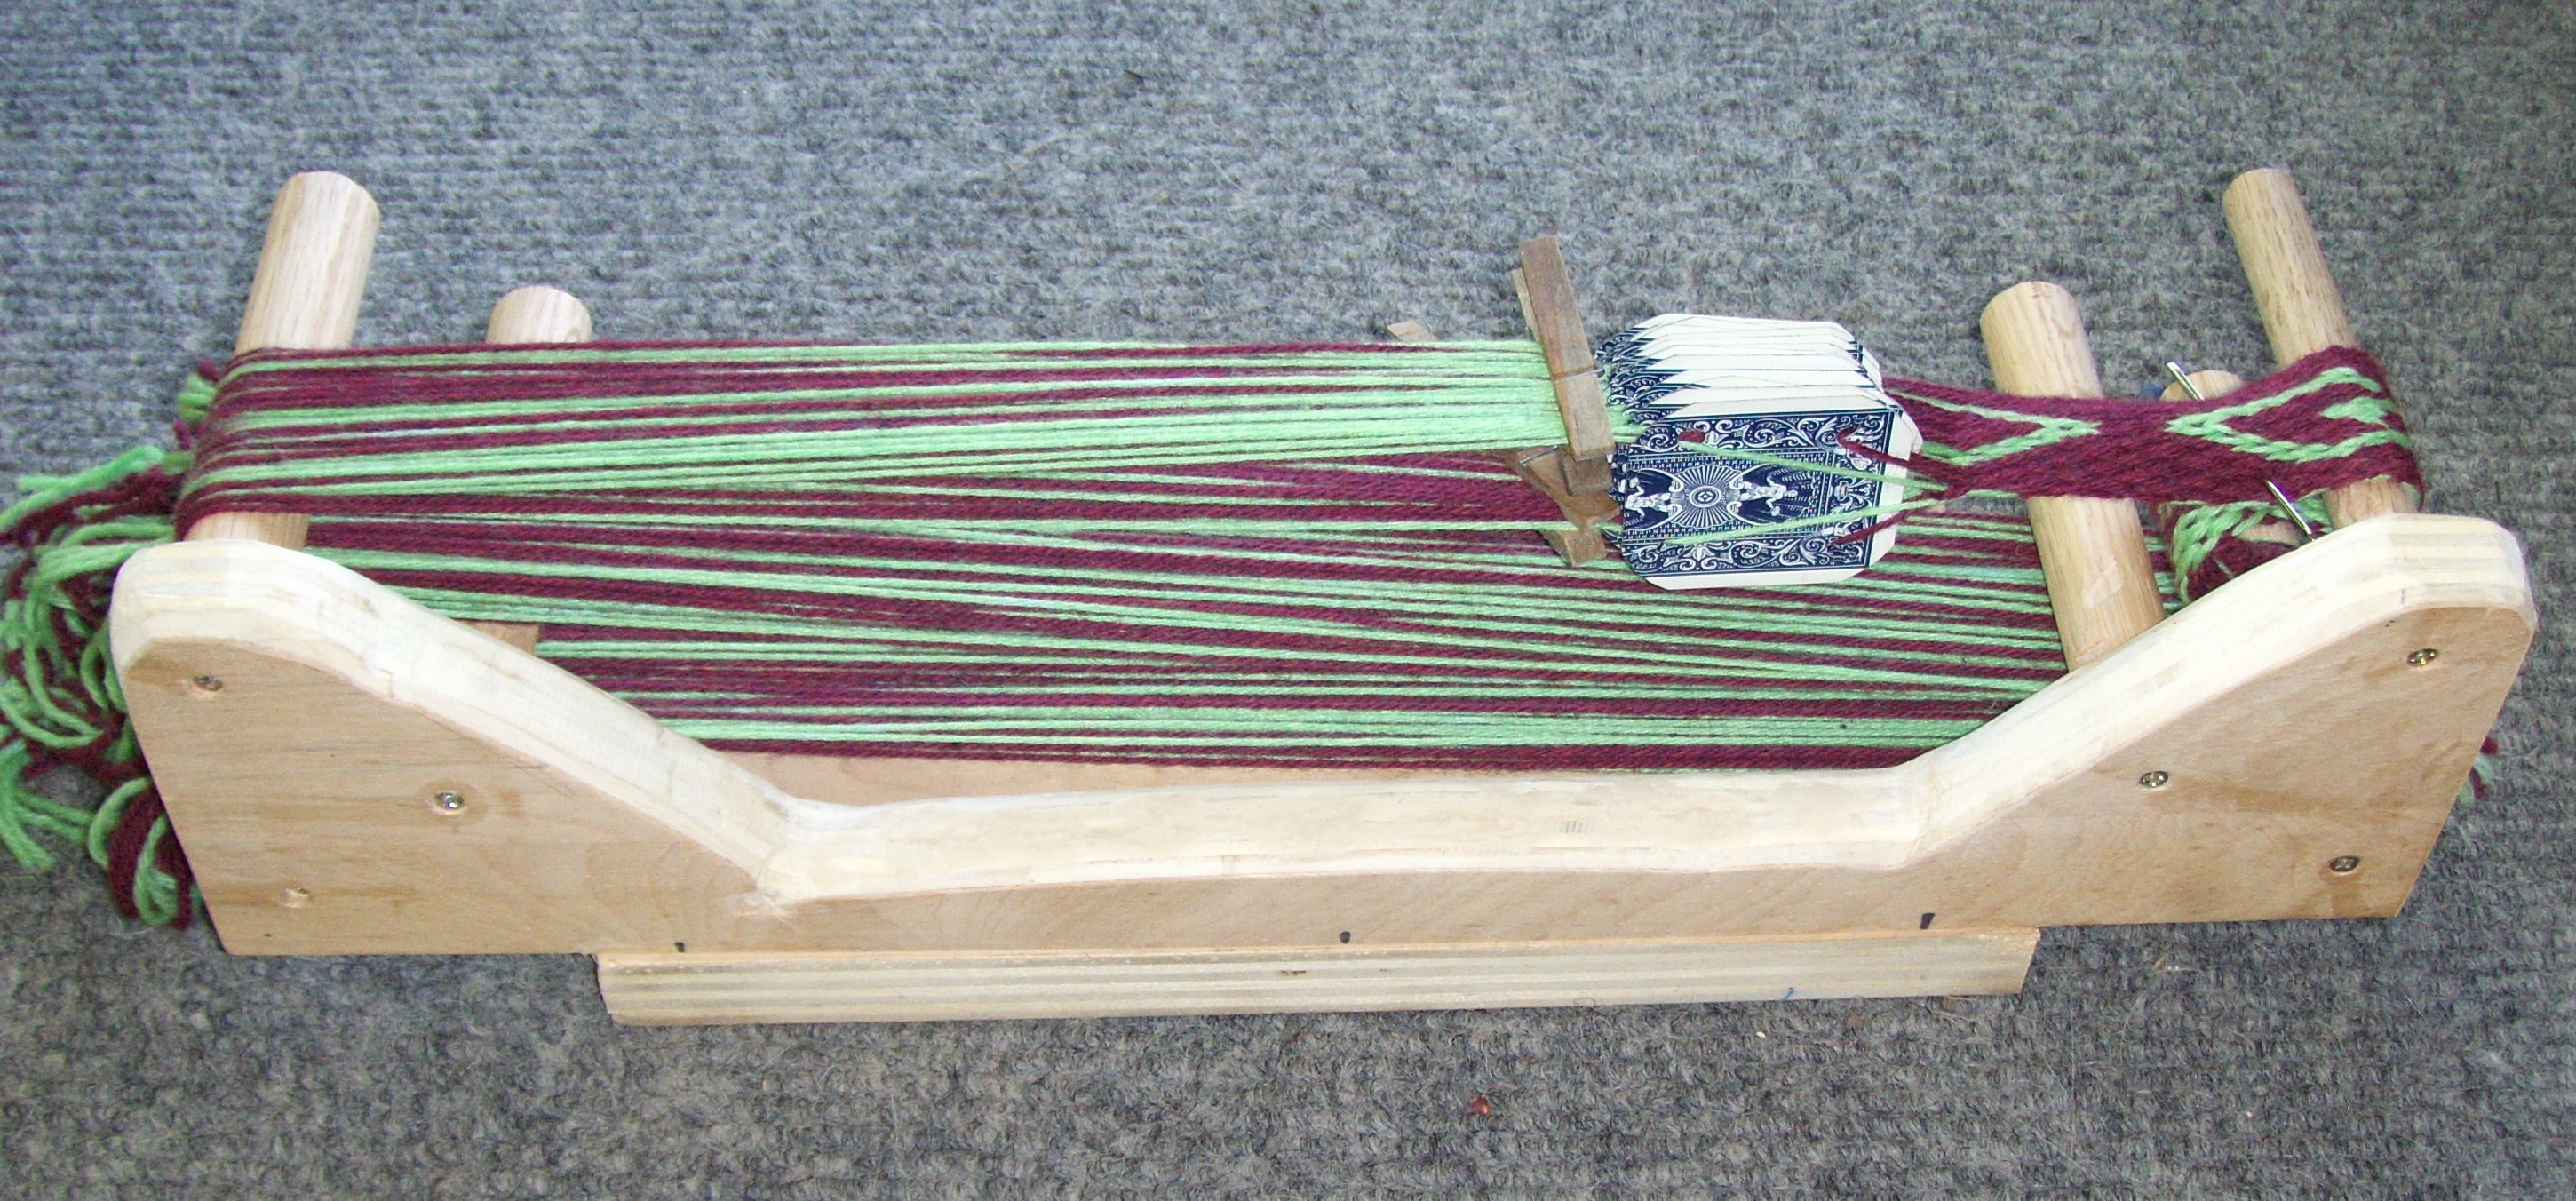
A couple of weeks ago, I started warped my loom for another running leaves card woven band/strap/belt. It turned out to be too wide to be a dog leash, so I’ve decided that it will make a great guitar strap or belt.
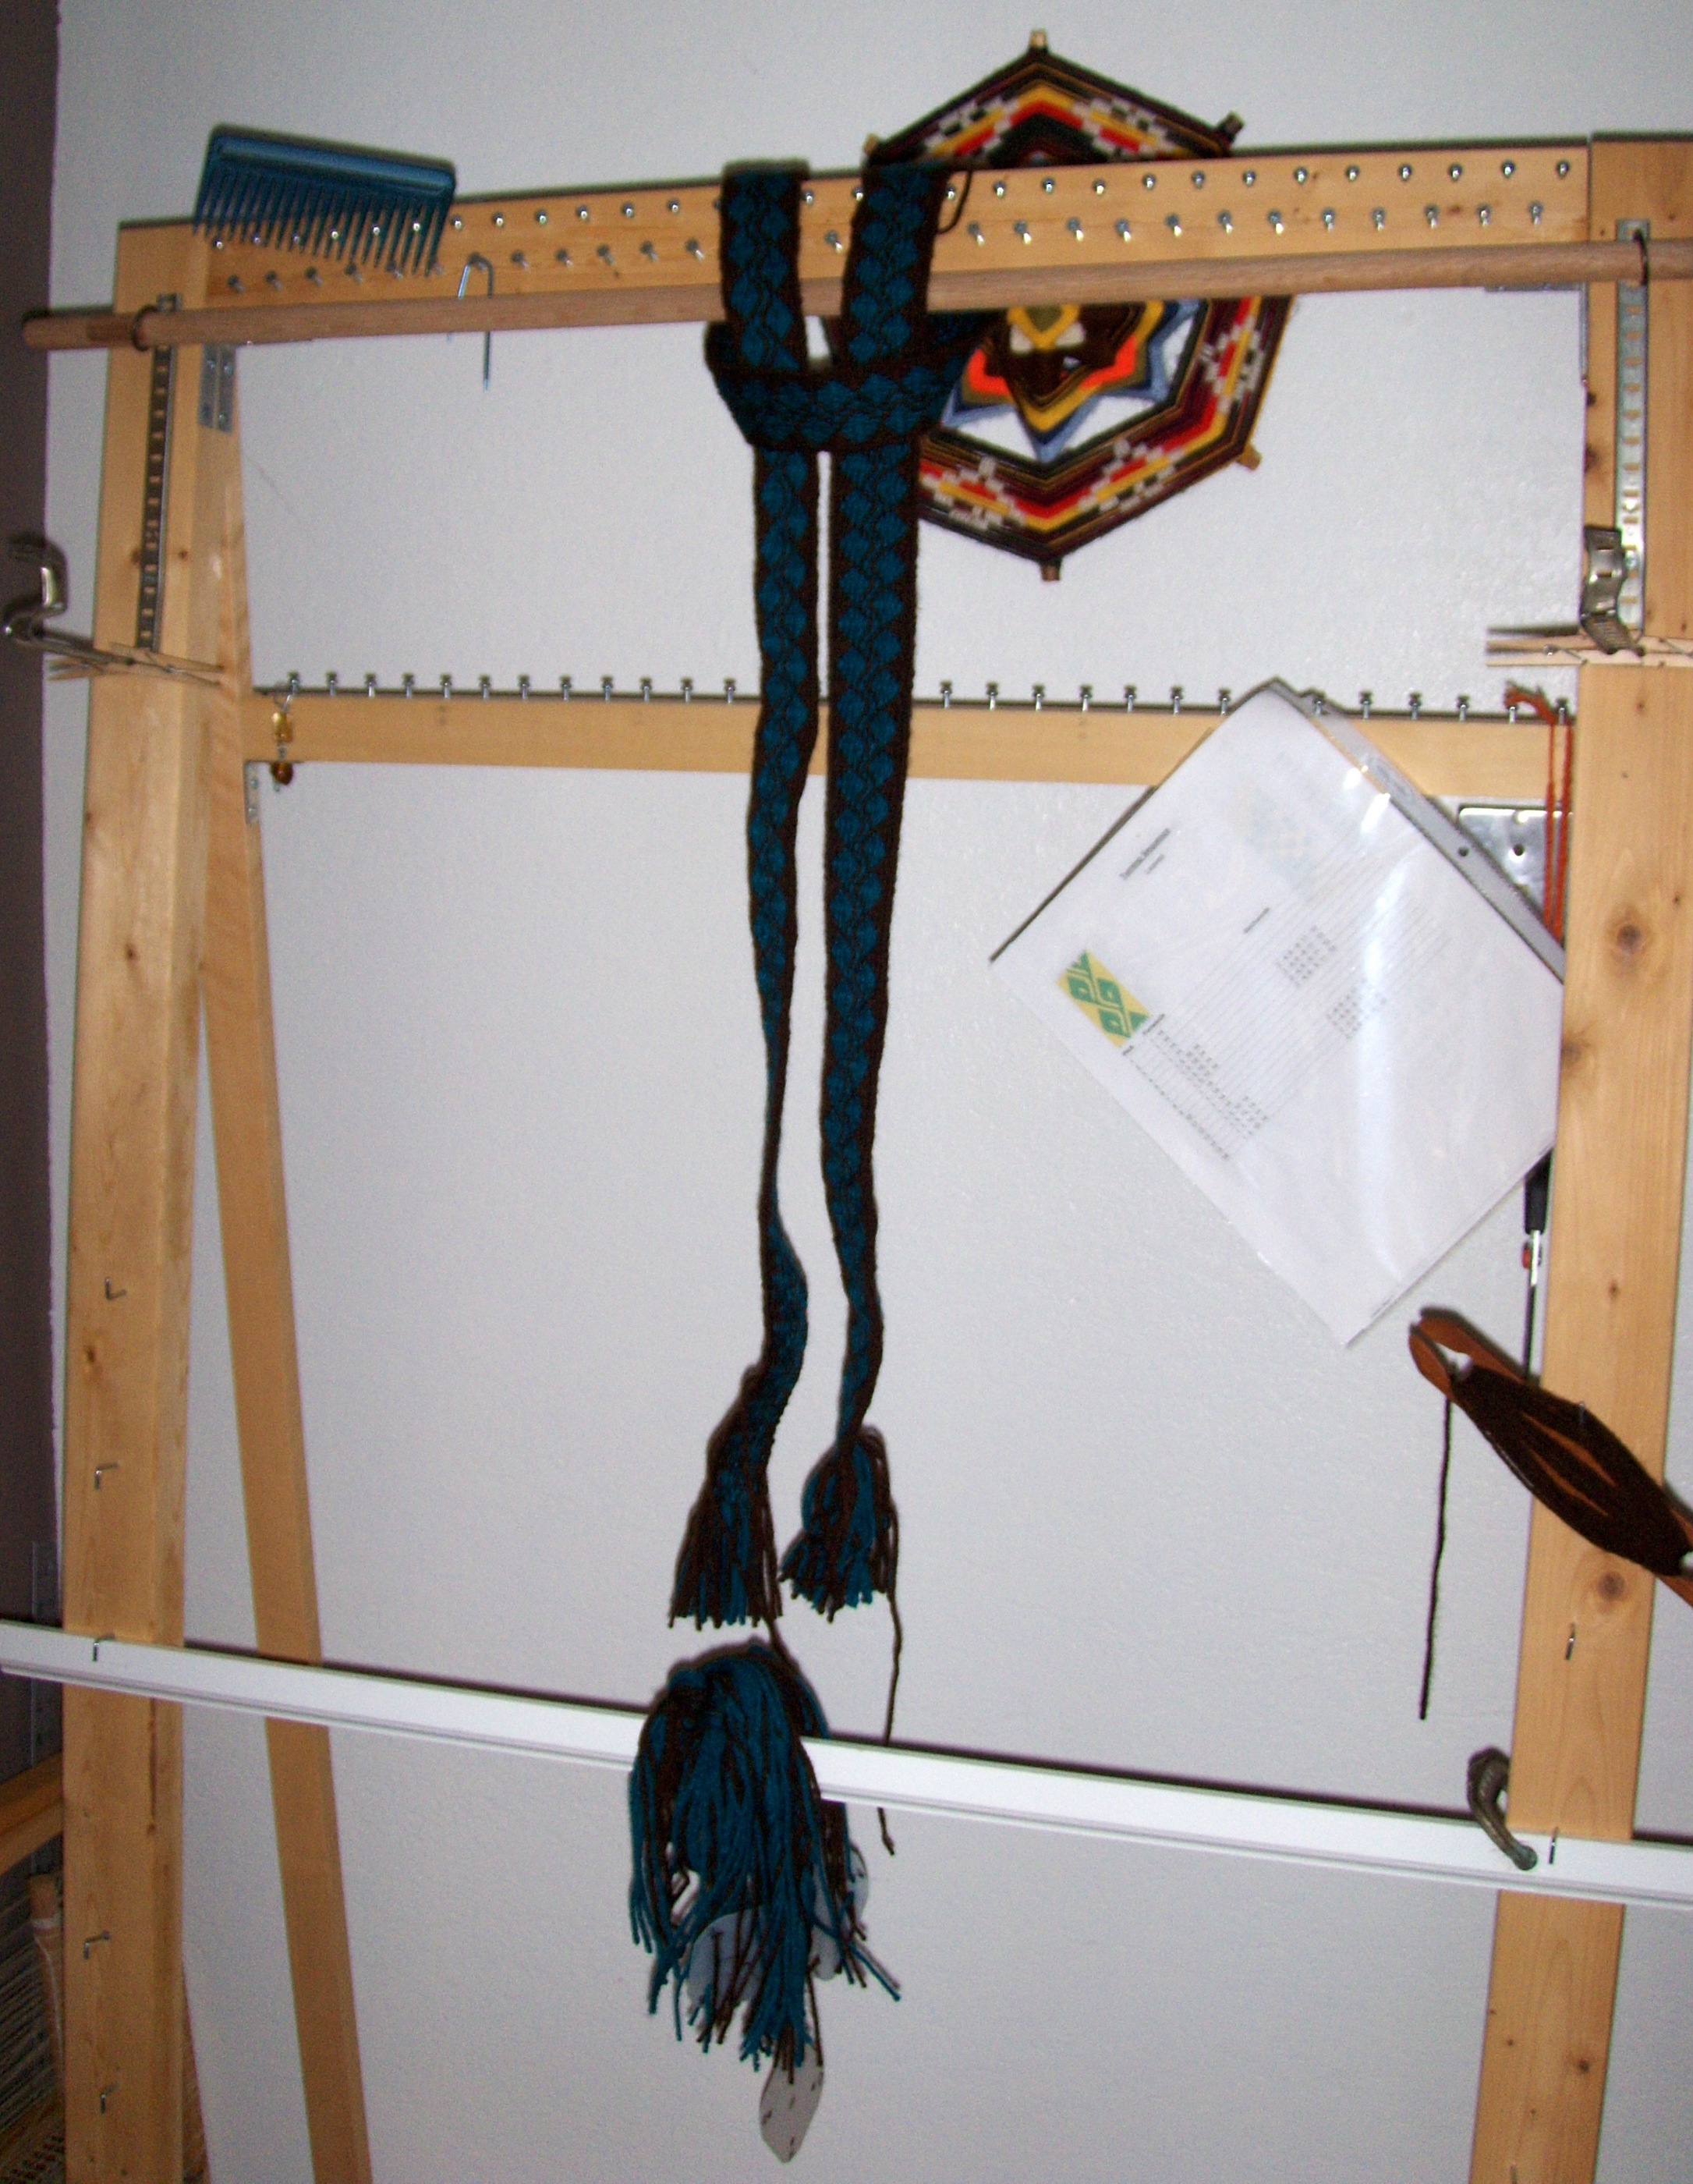
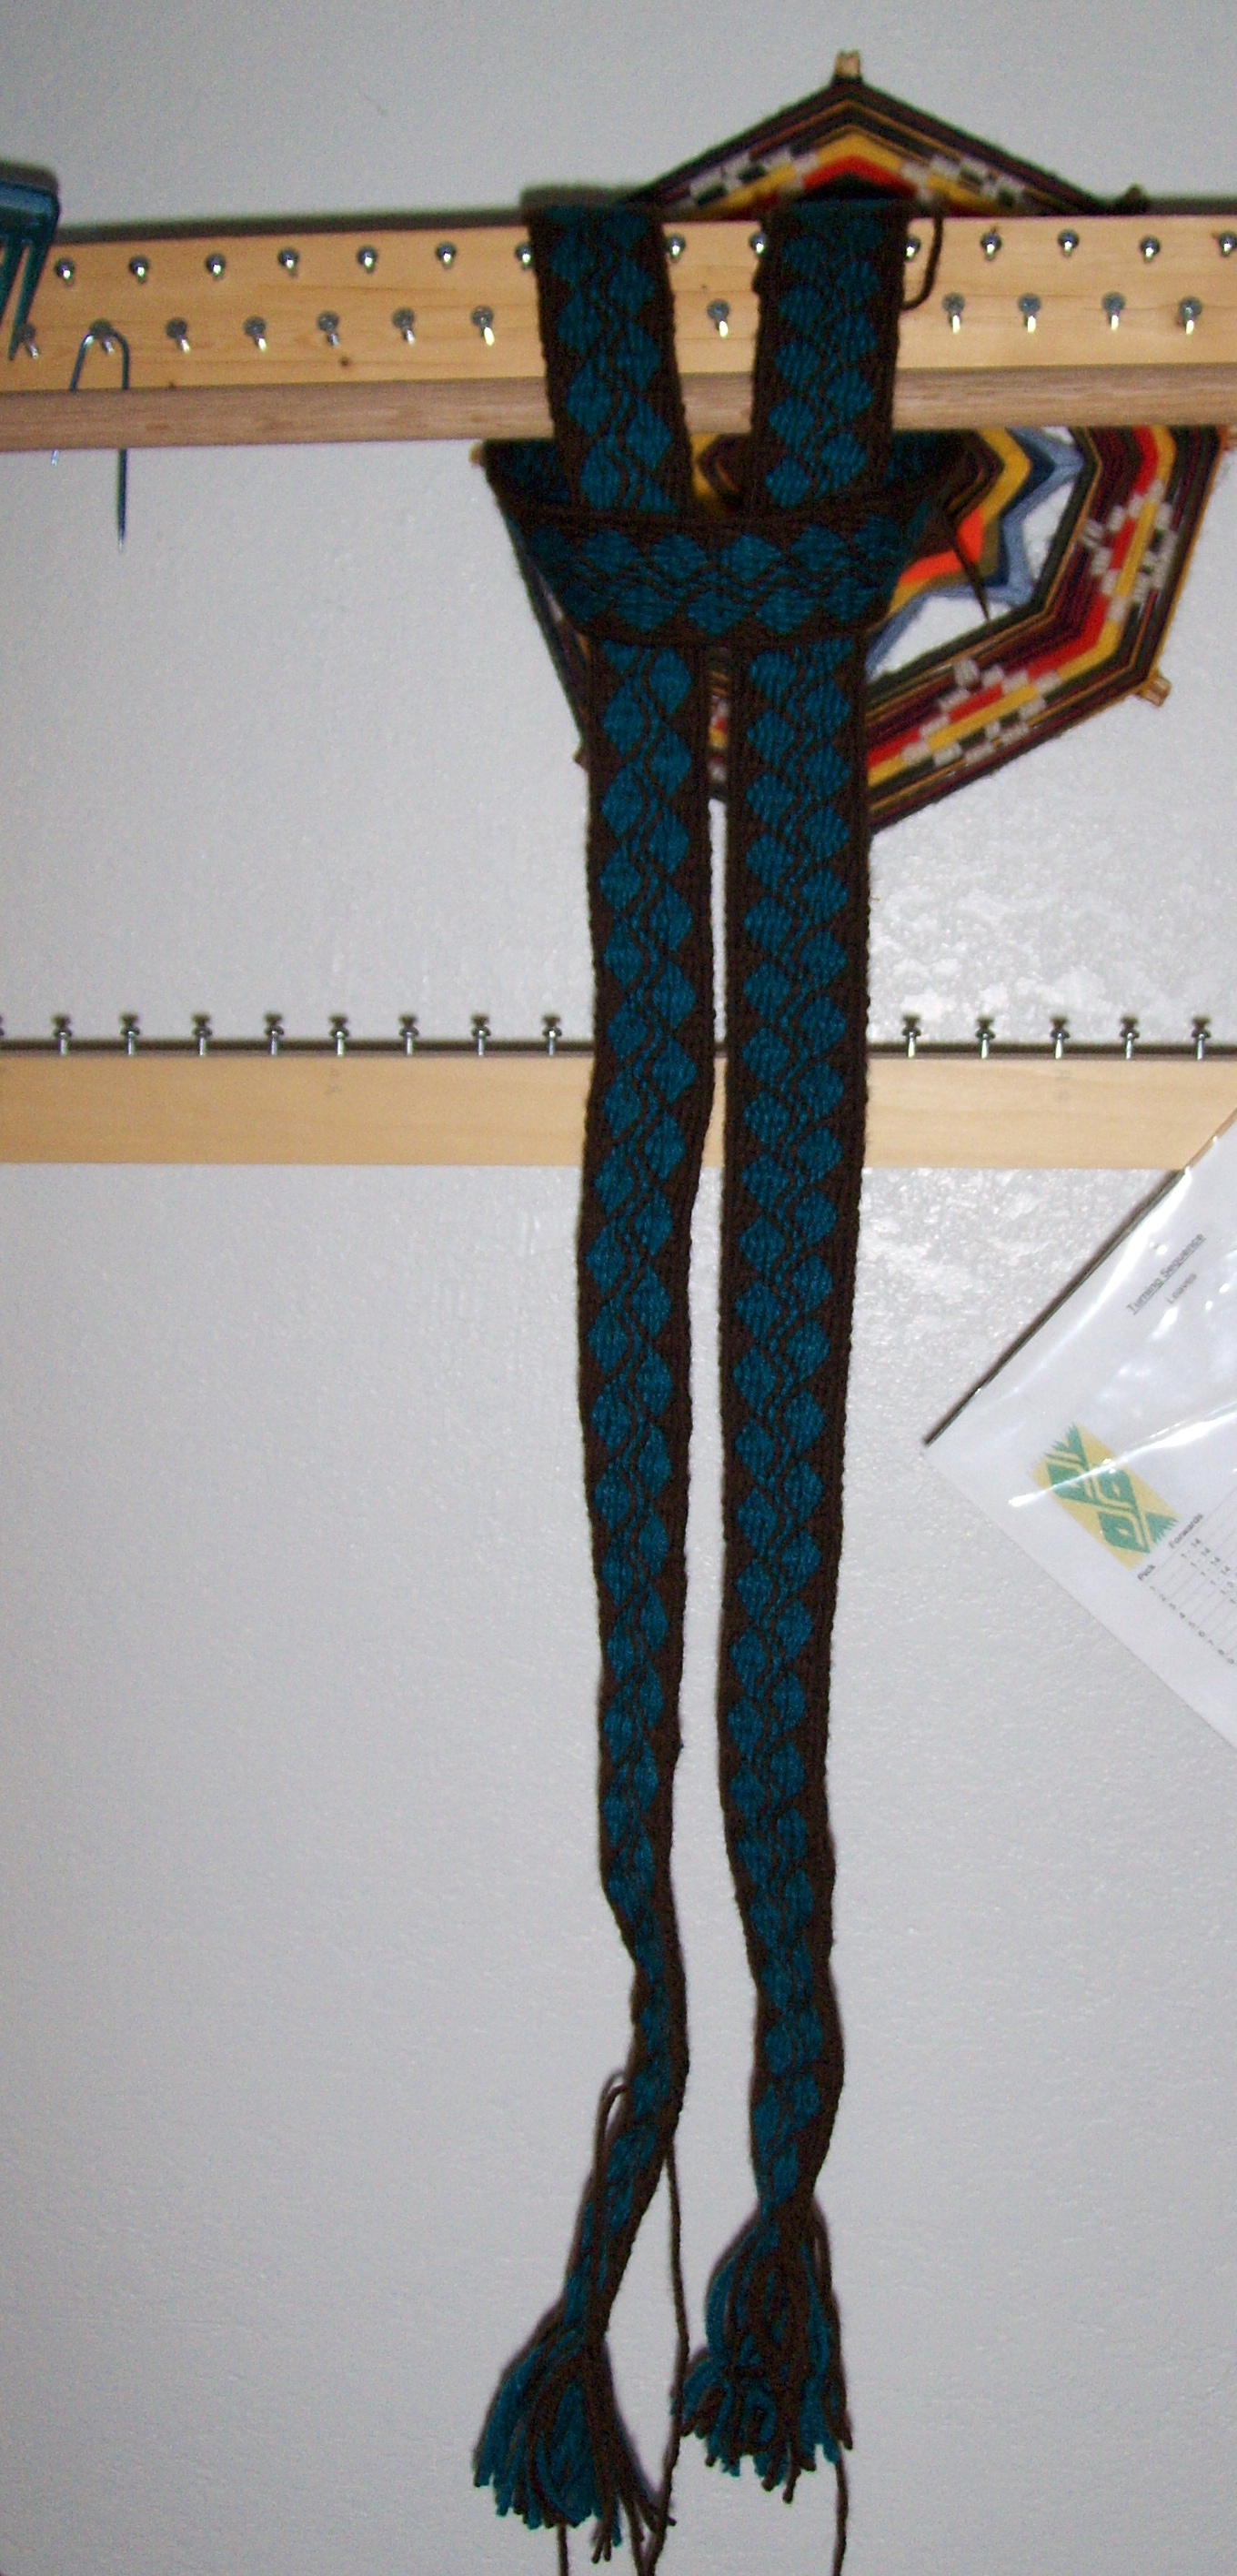
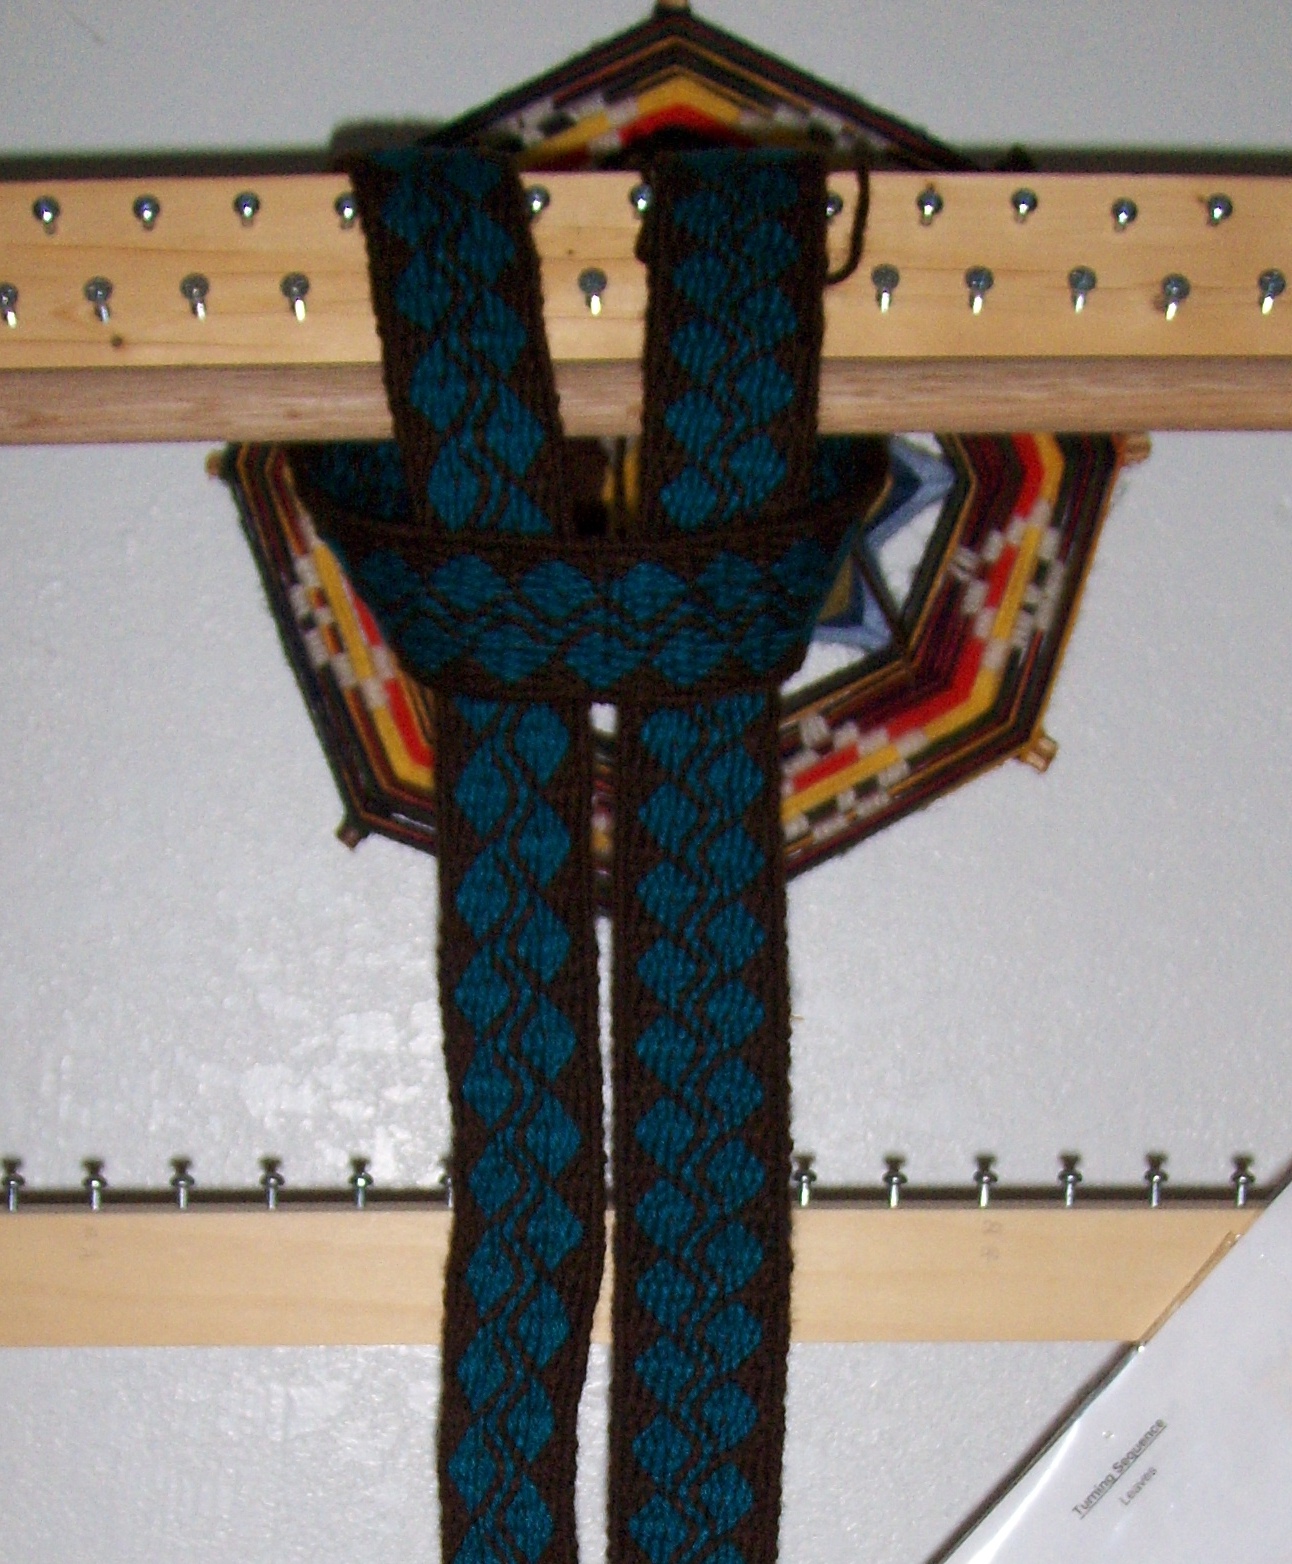
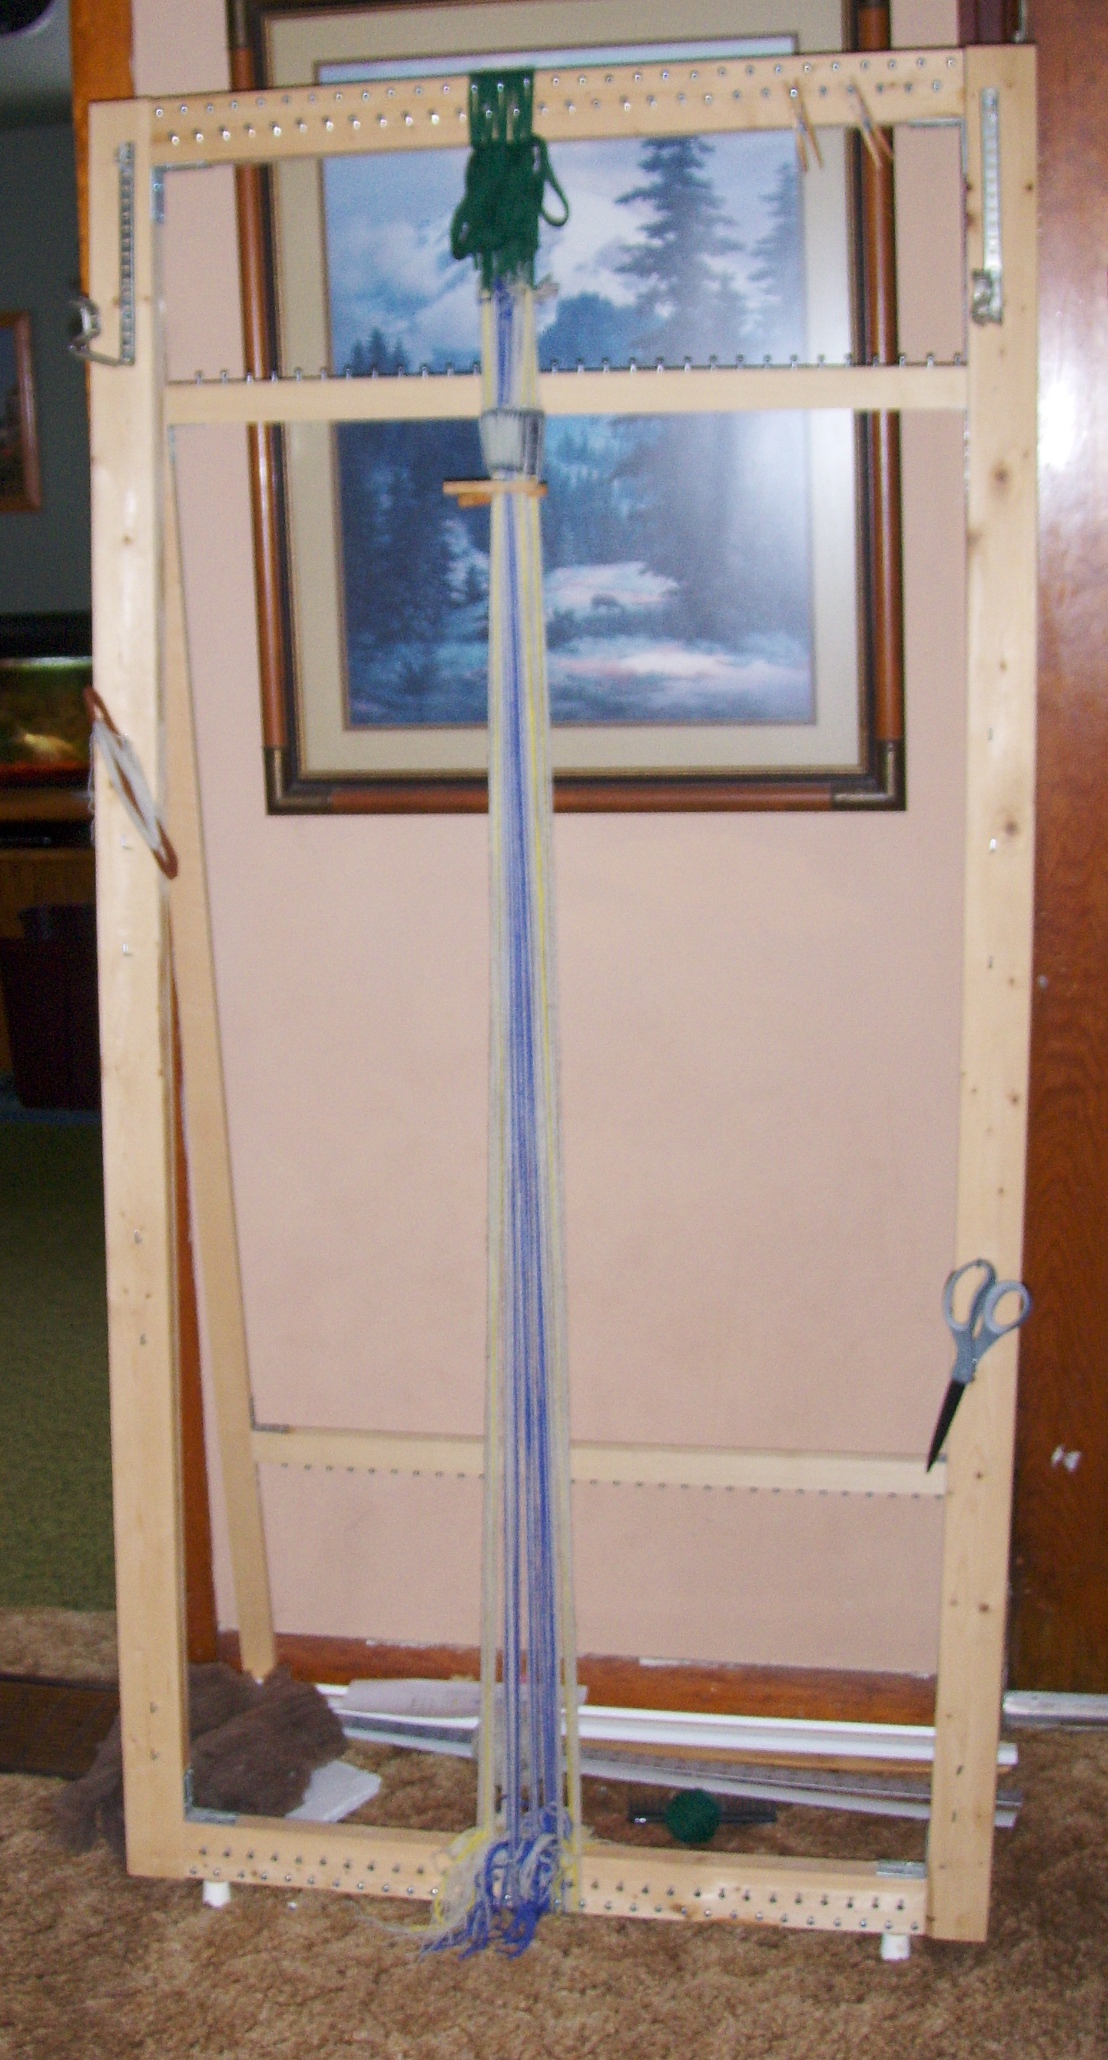
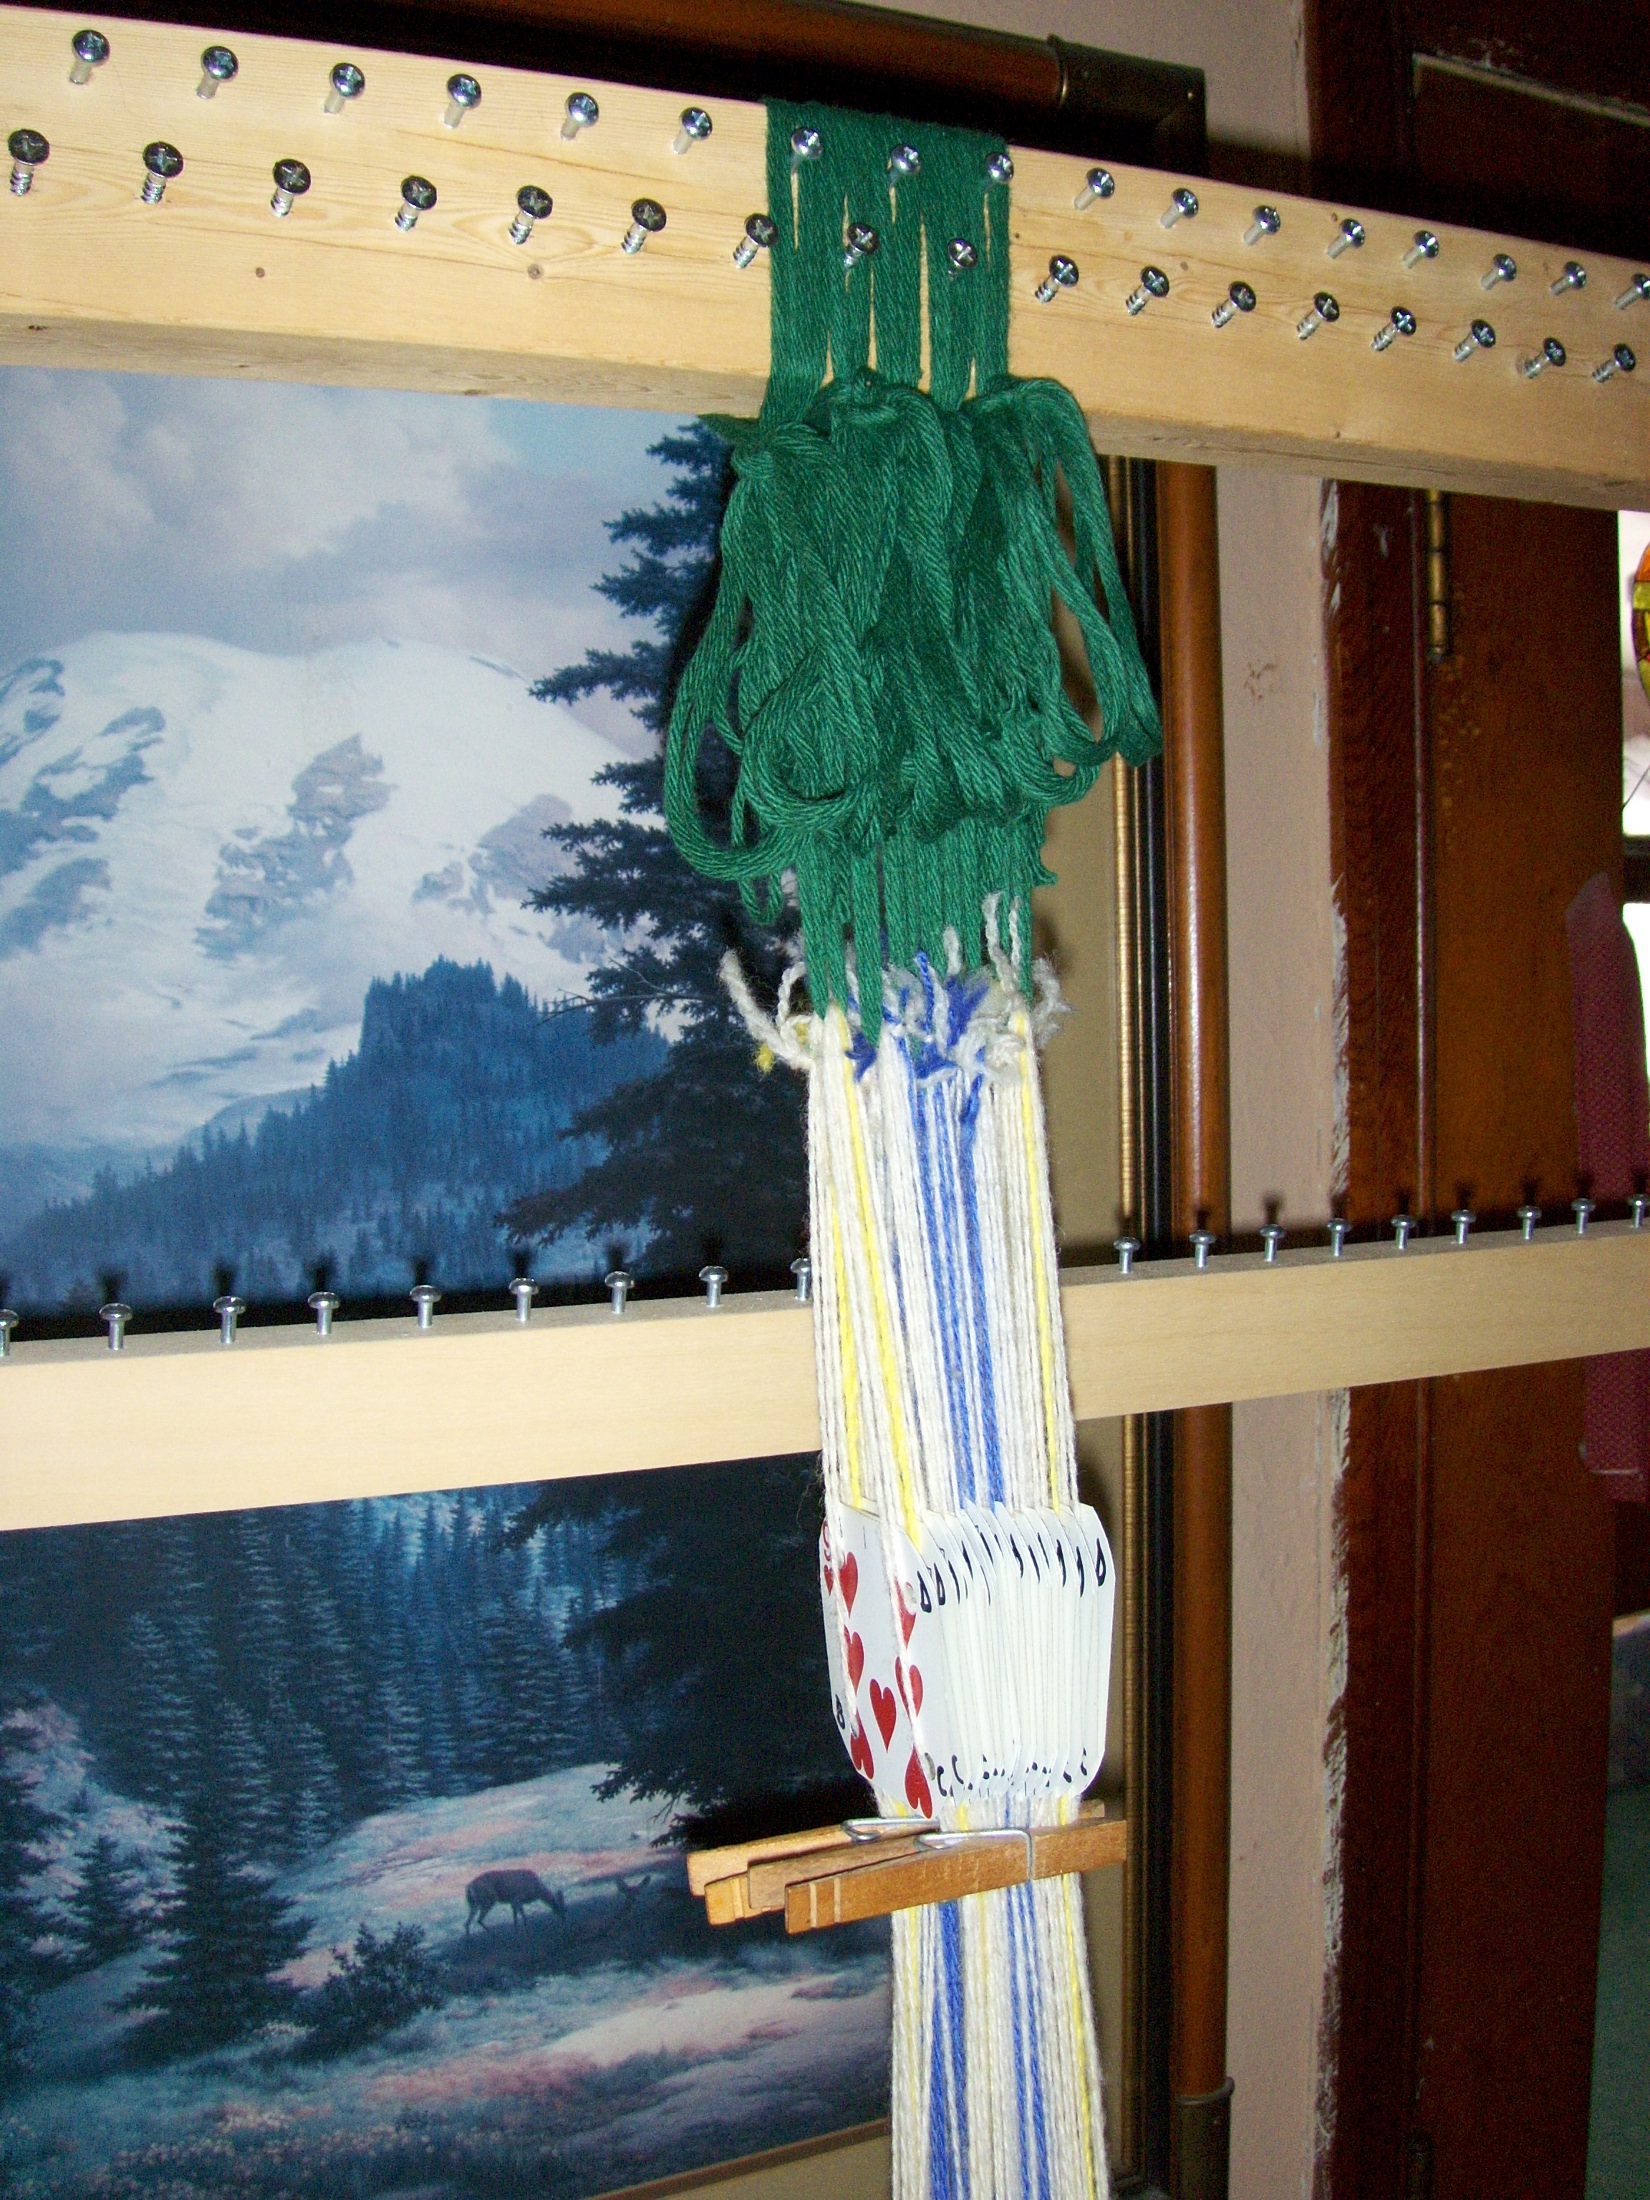
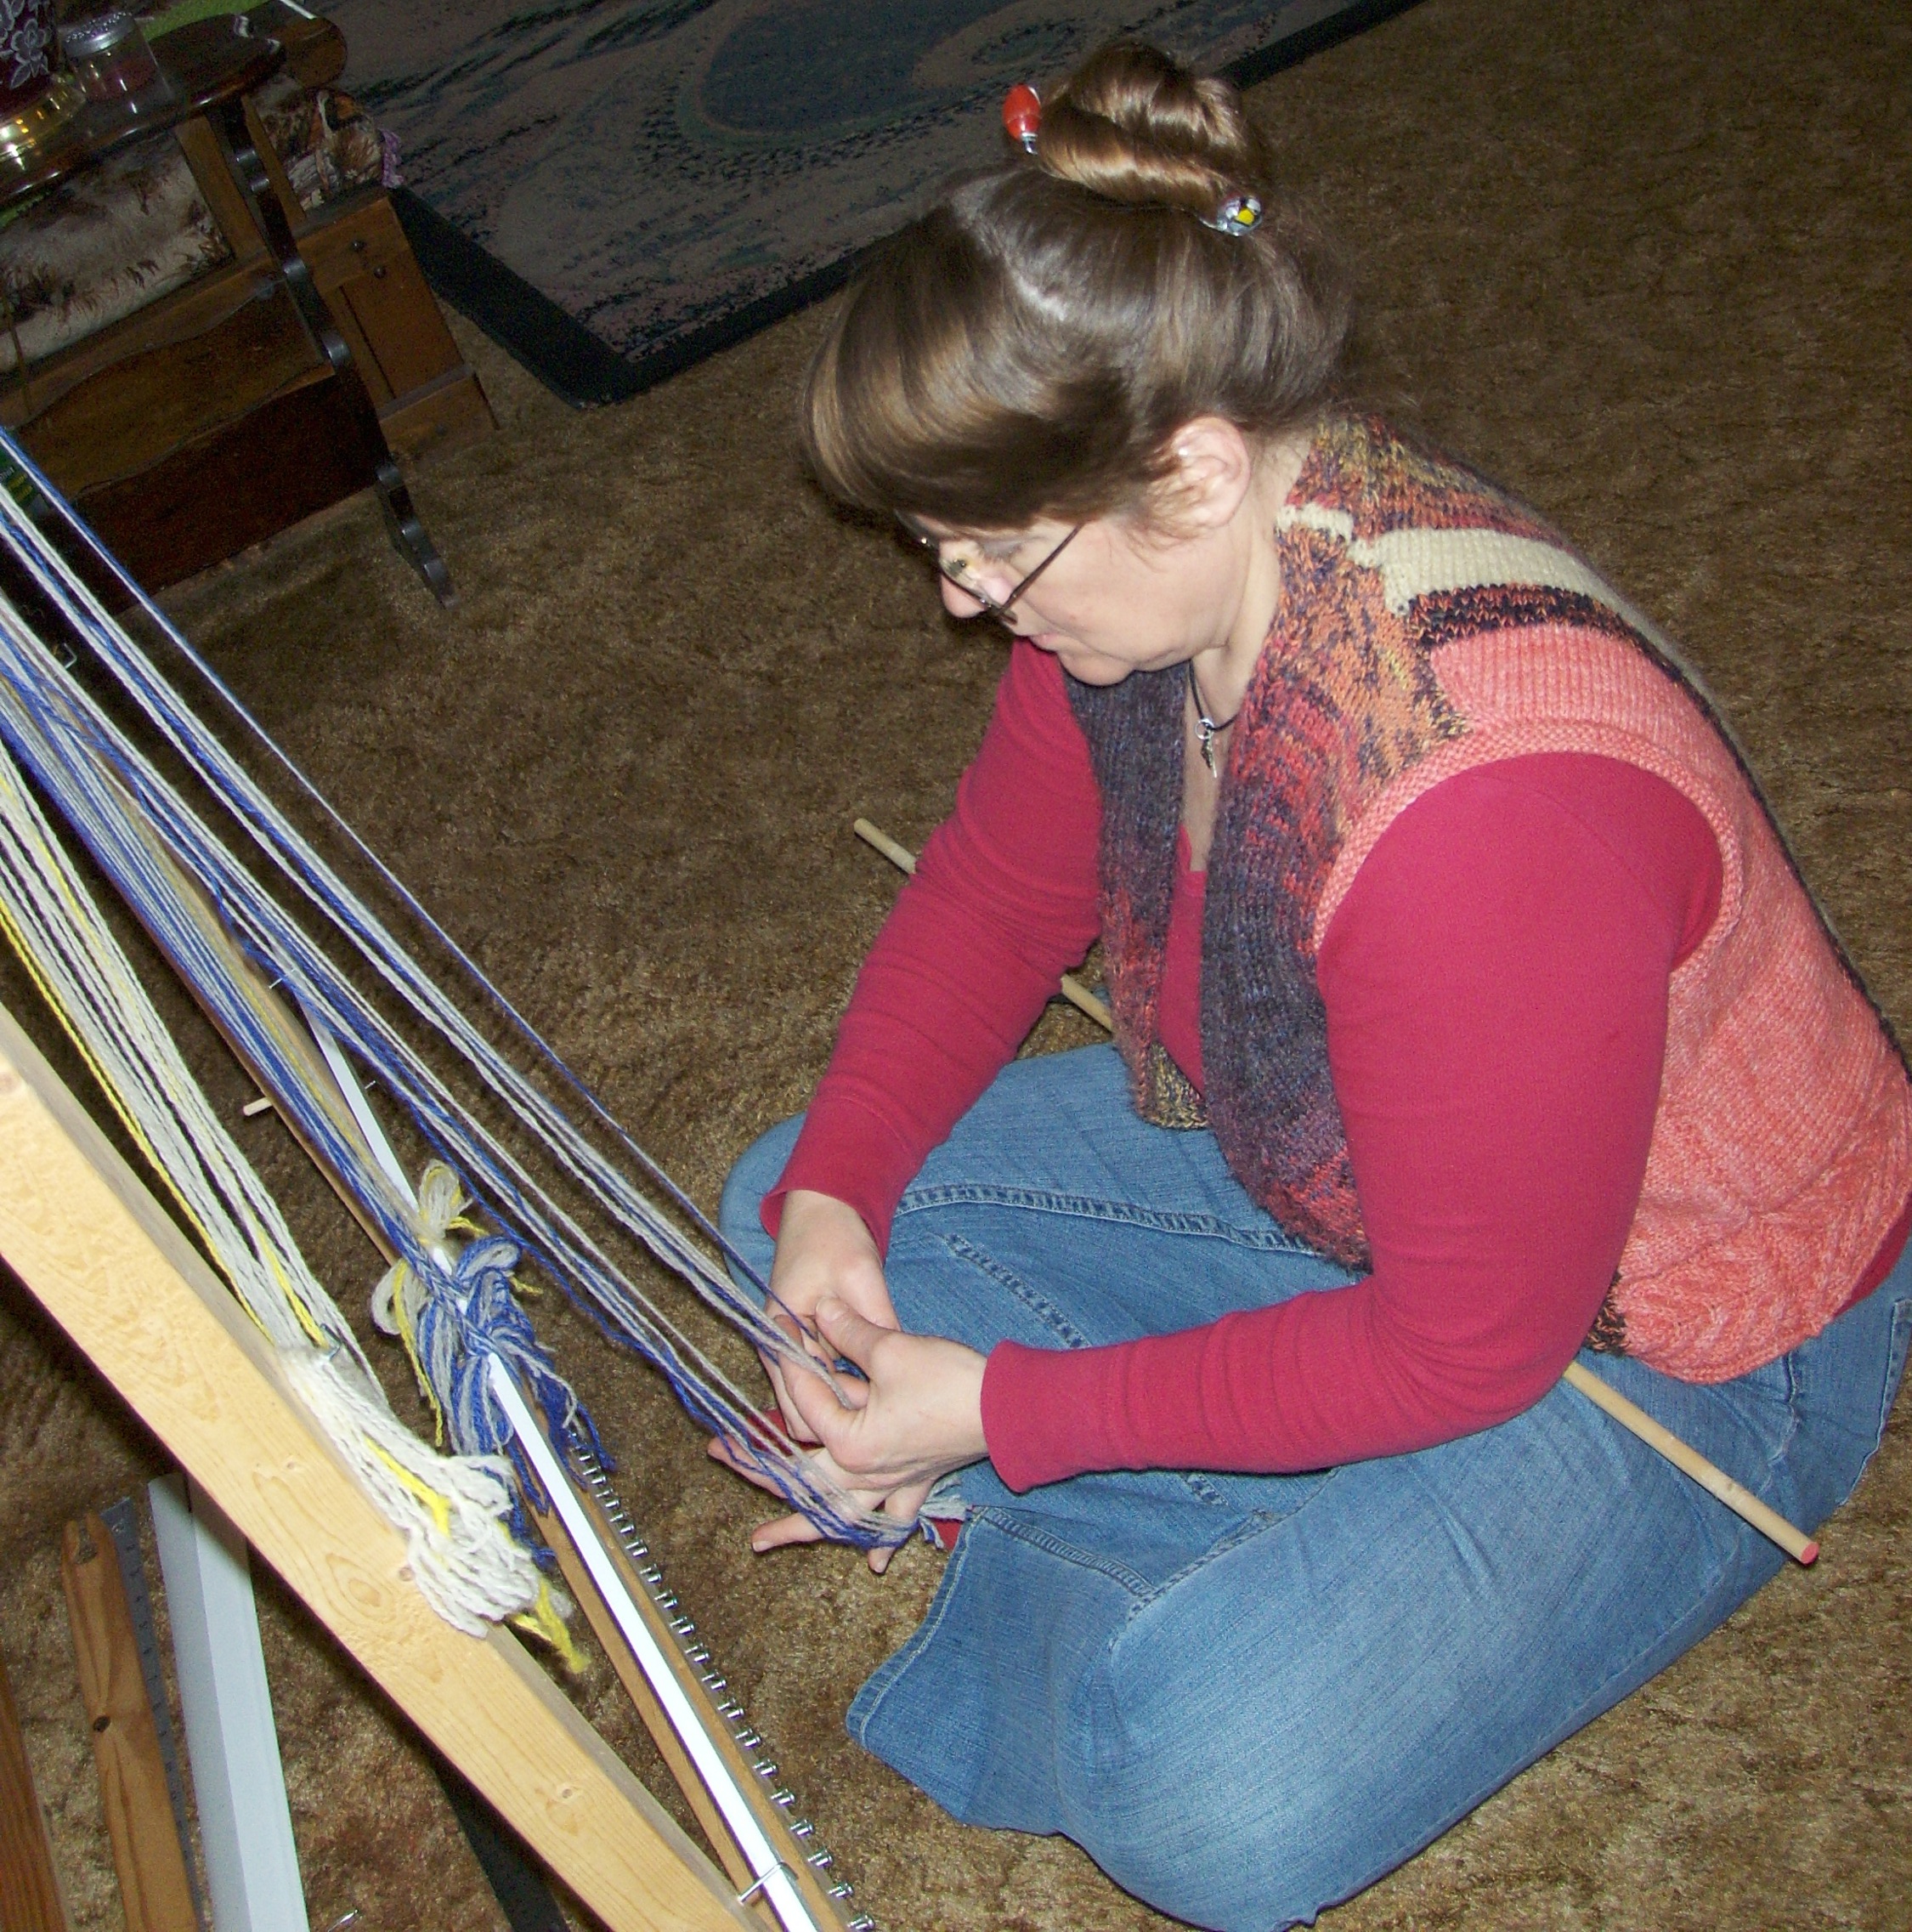
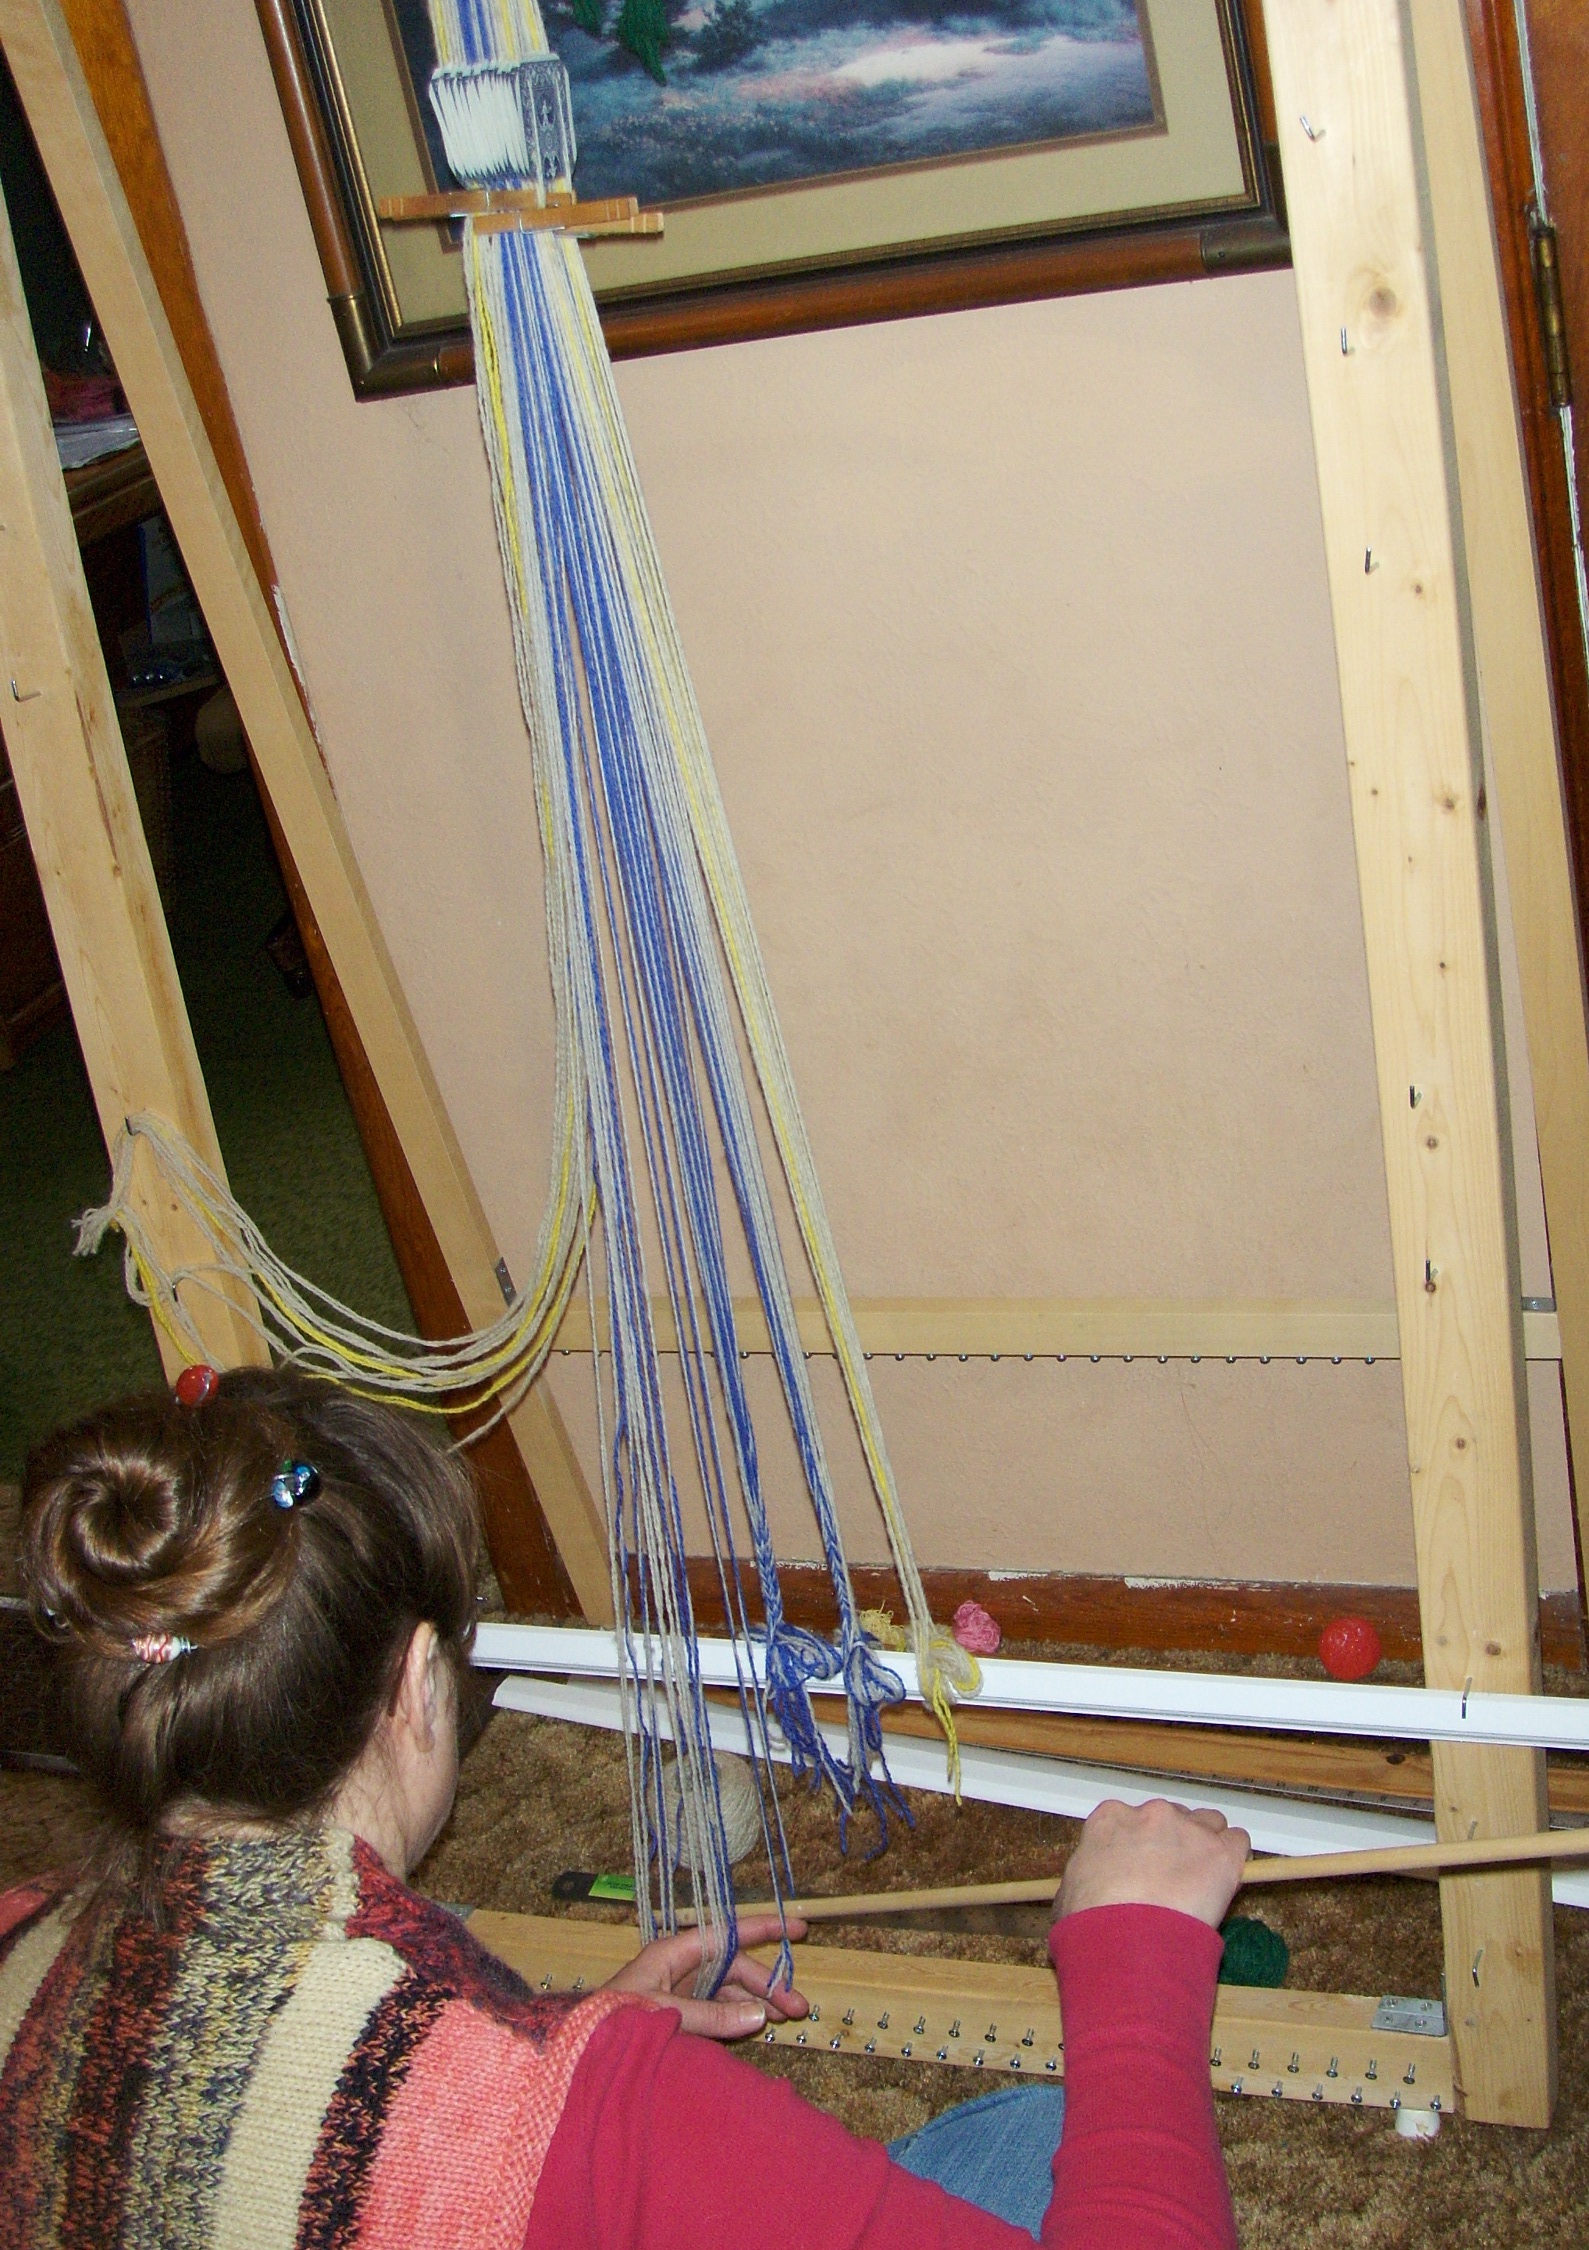
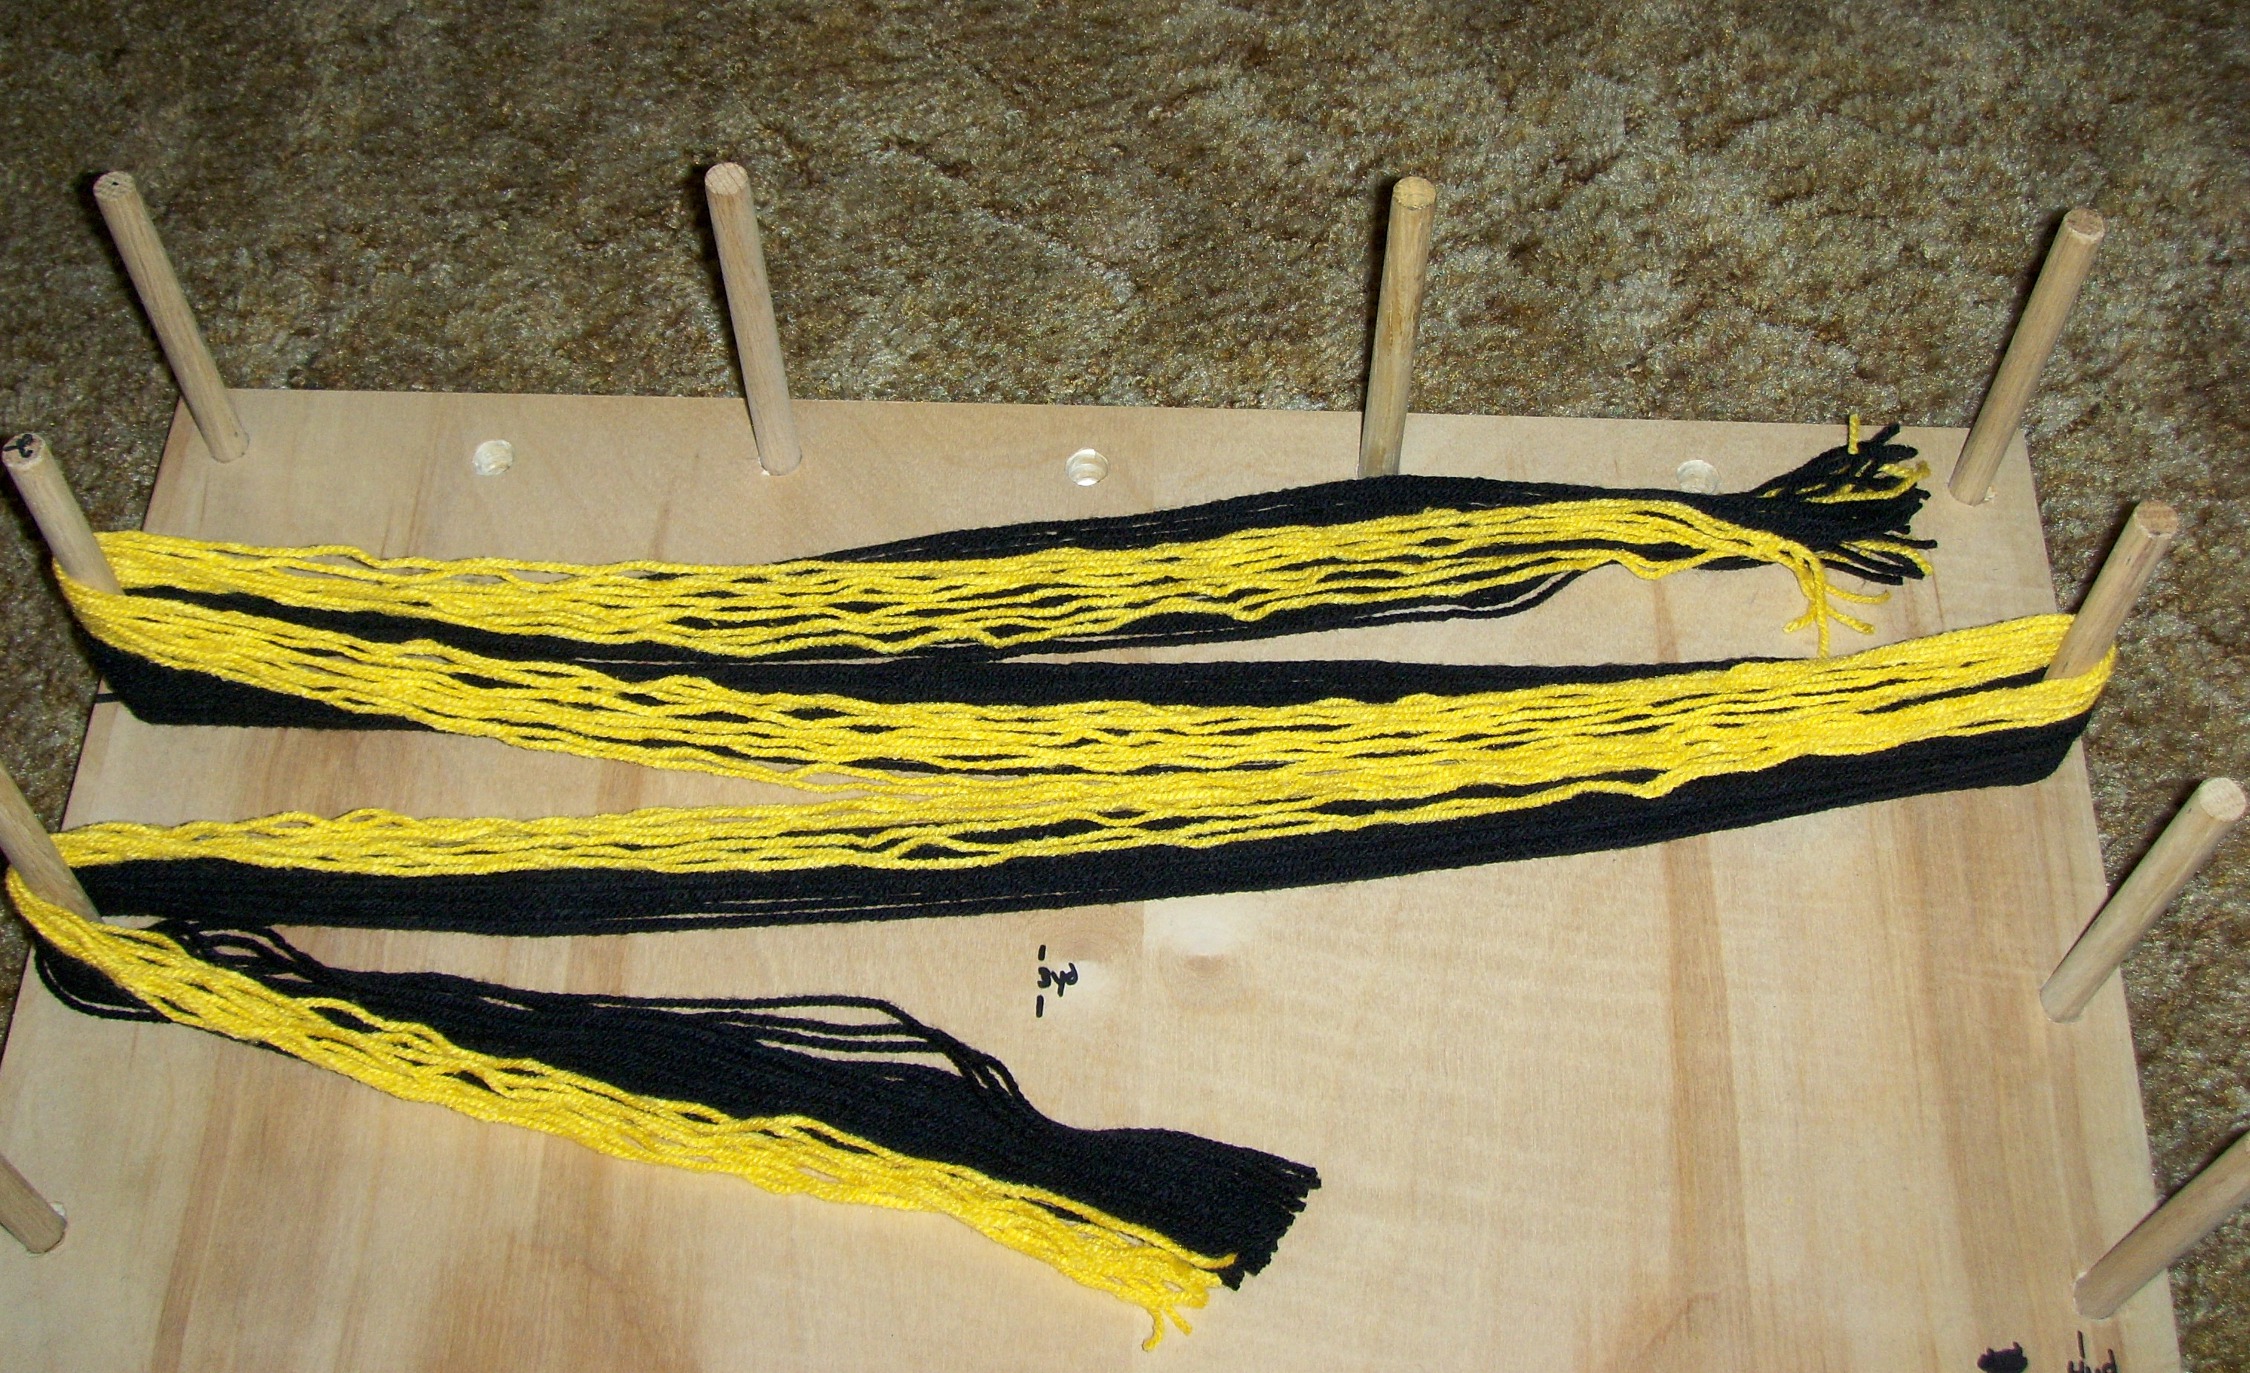
These pictures are of the 3 yard warp; on the loom (a standing rug/navajo weaving loom); and the first few inches woven.
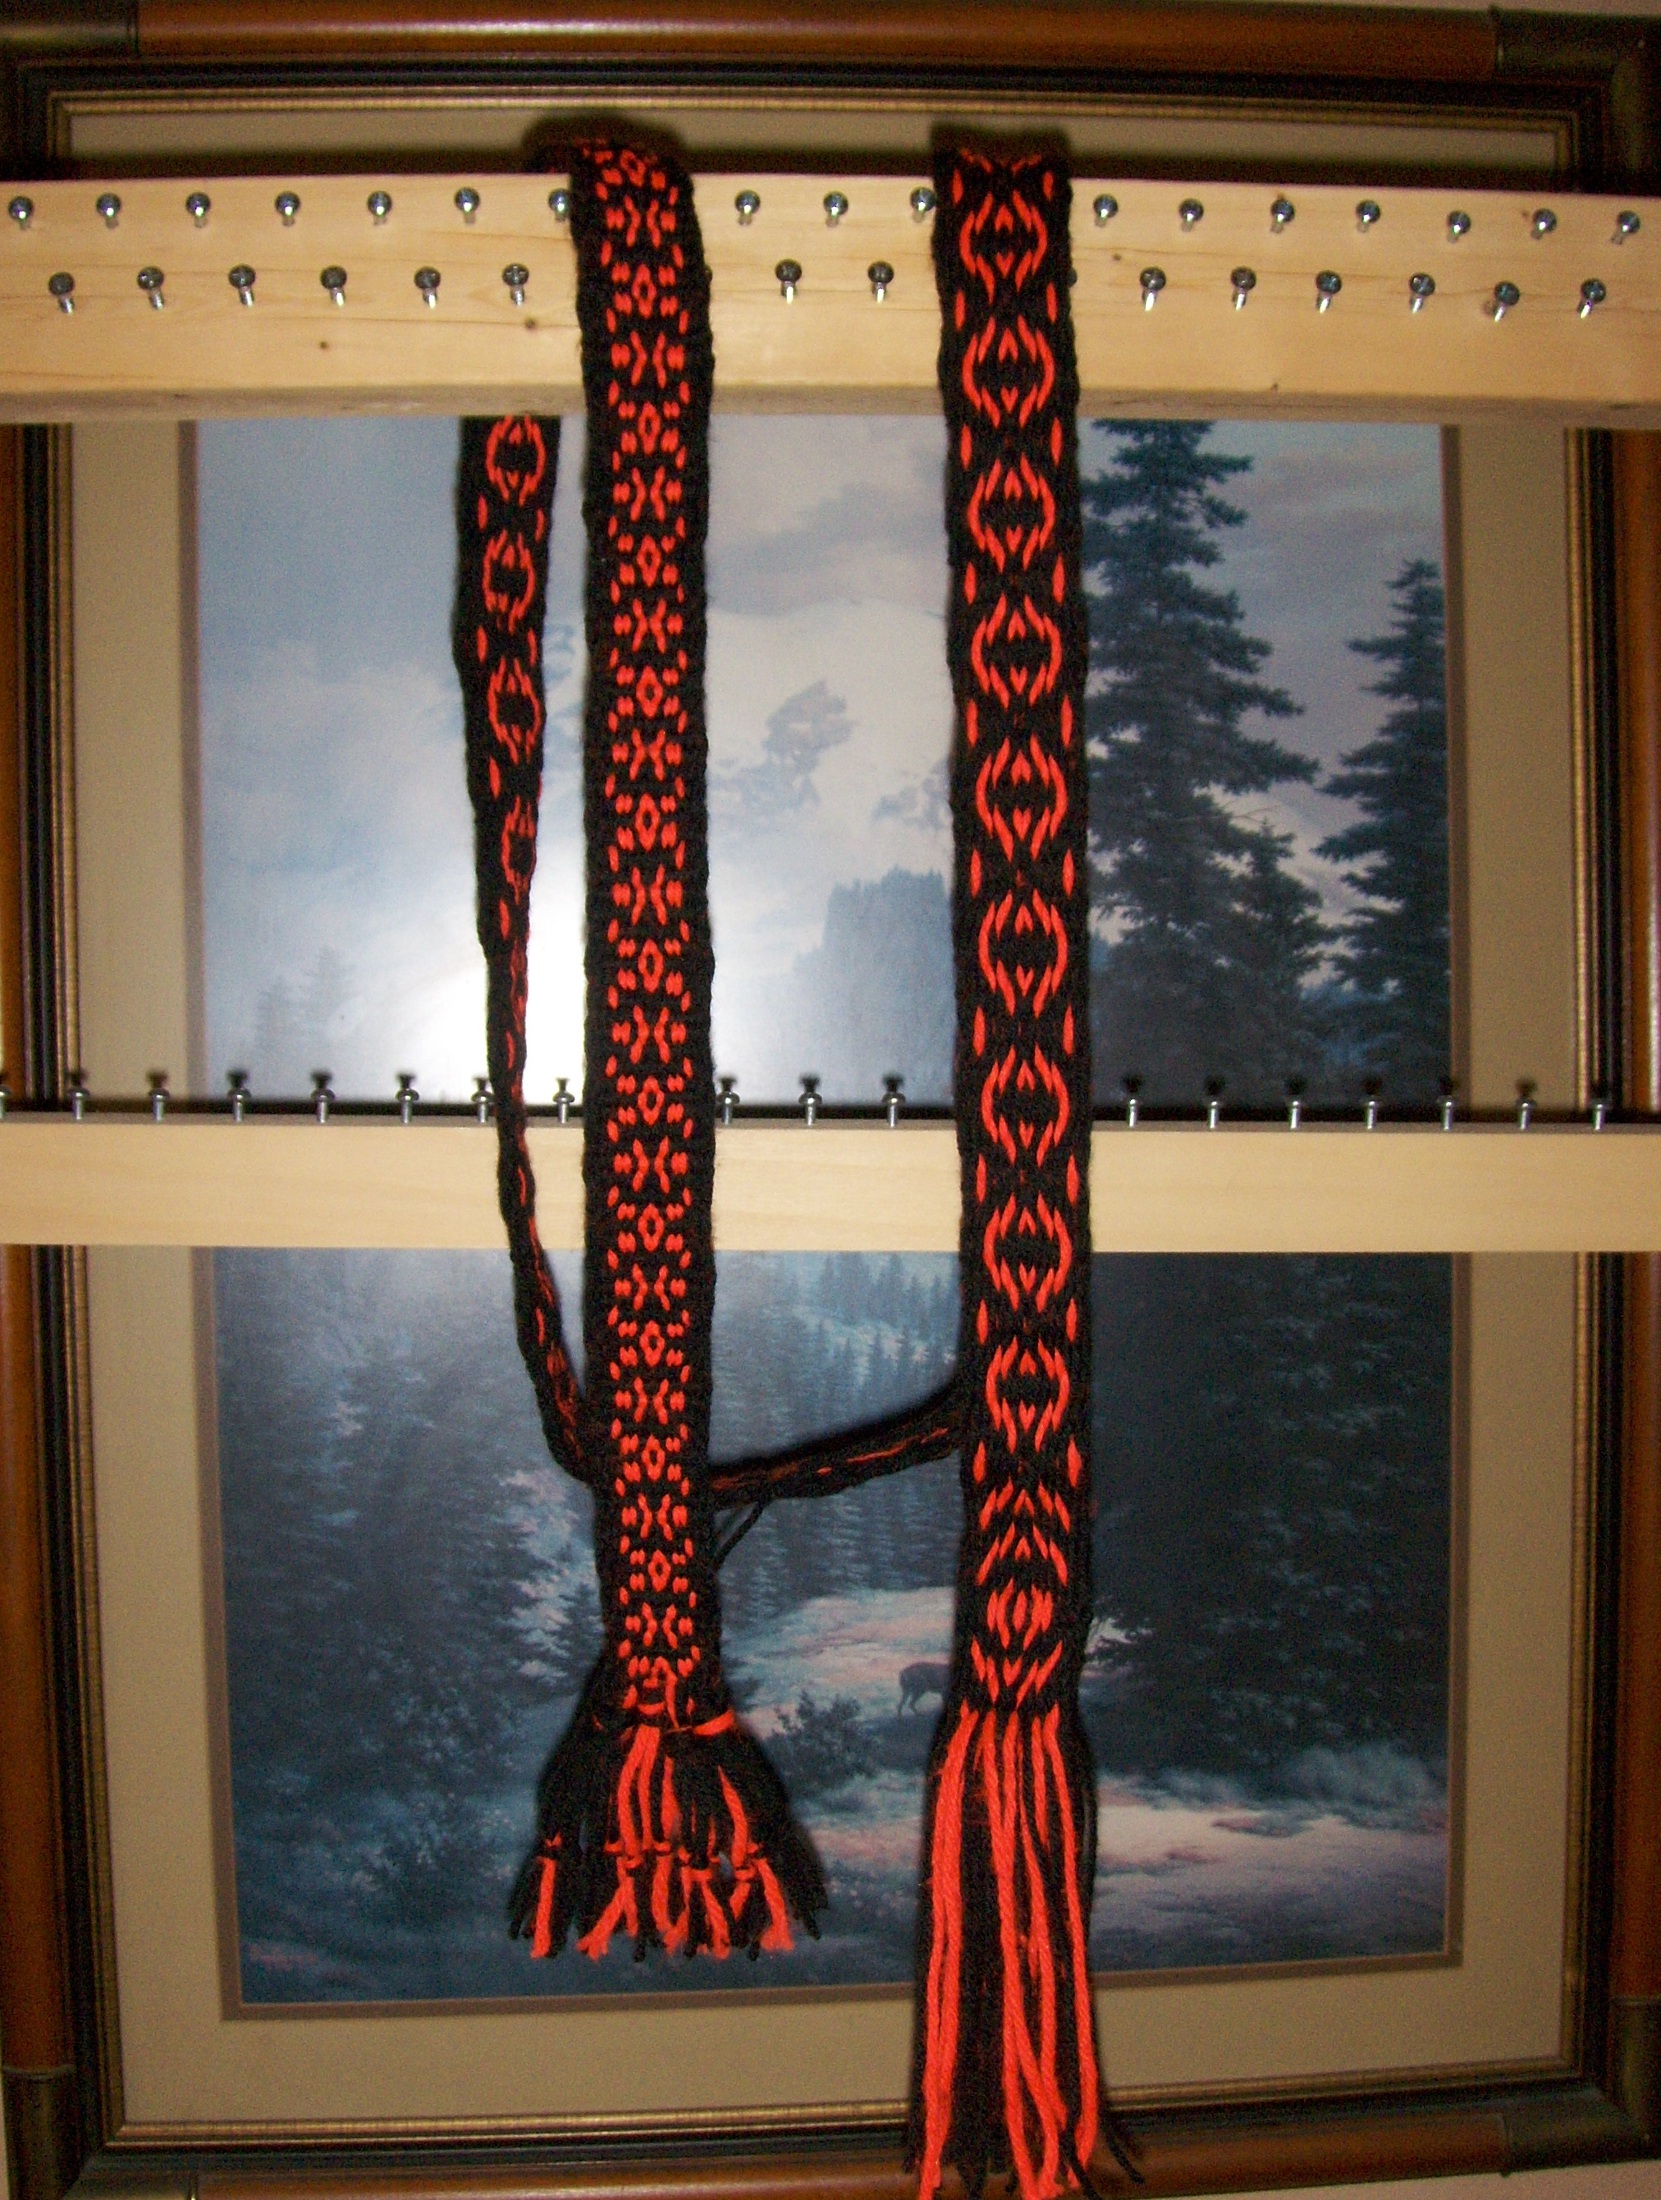
Cut off the loom and almost finished.
This is 2 inches wide and 6 feet long.
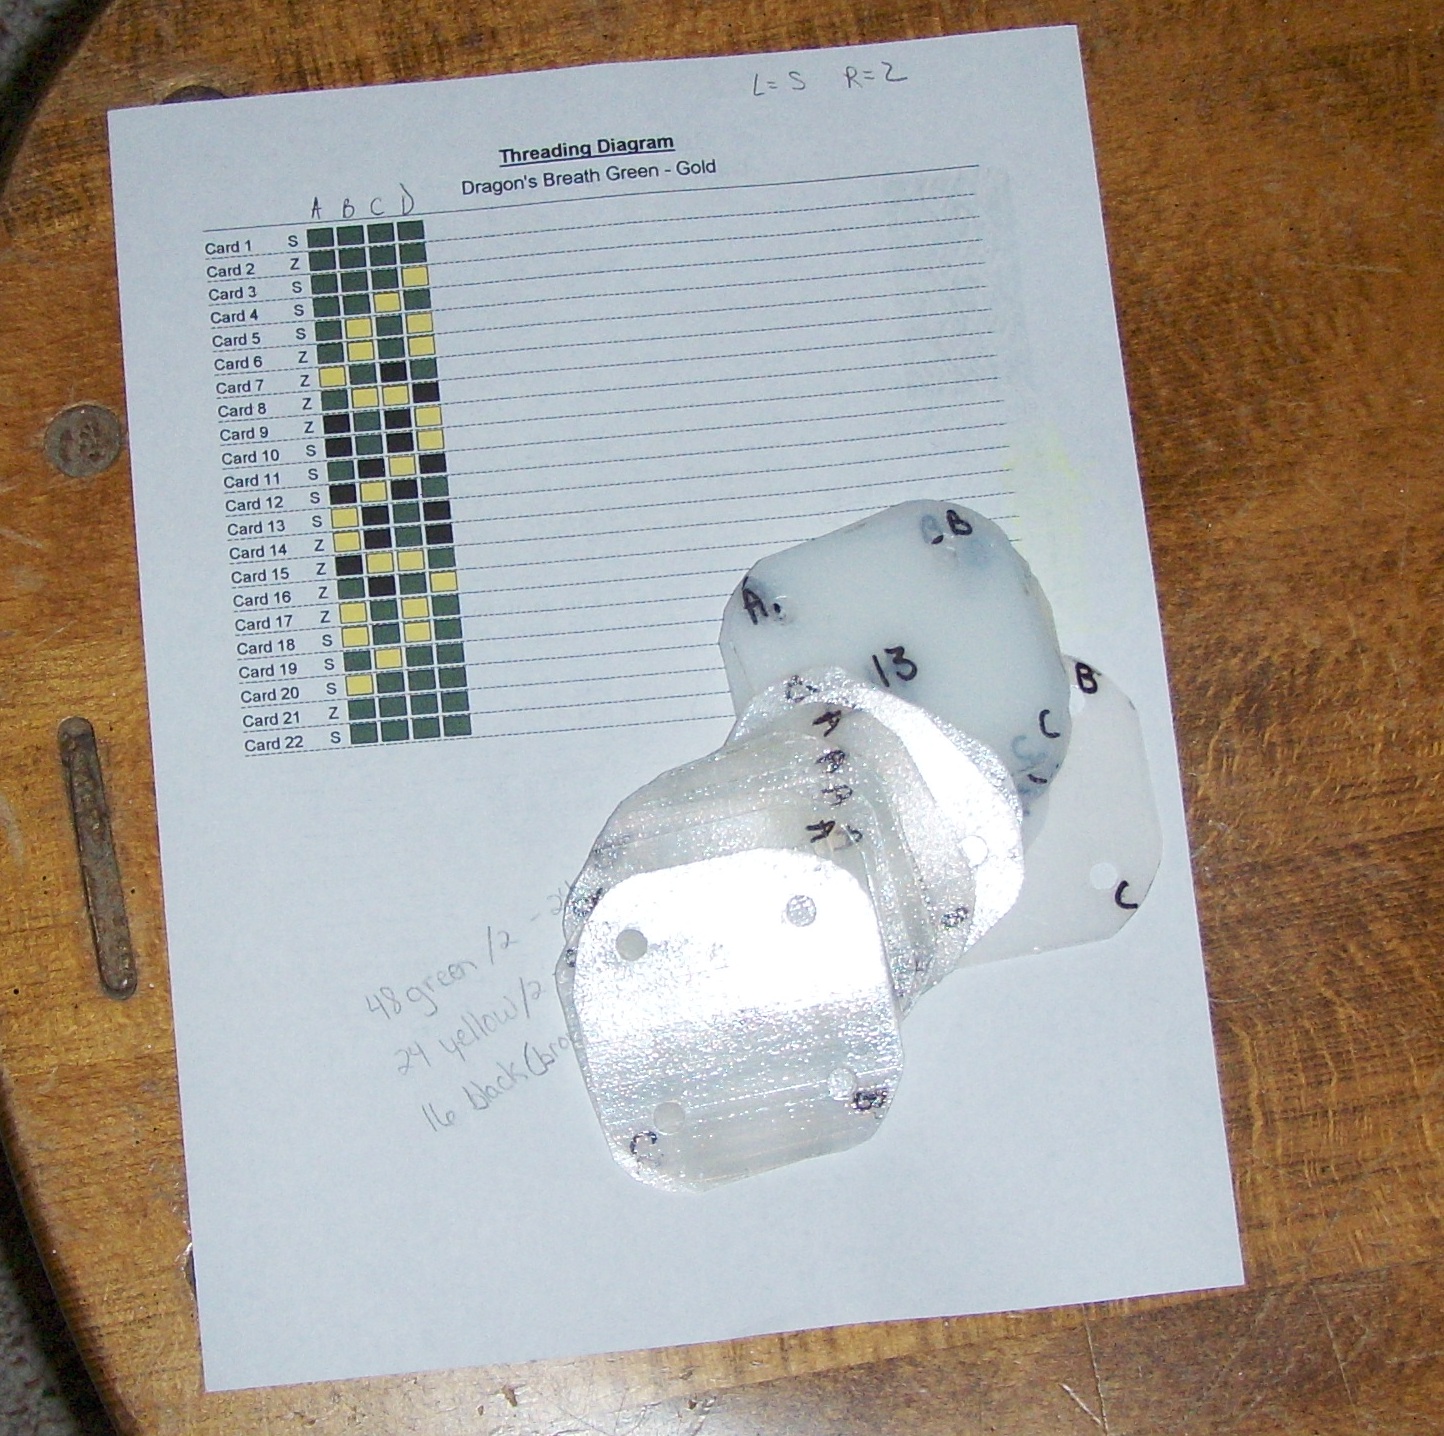
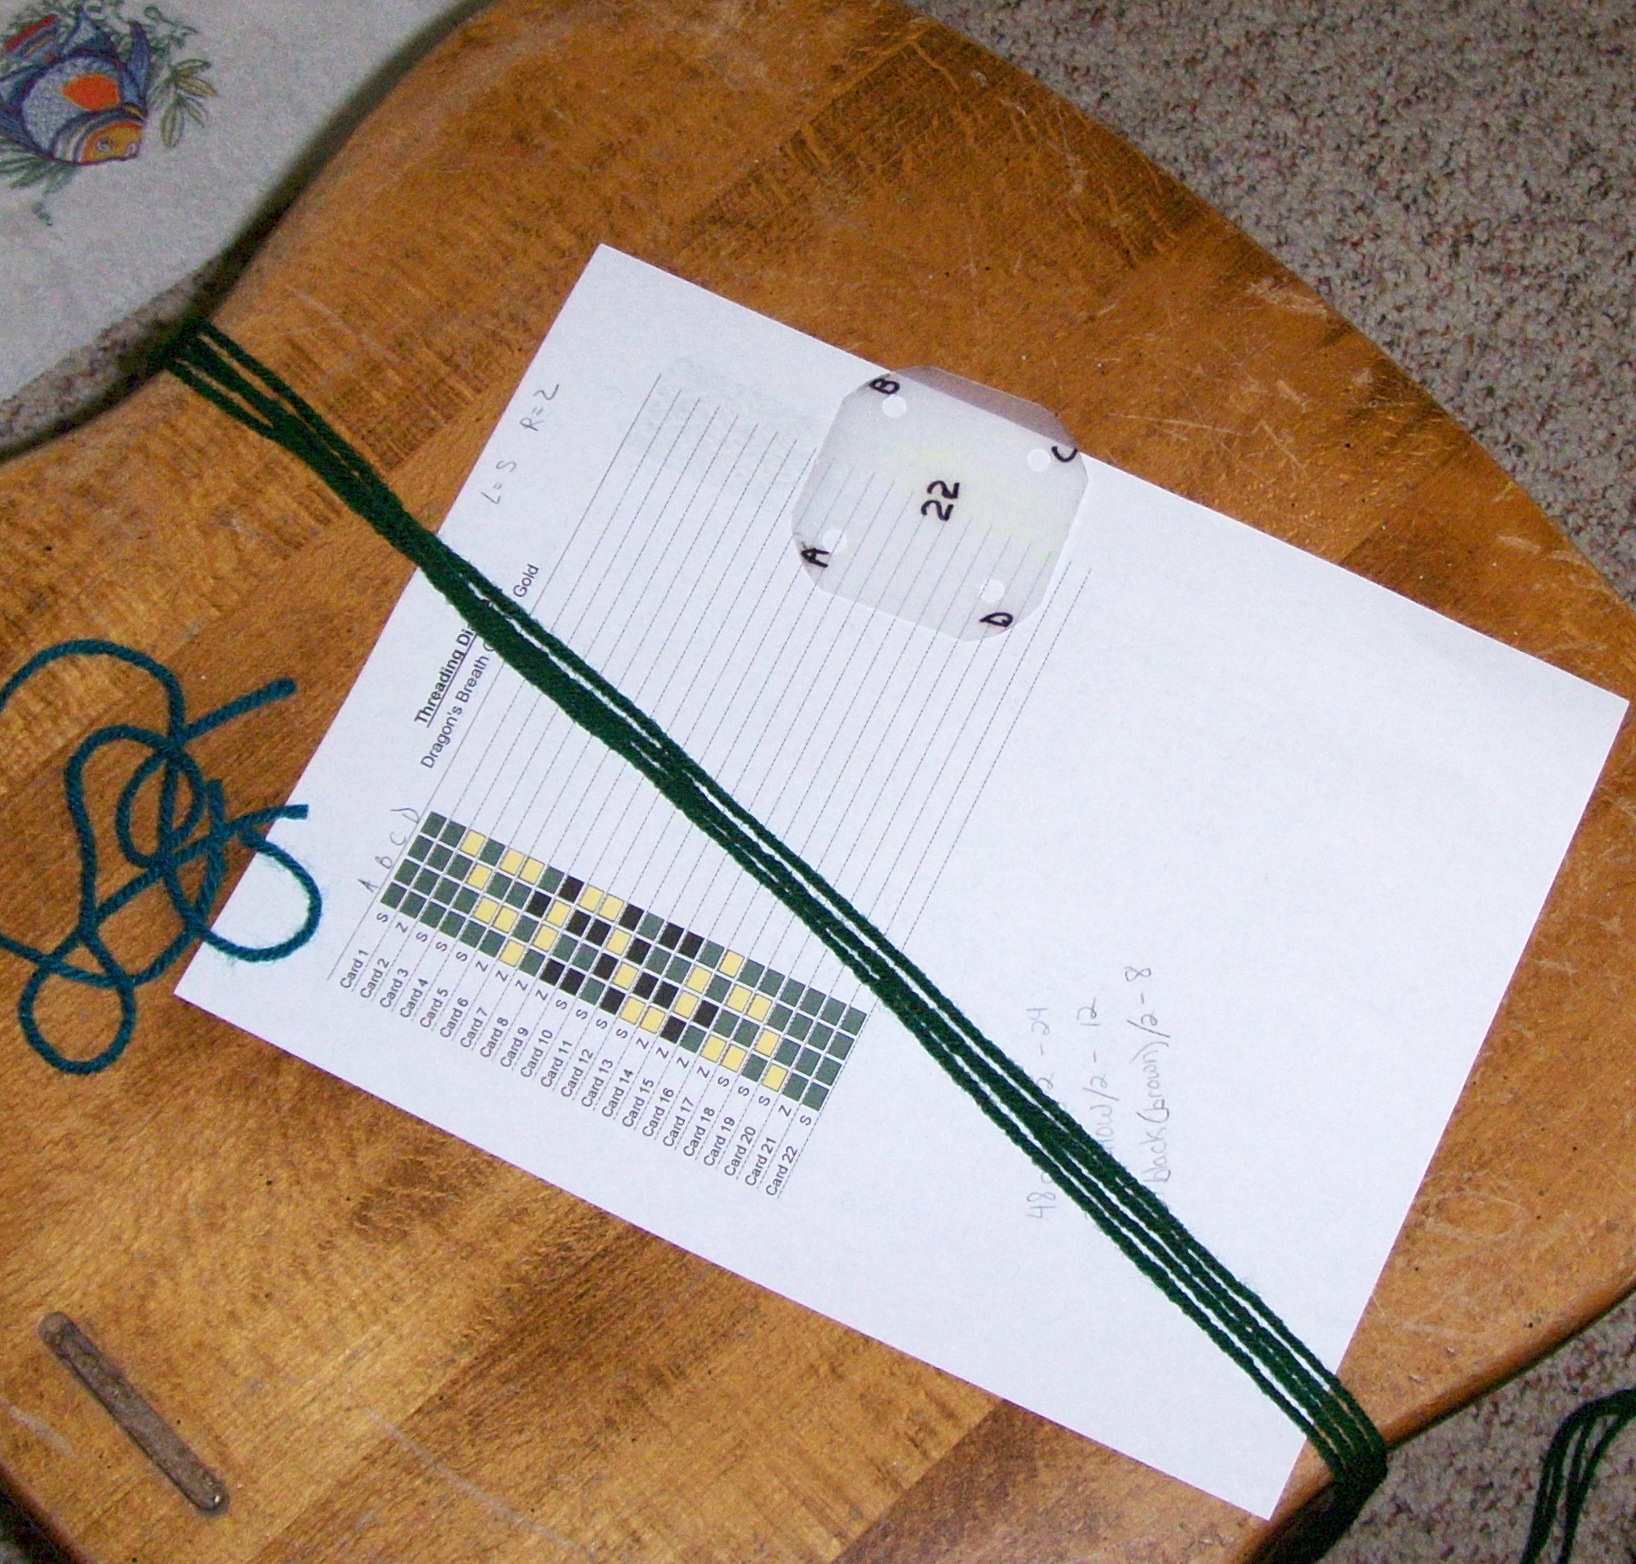
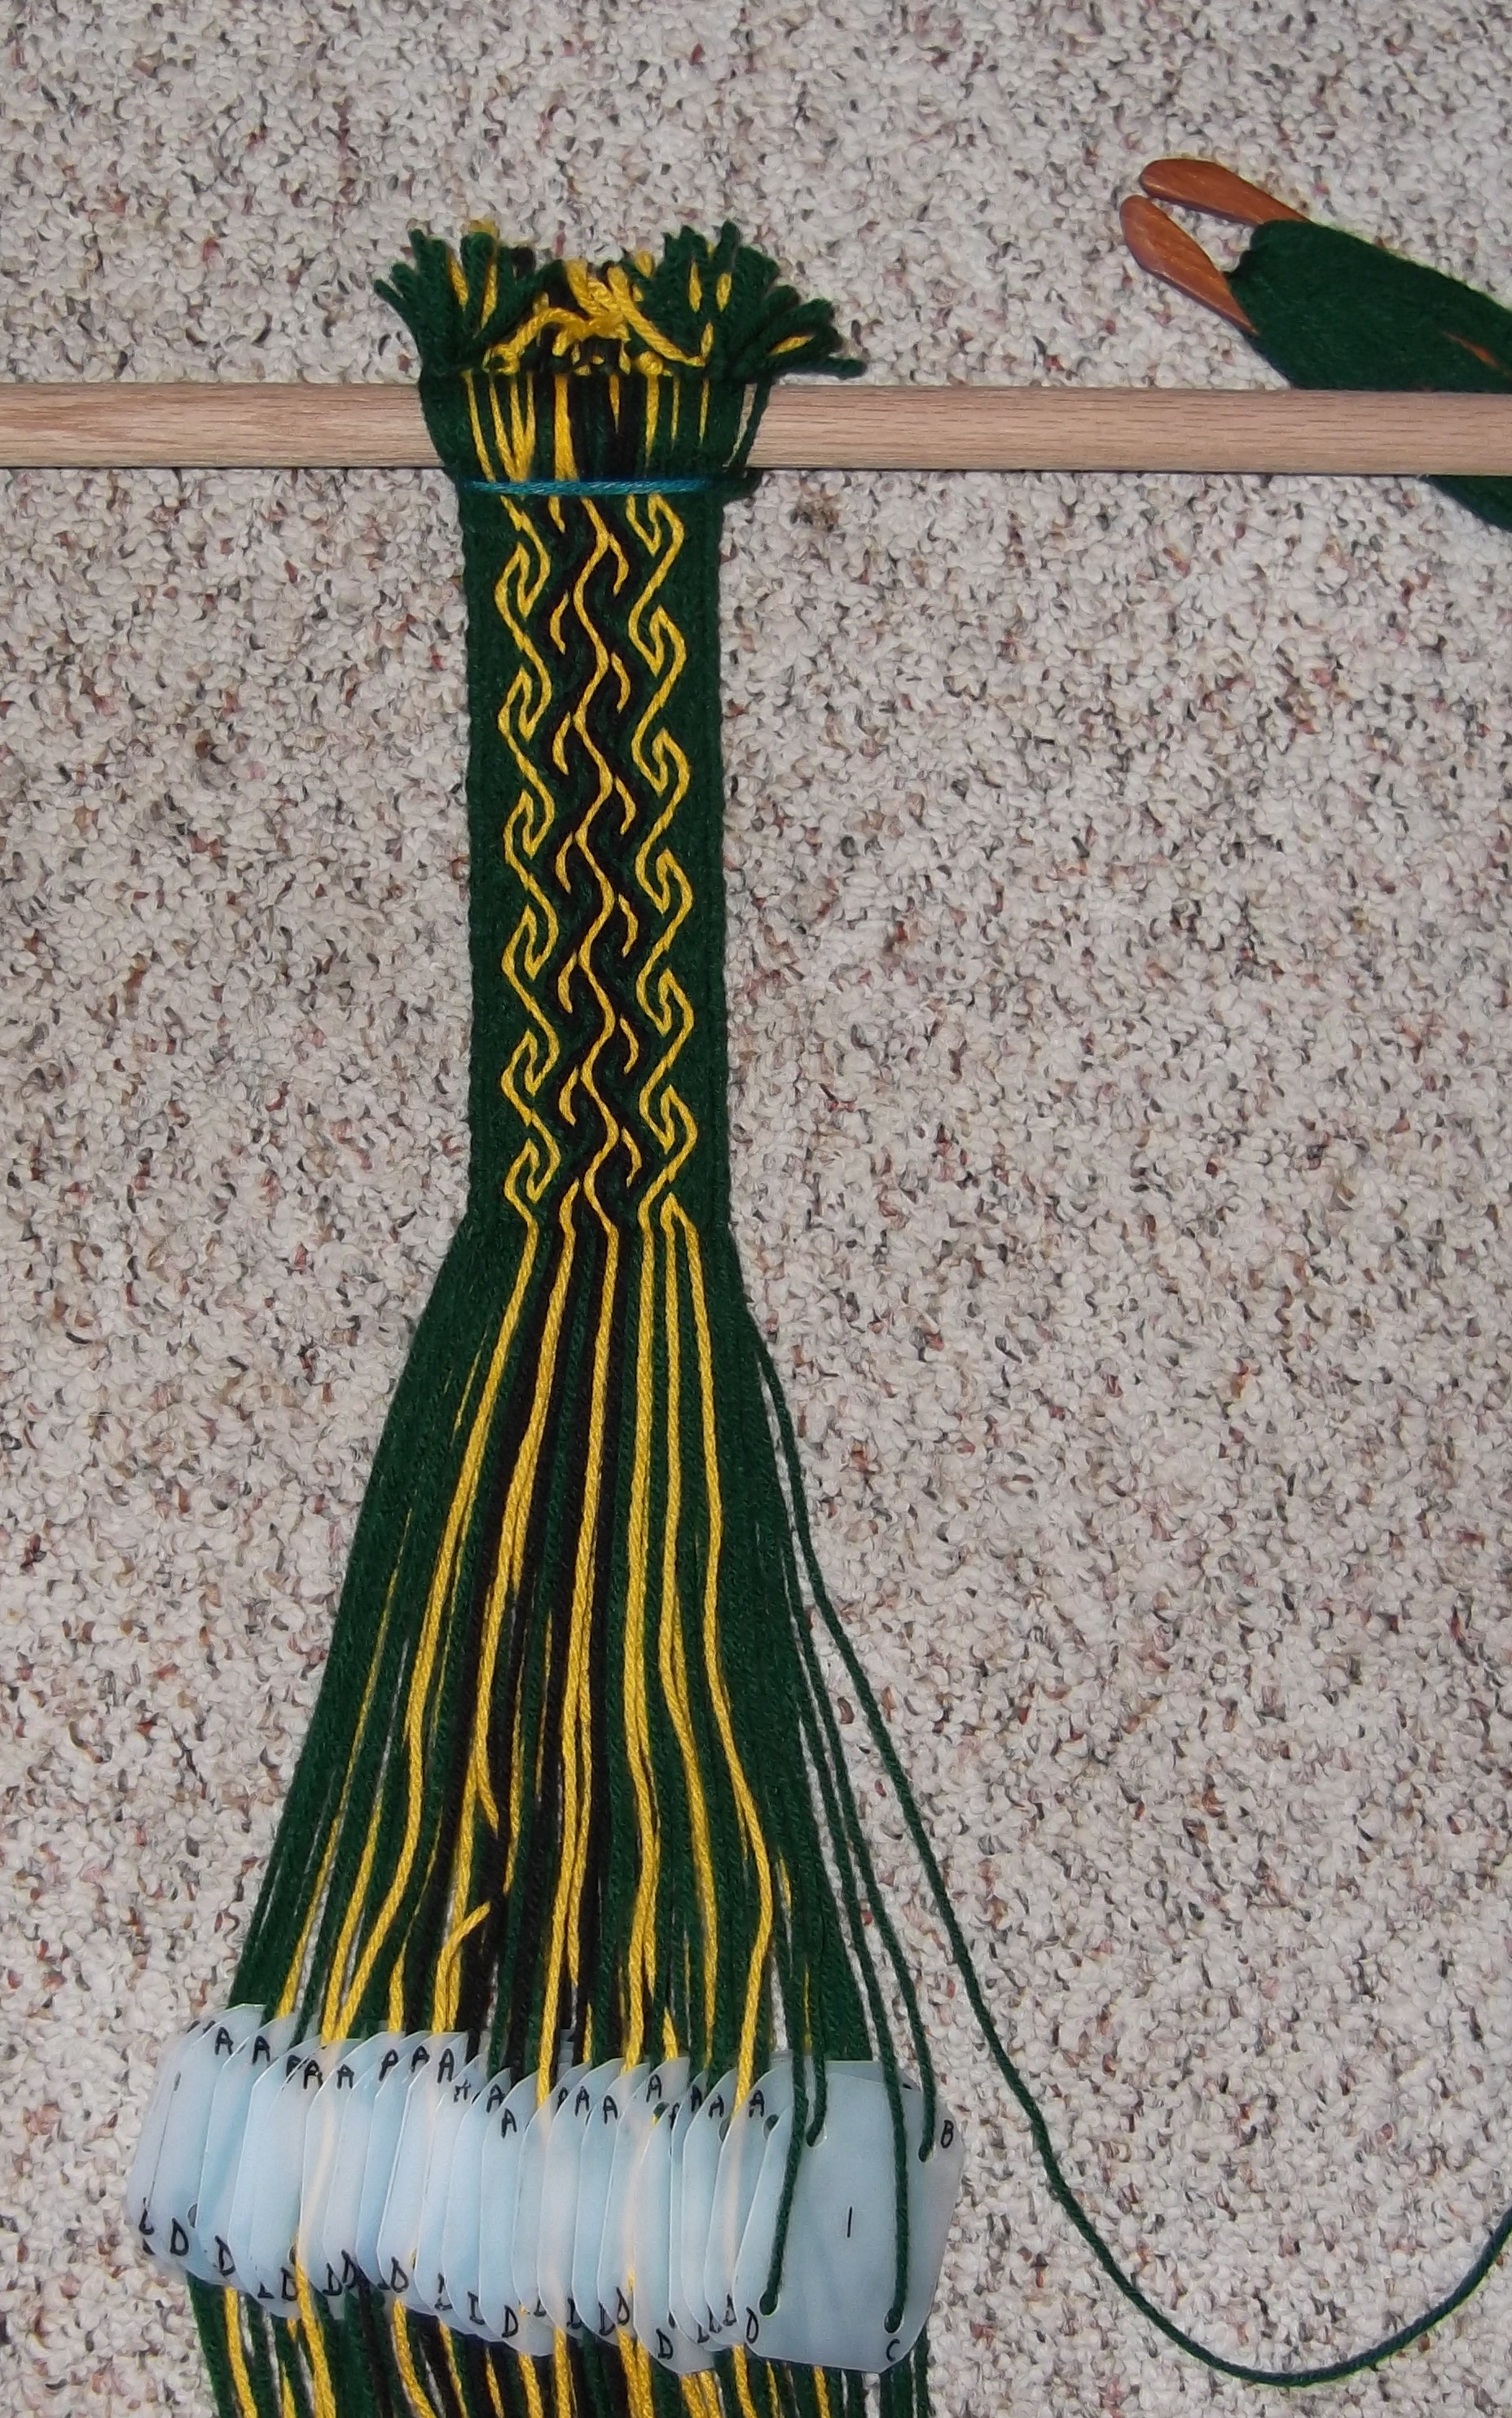
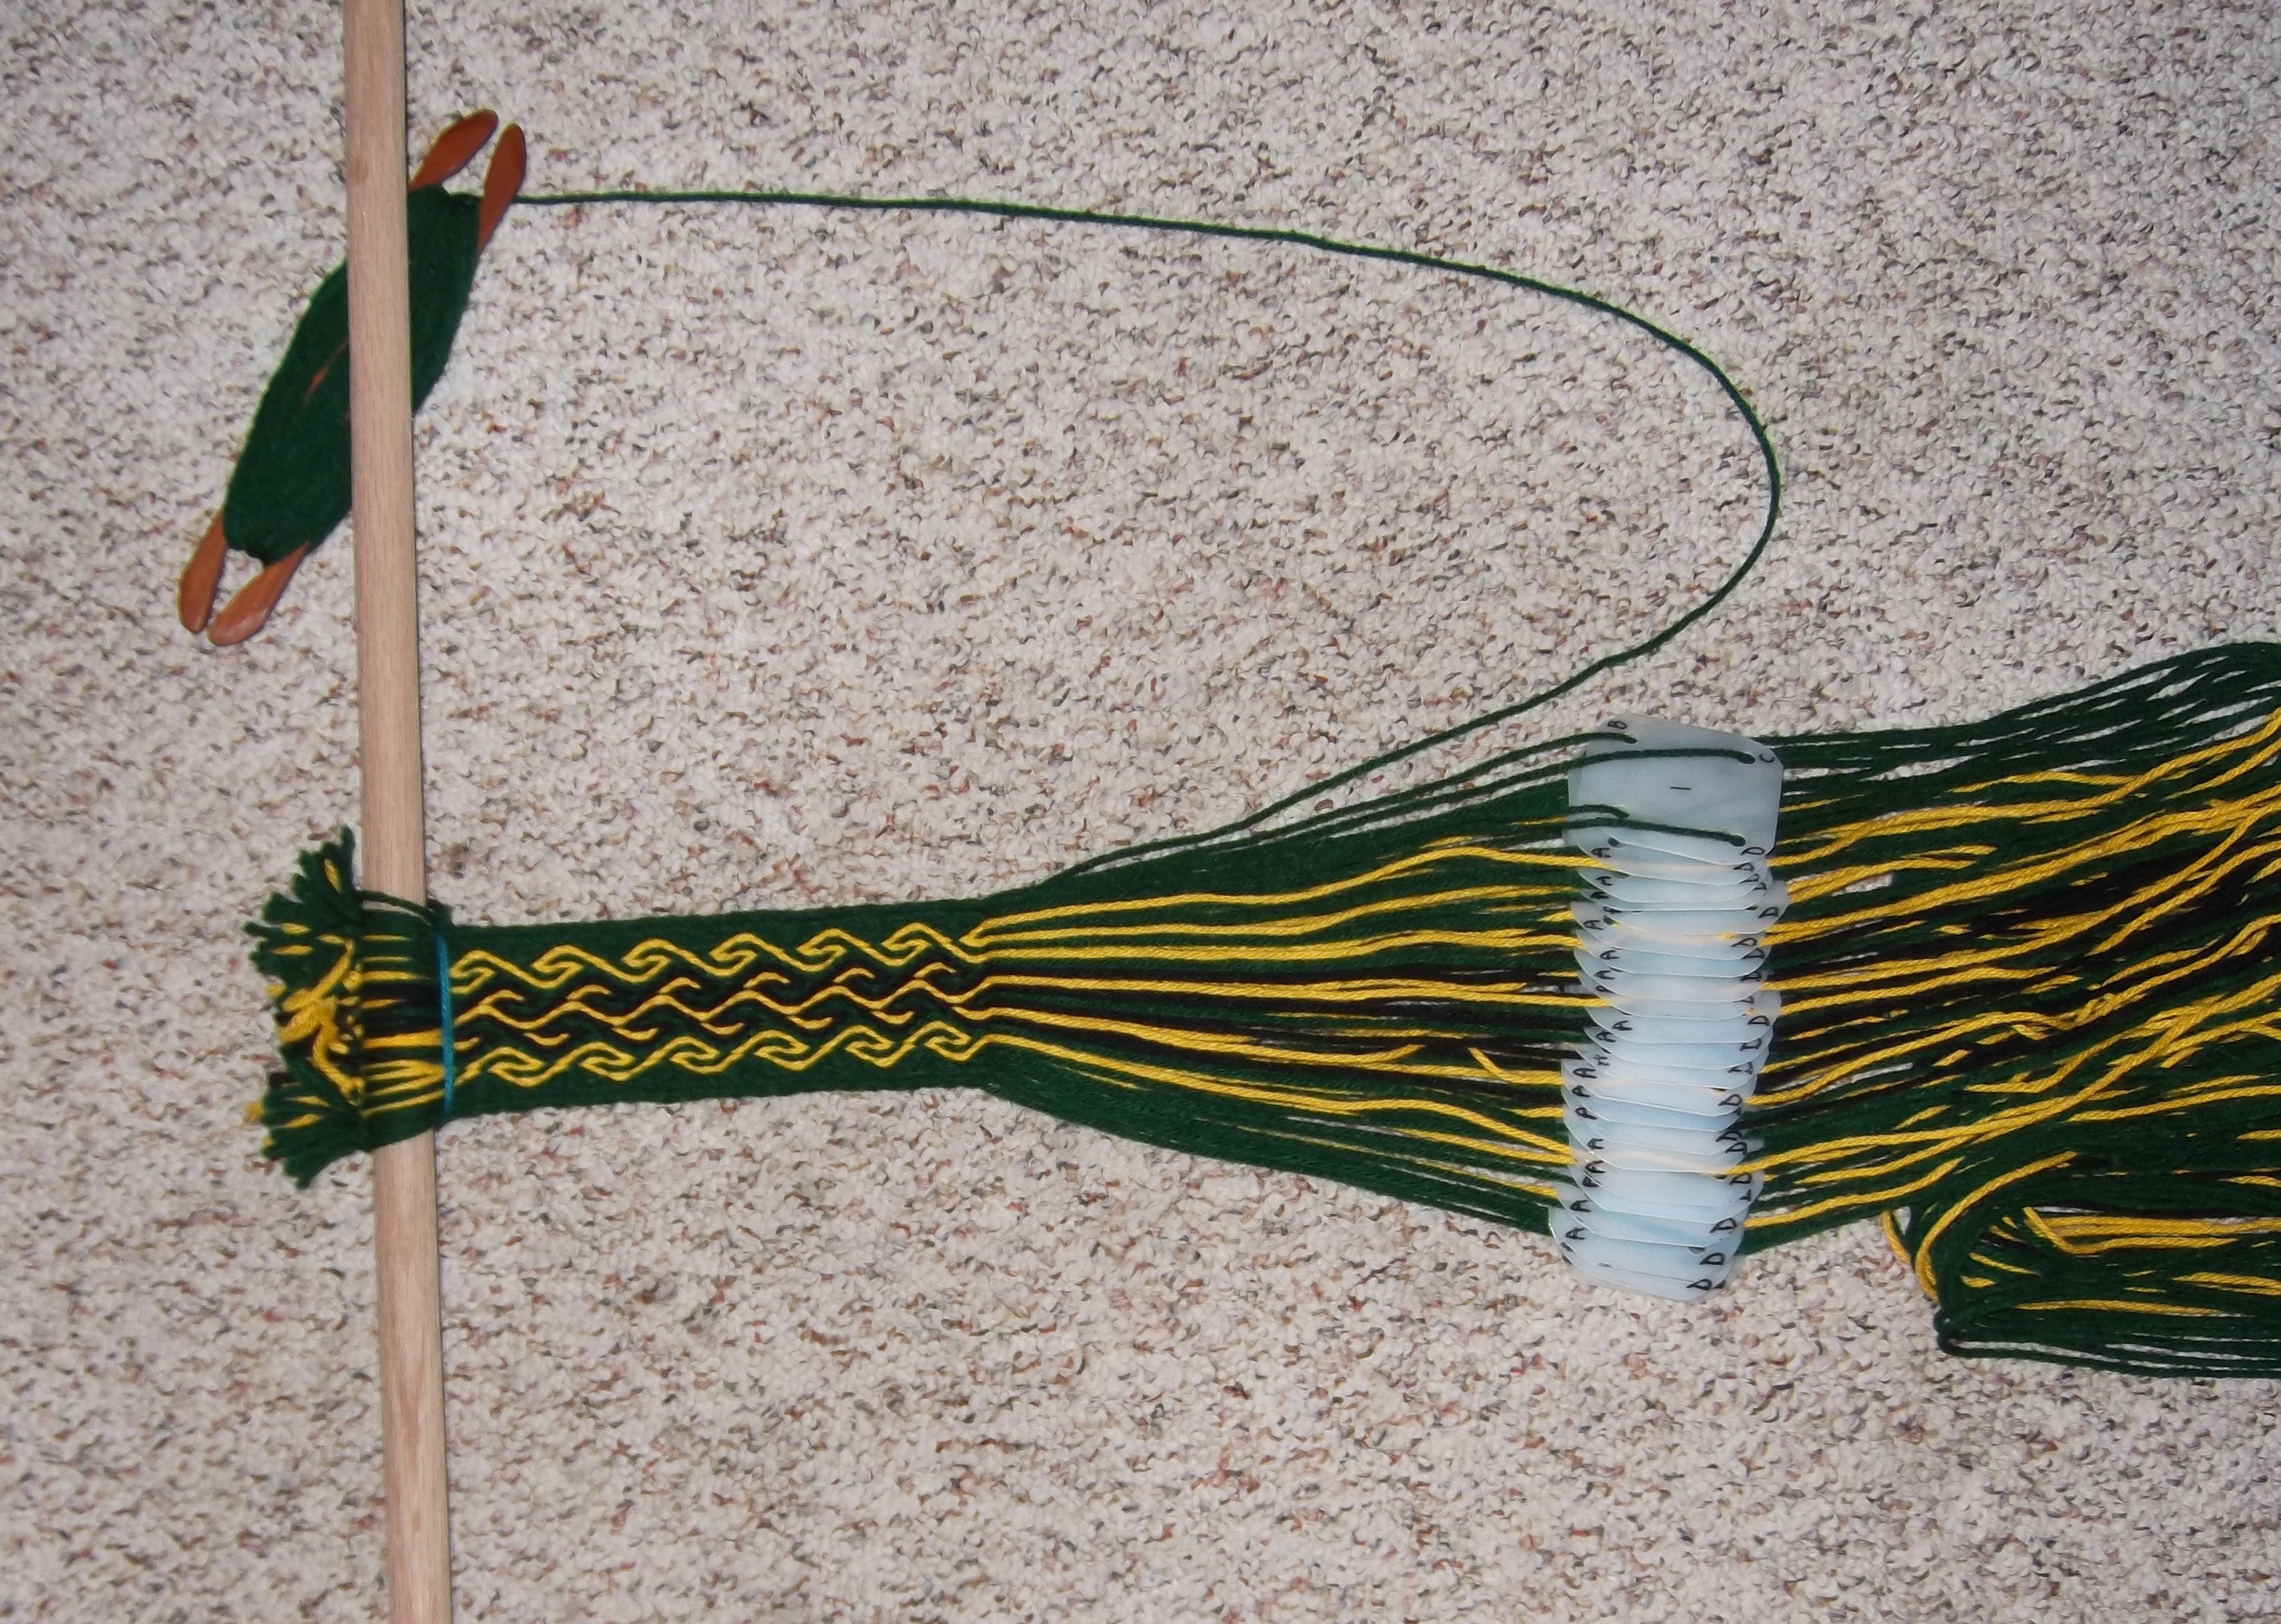
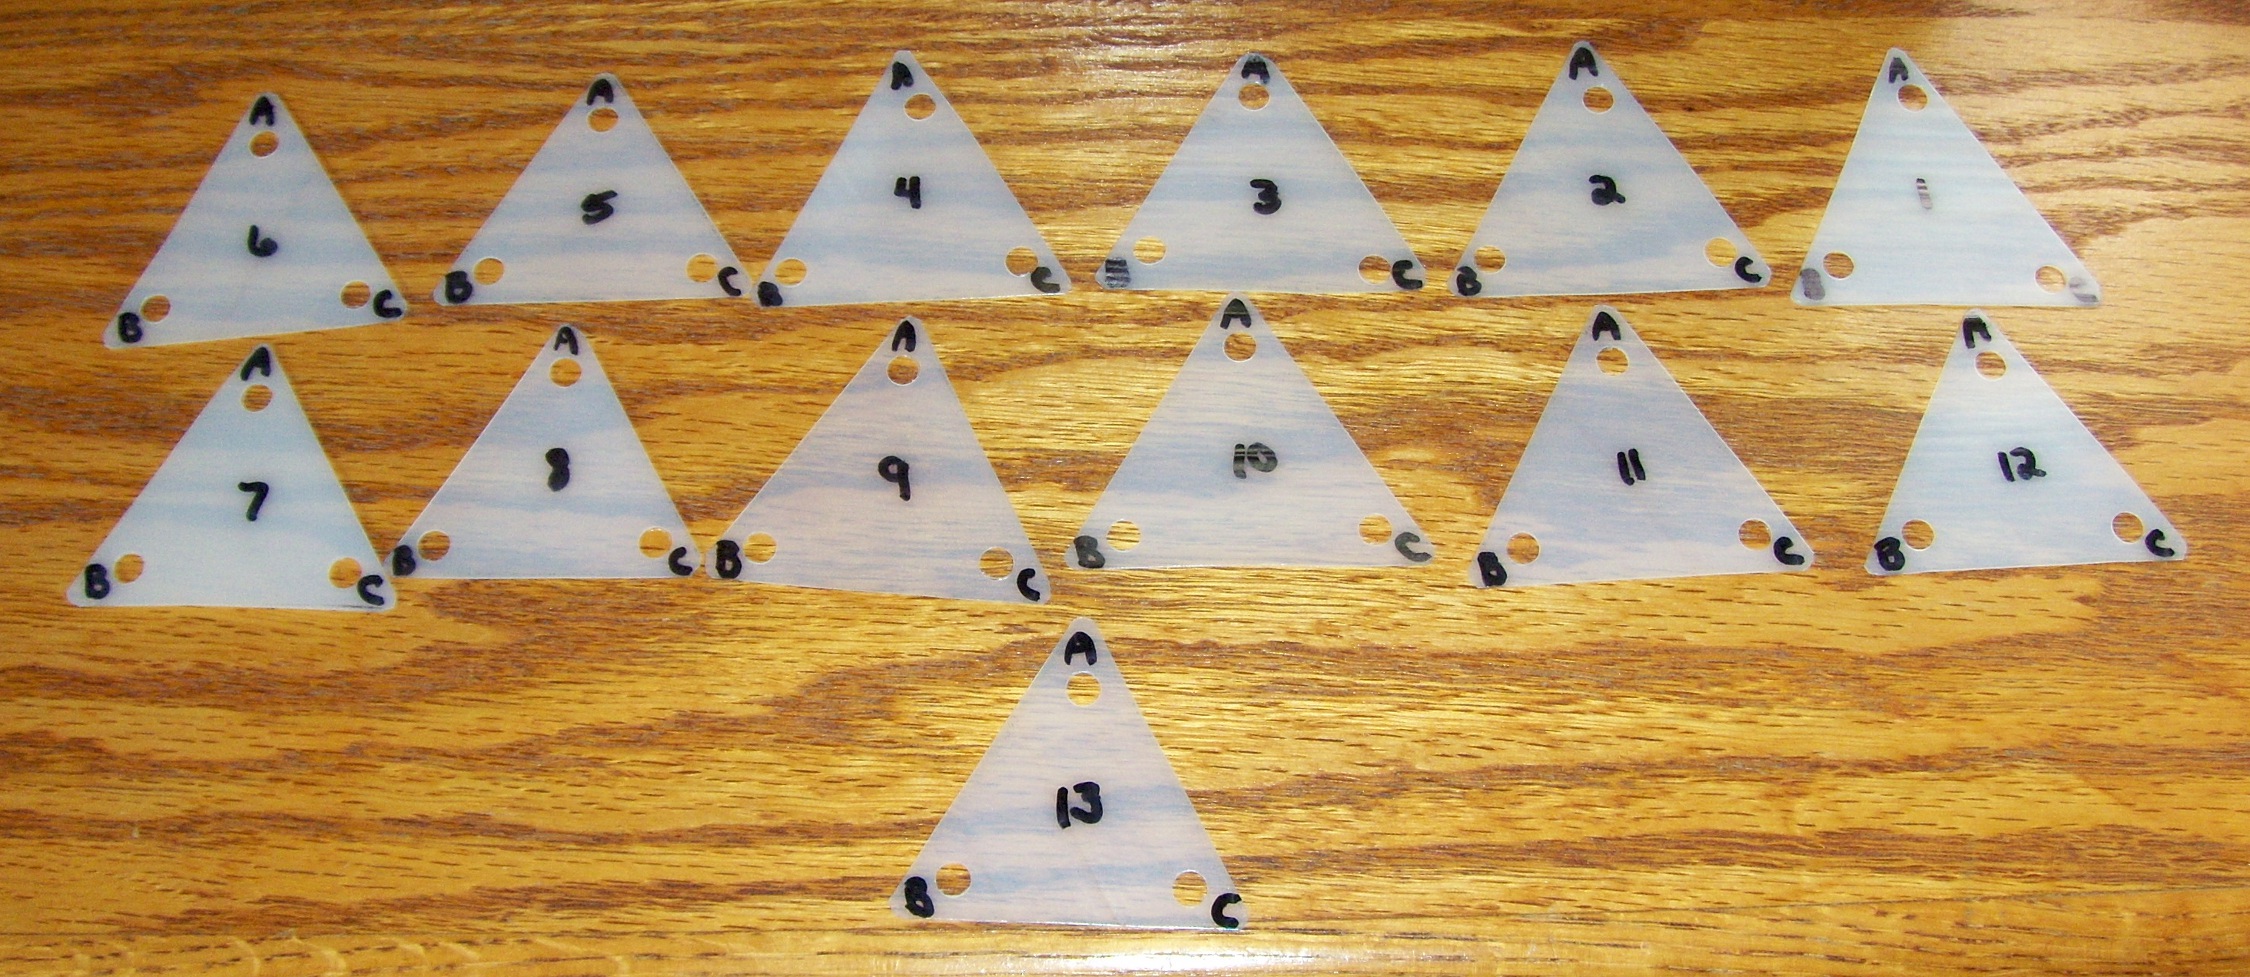
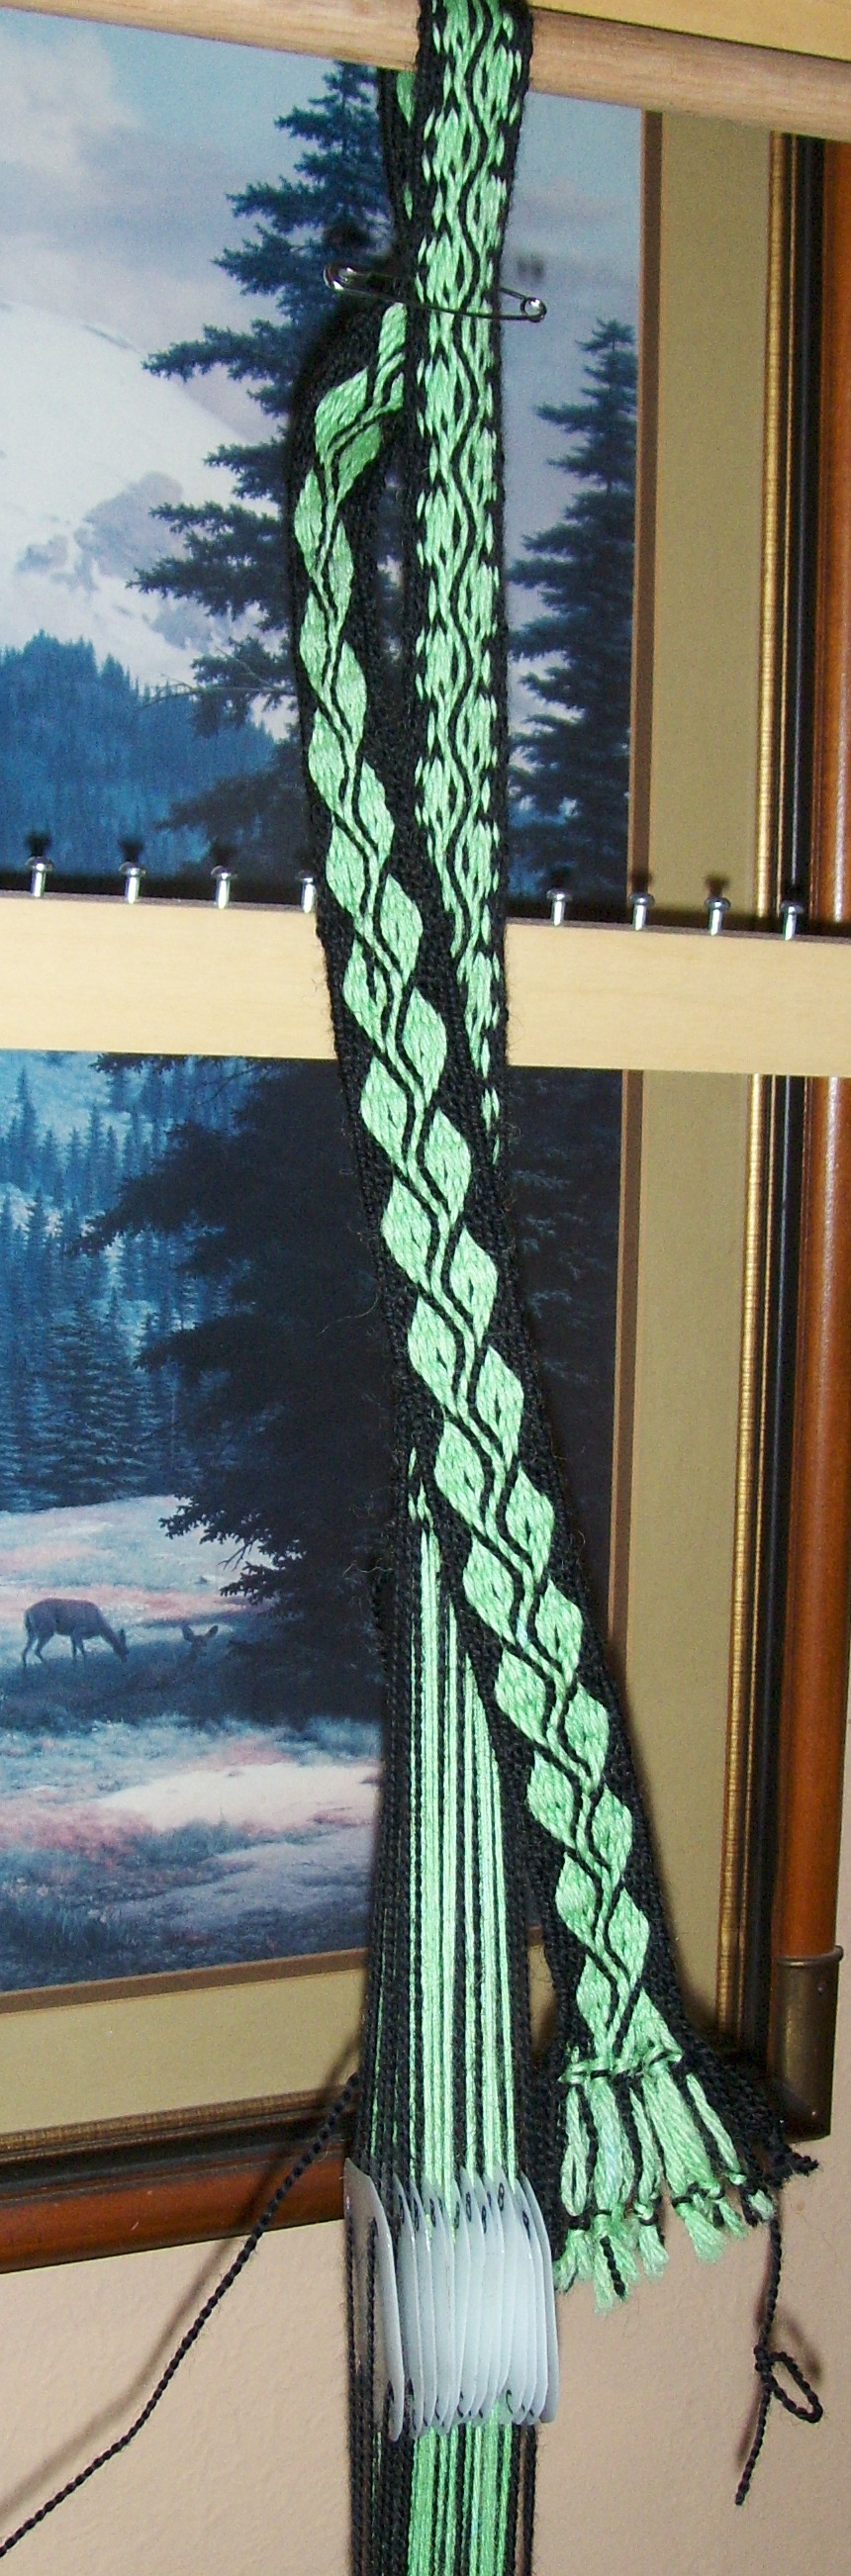
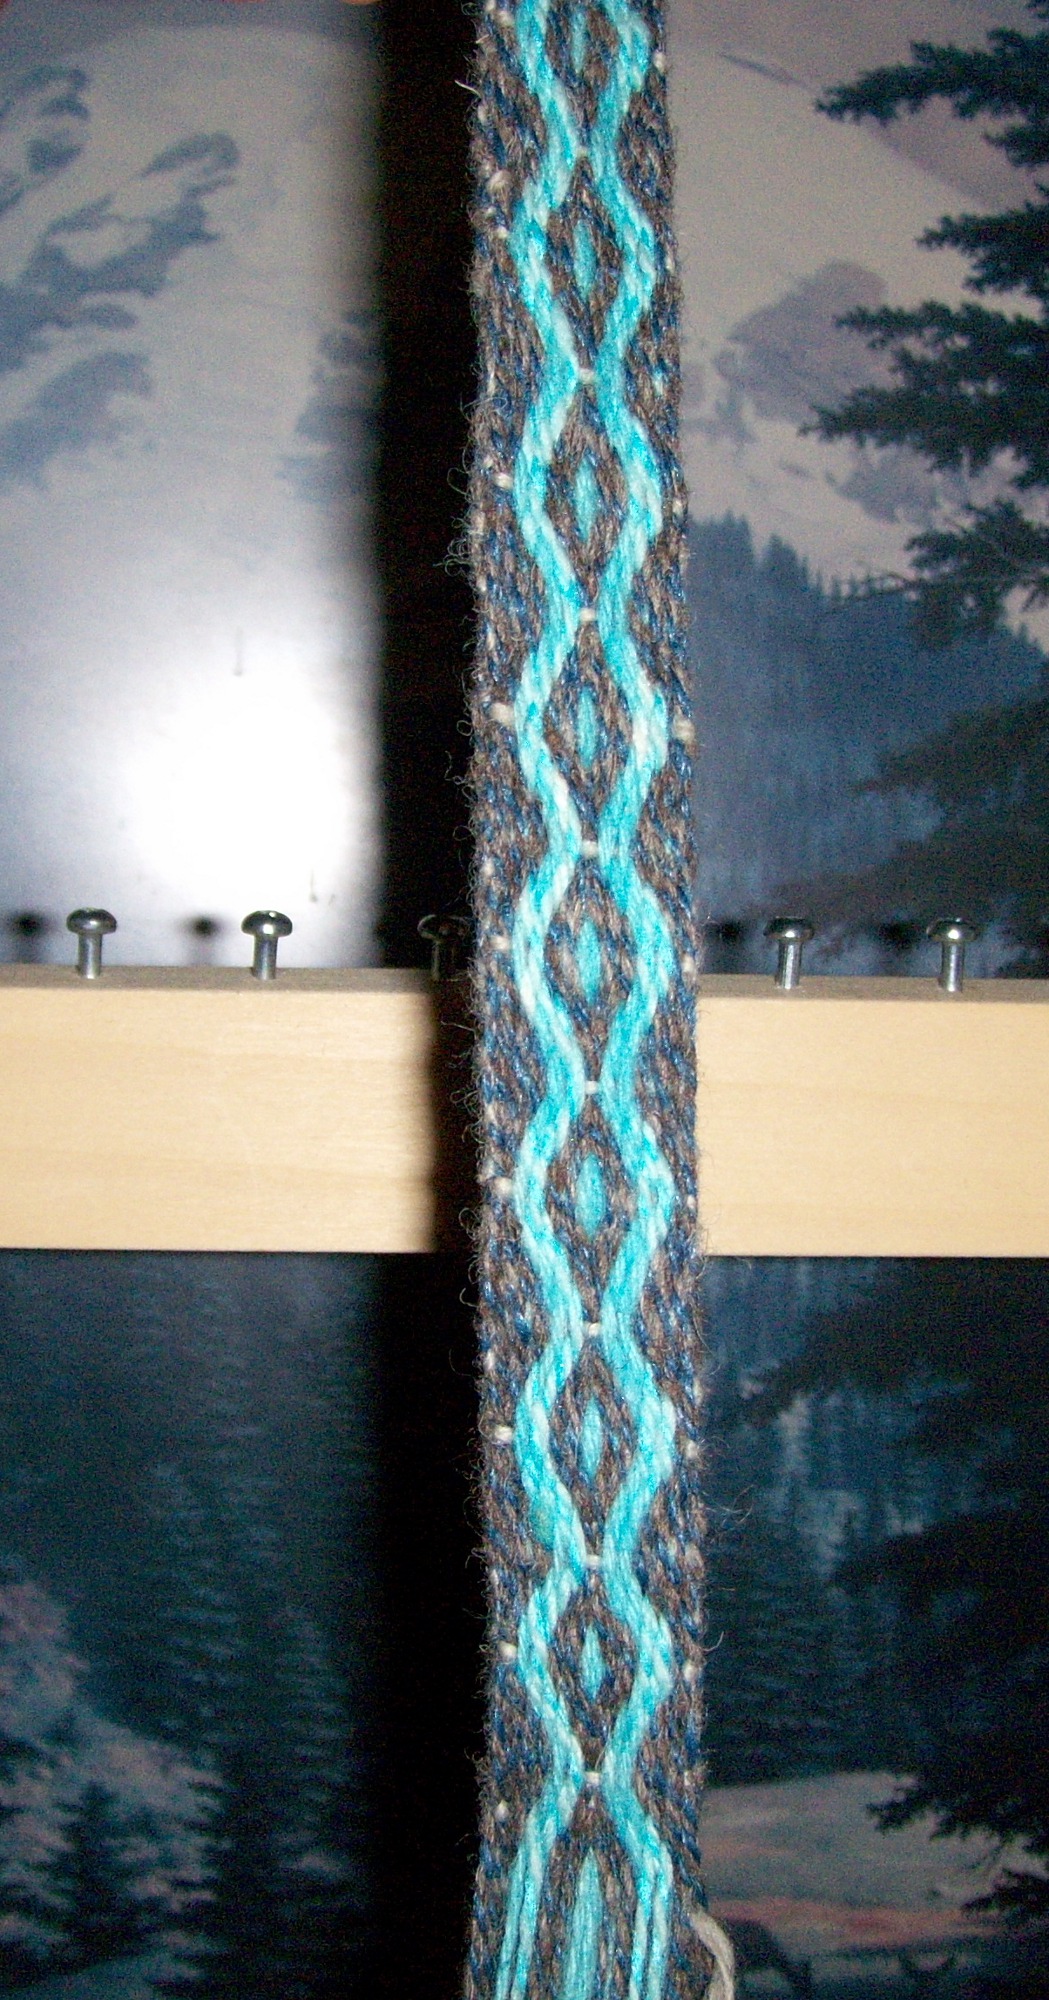
The next card weaving project. This is a green, gold and black, dragon breath weaving on 22 cards. The finished strap will be 3 inches wide and about 6 feet long.
Here’s what was accomplished Monday & Tuesday.
I think I’m going to experiment with the dragon’s breath pattern for awhile because I really like the way you can customize it!!
Thanks going out to Guntram and his fantastic card weaving Thingy that he invented to make all of this creating possible!!
I’ve not blogged in awhile because the farmers market season got into full swing and I’ve been super busy creating things, restocking the things that do sell, and working hard at beefing up my displays. I’ve not had the best luck with displays and I really do hate putting up and taking down my tent. Natural lighting is what suits my fiber products best and I would prefer to display in natural lighting.
Now that I’ve taken a few weeks off, I’ll try and whip up a post sometime tomorrow about my latest adventures in the wonderful world of card-weaving!!
There’s a lot of talk and publicizing of card weaving and tablet weaving right now. This is something I’ve been doing for the past 4 or 5 years and I knew it wouldn’t be long before it would be swinging its circle back to being popular again. I’m always amazed at how cyclic the trends are and how everything old and suddenly becomes ‘new’ again.
All that said, I figured I’d just do up another blog post, with all the pictures of nearly all of my card weaving endeavors, including my hand-made cards. I’ve also shared a couple of tutorials I’ve published in the past.
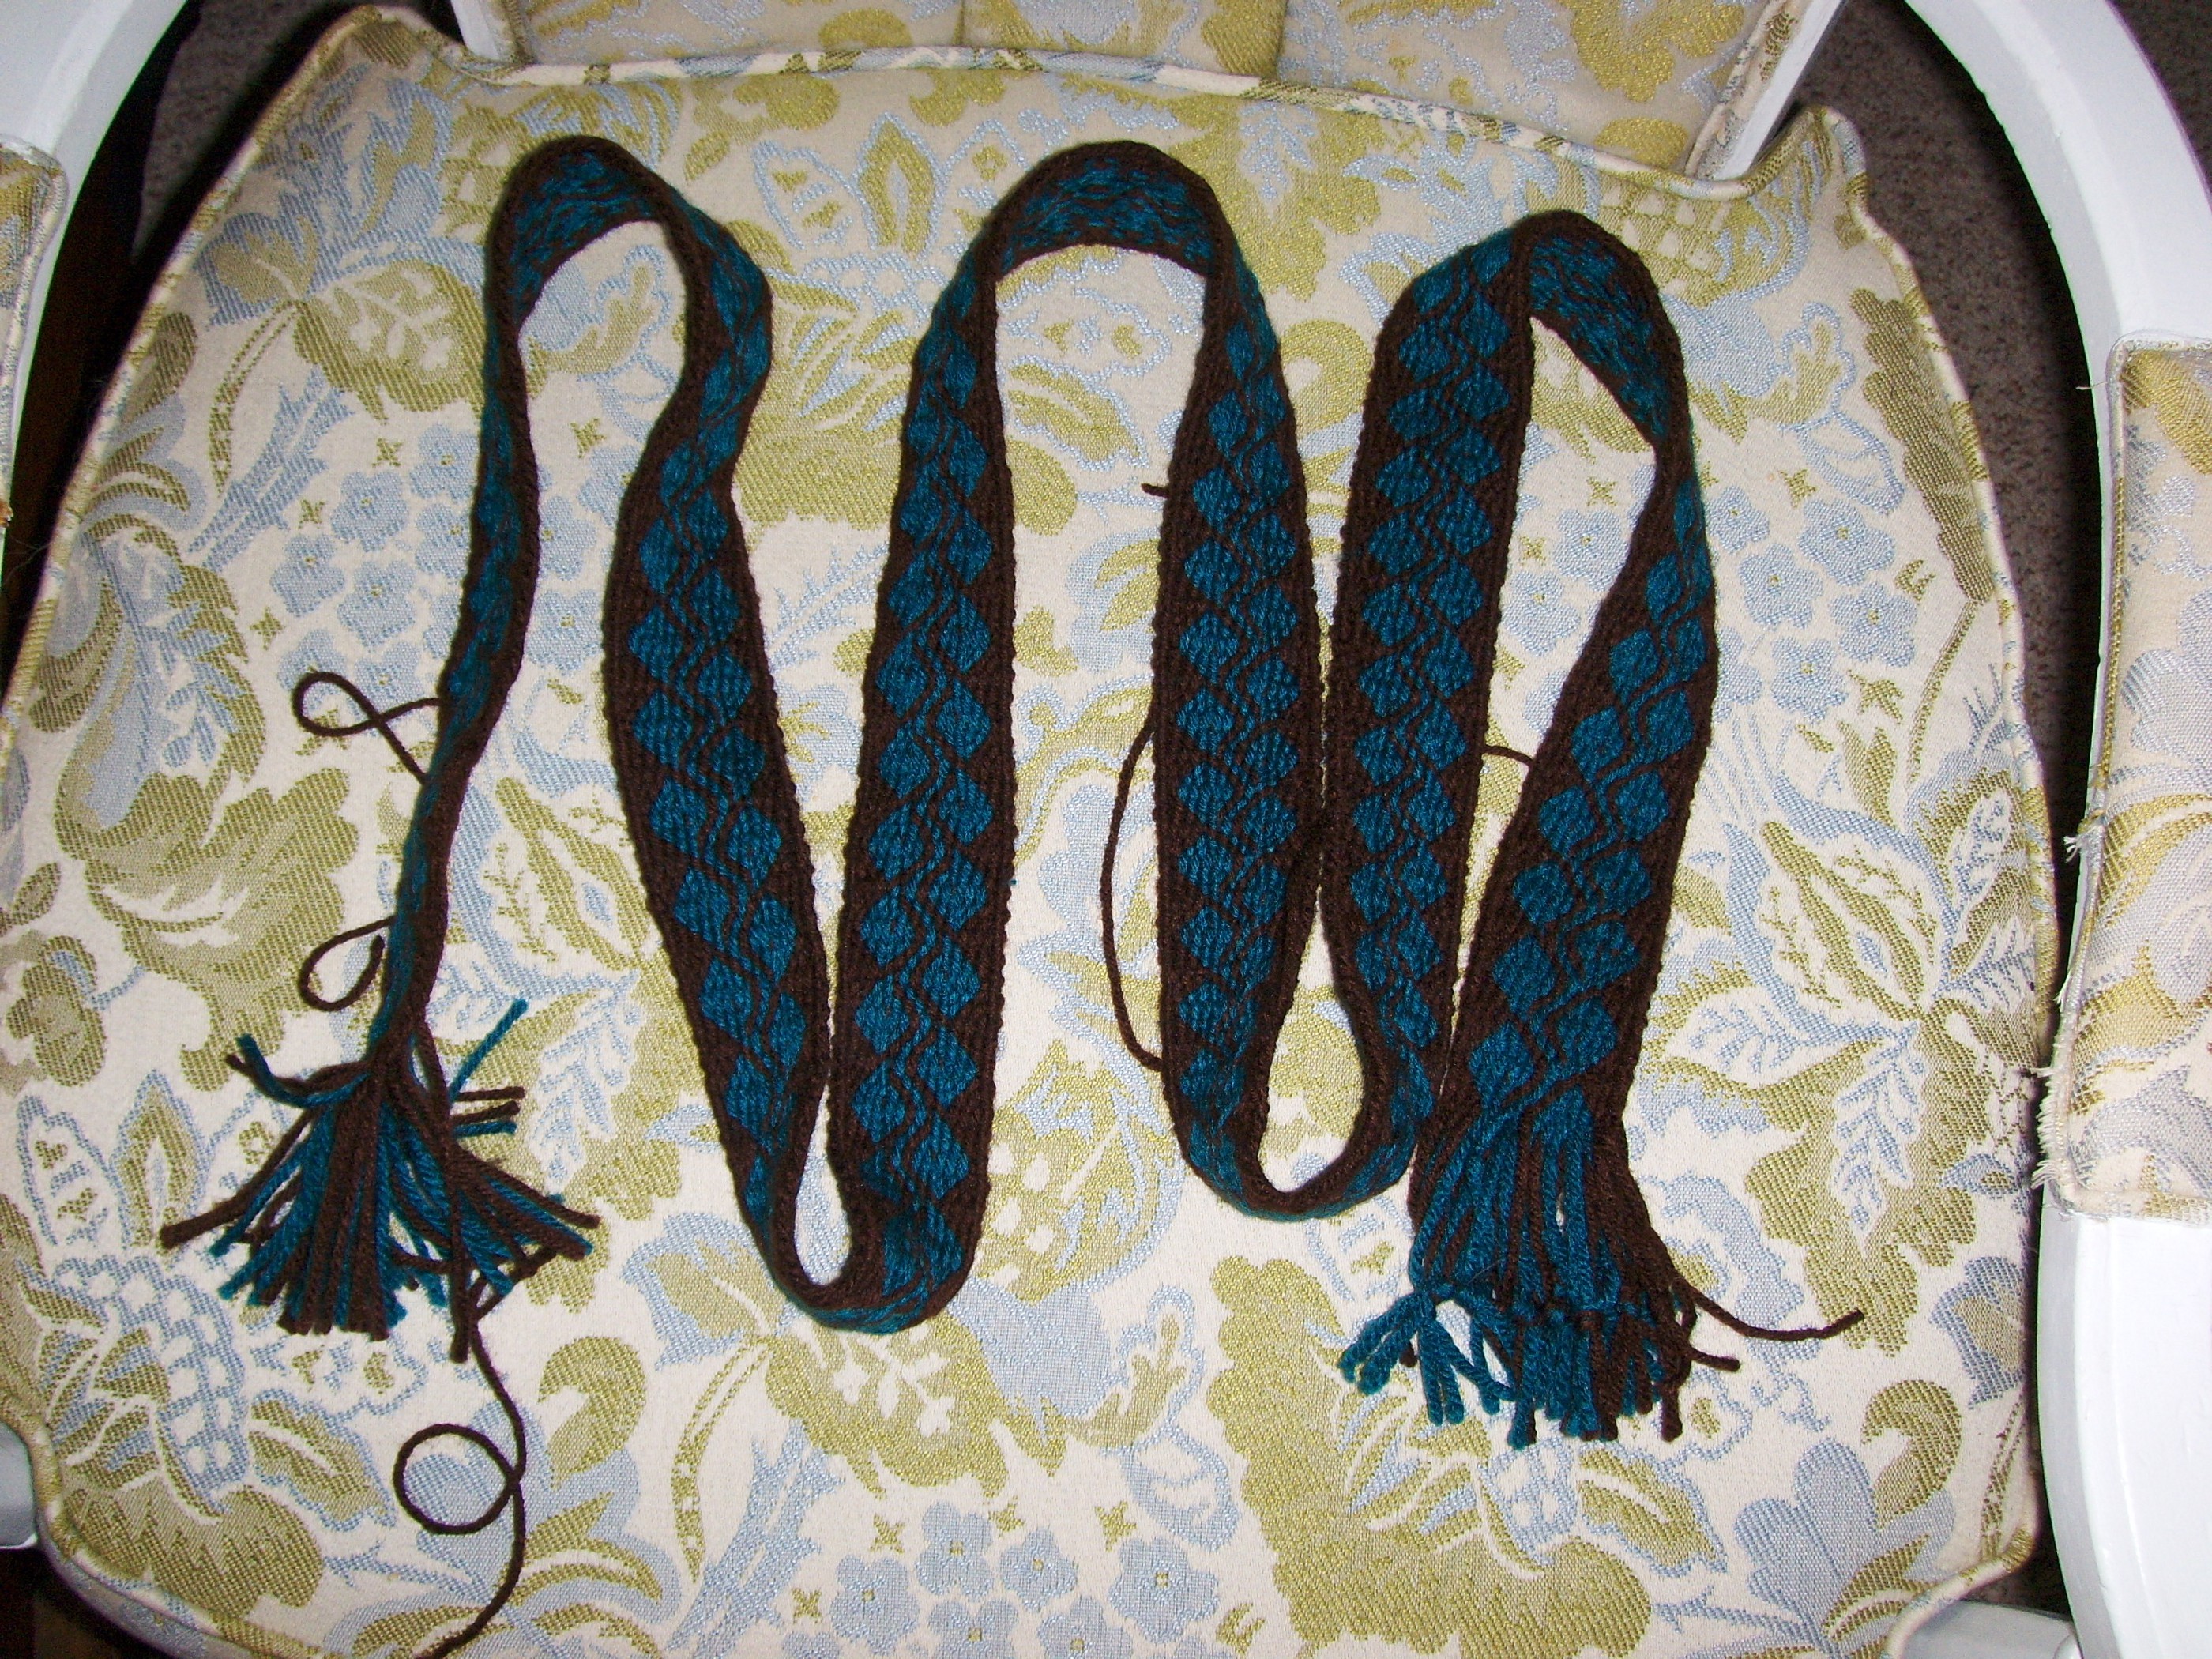
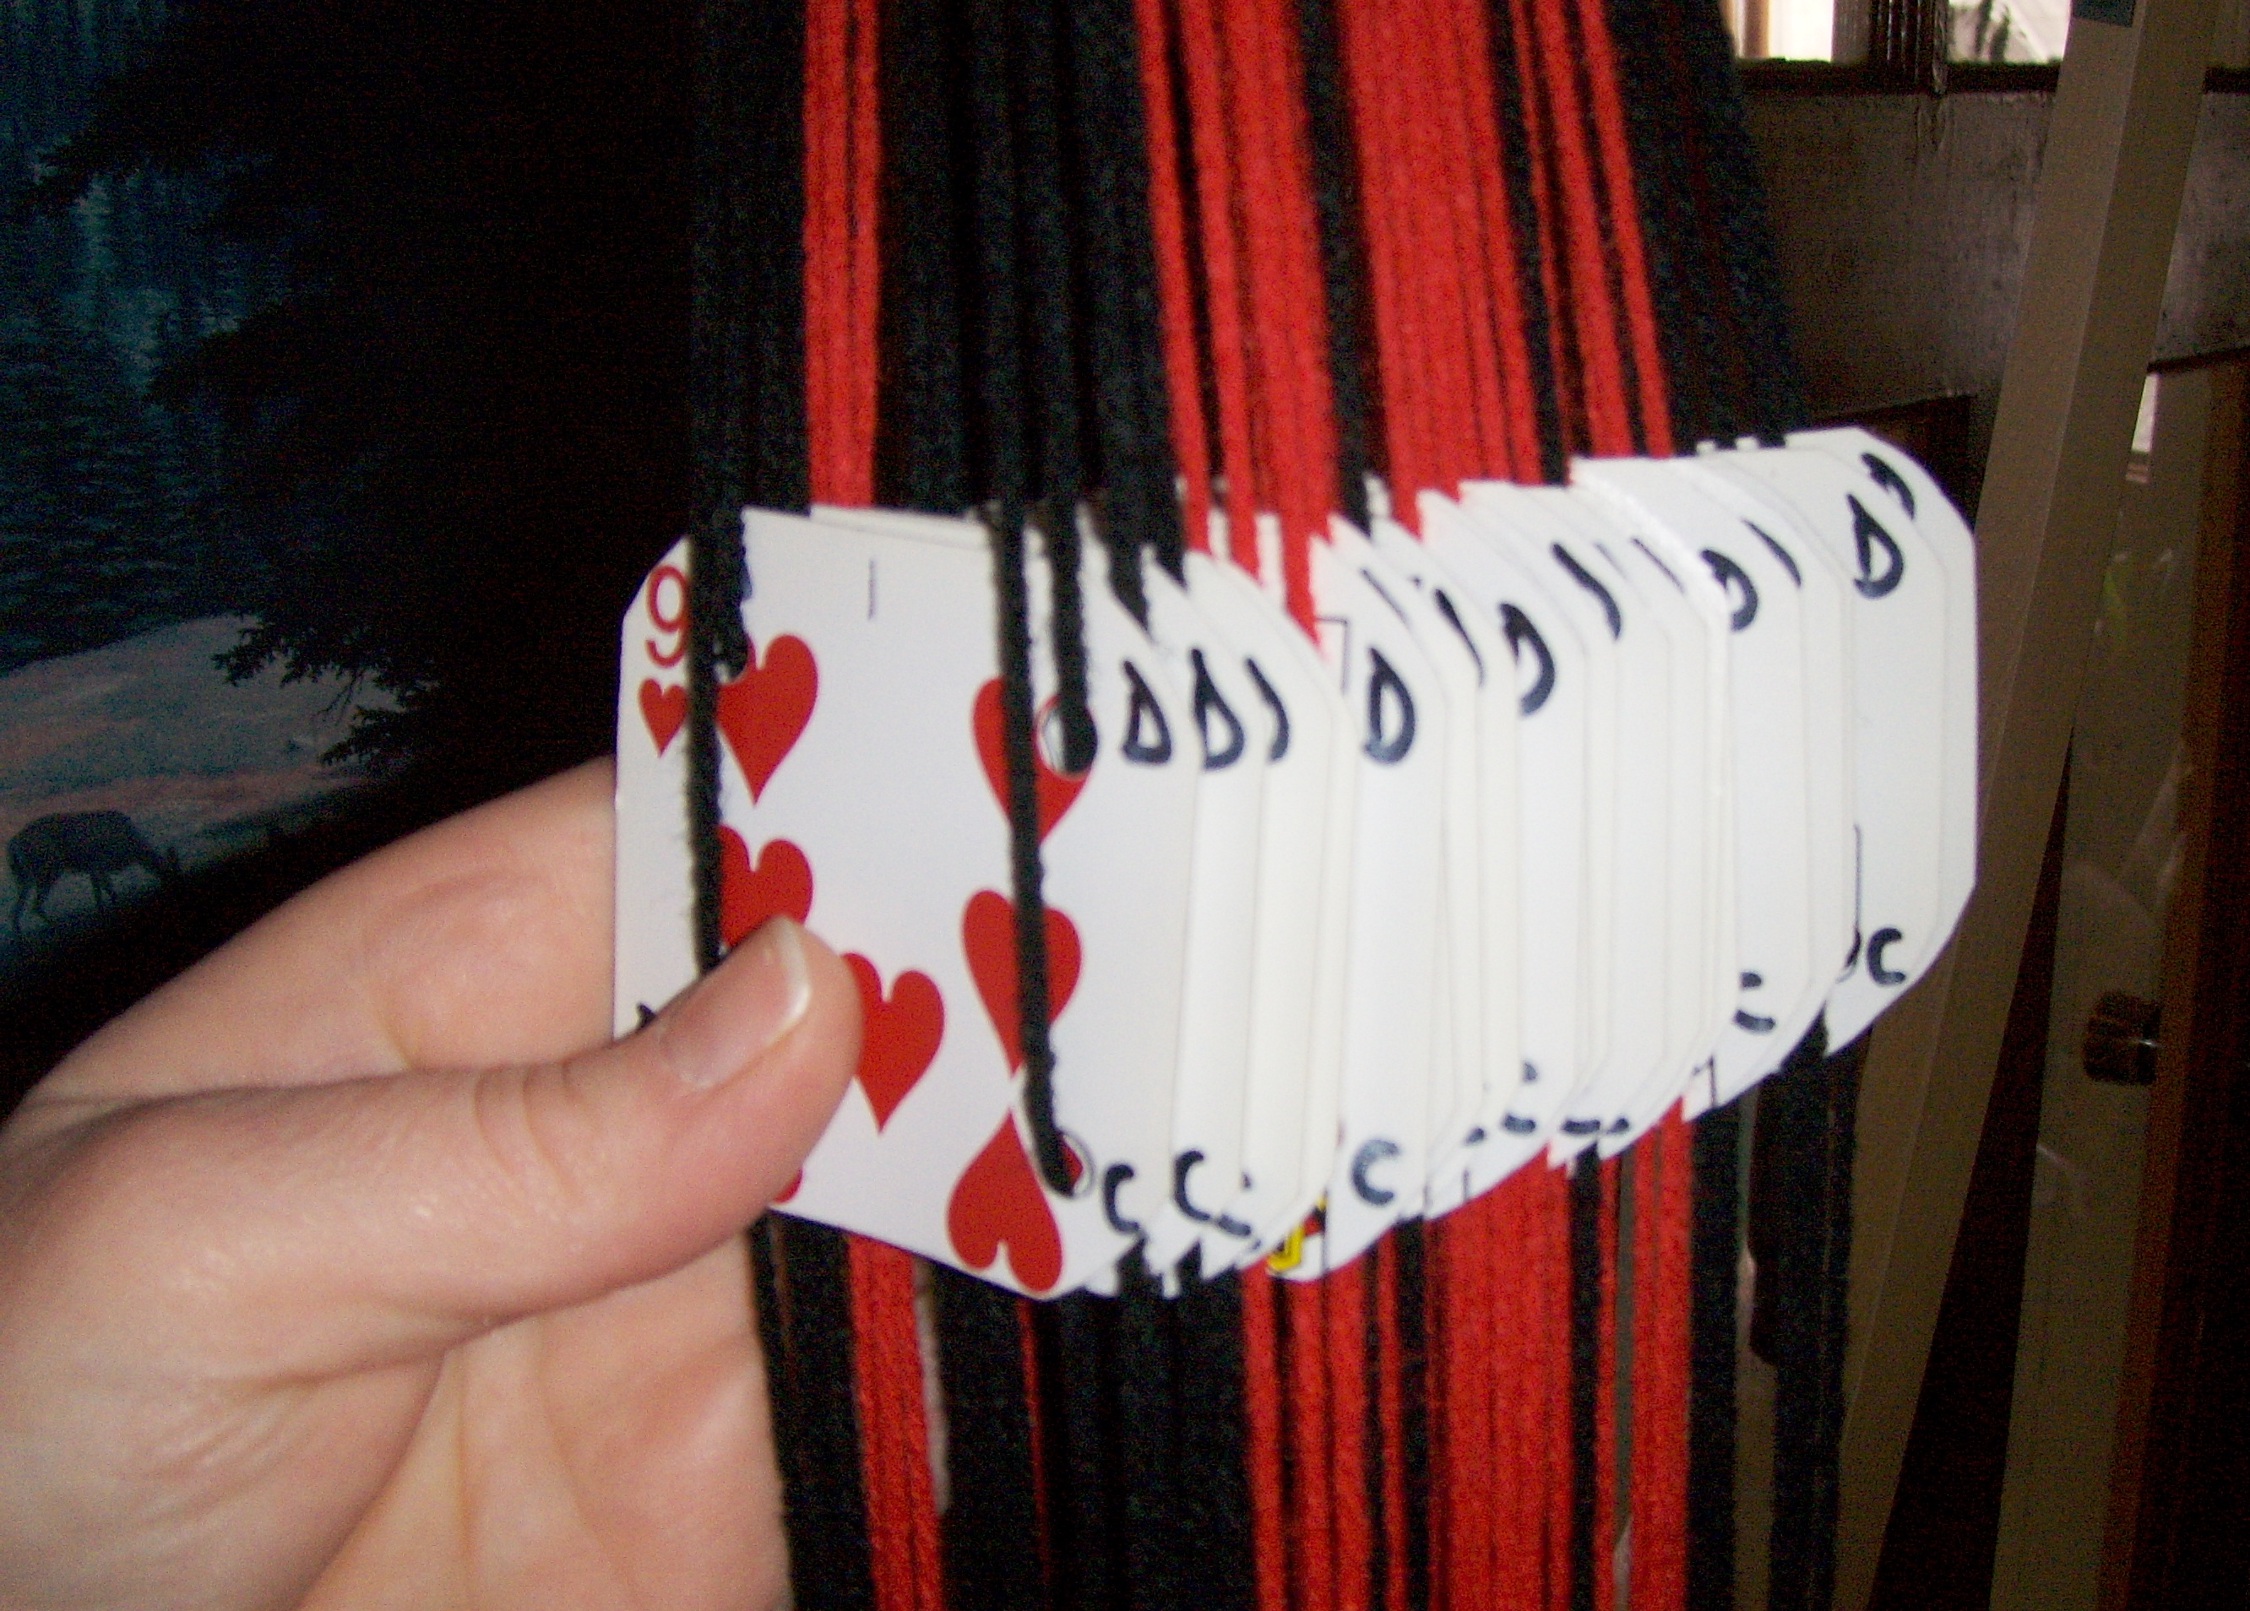
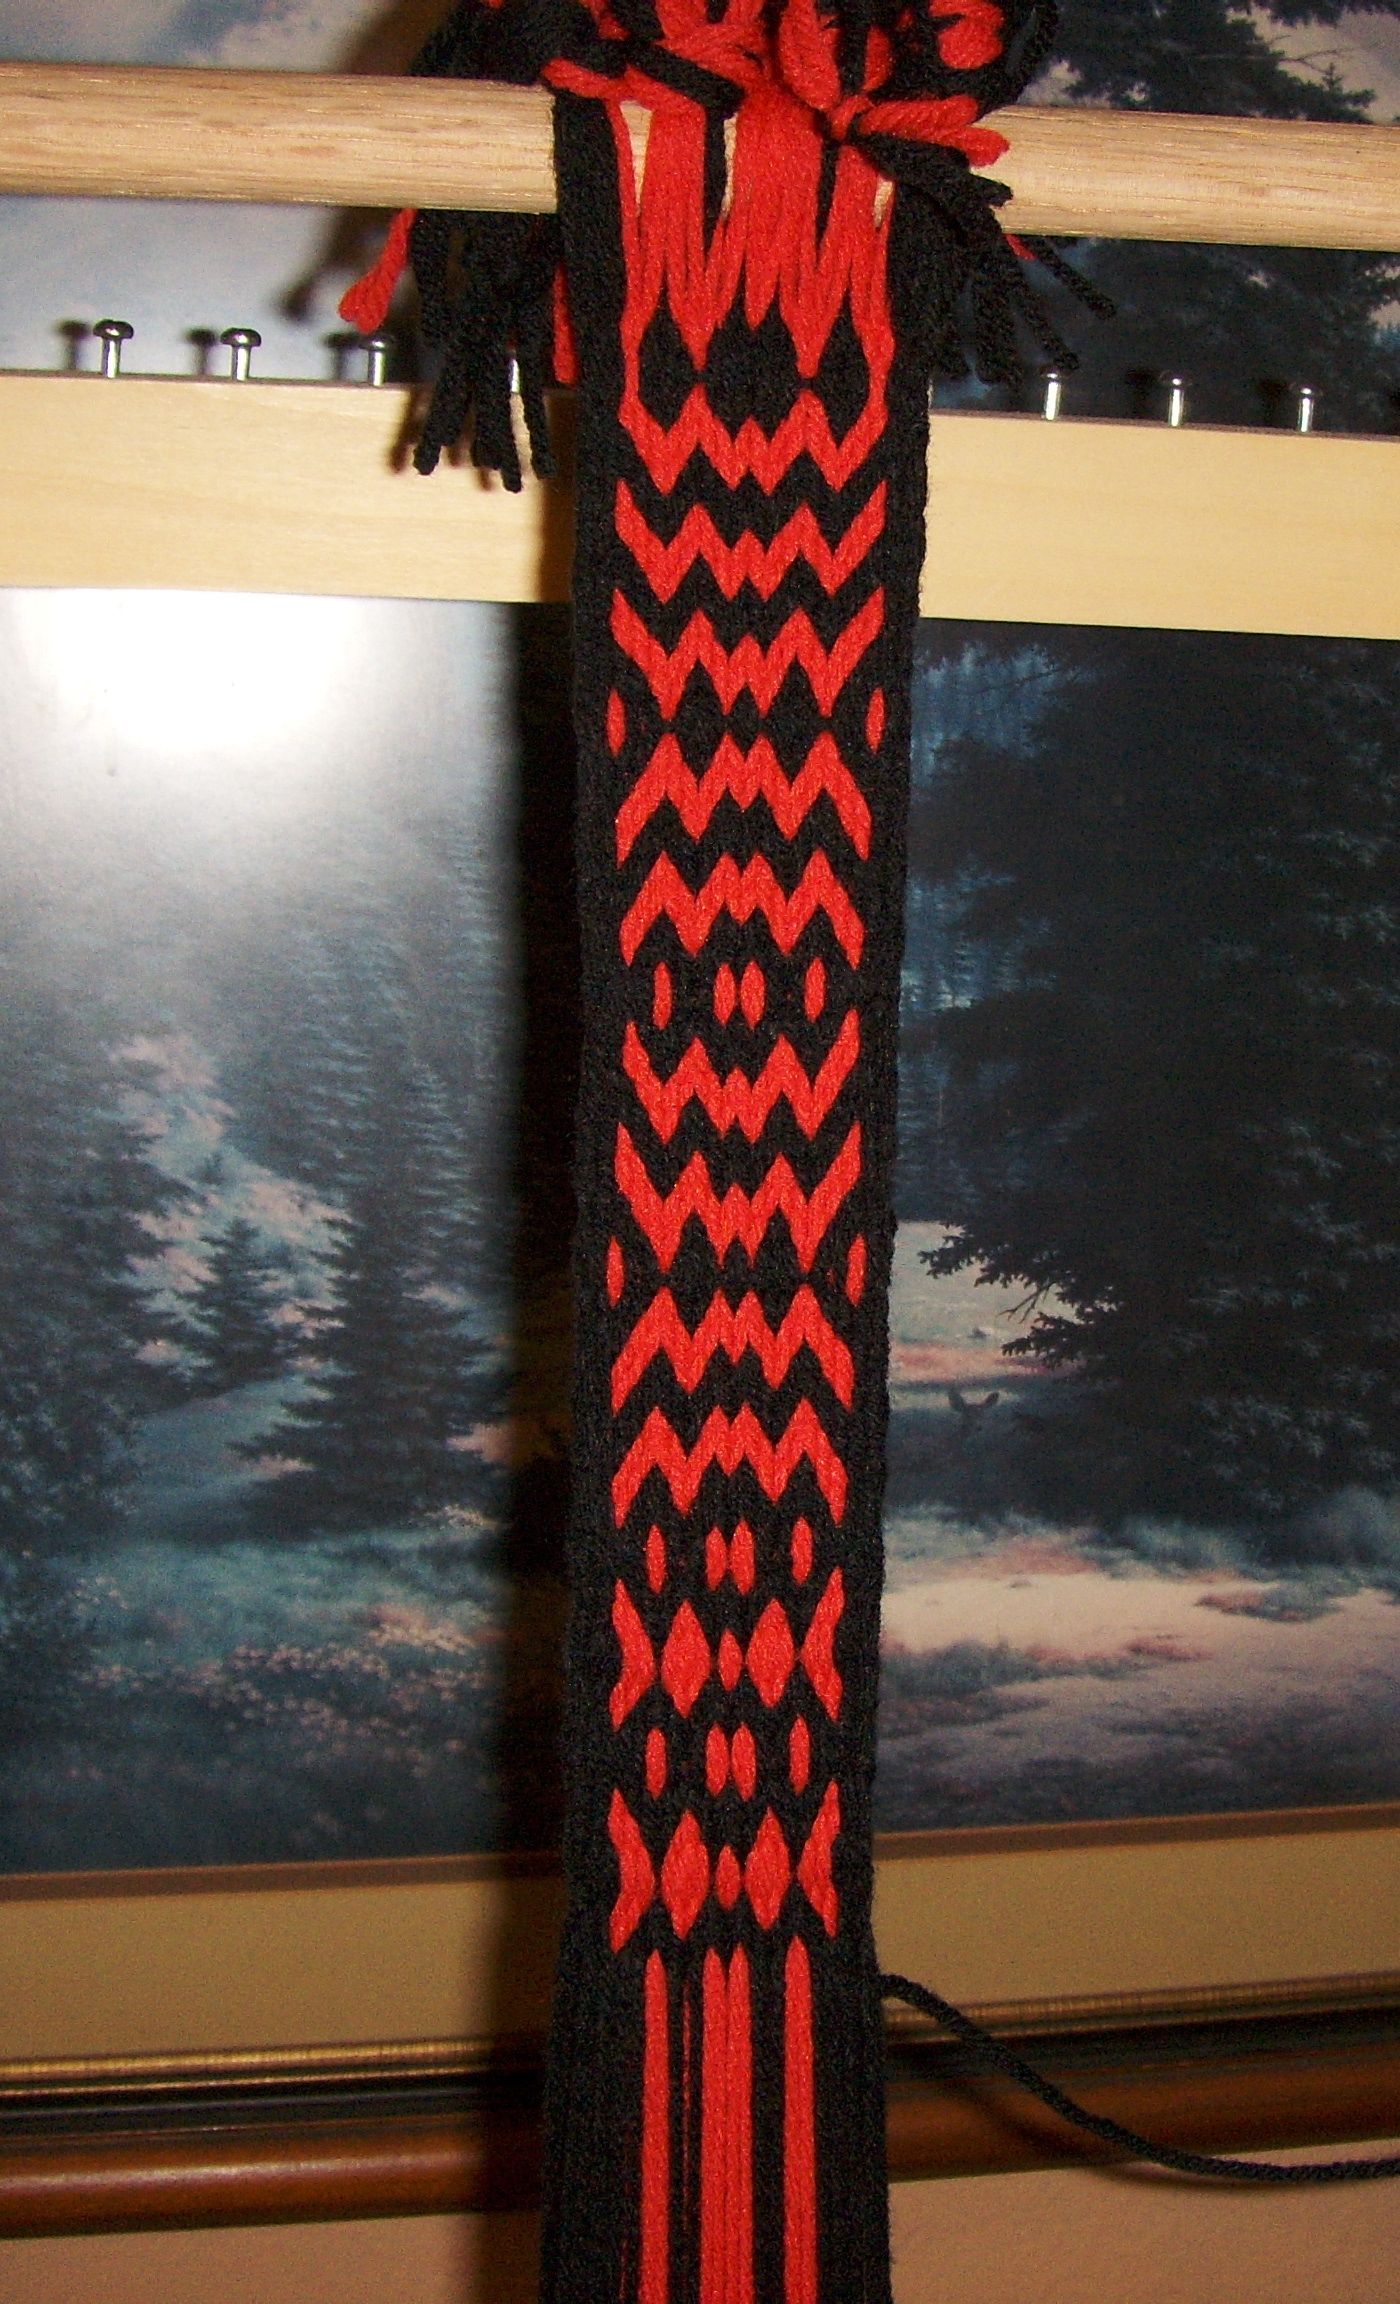
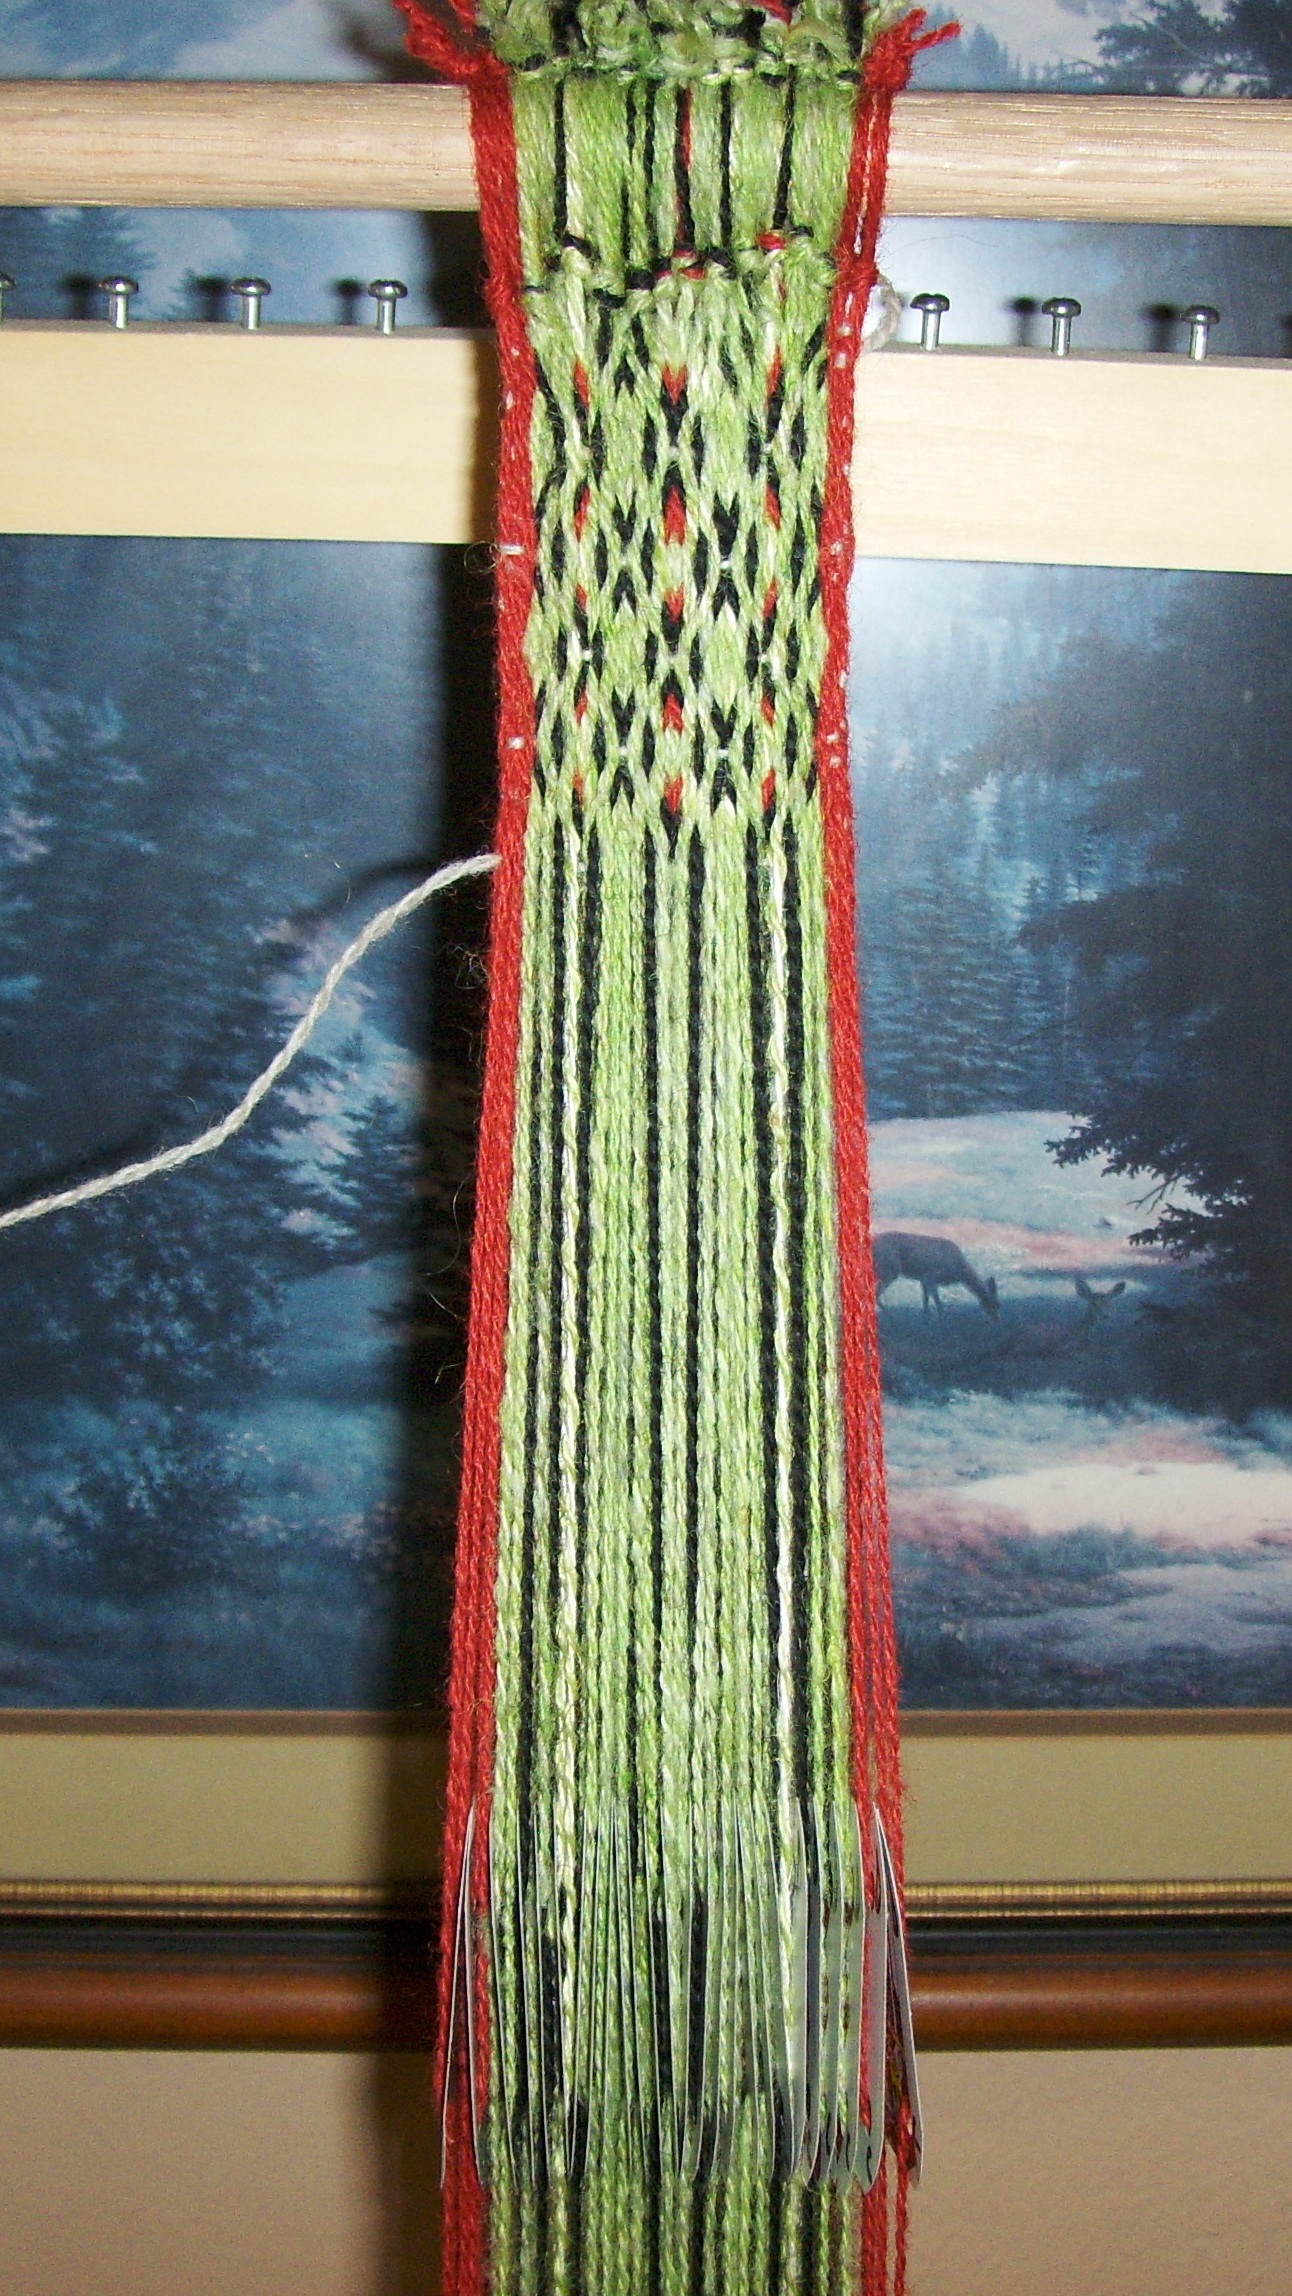
This is the first guitar strap I made for a friend in Milwaukee. It measured 6 feet long by 3 inches wide when it was finished. He requested acrylic yarns only because he didn’t know much about wool yet. I originally started out with playing cards cut into weaving tablets.
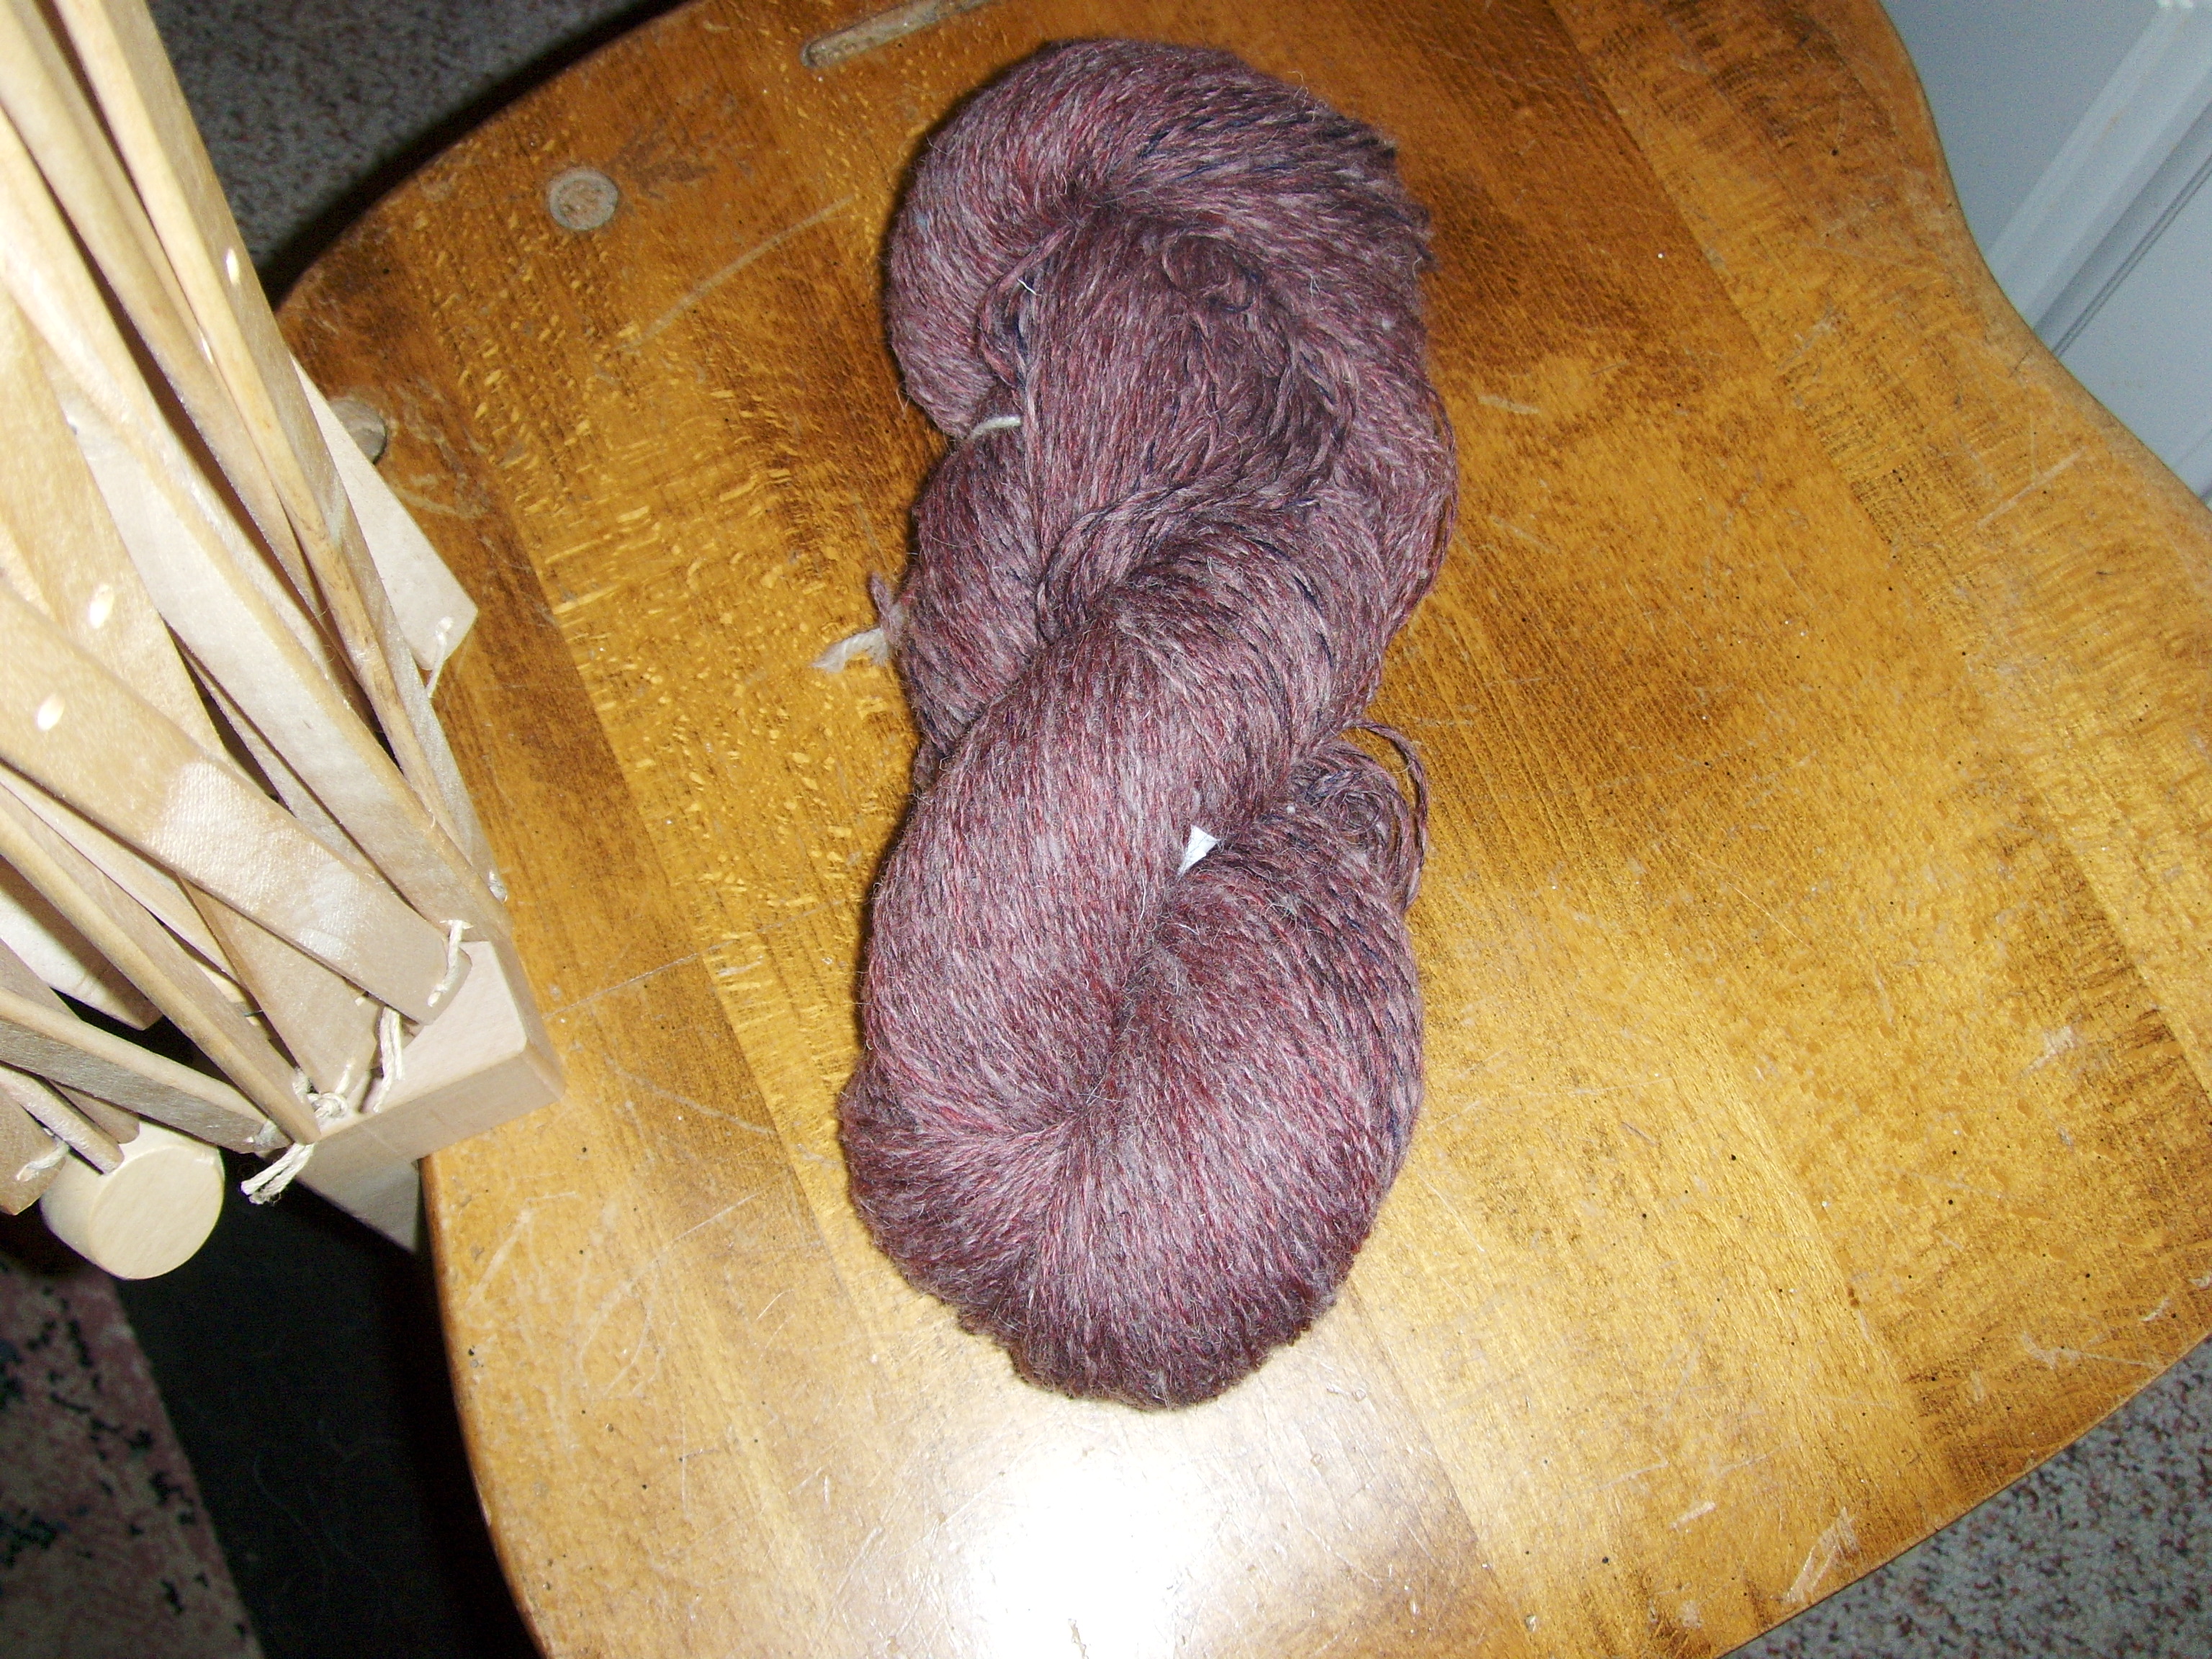
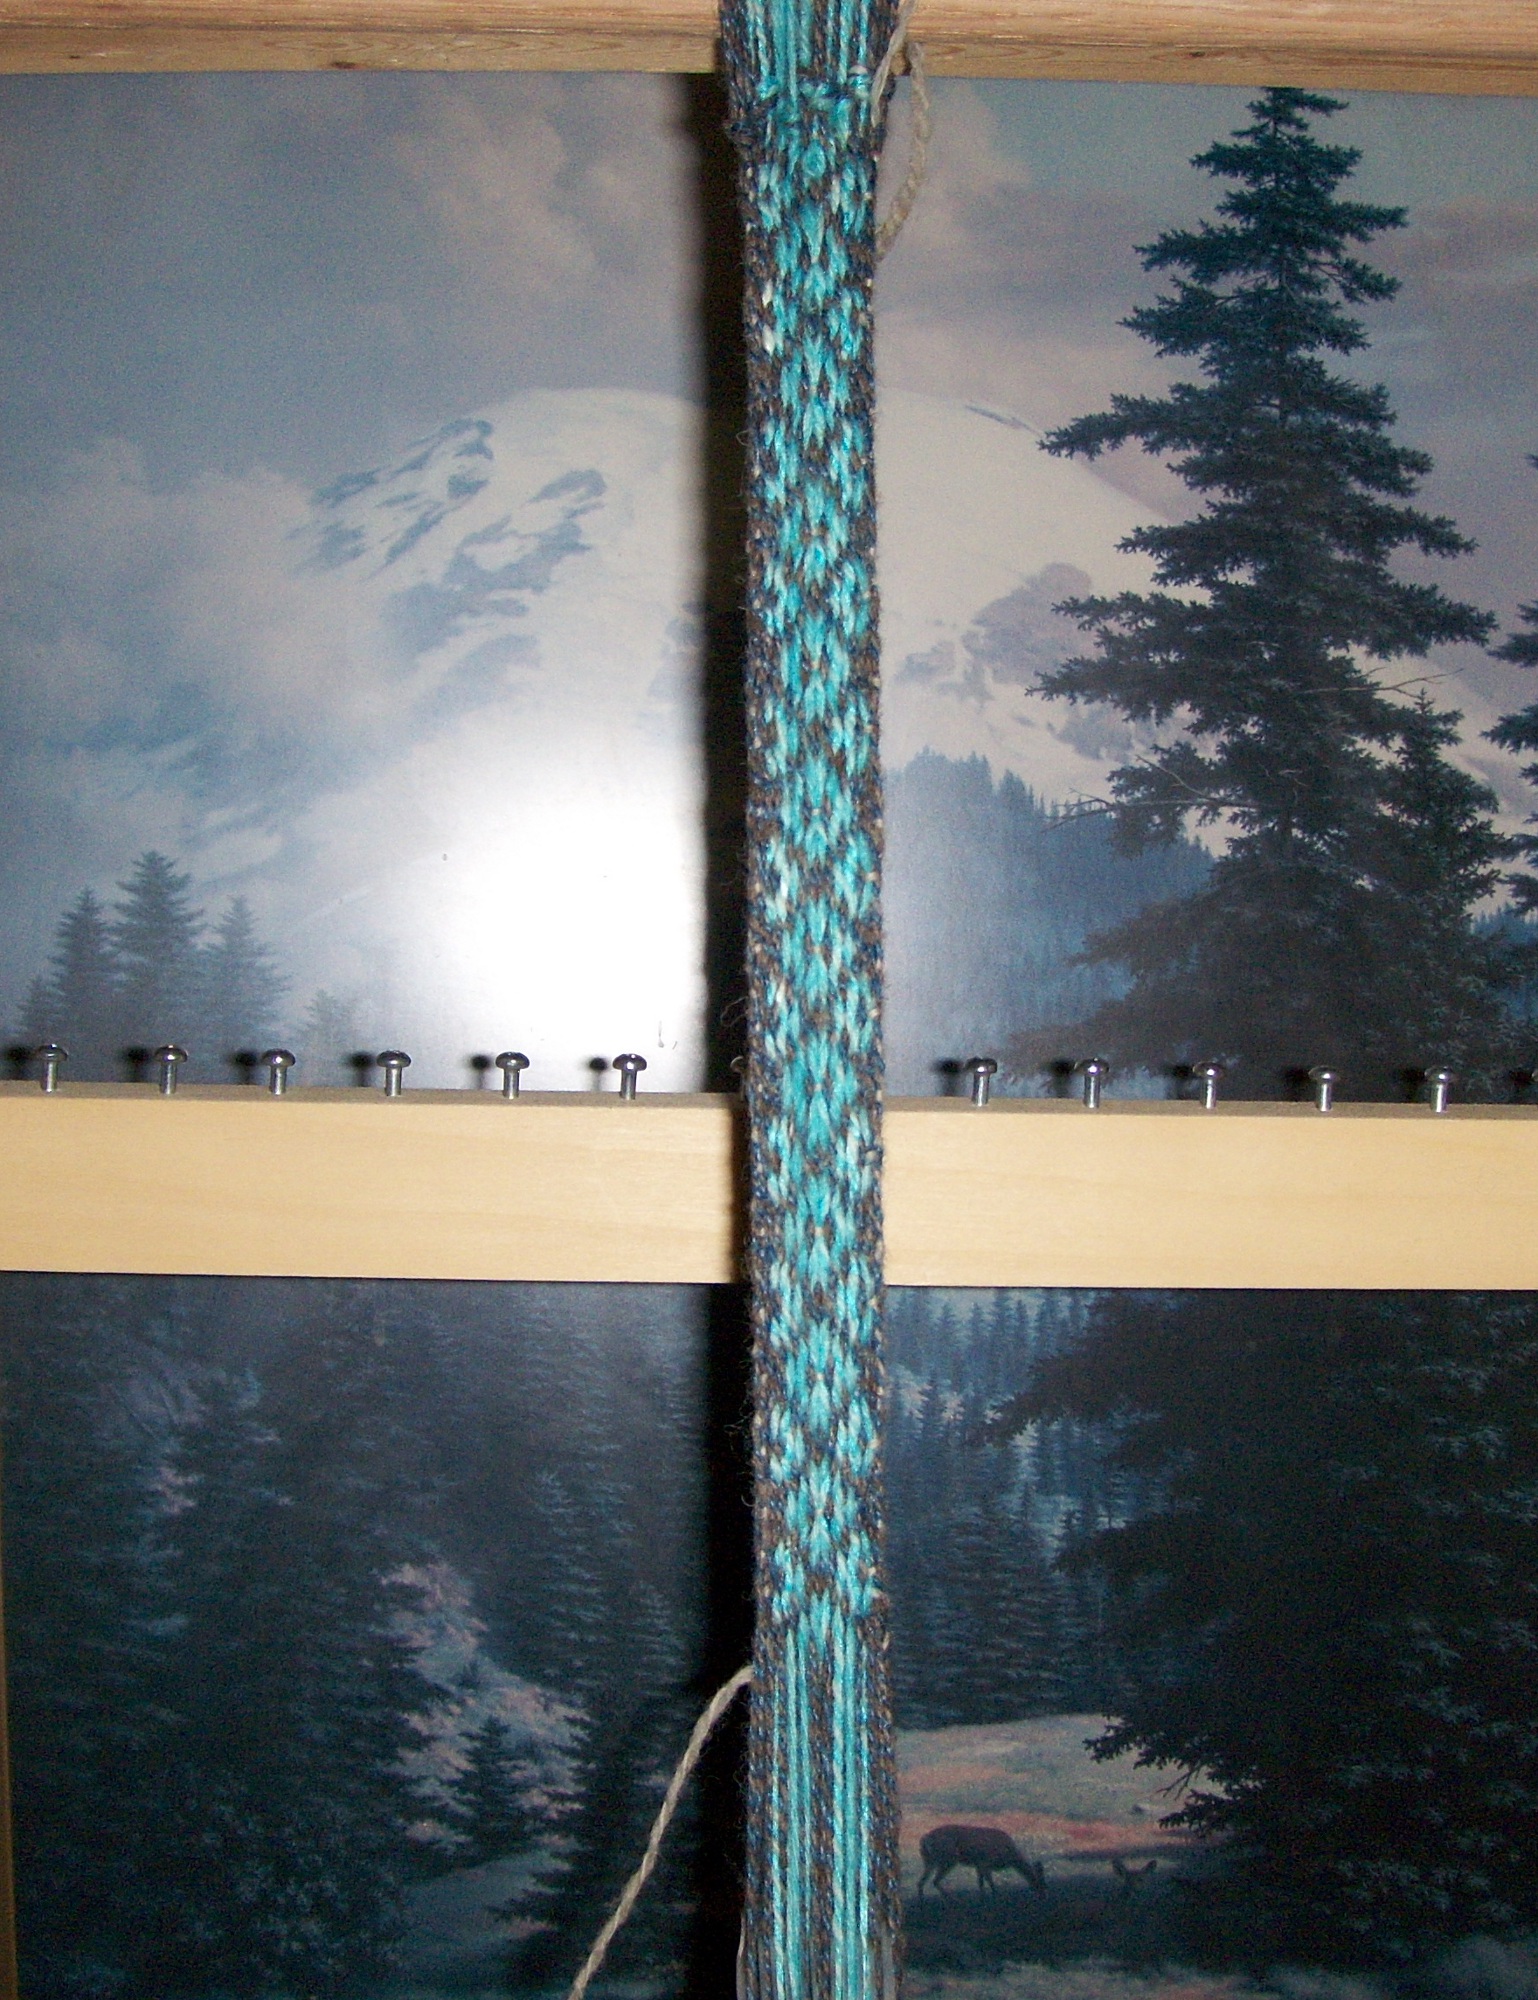
This was a 2-sided (exactly the same on both sides) Anglo-Saxon braid card weaving that I did next. It became an adjustable belt. It’s 100% from my hand spun, hand dyed wool yarns! All of it is Suffolk from the Ahrens’ Suffolk sheep!
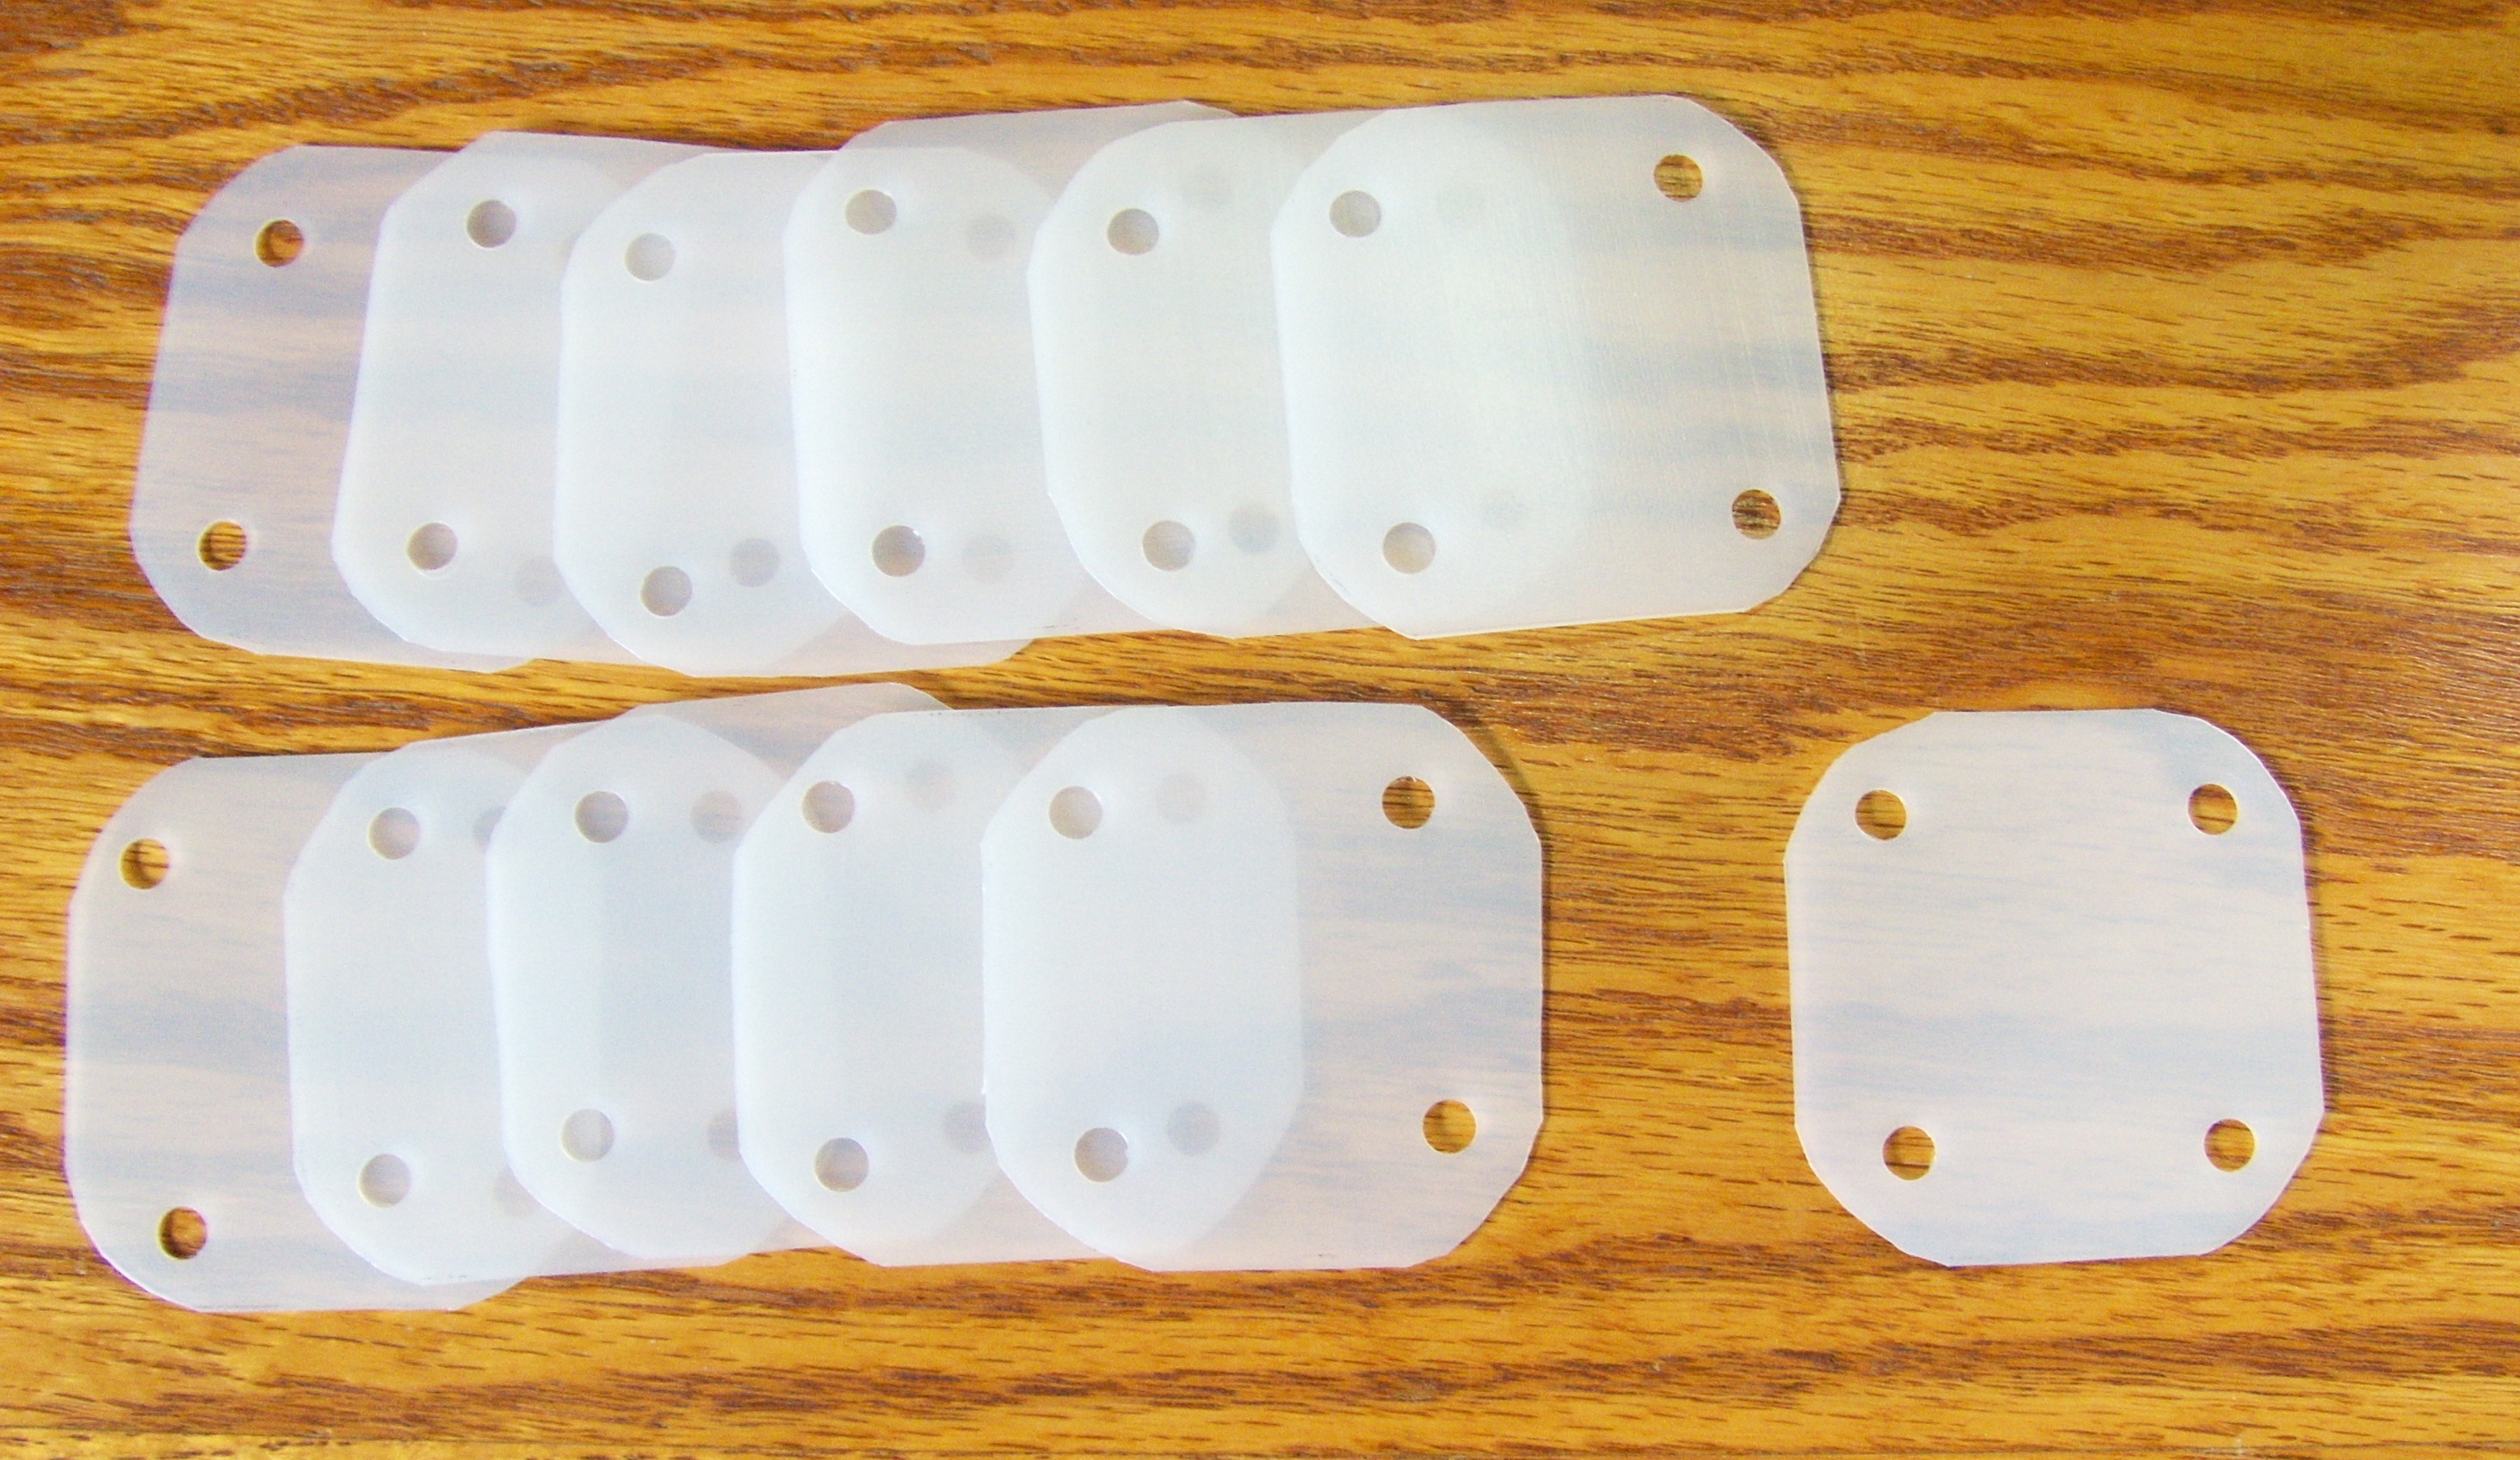
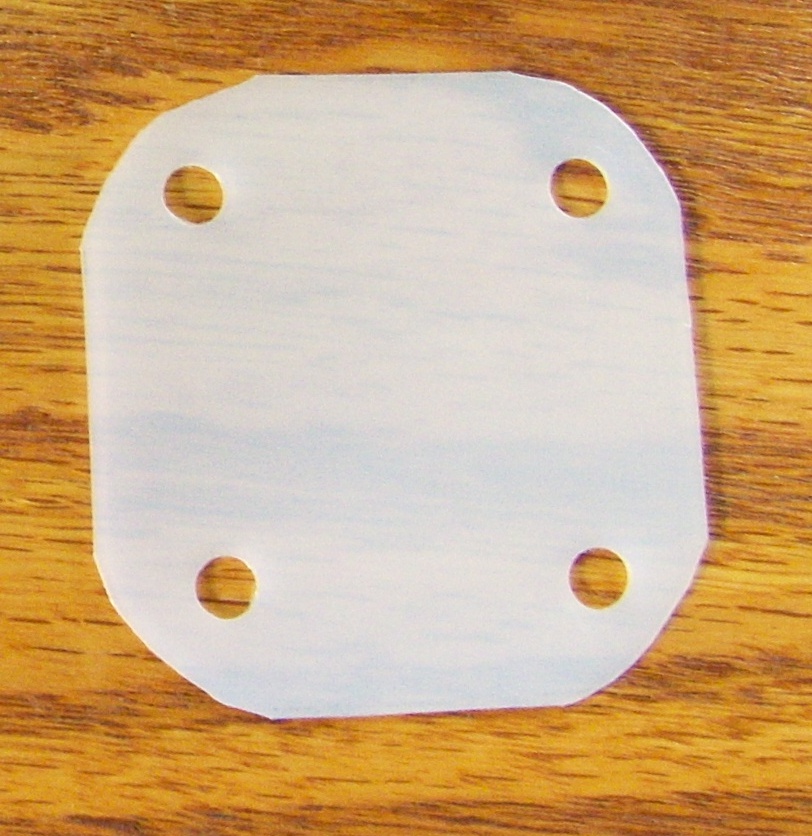
At this point, I considered buying some weaving tablets/cards because the playing cards pretty much wore out after about 5 weavings. I made another set of playing card tablets and then I started playing around with all of the plastic containers we had around the house. A year after I perfected something I liked, I created this Instructable for them (http://www.instructables.com/id/Card-weaving-how-to-make-your-own-cards-from-rec/). Cat litter jugs and milk jugs work the best!
As you can see, I use a rug loom to do my card weaving. I prefer standing and I prefer weaving top down. The skinny ones became dog leashes and the wide ones became belts or guitar straps. The last one, on the triangle weaving cards was acrylic (another special request).
I also discovered that I love triangle weaving. That patterns that can be created are unfathomable, but that will have to be for another post while I learn more with the triangle cards. Both of these became dog leashes also. The first one is acrylic. The 2nd and 3rd ones are my hand dyed, hand spun wool yarns.
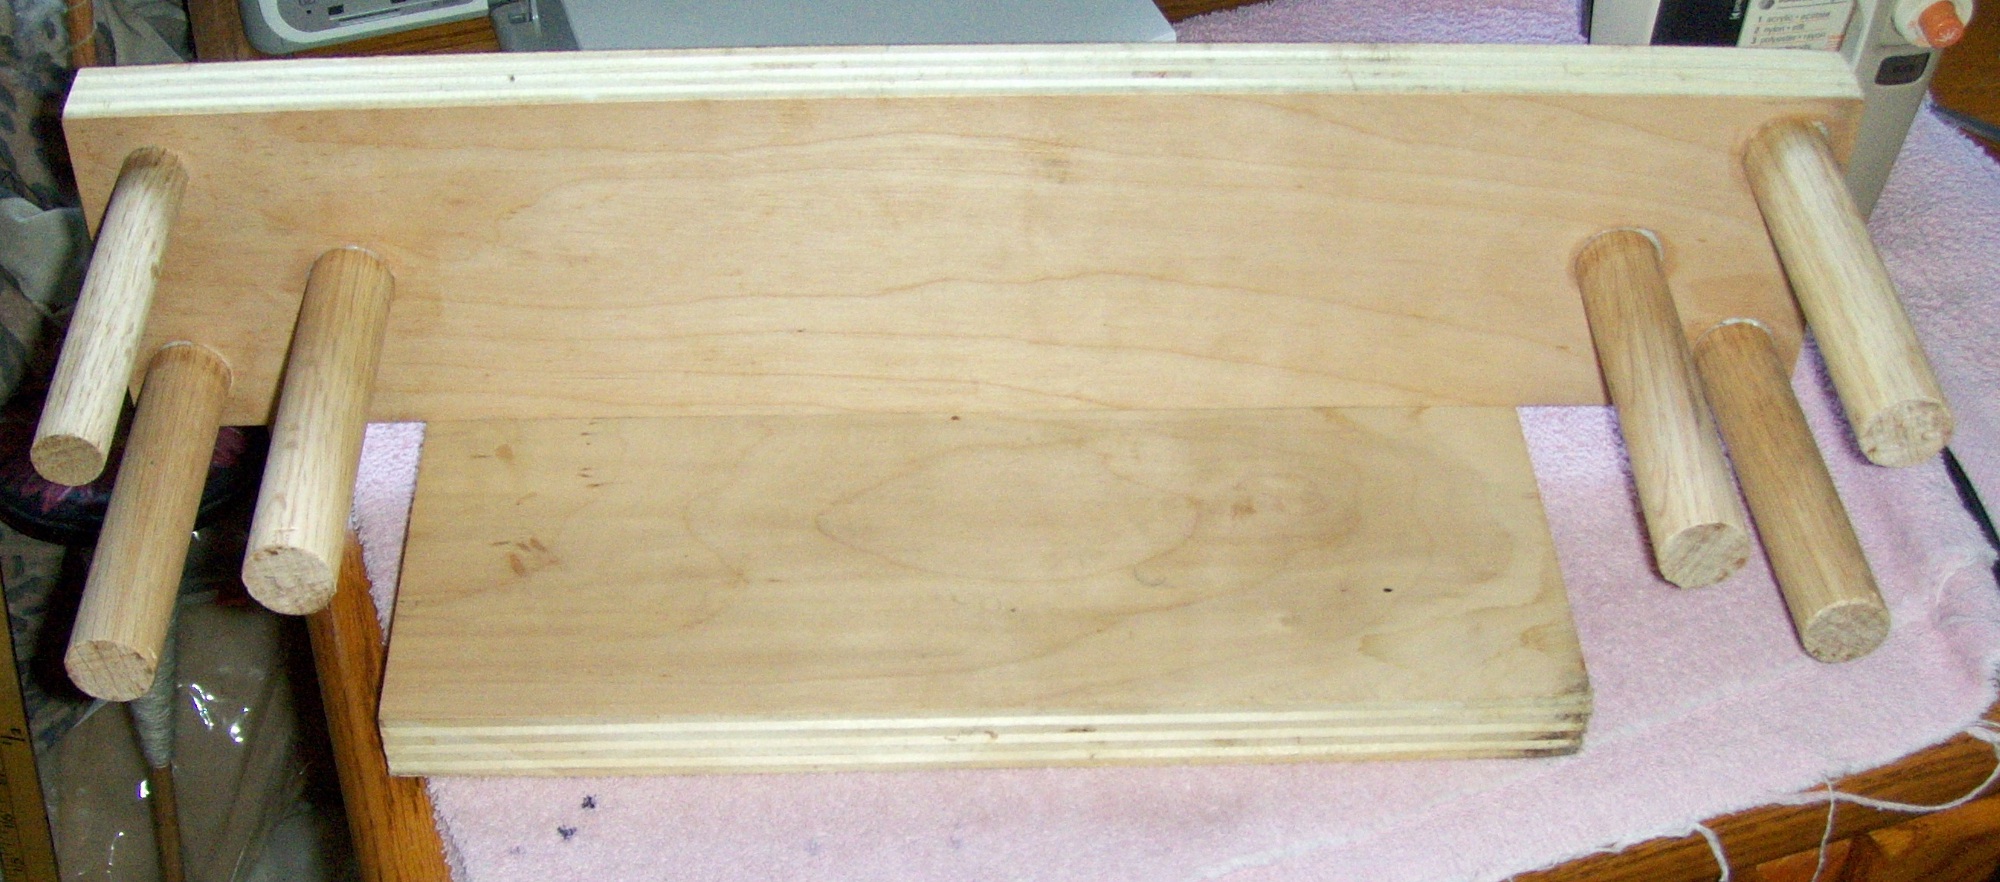
During all the madness, I decided I needed a more portable way to card weave, so I made a back strap loom and designed and built a wooden, portable card weaving loom.
This first one didn’t work out so well because I realized I needed to be able to pass the shuttle back and forth, unimpeded.
This ‘minor’ modification, using a jigsaw, turned out just right (and yes, I still use playing cards to weave with because it seems I end up selling off my recycled plastic ones.
Here is the video of me demonstrating triangle card weaving. I did all of the editing with help from my friend, Azharuddin Khan!
Also, a special thanks goes out to Guntram for creating awesome, free software to design all of those designs you want to create. His software comes with a bazillion preprogrammed patterns, but also allows you to design your own and save them all. The software is called, Guntram’s Card Weaving Thingy!
As always, if this prompts you to want to start card weaving and you’d like some nice, slippery cards that don’t tip over while you’re weaving (unless you want them to), see my etsy listing for them.
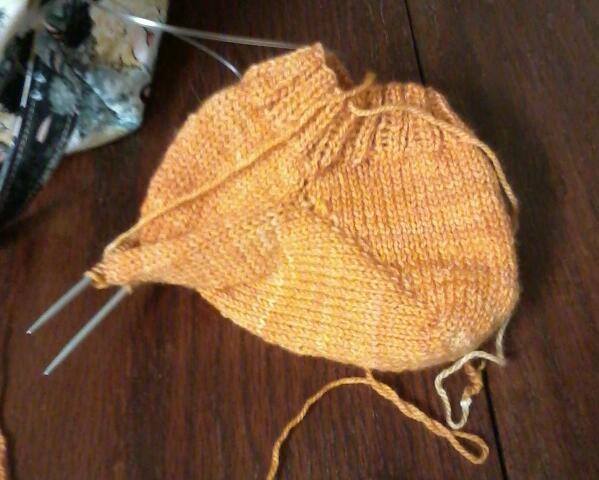
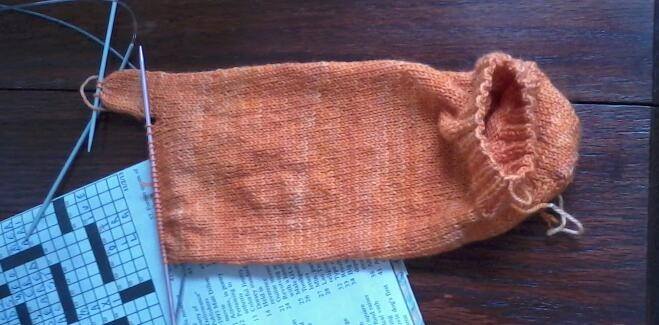
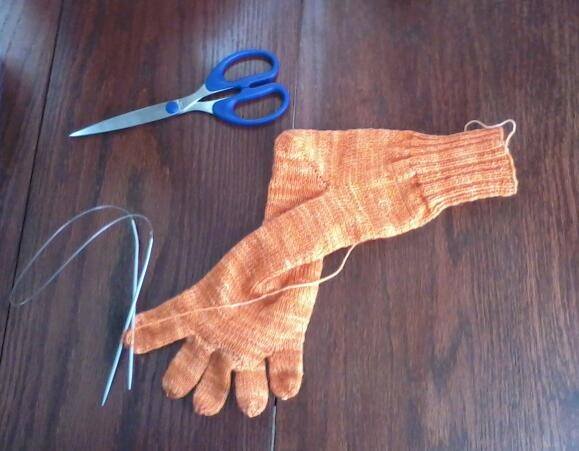
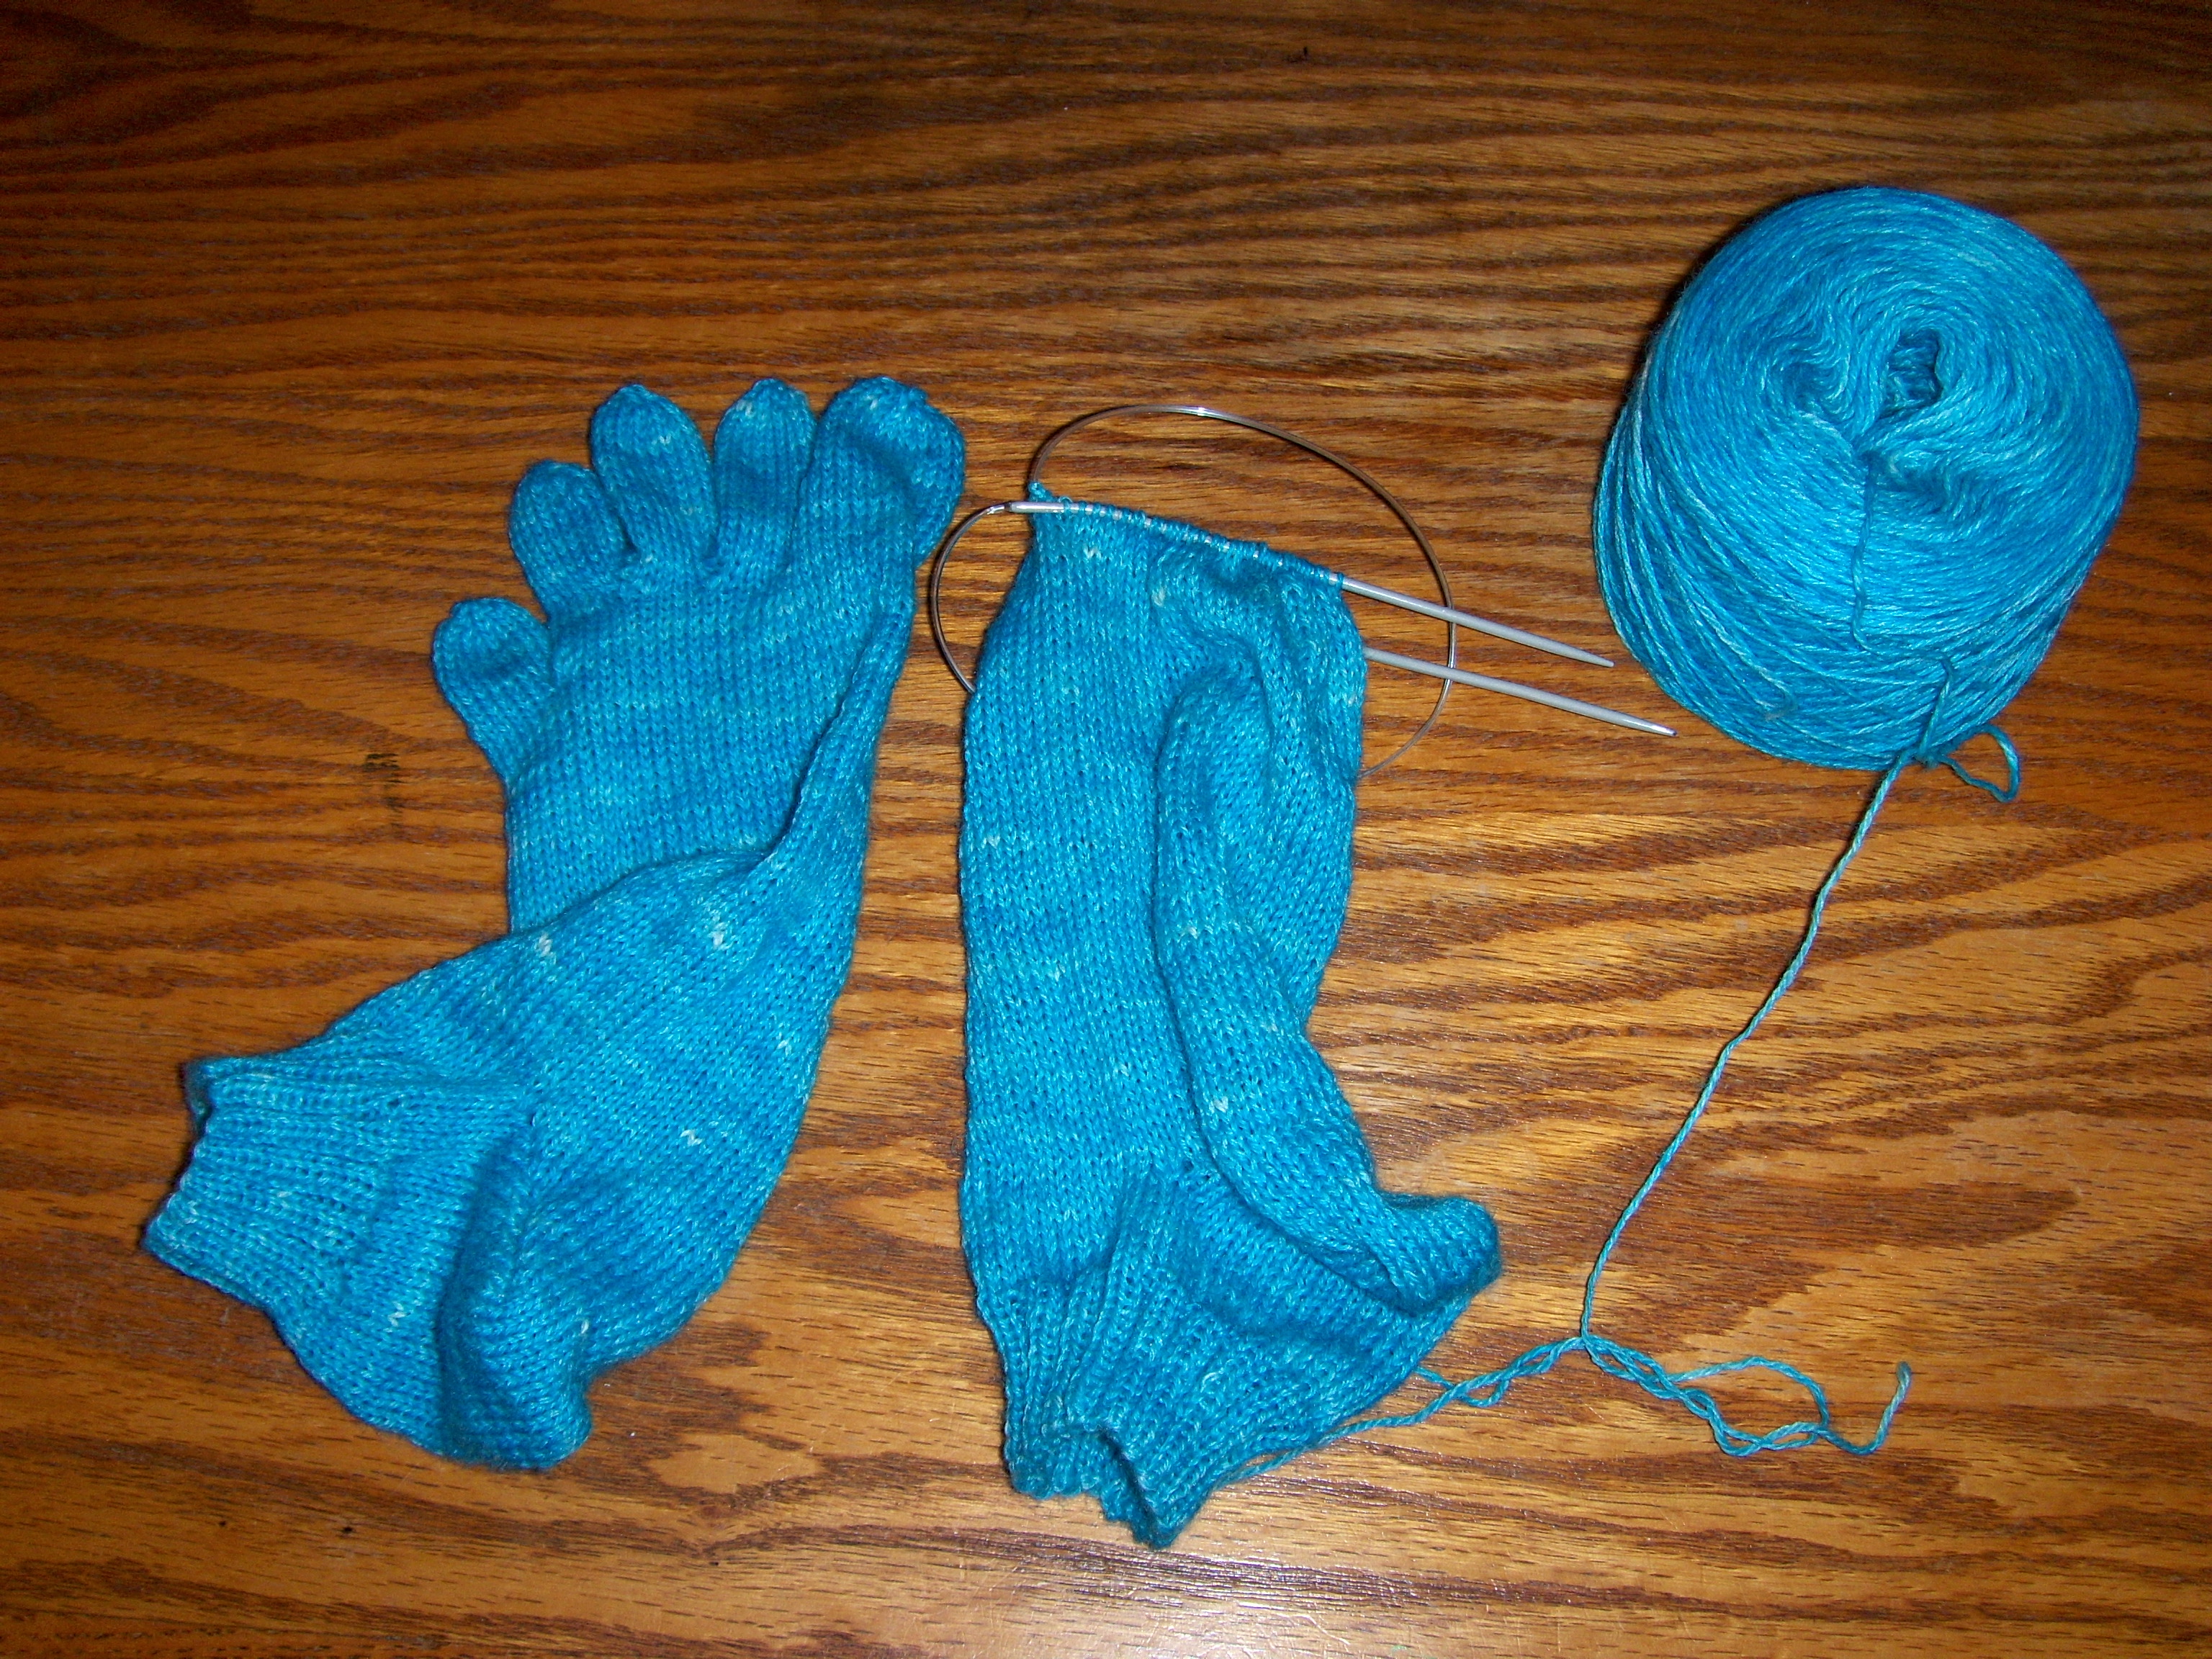
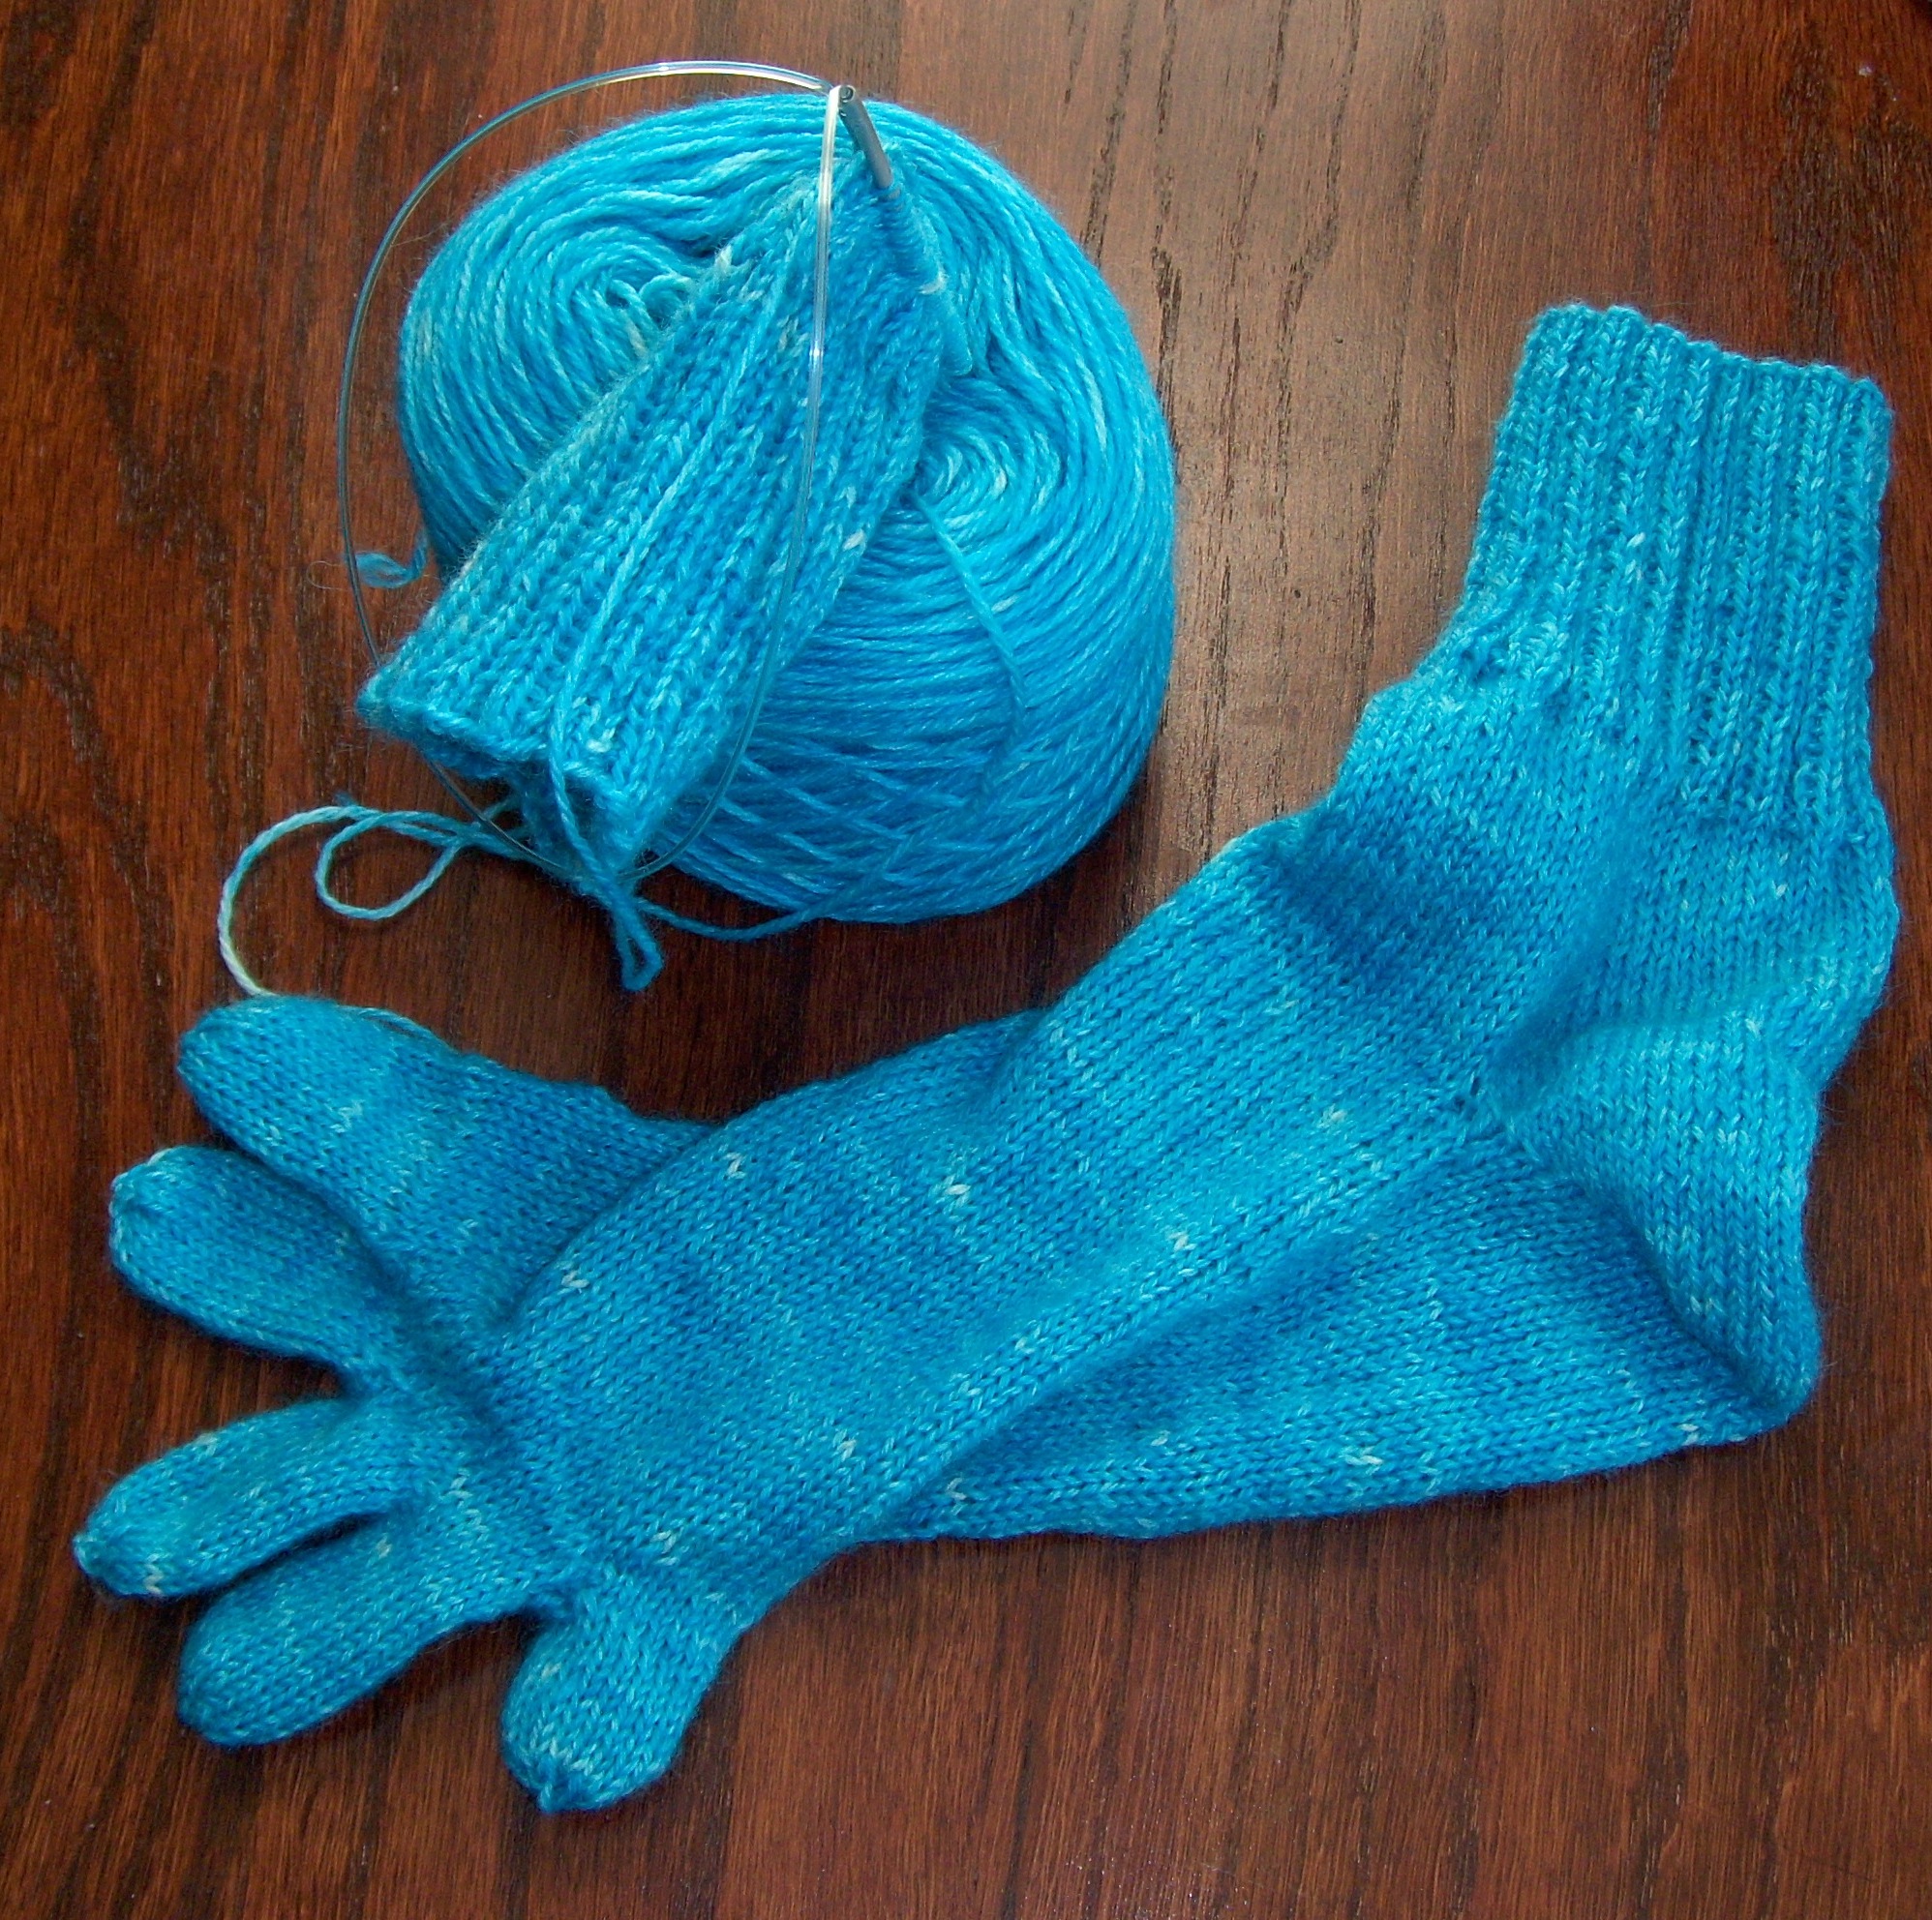
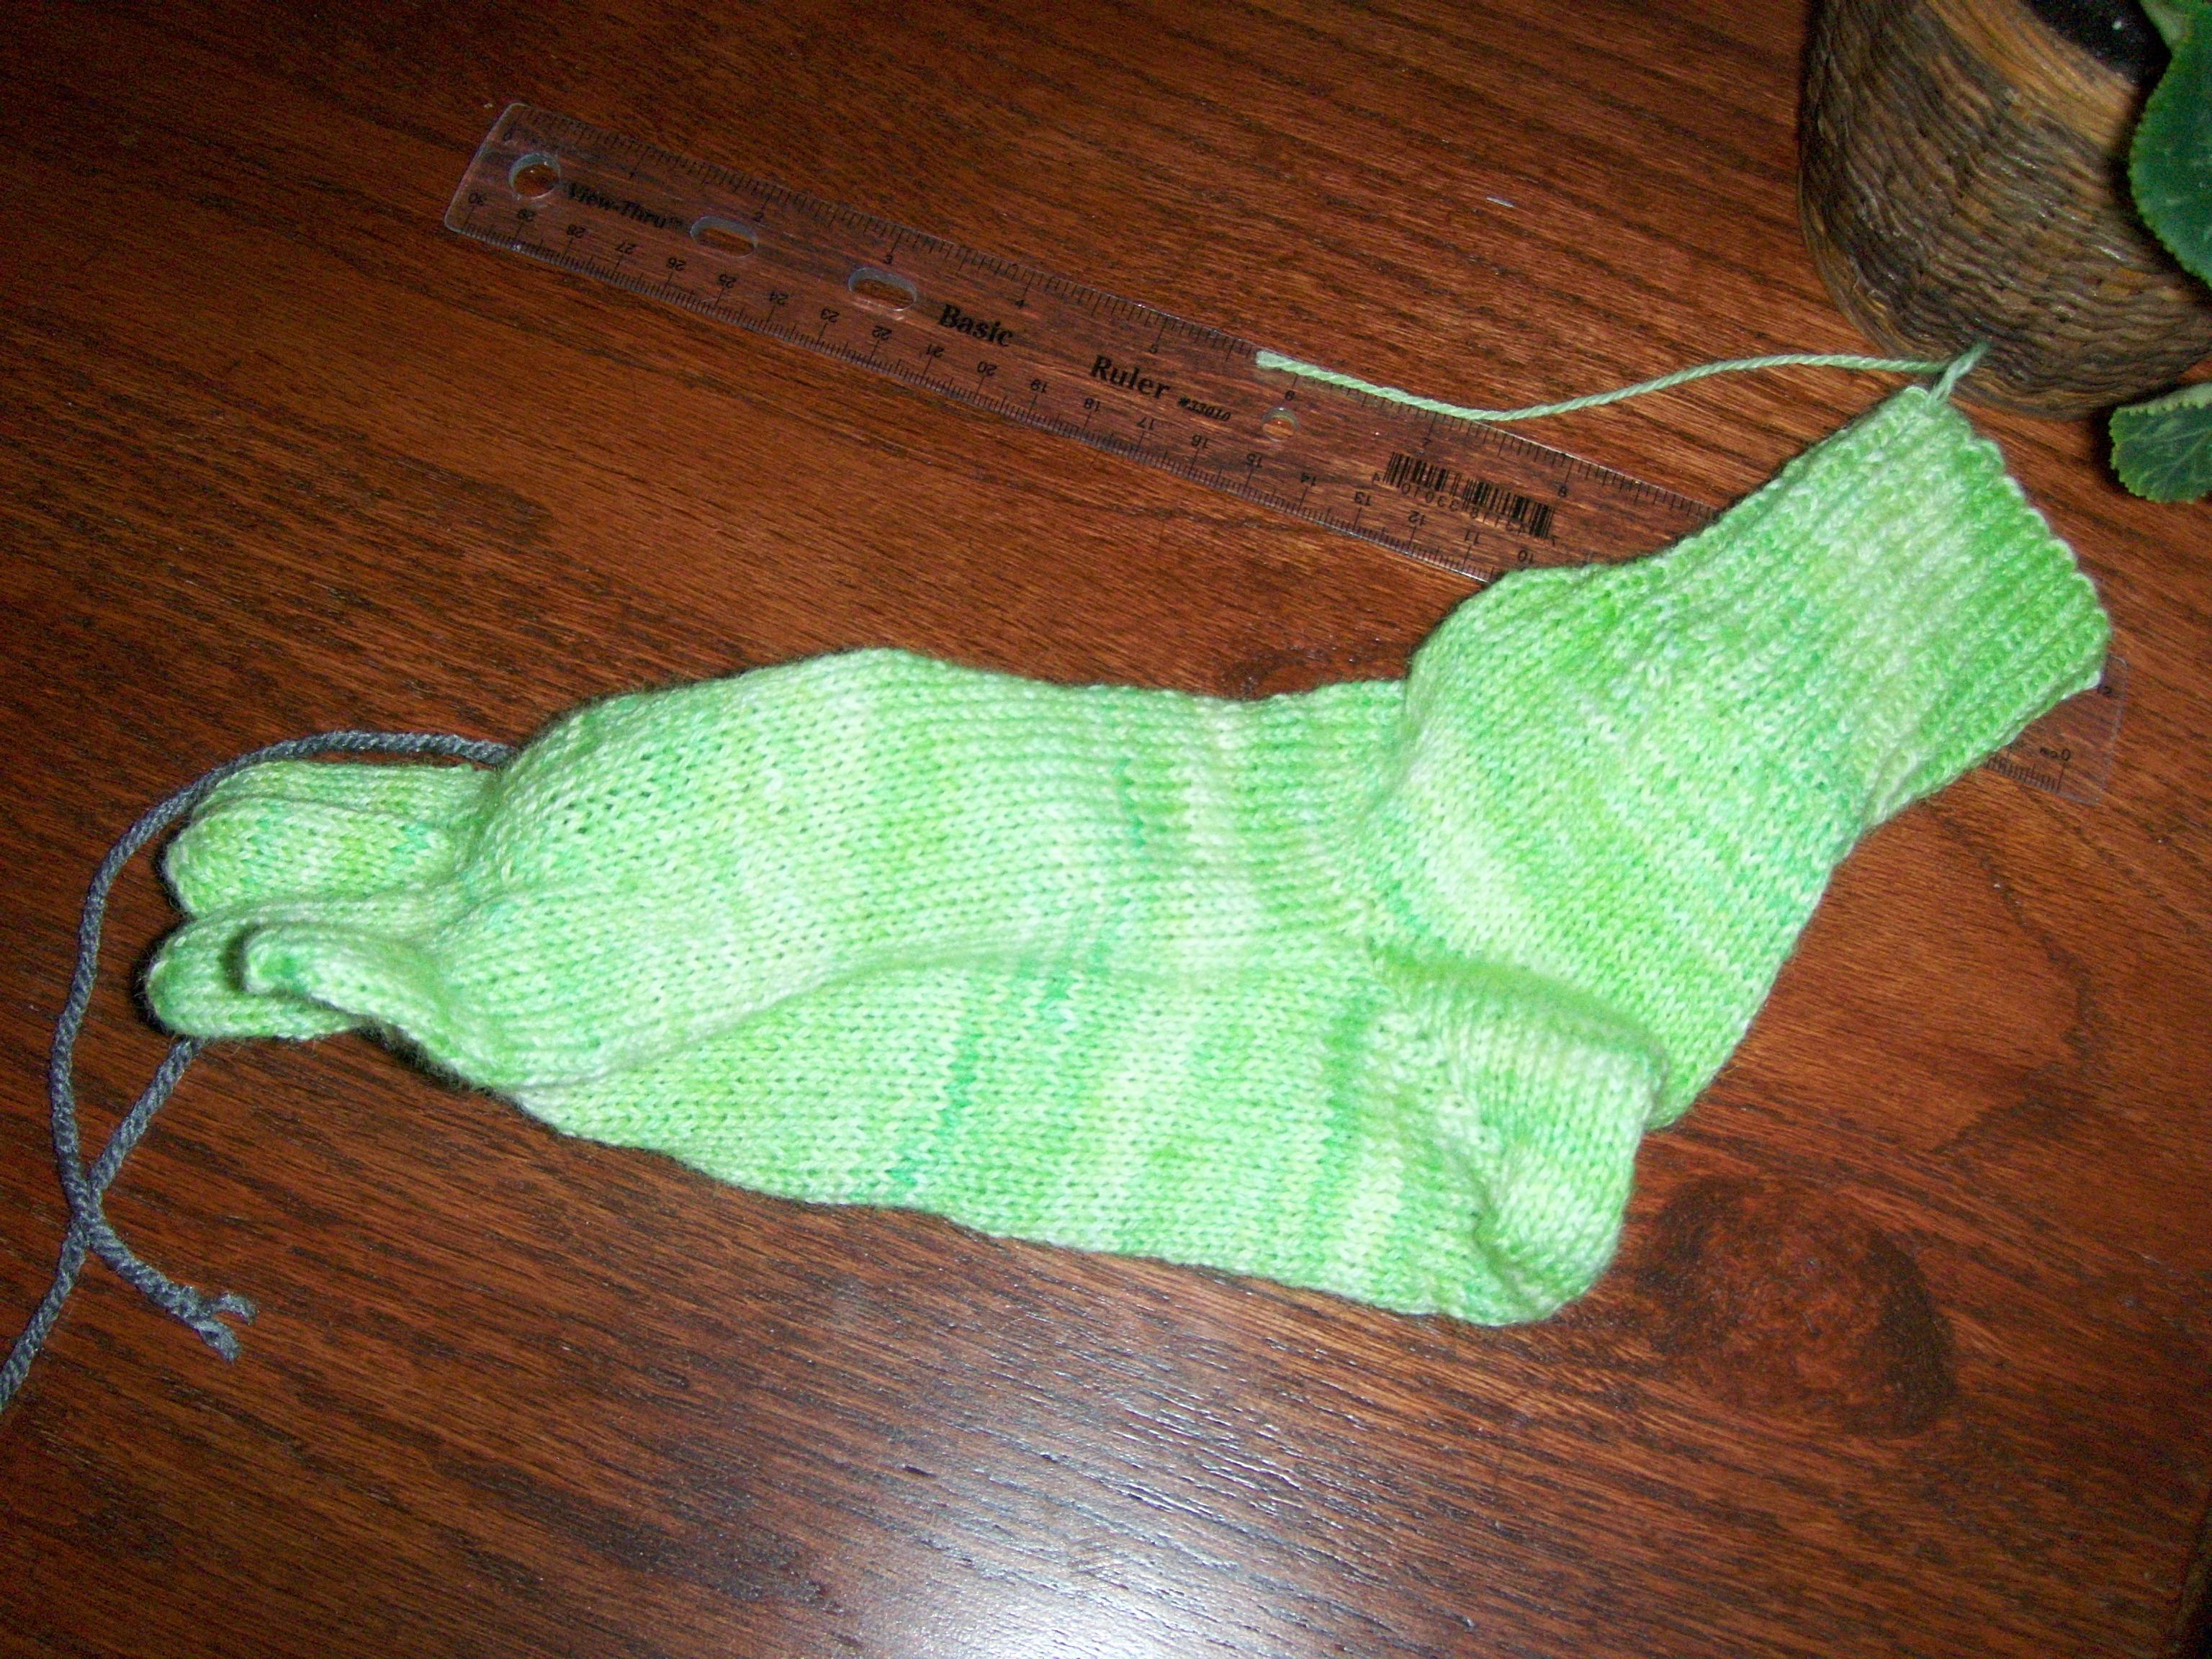
I have a customer who really likes toe socks, otherwise known by the brand name, Injinji. I’ve been knitting them for him in every color he can think of. They do take a while to dye up the yarn and knit them, but it’s very peaceful work.
His first order was for 1 pair of orange crew length toe socks and 1 pair ankle length toe socks.
His second order was for the same, but in a bright turquoise blue.
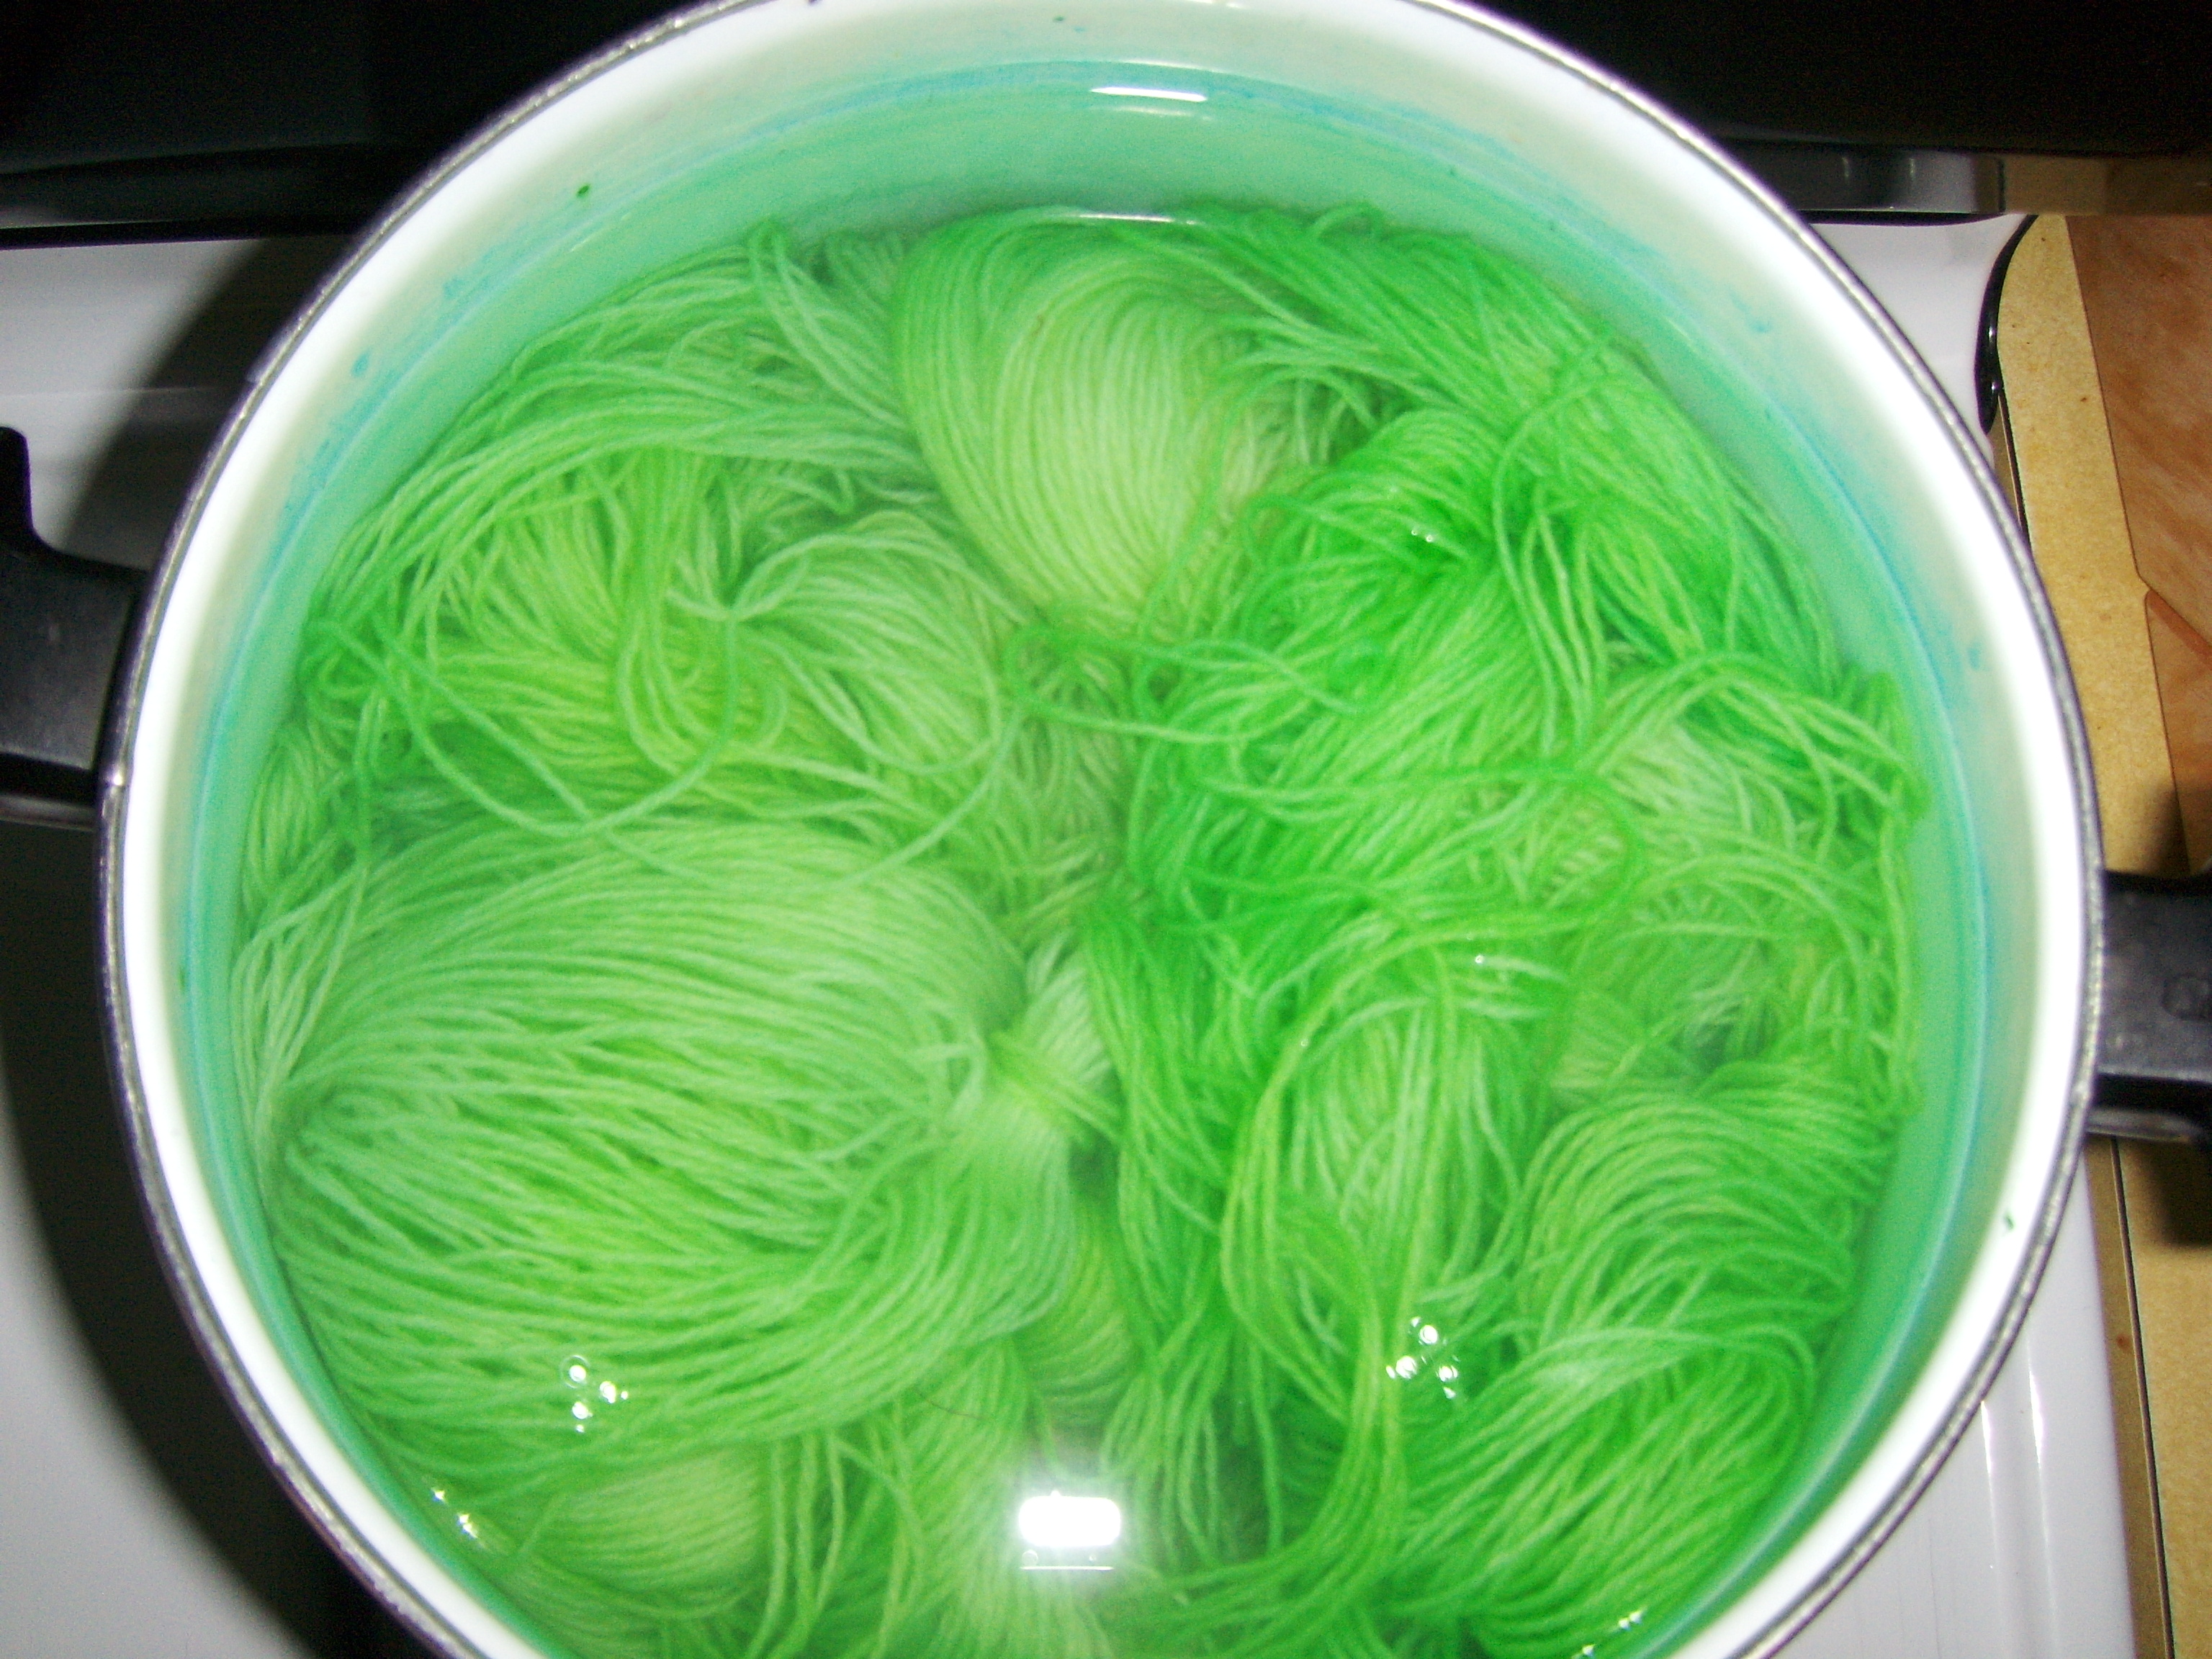
Now, I’m knitting him 2 pairs in a blend of green apple/lime green color!
I have a love-hate relationship with rainy days. I know they’re necessary so that everything has water without us paying for it, but I dislike them when they’re cold and dreary. When they’re dreary, I need things to pull me out of any funk they can sometimes throw me into. When they’re dreary, I crave COLOR!! Lots of bright and bold COLORS!!
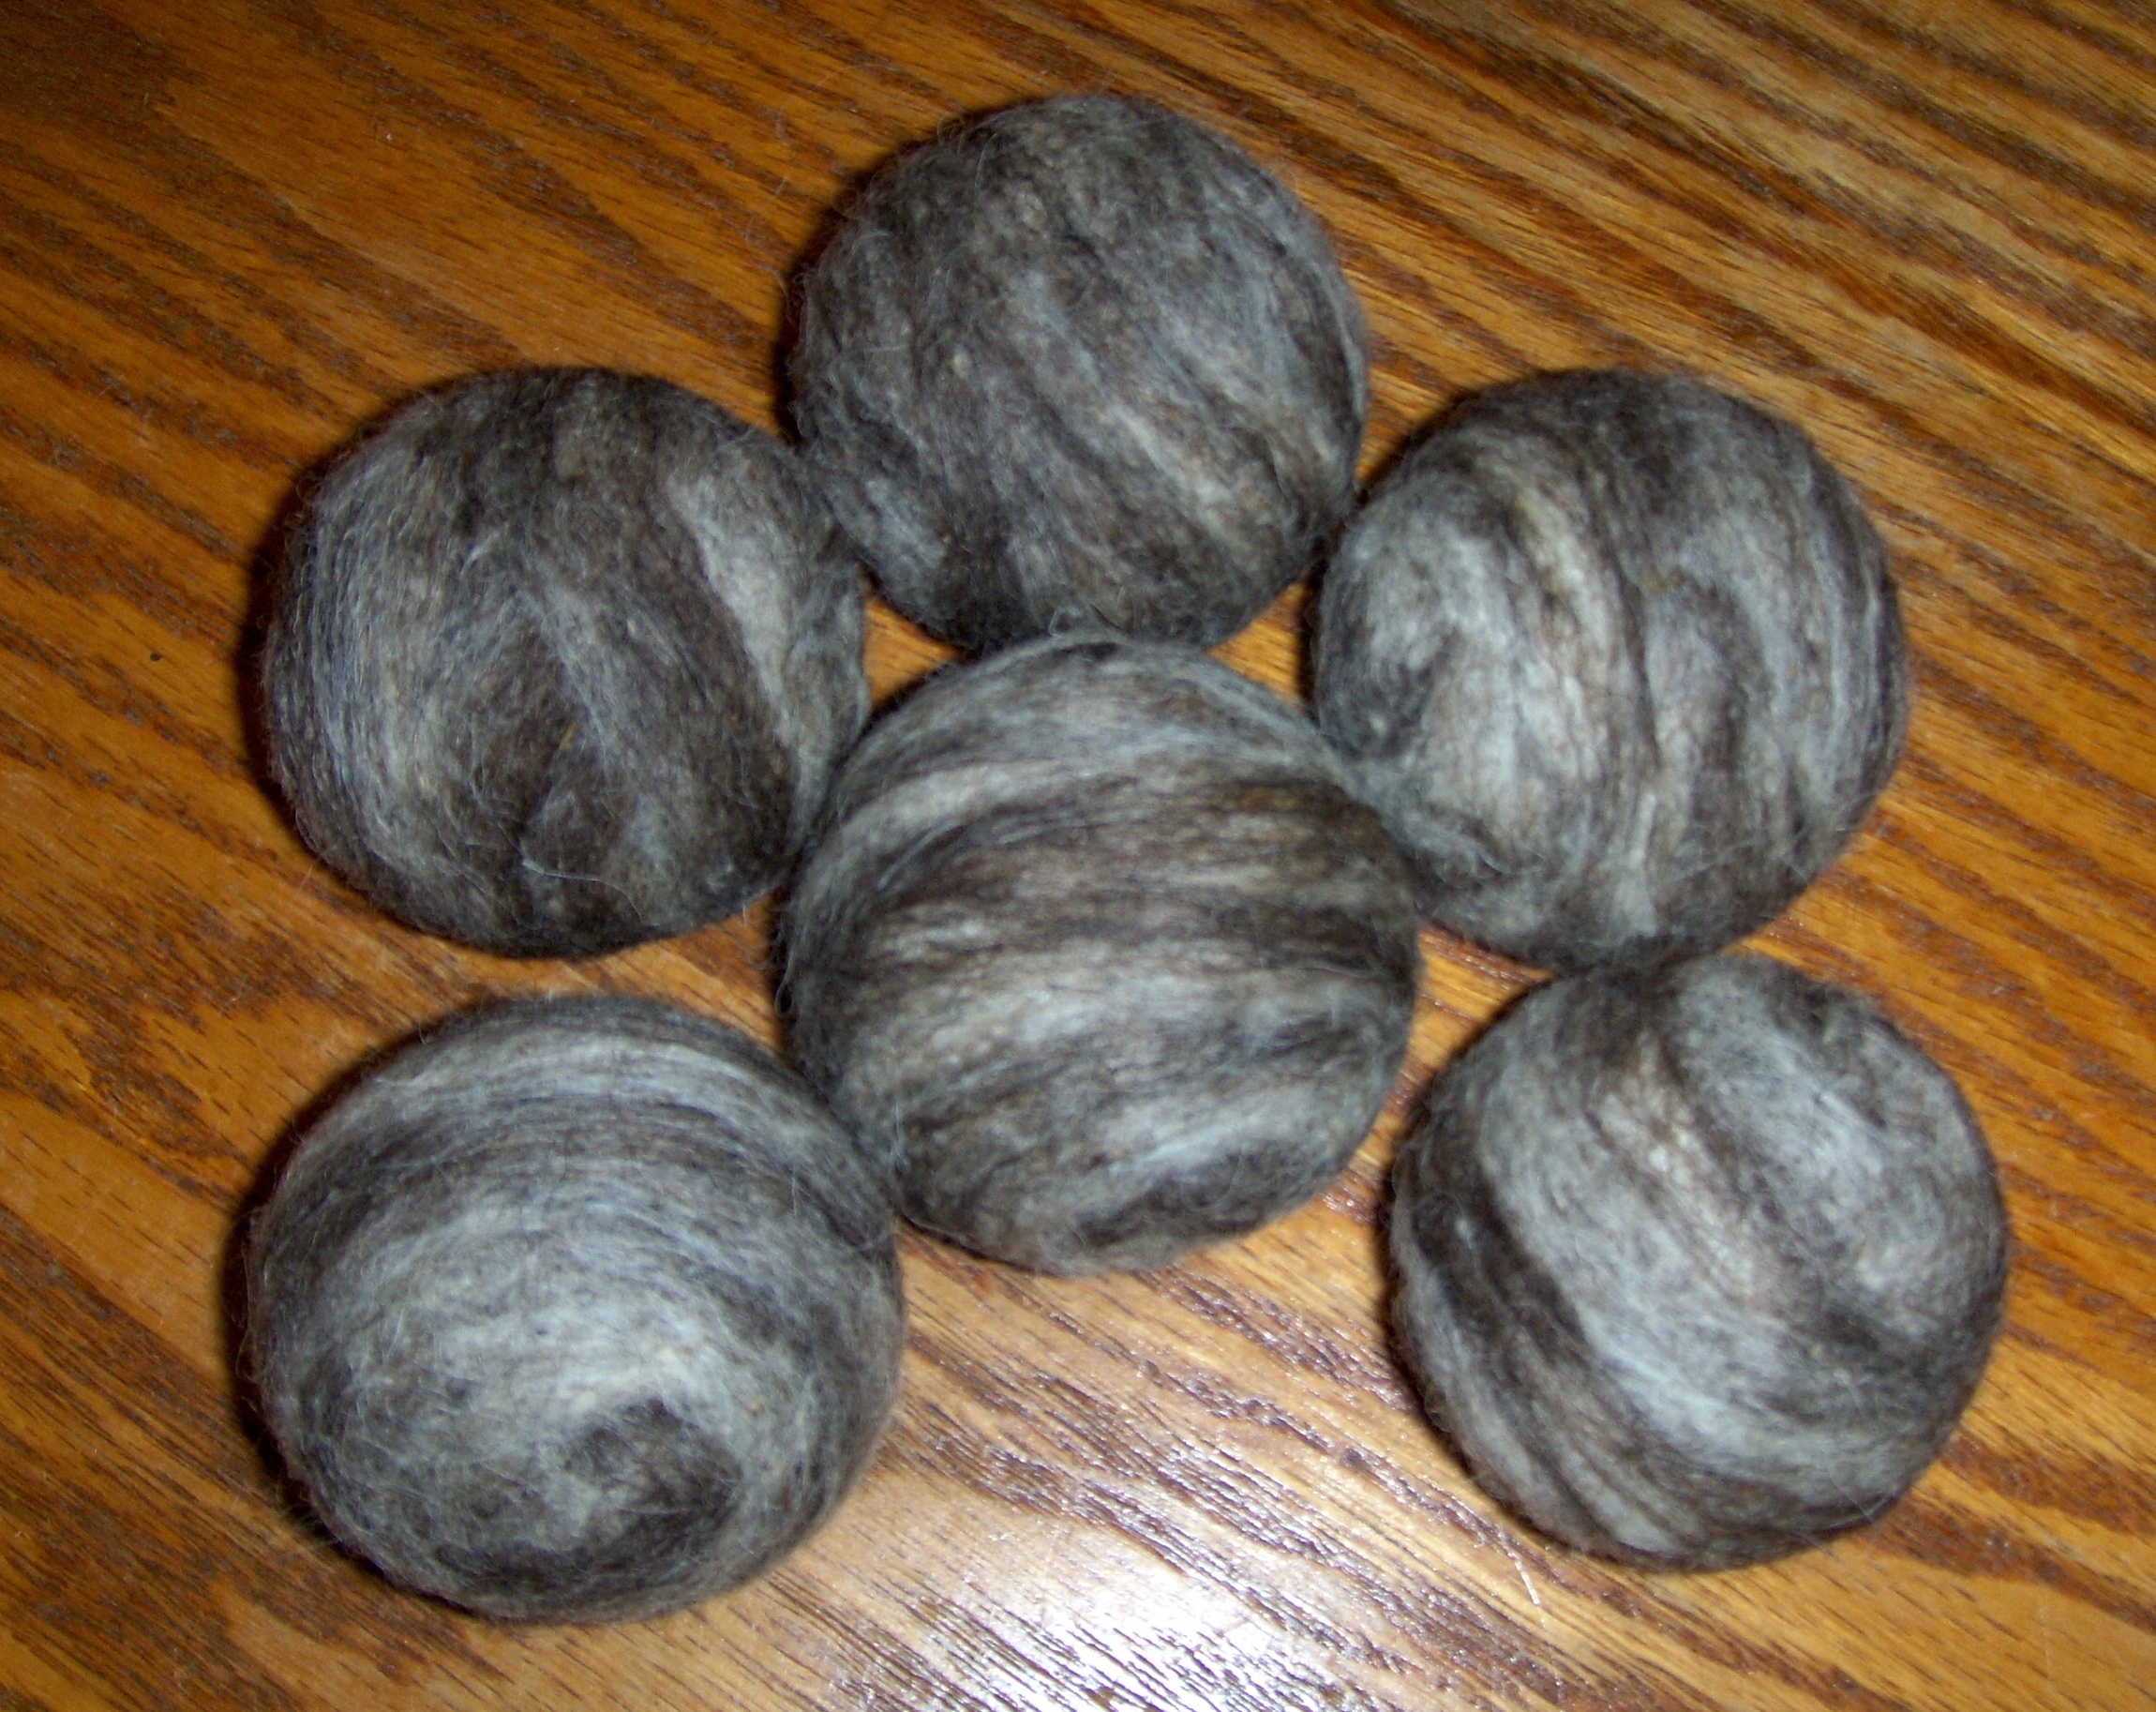
I started my work today by finishing these dryer balls in my natural colored wool offering.
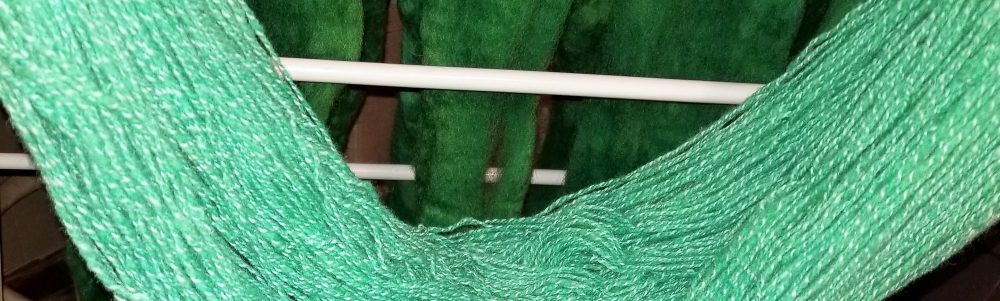
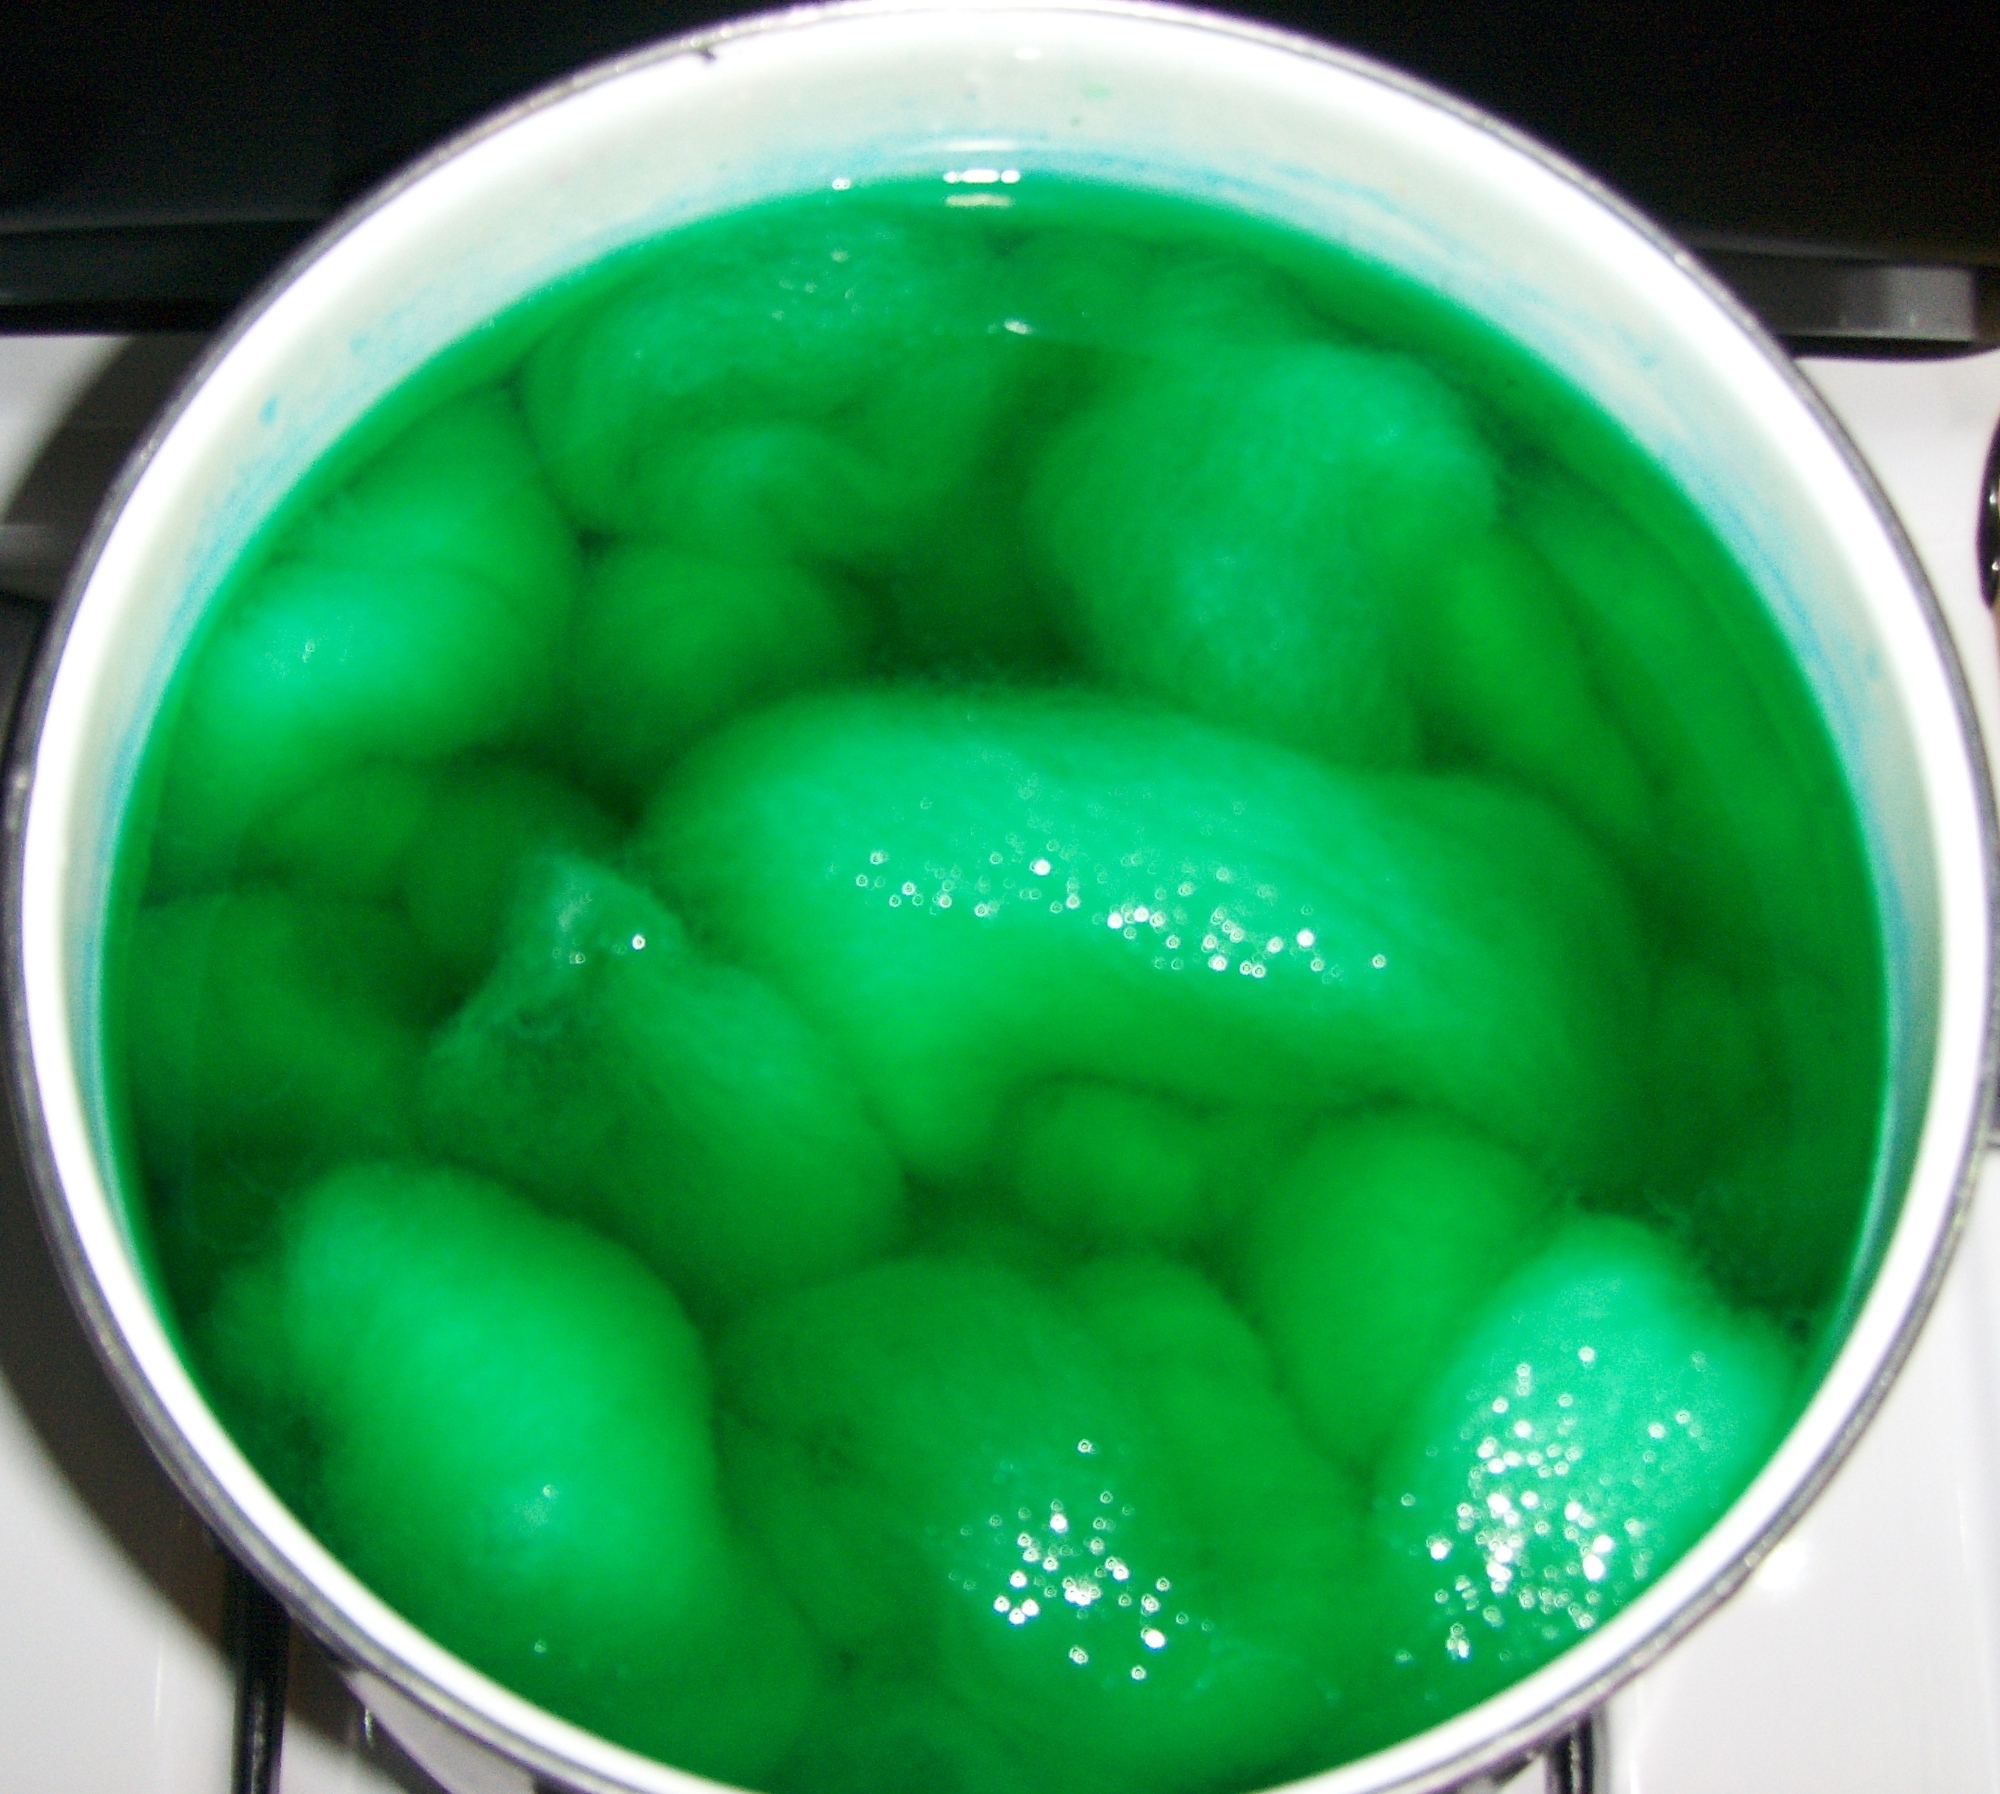
While they’re pretty, they just weren’t pretty on a rainy day. These got me going on the dyepot with some wonderful Blue Faced Leicester roving and some Jacquard #735 Kelly Green. A most definite improvement and a needed staple for making dryer balls!
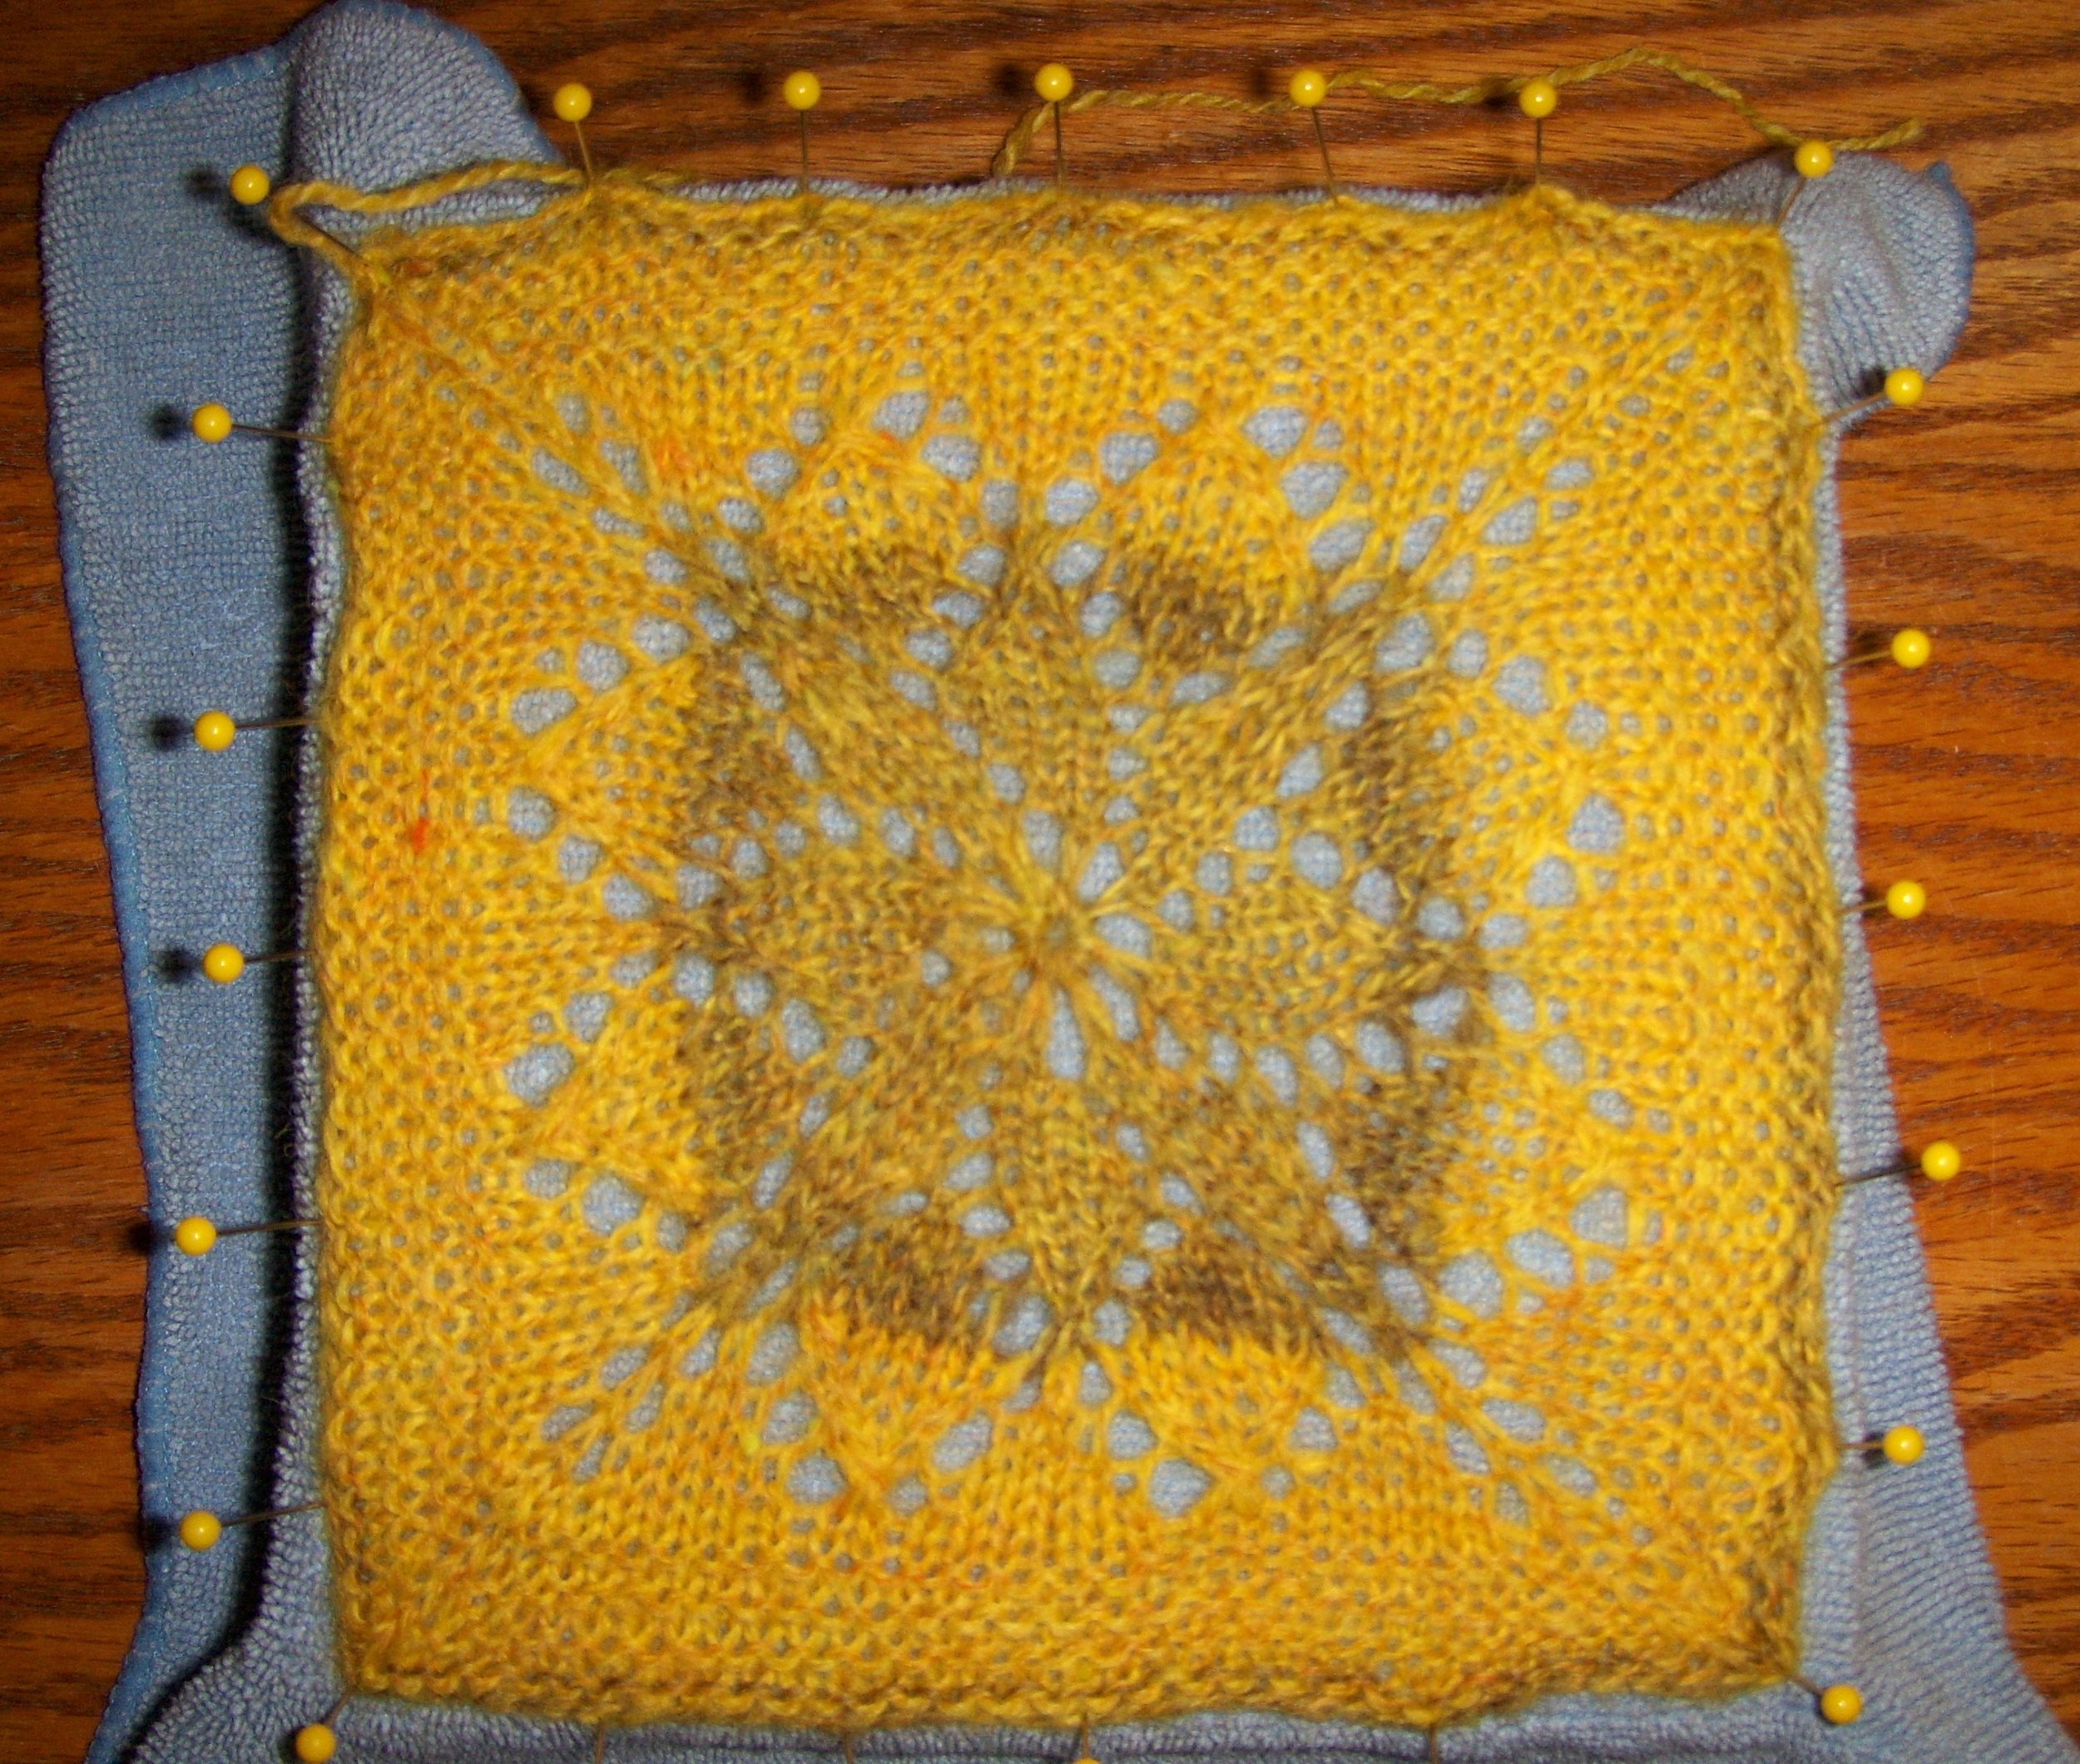
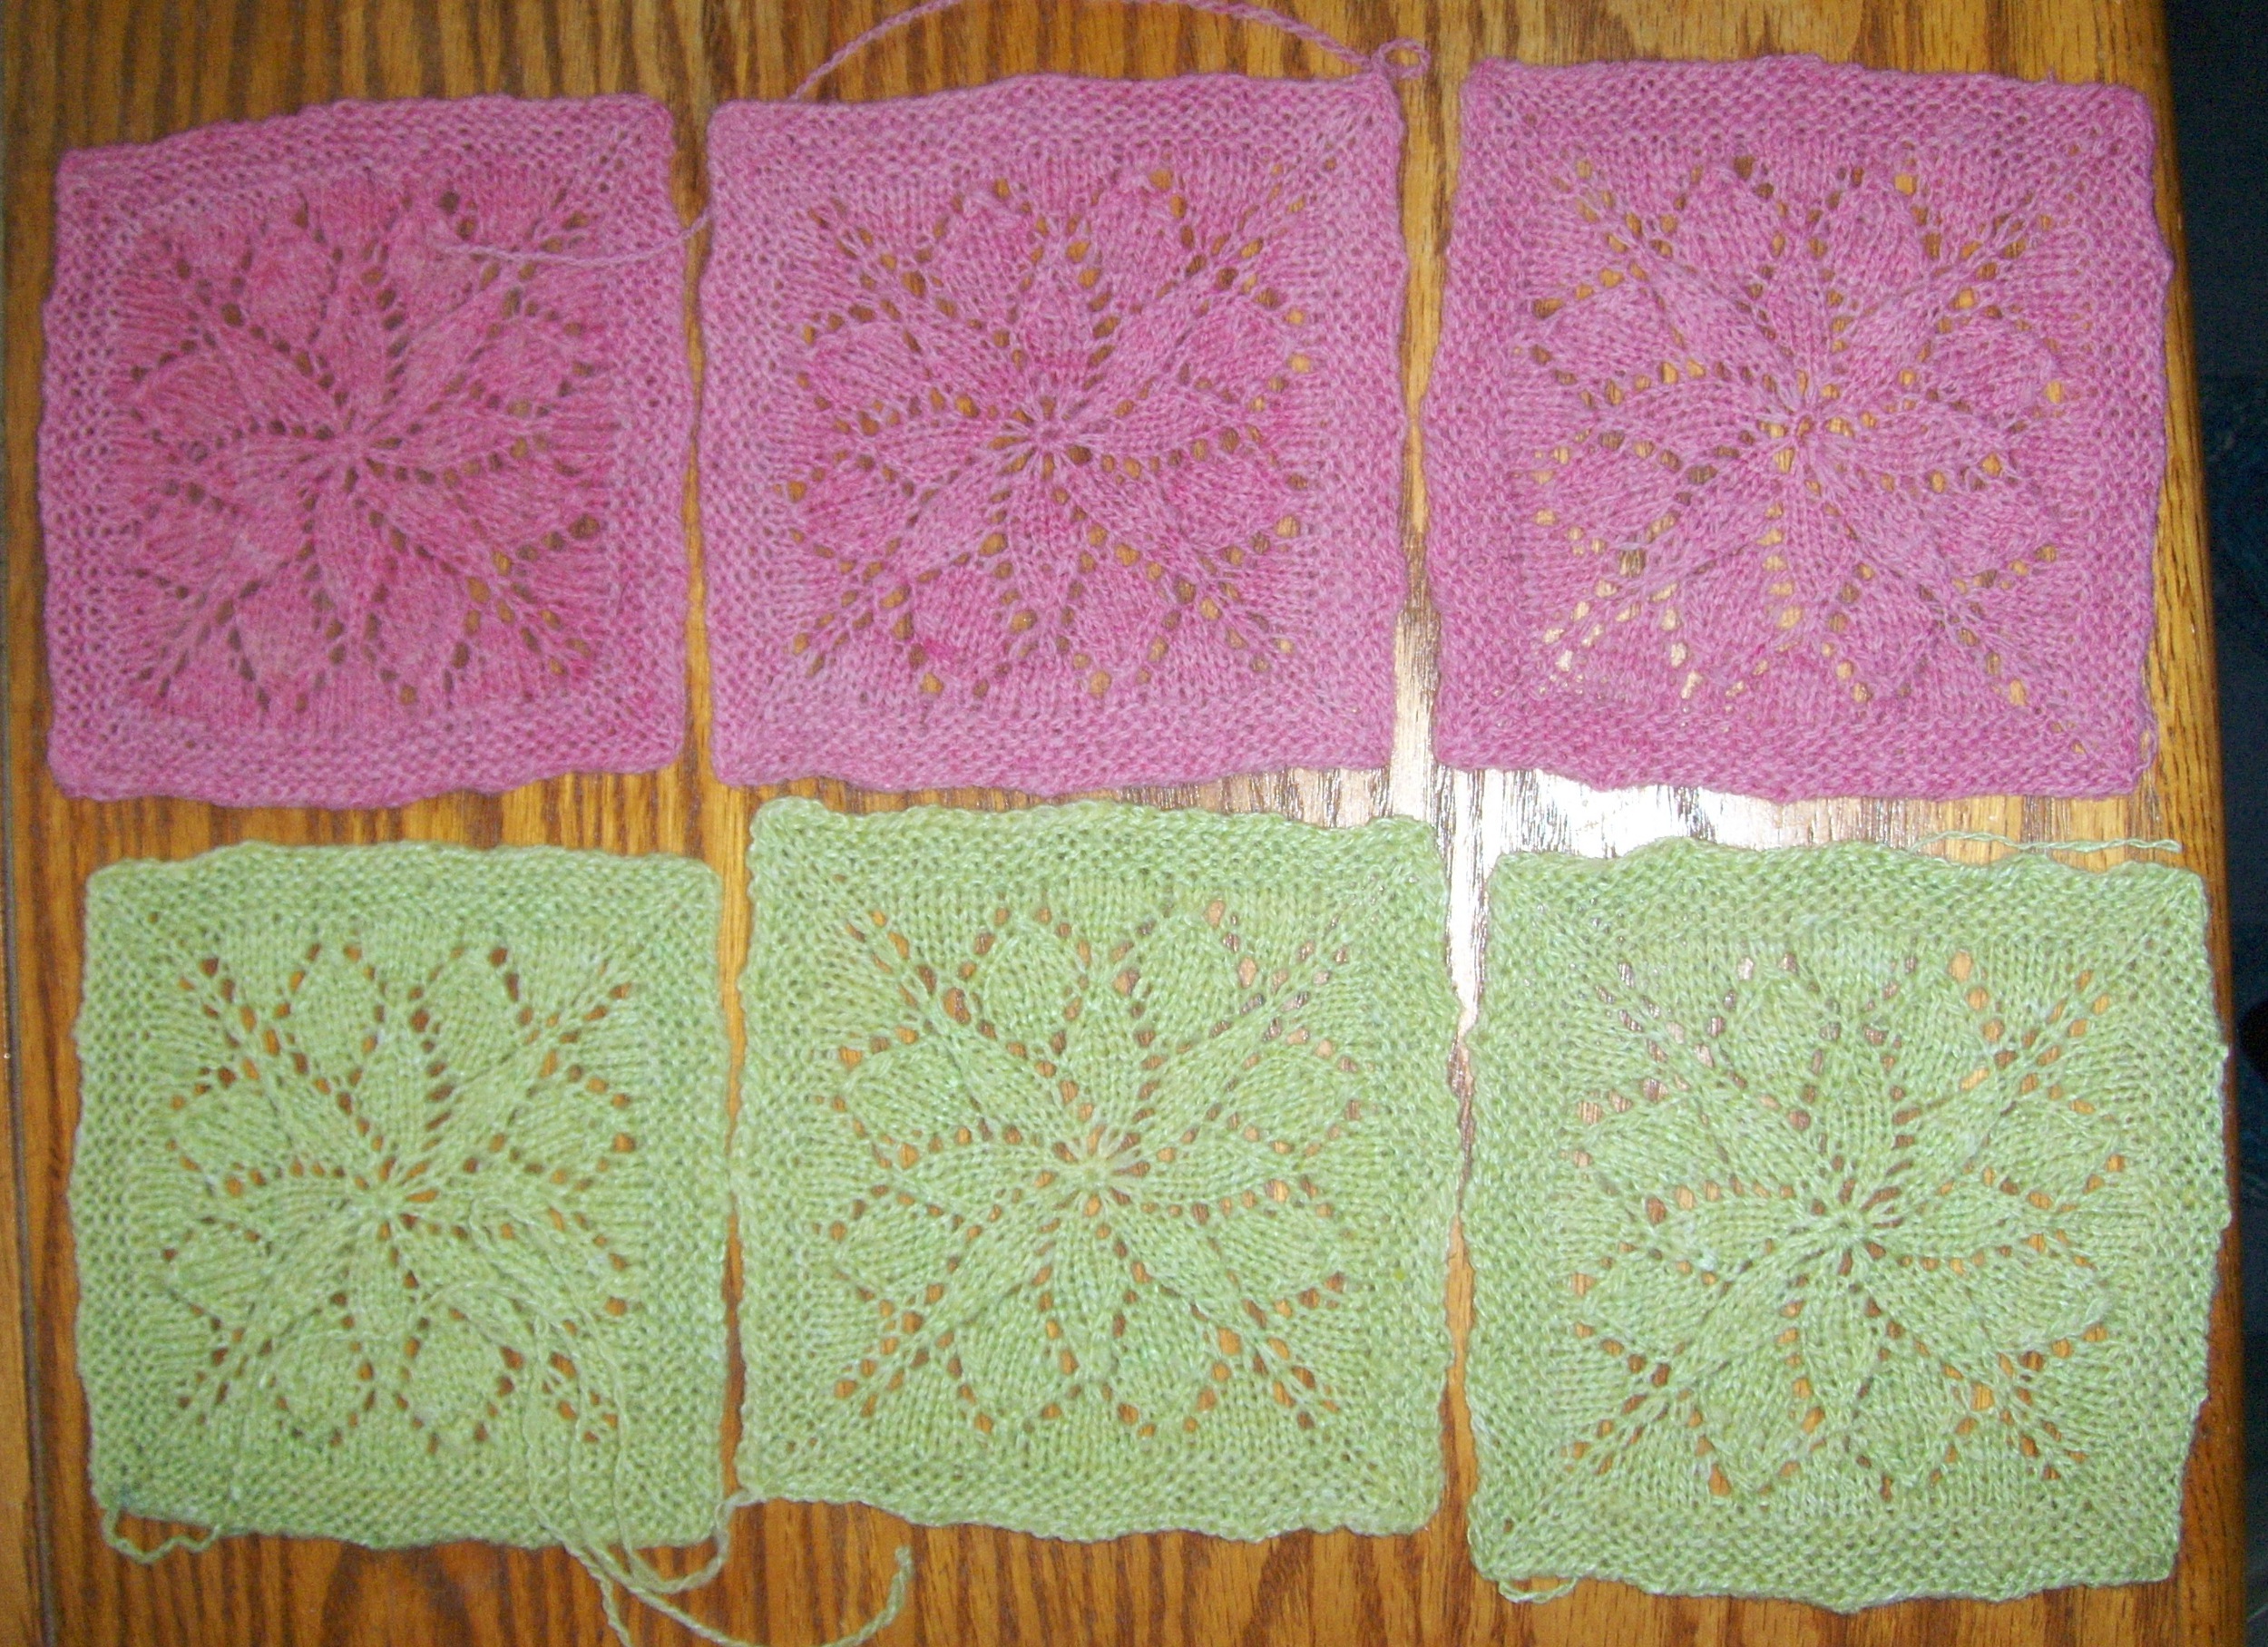
More color improvement came with the blocking of my latest square I knit up, with some merino that I experimented on, from TinCanKnits pattern called Vivid. The colors are canary yellow and sienna. I think I should most definitely experiment some more! Right now, I’m knitting 3 squares of each color from my own hand spun, hand dyed yarn.
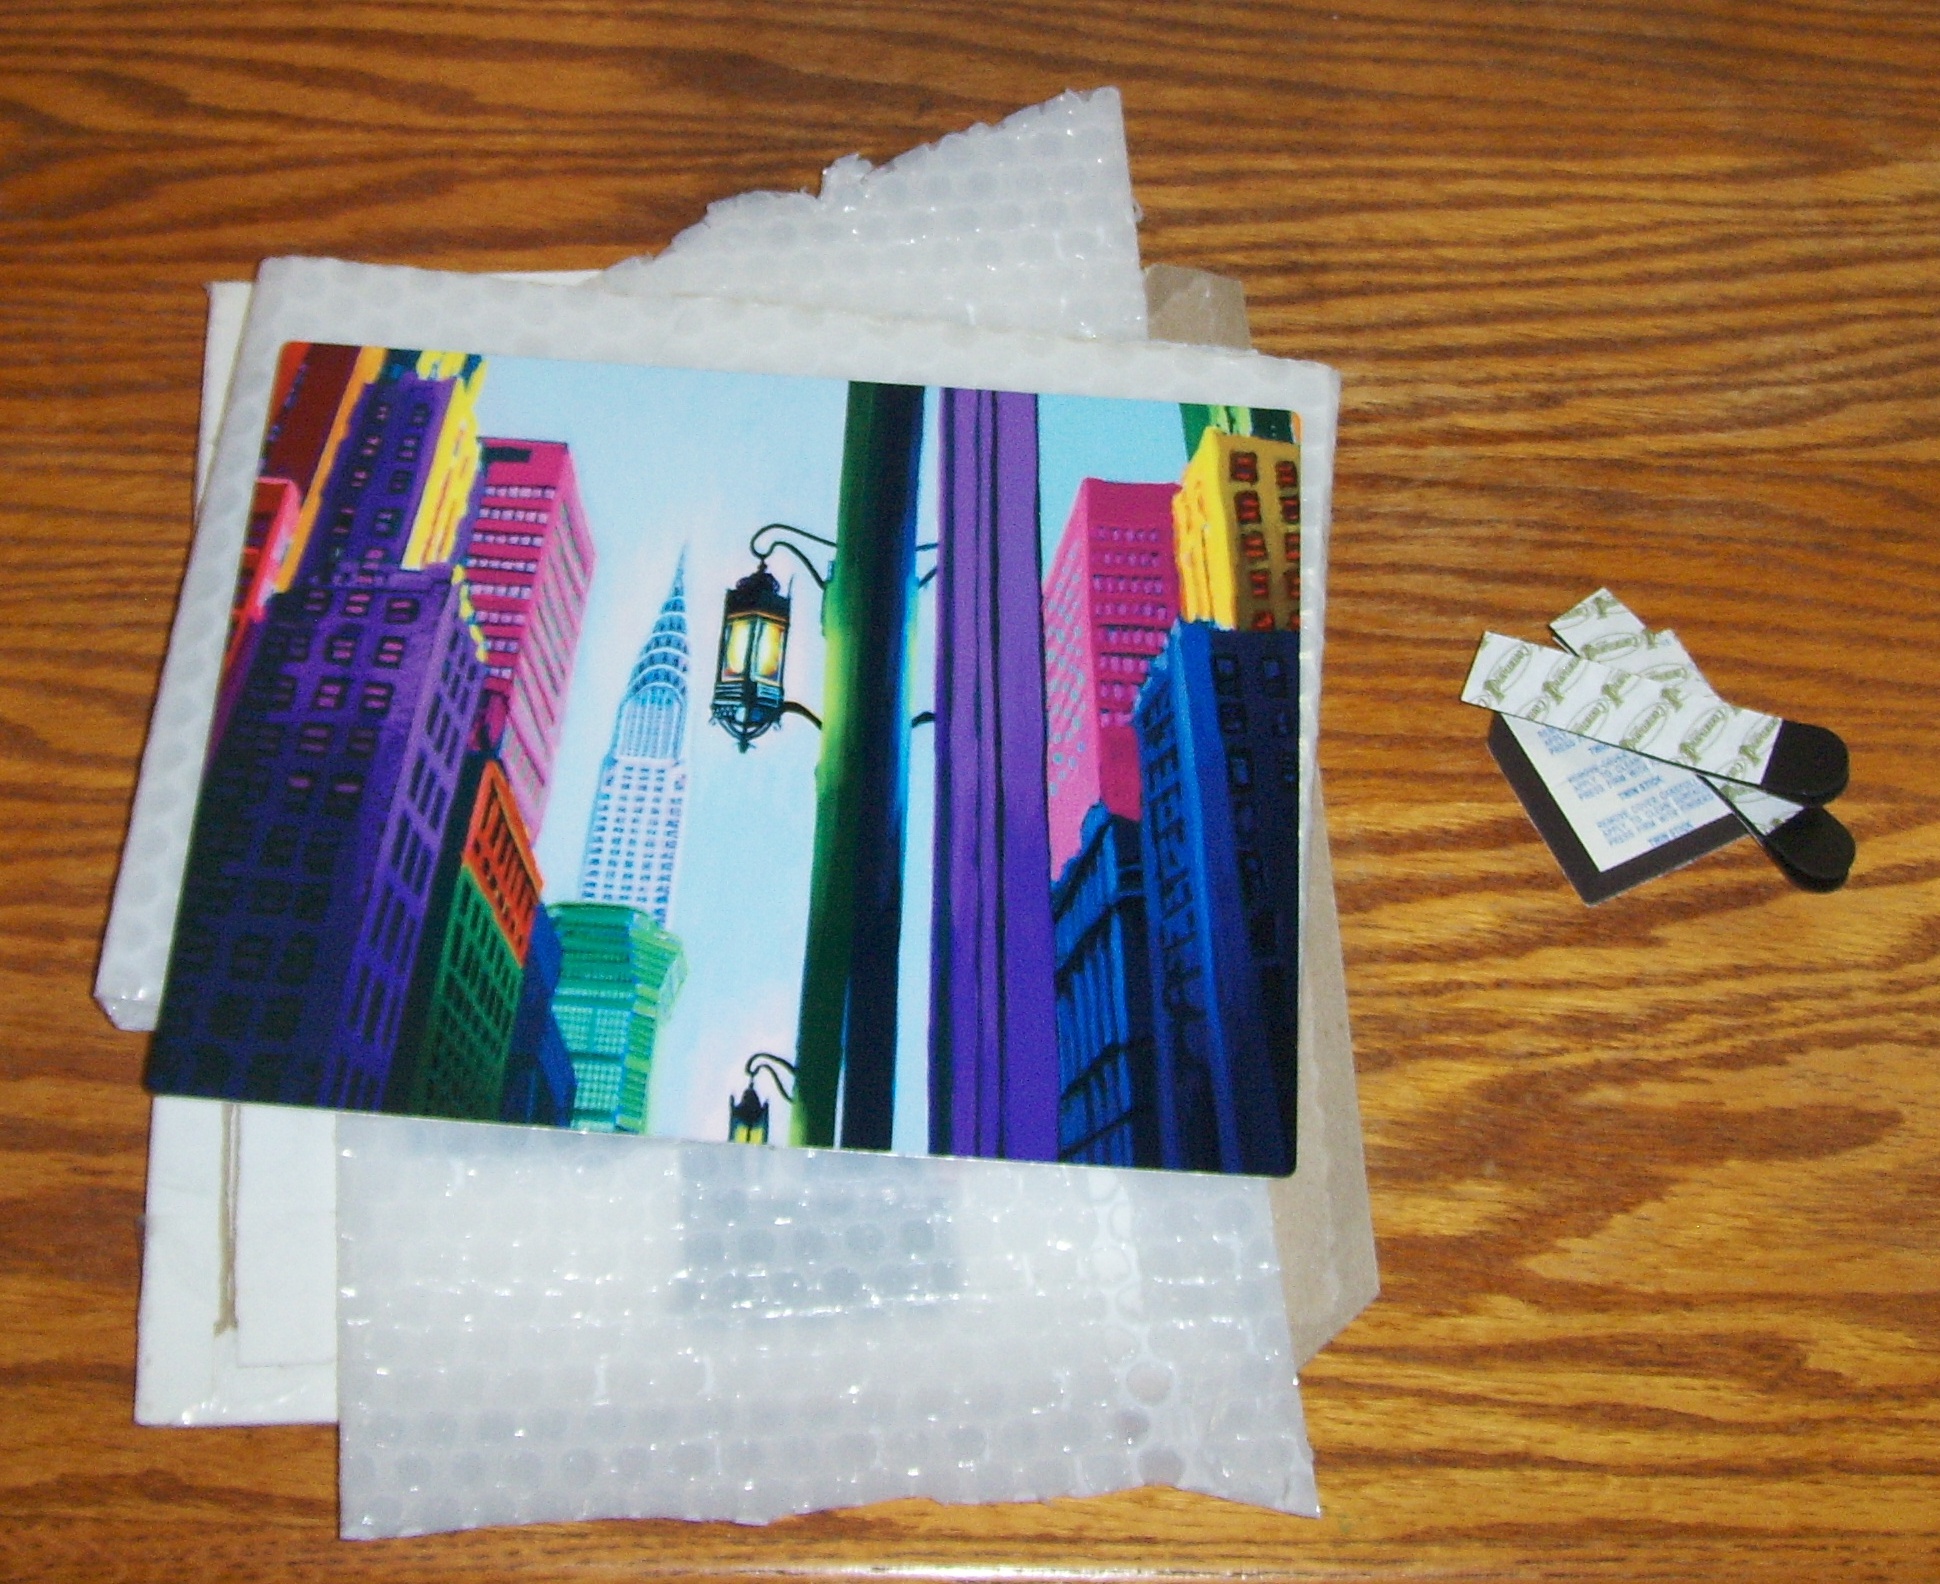
To top off the adding of COLOR into today’s dreariness, I received a package from my good friend, Jeff Mueller (aka Computer Art Man). He sent this beautiful metal print because I mentioned something in a tweet to him (follow him @computerartman on twitter) about a week ago!
Jeff is my favorite digital artist because his work is absolutely amazing!! I now own two pieces of his fabulous artwork. The other piece I own, I bought a few years ago and it’s a gorgeous canvas piece of Marlena Dietrich from a still scene from “Shanghai Express”!!