Unknown's avatar

About leighdudenhoeffer

I'm an accomplished fiber artist and mixed media artist who creates beautiful 3-dimensional pieces called, Trees of Diversity®. My work has been shown at Angel Orensanz Gallery in New York, Altered Aesthetics Gallery in Minneapolis, The Neville Public Museum - Studio 210 in Green Bay, Hazelwood House in Allouez, WI, and Xanadu Gallery in Scottsdale, AZ. I'm a loved wife, a loved mom, and a loved Nana! I enjoy finding new and creative ways to add more knowledge of what I do and so I may teach others who want to learn.

Card weaving or tablet weaving (they’re the same thing).

There’s a lot of talk and publicizing of card weaving and tablet weaving right now. This is something I’ve been doing for the past 4 or 5 years and I knew it wouldn’t be long before it would be swinging its circle back to being popular again. I’m always amazed at how cyclic the trends are and how everything old and suddenly becomes ‘new’ again.

All that said, I figured I’d just do up another blog post, with all the pictures of nearly all of my card weaving endeavors, including my hand-made cards. I’ve also shared a couple of tutorials I’ve published in the past.

This is the first guitar strap I made for a friend in Milwaukee. It measured 6 feet long by 3 inches wide when it was finished. He requested acrylic yarns only because he didn’t know much about wool yet. I originally started out with playing cards cut into weaving tablets.

My beautiful picture My beautiful picture My beautiful picture My beautiful picture My beautiful picture  My beautiful picture


This was a 2-sided (exactly the same on both sides) Anglo-Saxon braid card weaving that I did next. It became an adjustable belt. It’s 100% from my hand spun, hand dyed wool yarns! All of it is Suffolk from the Ahrens’ Suffolk sheep!

My beautiful picture My beautiful picture My beautiful picture

My beautiful picture My beautiful picture My beautiful picture My beautiful picture


At this point, I considered buying some weaving tablets/cards because the playing cards pretty much wore out after about 5 weavings. I made another set of playing card tablets and then I started playing around with all of the plastic containers we had around the house. A year after I perfected something I liked, I created this Instructable for them (http://www.instructables.com/id/Card-weaving-how-to-make-your-own-cards-from-rec/). Cat litter jugs and milk jugs work the best!

My beautiful picture My beautiful picture My beautiful picture My beautiful picture


As you can see, I use a rug loom to do my card weaving. I prefer standing and I prefer weaving top down. The skinny ones became dog leashes and the wide ones became belts or guitar straps. The last one, on the triangle weaving cards was acrylic (another special request).

My beautiful picture My beautiful picture

My beautiful picture My beautiful picture My beautiful picture My beautiful picture My beautiful picture My beautiful picture My beautiful picture


I also discovered that I love triangle weaving. That patterns that can be created are unfathomable, but that will have to be for another post while I learn more with the triangle cards. Both of these became dog leashes also. The first one is acrylic. The 2nd and 3rd ones are my hand dyed, hand spun wool yarns.

My beautiful picture My beautiful picture My beautiful picture


During all the madness, I decided I needed a more portable way to card weave, so I made a back strap loom and designed and built a wooden, portable card weaving loom.

My beautiful picture My beautiful pictureMy beautiful pictureMy beautiful picture My beautiful picture My beautiful picture


This first one didn’t work out so well because I realized I needed to be able to pass the shuttle back and forth, unimpeded.

My beautiful picture My beautiful pictureMy beautiful picture


This ‘minor’ modification, using a jigsaw, turned out just right (and yes, I still use playing cards to weave with because it seems I end up selling off my recycled plastic ones.

My beautiful pictureMy beautiful picture My beautiful picture


Here is the video of me demonstrating triangle card weaving. I did all of the editing with help from my friend, Azharuddin Khan!


Also, a special thanks goes out to Guntram for creating awesome, free software to design all of those designs you want to create. His software comes with a bazillion preprogrammed patterns, but also allows you to design your own and save them all. The software is called, Guntram’s Card Weaving Thingy!

As always, if this prompts you to want to start card weaving and you’d like some nice, slippery cards that don’t tip over while you’re weaving (unless you want them to), see my etsy listing for them.

https://www.etsy.com/listing/128994950/1-dozen-unmarked-card-weaving-cards-made

Get busy and make something!!


Knitting toe socks!

I have a customer who really likes toe socks, otherwise known by the brand name, Injinji. I’ve been knitting them for him in every color he can think of. They do take a while to dye up the yarn and knit them, but it’s very peaceful work.

His first order was for 1 pair of orange crew length toe socks and 1 pair ankle length toe socks.

orangetoesock3 orangetoesock2 orangetoesock1

His second order was for the same, but in a bright turquoise blue.

ankle length toe socks crew length toe socks finished ankle length toe socks wet finishing 2 pairs of toe socks

Now, I’m knitting him 2 pairs in a blend of green apple/lime green color!

Dyeing yarn for socks Yarn ready to be wound into yarn cake Toe socks - crew length Finished toe socks - crew length

Happy knitting and get out your dyepots!!

TLD


Rainy Day

I have a love-hate relationship with rainy days. I know they’re necessary so that everything has water without us paying for it, but I dislike them when they’re cold and dreary. When they’re dreary, I need things to pull me out of any funk they can sometimes throw me into. When they’re dreary, I crave COLOR!! Lots of bright and bold COLORS!!

I started my work today by finishing these dryer balls in my natural colored wool offering.

Stormy gray dryer balls

While they’re pretty, they just weren’t pretty on a rainy day. These got me going on the dyepot with some wonderful Blue Faced Leicester roving and some Jacquard #735 Kelly Green. A most definite improvement and a needed staple for making dryer balls!

BFL in dyepot

More color improvement came with the blocking of my latest square I knit up, with some merino that I experimented on, from TinCanKnits pattern called Vivid. The colors are canary yellow and sienna. I think I should most definitely experiment some more! Right now, I’m knitting 3 squares of each color from my own hand spun, hand dyed yarn.

latest square The first 6 squares

To top off the adding of COLOR into today’s dreariness, I received a package from my good friend, Jeff Mueller (aka Computer Art Man). He sent this beautiful metal print because I mentioned something in a tweet to him (follow him @computerartman on twitter) about a week ago!

Bright Light Big City by Computer Art Man

Jeff is my favorite digital artist because his work is absolutely amazing!! I now own two pieces of his fabulous artwork. The other piece I own, I bought a few years ago and it’s a gorgeous canvas piece of Marlena Dietrich from a still scene from “Shanghai Express”!!

Now, get out there and DO something!

TLD

Why yes, I do know how to use a ruler. Do you??

WARNING! I’ve been told that this post is highly boring. Don’t read it if you get bored easily. Thank you.

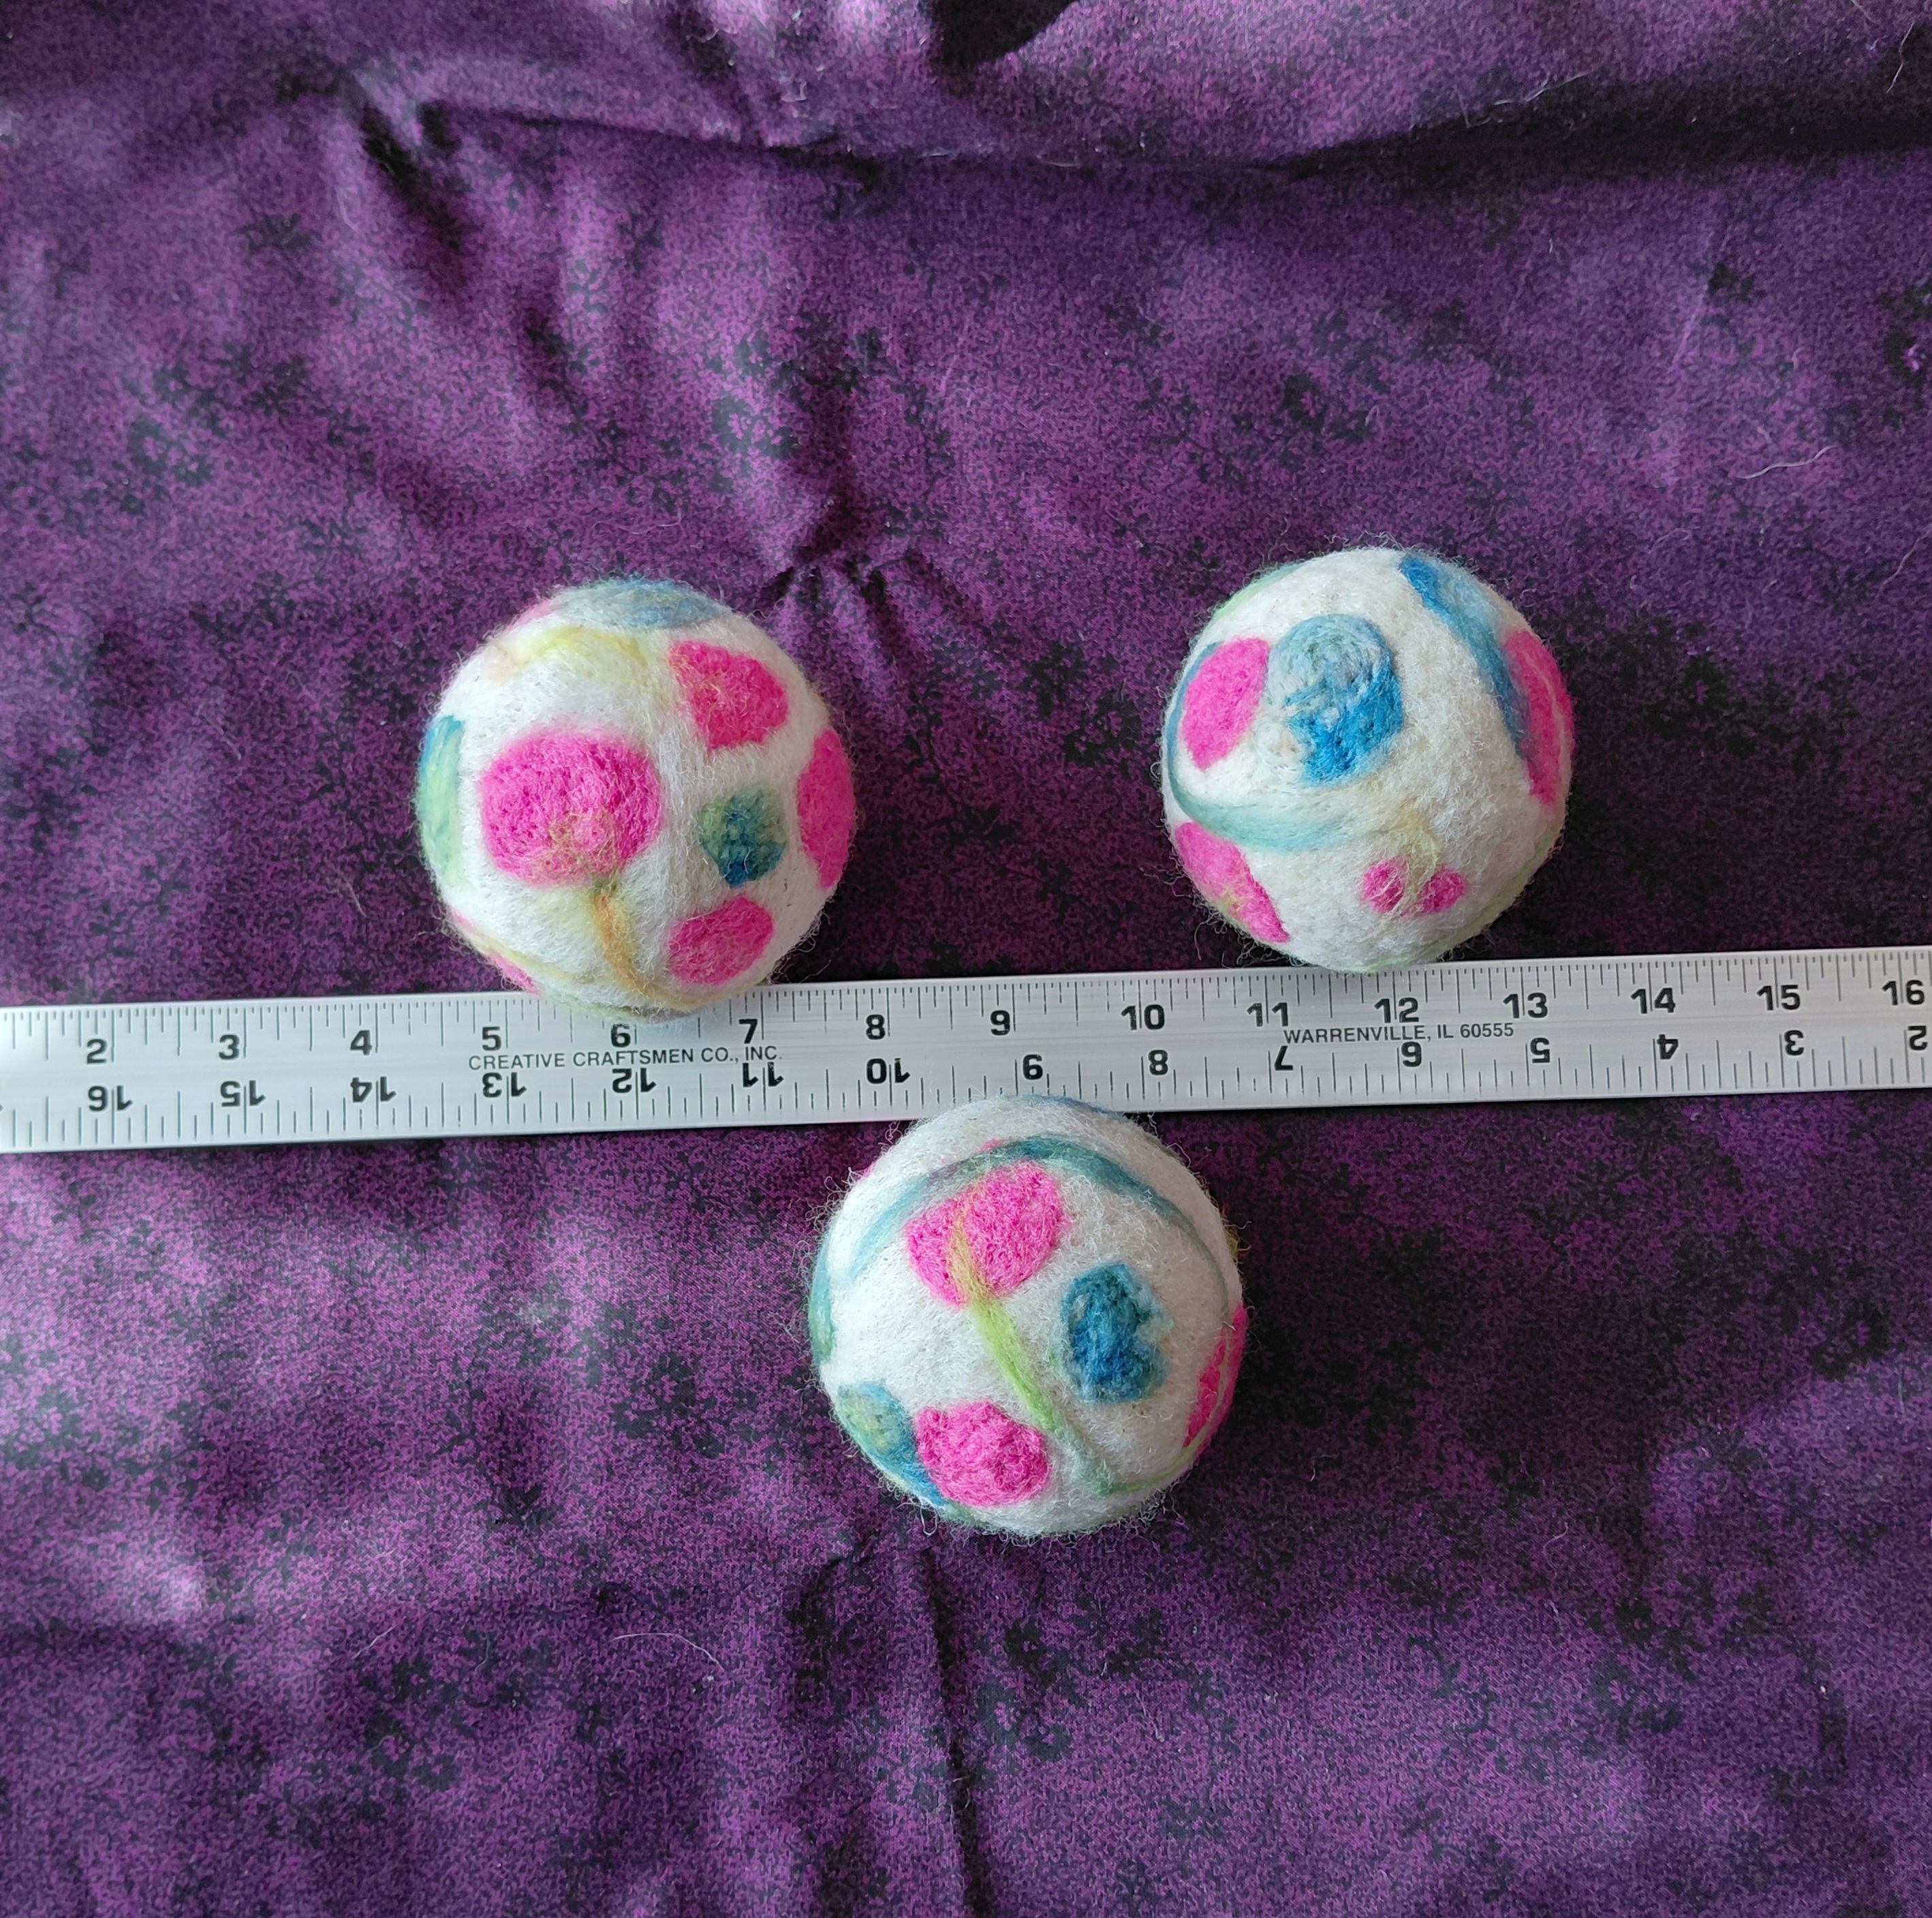
Knitters measure a lot before knitting and while knitting. We have to measure our swatches to make sure our gauge is spot on; we measure to see how far we’ve knit and to see how far we have to go; and we measure sometimes to see if we have enough yarn left to finish a project (this is especially true when we begin to fear that we’ve not bought enough yarn for a project).

4 rulers

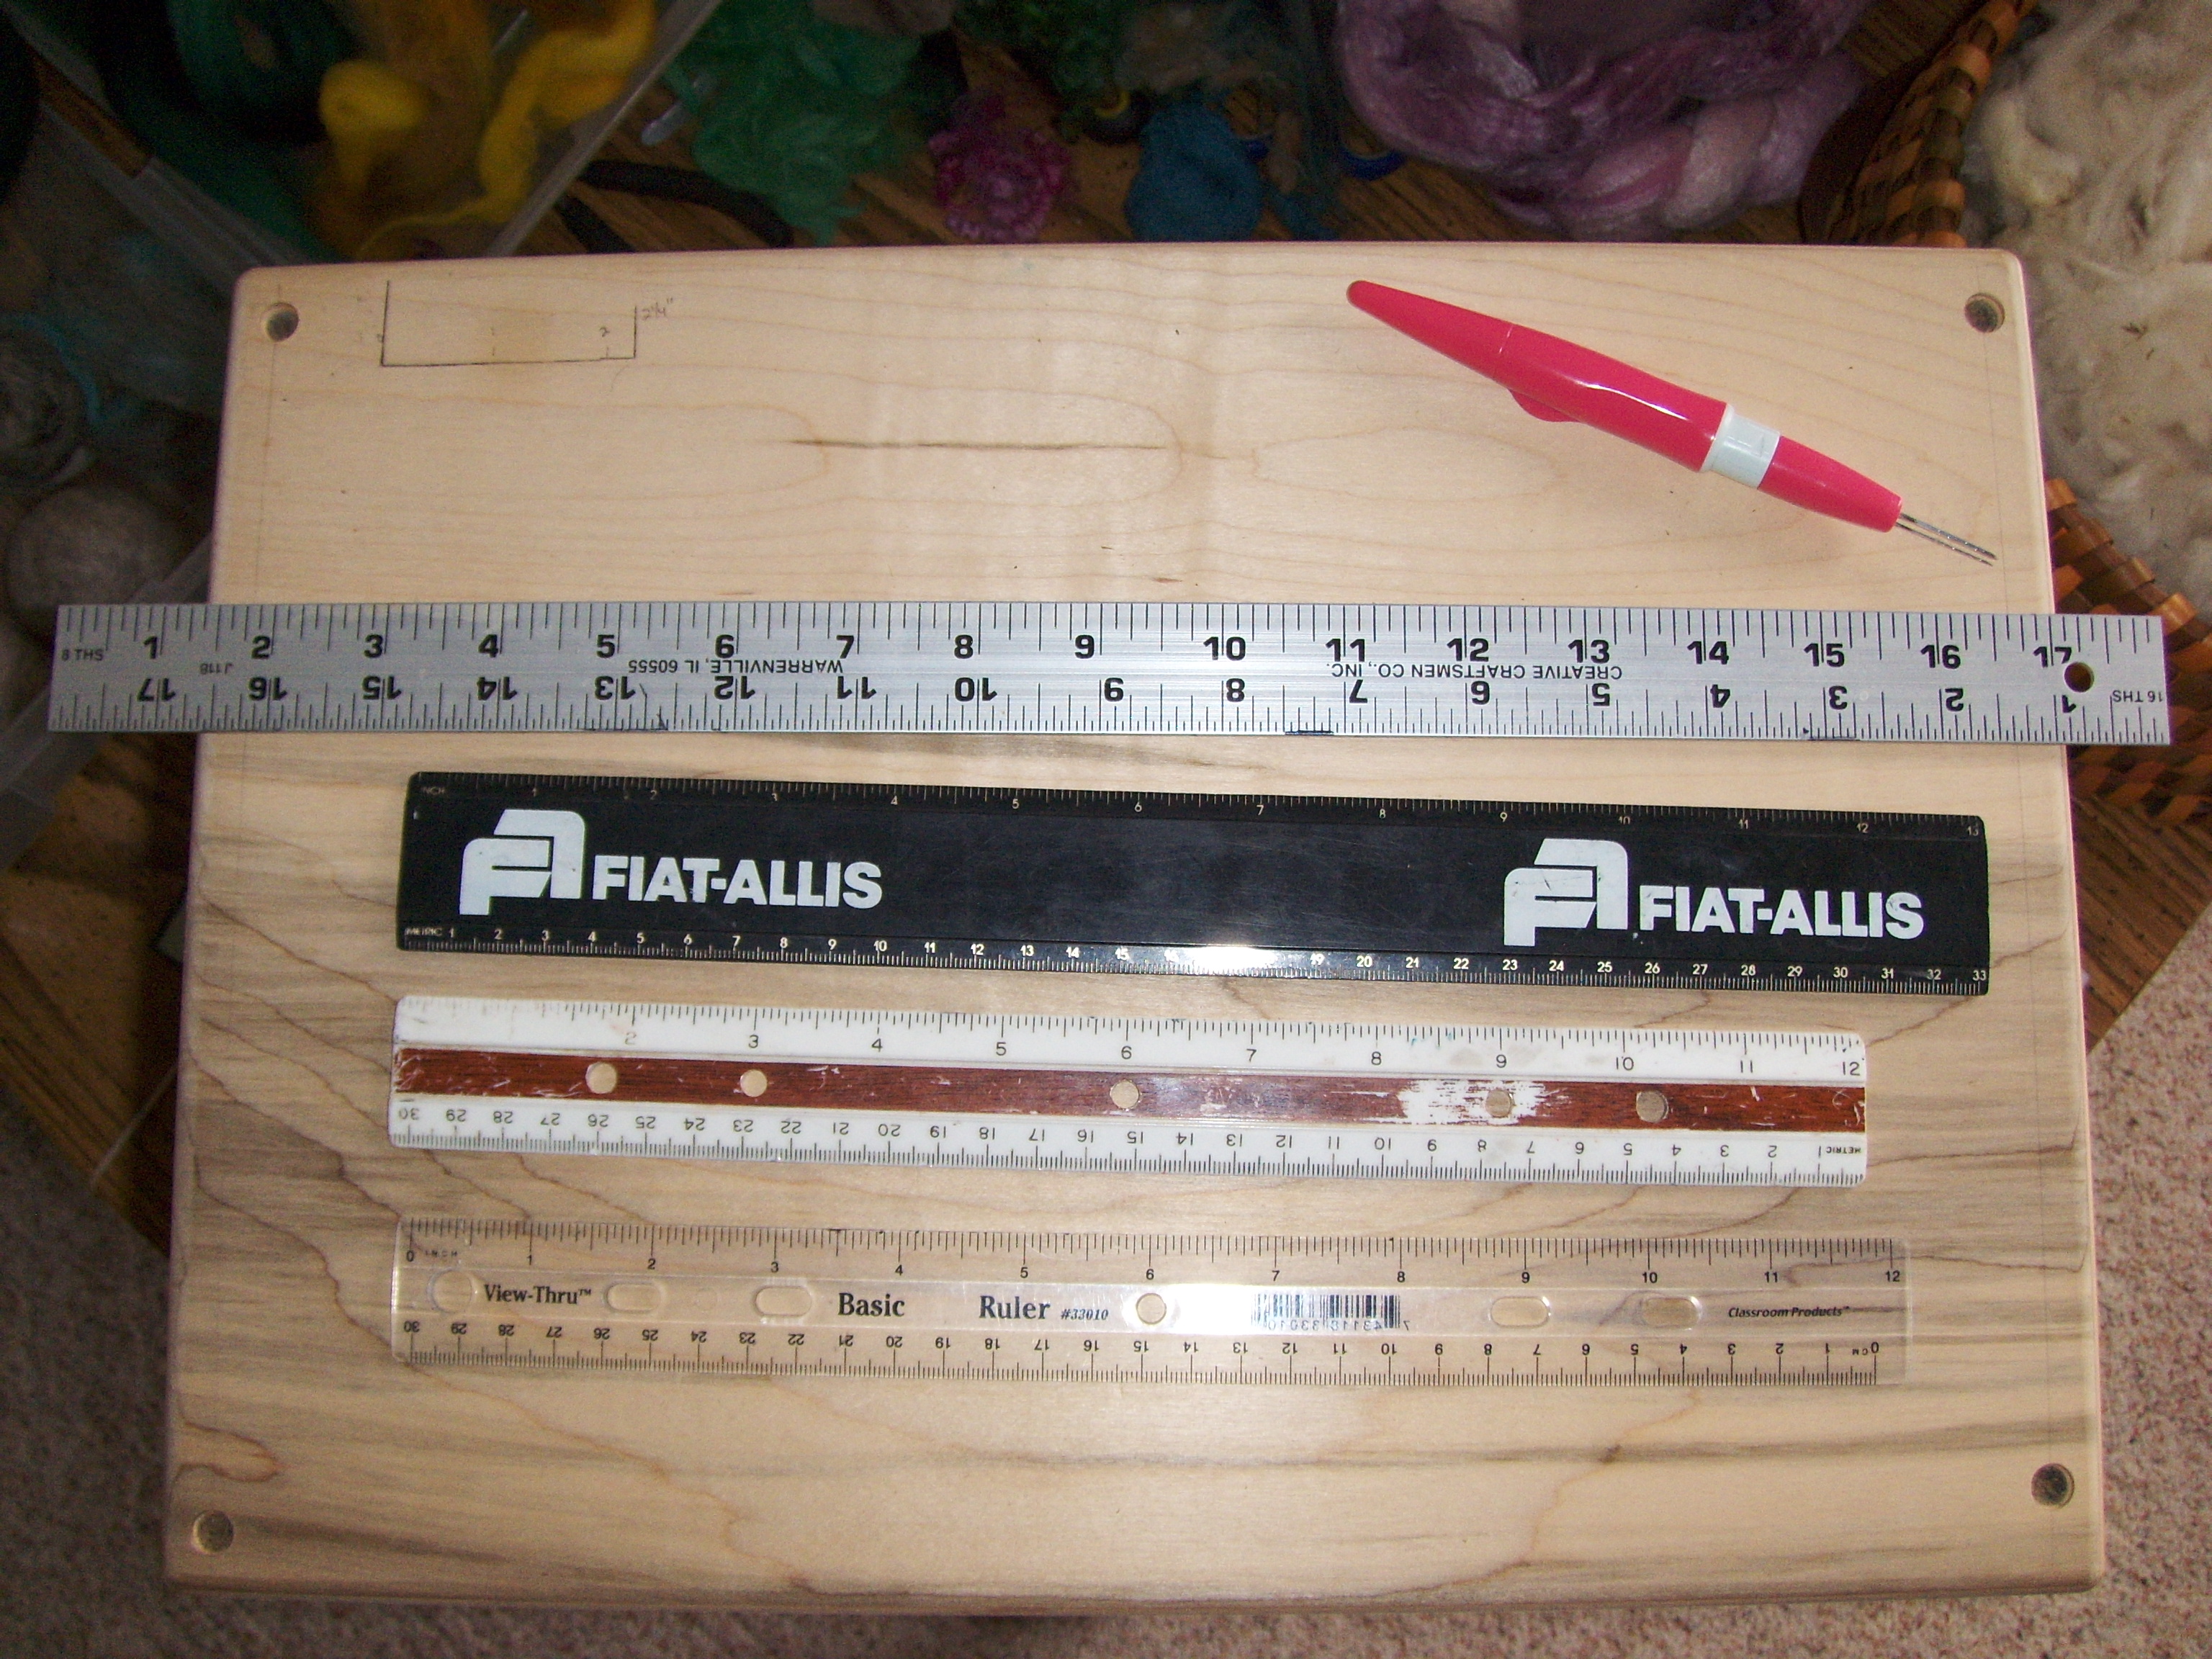
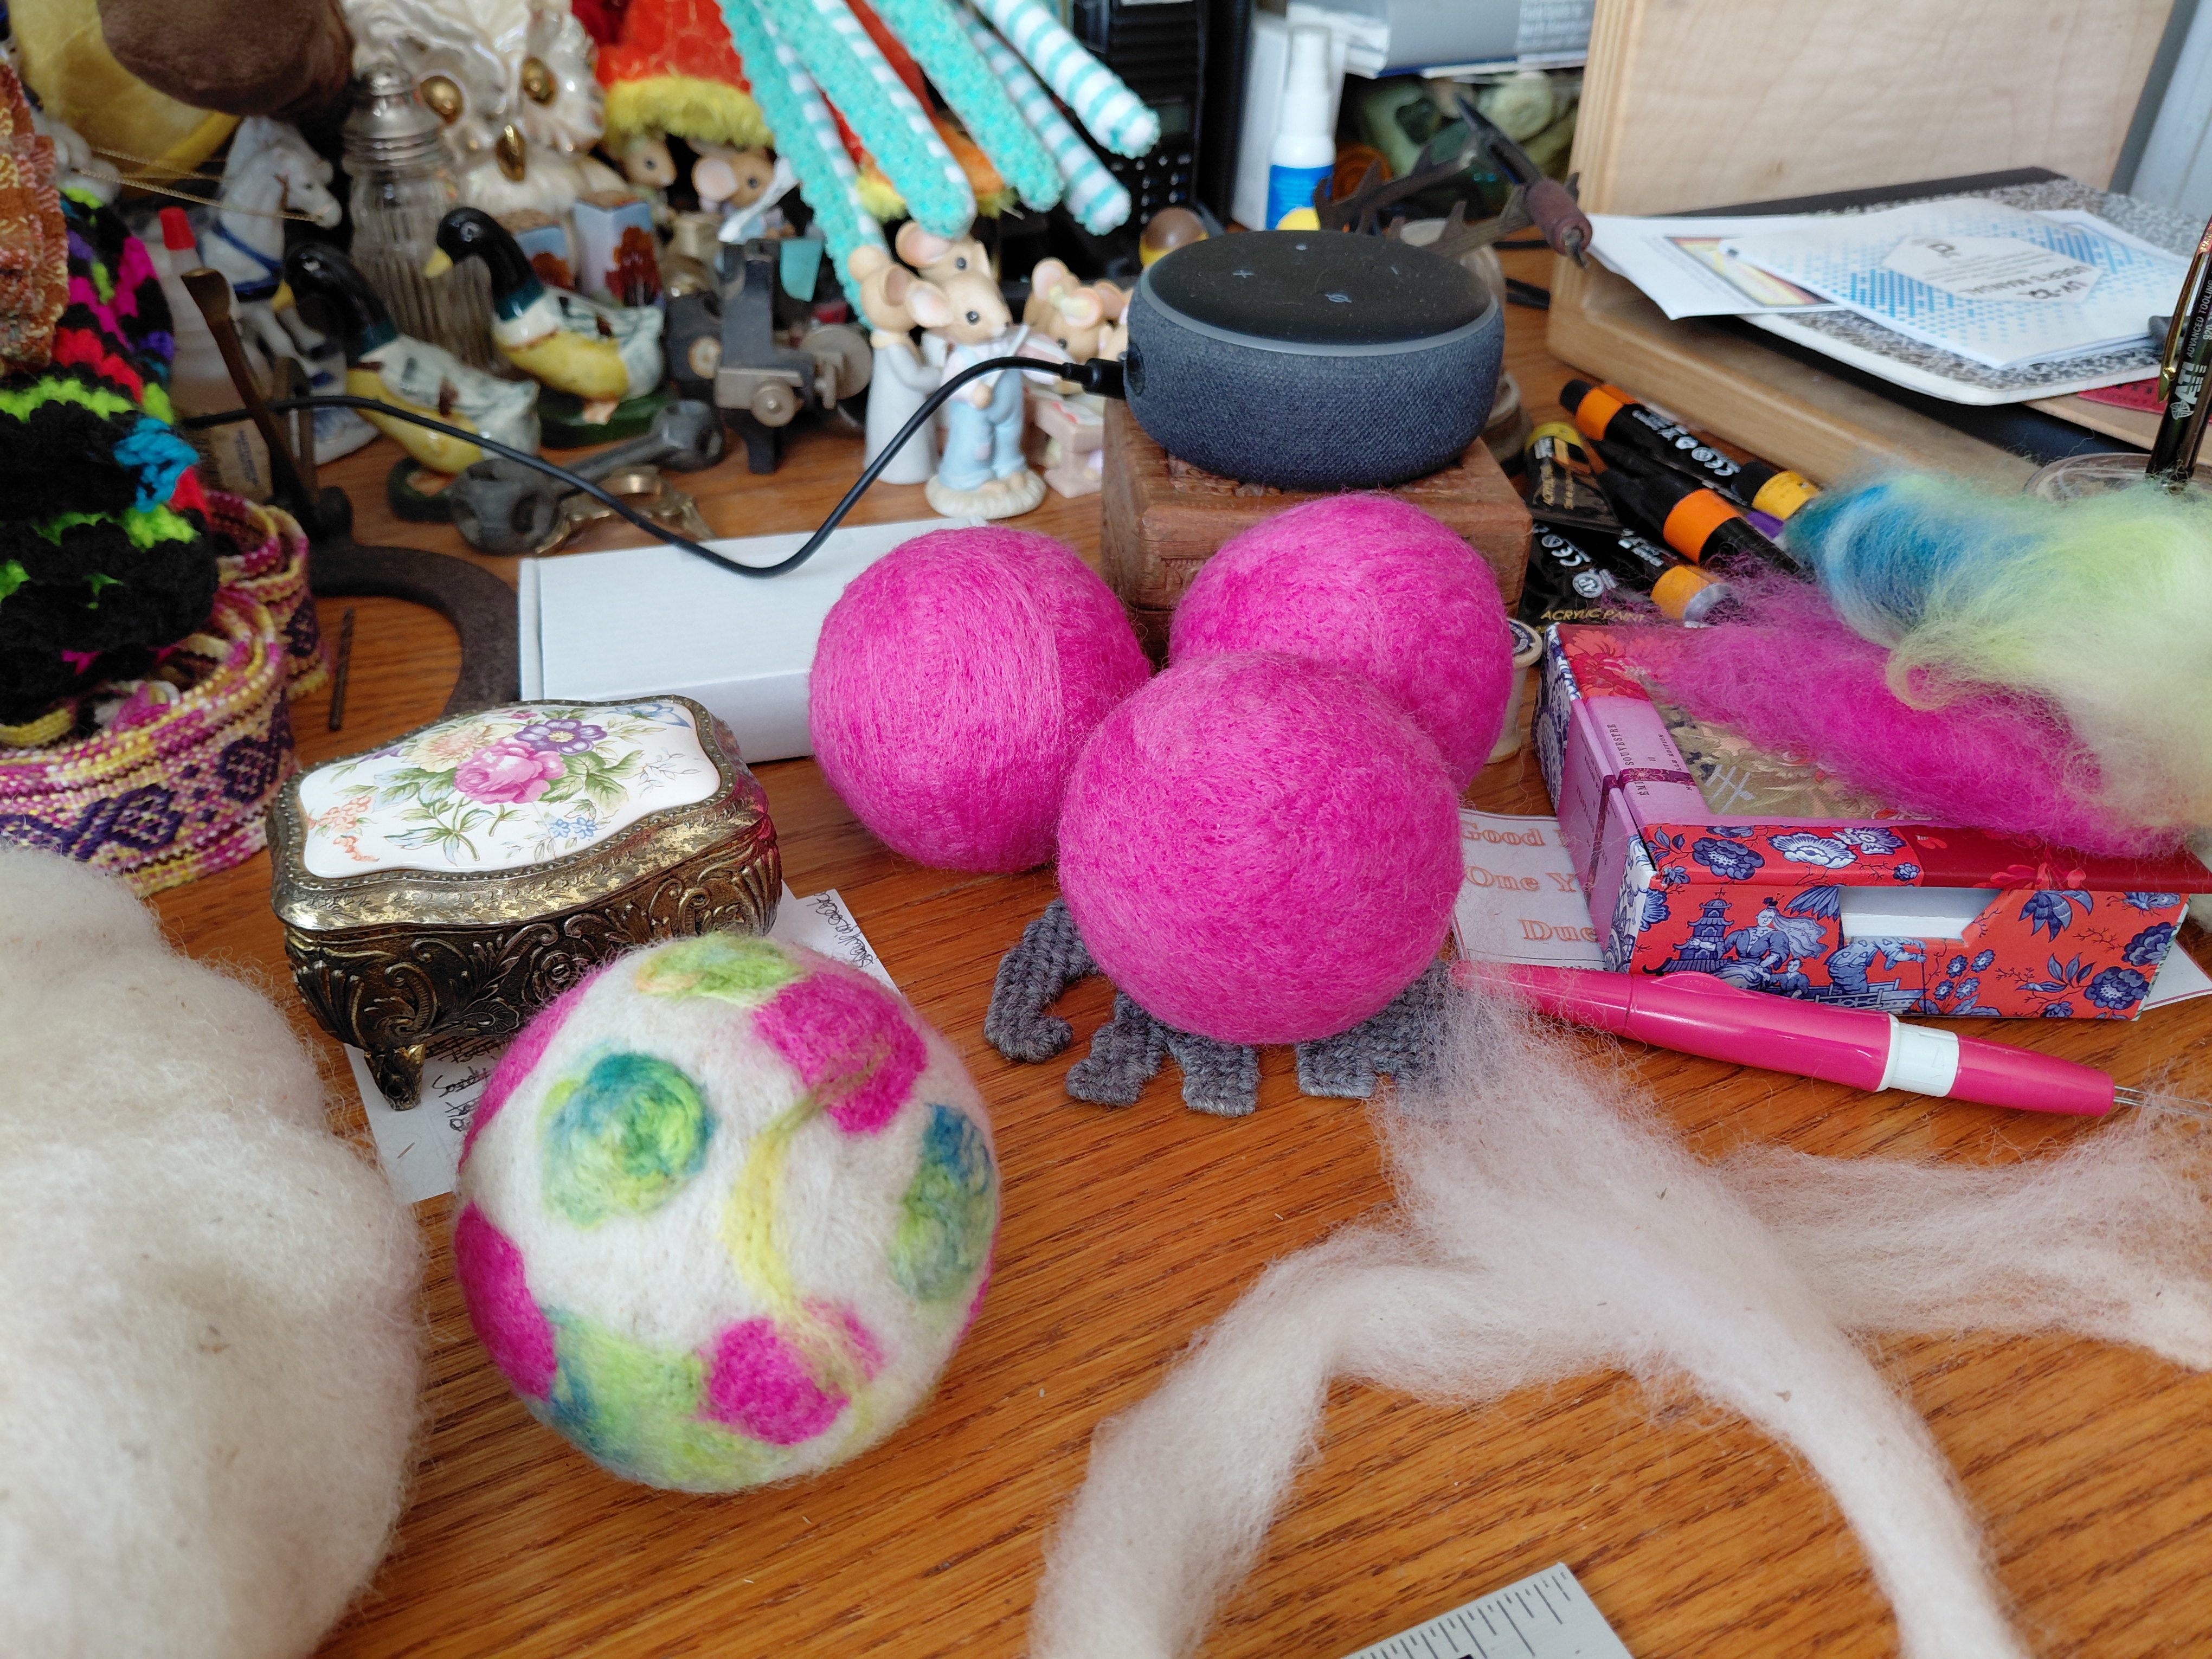
A small sampling of different types of rulers.

I believe there are two things that are very important to people who measure things a lot:

  1. Knowing how to use a ruler.
  2. Knowing how to buy a ruler.

You may ask why I place less importance on how to buy a ruler than on how to use one. The answer is simple: a lot of the times, you won’t be using your own ruler to do a needed measurement. You’ll be using someone else’s ruler.

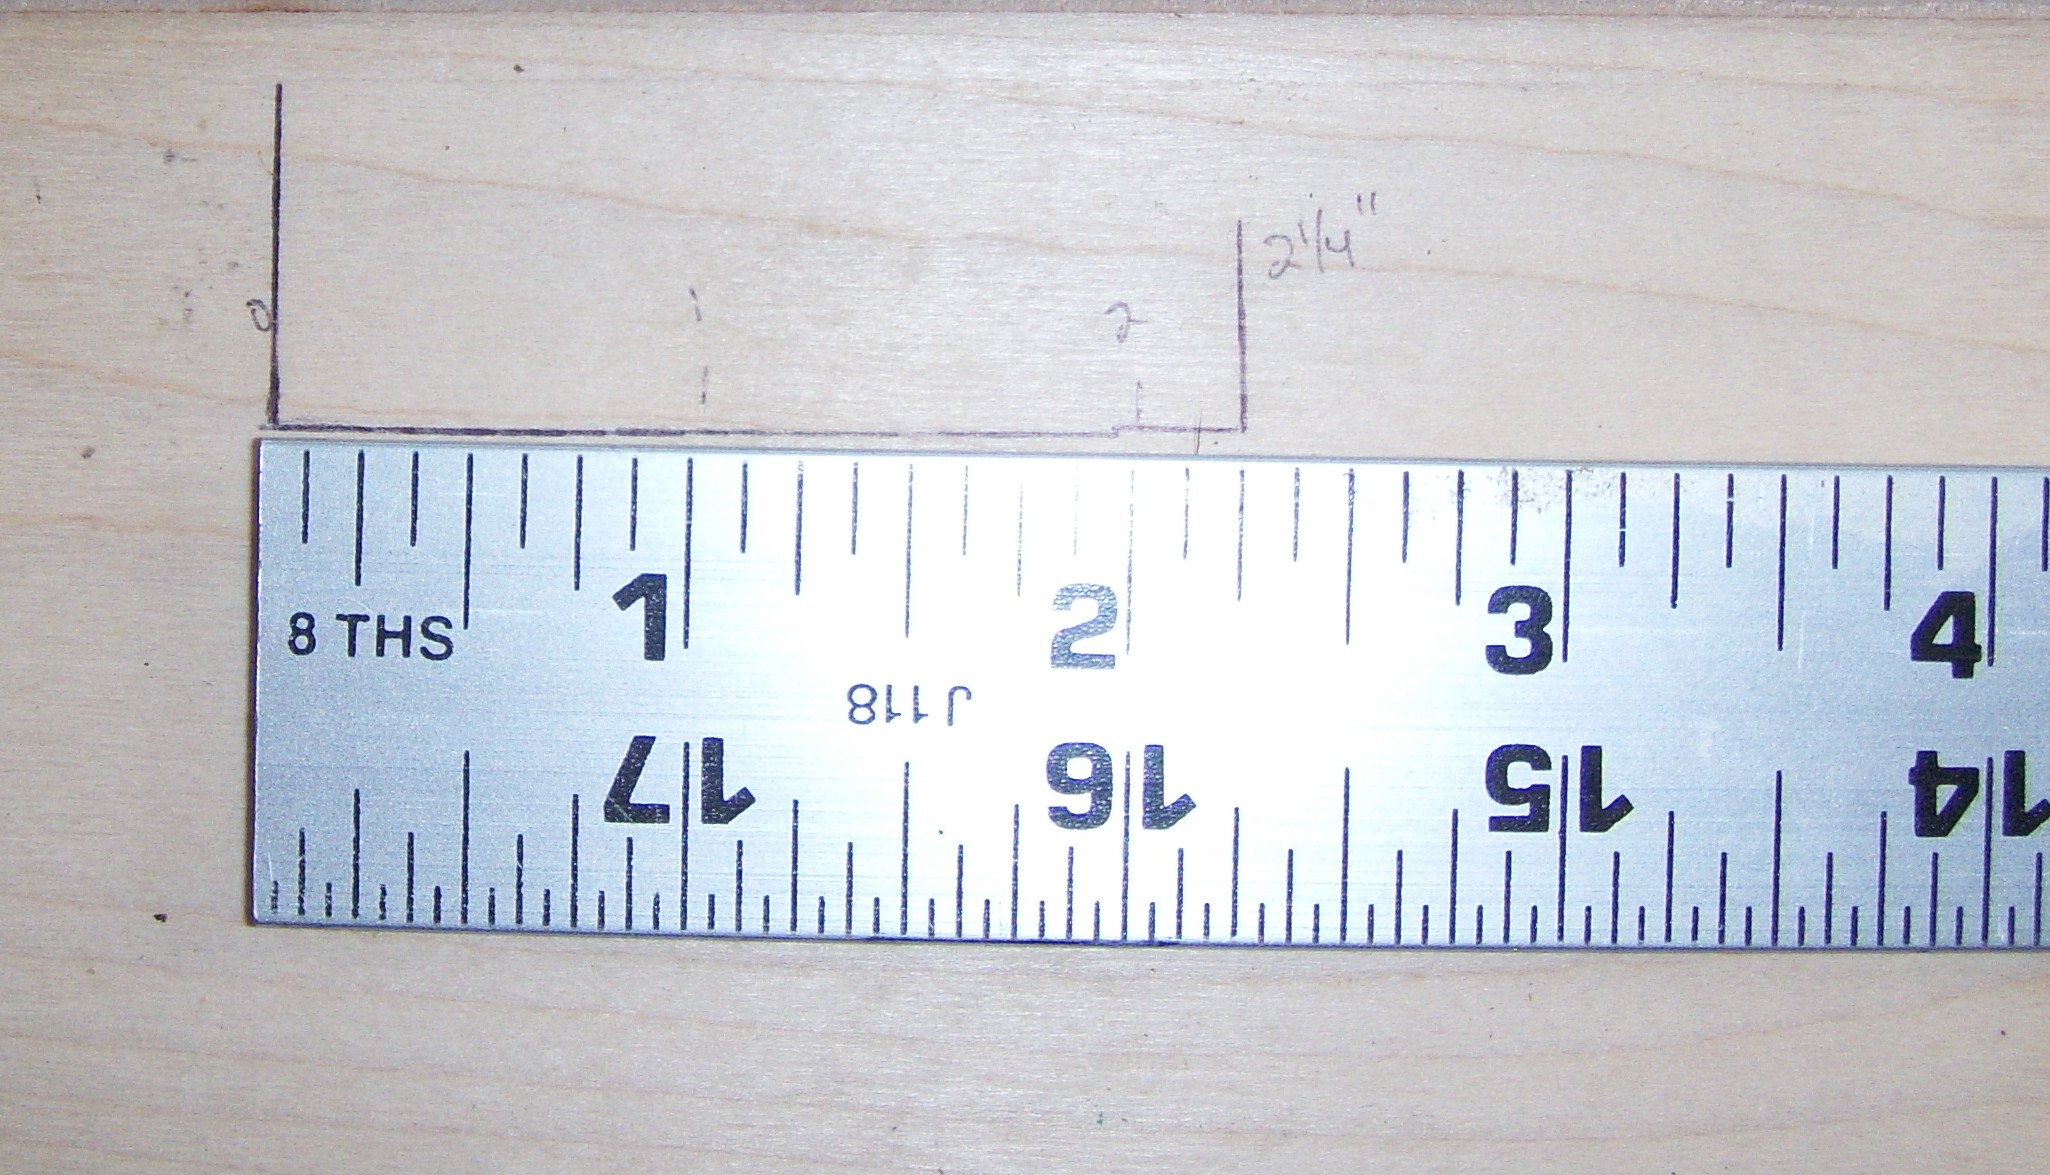
So, how do we use a ruler?? Look at where the actual left edge of the ruler is before measuring anything. Make sure that it’s actually visible, too and is easy to use. The ruler shouldn’t have round corners near or on it’s starting edge. The left edge on cheap rulers, over time, slowly disappear or fade out with use. If the starting edge (aka the left edge) on a ruler is off, the ruler will become totally useless when it has faded.  The following pictures are of what I like to call problem rulers. There is only one ruler in this grouping that I consider worth keeping.

faded measuring edge ok ruler

measuring edge is off

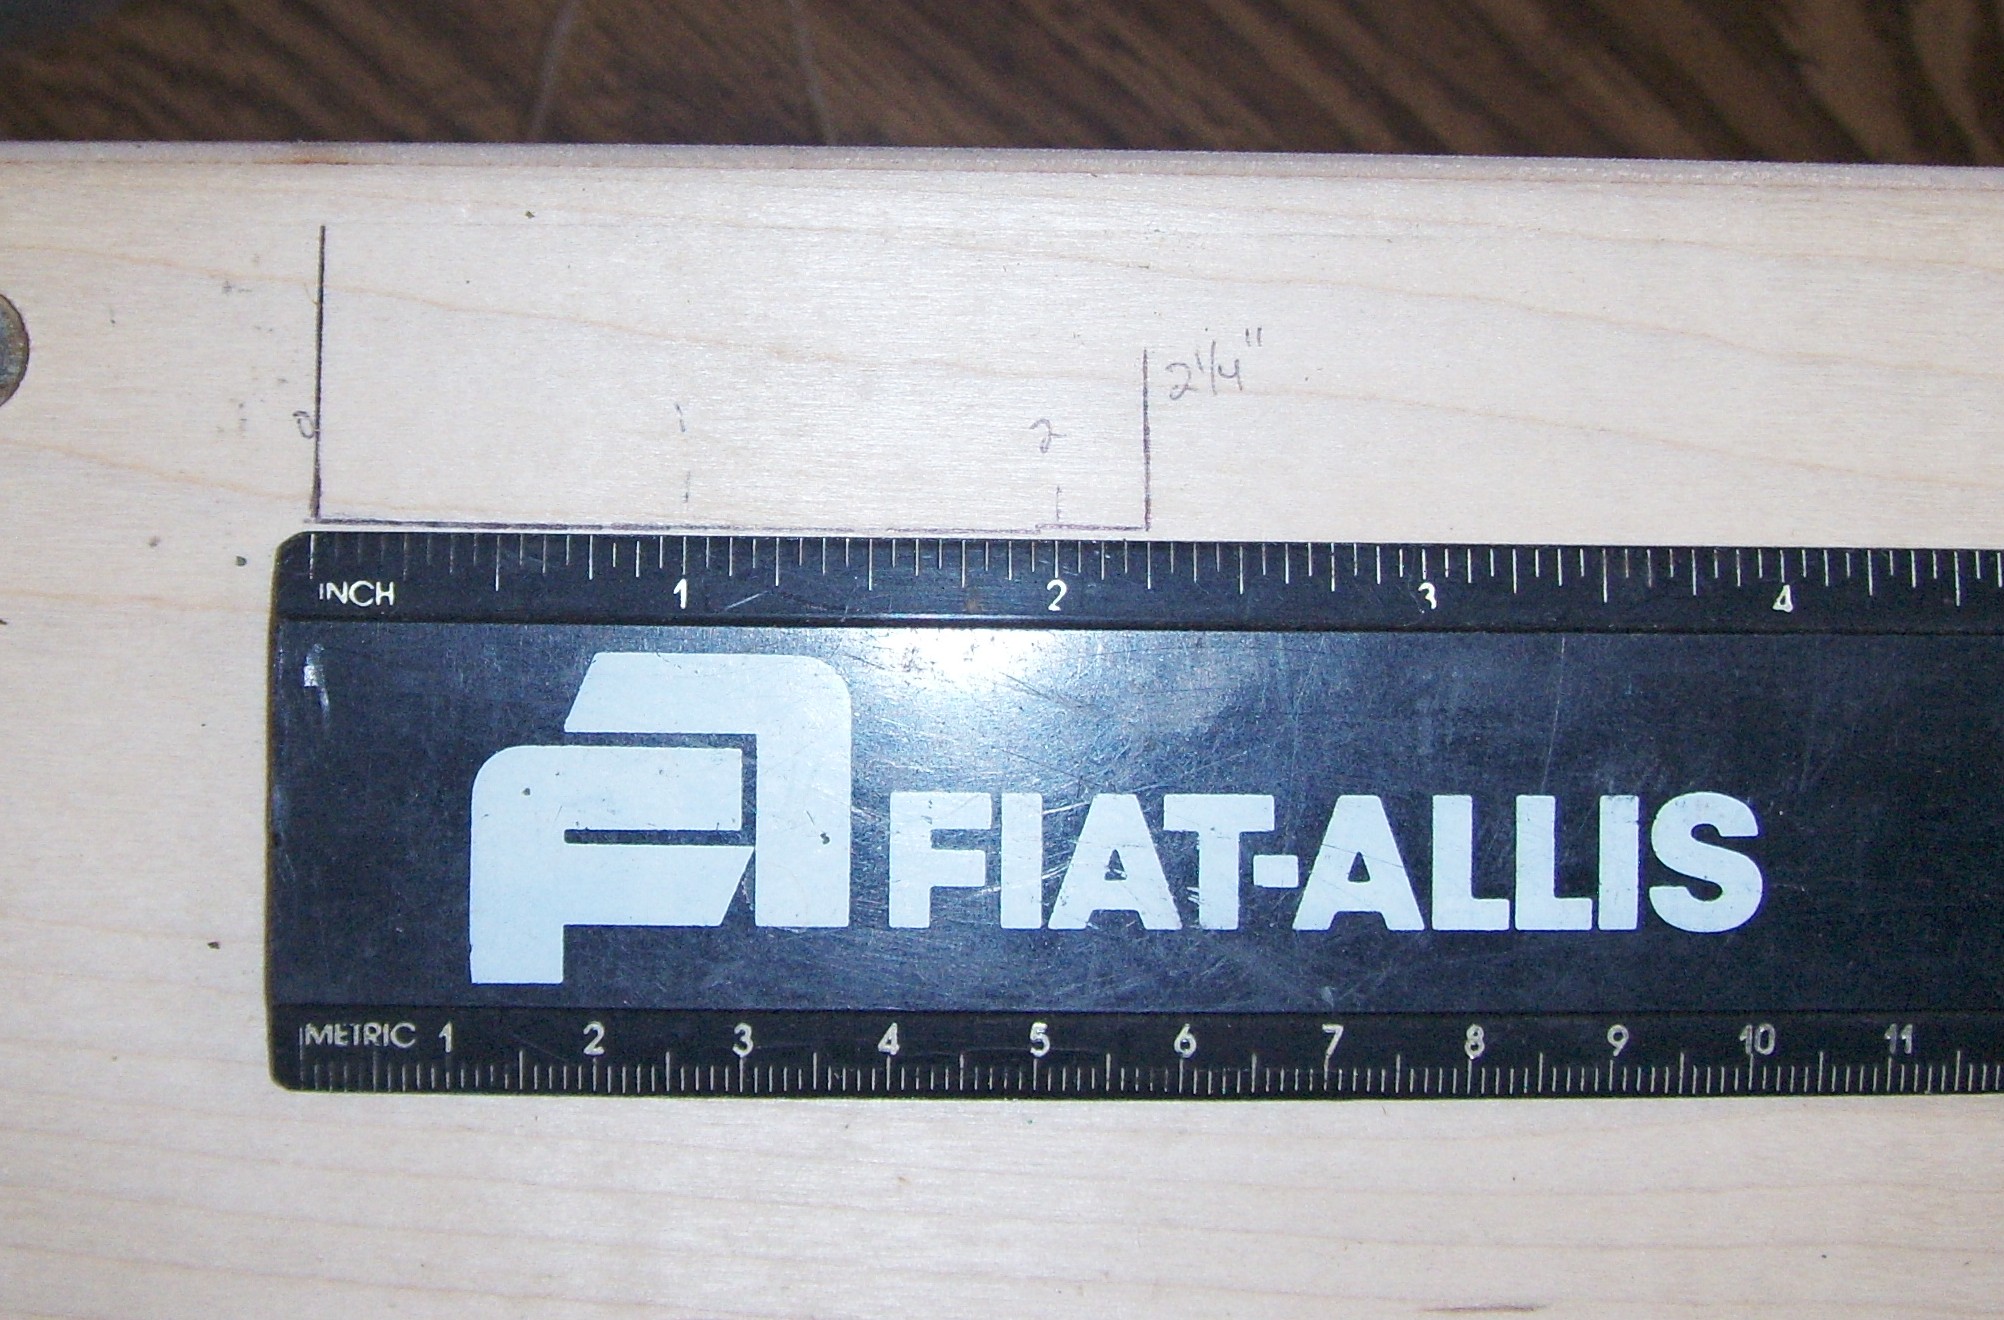
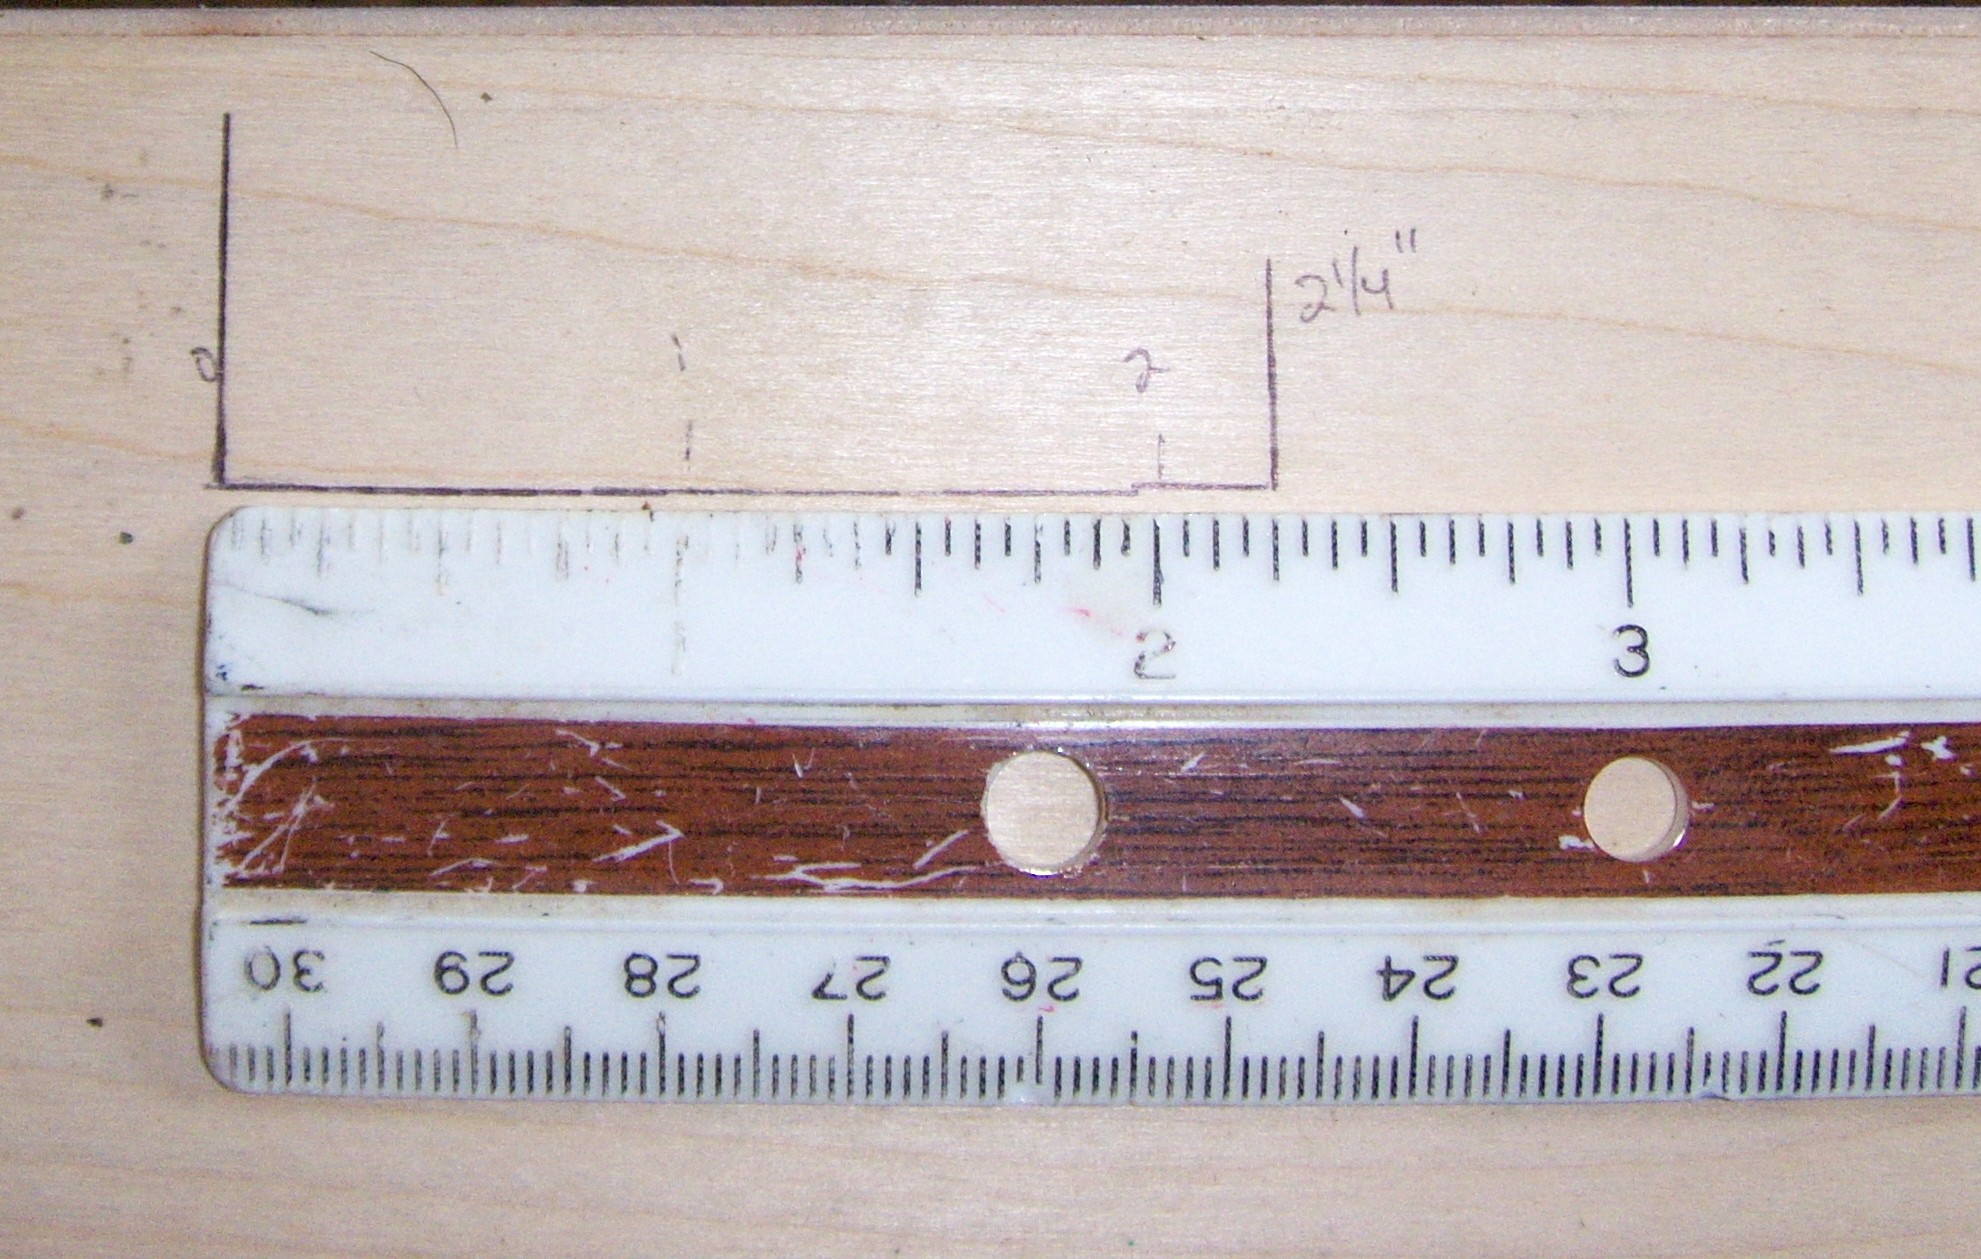
The black ruler’s starting edge is off by nearly 3/16 of an inch and has rounded corners which will not help you take accurate measurements. The white ruler is spot on, but is fading considerably and has rounded corners which will make measuring smaller things more difficult down the road. Can you imagine having everything you measure be 3/16  or 1/8 of an inch longer than is needed because of hastiness or using a worn out ruler?? I can’t and I refuse to. A good number of people don’t know the difference, nor do they care. They just pick up a ruler and start measuring. The clear ruler’s starting edge is off by nearly 1/8 of an inch, but the starting measuring line is in far enough from the edge that this ruler is a keeper.

A 'perfect' ruler for precision measuring.

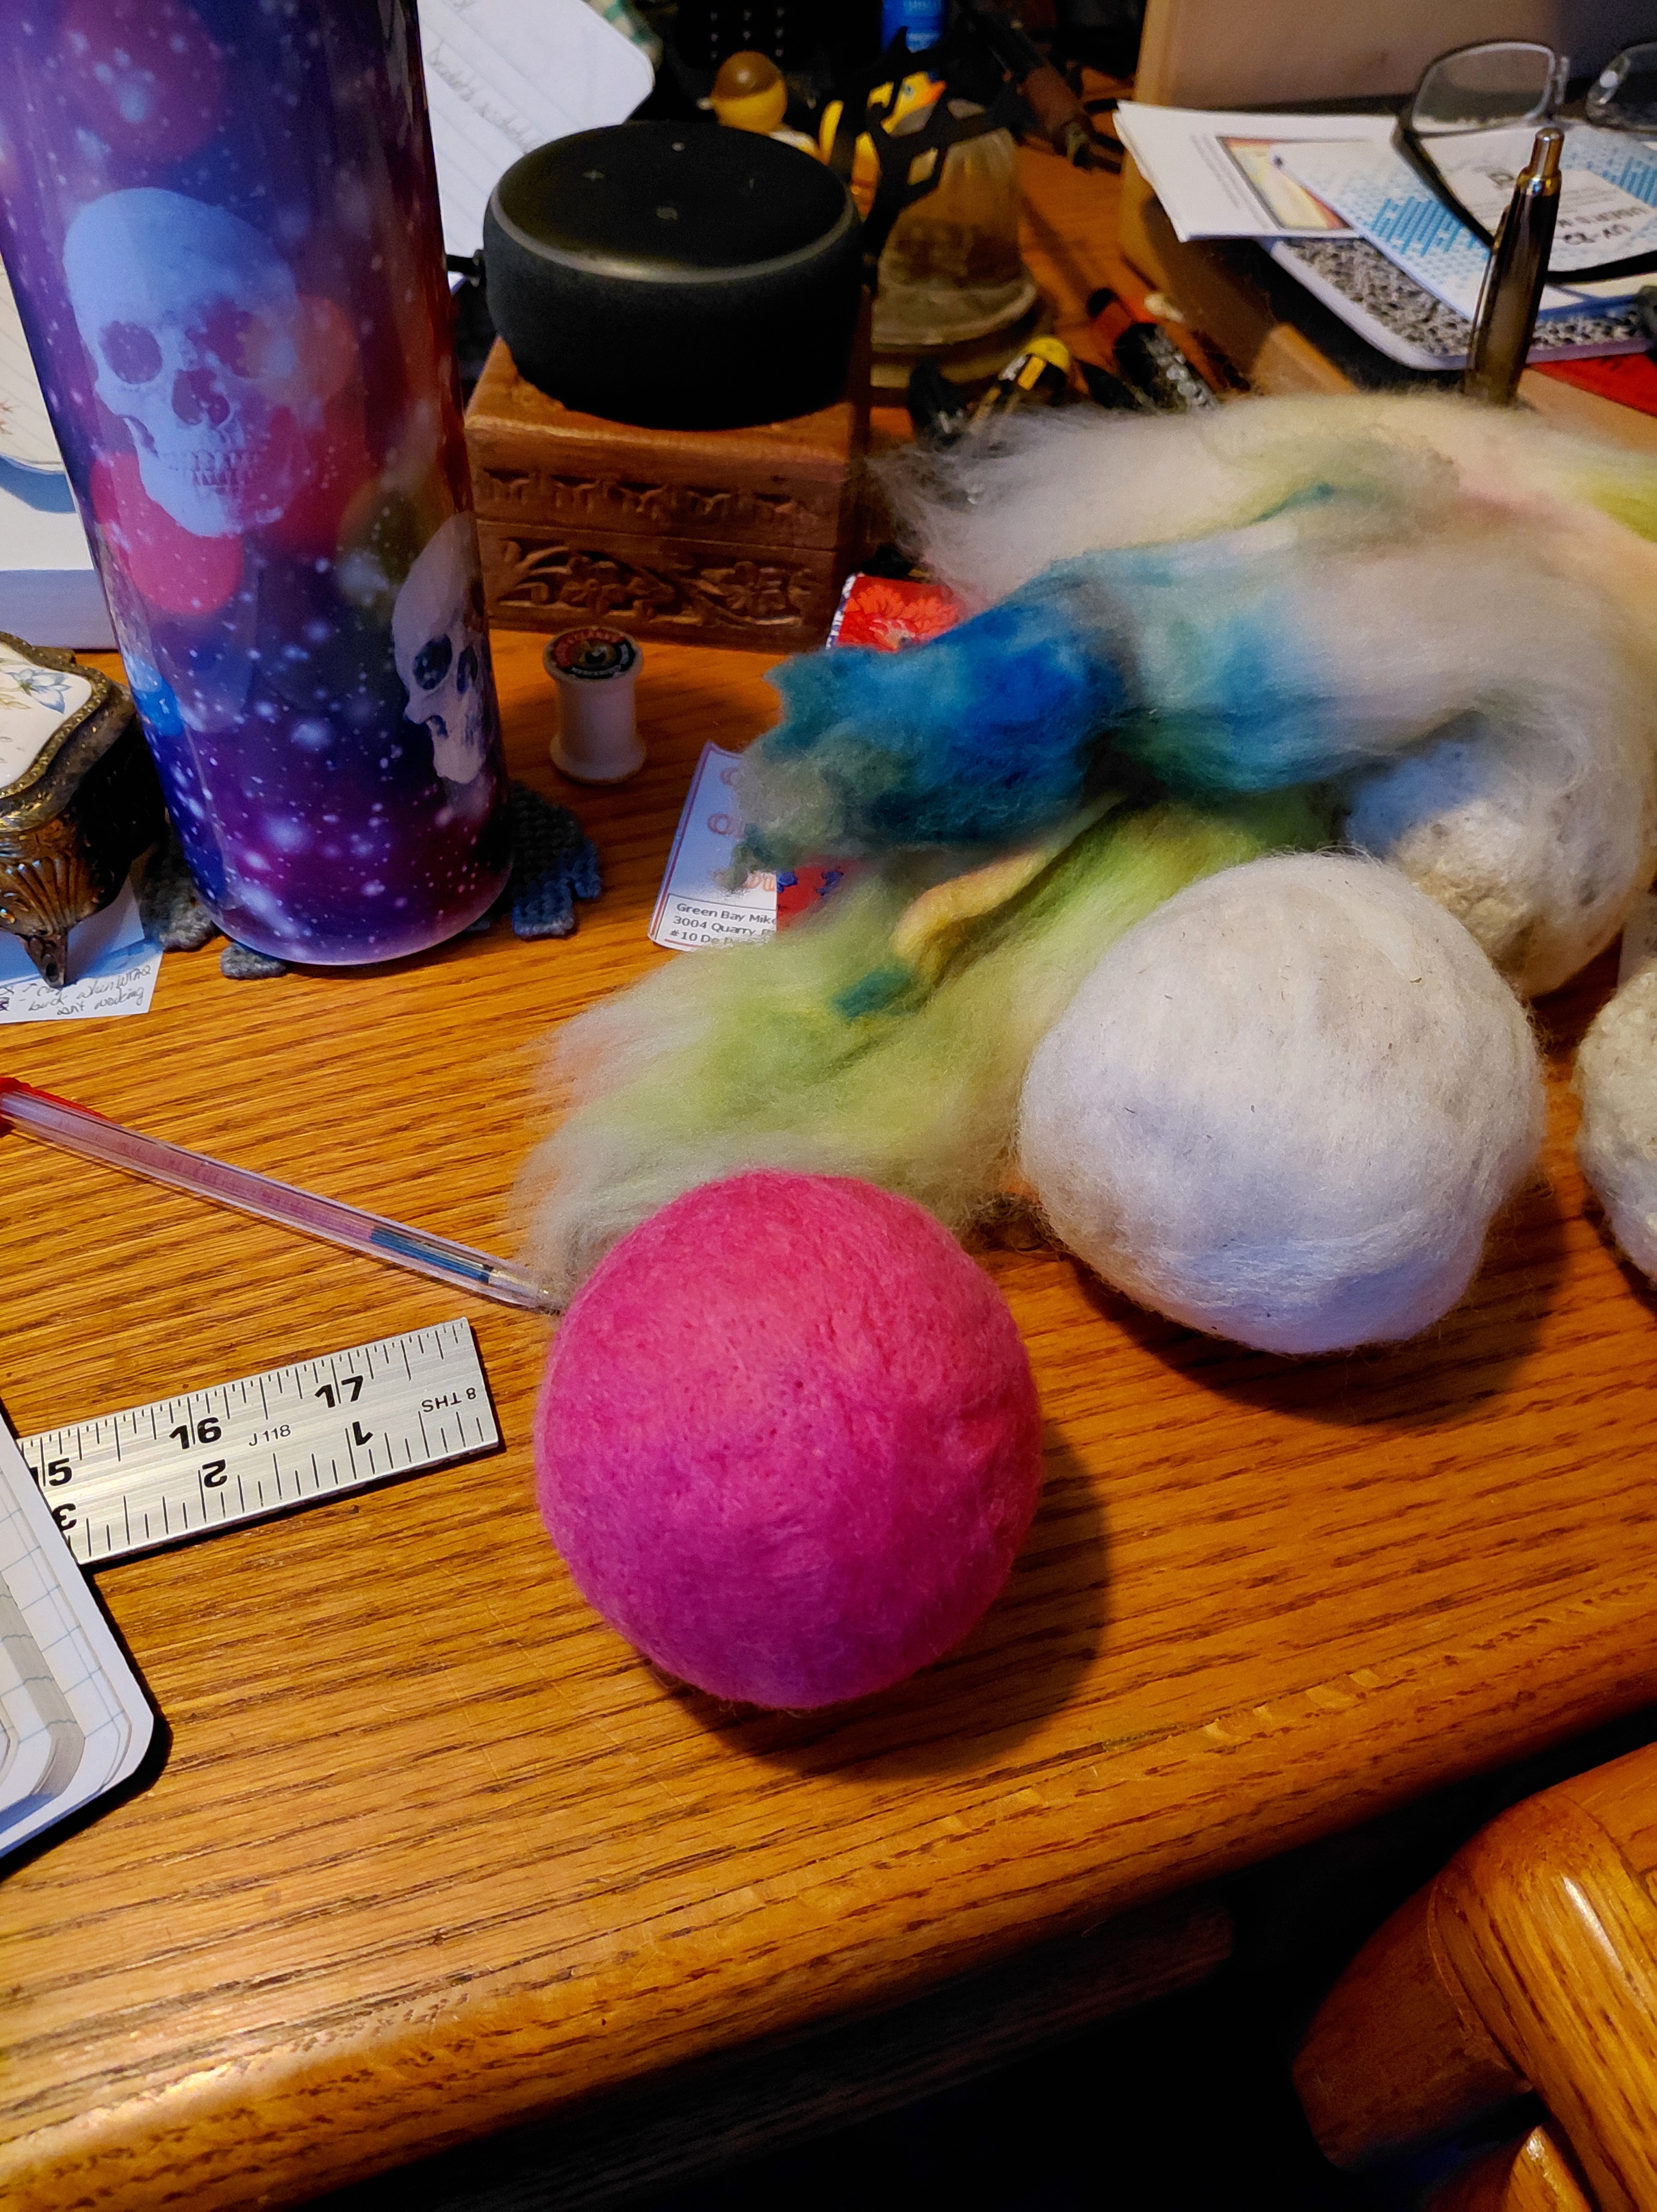
A ‘perfect’ ruler for precision measuring.

Now we’ll go on to how to buy a ruler. Purchase a good, sturdy metal ruler like the one in the above picture that I’ve called ‘perfect’. This ruler is nearly 10 years old, but is spot on accurate. It has been dropped and otherwise abused, but there is no wear on it (that white spot was caused by my flash) and it has no rounded corners.

I agree that it’s quite acceptable to purchase a ‘cheap’ ruler for the kids to take to school because they’re going to lose it, abuse it and/or make it unusable by the end of the school year, but I would still pay the extra $1 to get one like the clear ruler because it’s the easiest to use once they’ve learned where the actual measuring edge is.

Now, go out and upgrade all of your rulers, yard sticks and tape measures!


This is how my dryer balls are made…

A lot of people have brought it to my attention that my dryer balls are ‘too bouncy’ to be 100% wool. If you were to say this to me in person, I’d invite you to cut one in half and see for yourself. I would also consider it to be a waste of the hard work I put into my dryer balls. The halved ball, on the other hand, I would be able to recycle into new dryer balls.

I don’t like to share anything about my process or the processes my art or craft goes through to get from point a to point b. This time, I will share my process. I find that it’s necessary for a dryer ball to have some bounce in it to bounce its way around the clothes dryer. It’s this bouncing action that is what actually softens the clothes as they’re being propelled around the inside of the clothes dryer.

The washed wool

I start out with about a 1/2 ounce of washed wool. I prefer to work with loose, washed wool because it’s easier to compress by hand than a carded batt of wool.

My beautiful picture My beautiful picture

I compress or squeeze the wool tightly in my hand until it’s firm enough to start a binding yarn. The binding yarn will aid in holding the wool together as you wrap the yarn around it while squeezing the ball tighter.

My beautiful picture My beautiful picture

I keep adding more wool until the ball is almost 2.25 inches in diameter. I begin by pushing the needle felting tool into the wool ball and keep doing this while I rotate the ball around and around.  I continue to needle felt it into a nice, firm, round ball until it meets my expectations for bounce and…..

My beautiful picture My beautiful picture

VOILA!! A dryer ball ready to be dressed up (covered with dyed wool, silk and/or decorative wool)!

My beautiful picture

I’ve not bought any dryer sheets or fabric softeners for the past 4 years. Considering that I used to go through a box of 120 count dryer sheets every 3 months, I’d say that I’ve saved roughly $55 over the past 4 years and that’s not bad for a really small family.

(On a side note: dryer balls are strictly fabric softeners. They do nothing to remove static electricity. Only a dehumidifier can do that properly, unless you live where there is high humidity.)

Save some money and buy a set of dryer balls for your dryer today at my Etsy shop!!

Yes, I do make custom dryer balls!

While I’m not really into painting with wool, I do make custom design dryer balls for those who ask. I shipped out an order for custom designed dryer balls this past Wednesday. I love how they turned out. There are 4 to 5 hearts on each ball.

yellowheart2  purpleheart3 purpleheart2 purpleheart1 pinkheart1  orangeheart1 greenheart2 greenheart1 blueheart2 blueheart1 All of the heart balls

I enjoy making them and I never want to ship any of them because I love how they all look. I think a decorator bowl, full of dryer balls, would look really awesome on your coffee table. I would put a bowl full on mine, but I don’t have one.

Get some fiber to play with. You’ll love it.

My Etsy shop!