I’ve nearly finished weaving the first two Spring Fling Dishtowels.

I found an excellent weaving draft software that’s actually Free and it can be used offline!! It’s called QuickDraw and you can get it at QuickDrawWeaving.com

The above photo is what the the first 2 Spring Fling Dishtowels as depicted by the software.

I drafted the next 2 dishtowels using the software and I can tell you that it’s pretty neat to see. I’ve always kept a notebook of everything I draft and weave. I still do because I’m a contingency planner.

The above photo is what the next 2 Spring Fling Dishtowels will look like when I continue weaving.

The rest of these towels are woven on the fly, while being notated in a notebook. I prefer creating on the fly because it doesn’t require a computer or electricity.

Get busy! Learn something new or make something you’ve never made before! It will keep your brain healthy!!

The weaving progress of the first set of handwoven dishtowels!

This was an interesting process for me as I’d mostly woven wool cloth and heavy rugs. I did these towels freestyle because I was fascinated by the patterns being created in the plaids. I love plaids, so this seemed most natural to me.

When the warp was all woven up, I cut off the weaving and finished up the dishtowels. I sewed all of the side ends in (weft) and hemmed the ends of each towel. The towels were shipped to the wonderful woman who gave me all of the cotton thread/yarn which led to the creation of these dishtowls.

I used my Singer 319 to hem these dishtowels.

Get busy and make something you love! If you don’t know how, get a book and learn (I do it all of the time!).

My favorite weaving pattern for now….

I modified a pattern from the book, The Weaver’s Inkle Pattern Directory, that looks like snowflakes and diamonds. It’s on pg. 77 and is called simply, Baltic-13 2 (it’s actually the one at the bottom of the chart on pg. 77. It’s a neat pattern, but when I started the first one I redrew it so it’s snowflakes and hearts with a 3 row space between each sequence.

I finished the first belt using this pattern in cream white wool and royal blue sized wool. I rewarped the inkle loom with the cream white and my handspun, handdyed turquiose green wool for the next band/belt.

I graphed a draft of my derivation of the Baltic-13 2 draft and changed the colors for the next belt I will be weaving next. The next image is the weaving draft to be used with the threading chart of Baltic-13 2.

I’ve been warping the inkle loom with 9 extra warp threads (4 up and 5 down) on each side of the pattern(s) because I like more selvage on the edges. This next band/belt will be in dark violet, handspun handdyed light turquoise green, forest green, and the single outside pattern edge in hte dark violet.

When I have time, I’ll post progress pictures on facebook and instagram as I go along.

Get going and make something AMAZING!!! Feel free to use the chart for weaving, knitting, crocheting, etc.

A New Polymer Spindle

I pulled out the original Sculpey polymer clay from 2006 – 2008, for the first time in several years. I hadn’t realized how long it was since I last worked with polymer clay and I was a bit worried it wouldn’t be viable as it hadn’t been used since 2012. It was okay, but required a lot of kneading. It worked out very well.

After blending and kneading for about 20 minutes, I started shaping it into my new spindle whorl in purple and iridescent white swirls.

After the whorls were completed, they were baked in a toaster oven at 275°F for 15 minutes. The oven was turned off and the whorls cooled in the oven with the door open.

I cut and bent a heavy wire into the new, purple and iridescent white spindle whorl and glued it in place with some E6000 cement.

I cut and carved an oak dowel to be used as the spindle for the blue/green/iridescent white whorl, stained it with mahogany stain, dried it, and cemented it to the blue/green/iridescent whorl.

After they both cured, I tested the wood and polymer spindle to make sure the whorl was centered and not wobbly. It spins very nicely.

A well spun single!! This spindle will hold approximately 300 yards of single spun yarn.

What are you waiting for? Get busy and create/build/make something!!

A Restored Antique Burlington Basket Sewing Stool With Storage

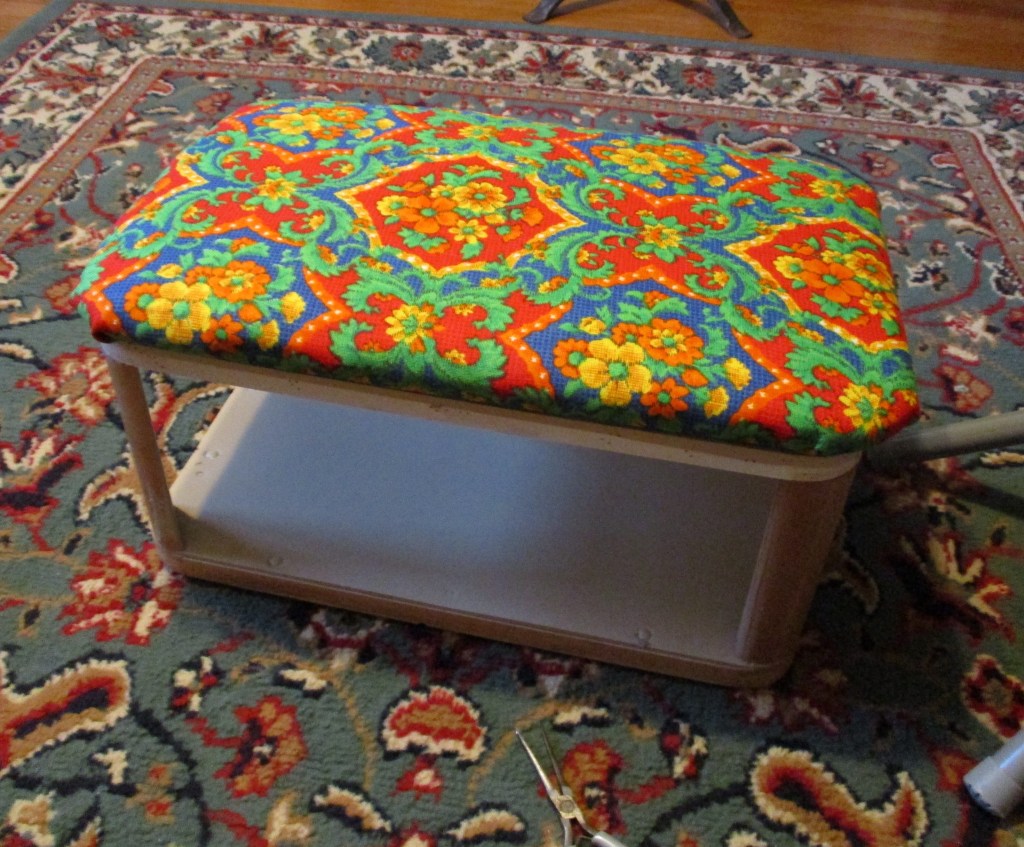
I recently finished a complete restoration of an antique combination sewing stool with storage from 1929 that was originally created for production in 1923. I didn’t take any photos of the original as the fabric was extremely faded and the piece had been ill-used and ill-stored.

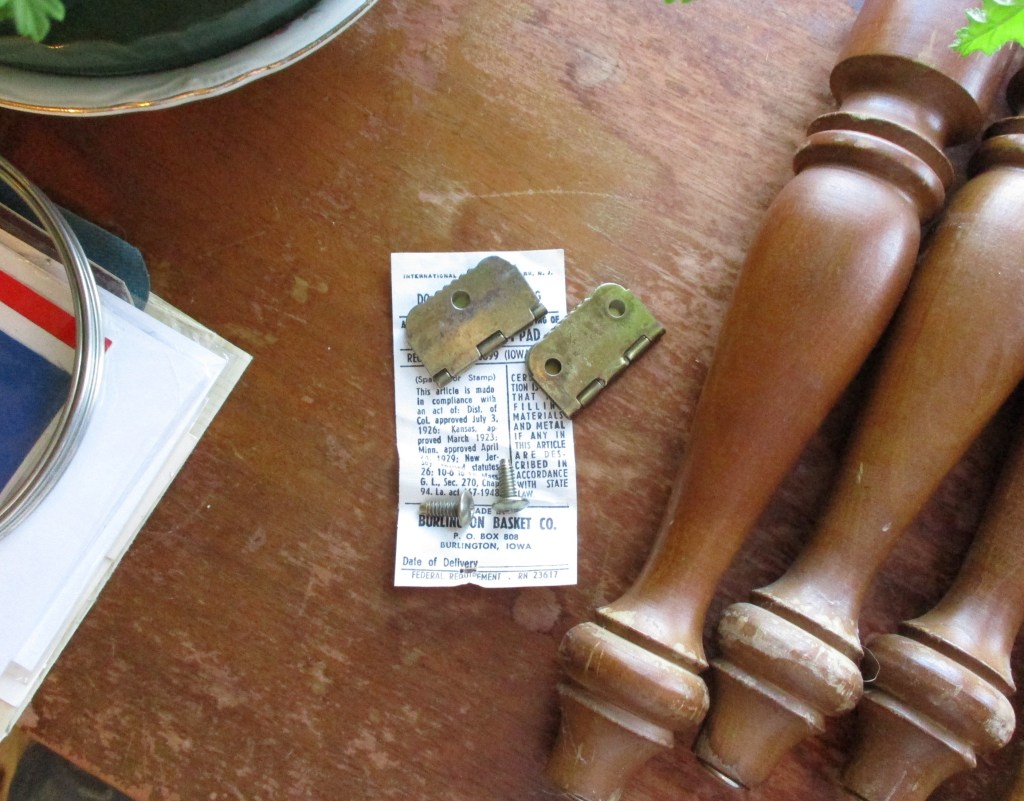
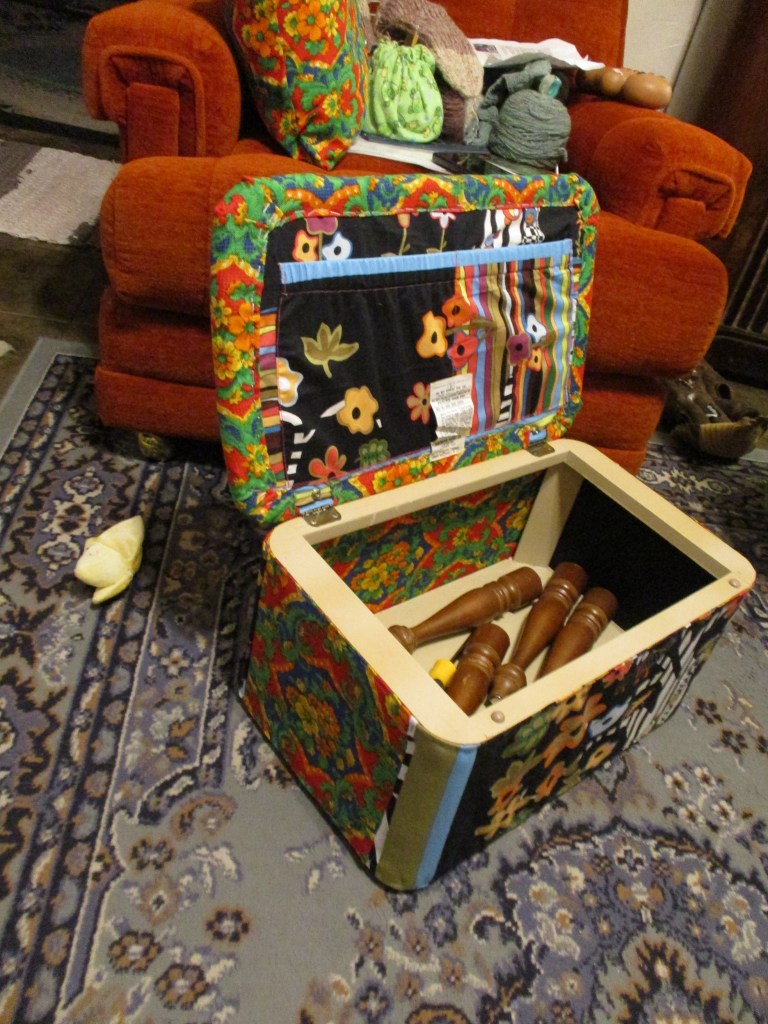
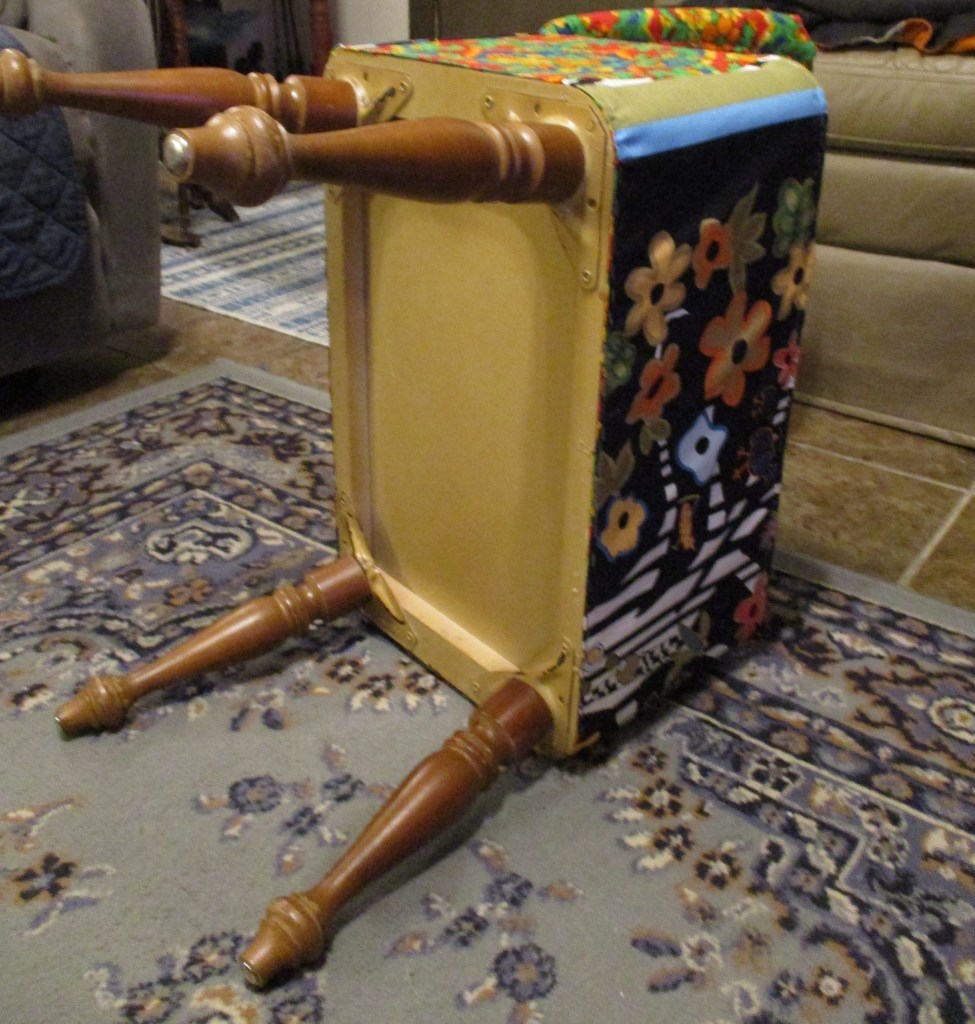
This project was started the week before the Super Bowl and included the removal of asbestos paperboard that the sides were originally made of and reupholstering the sewing stool as well as keeping it as close to the original as possible. The legs are turned oak with metal feet. The frame of the sewing stool is hardwood, however I’m not sure what kind as the paint isn’t chipped anywhere. The corners appear to be hardwood as well.

I finally made the decision to get it completed on Super Bowl Sunday and was able to complete it before the game was over.

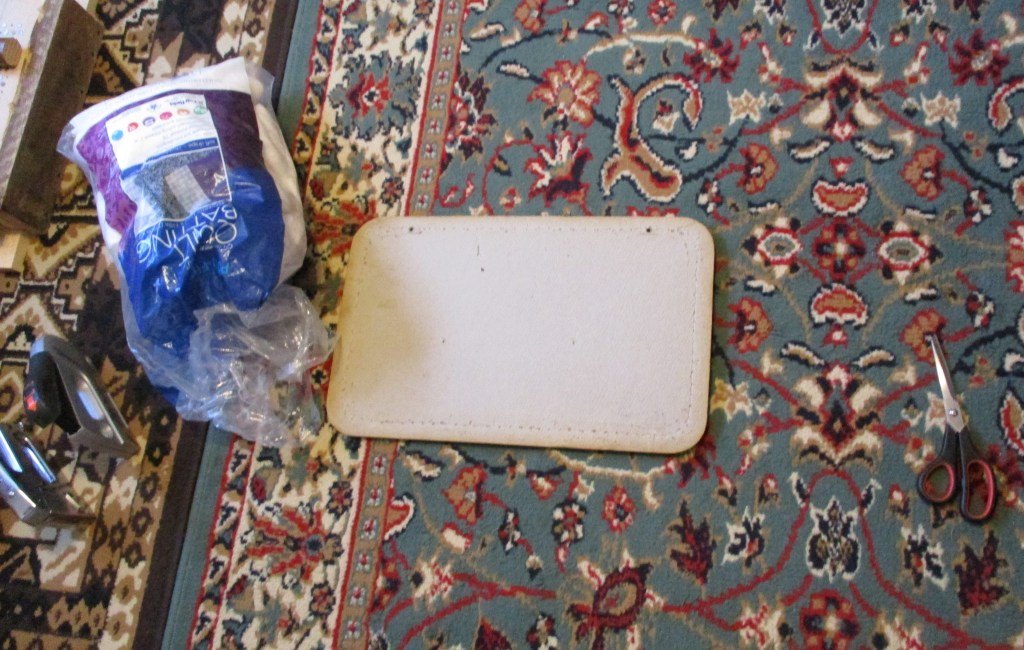
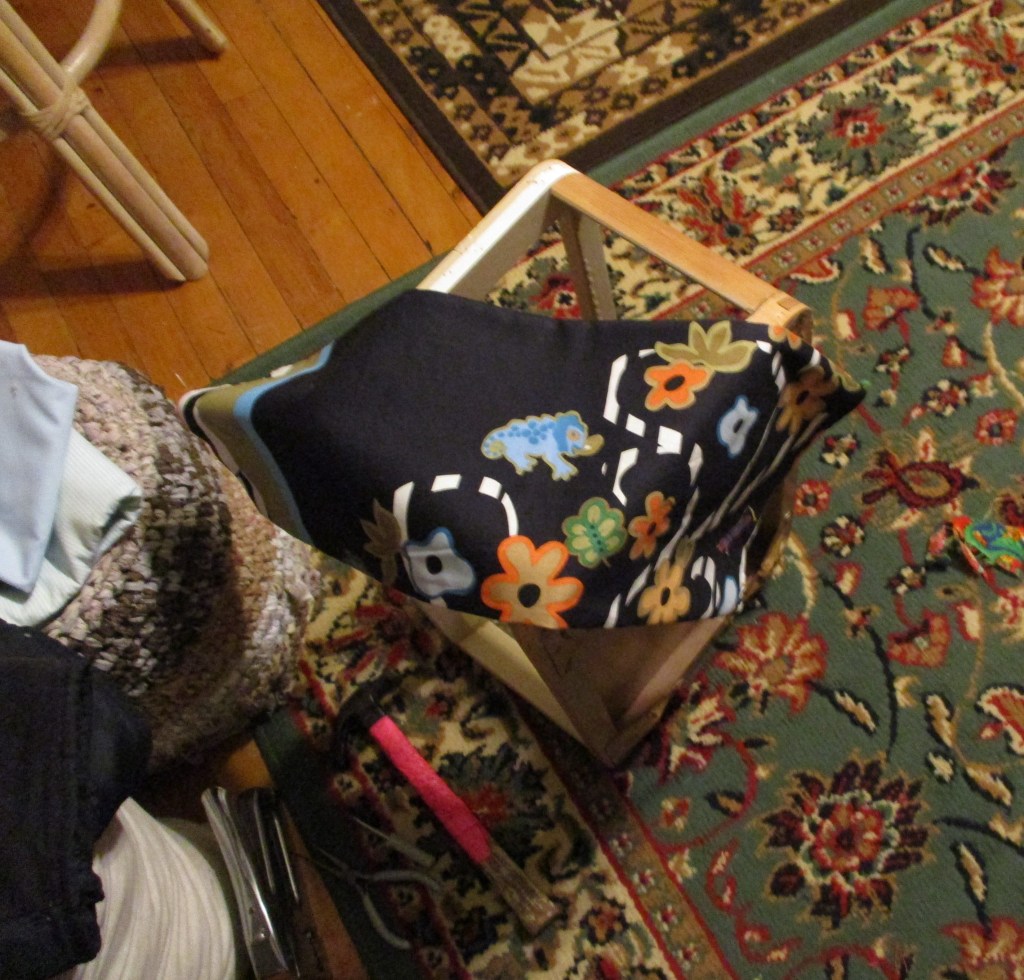
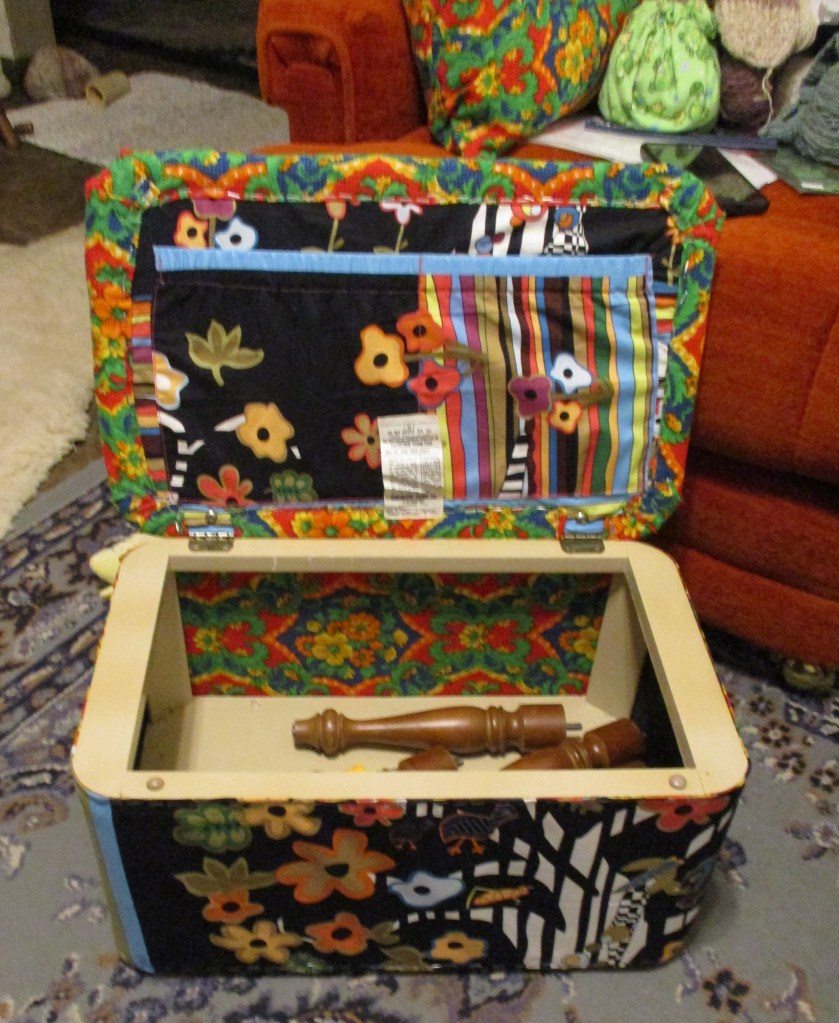
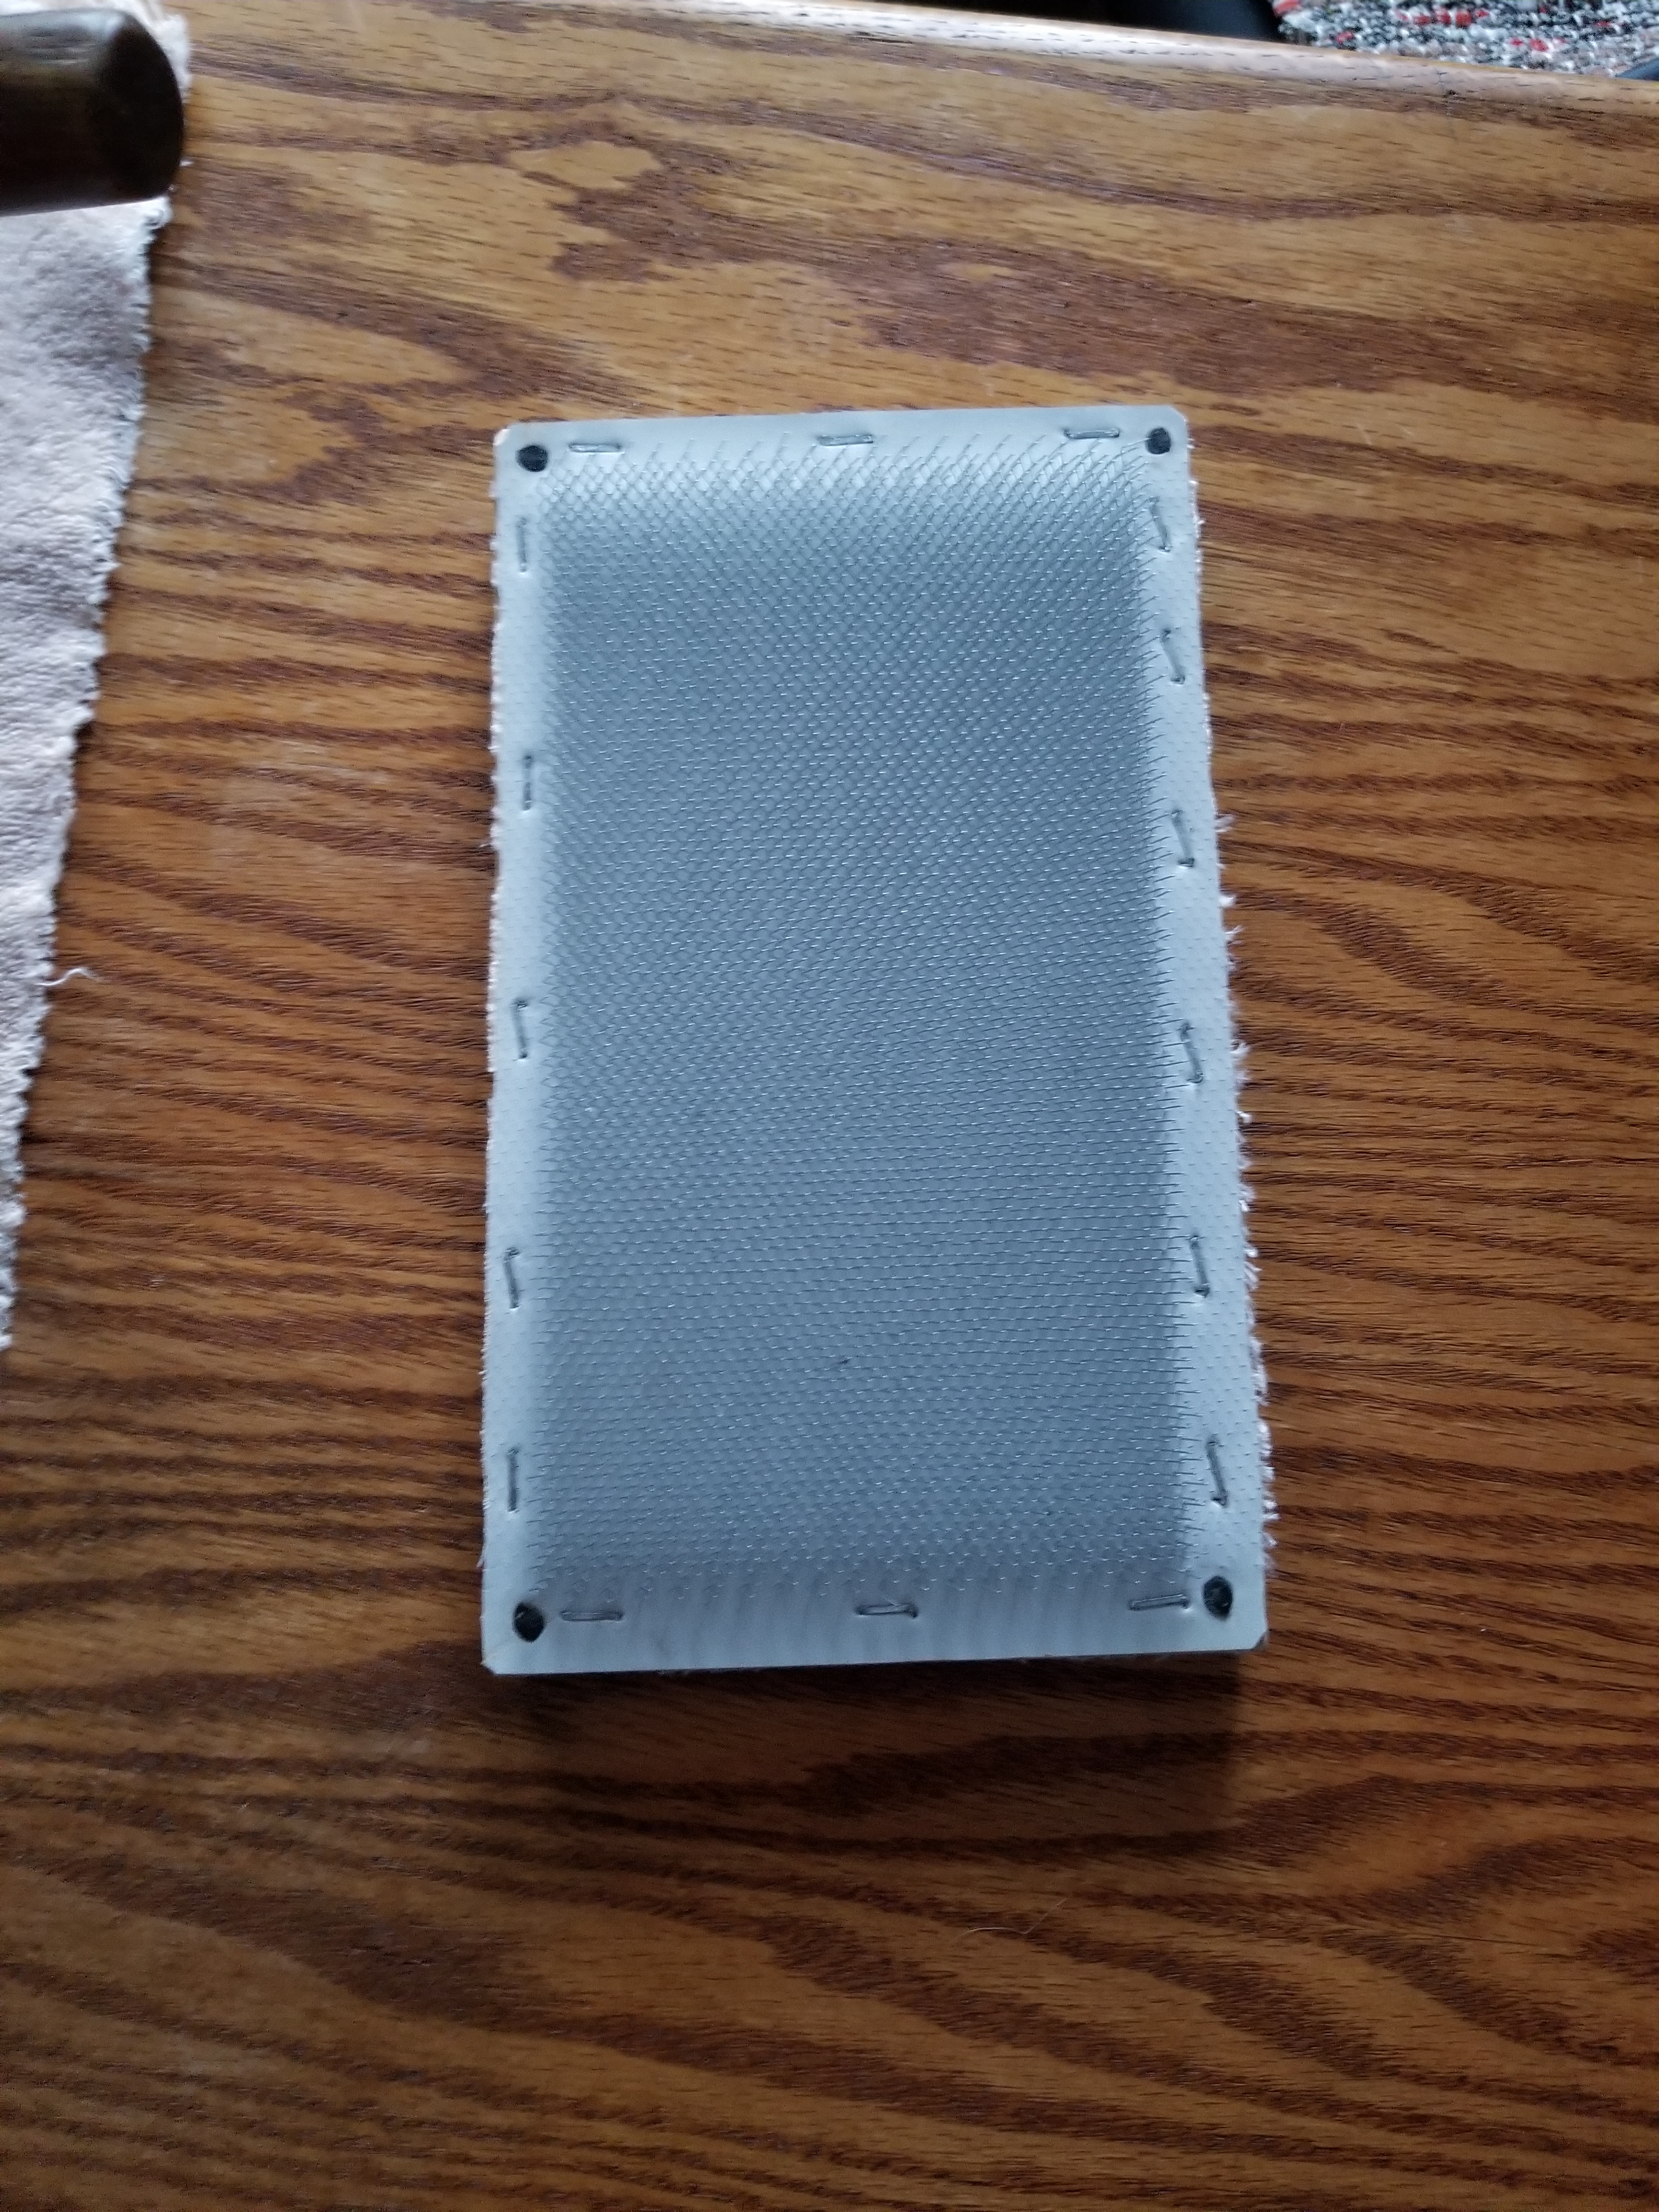
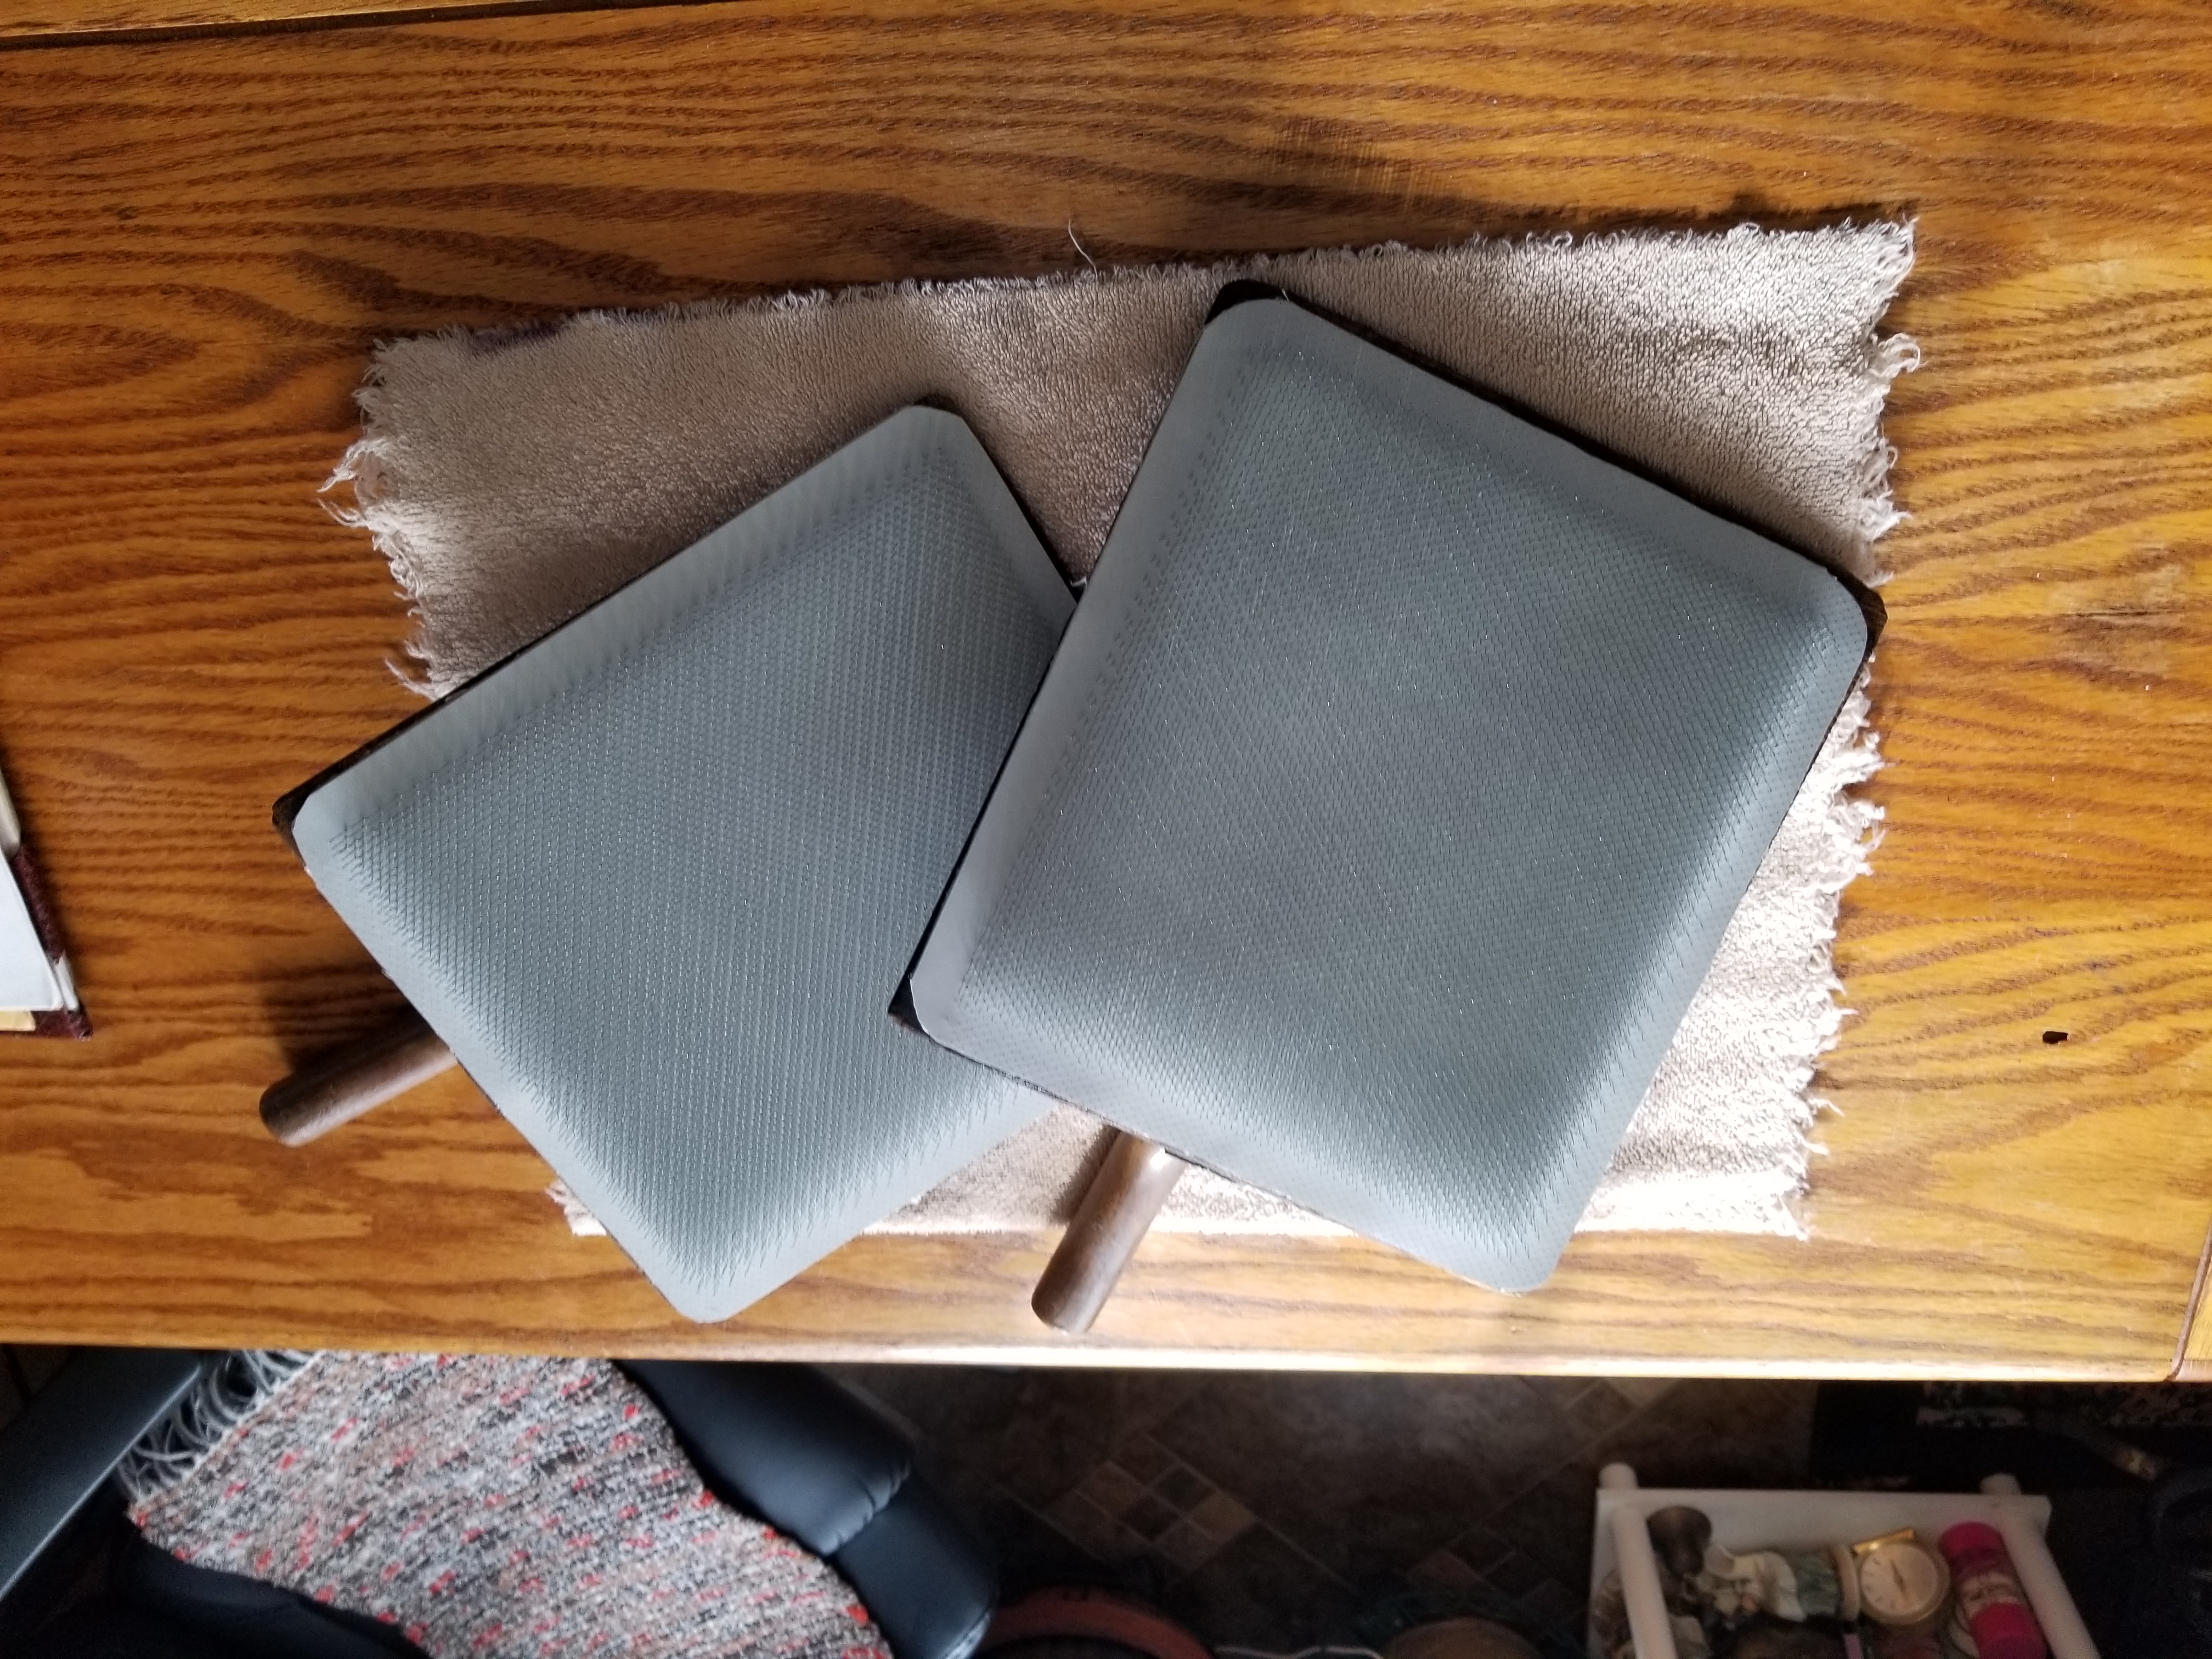
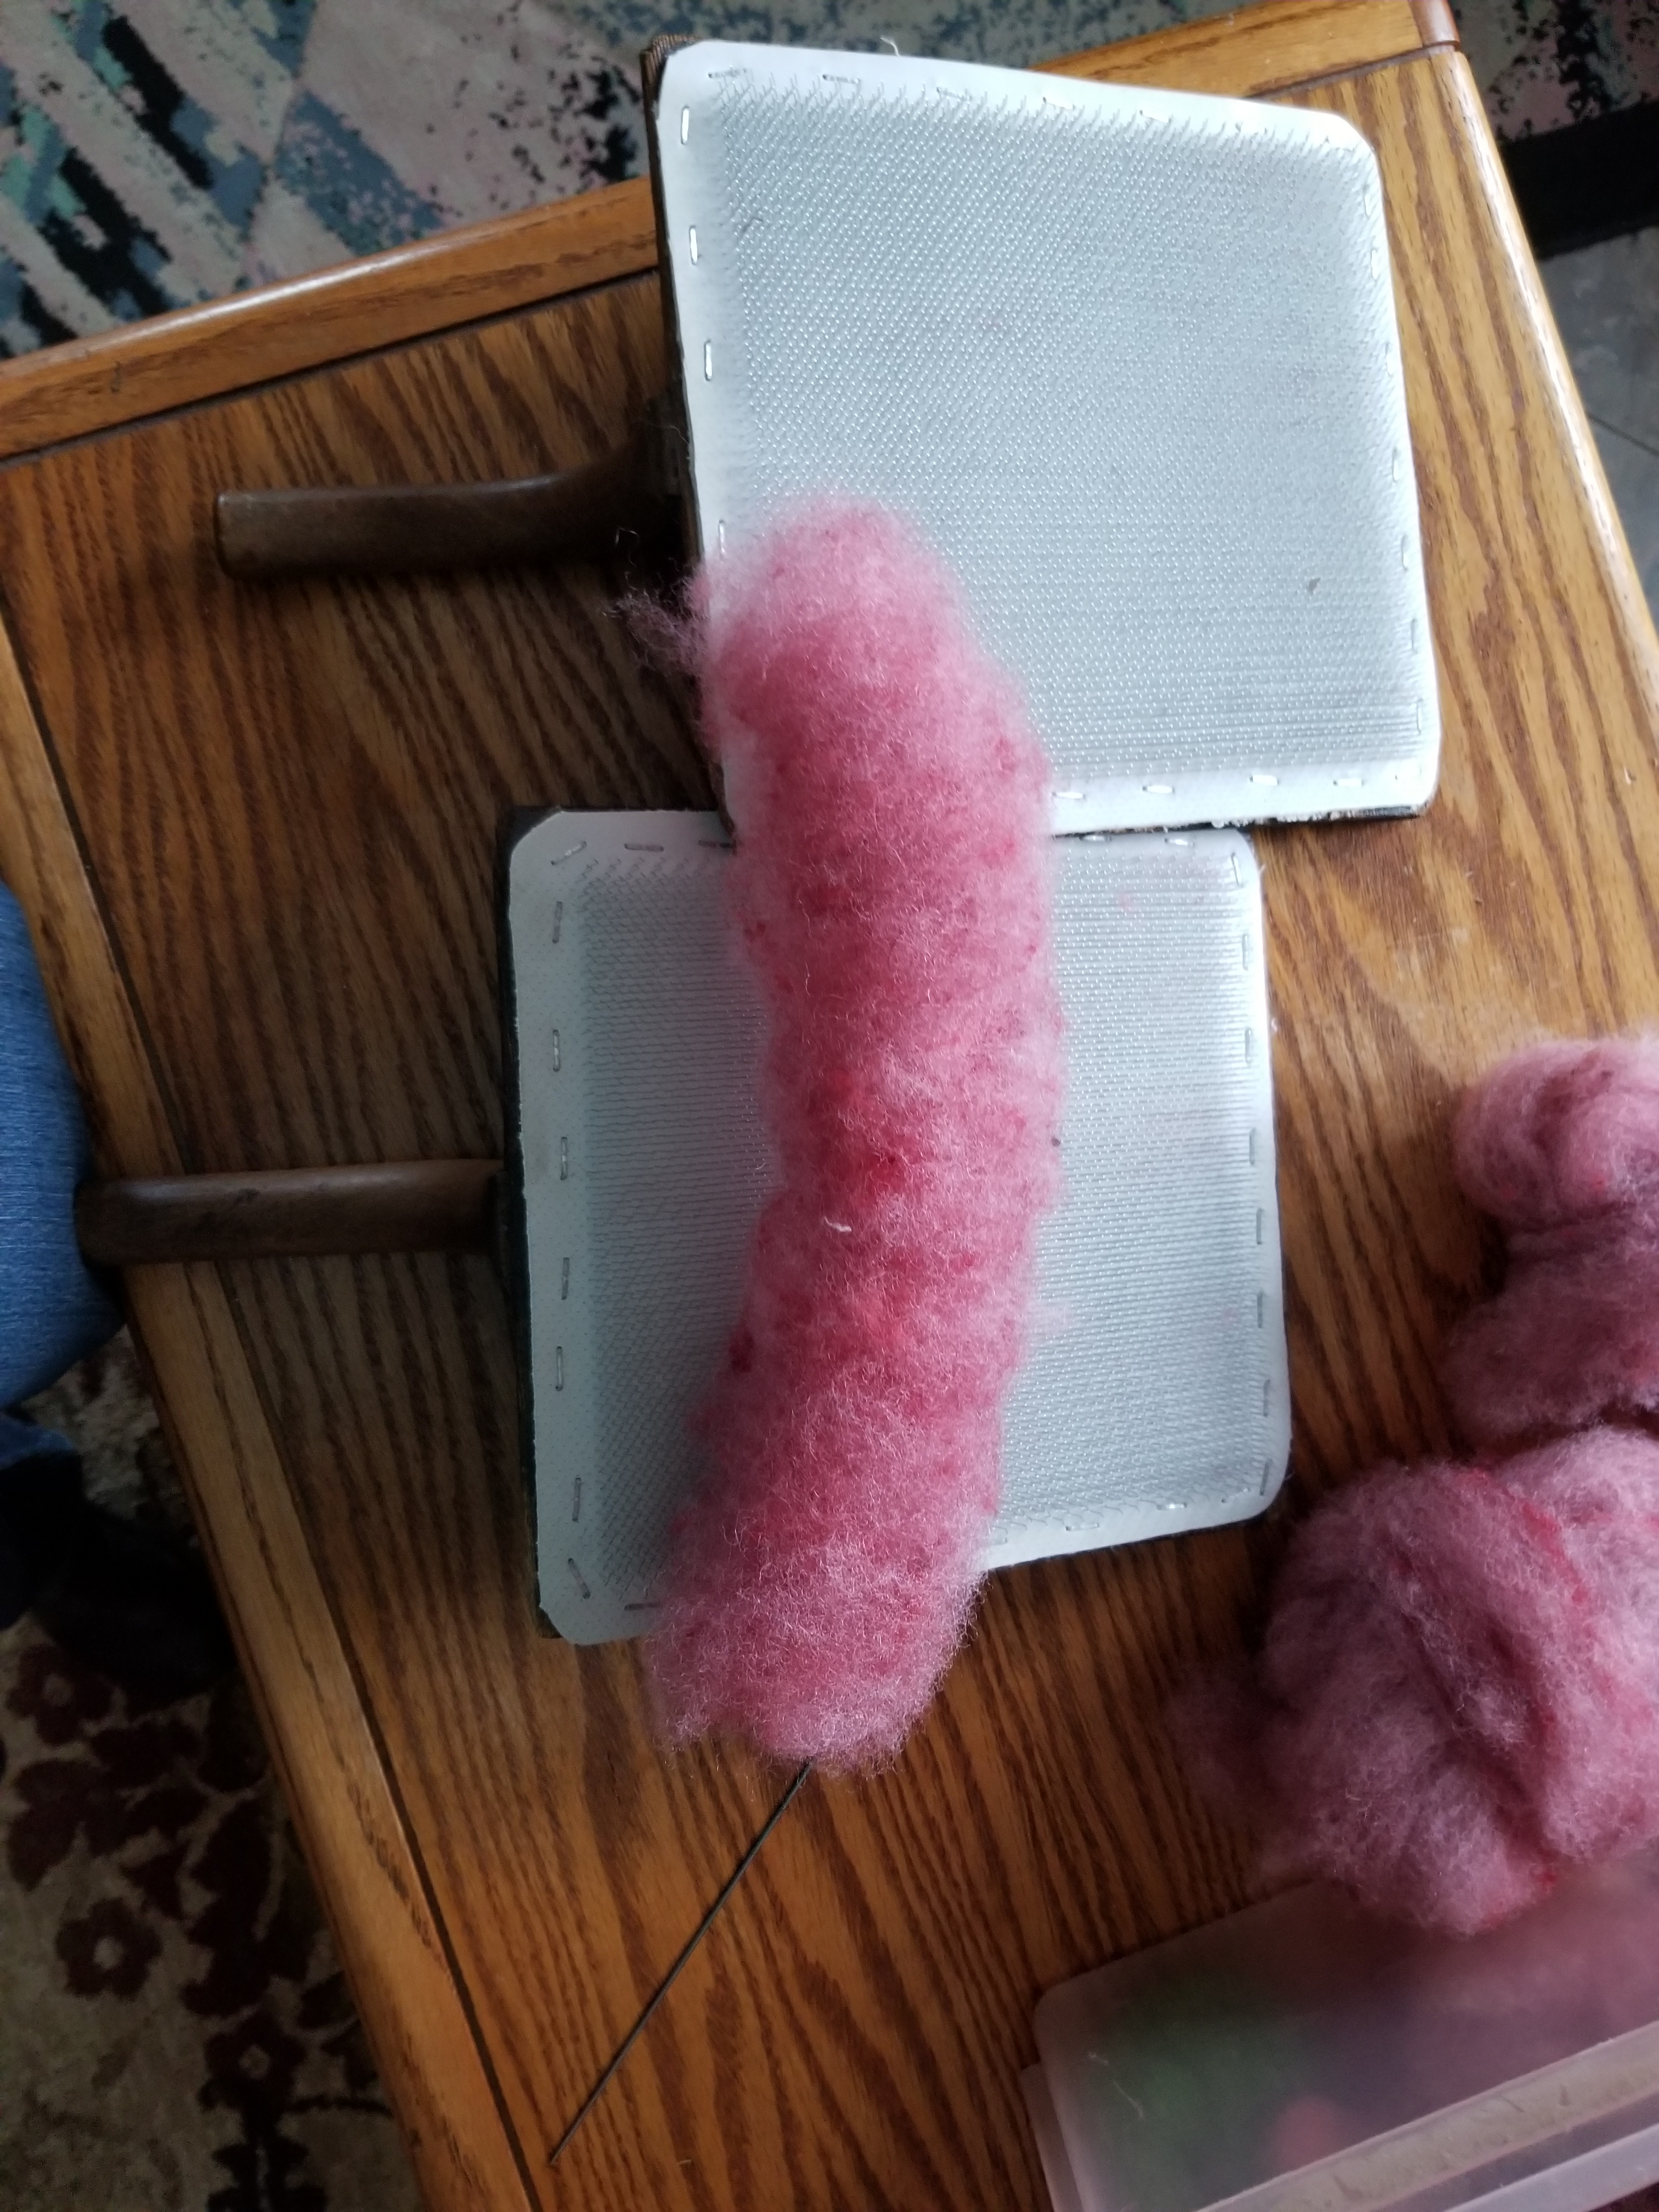
I used the original fiberboard material that the lid is made of because after some research I was comfortable knowing that it’s wasn’t asbestos. I also reused all of the hardware, legs, and original label. I discarded the cloth covered asbestos paperboard sides and made double-sided fabric sides.

_________________________________________________________________________

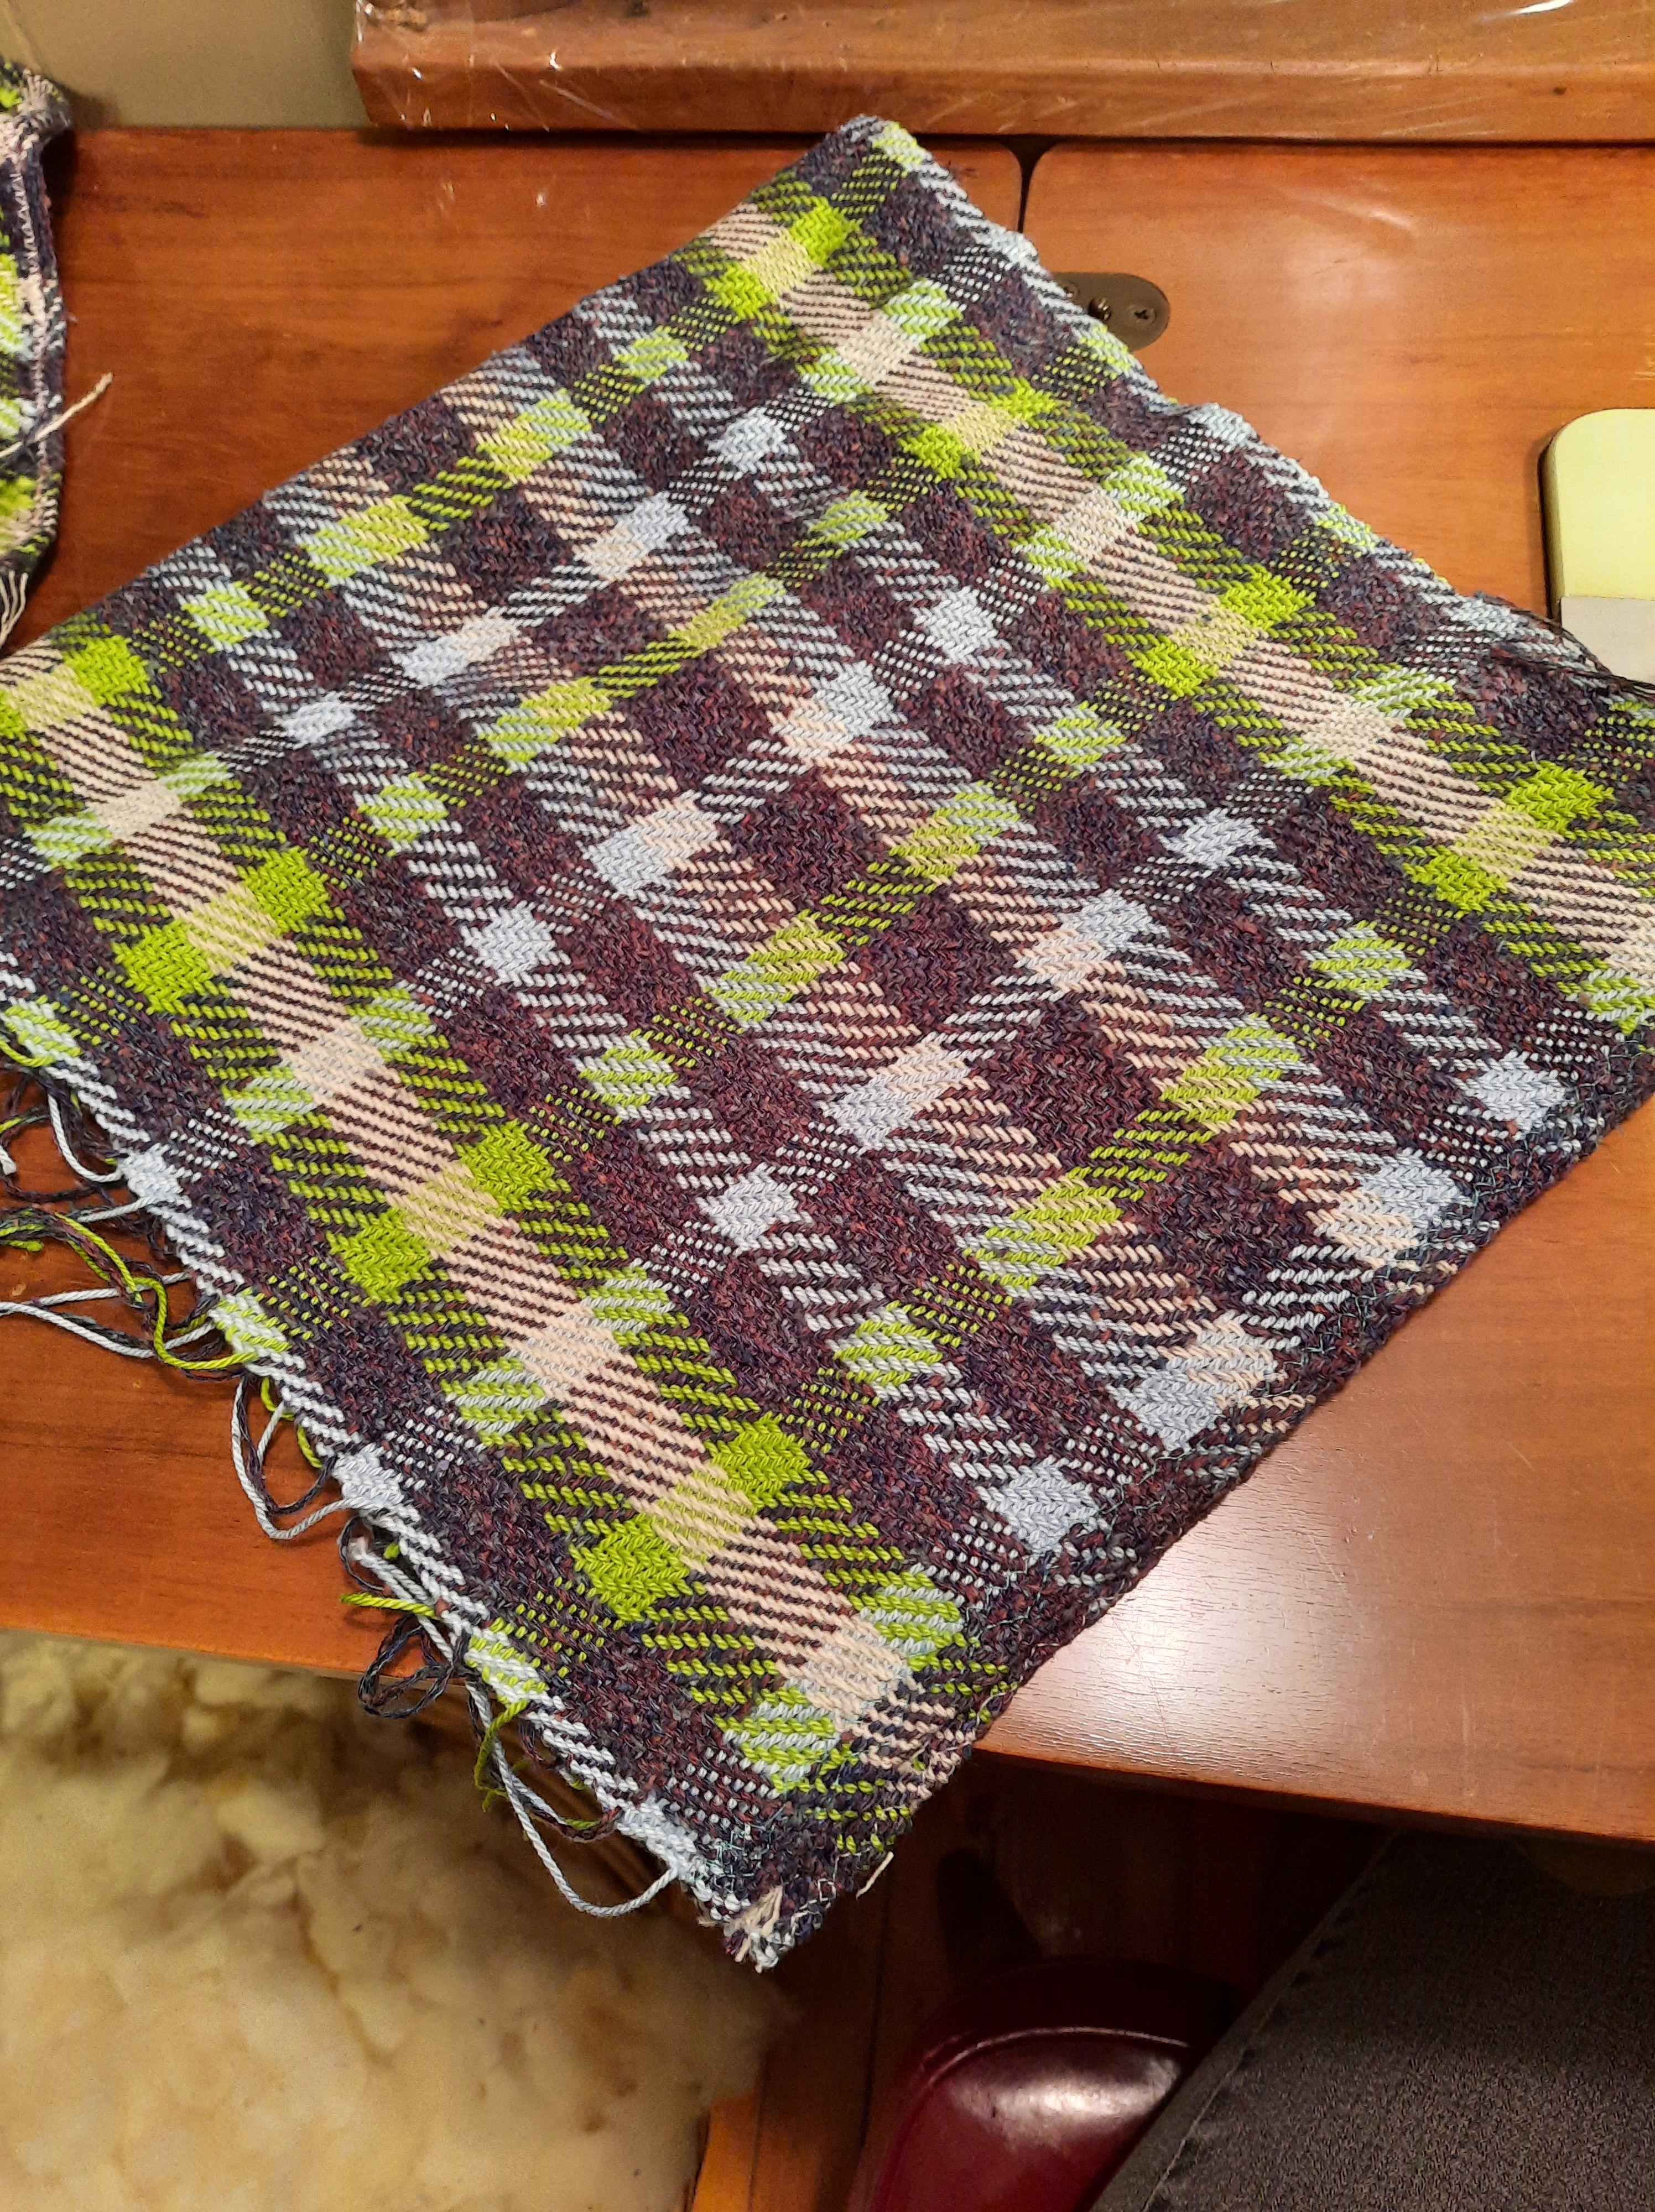
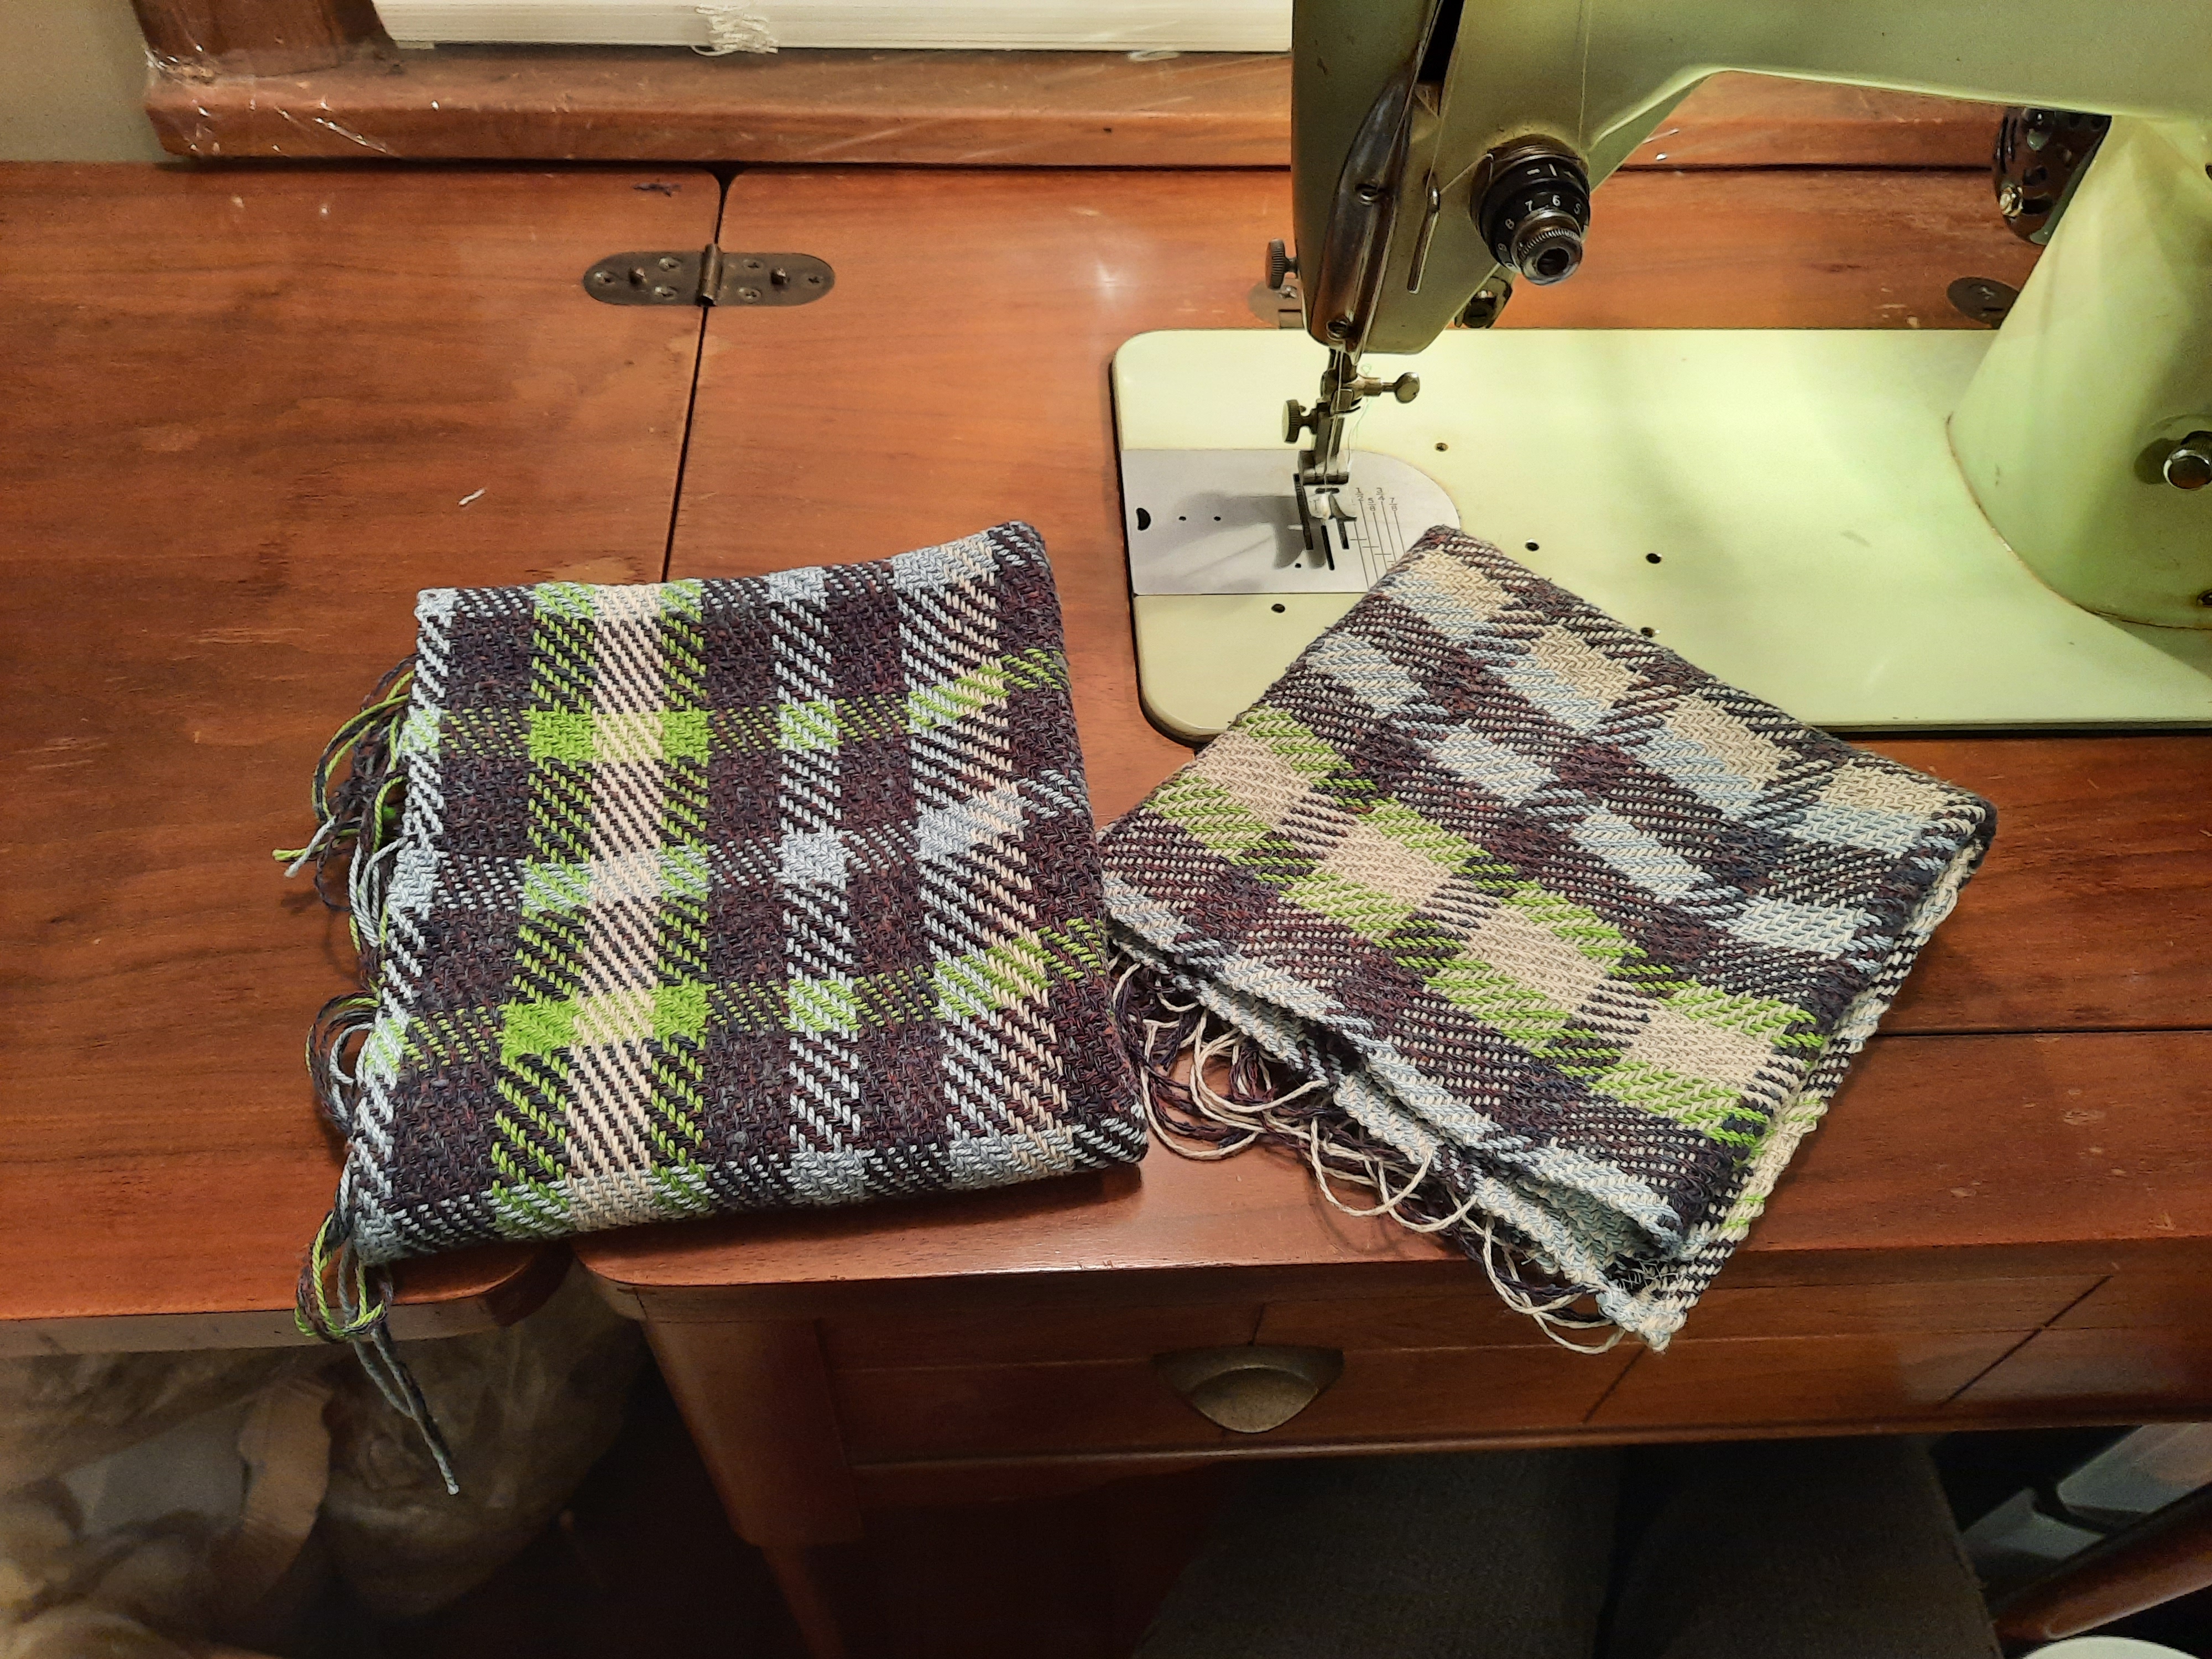
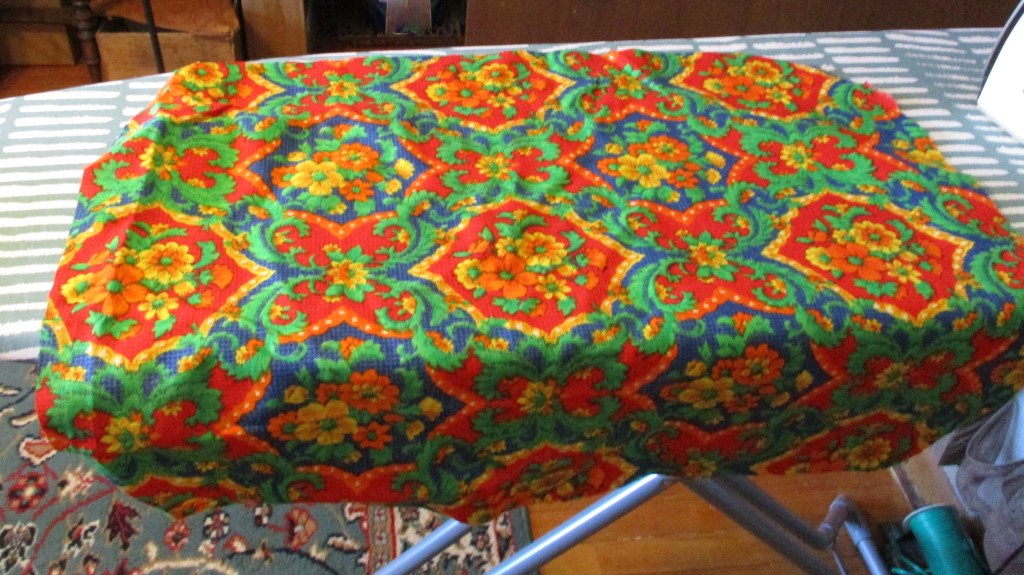
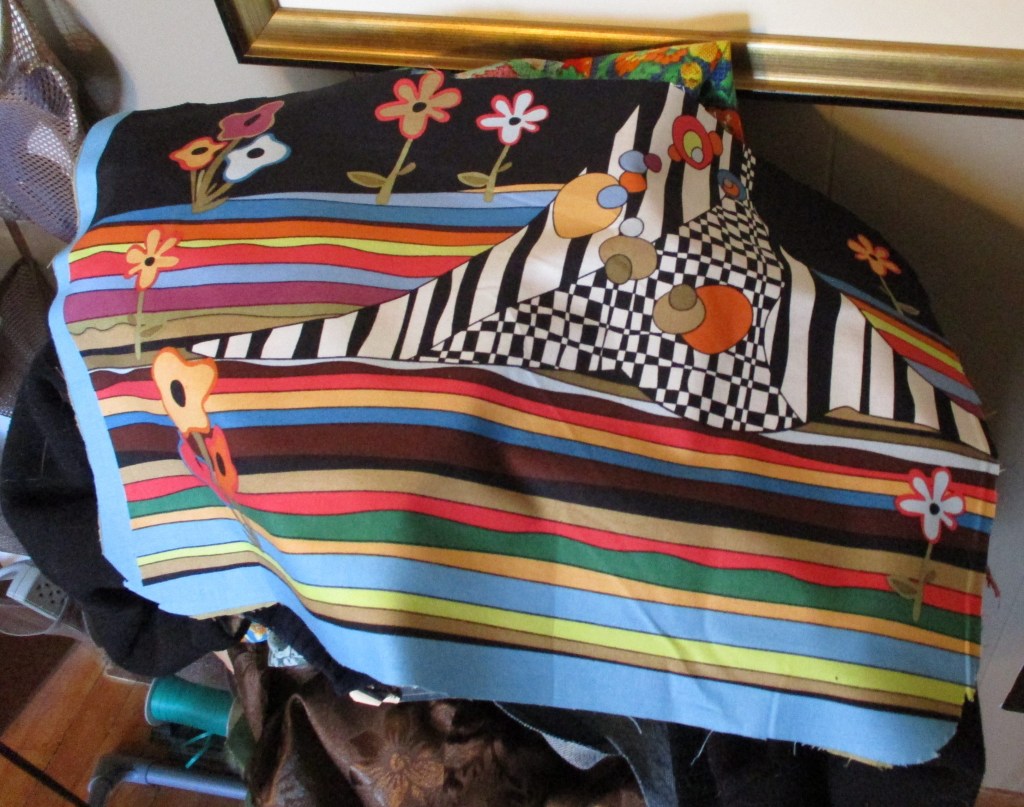
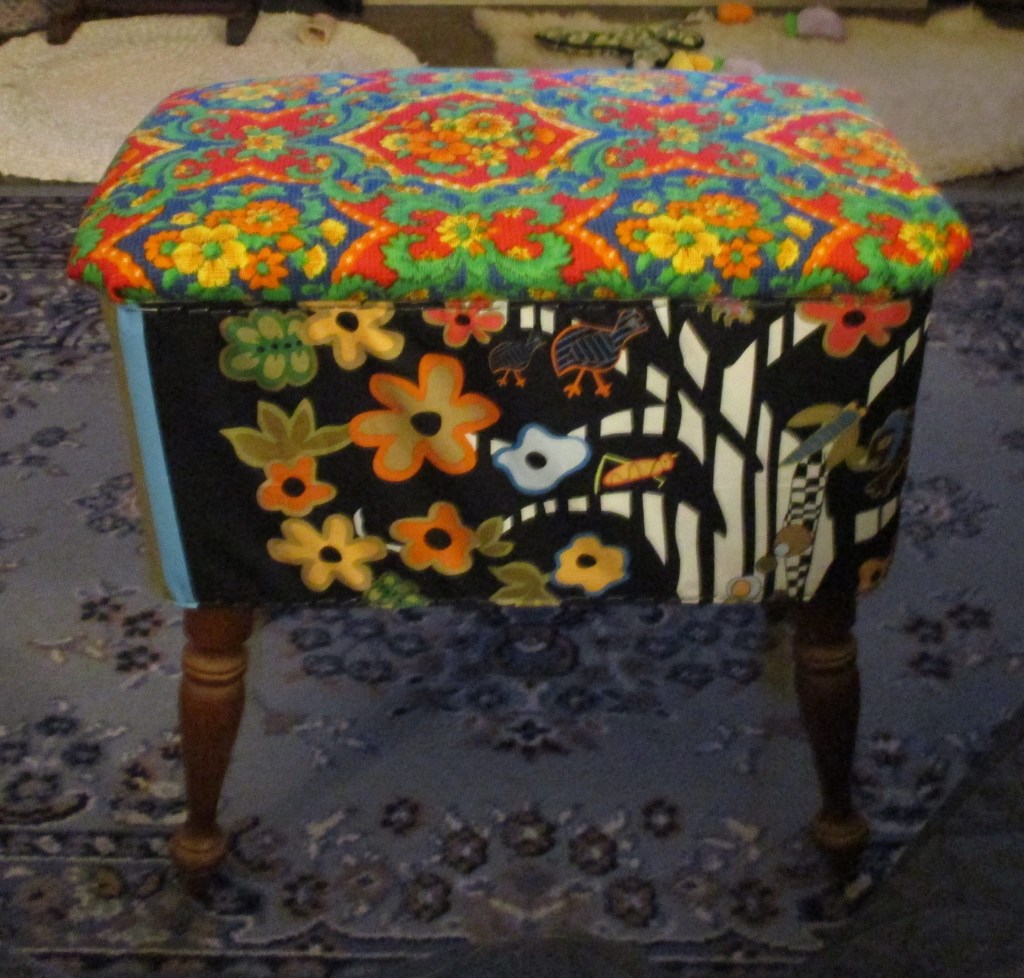
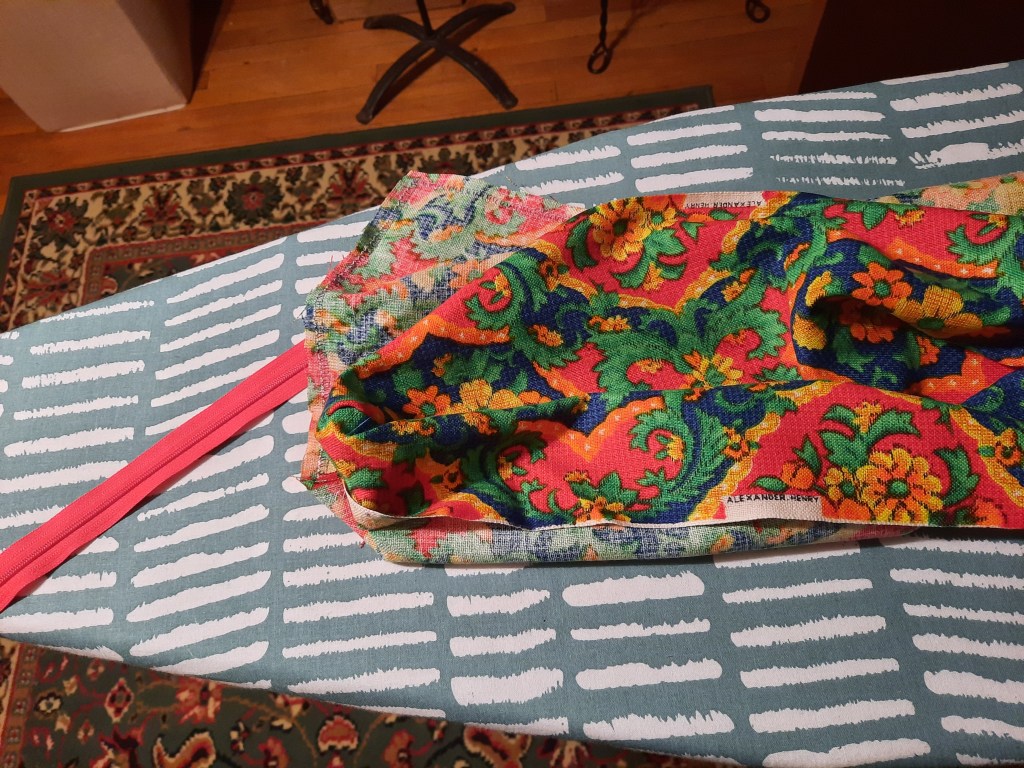
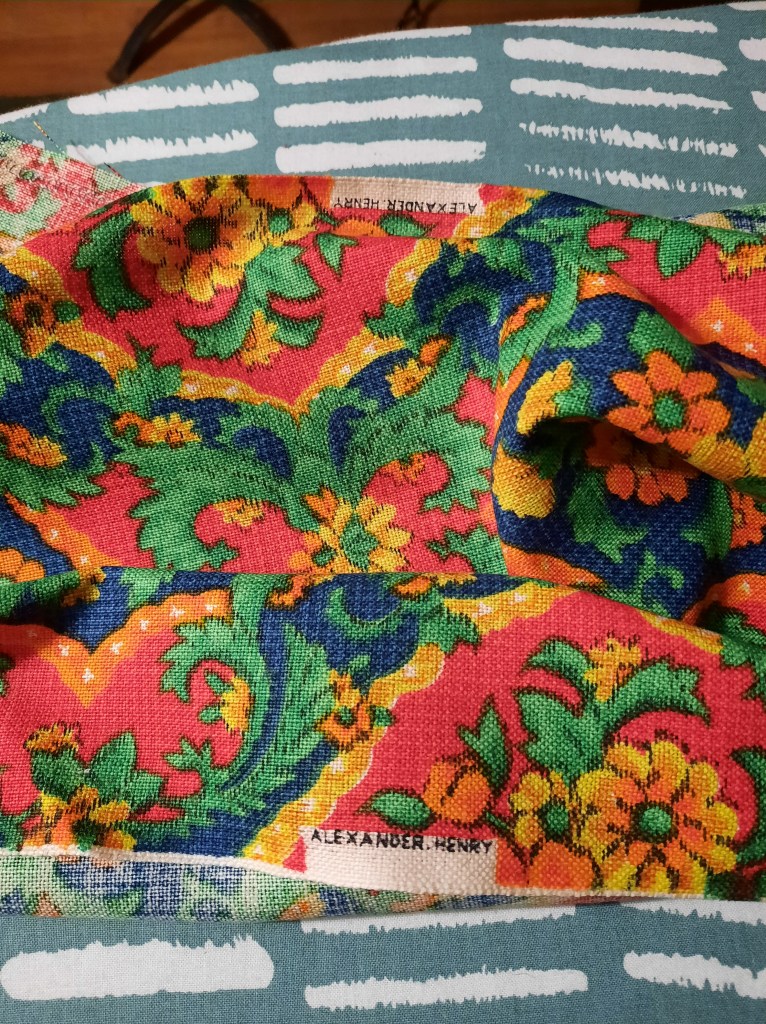
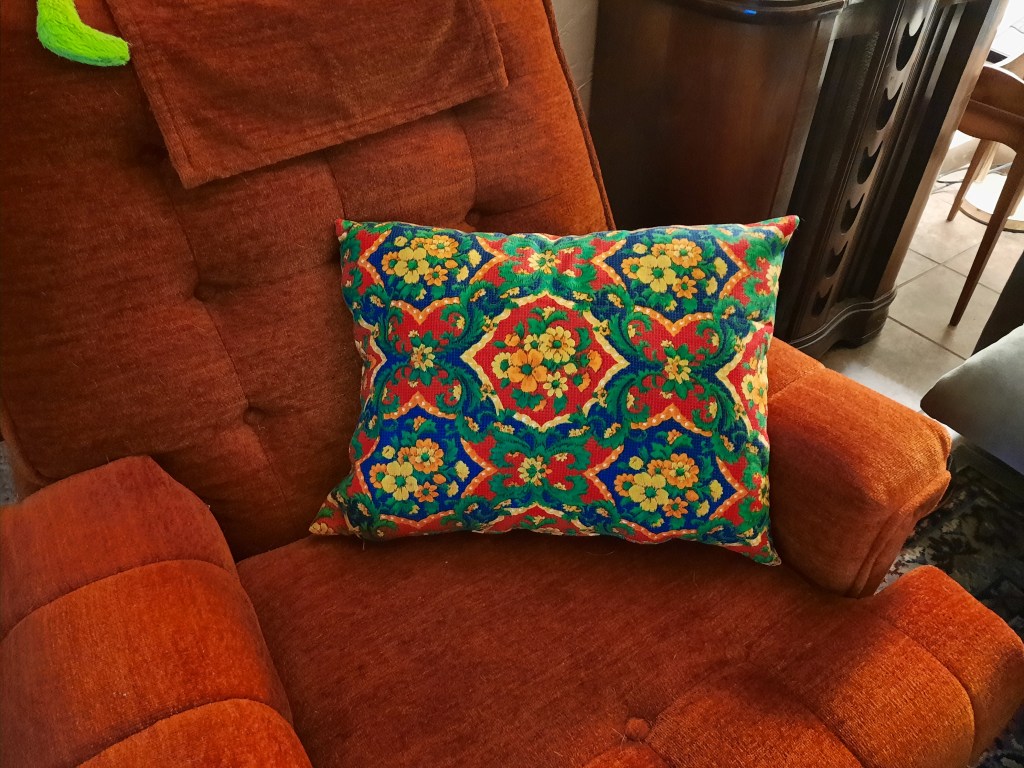
I used all new fabric for the entire restoration, including the same vintage Alexander Henry fabric that I used to make a handsewn pillow cover for a new, handsewn pillow I made back in August of 2022. **See the bottom of the post for the creation photos of the pillow. The fabric for the front and back sides is called “Hot Flash” and is fairly modern.

_________________________________________________________________________

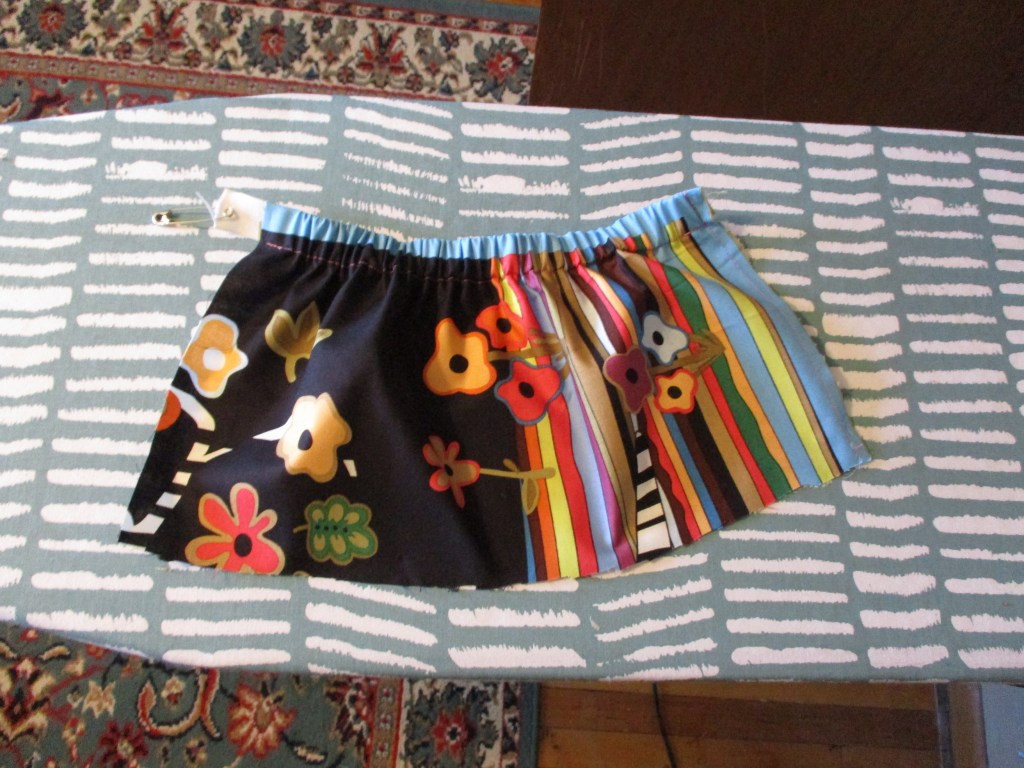
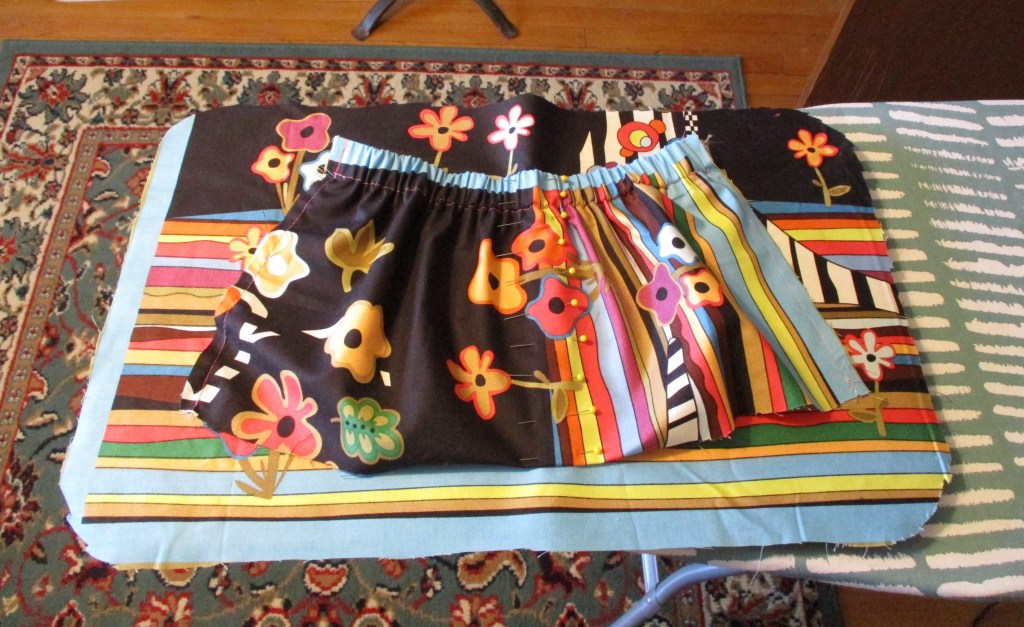
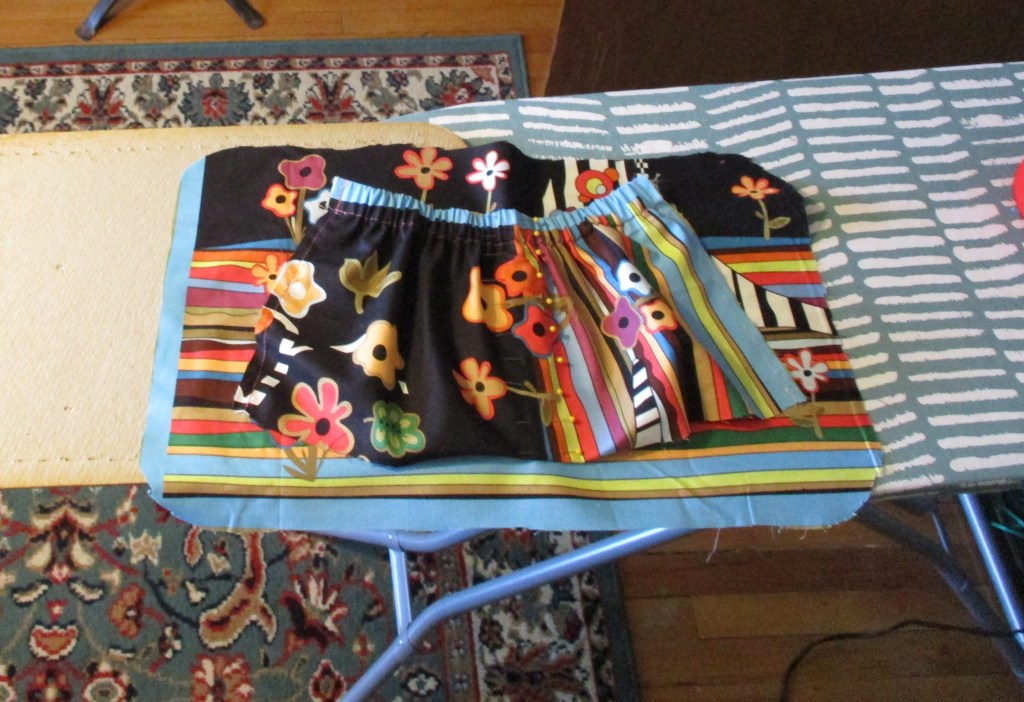
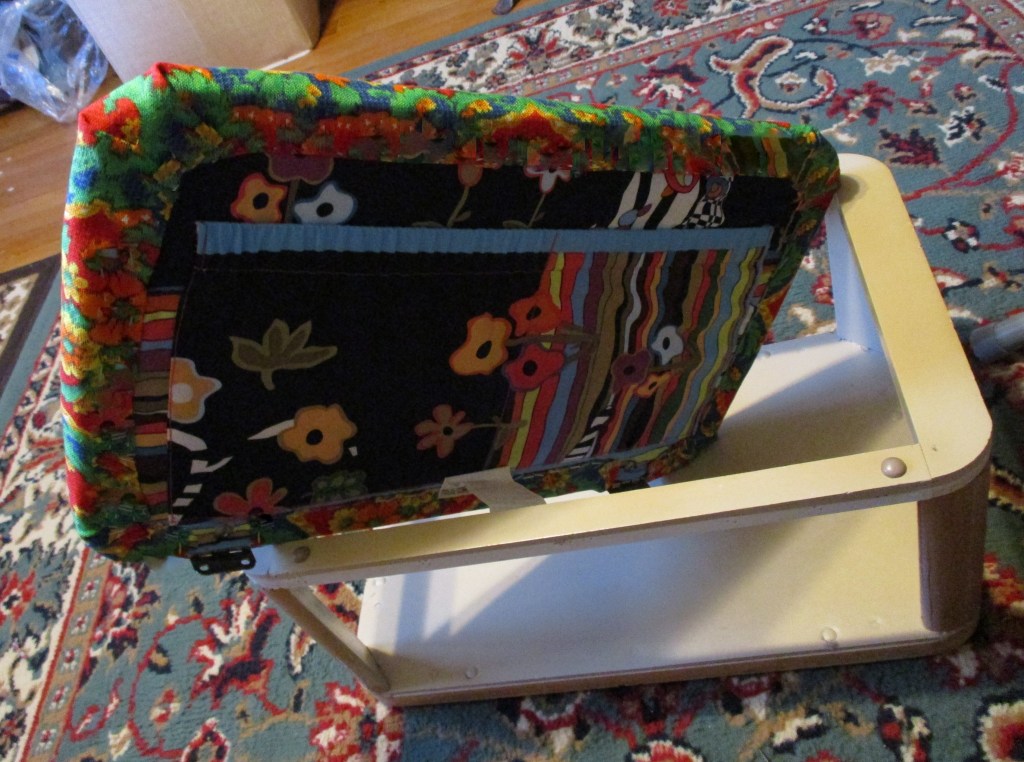
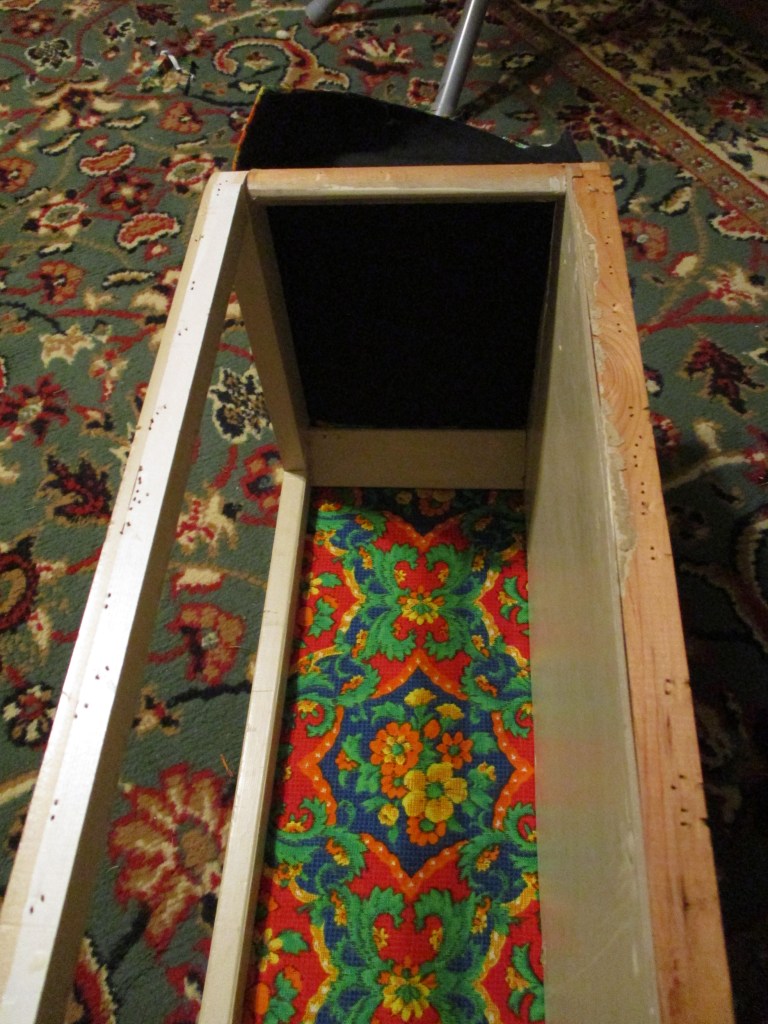
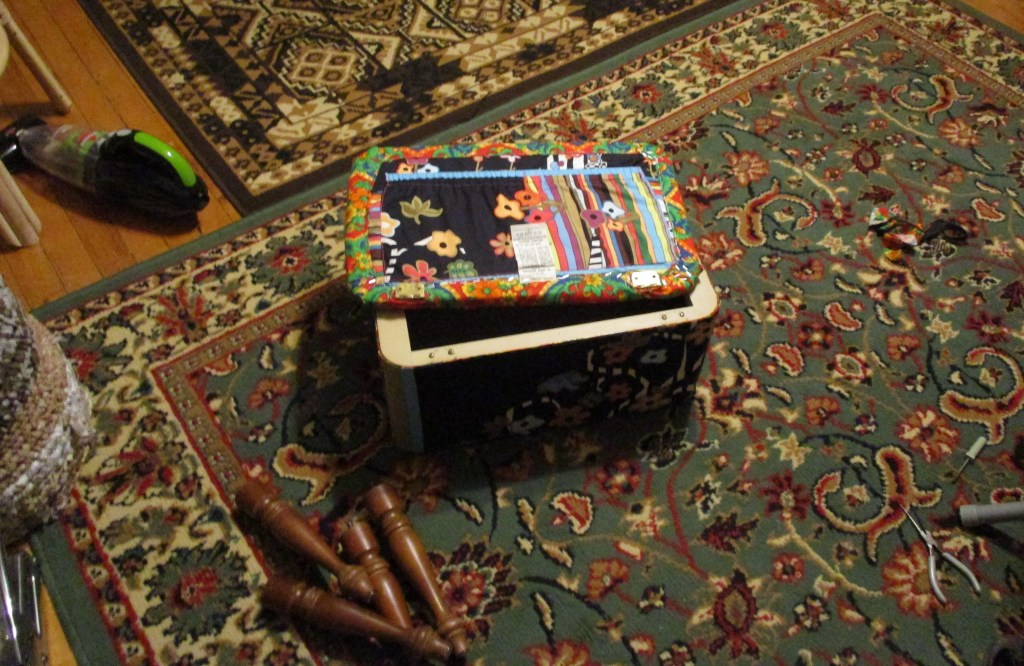
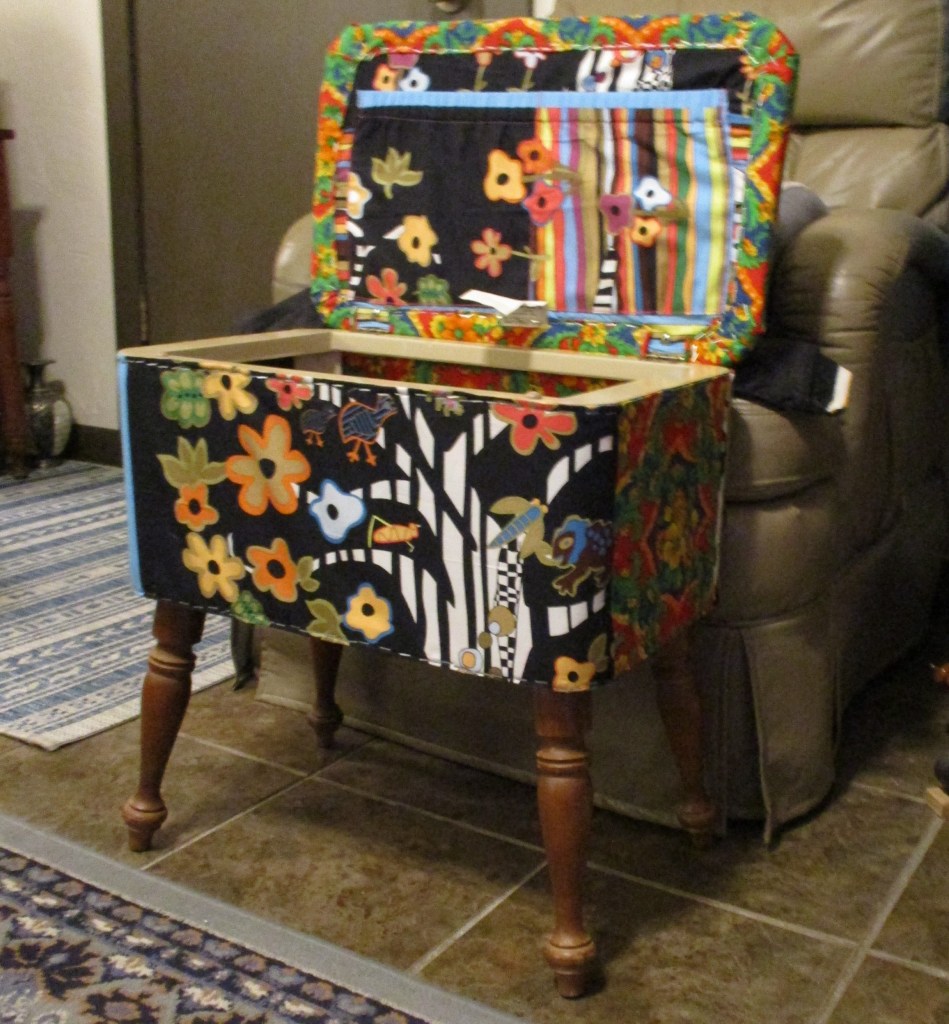
The lid was a bit challenging with the recreation of the elastic storage pockets on the inside of the lid.

_________________________________________________________________________

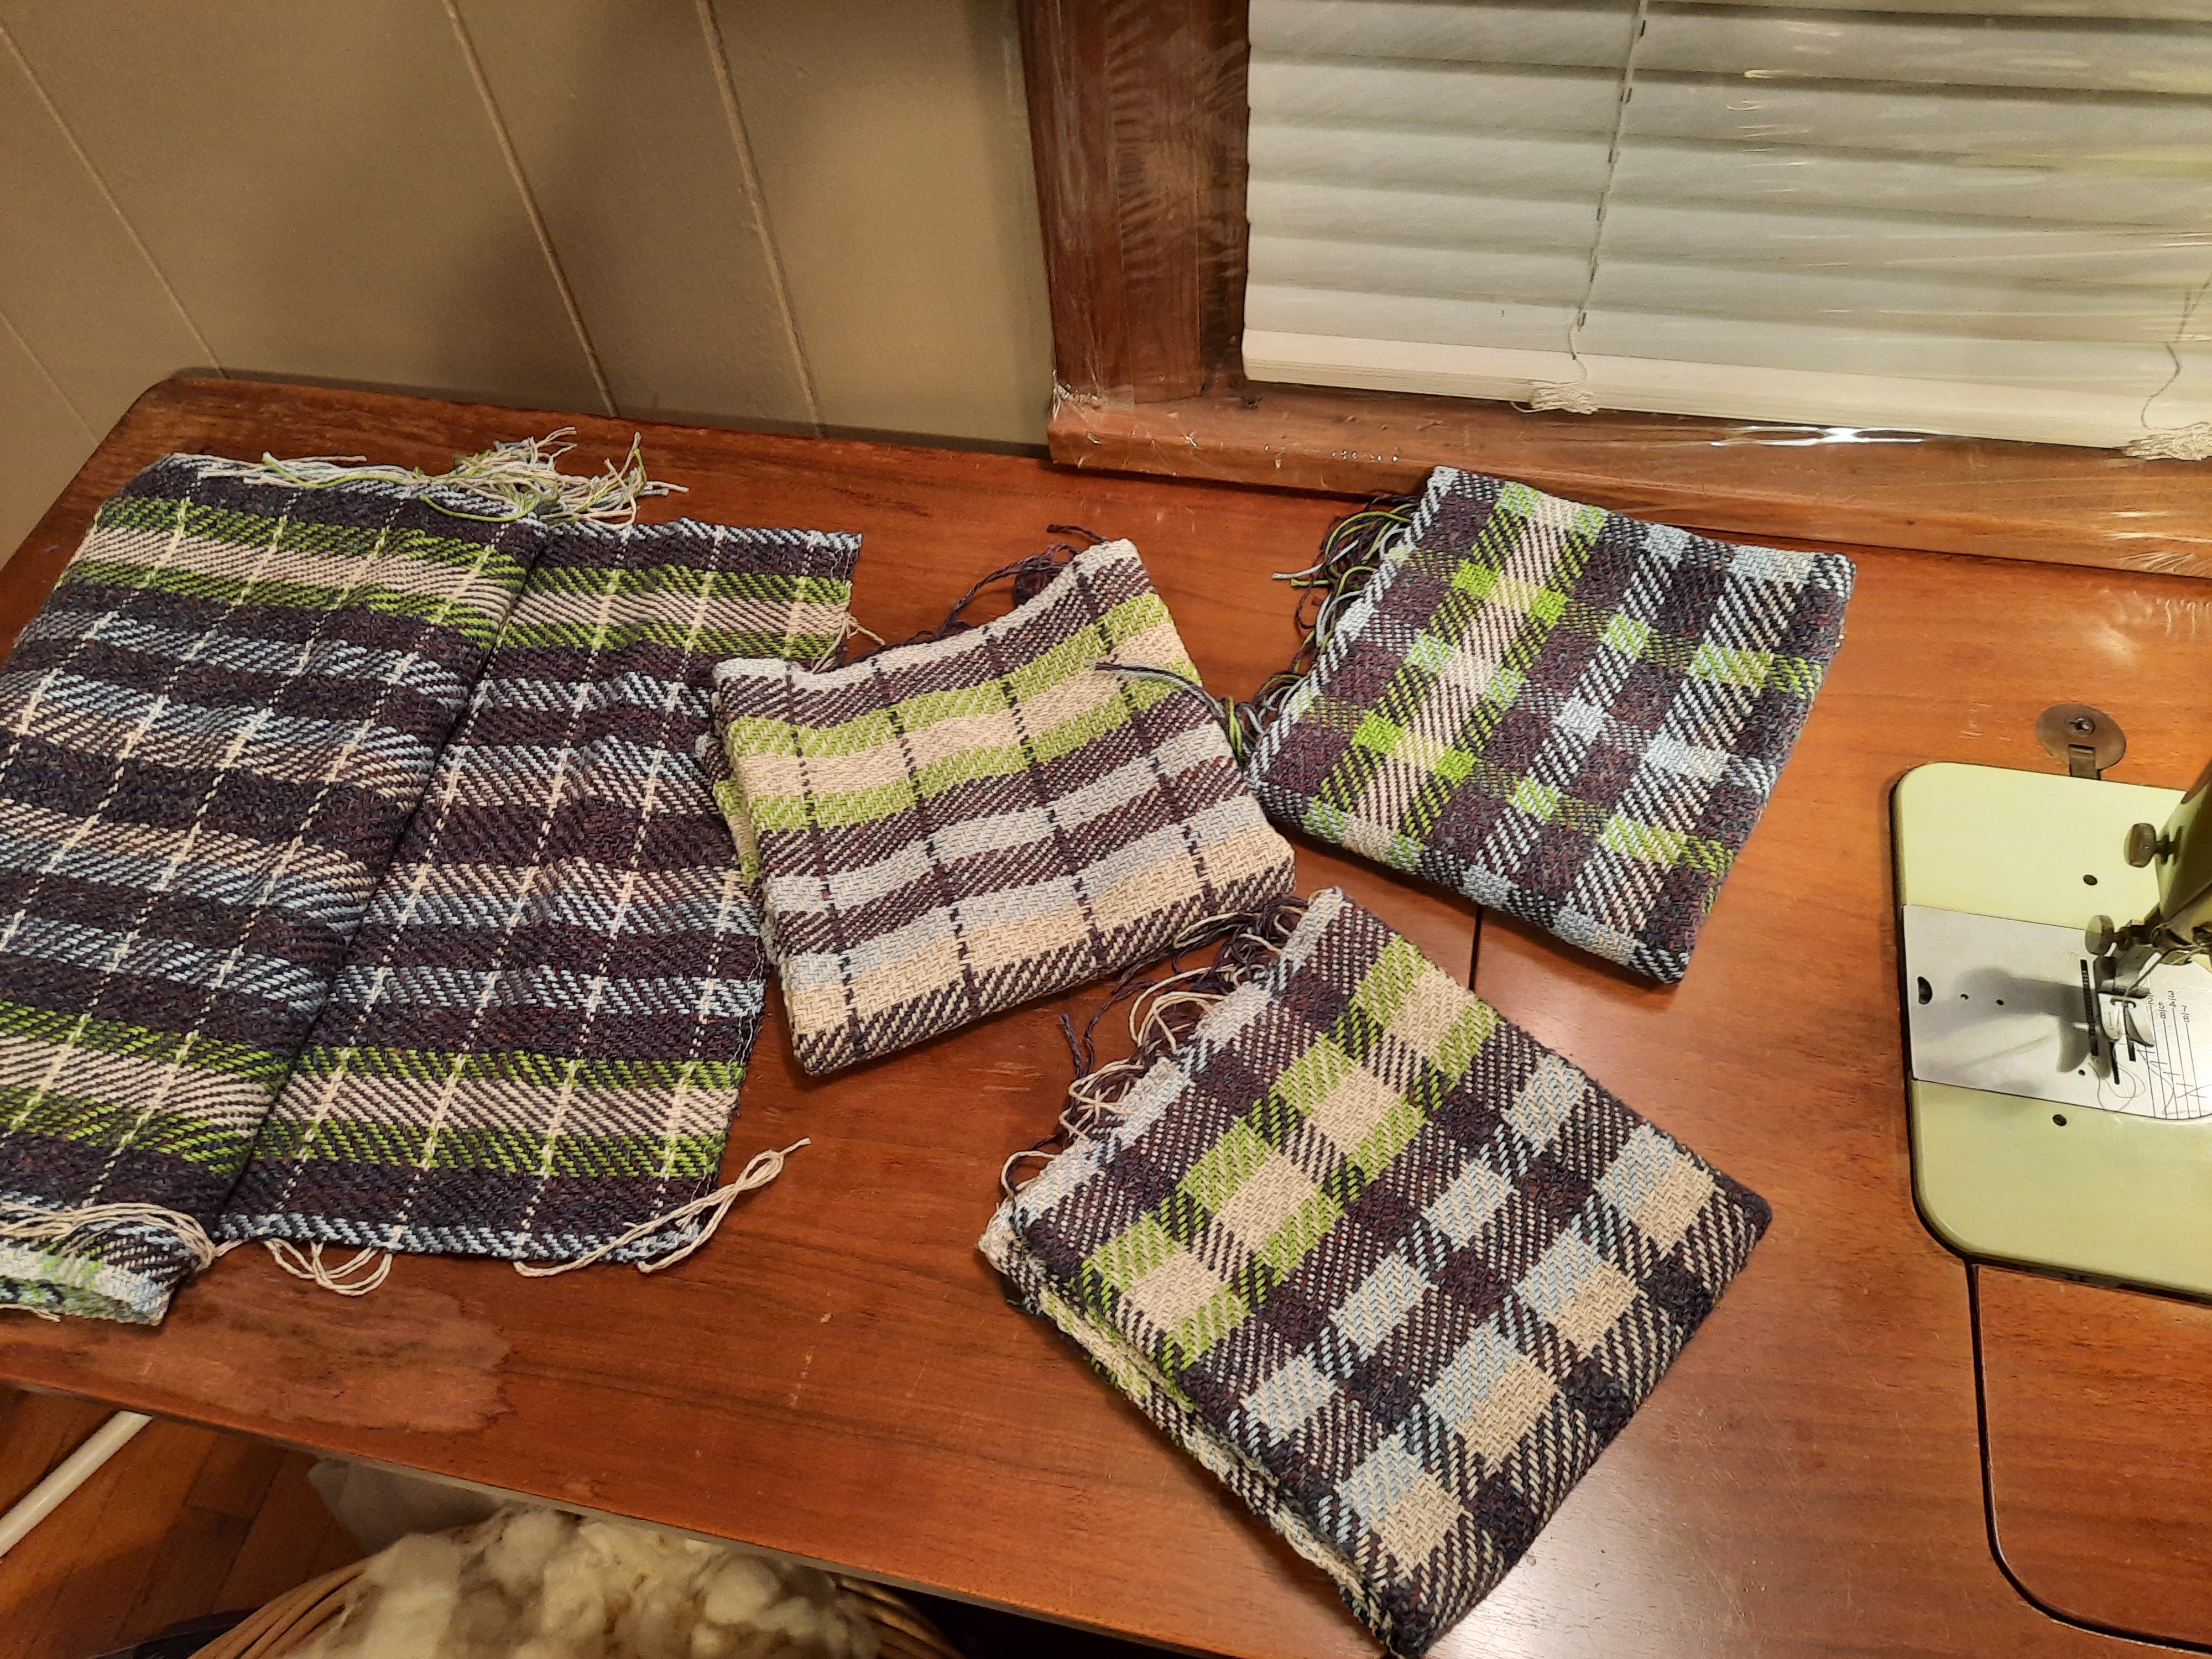
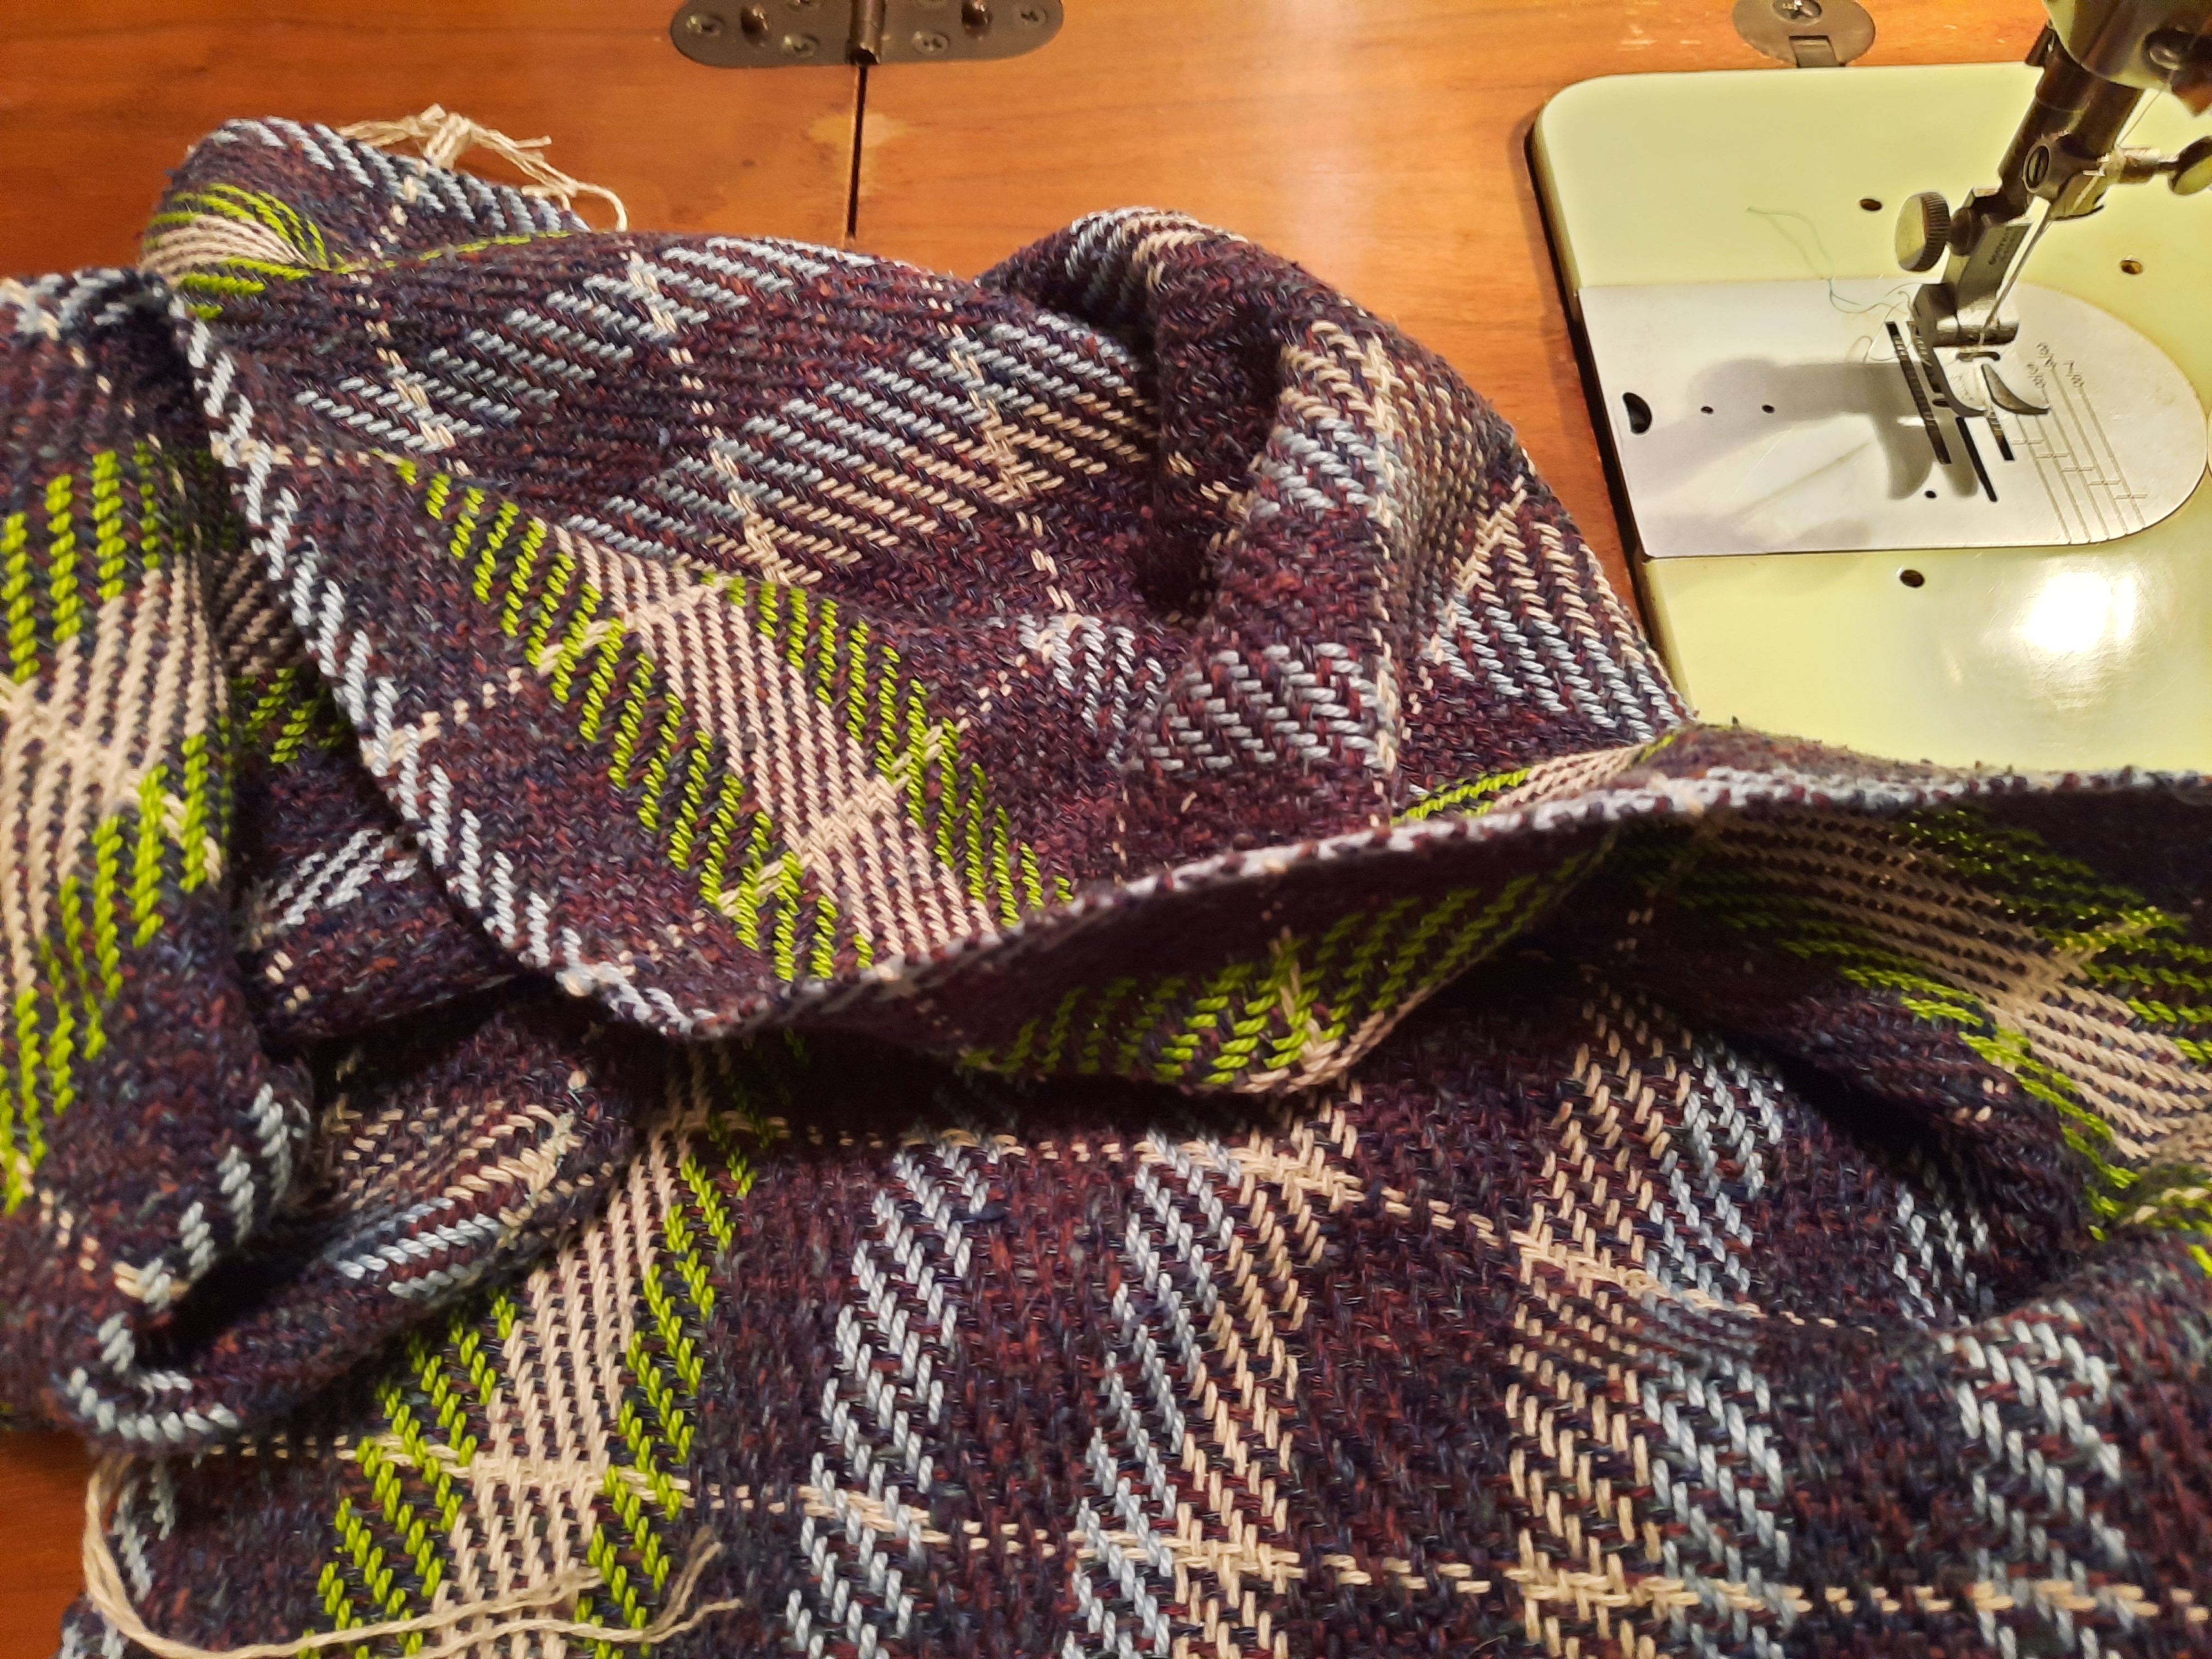
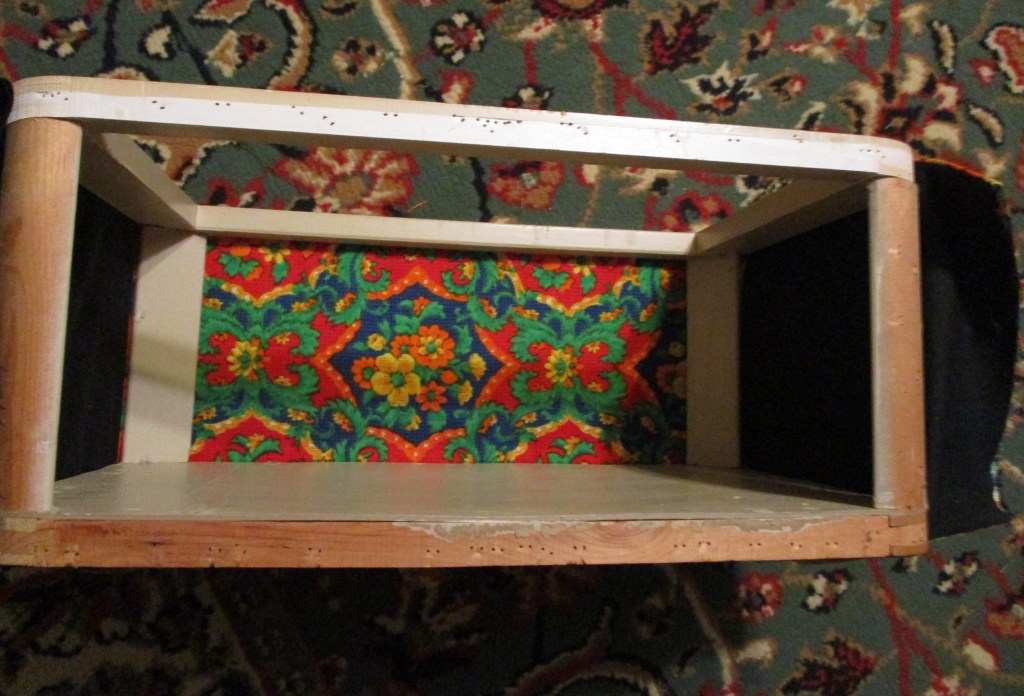
The sides were sewn together and attached around the frame. I also re-attached the original label to the lid as a reminder that we shouldn’t throw out that which can be restored and/or reupholstered!

_________________________________________________________________________

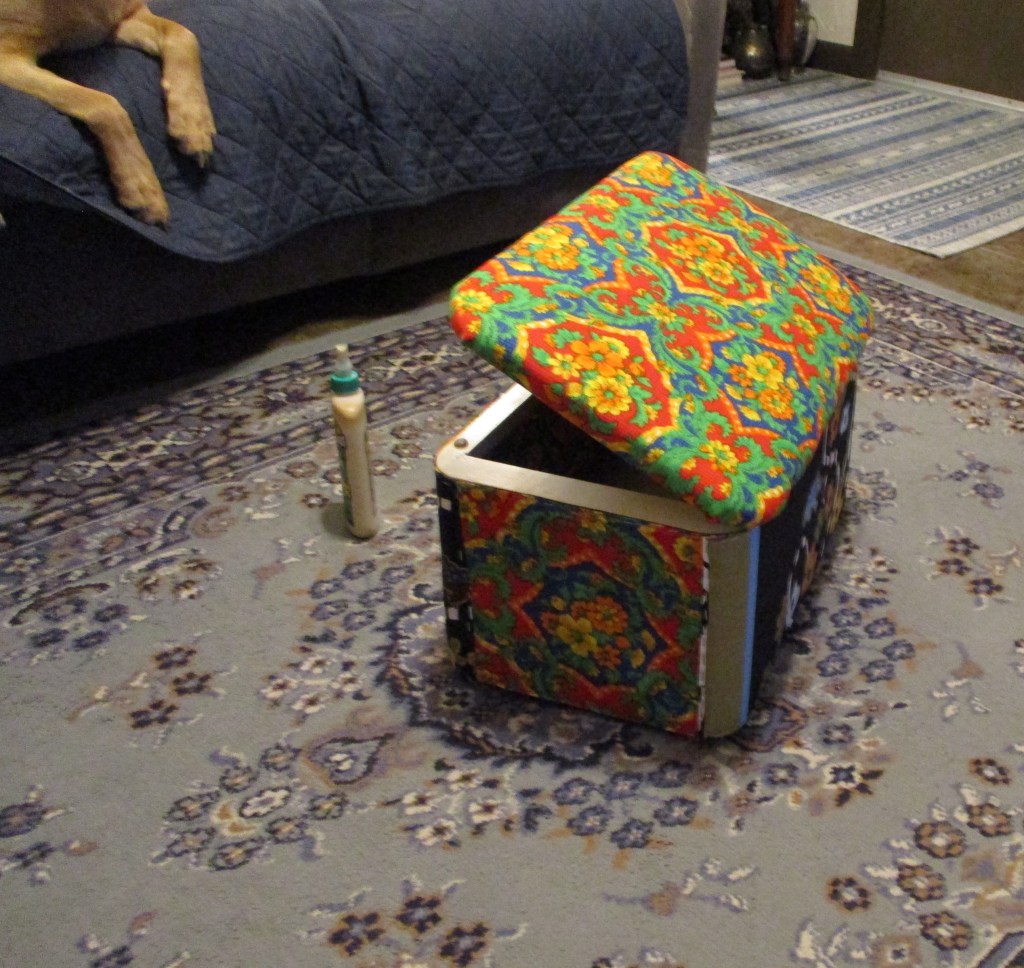
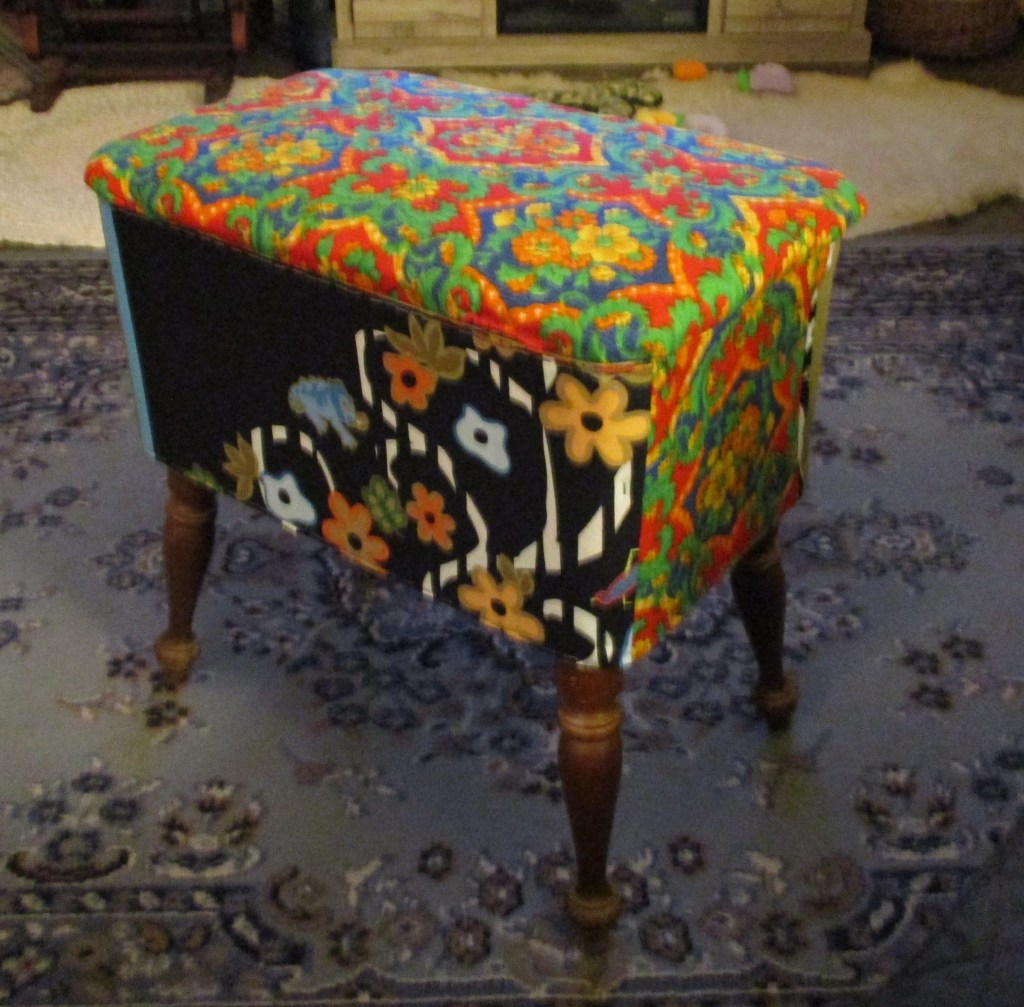
I brought it downstairs for finishing and I wanted to watch the second half of the Super Bowl! The lid was reattached to the basket base with the original hinges and screws and yes, a bit of wood glue was involved because the wood under the left hinge was cracked (which is typical for a lot of these old pieces). I watched some of the game while the glue dried.

_________________________________________________________________________

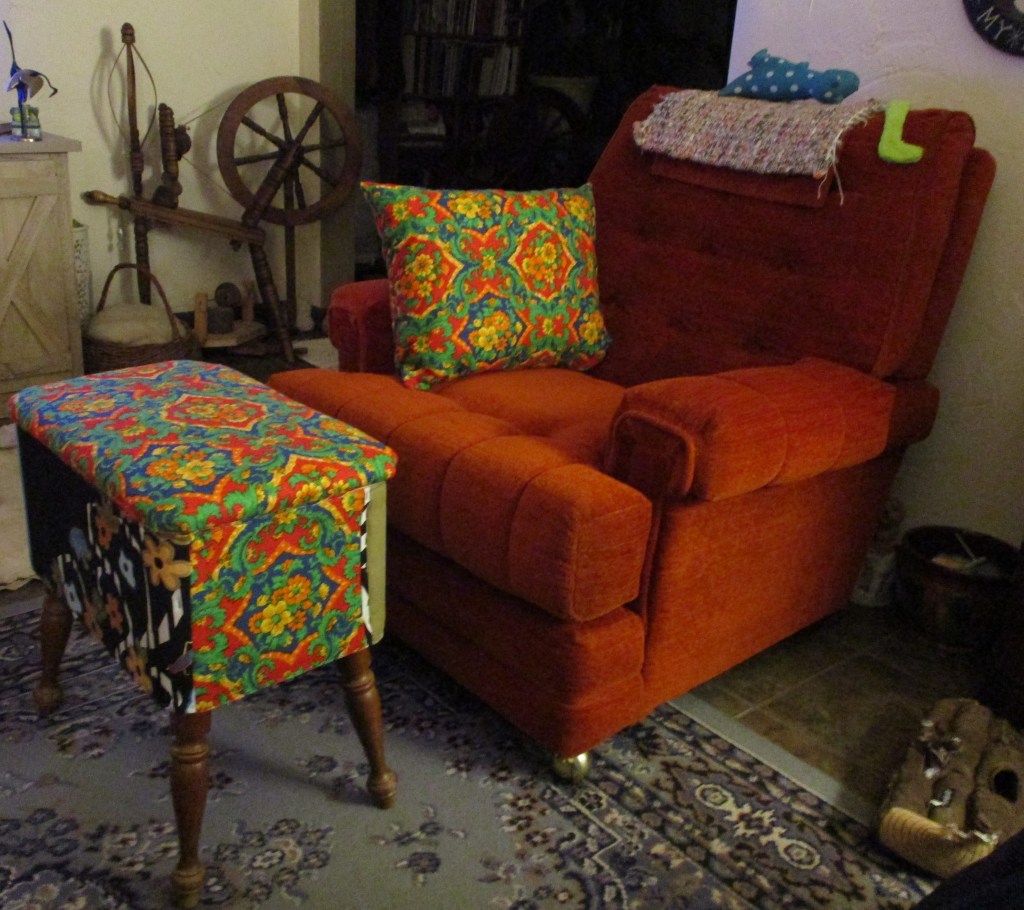
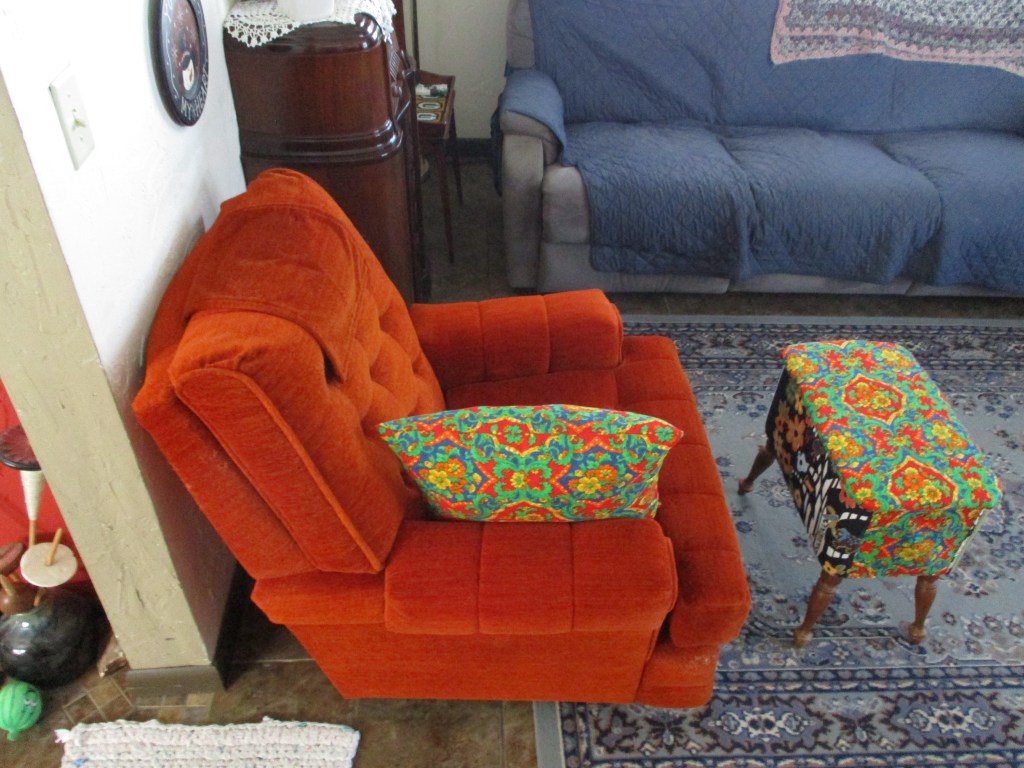
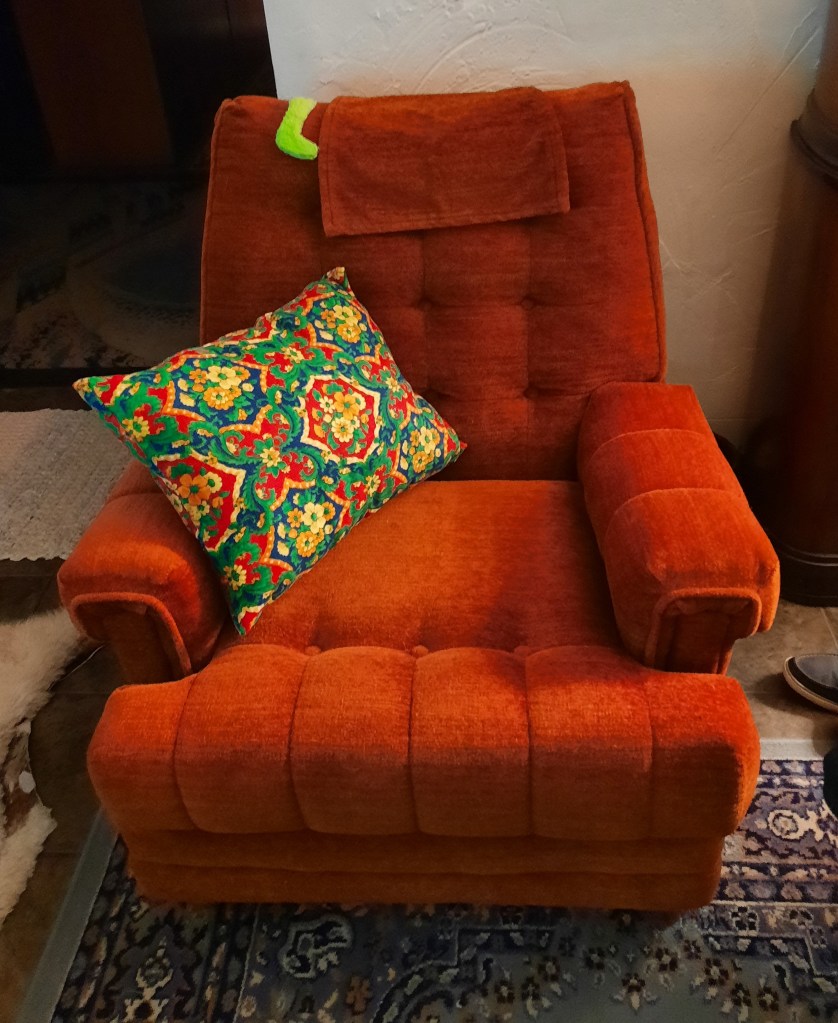
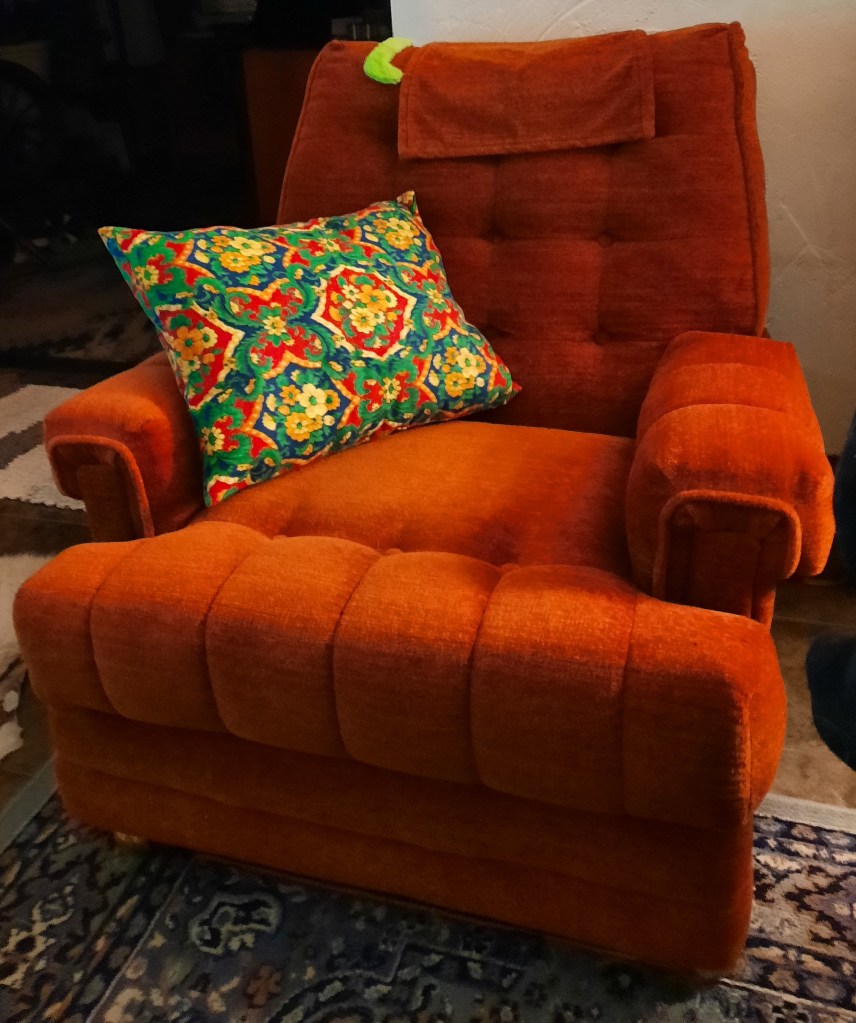
I attached the legs after the glue was dry and placed it by my favorite 1950’s chair with the pillow I made featuring the first use of the Alexander Henry fabric.

_________________________________________________________________________

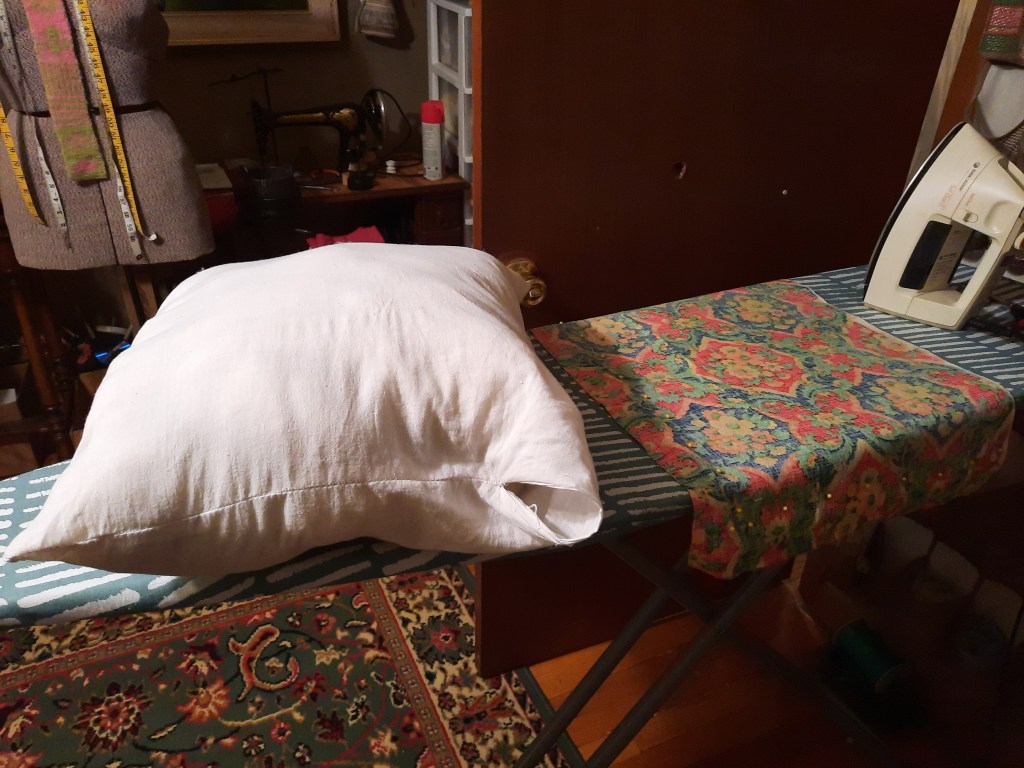
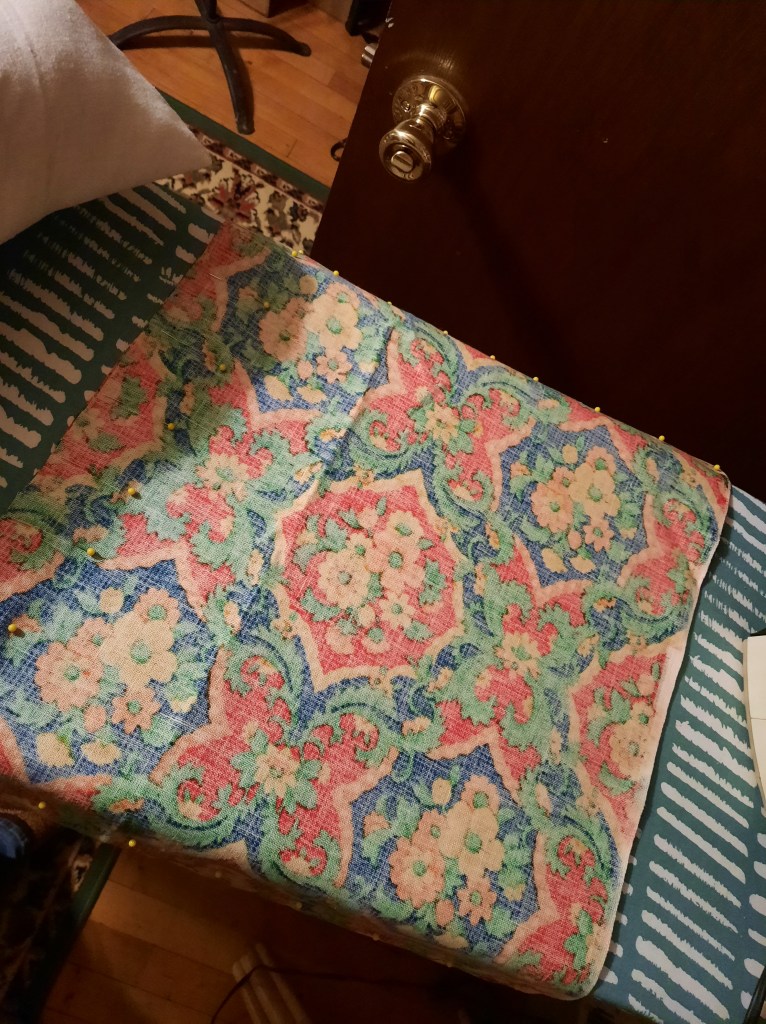
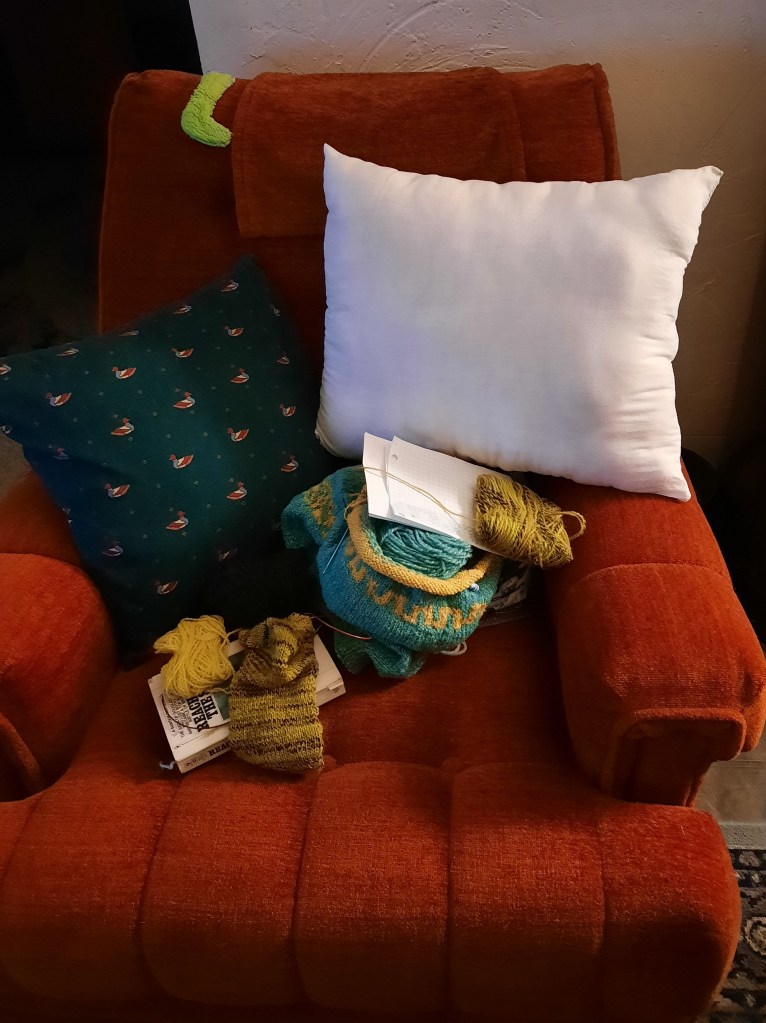
Here are the photos of the pillow project!

What are you waiting for?? Get busy and create something!!!

What tools are really needed to spin handspun yarn?

I recently received a comment regarding the cost(s) of fiber spinning. It went the way it usually goes when one’s knowledge is quite limited concerning the fiber arts and been misled. If you believe it’s expensive to spin yarn, then you need to sit down awhile and mull it over a bit because it’s a lot of work that happens to have huge rewards that are worth the time and effort!

A spindle, two handmade nostepinnes, and a paddle spinner

When I started out, it was at edge of the shearing floor, swiping scraps of wool deemed unfit by the sorters and trying to spin it on a rock spinner I’d made. I was 8 years old. Grandpa saw me and asked if he could see my ‘yarn’. He smiled and told me to keep at it. I felt glad knowing he liked it so I spun a few more yards by dinner.

Two Navajo spindles I made from oak dowels and wood cookies about 15 years ago.

A few days later I was sweeping up the shearing floor and was putting the bigger pieces I thought I could spin into my pockets. Grandpa told me to come to the workshop (the keep in the barn) when I was finished. He’d handmade a wonderful wood spindle for me and the cost was the few yards of yarn I had spun with the rock.

A paddle spinner made by a dearly loved, departed friend; Icelandic lamb fleece

Fast forward several years. The tools needed to spin yarn need not cost anything, except the time and resources available around you. You don’t need anything expensive. You don’t need fancy. You can make most of the tools required. The fiber you want to spin can be acquired for low cost or free. It may not be optimal, but if you’re willing to put the effort into working with it, it will be a worthwhile experience.

A spindle made by a wood turner in TX, a maple nostepinne I made 20 years ago, and a maple nostepinne I made today

I spin on spinning wheels I’ve restored and/or repaired, as well as, many types of spindles. There have been times throughout my journey, when I’ve sold the wheels to pay bills or to add to savings for special purposes or needs. It’s part of life. I can always spin because I know how to make spindles. I know how to use a pair of inexpensive dog slickers as carders. I know how to make hackles from scrap wood and old nails.

A pair of 10 year old dog slickers I’ve been using to card super fine Icelandic lamb fleece

All that said, it’s a lot of work sorting and scouring fleece, carding it, dyeing it before it’s spun or after it’s been spun. Yes, I enjoy doing this. I know where the fiber comes from, what it’s being washed/dyed with, and I’m happy and proud to be able to.

This is not the end. Get busy and make somethin or do something!!! It can be anything….