I’ve nearly finished weaving the first two Spring Fling Dishtowels.

I found an excellent weaving draft software that’s actually Free and it can be used offline!! It’s called QuickDraw and you can get it at QuickDrawWeaving.com

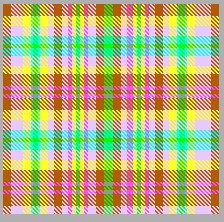
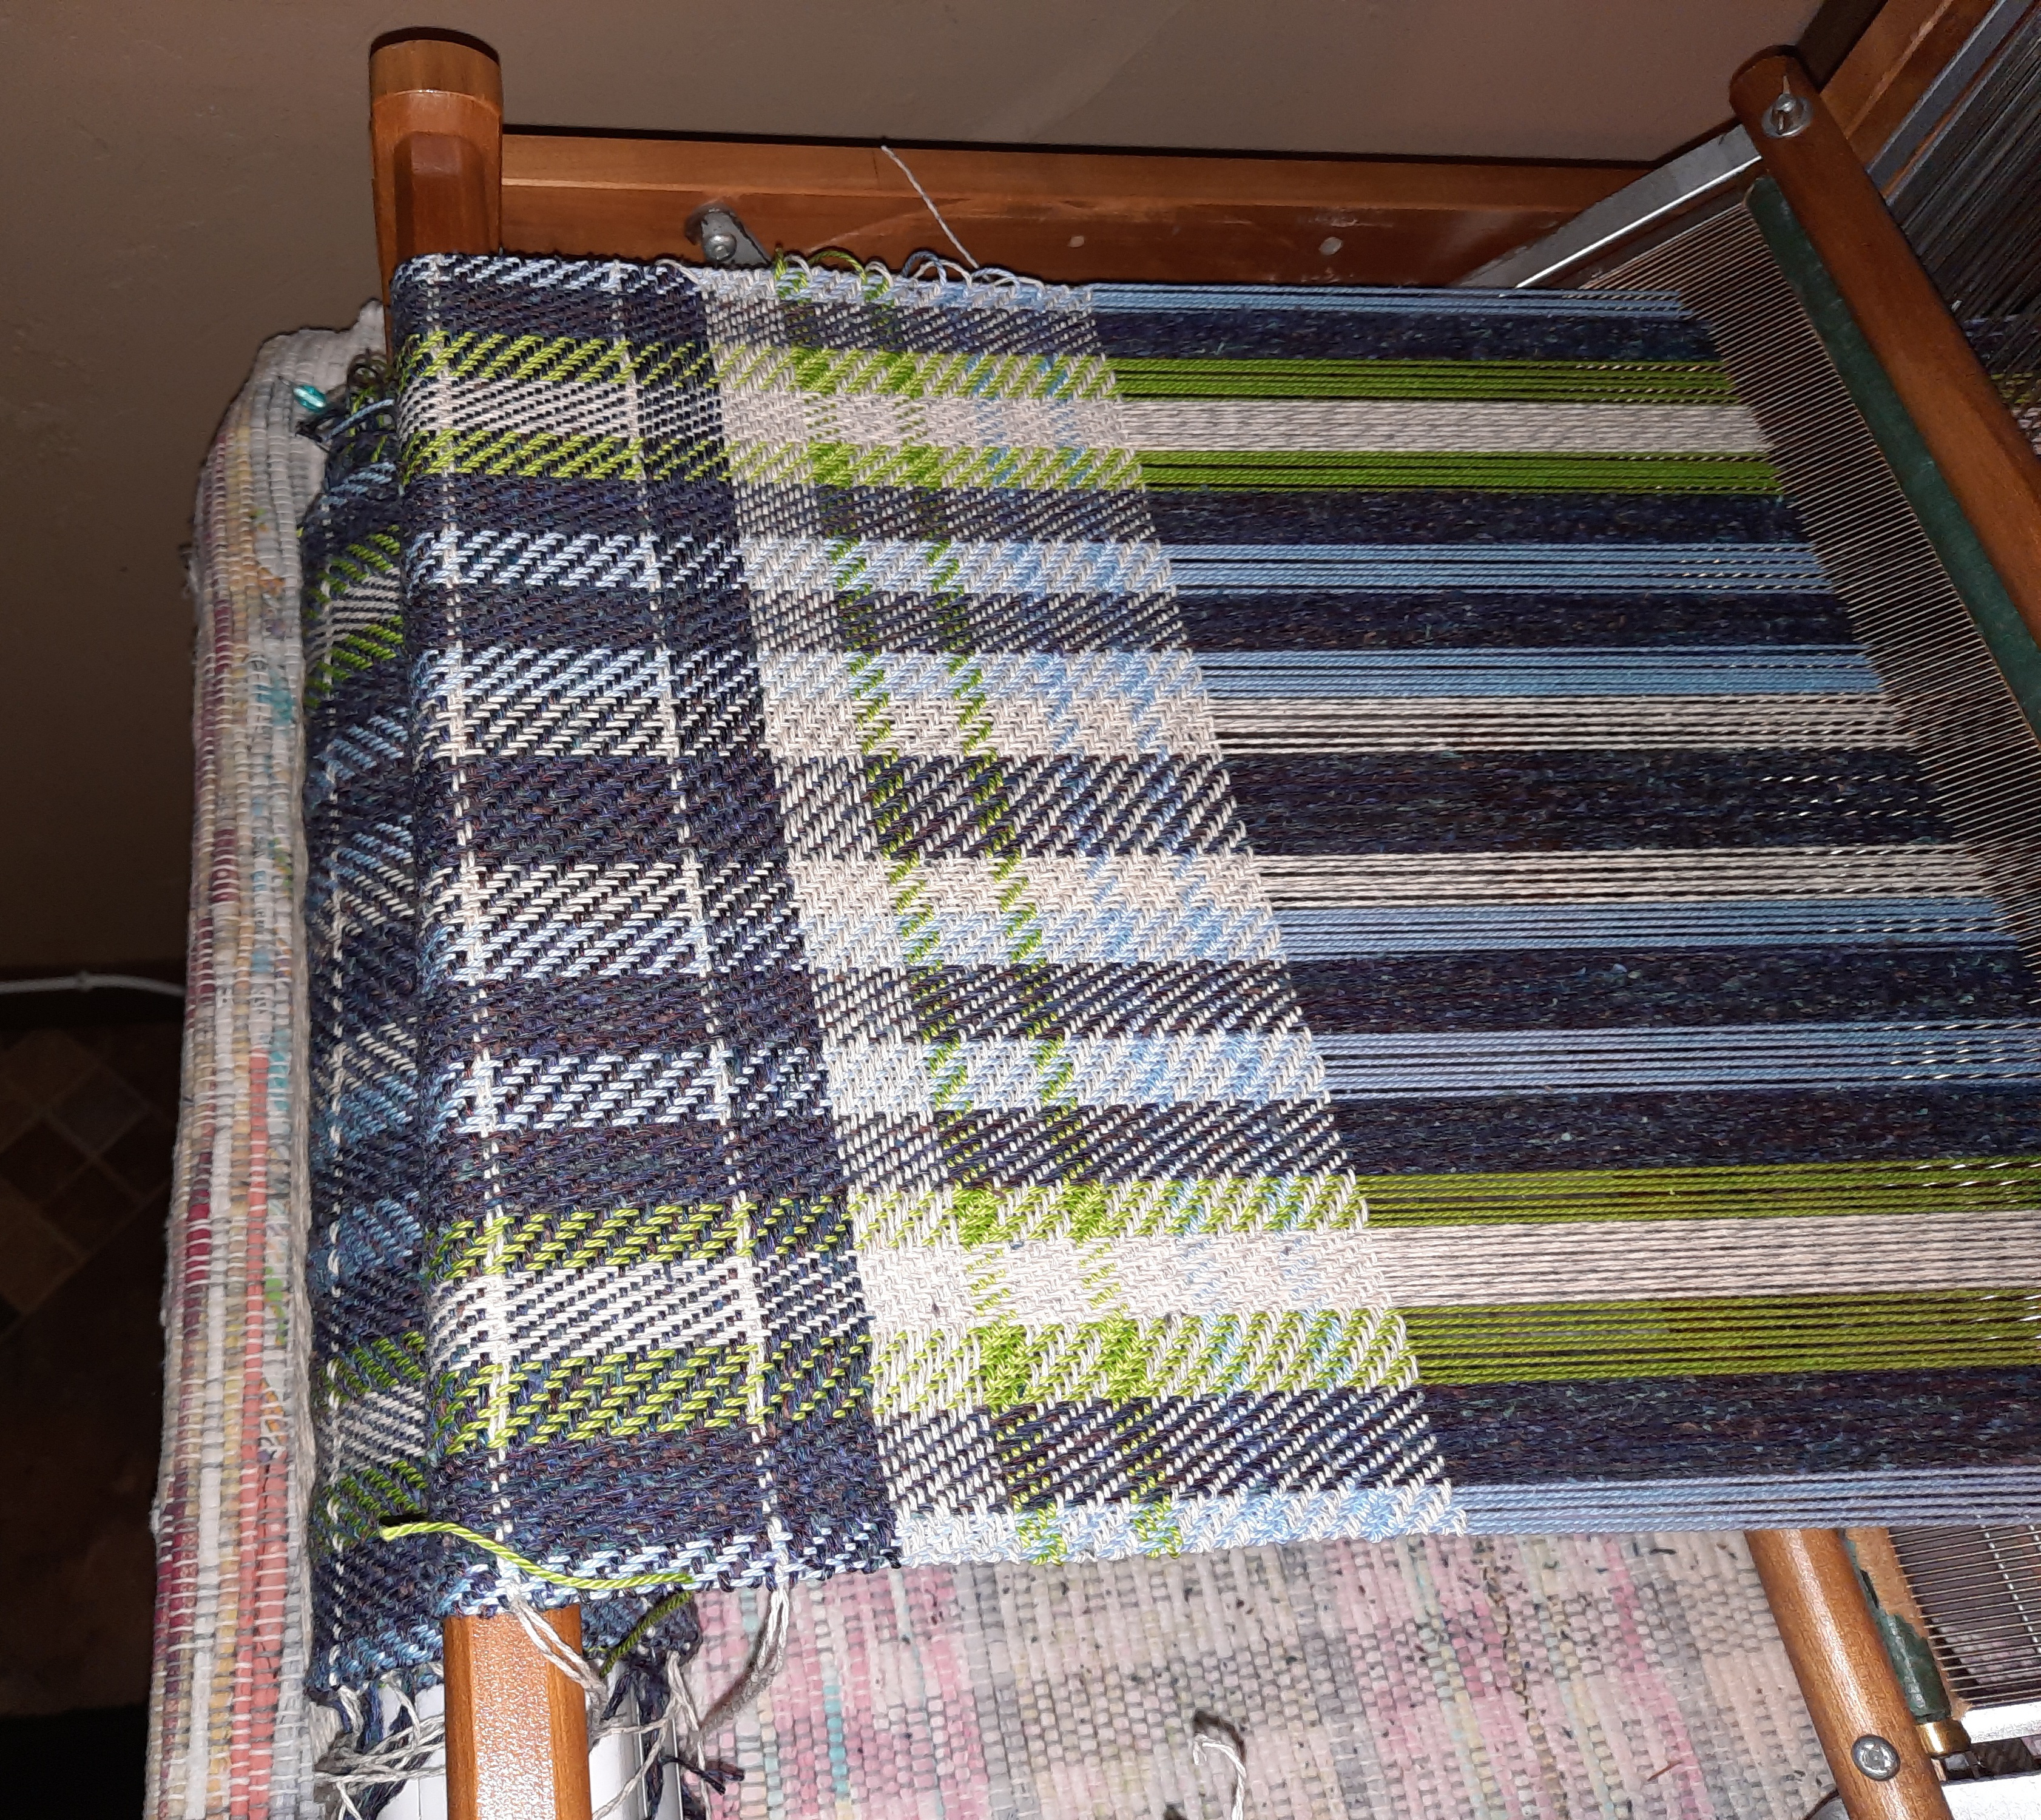
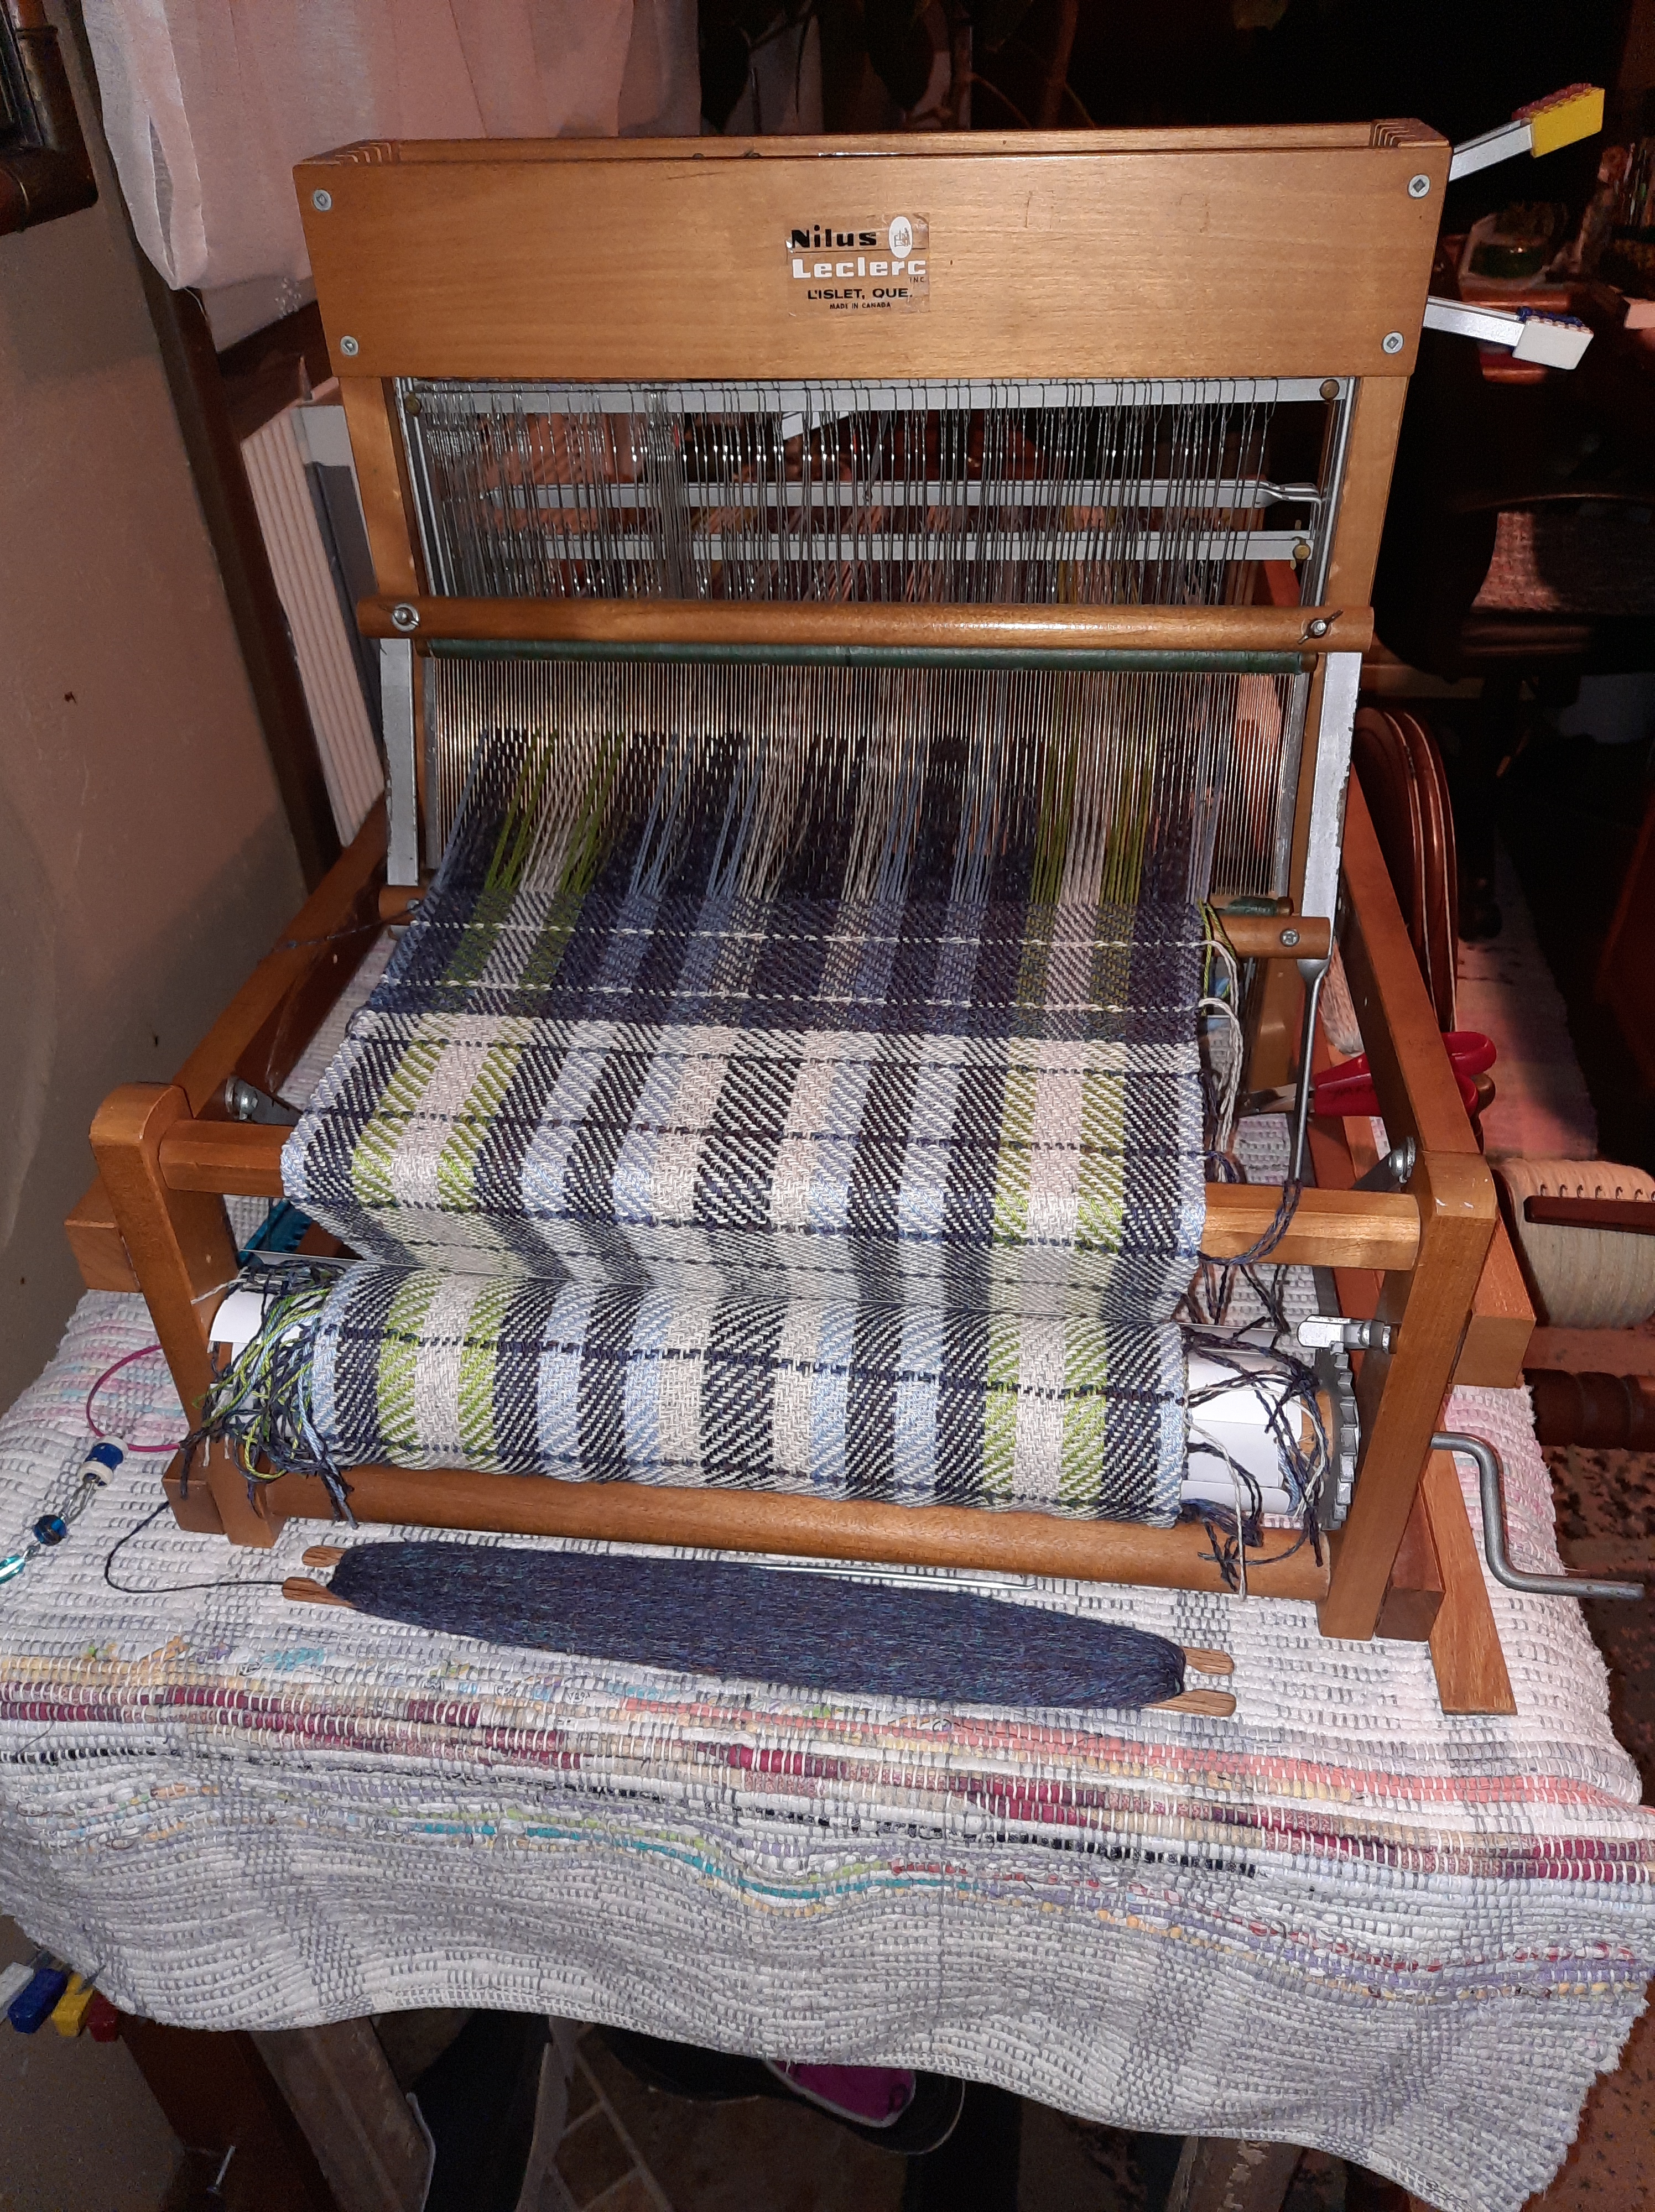
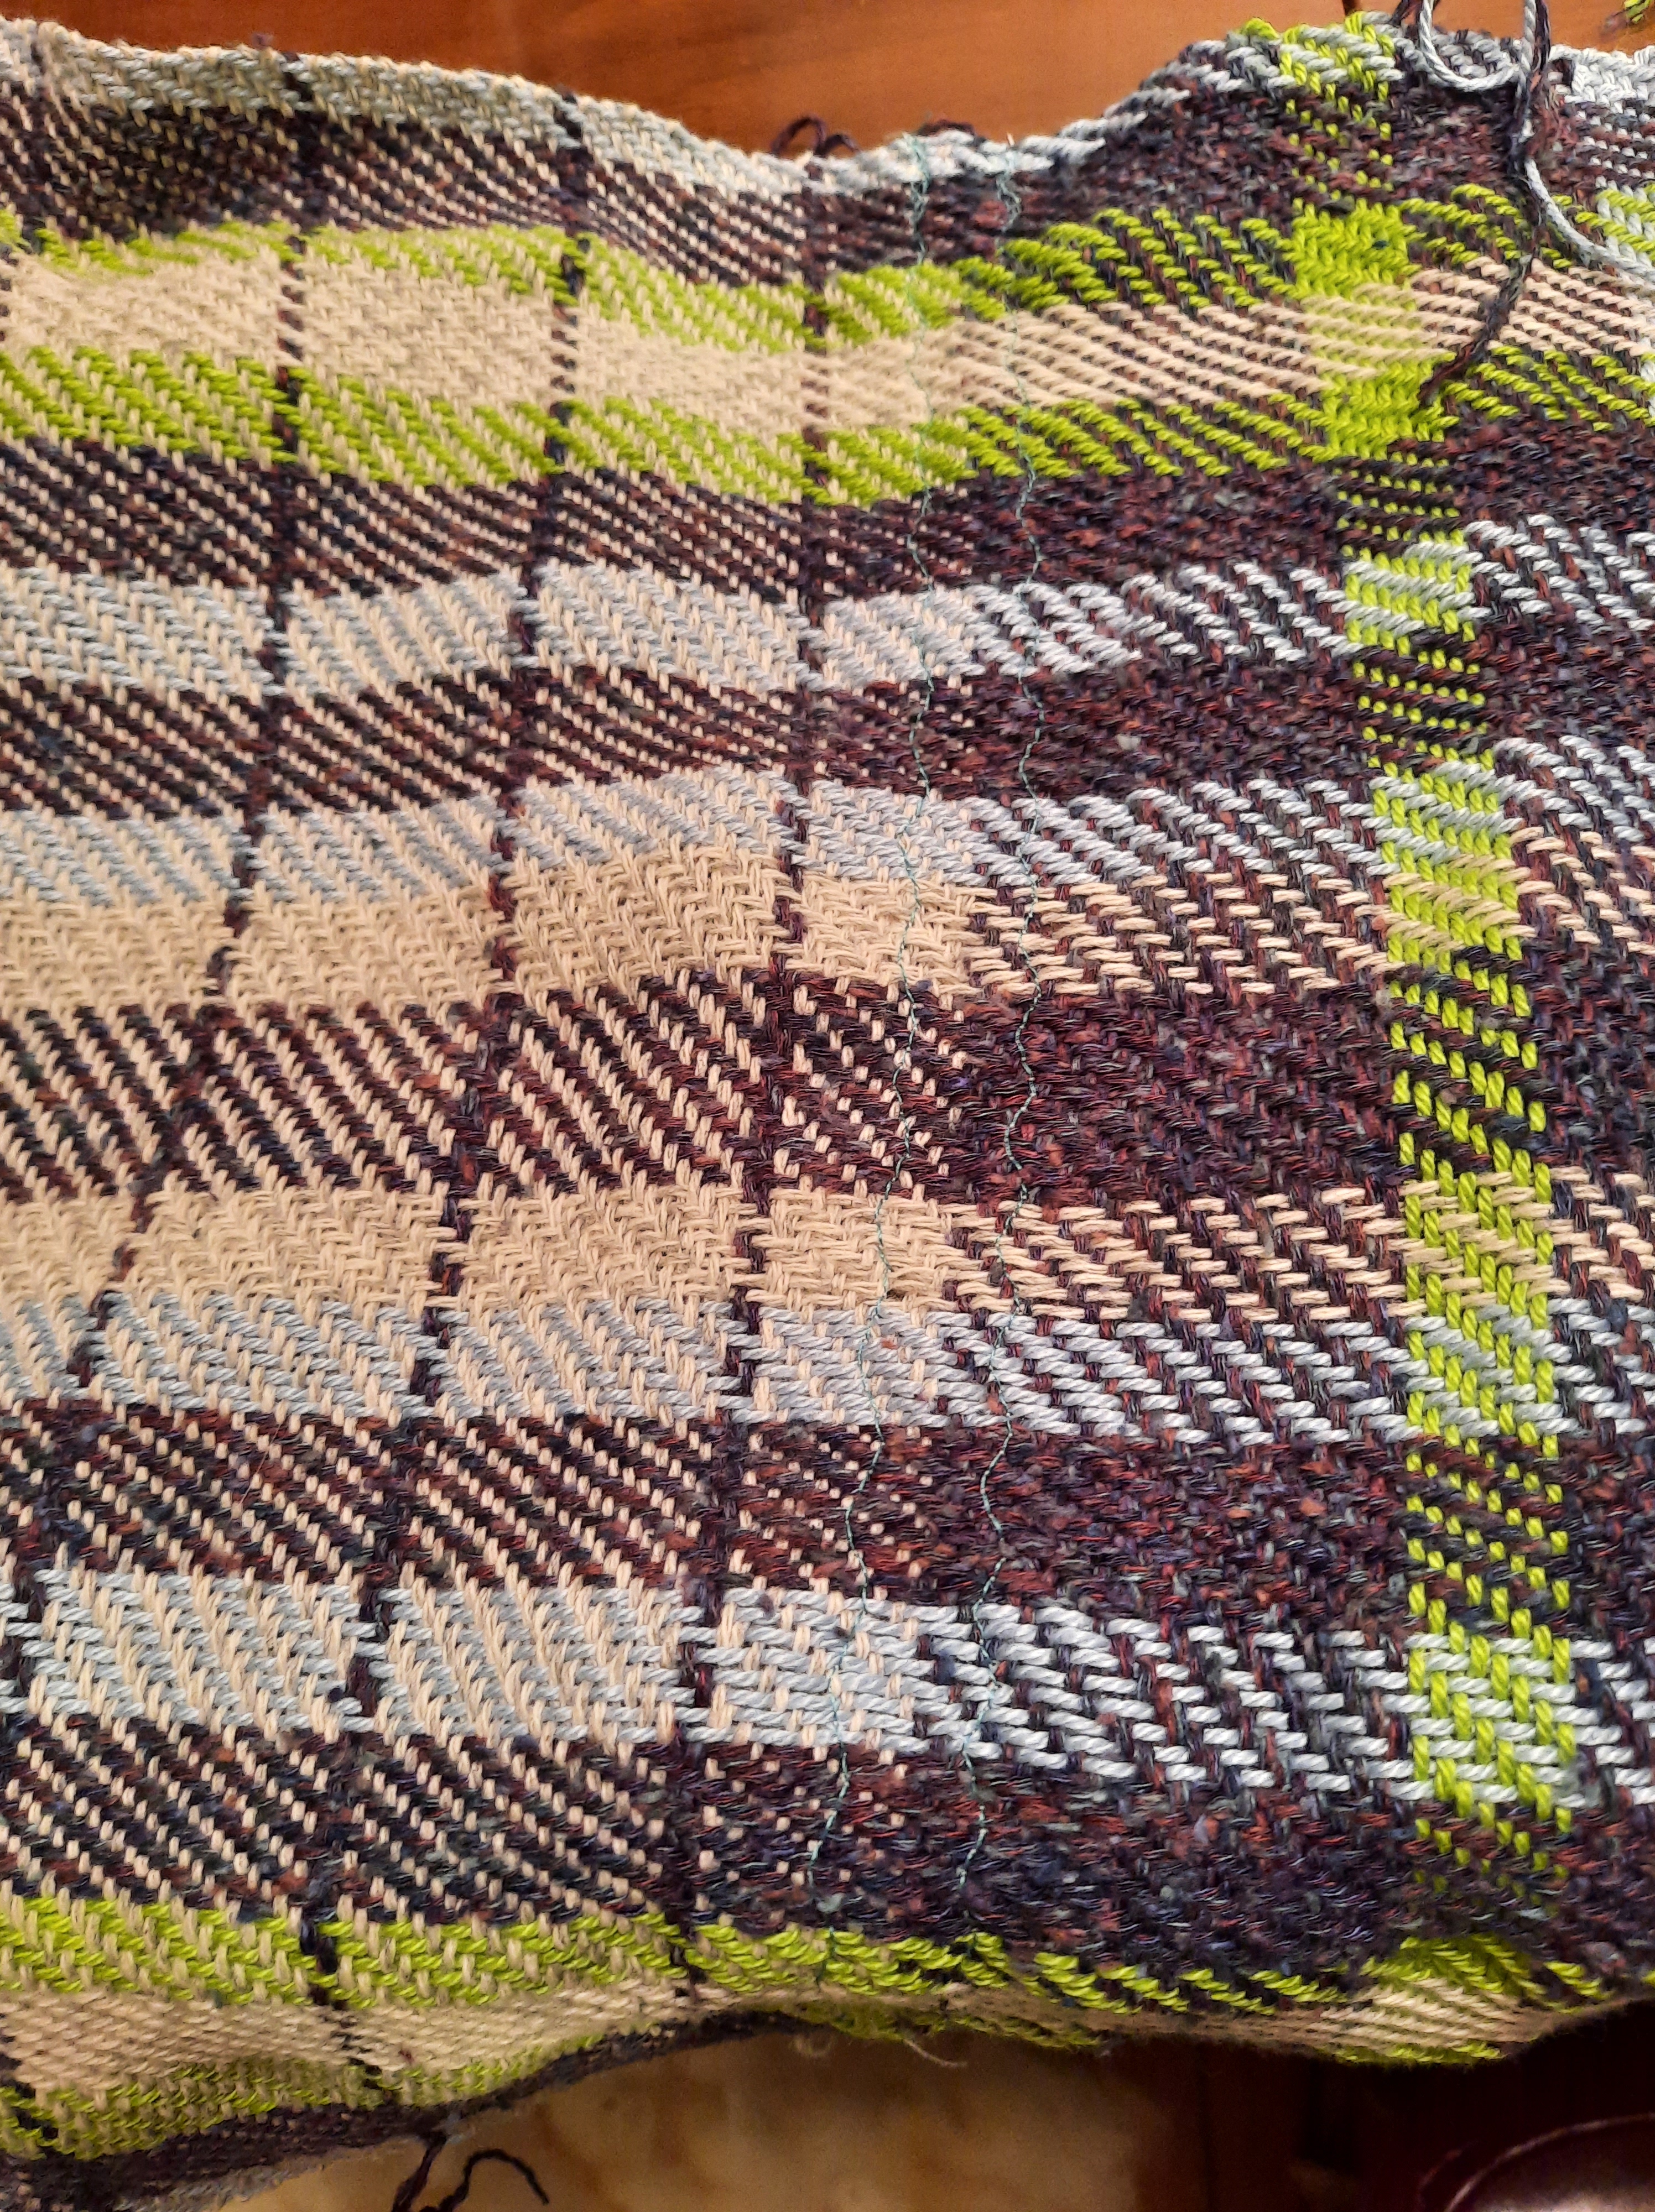
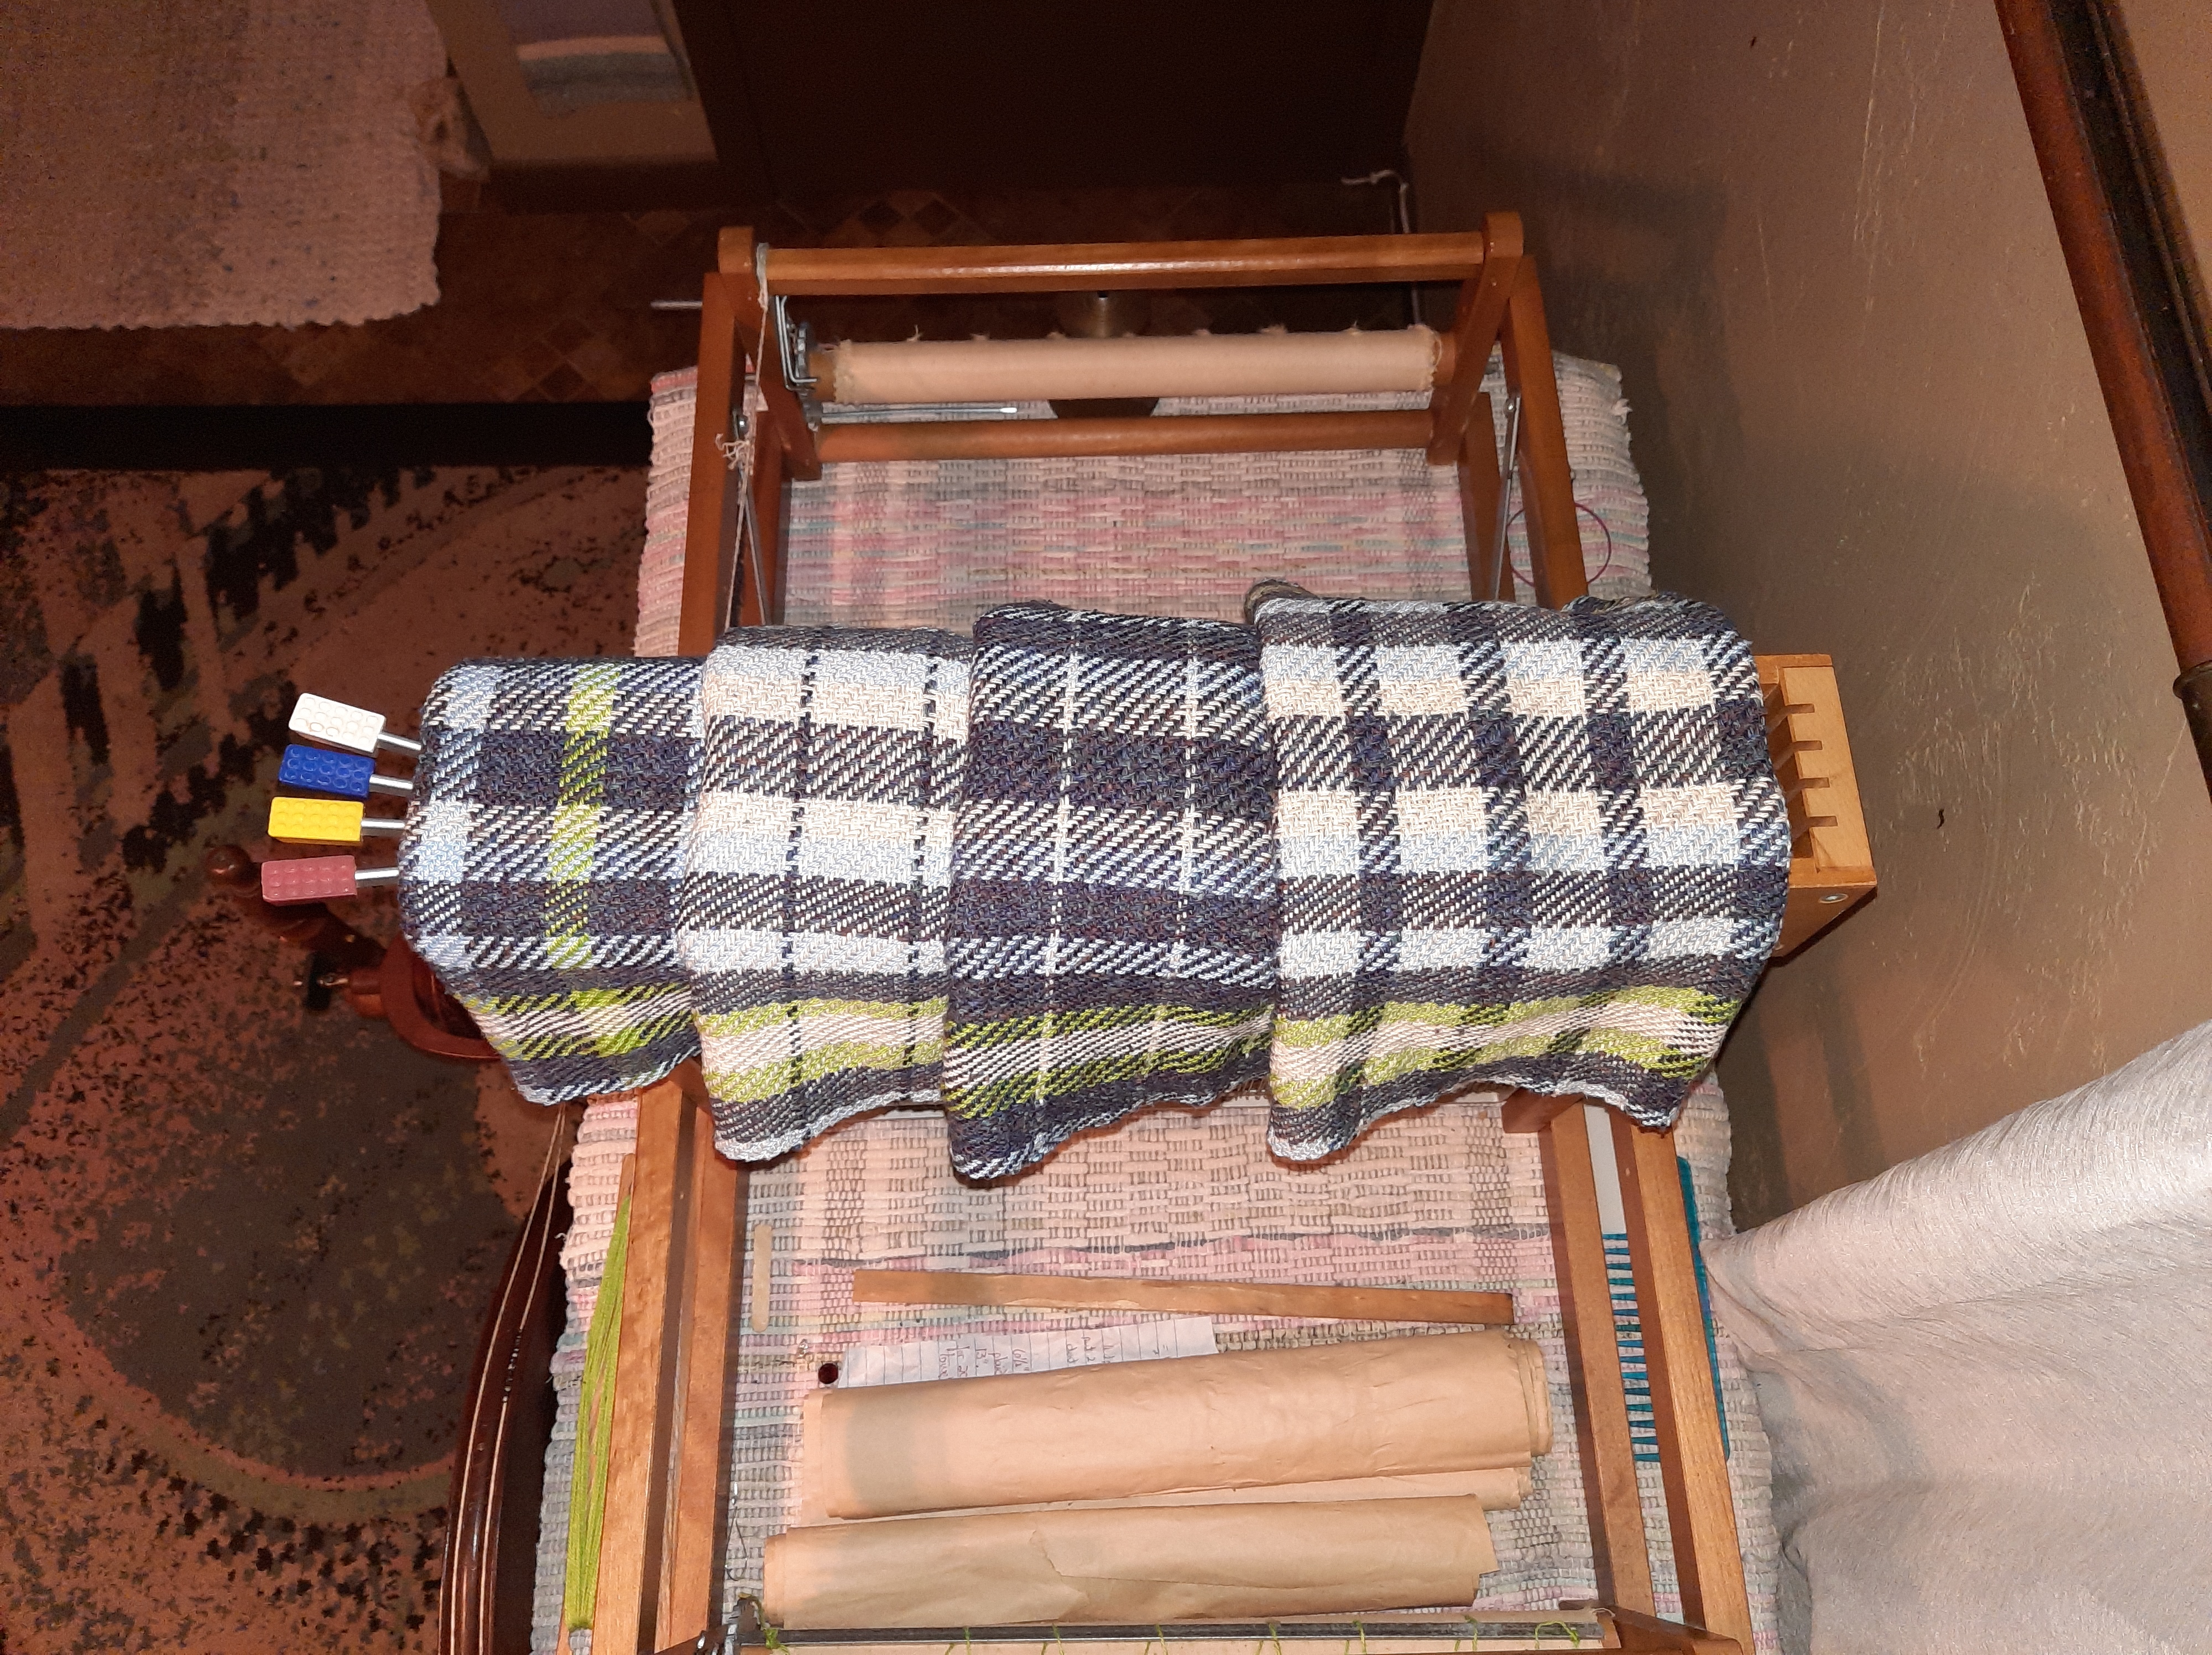
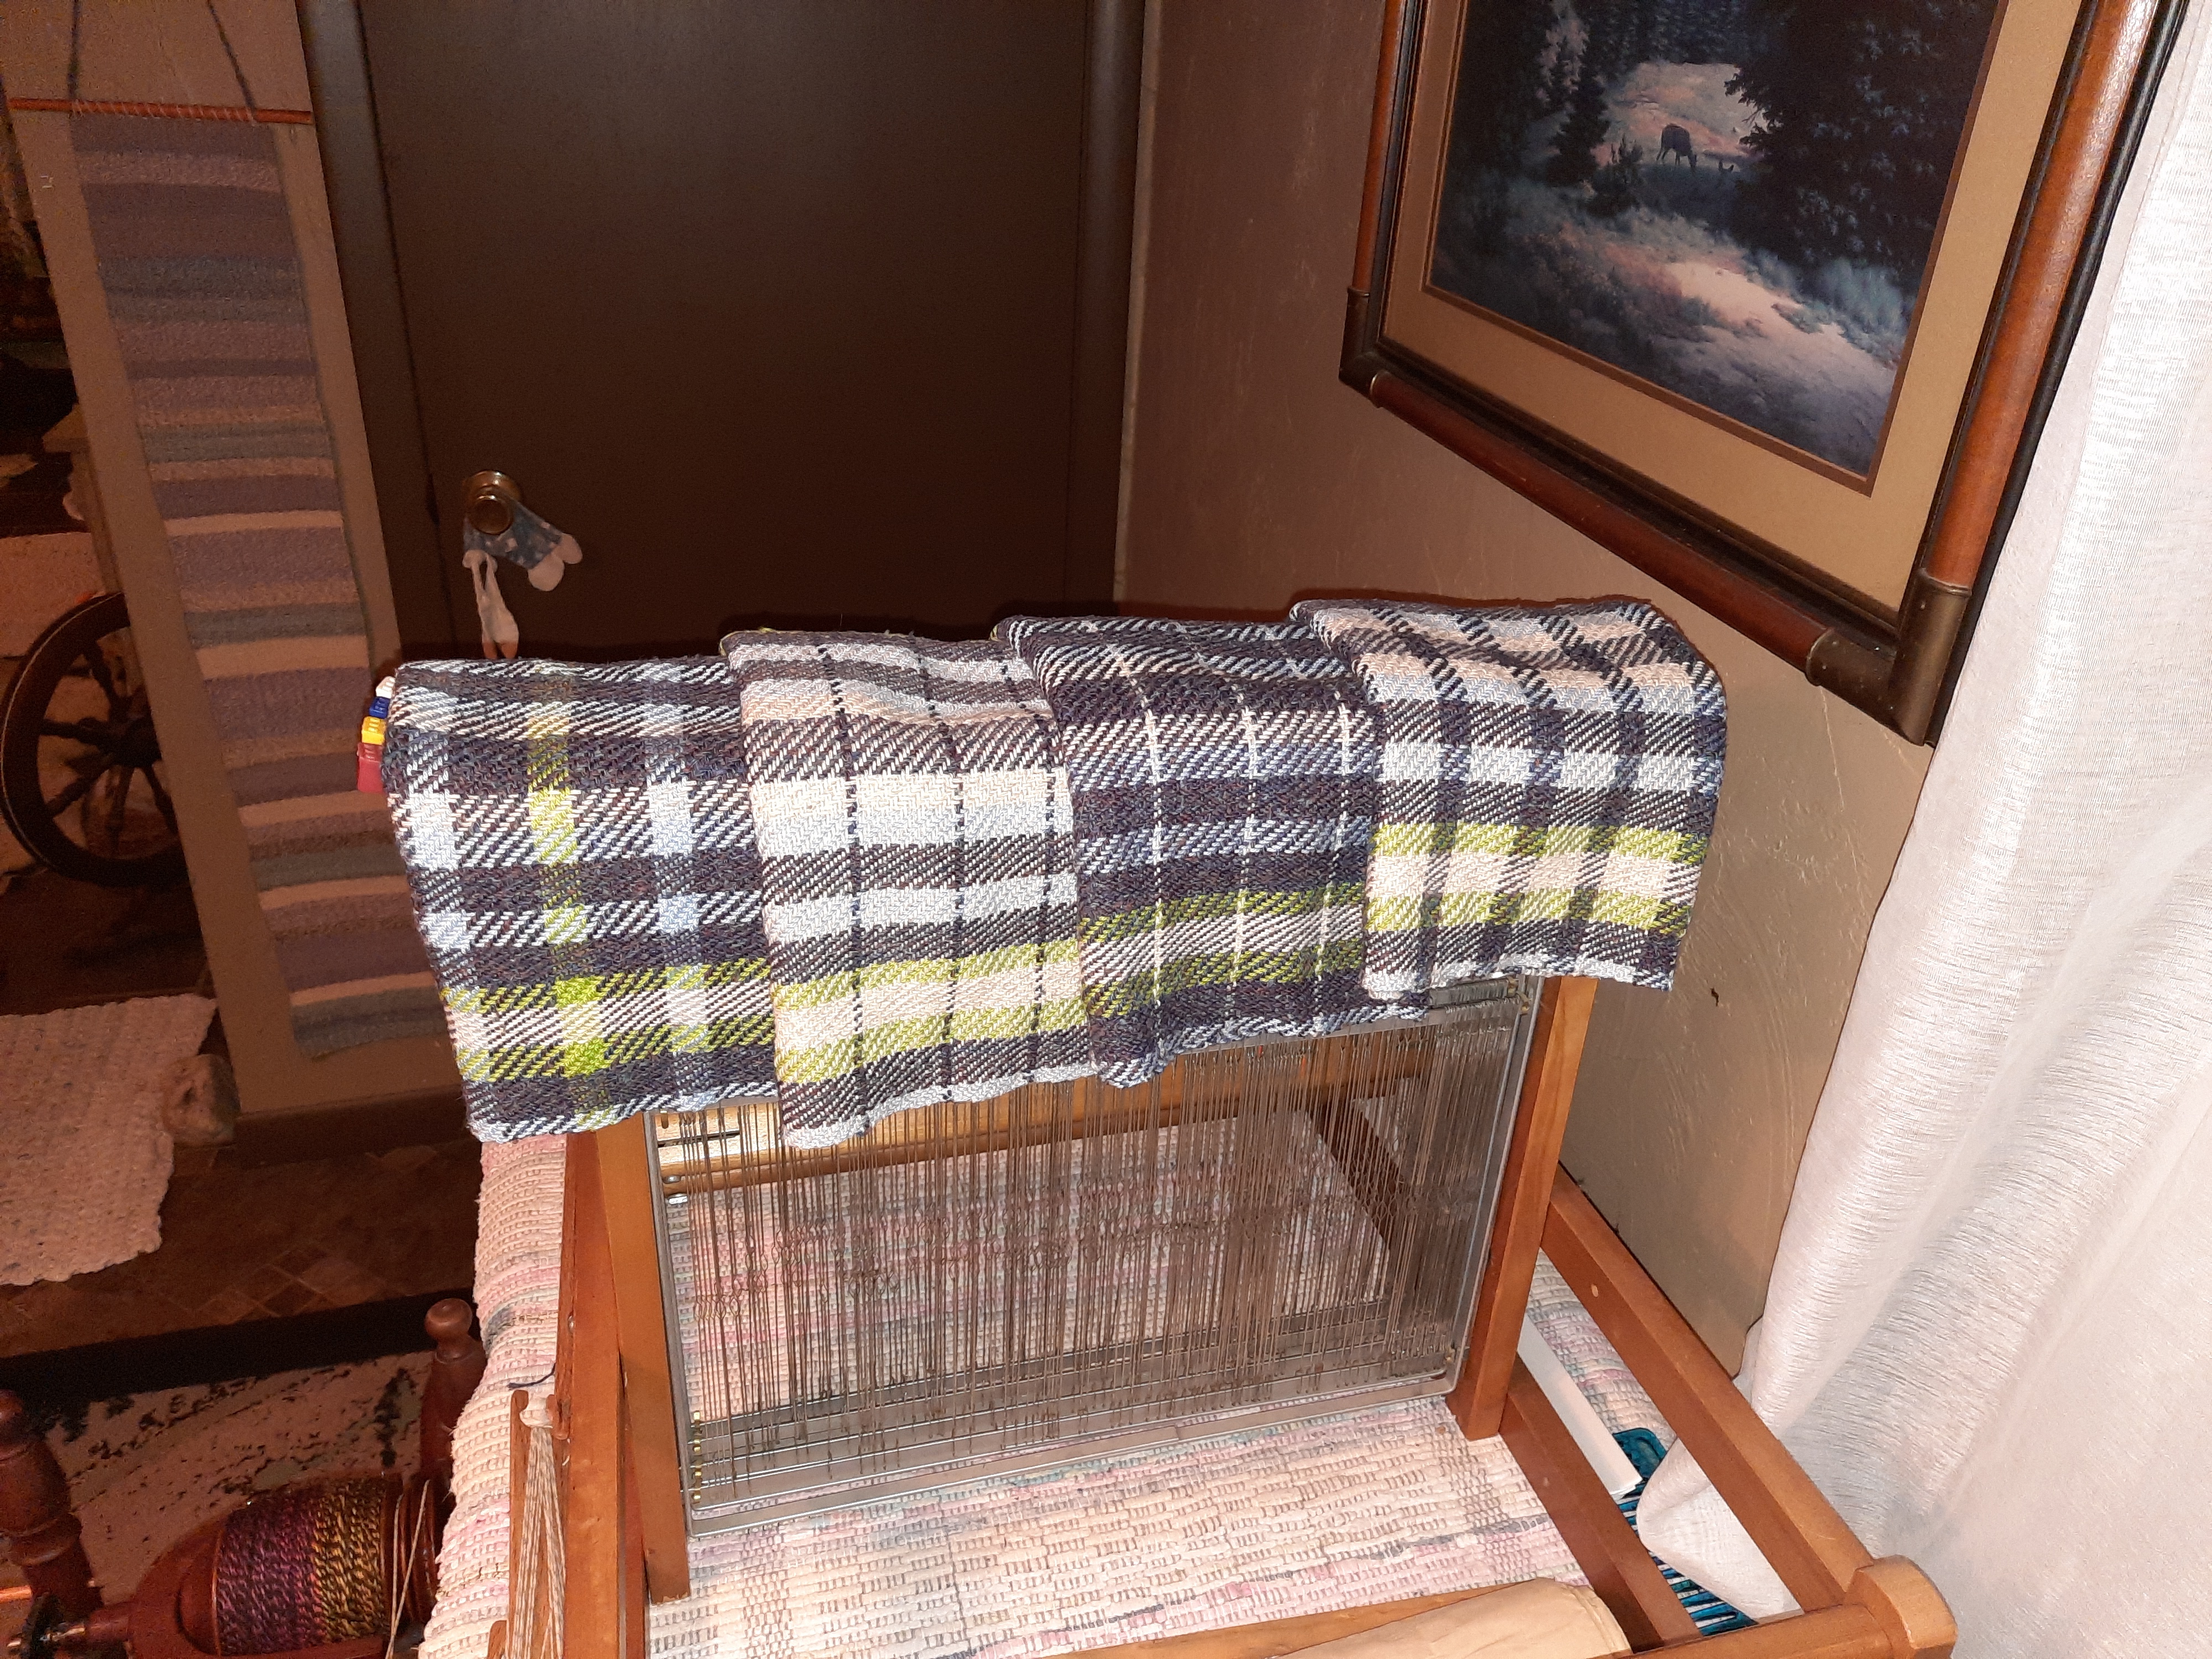
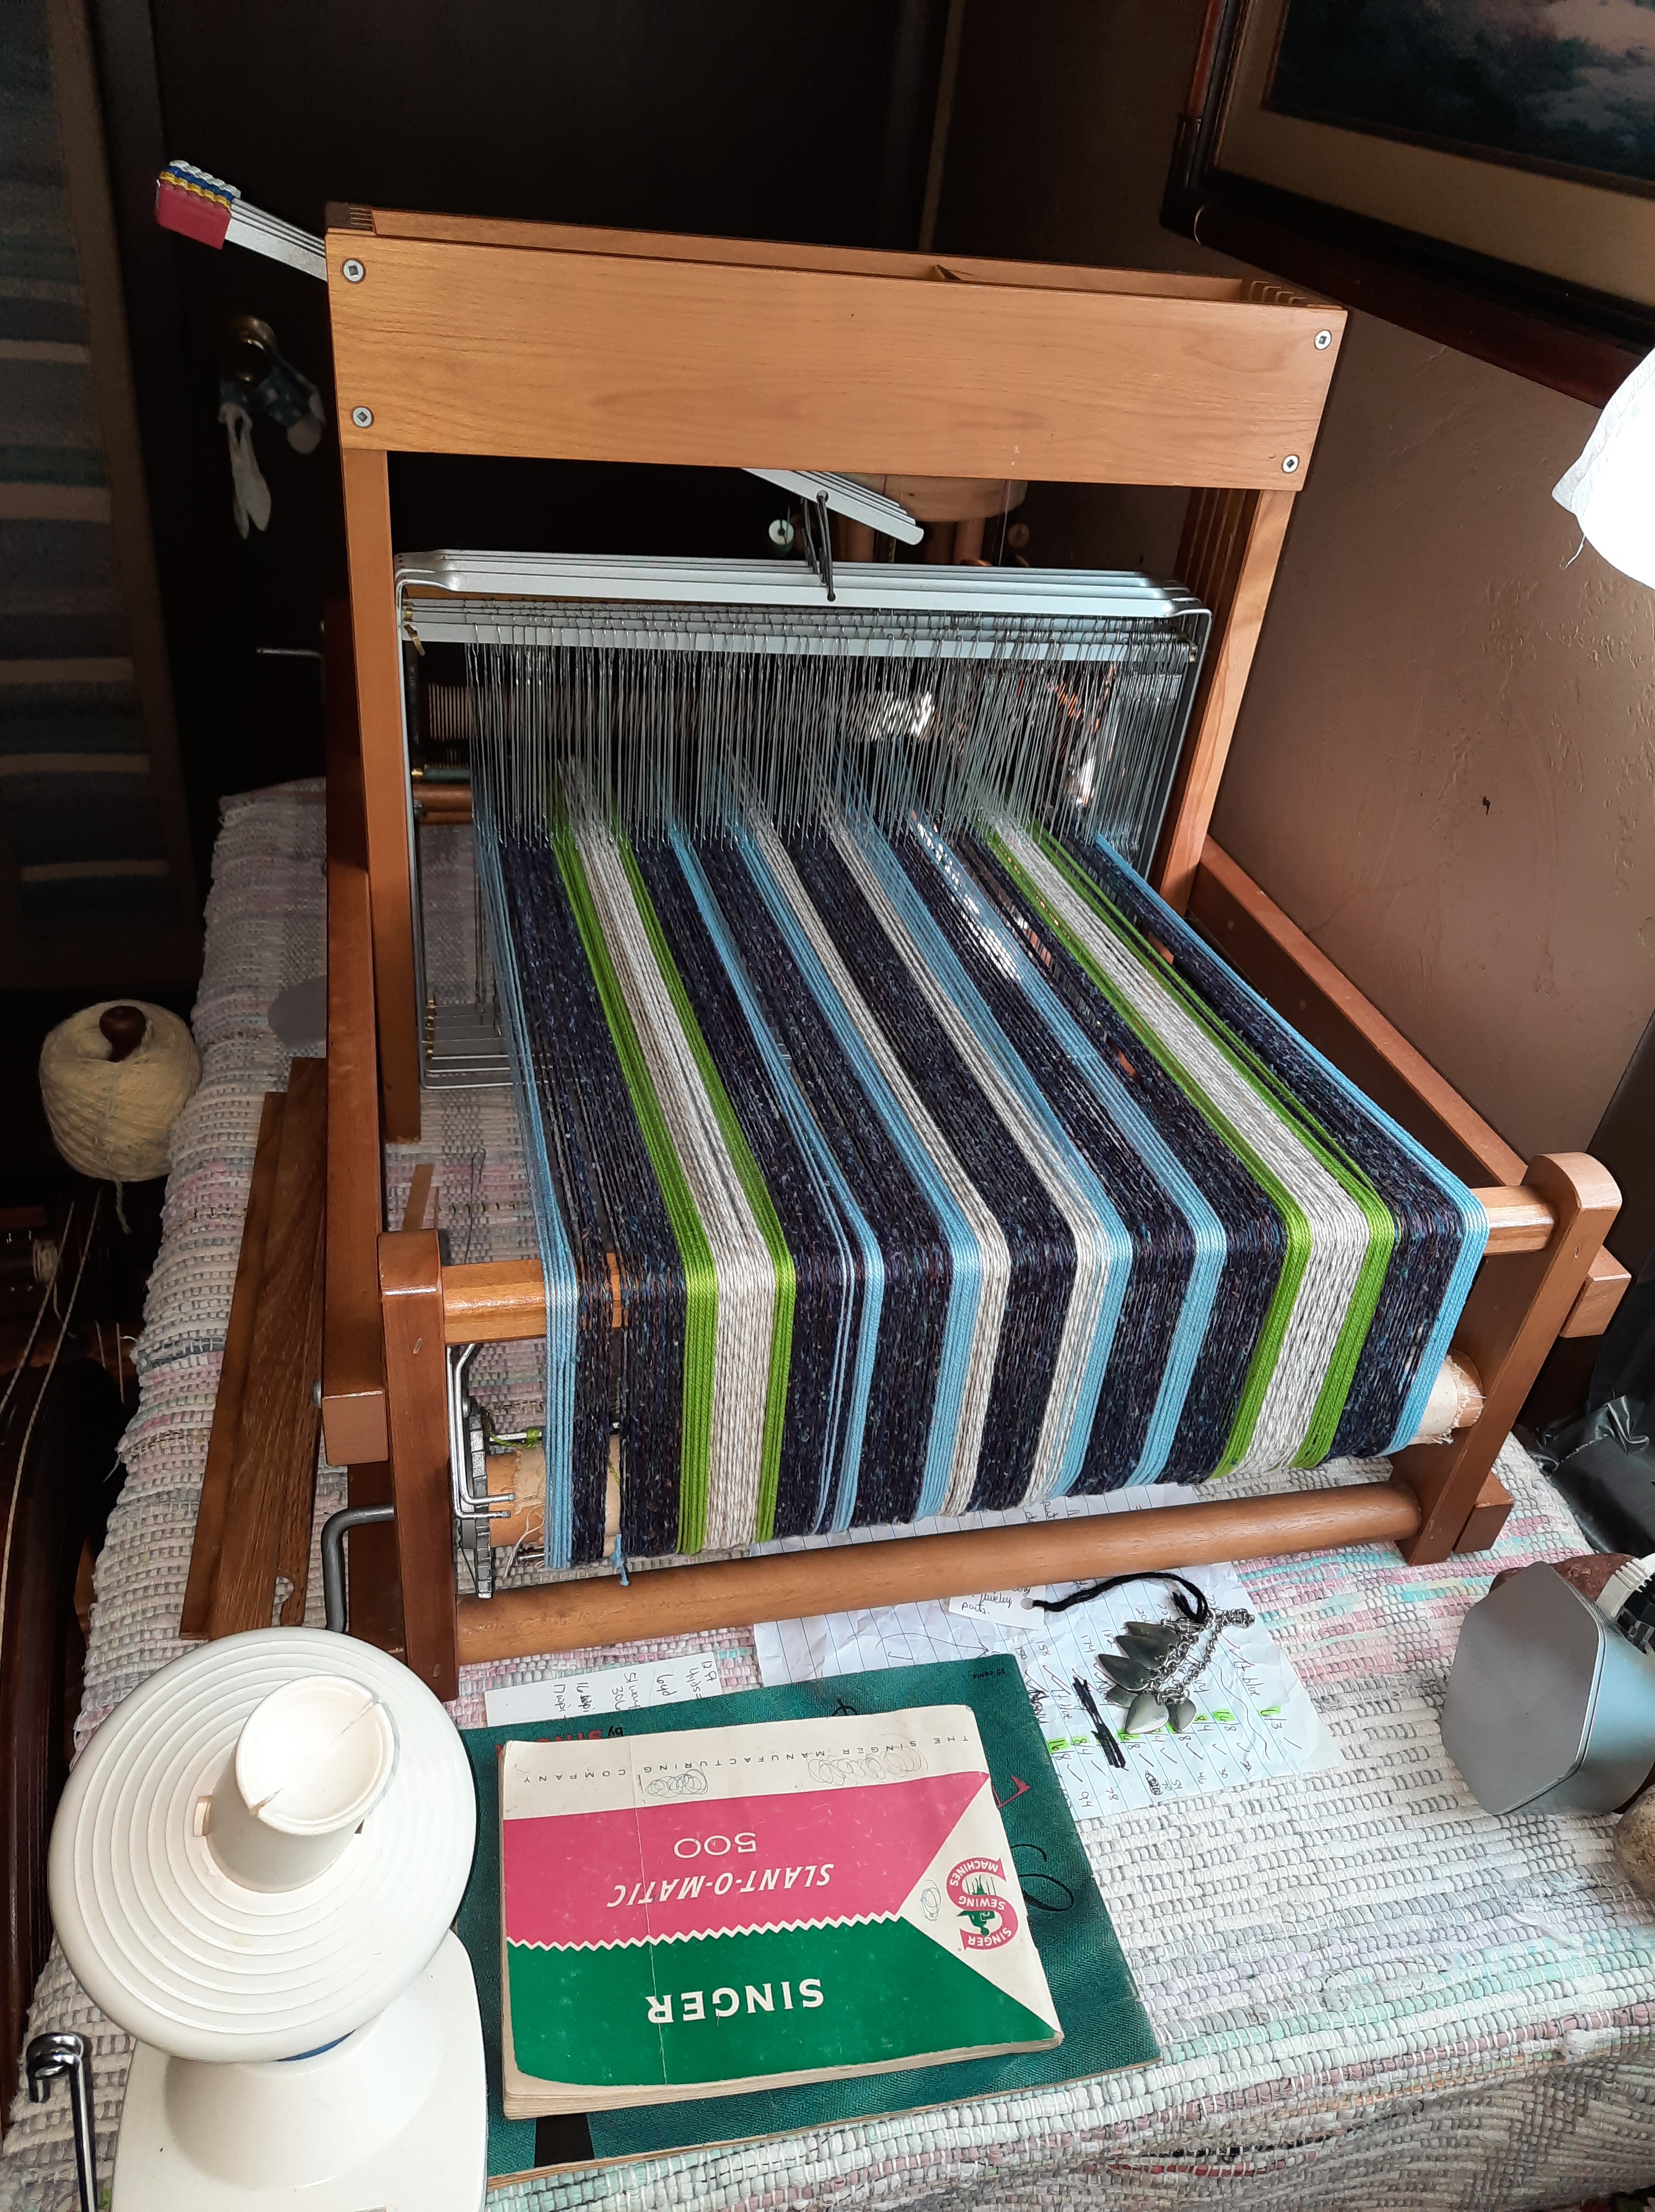
The above photo is what the the first 2 Spring Fling Dishtowels as depicted by the software.

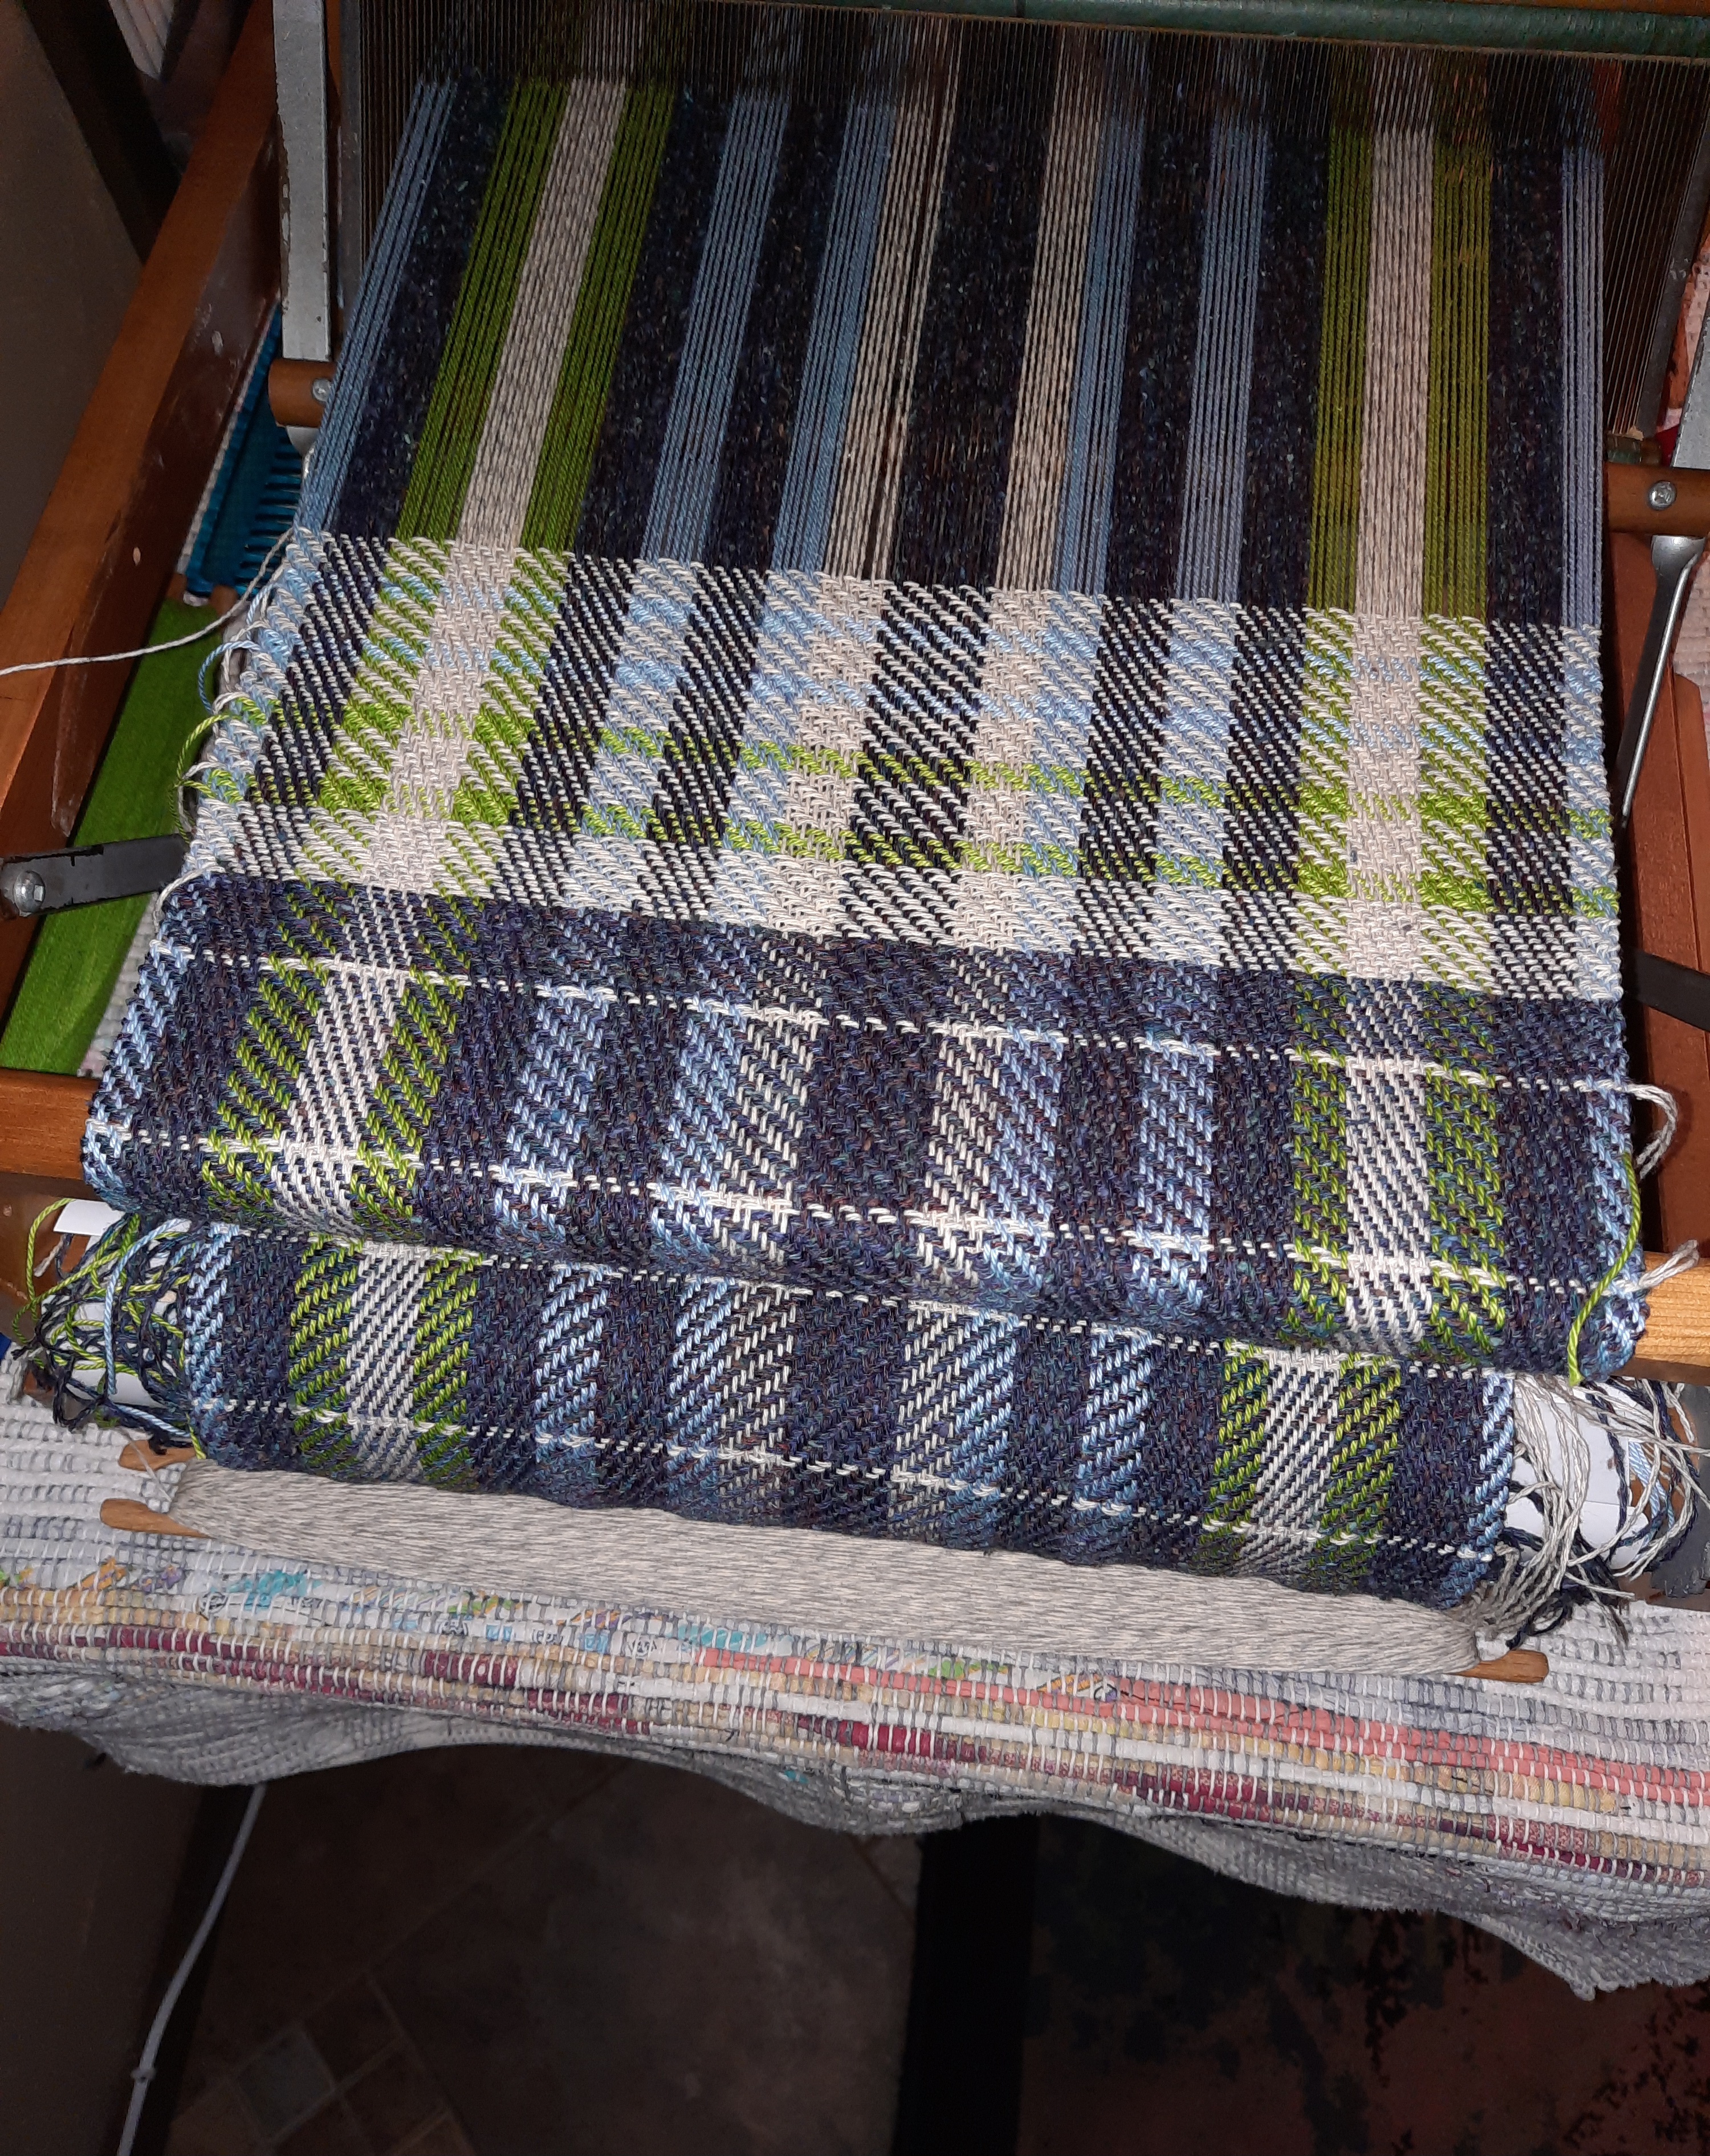
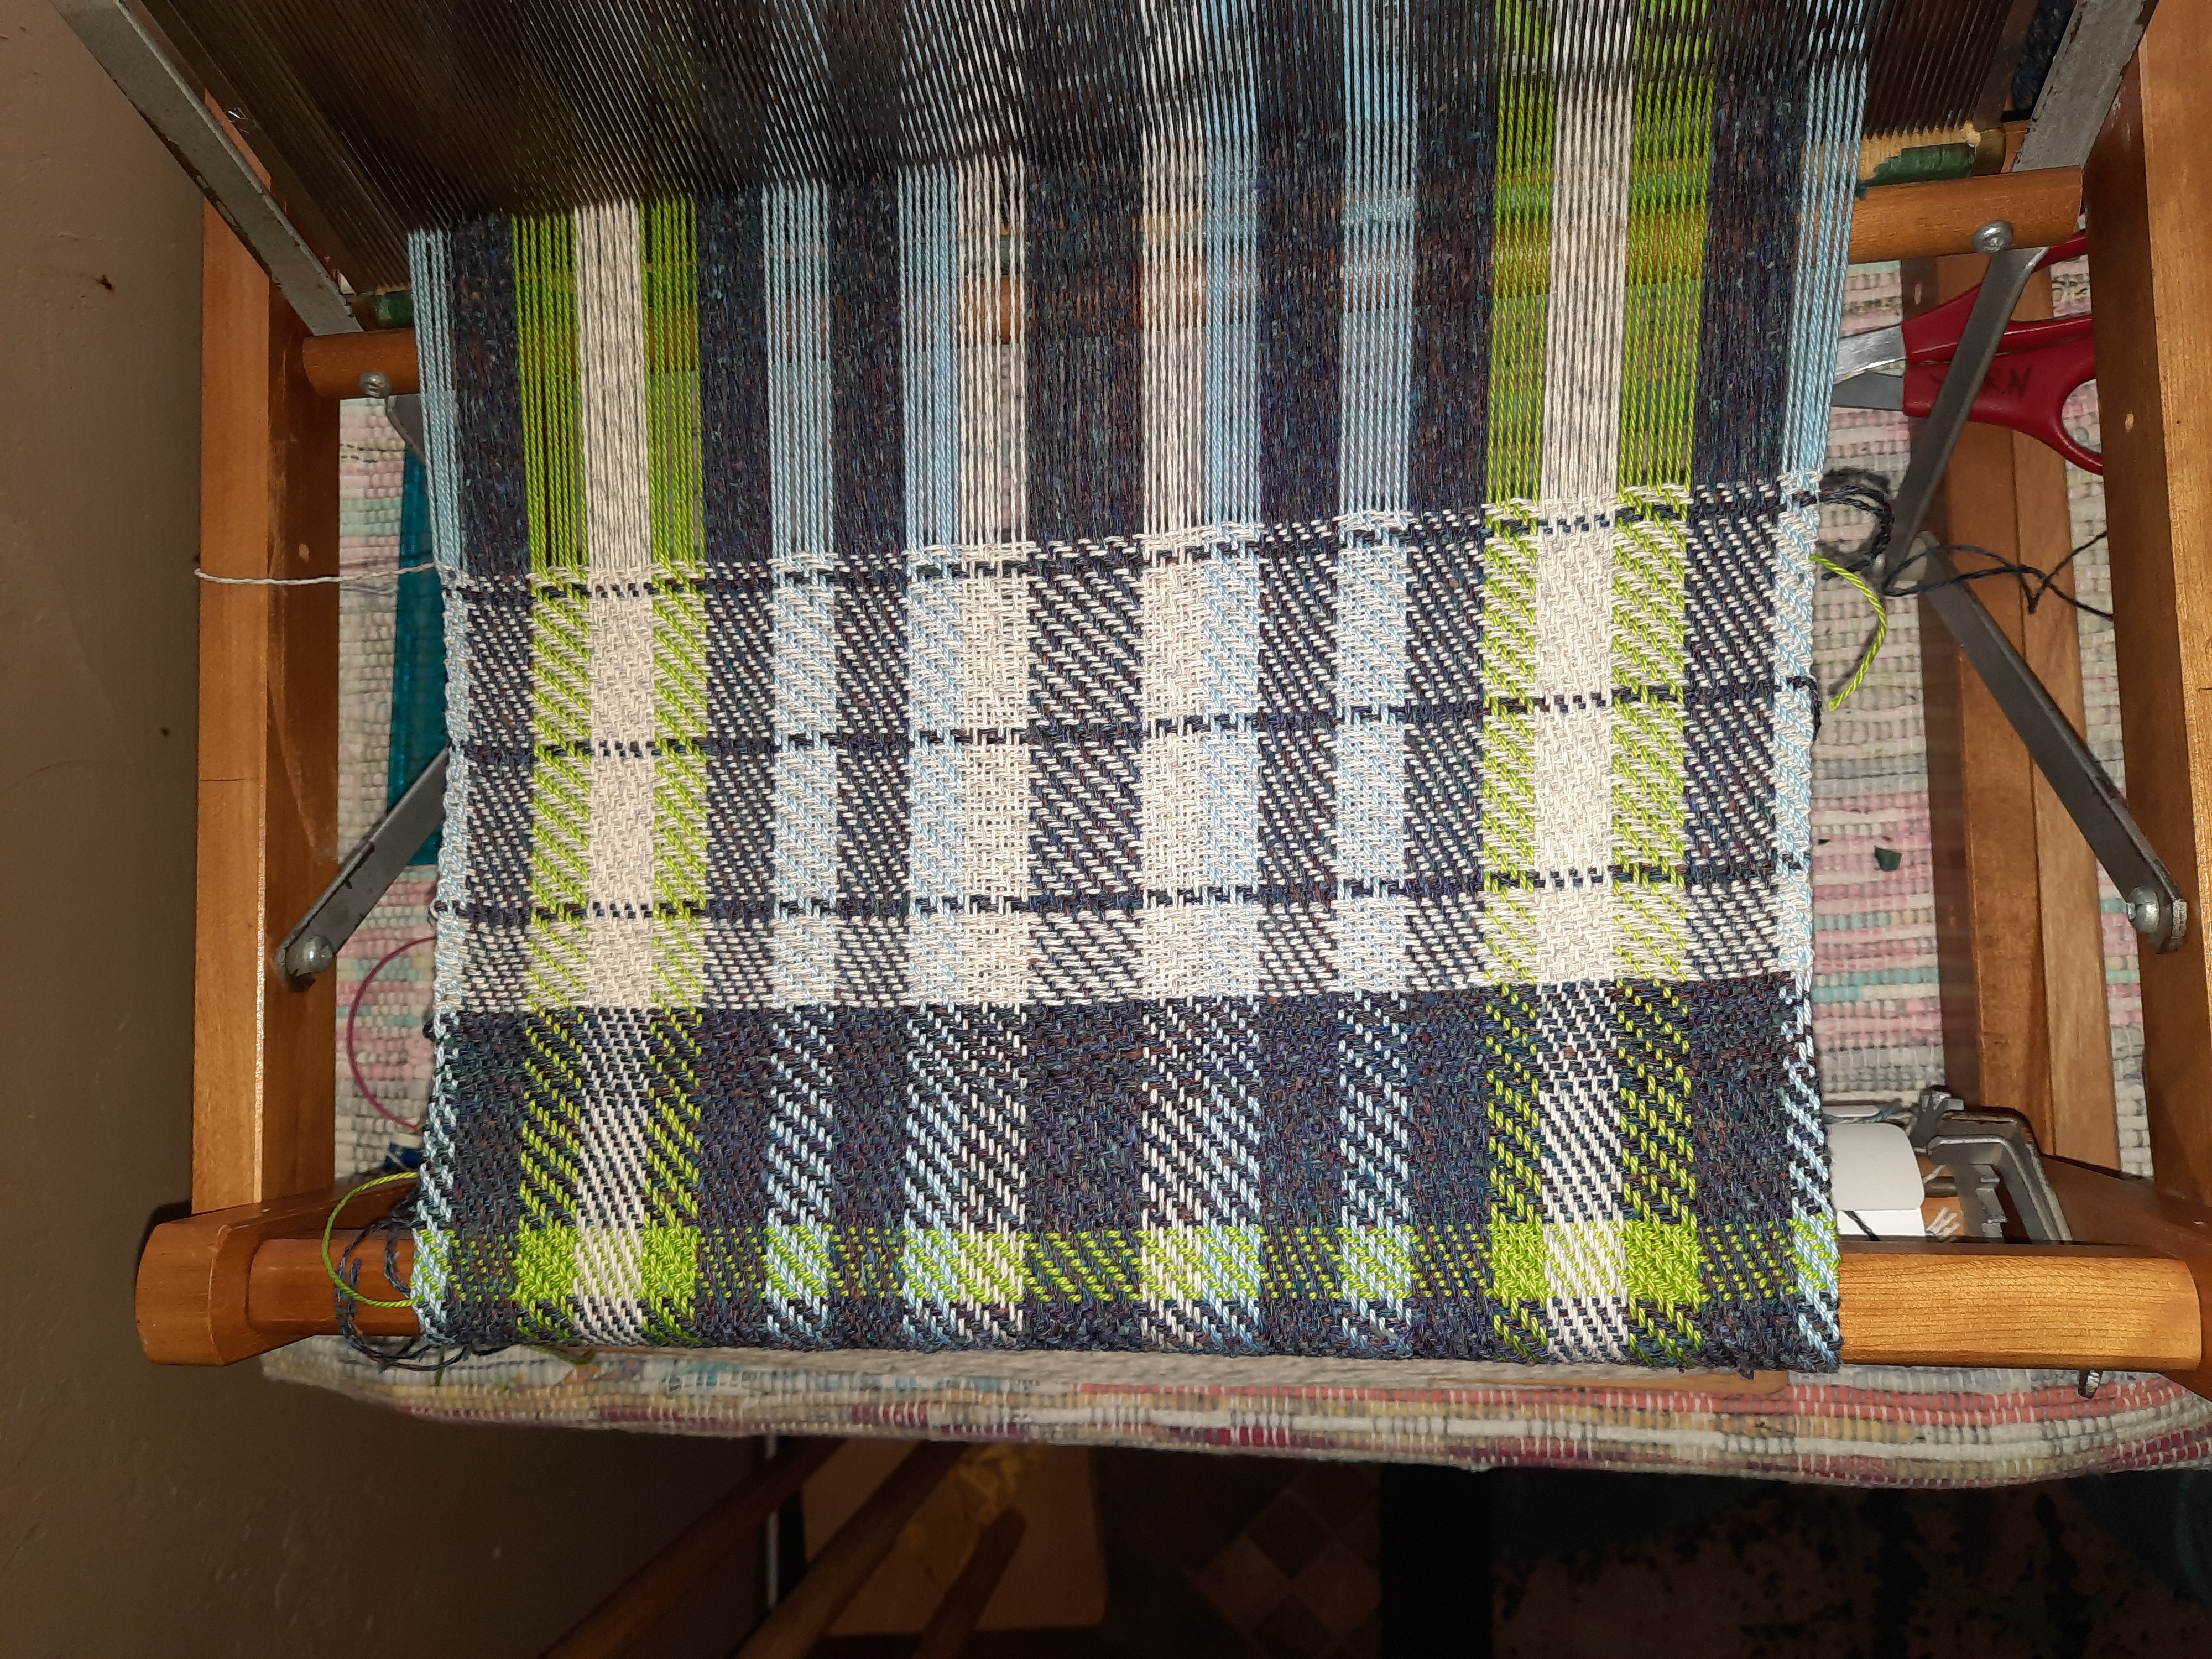
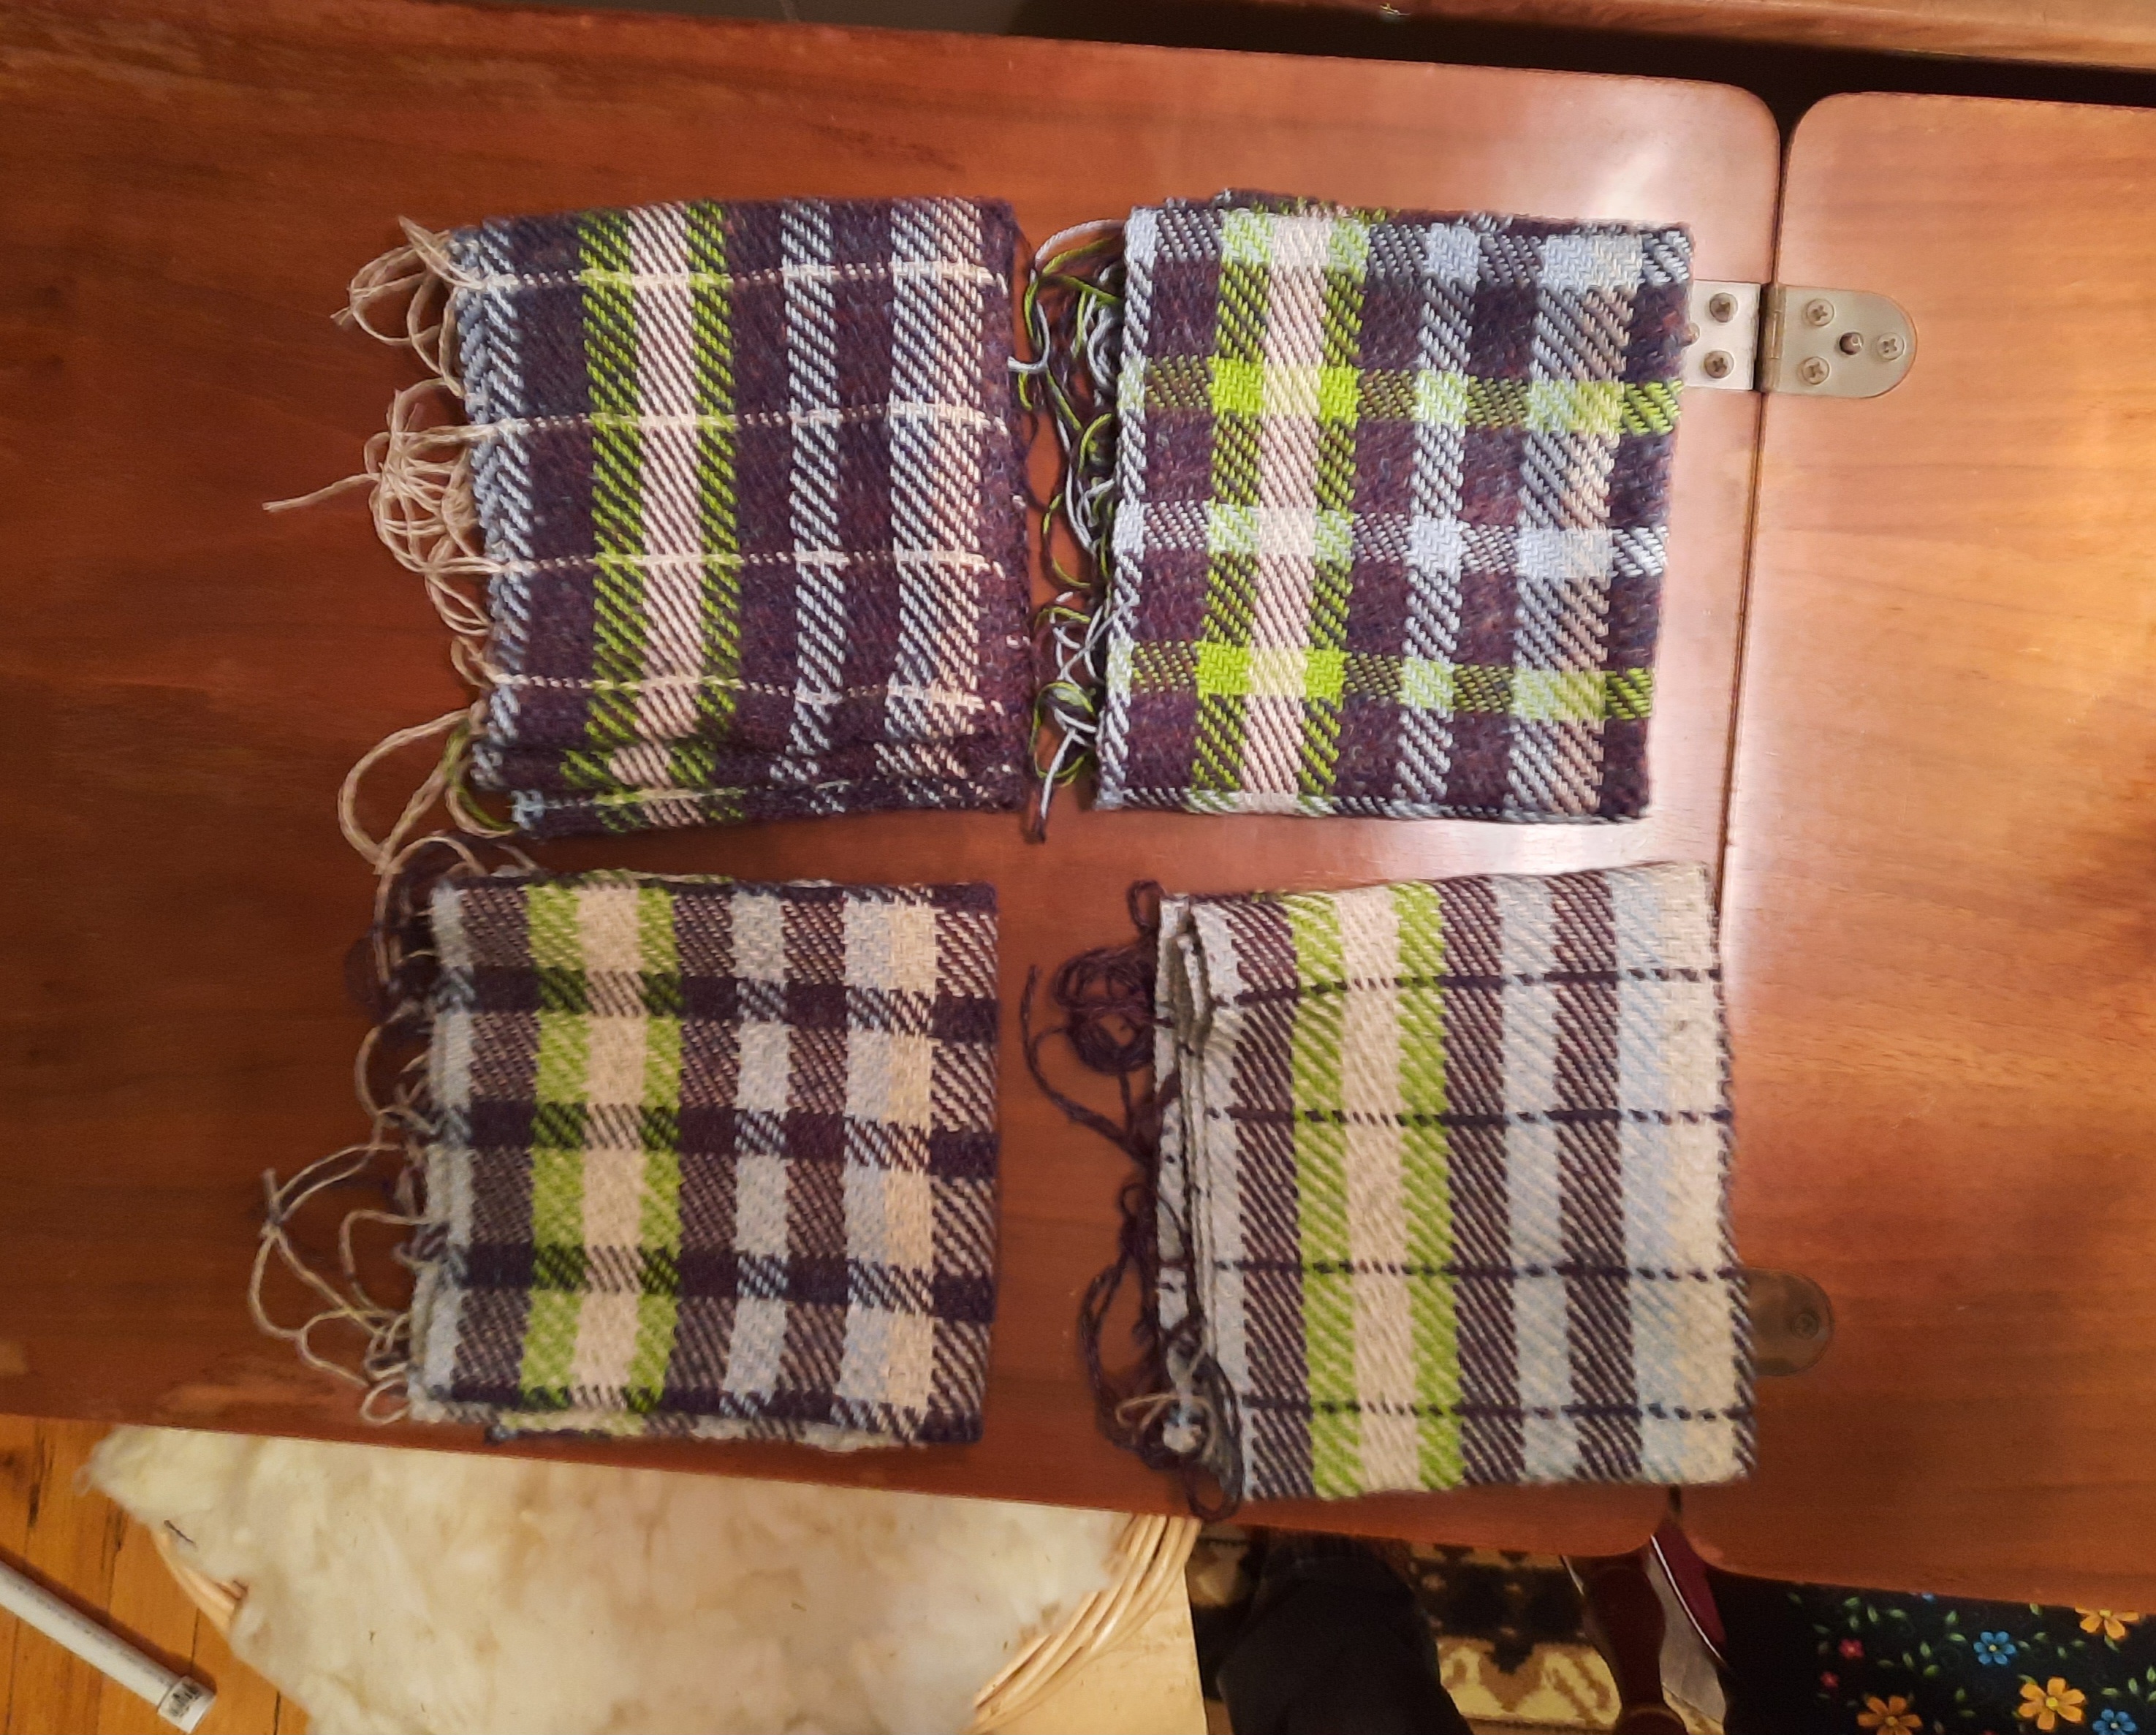
I drafted the next 2 dishtowels using the software and I can tell you that it’s pretty neat to see. I’ve always kept a notebook of everything I draft and weave. I still do because I’m a contingency planner.

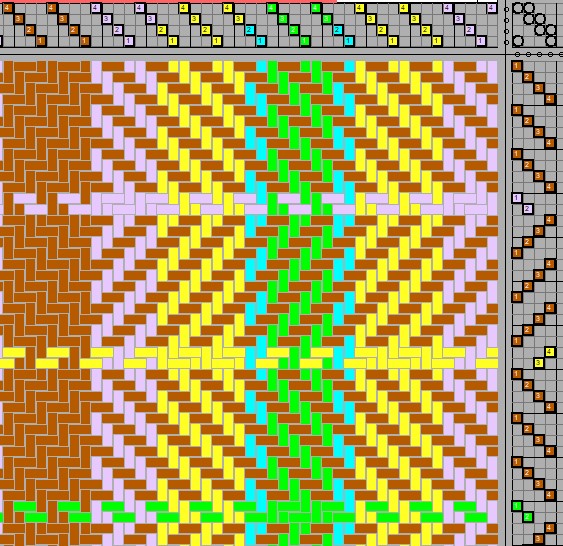
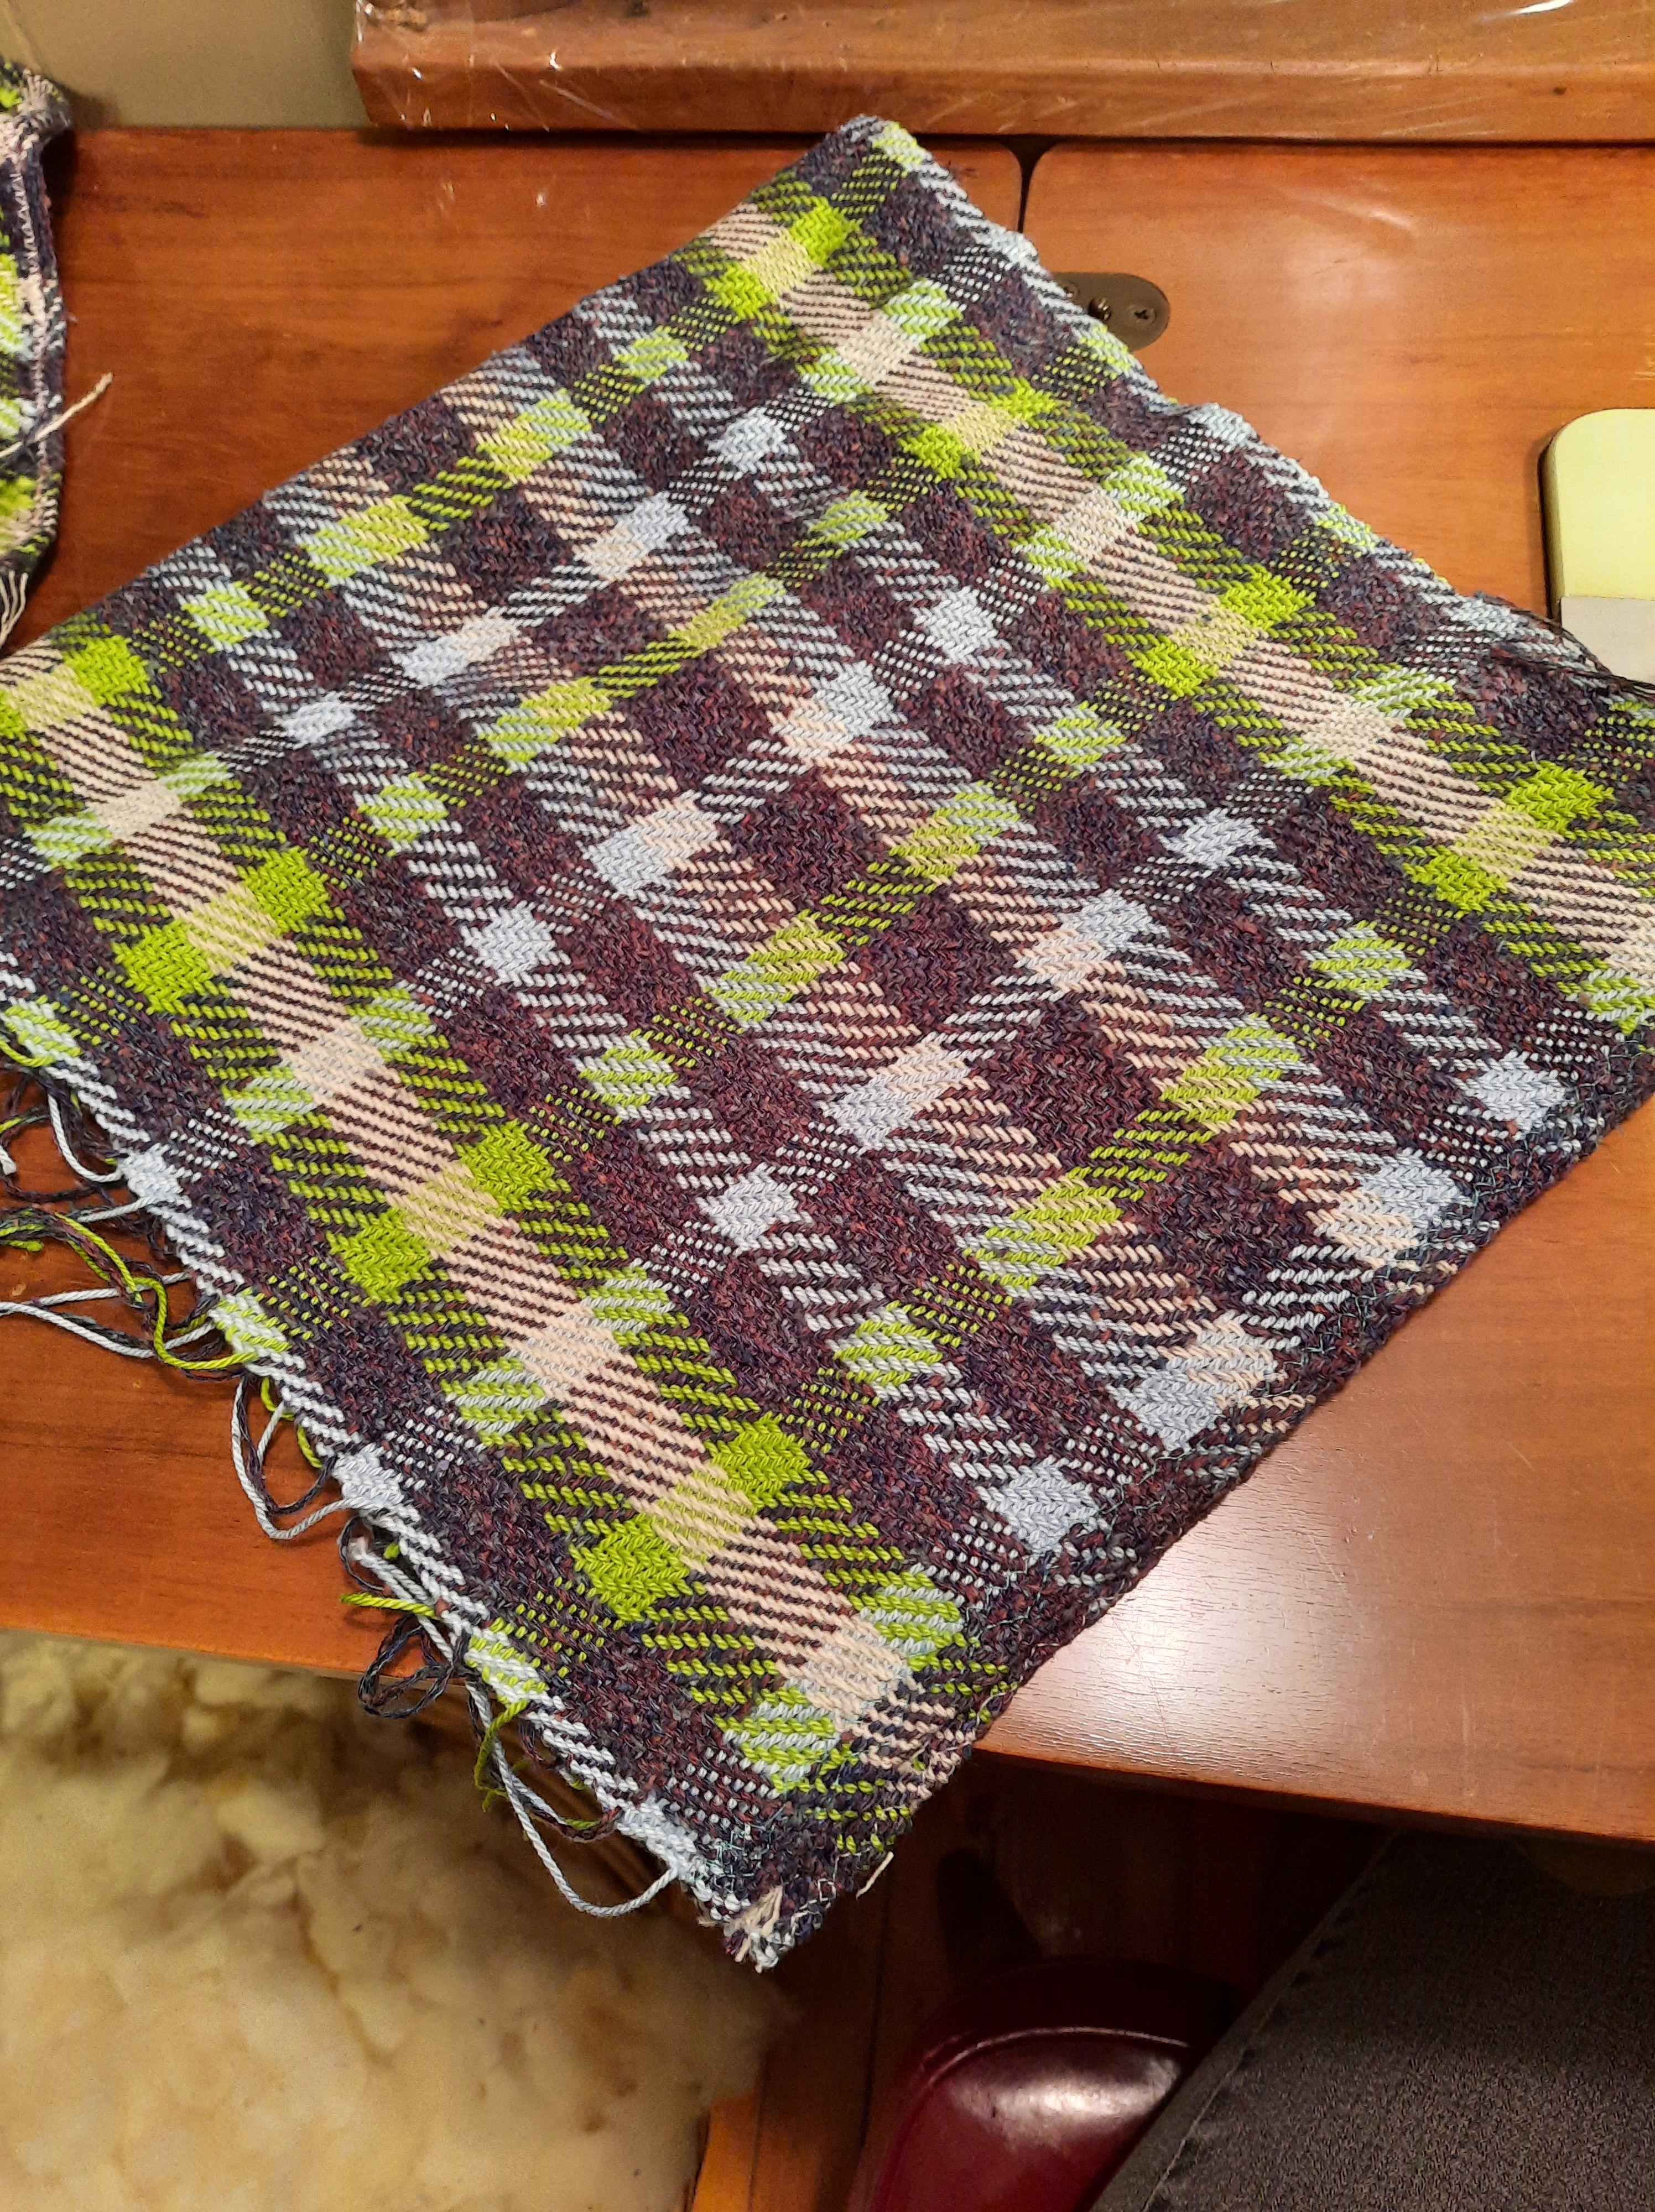
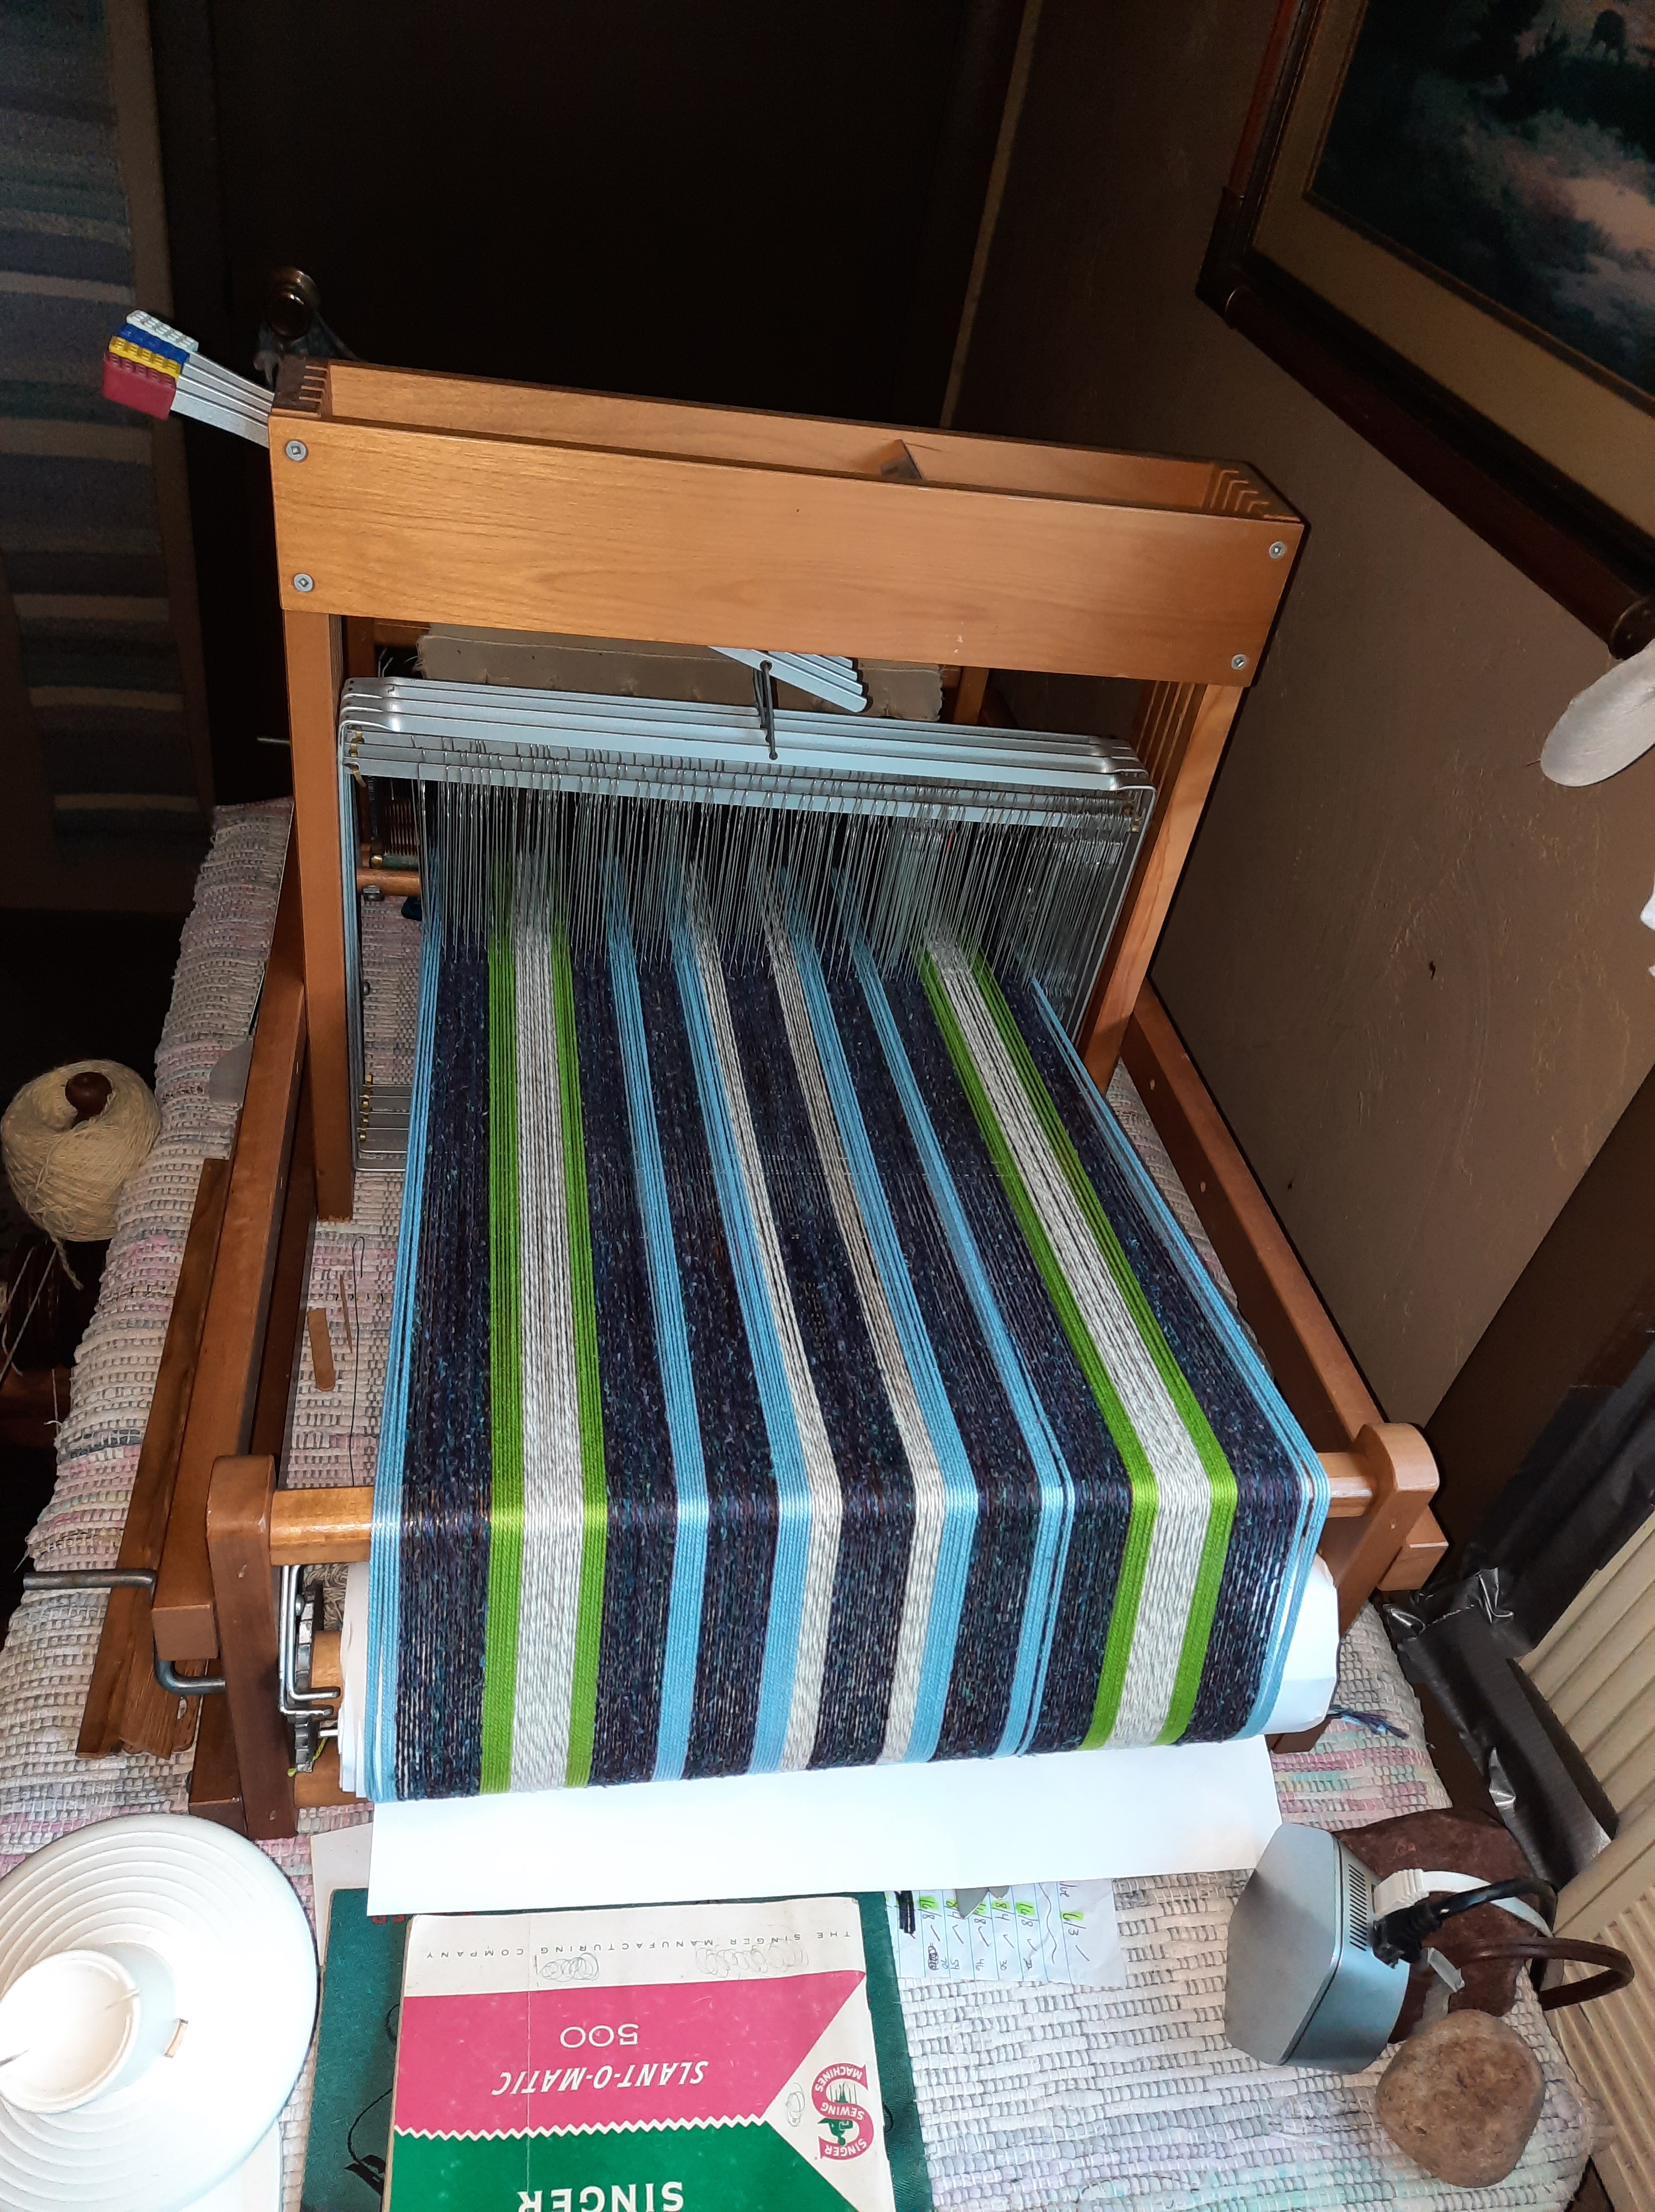
The above photo is what the next 2 Spring Fling Dishtowels will look like when I continue weaving.

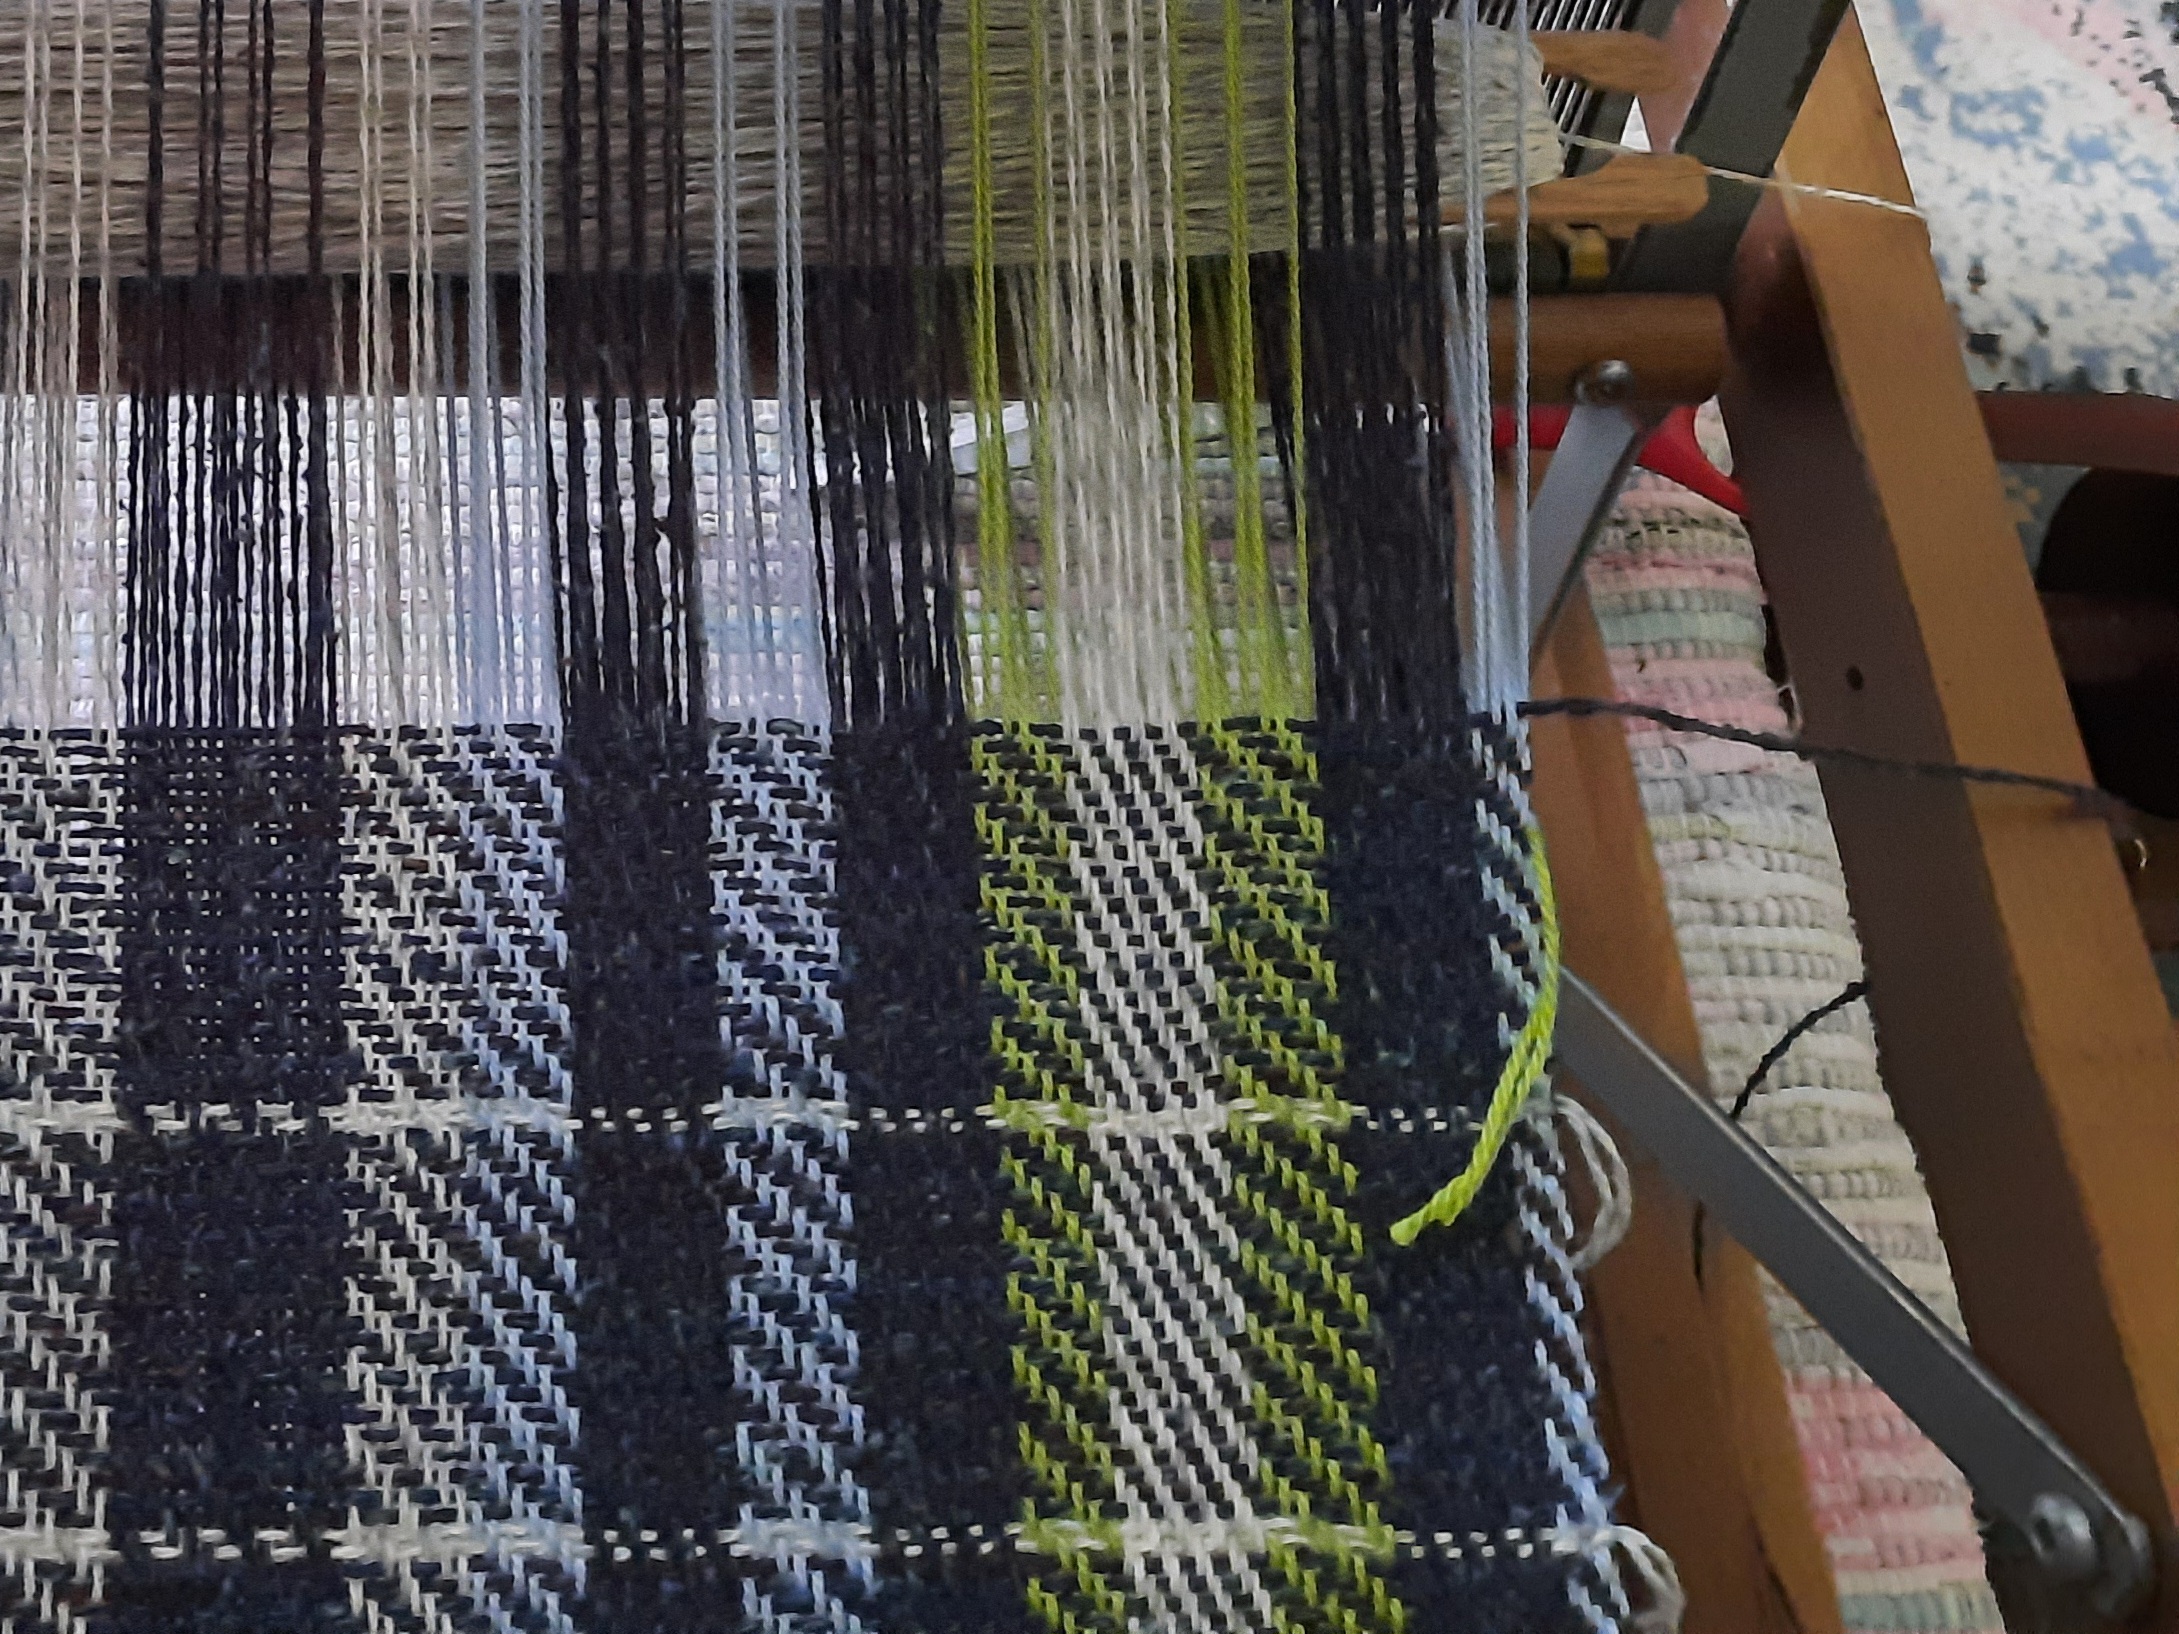
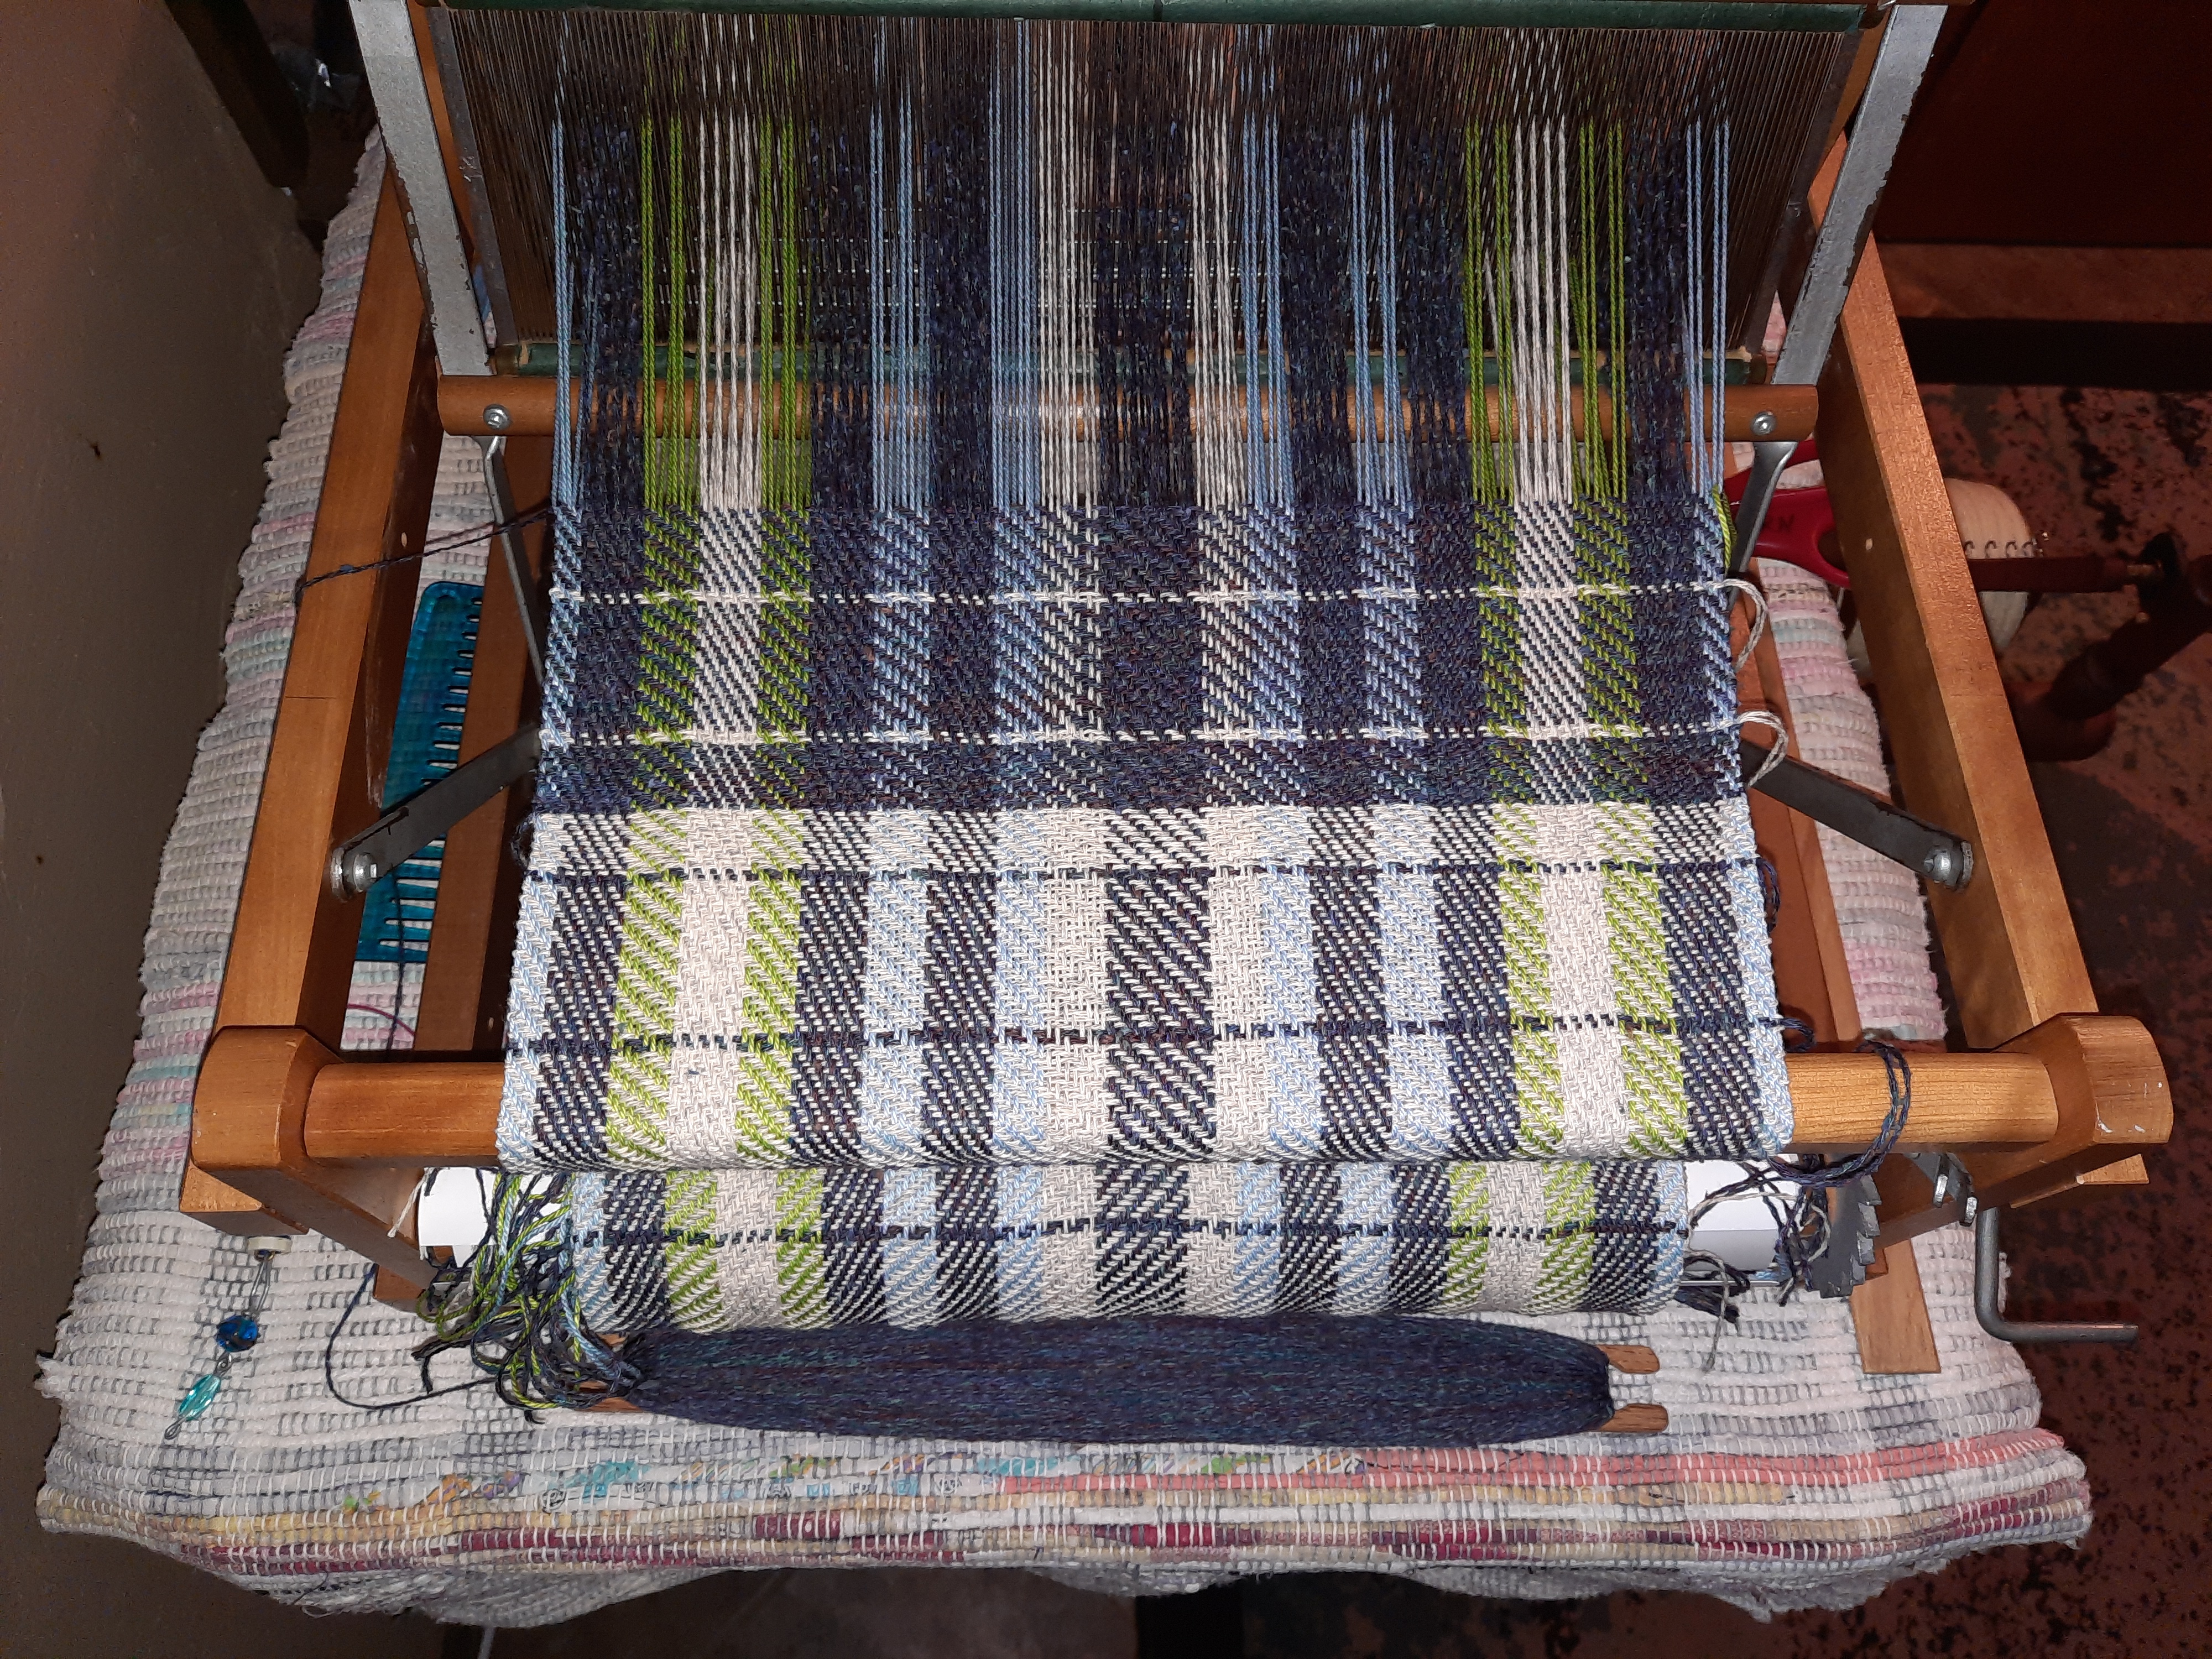
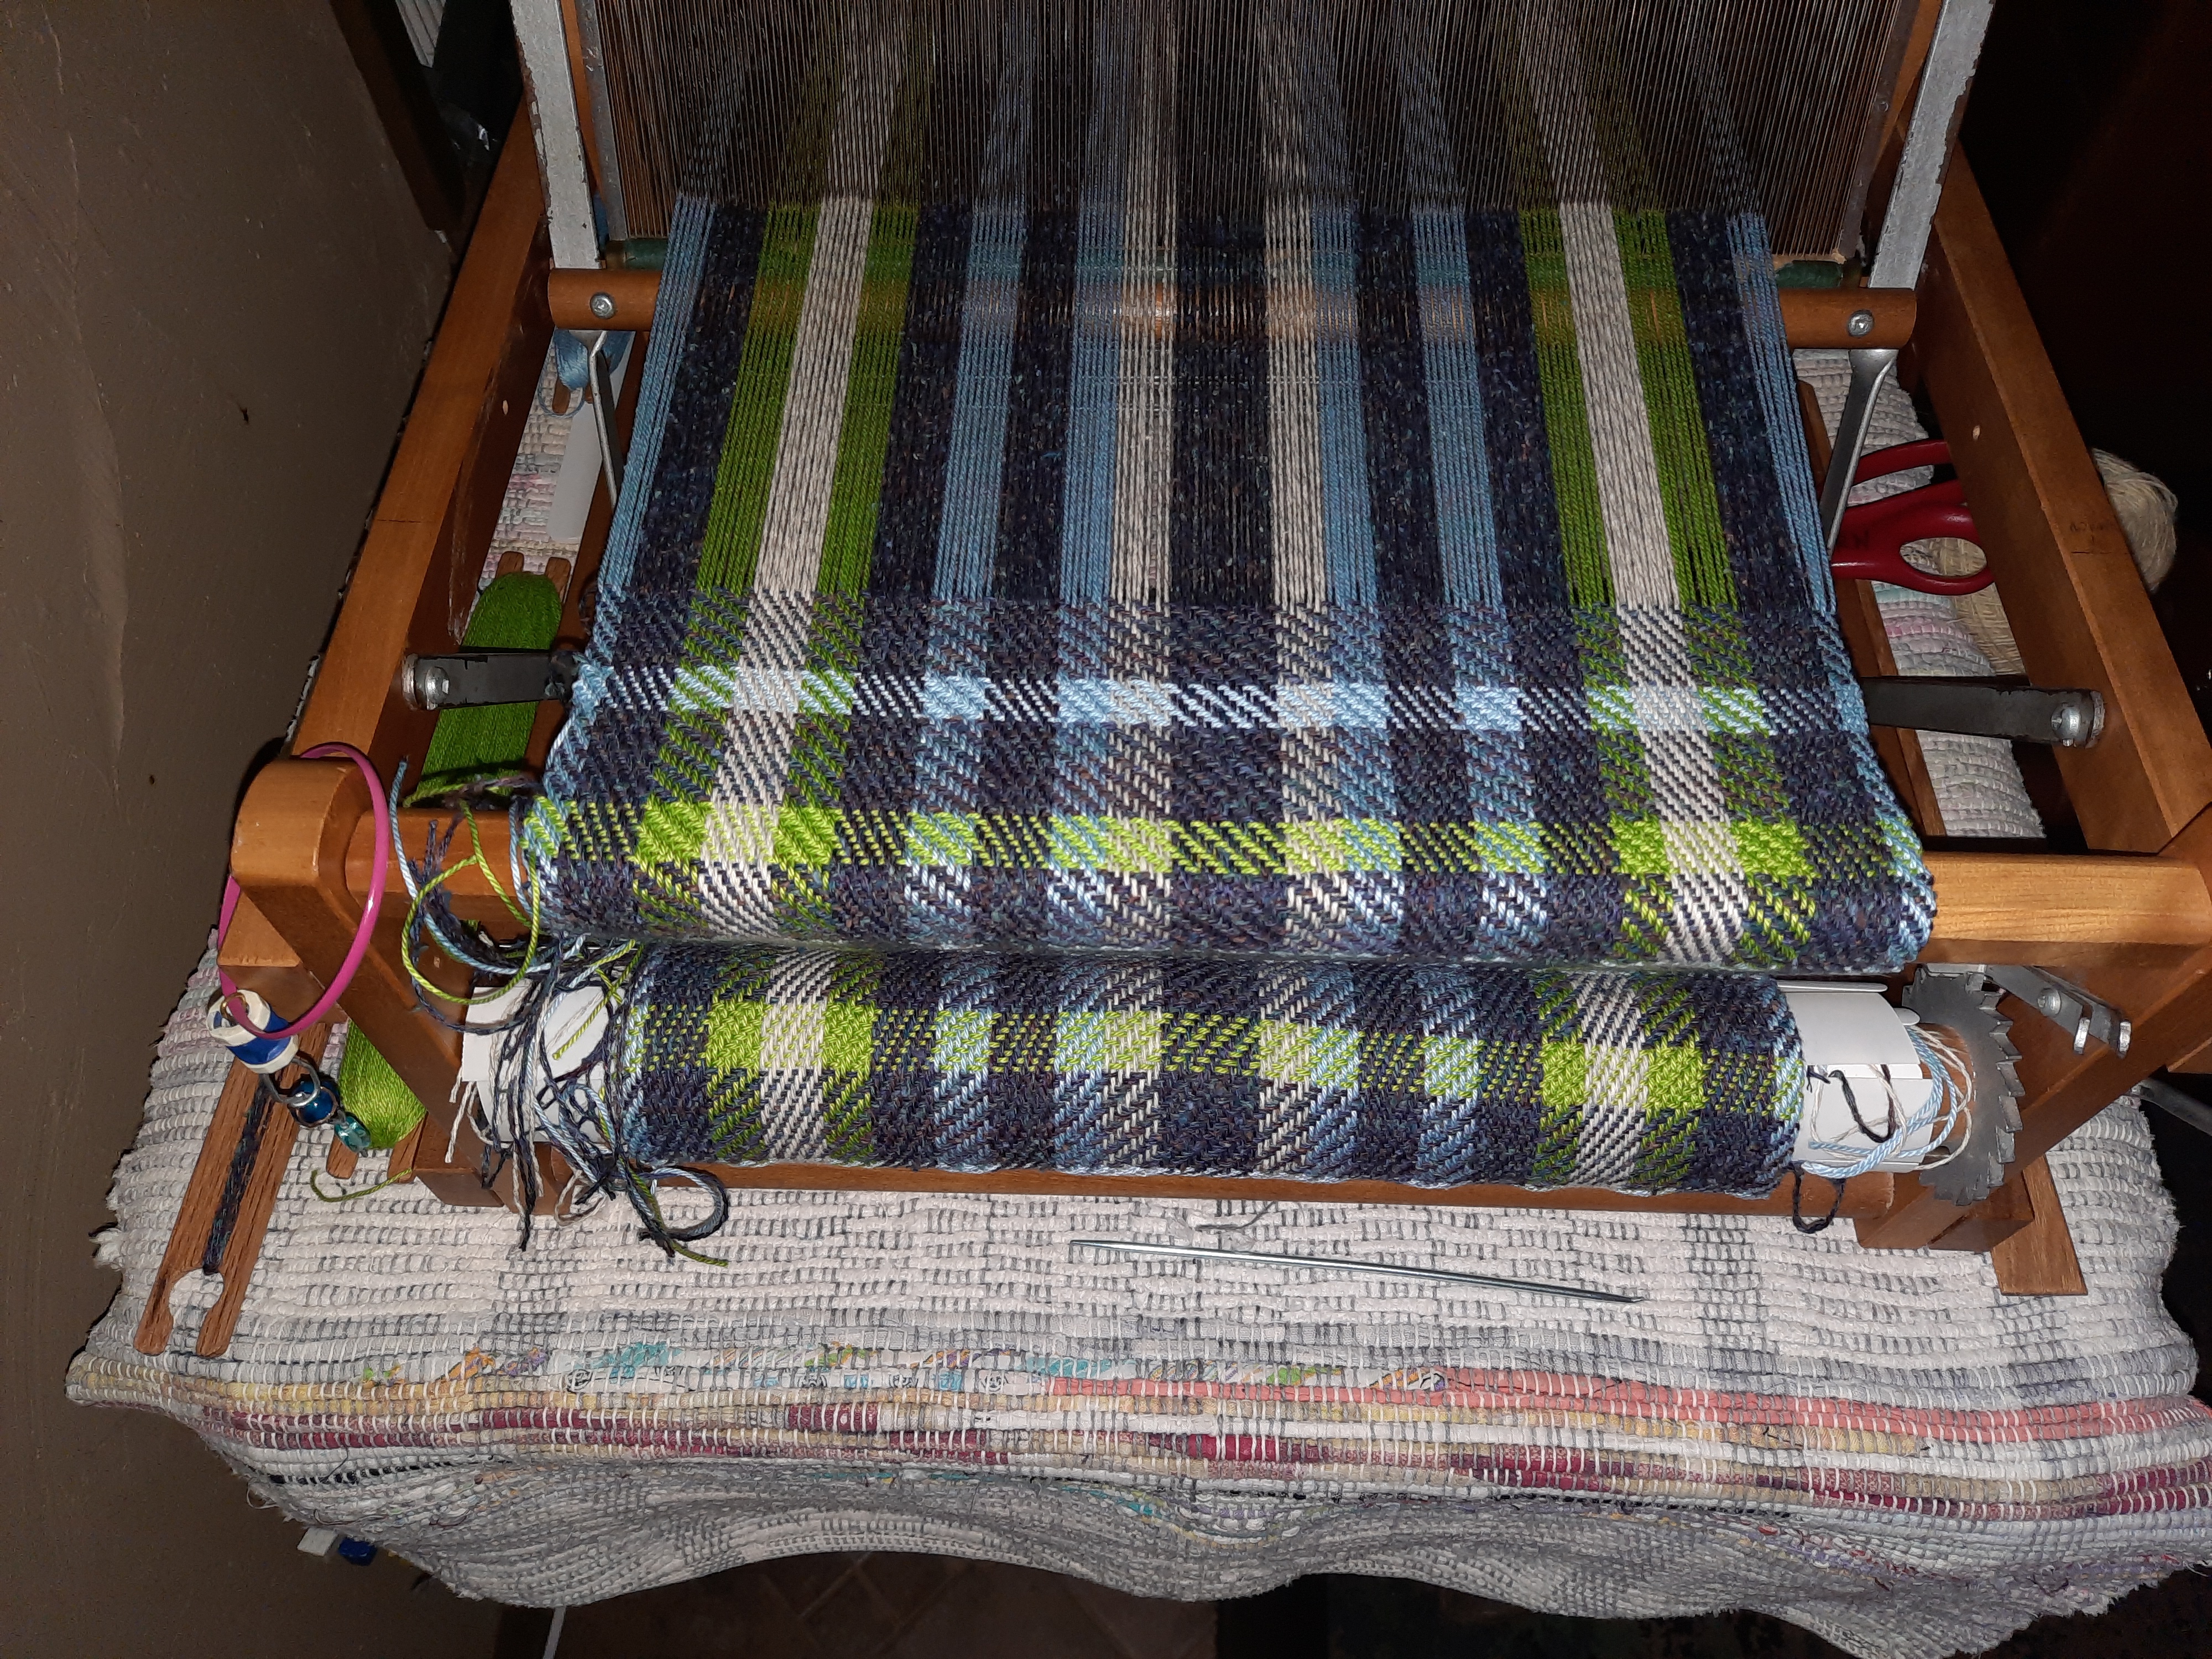
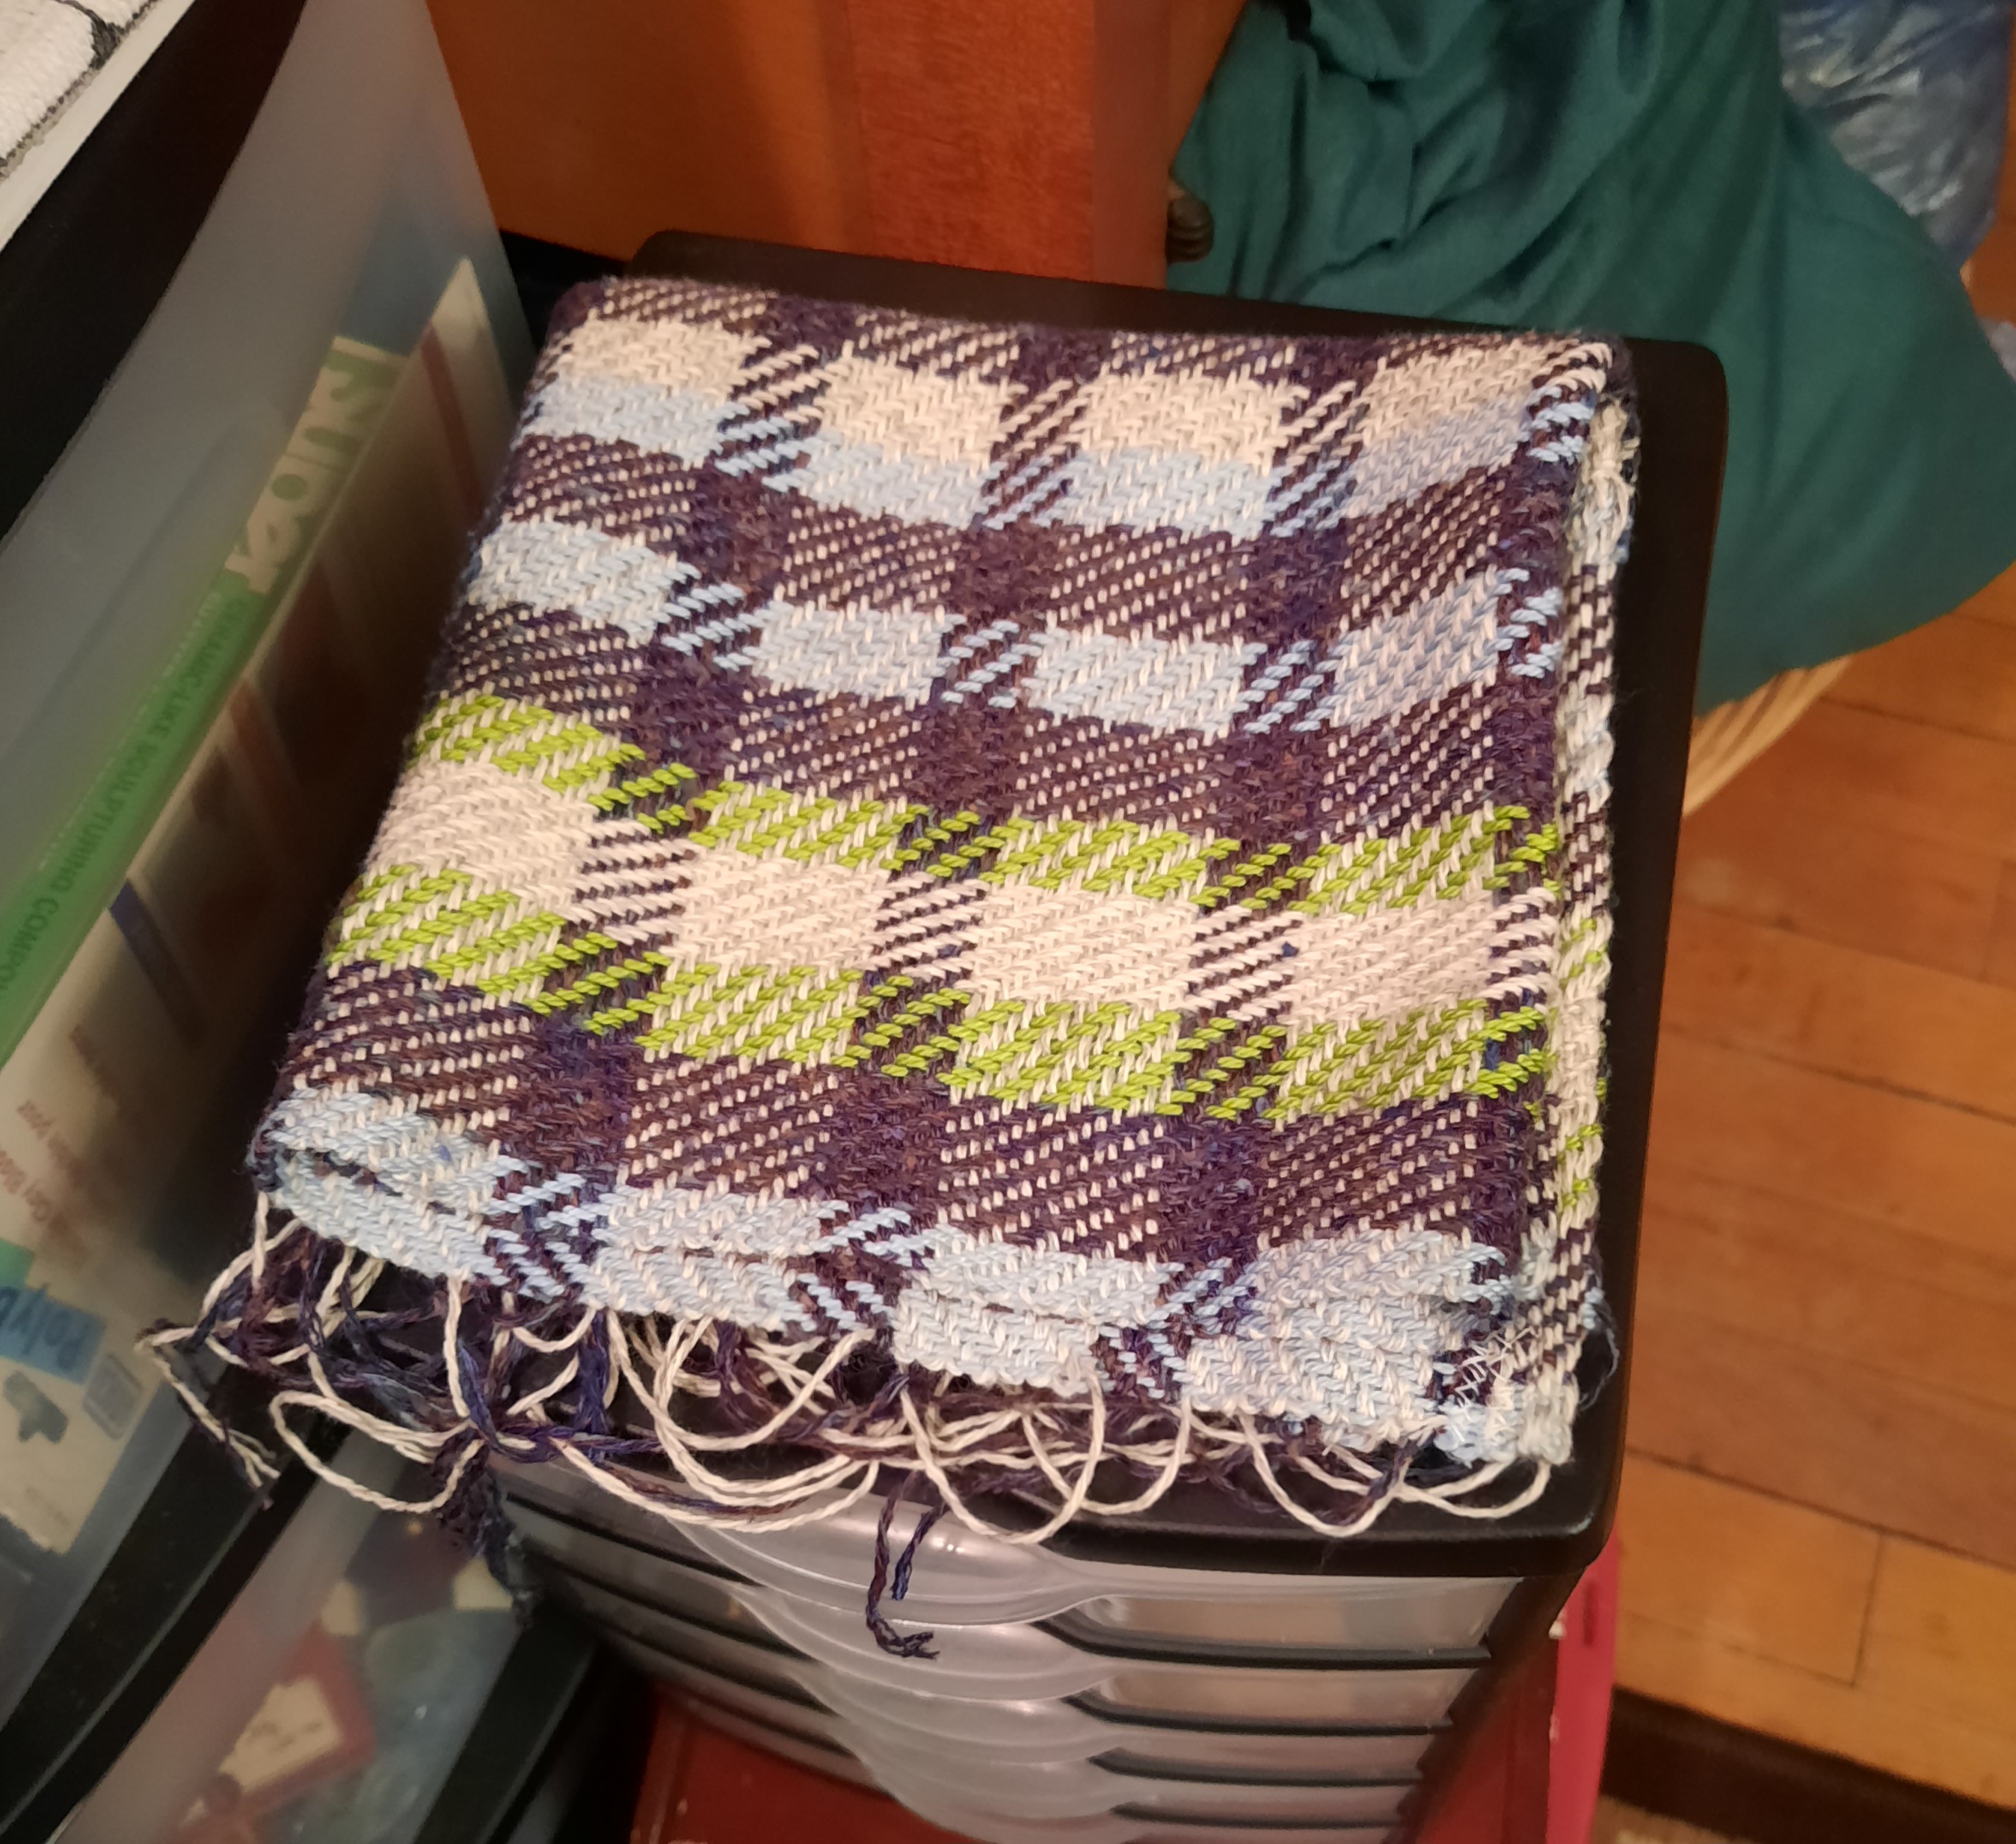
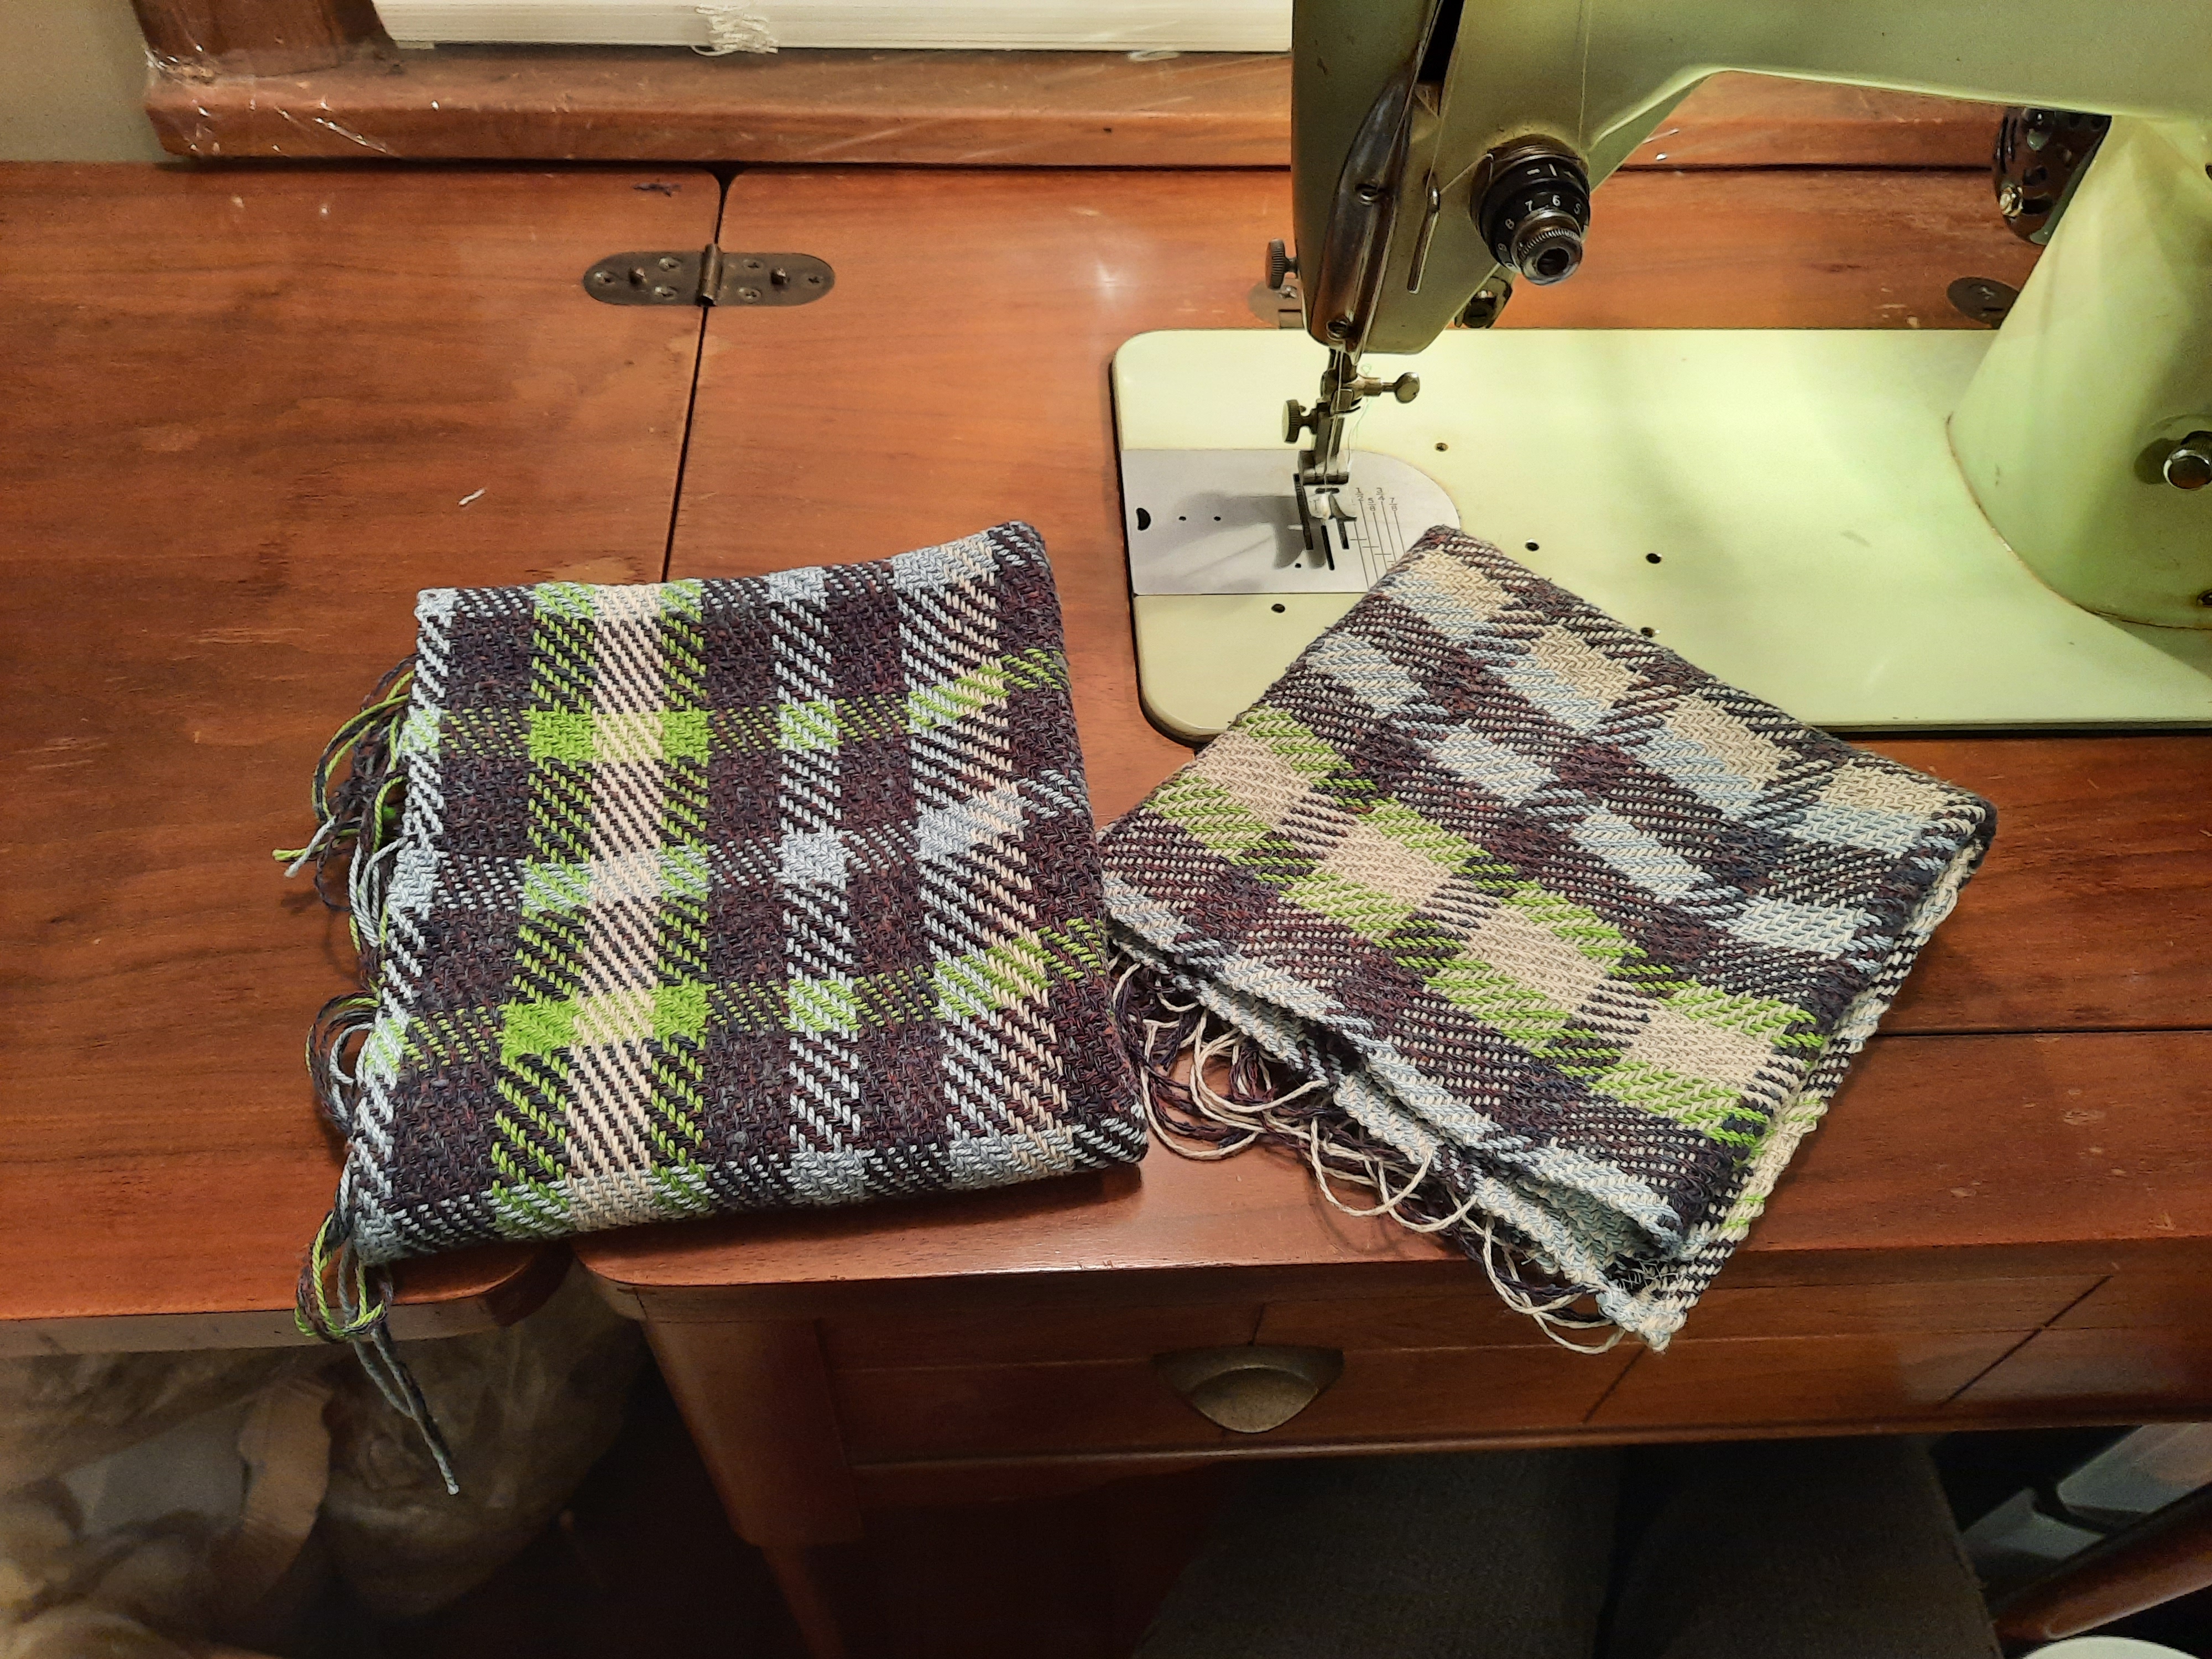
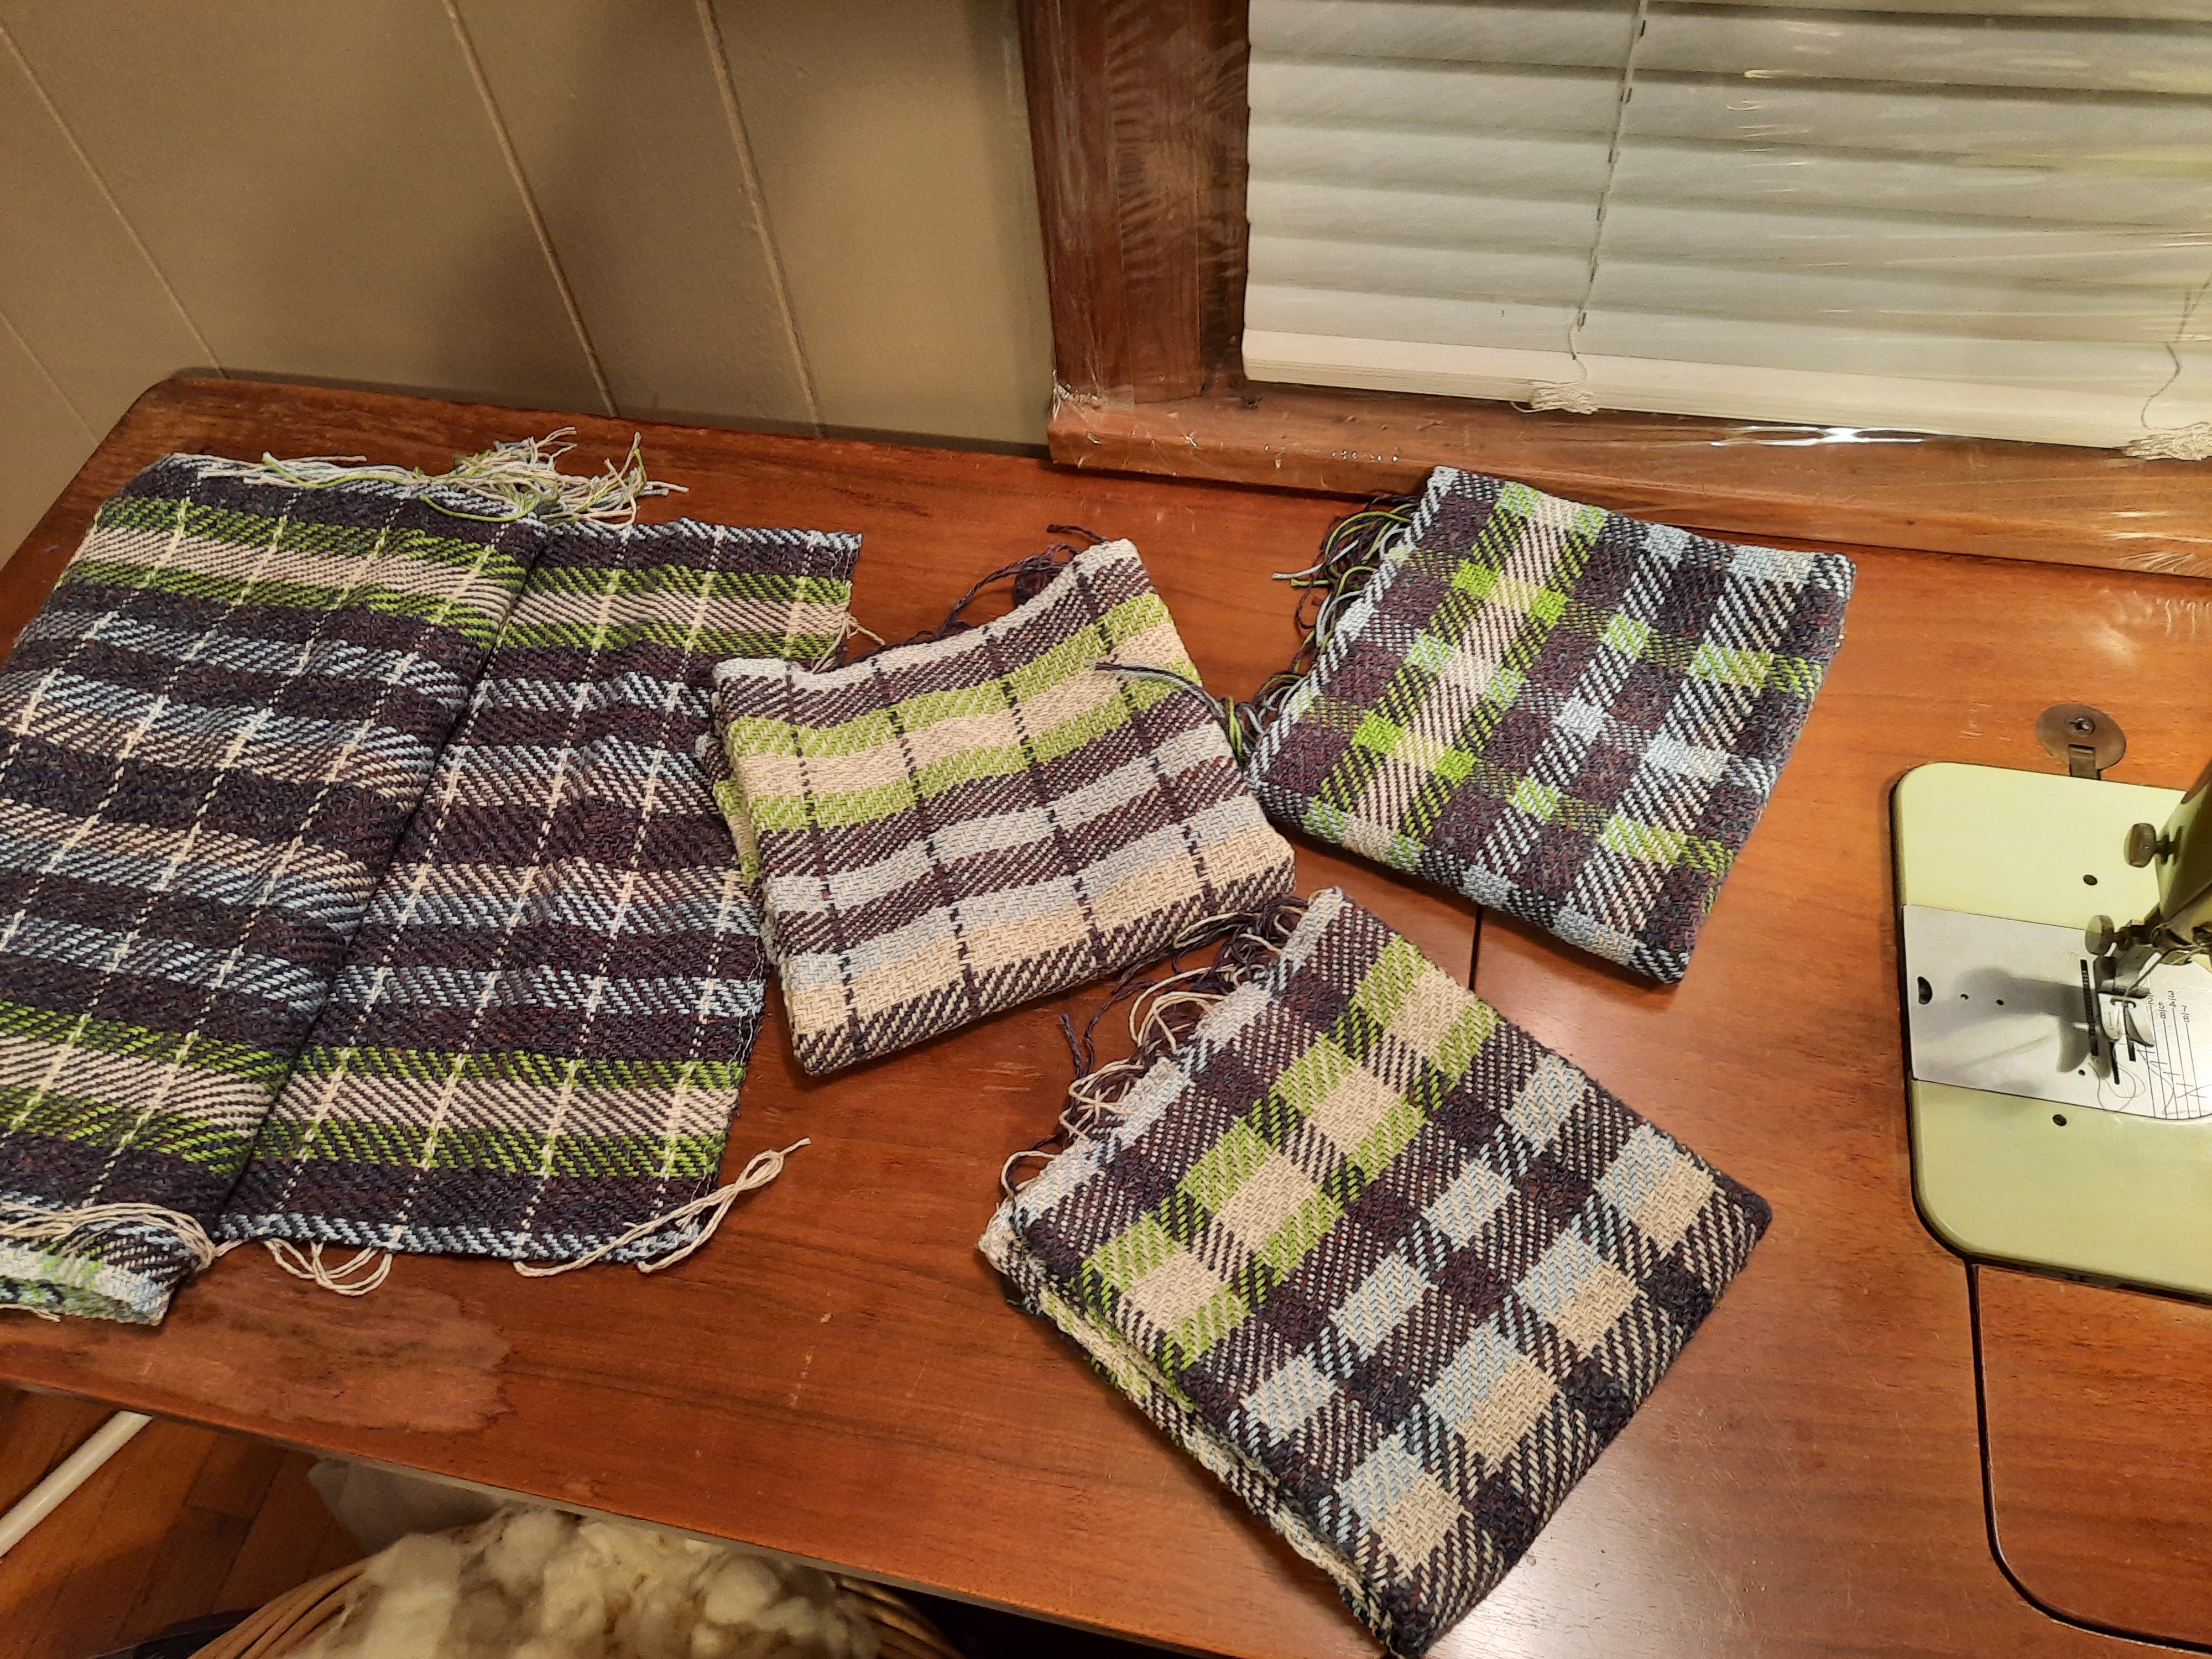
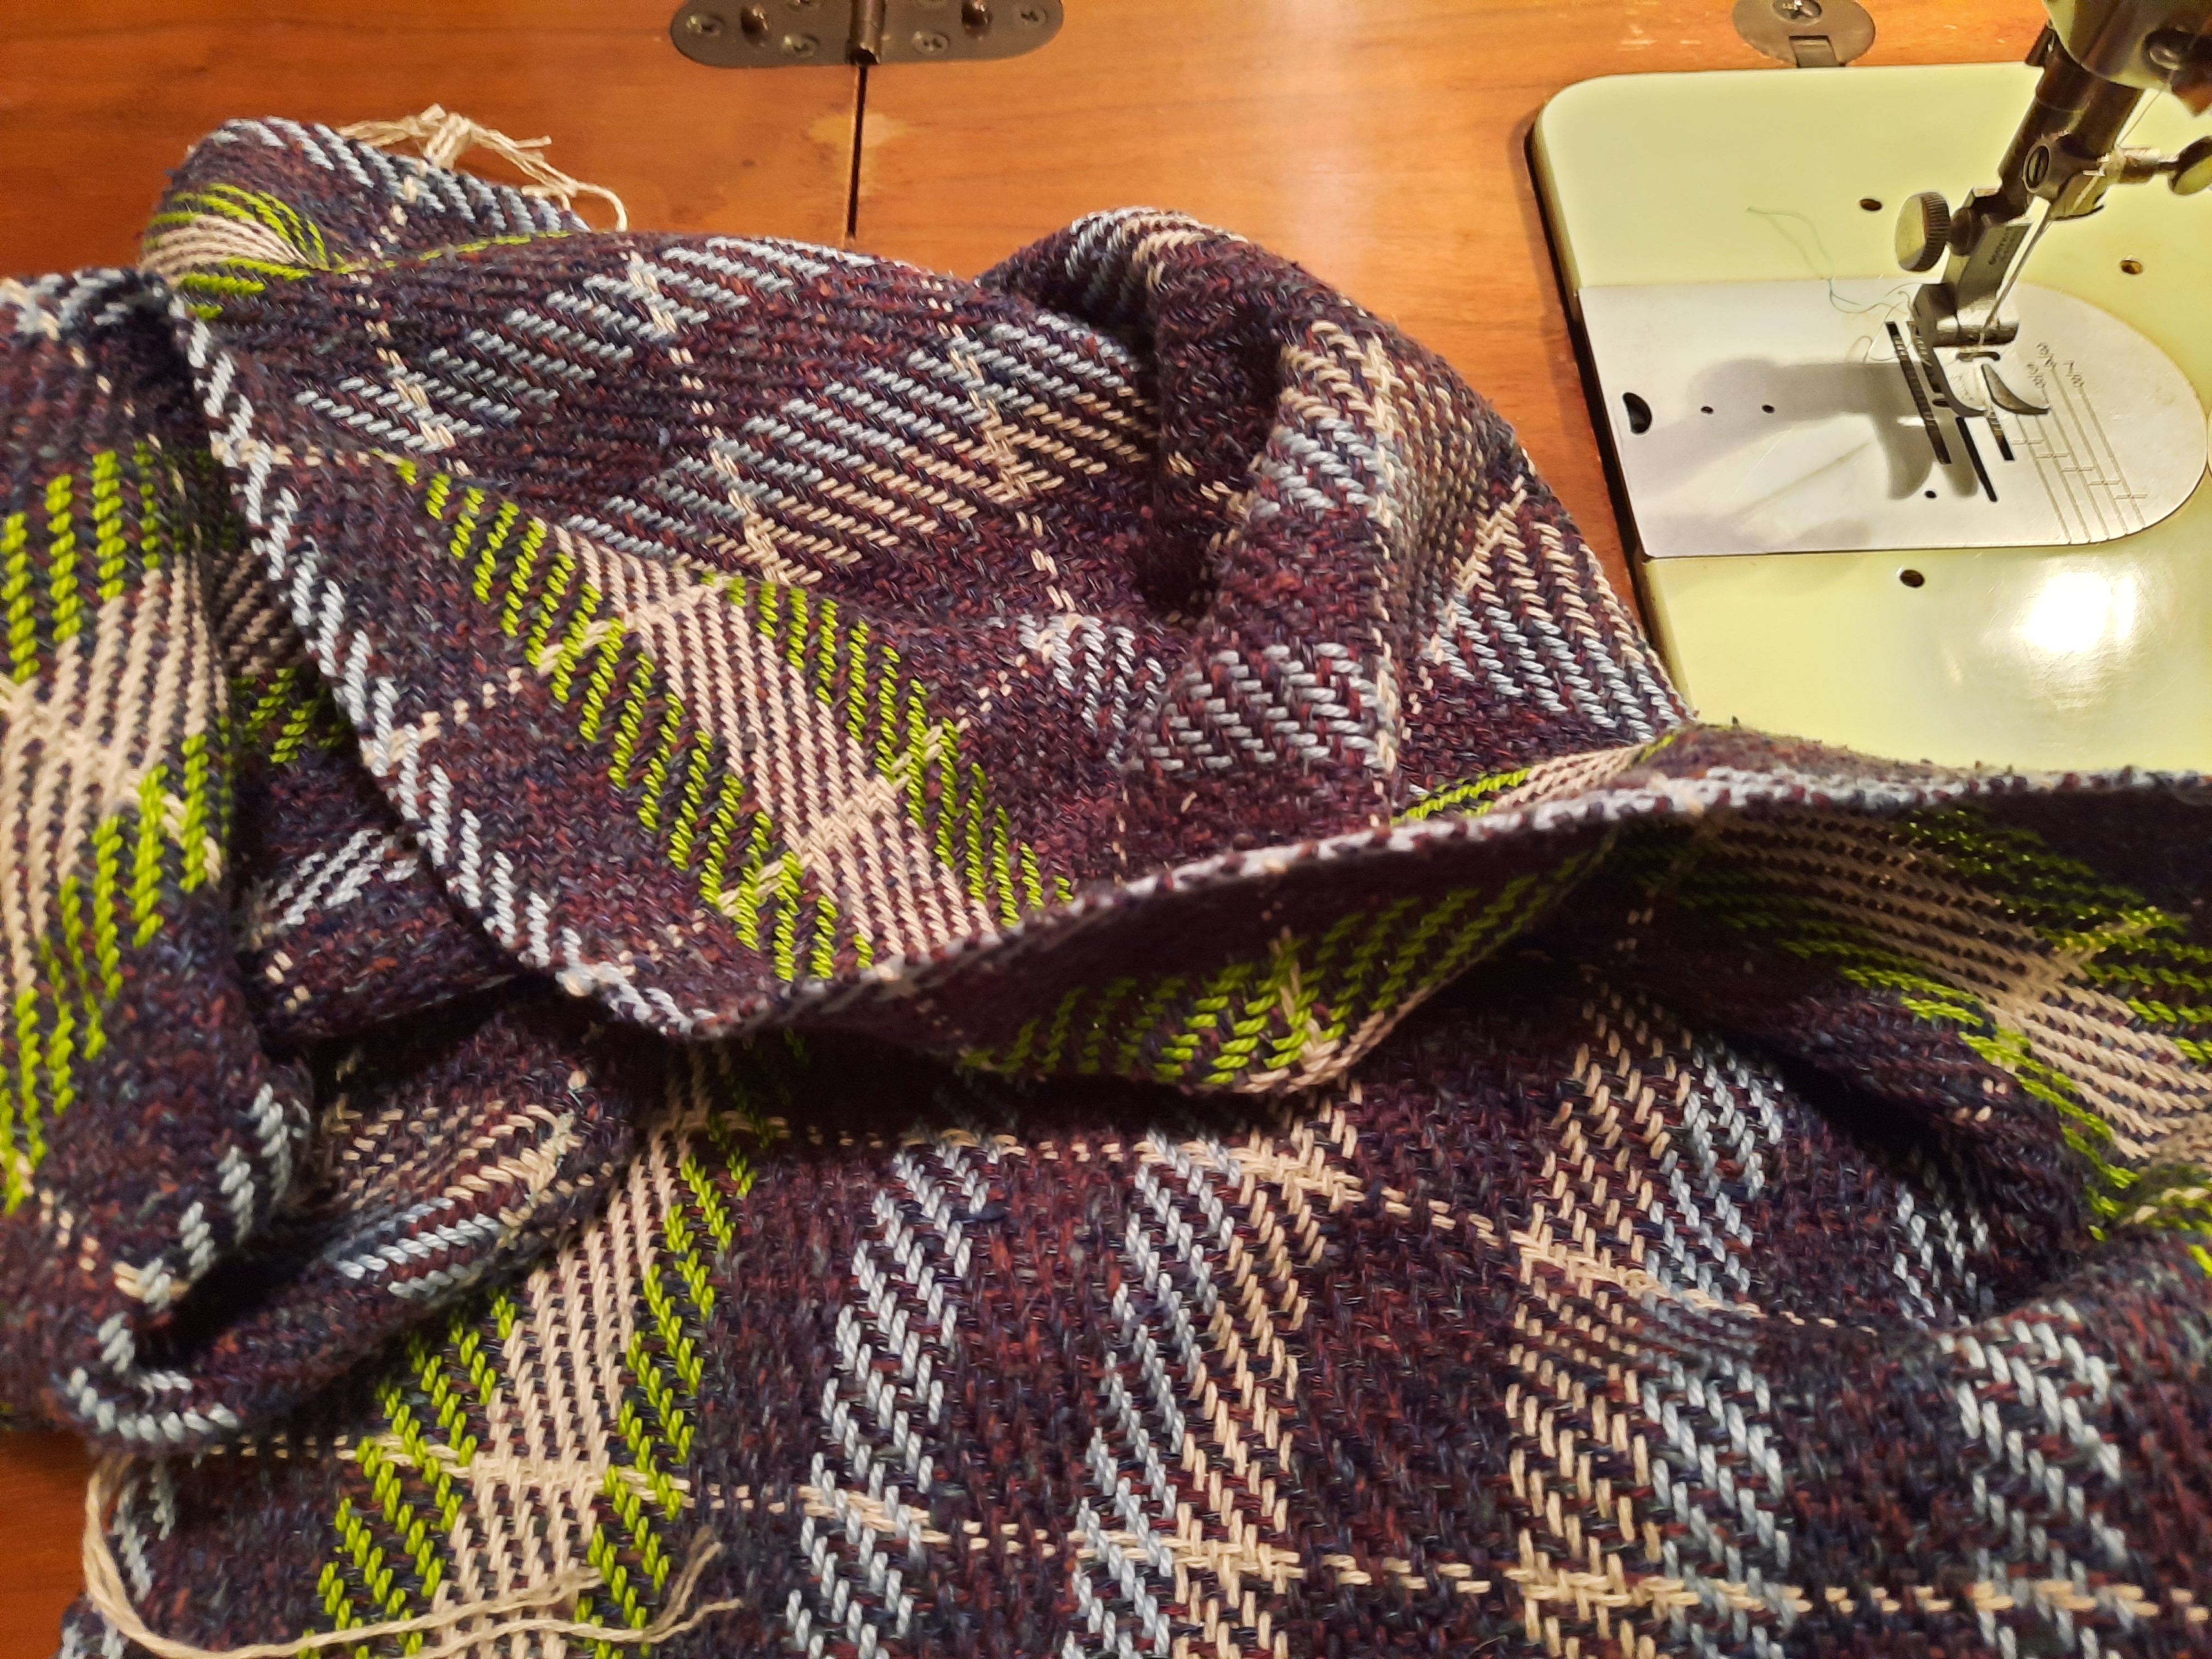
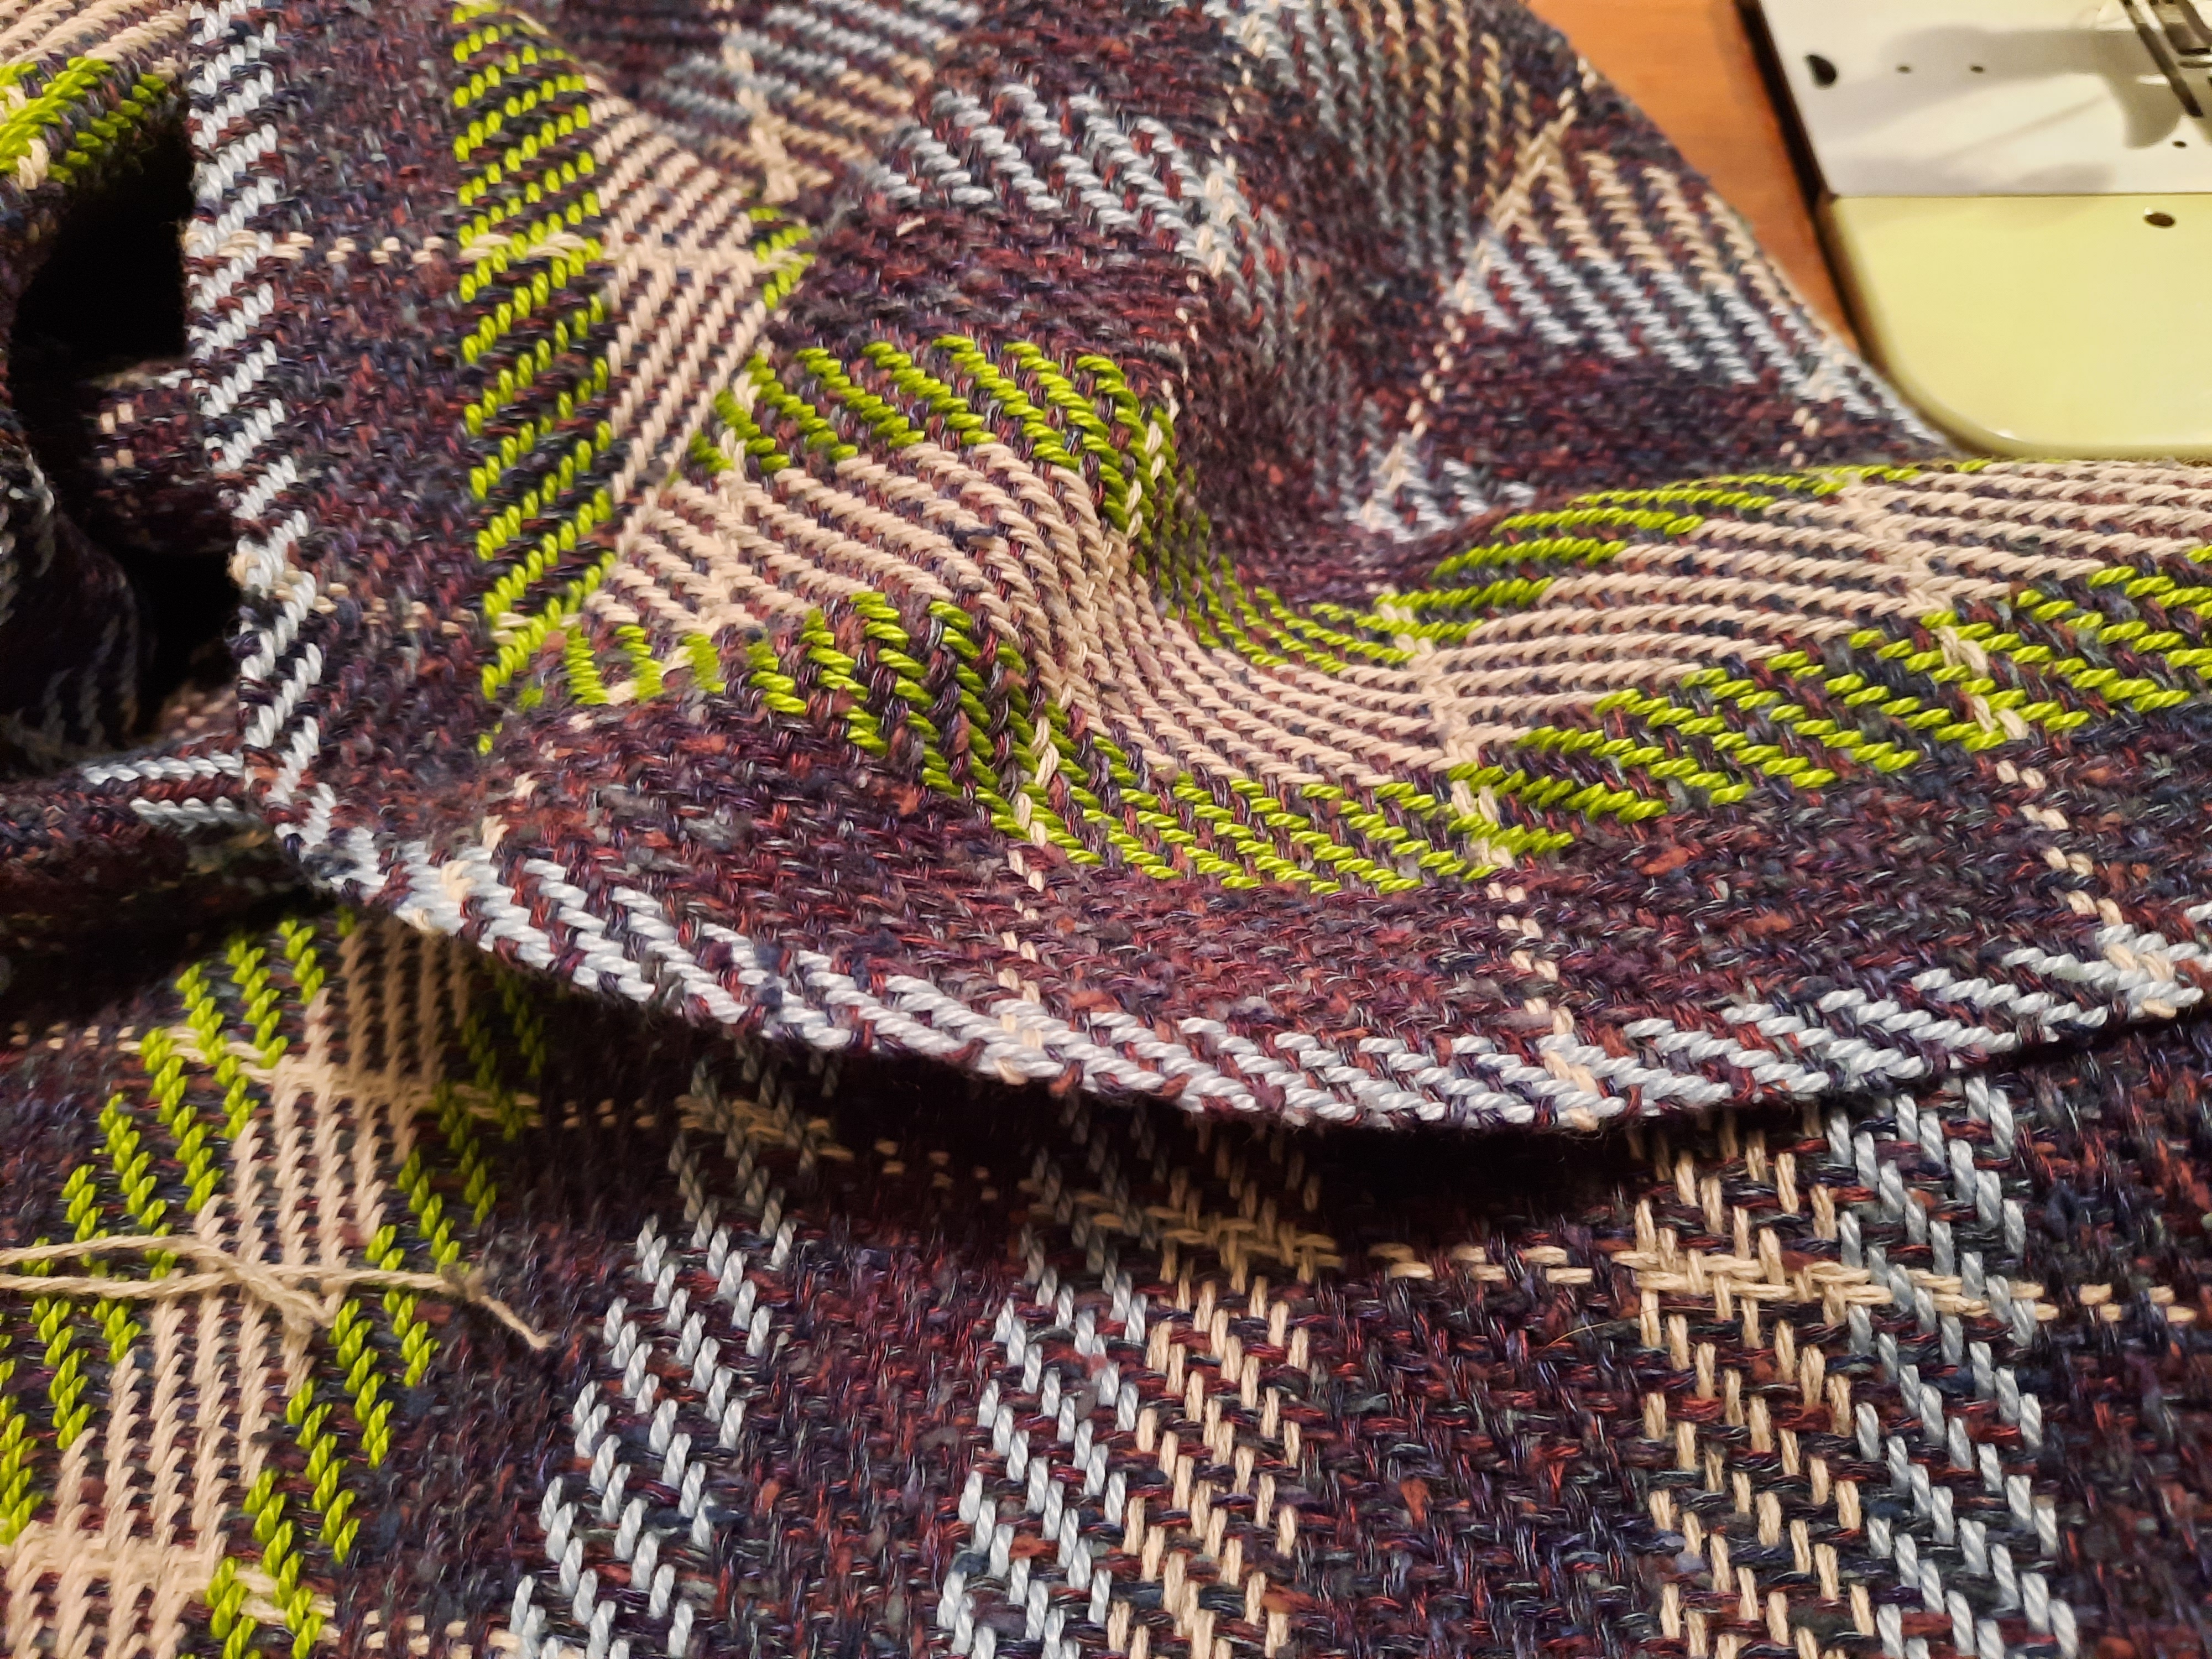
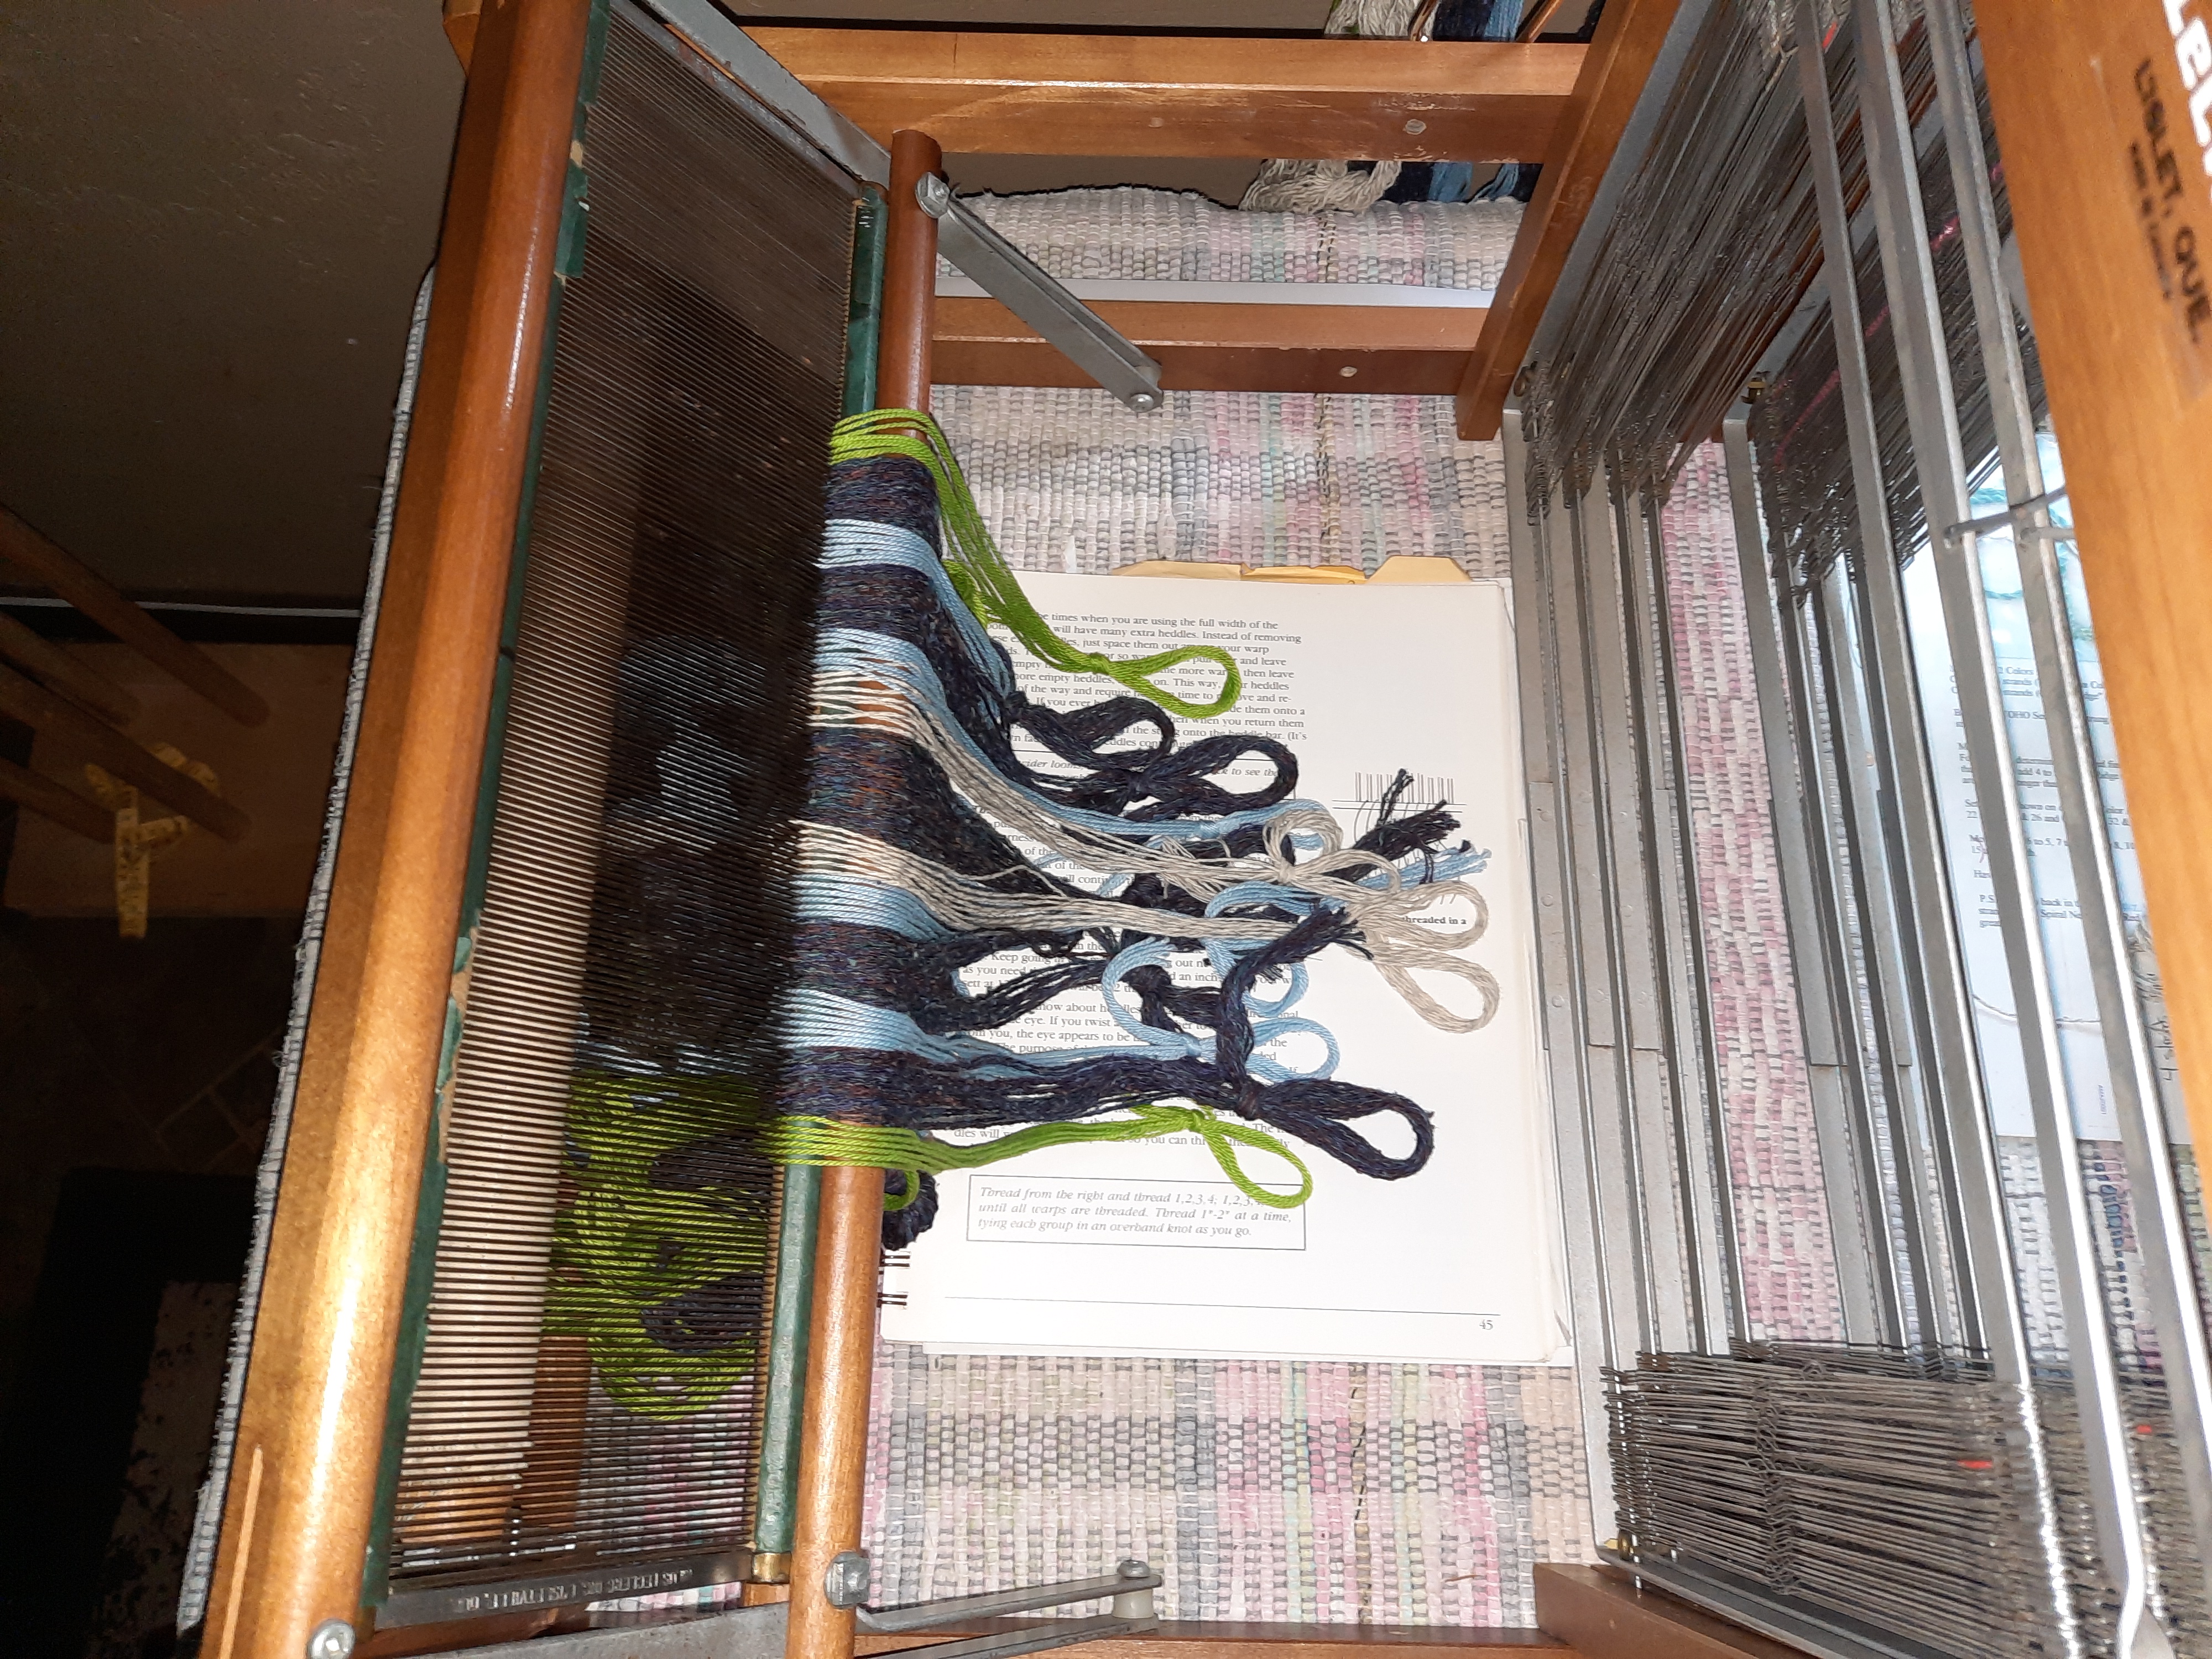
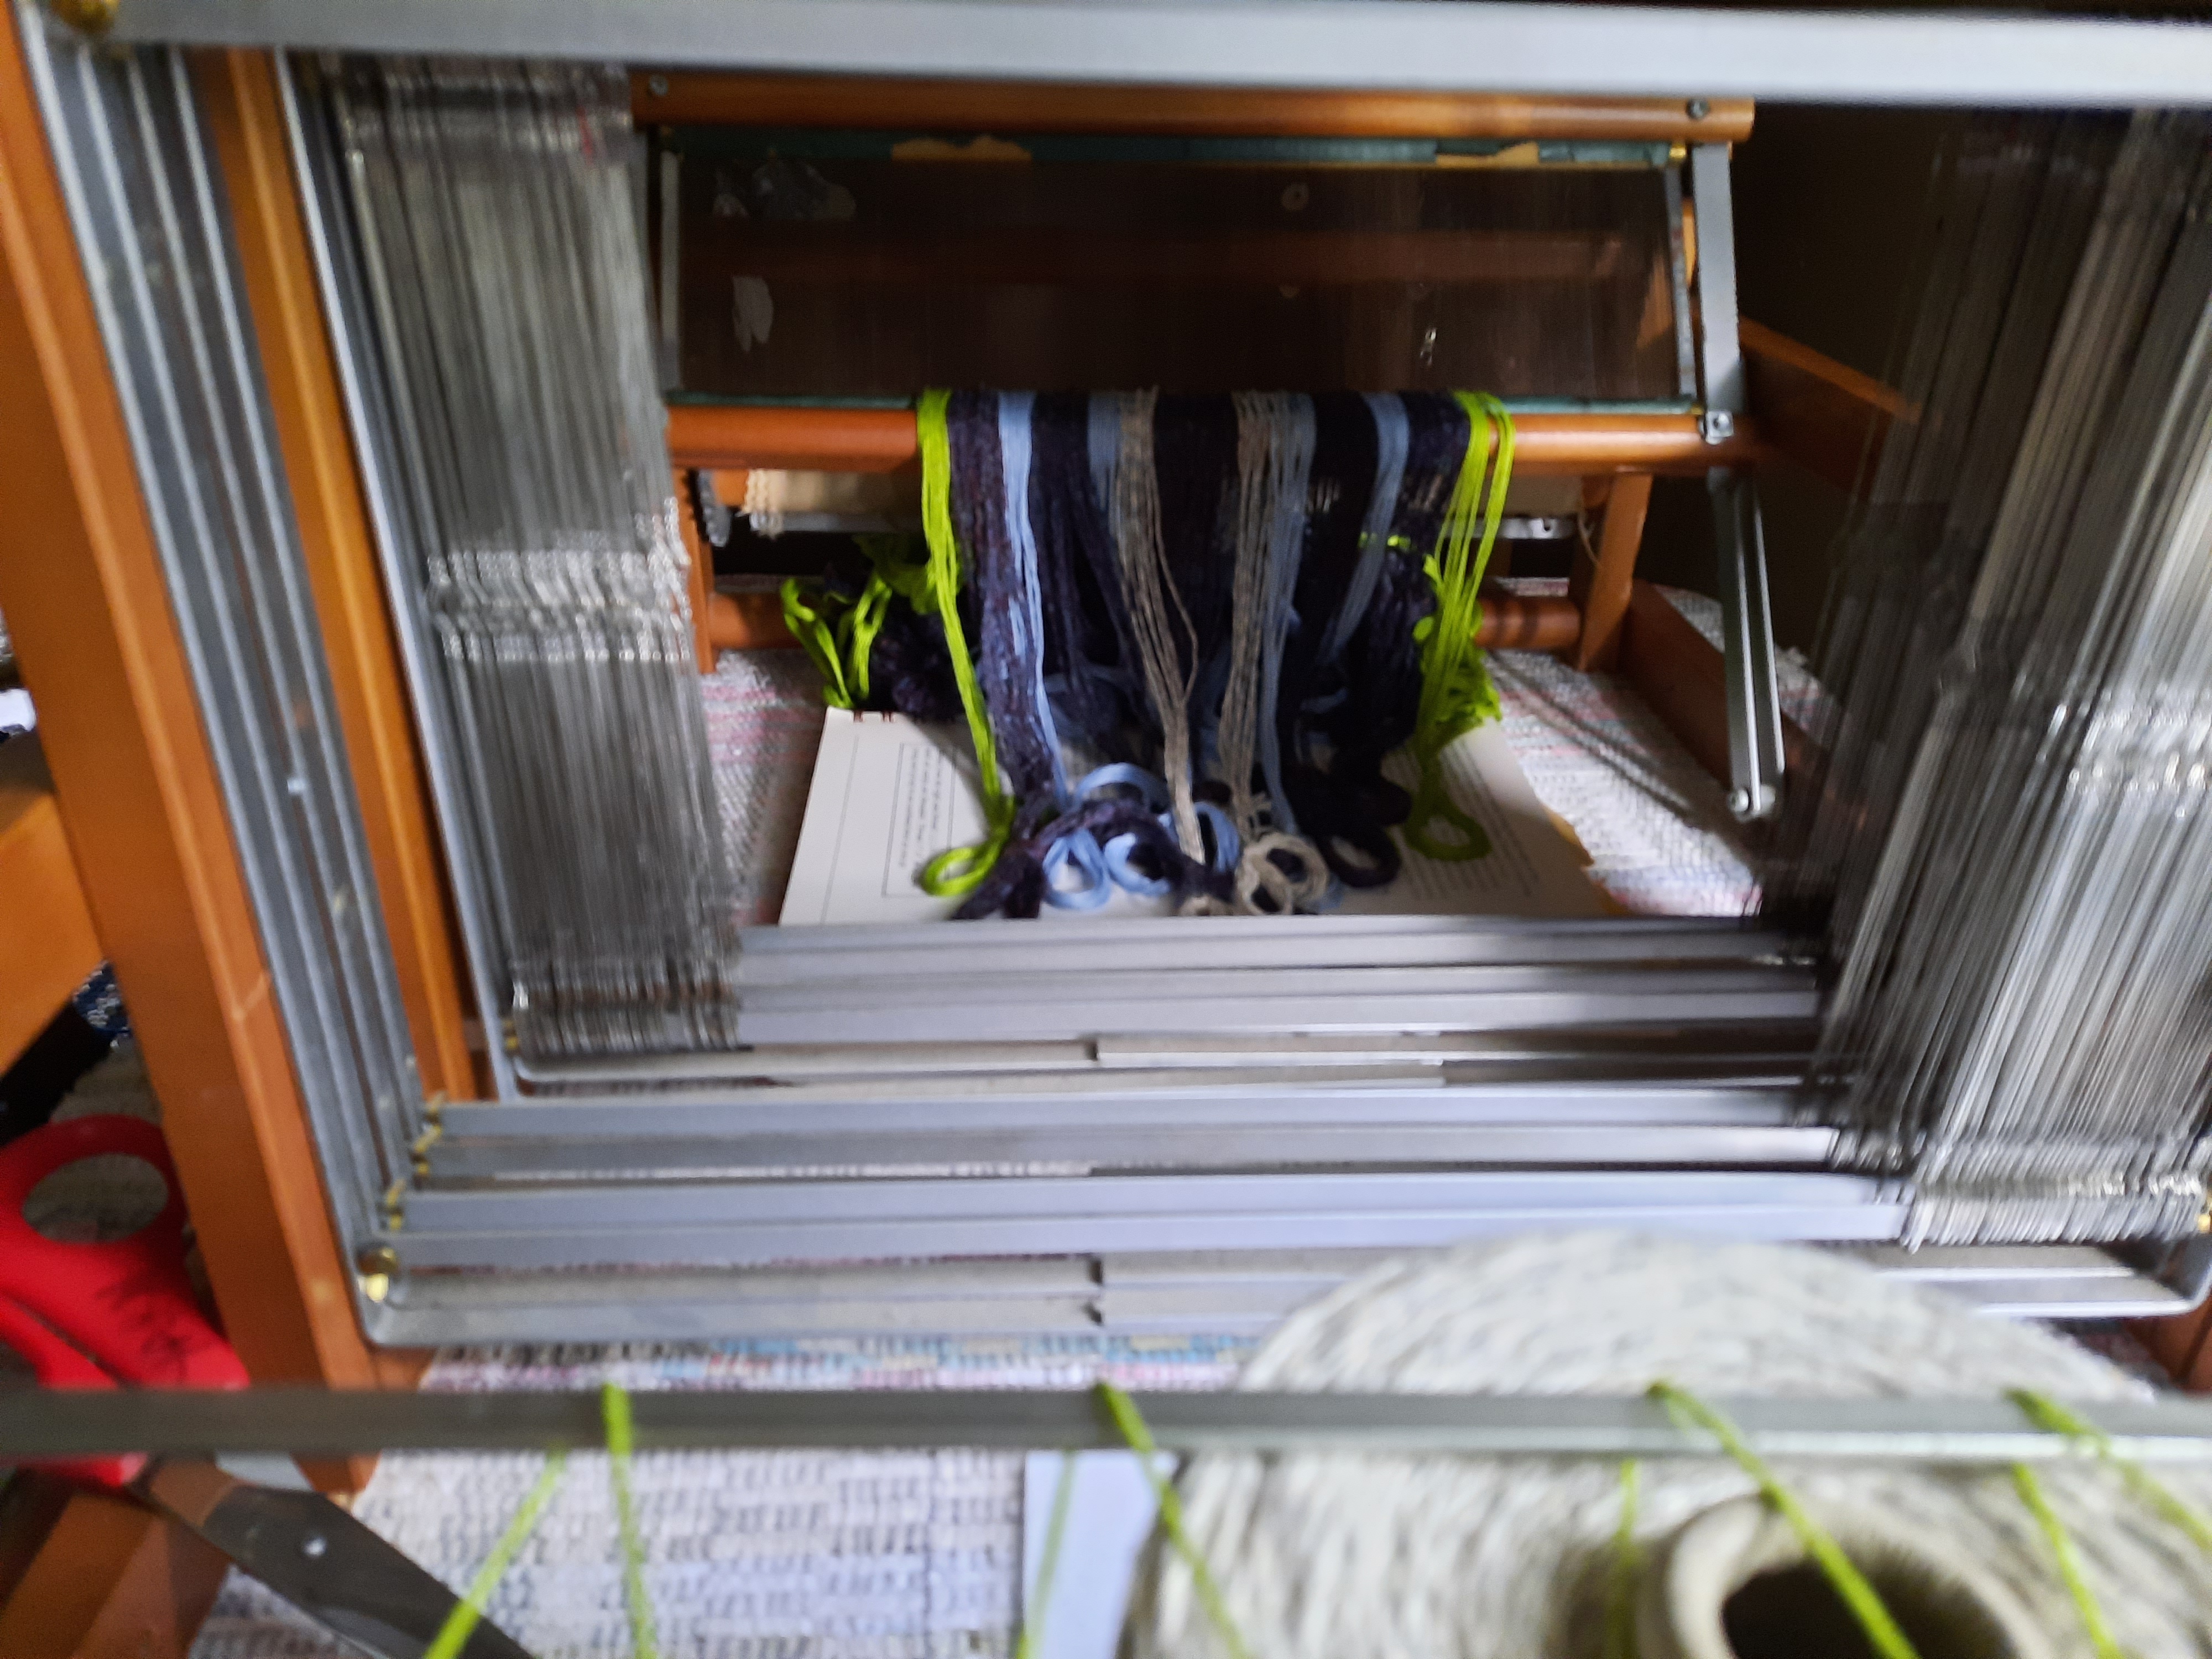
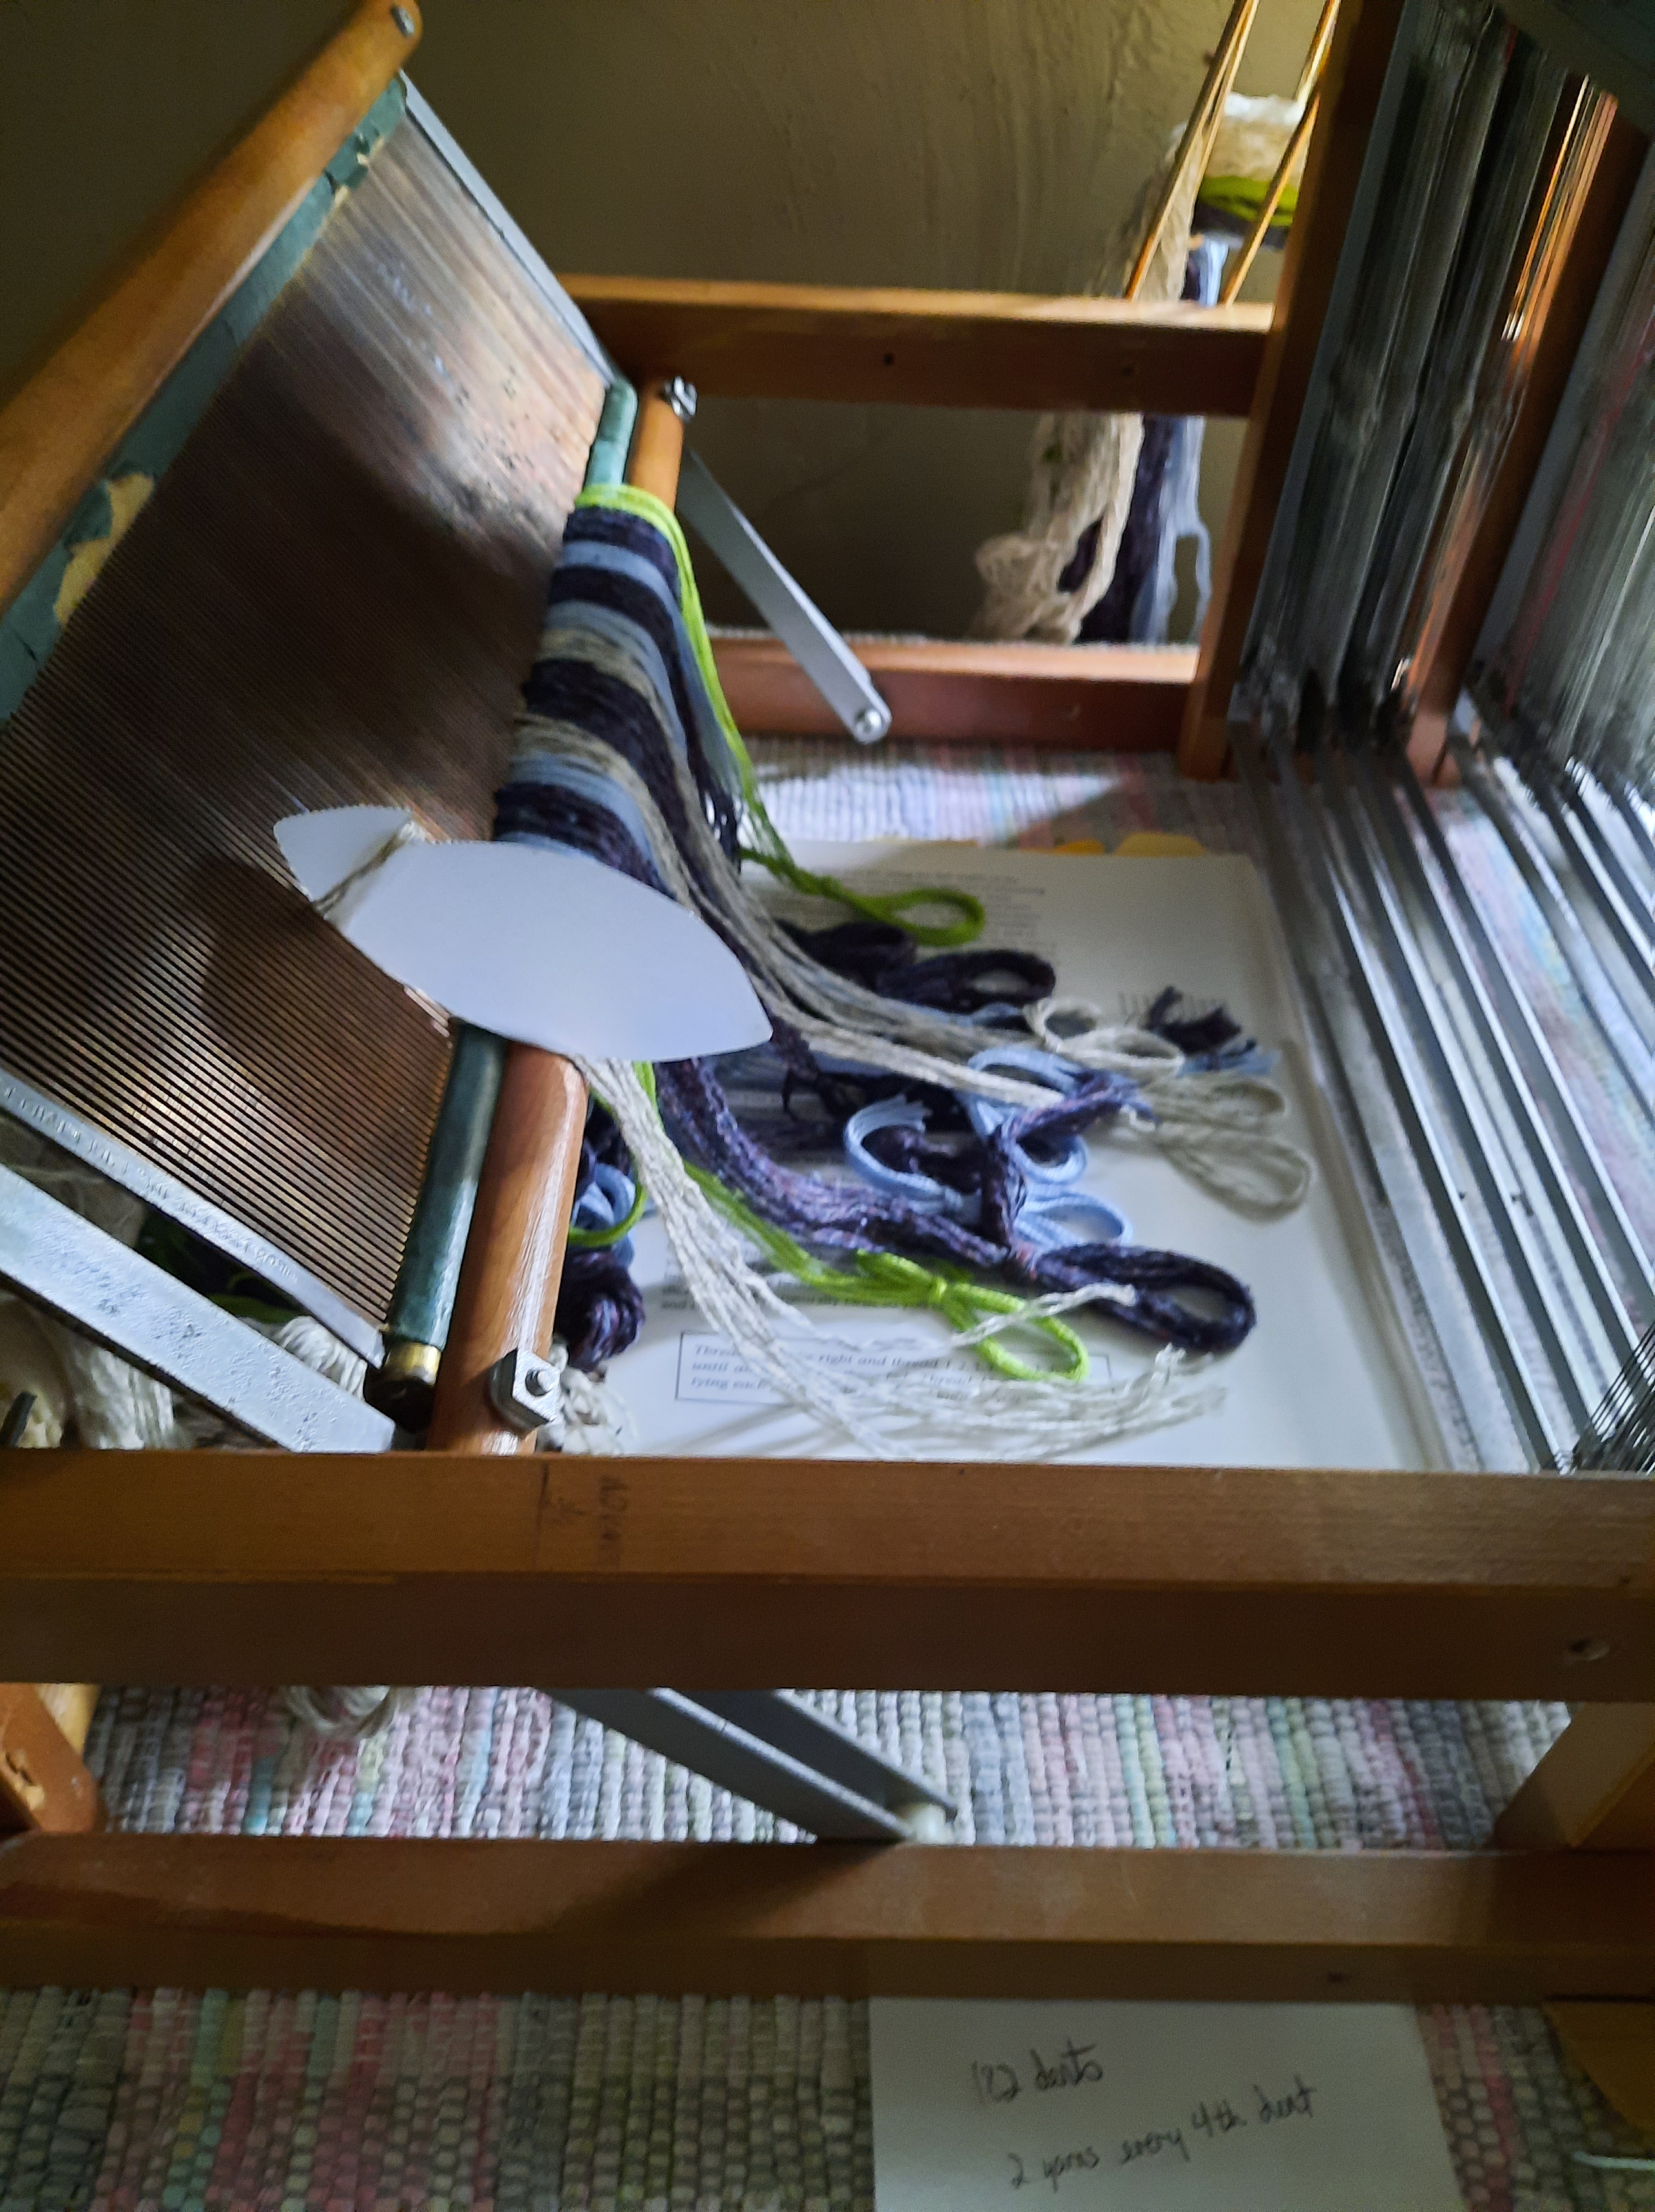
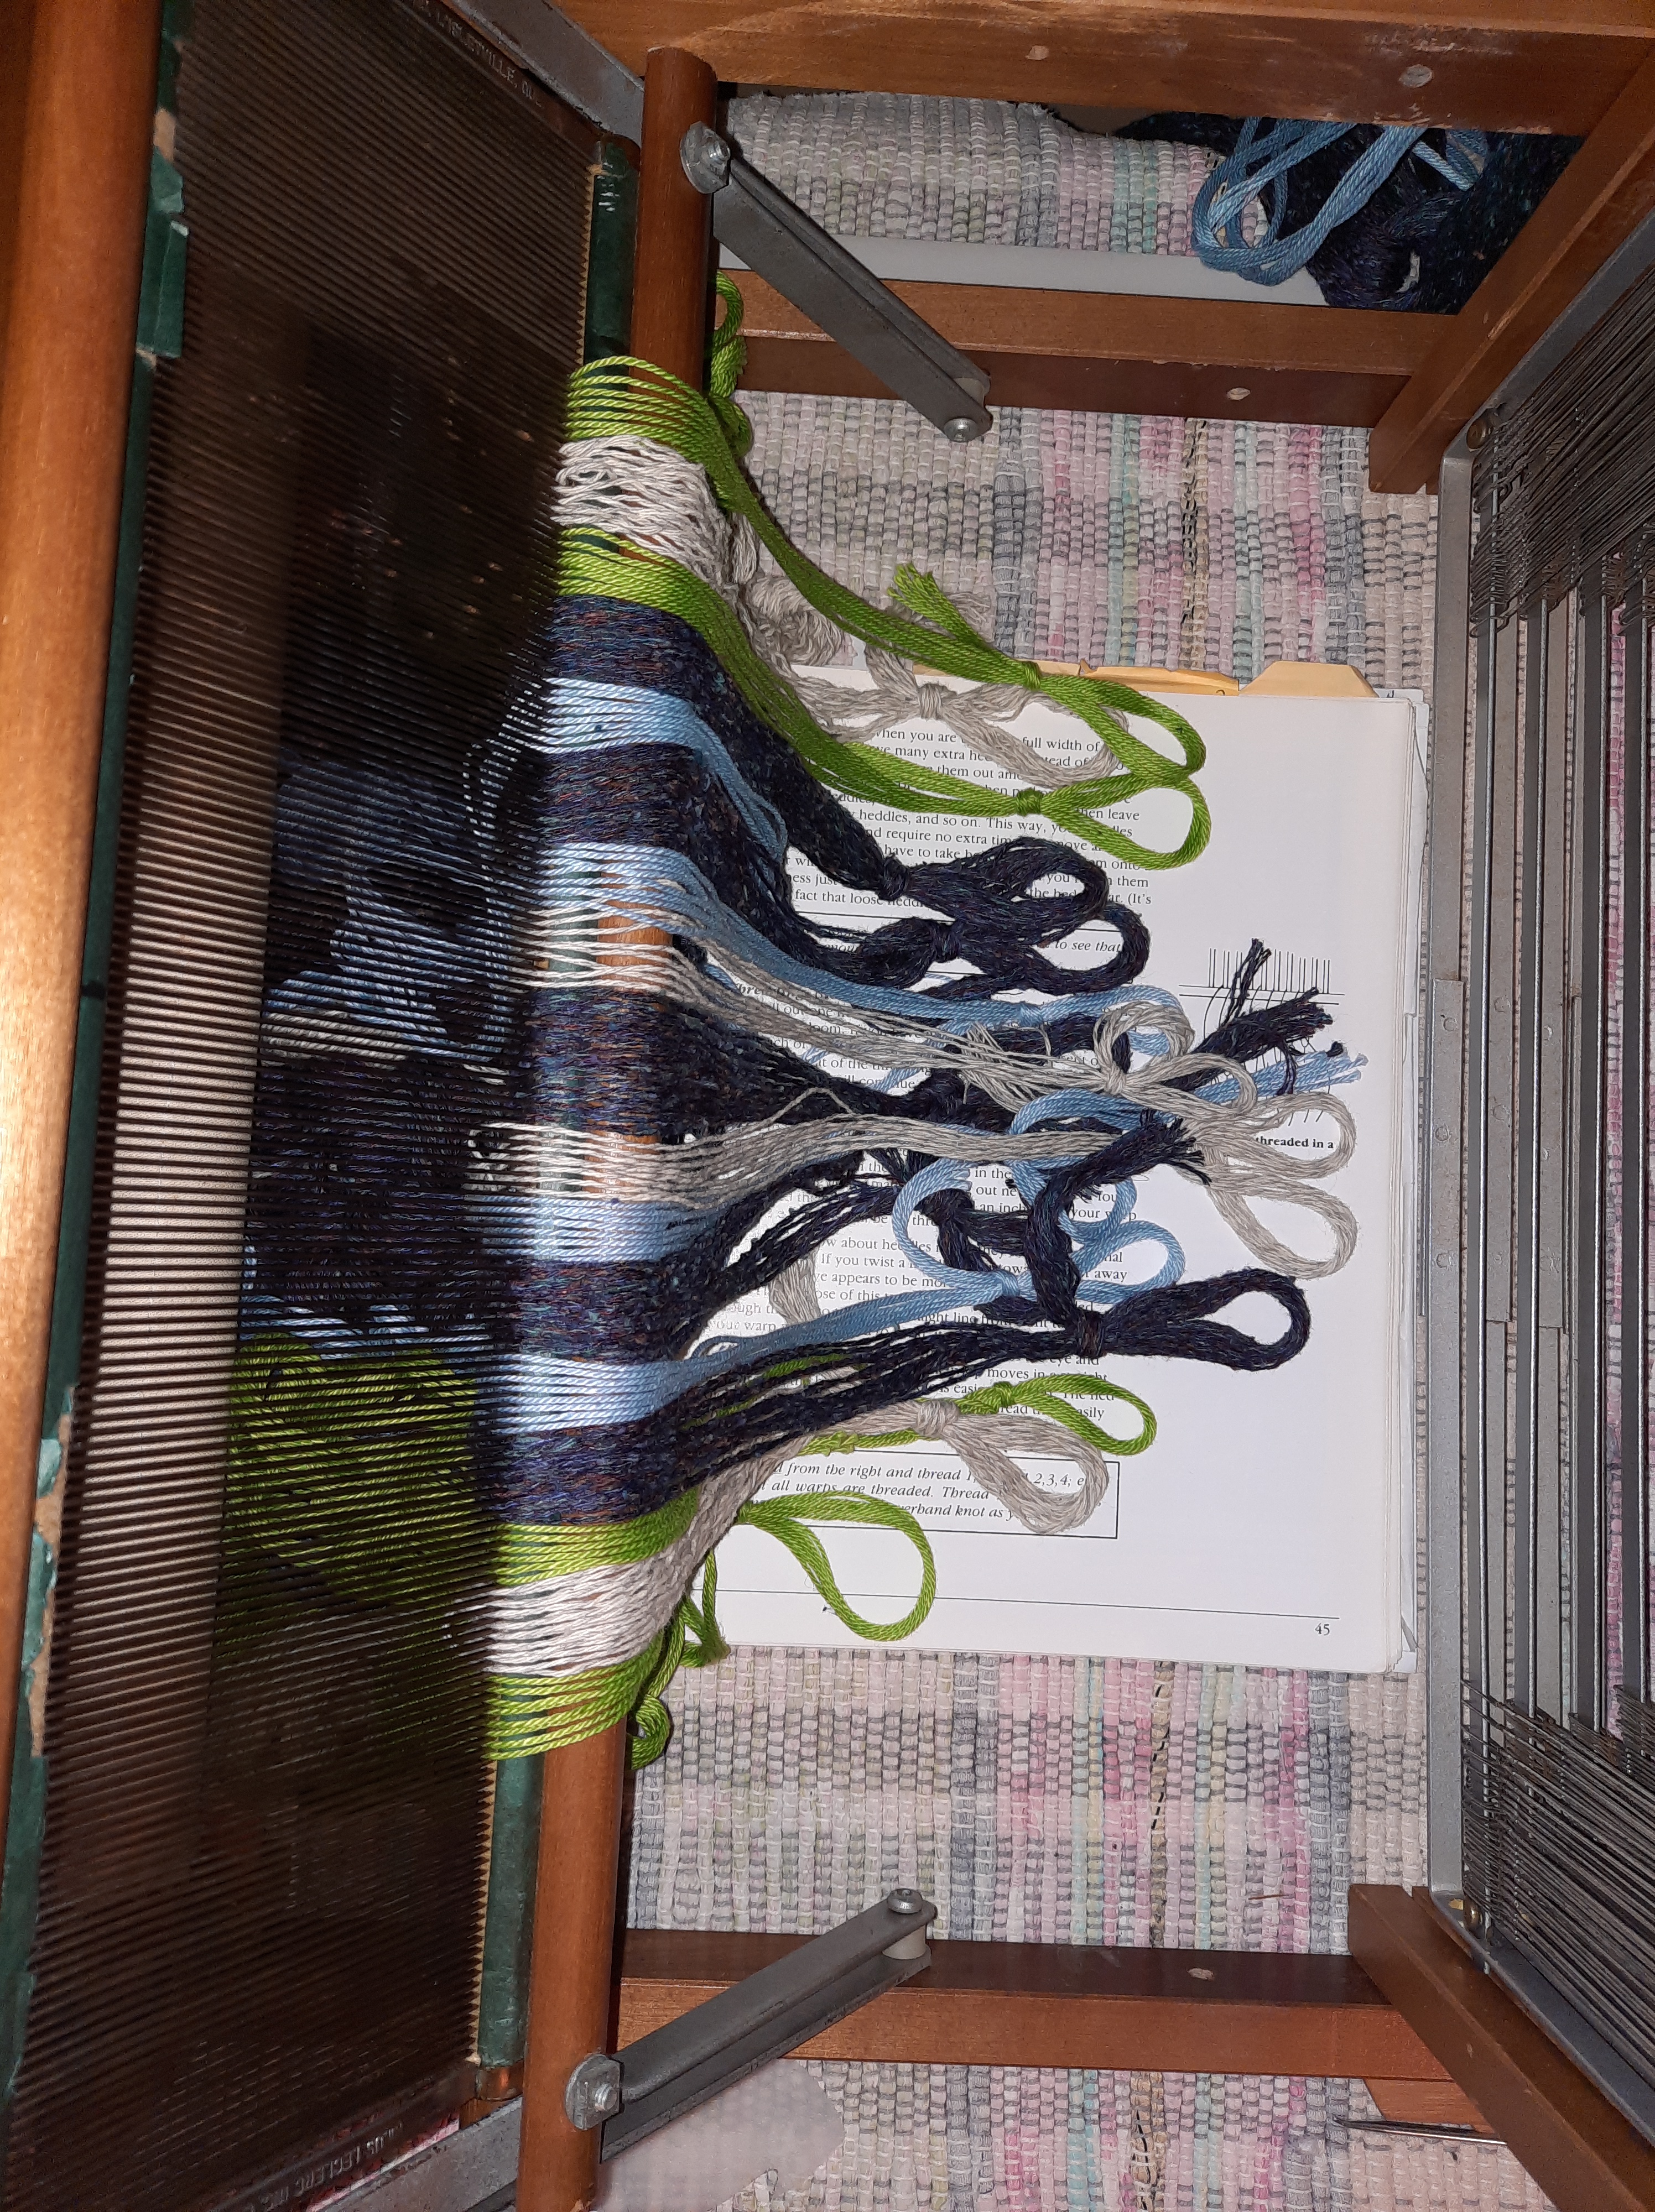
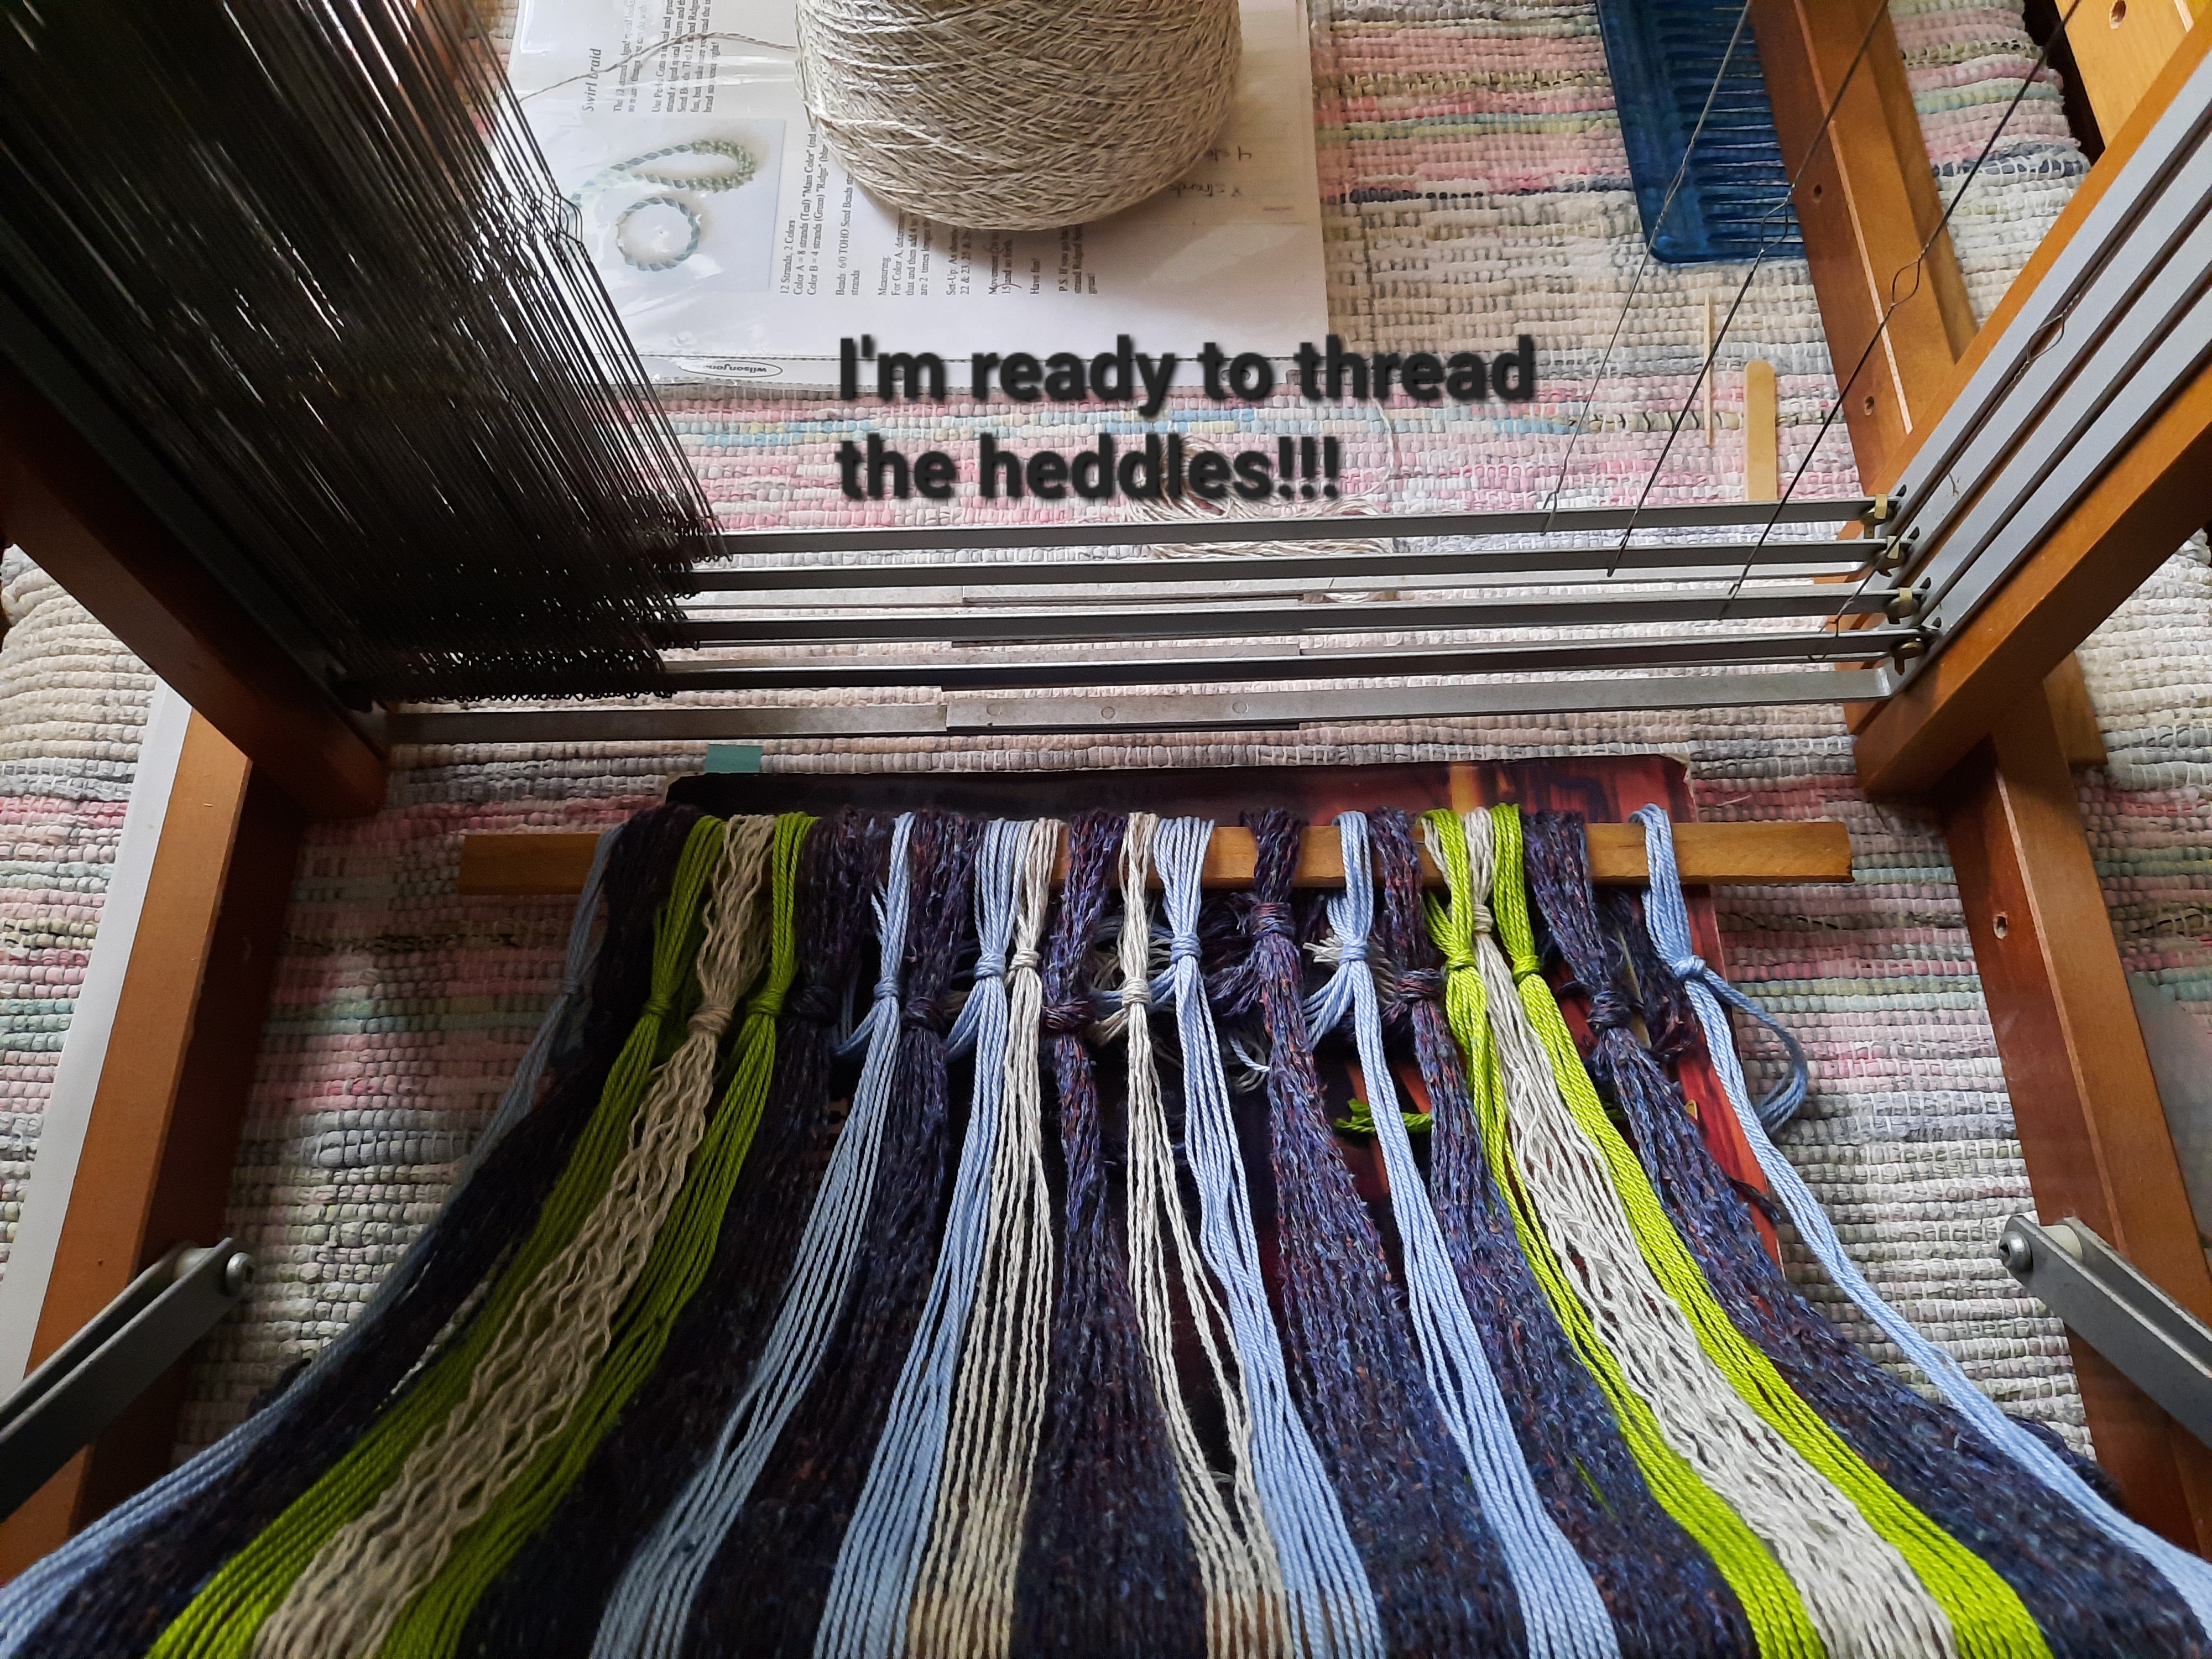
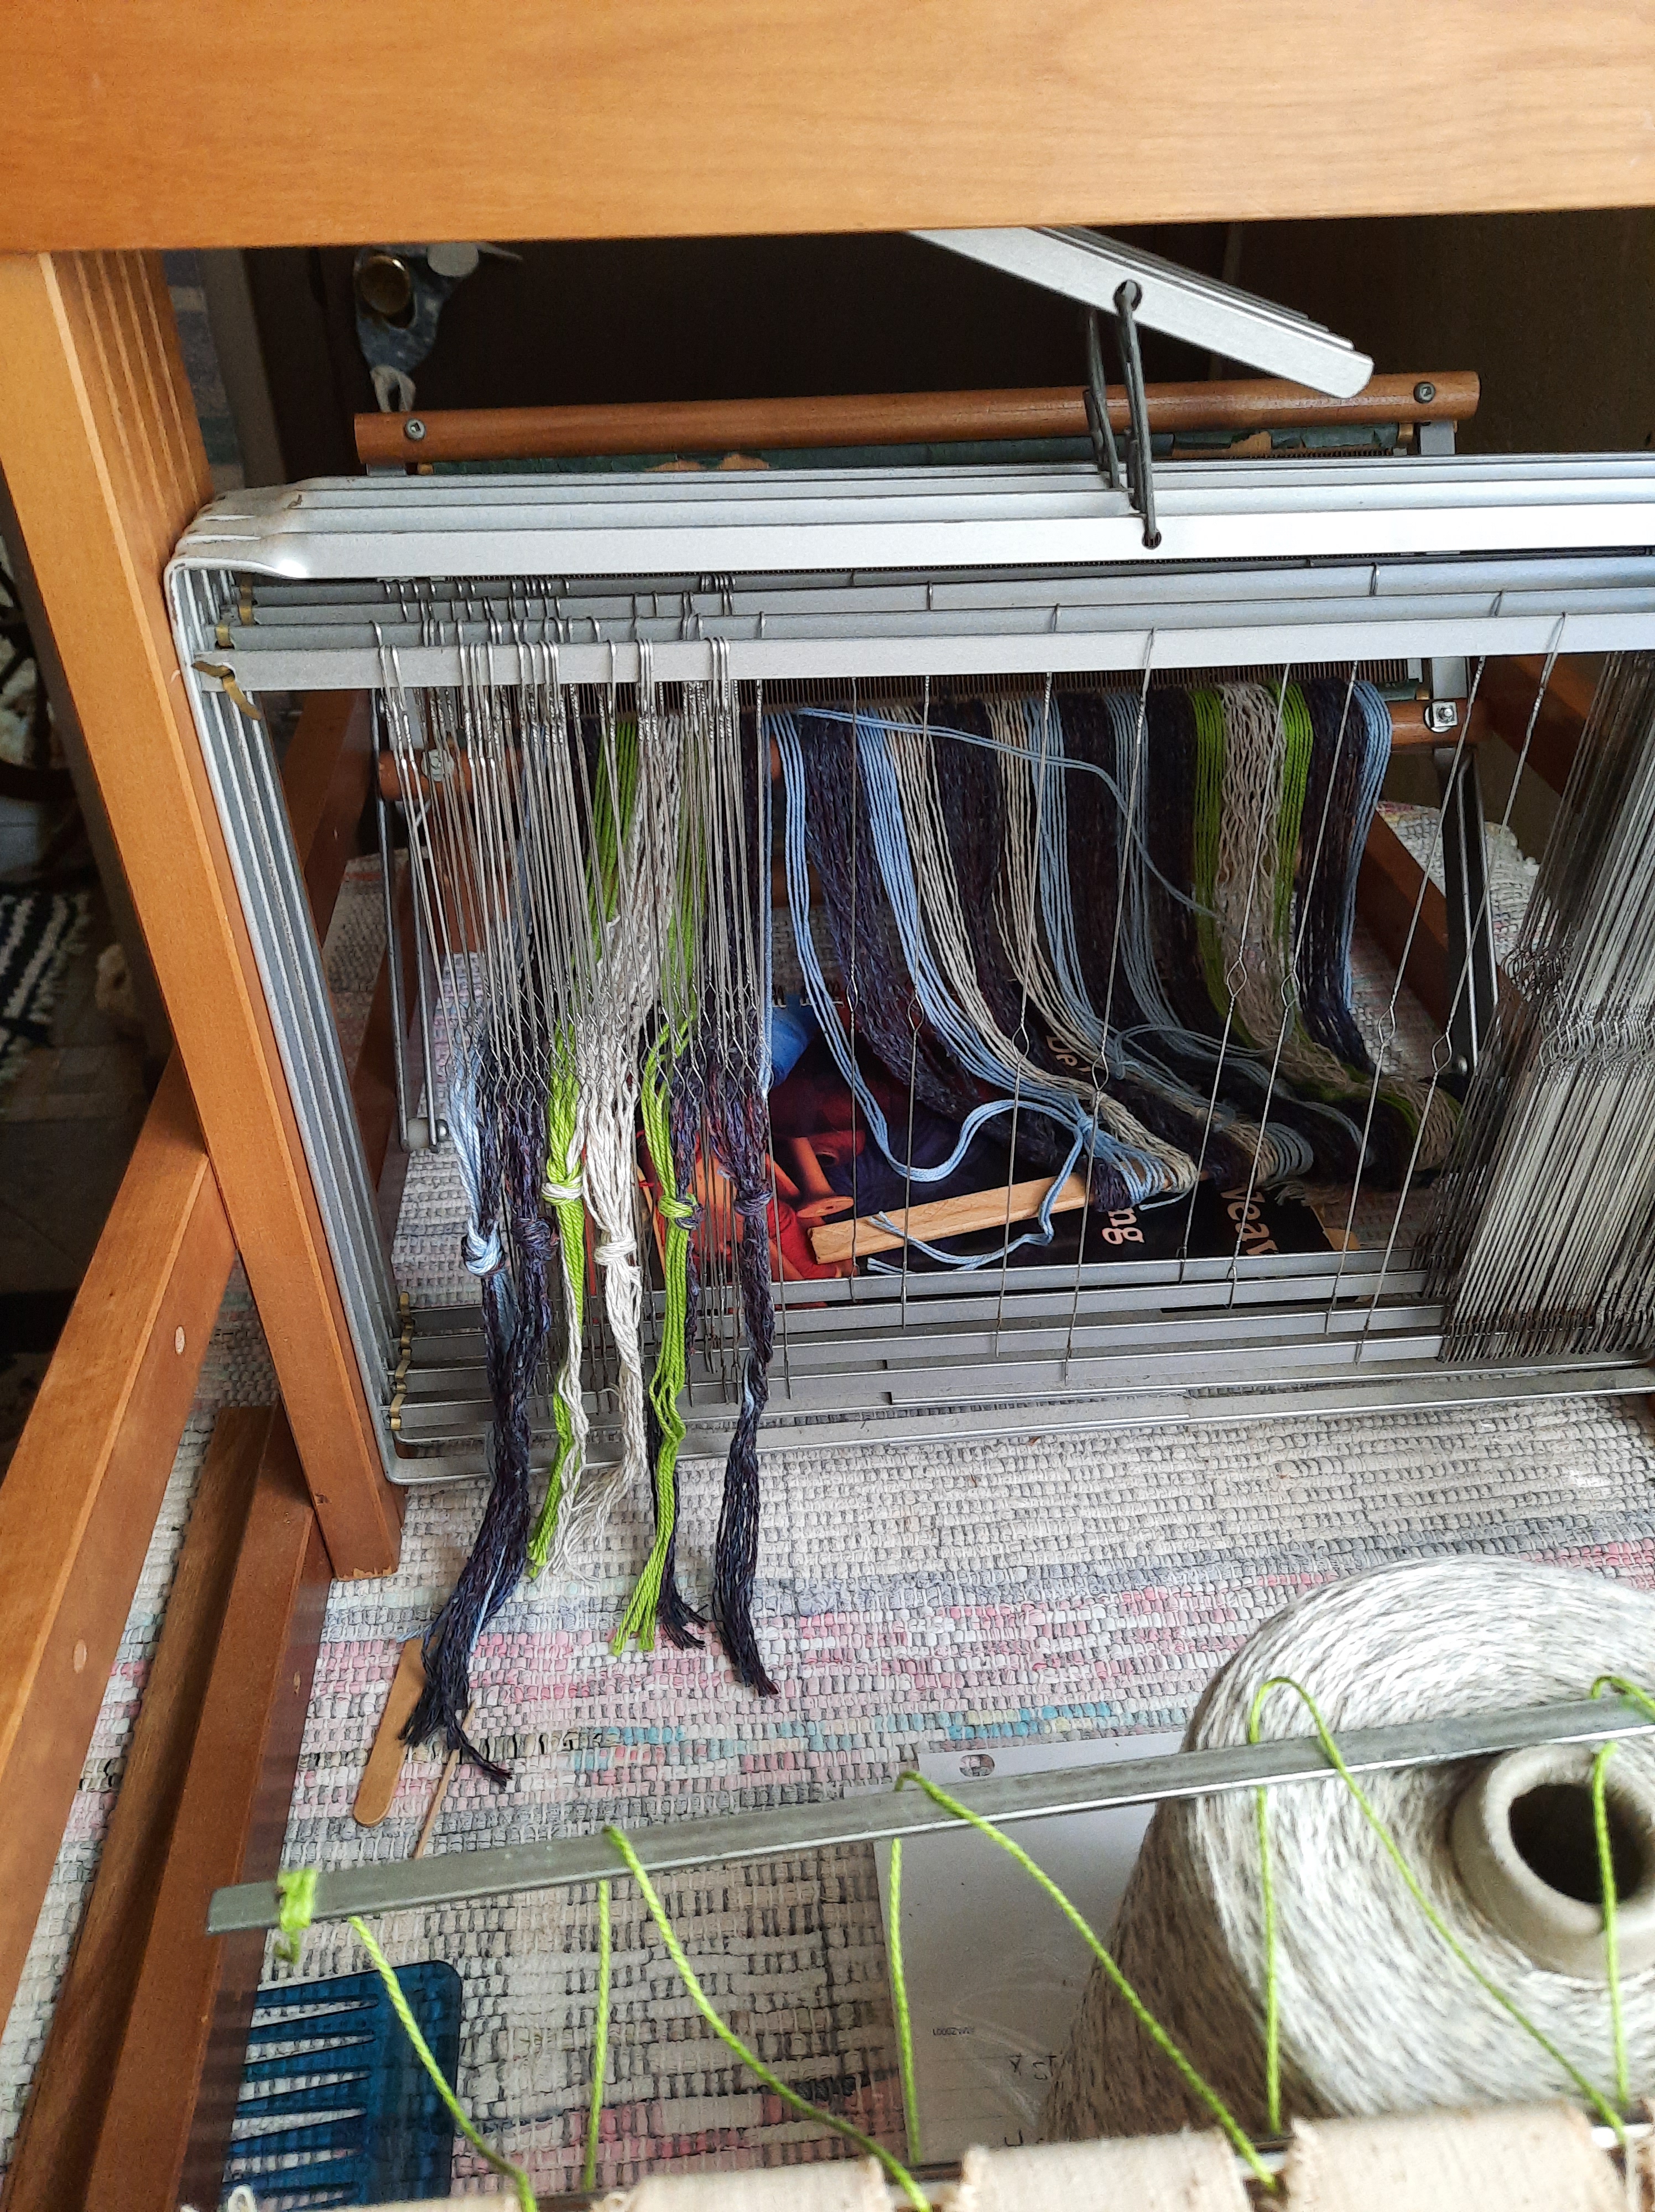
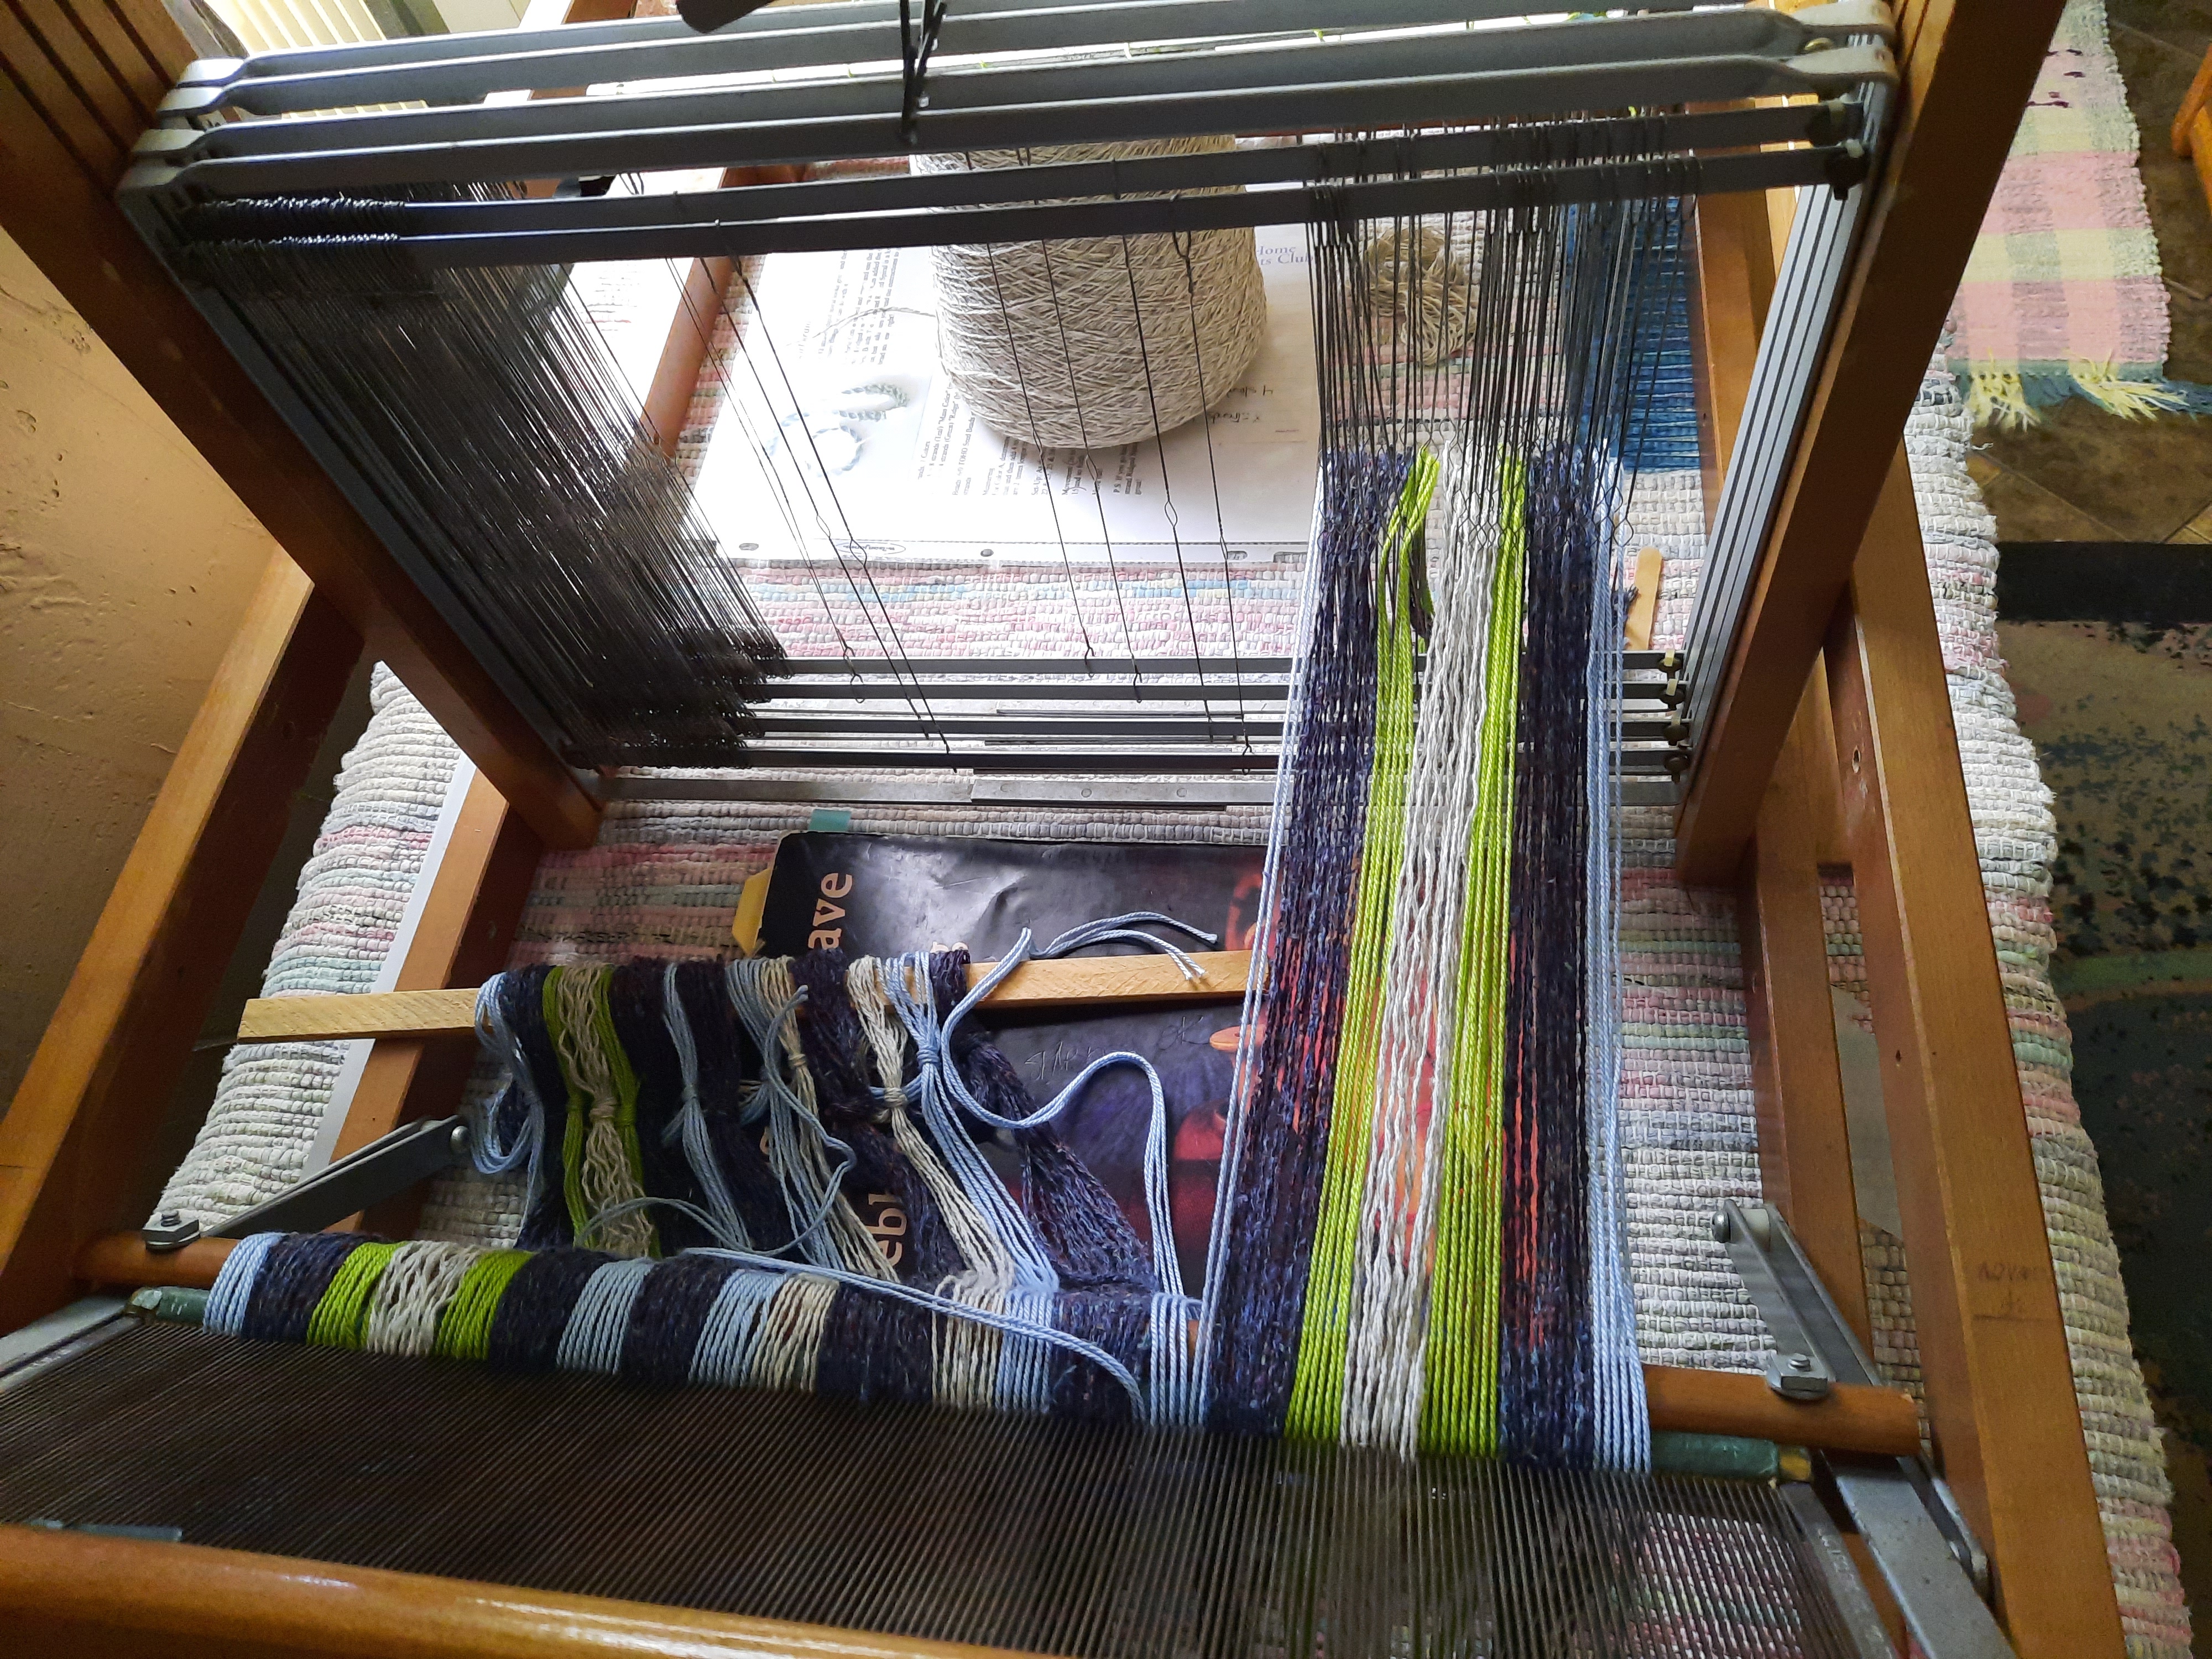
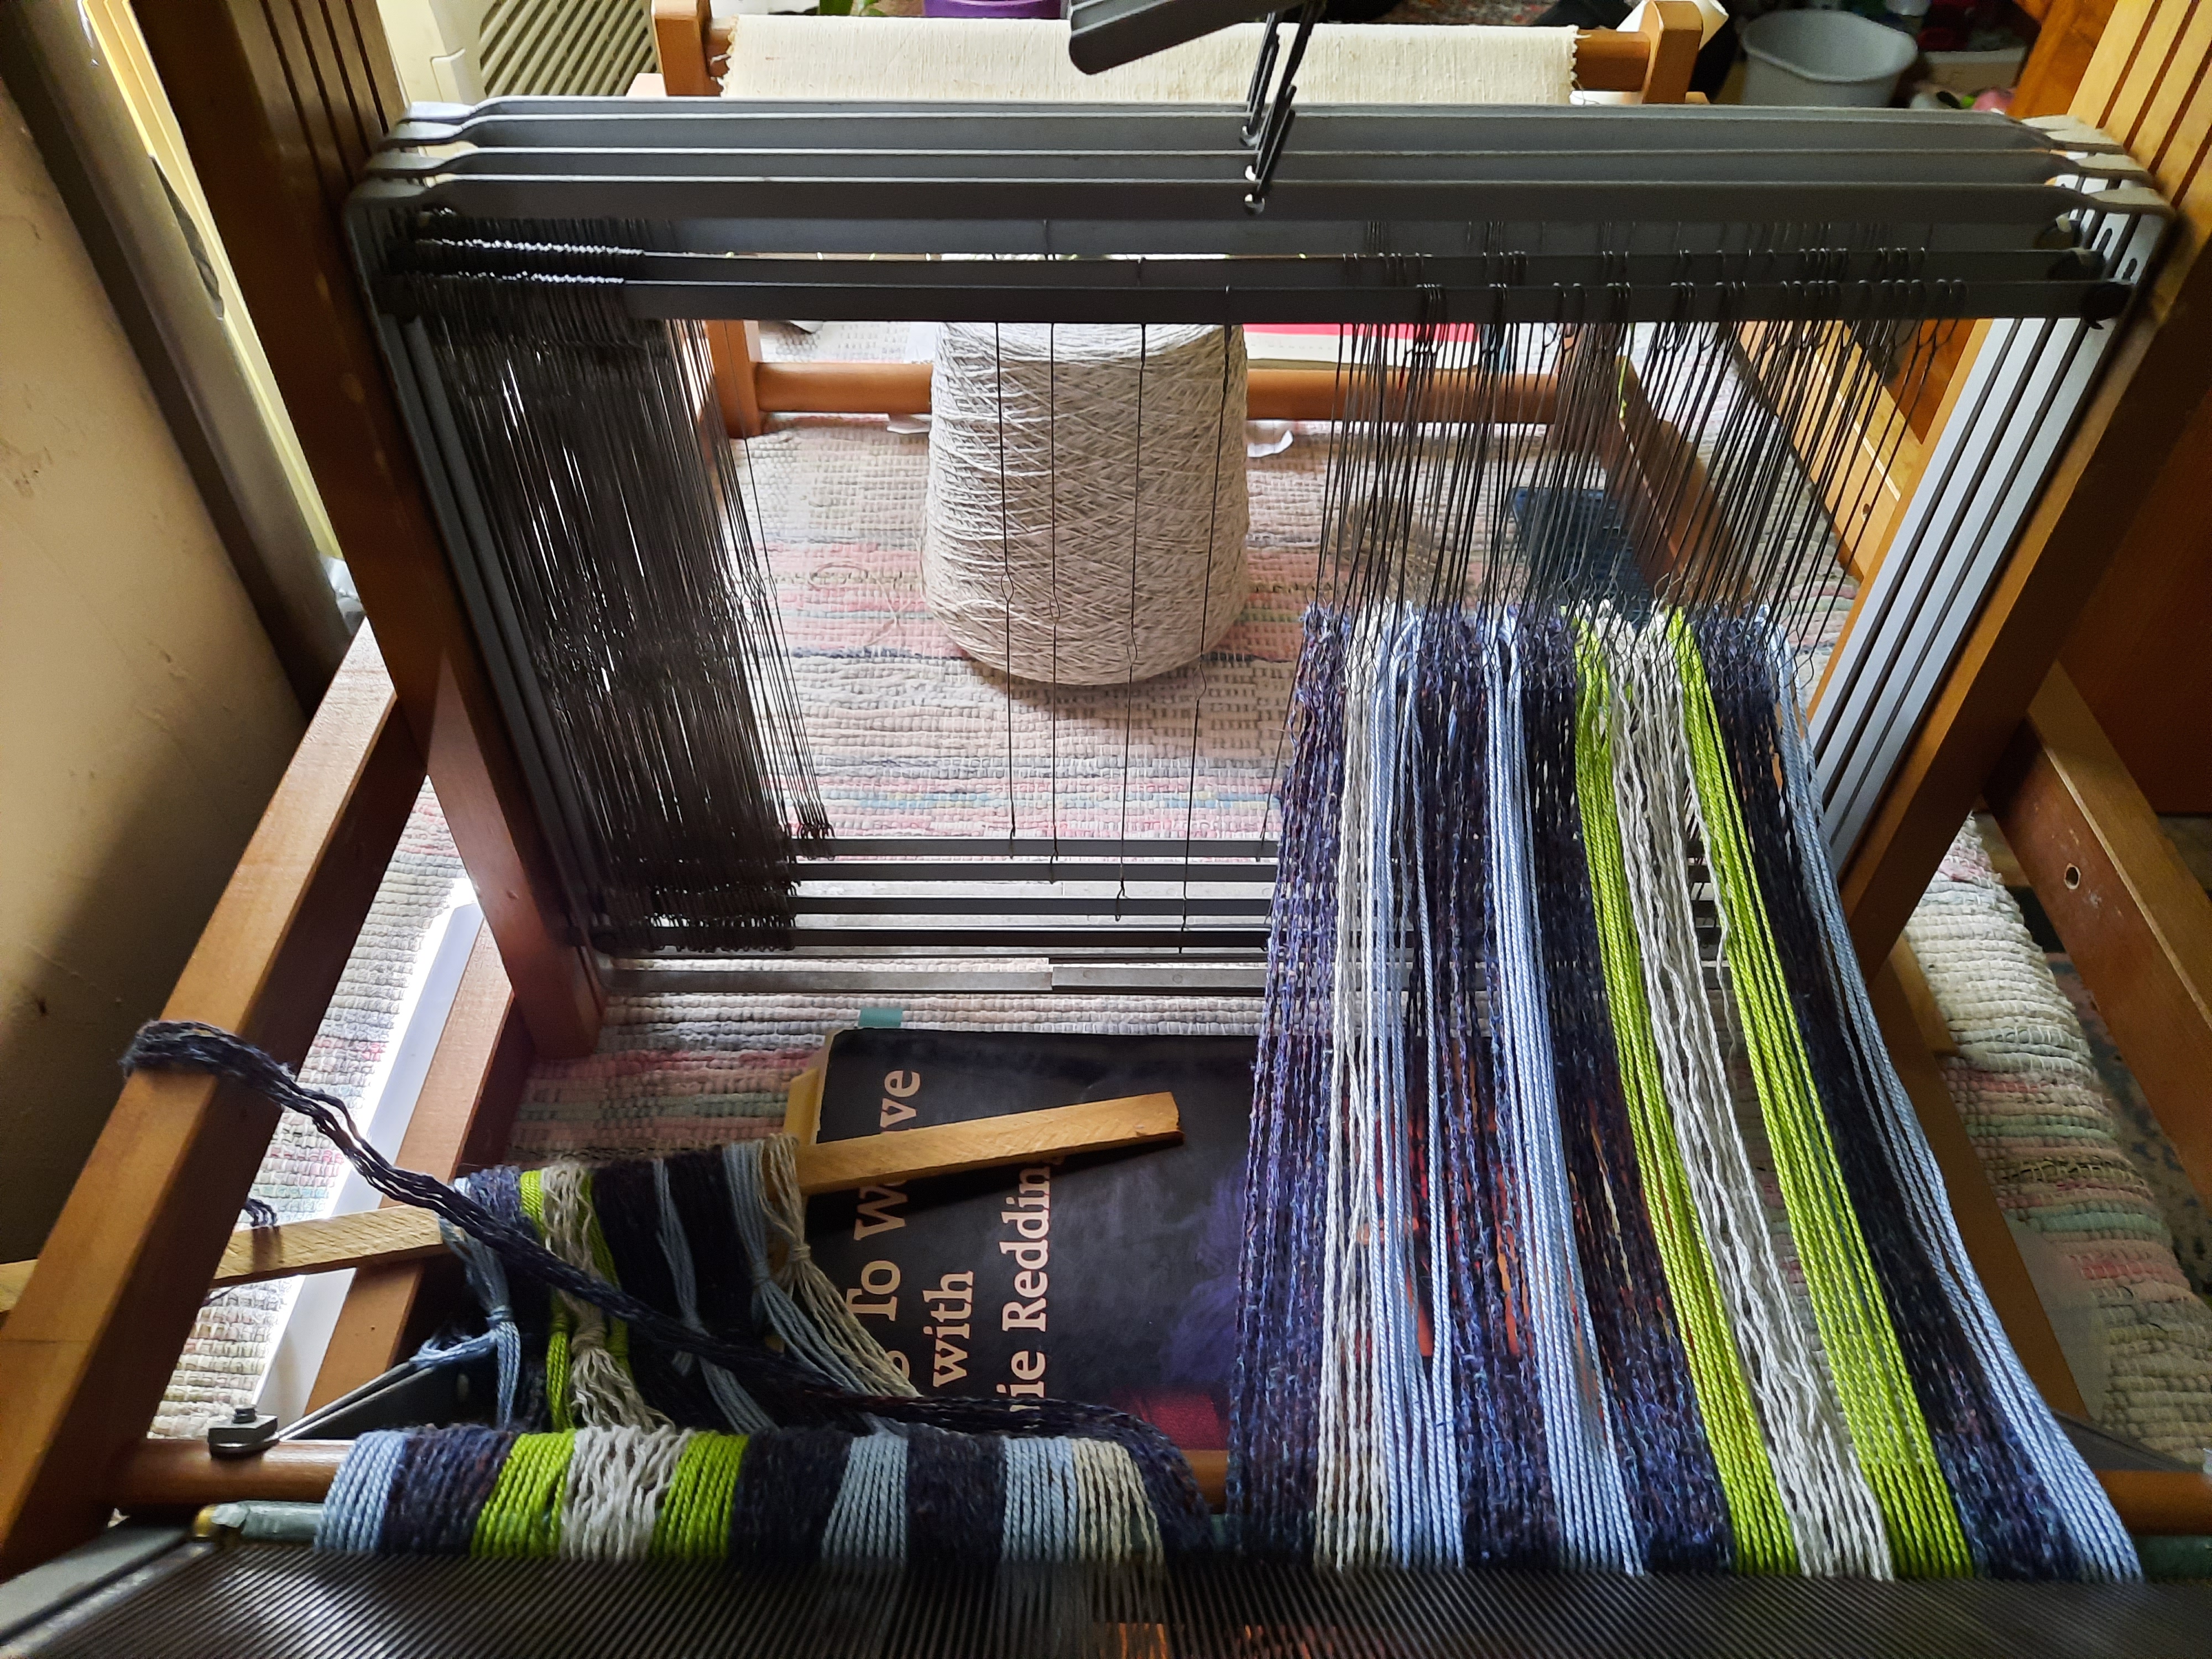
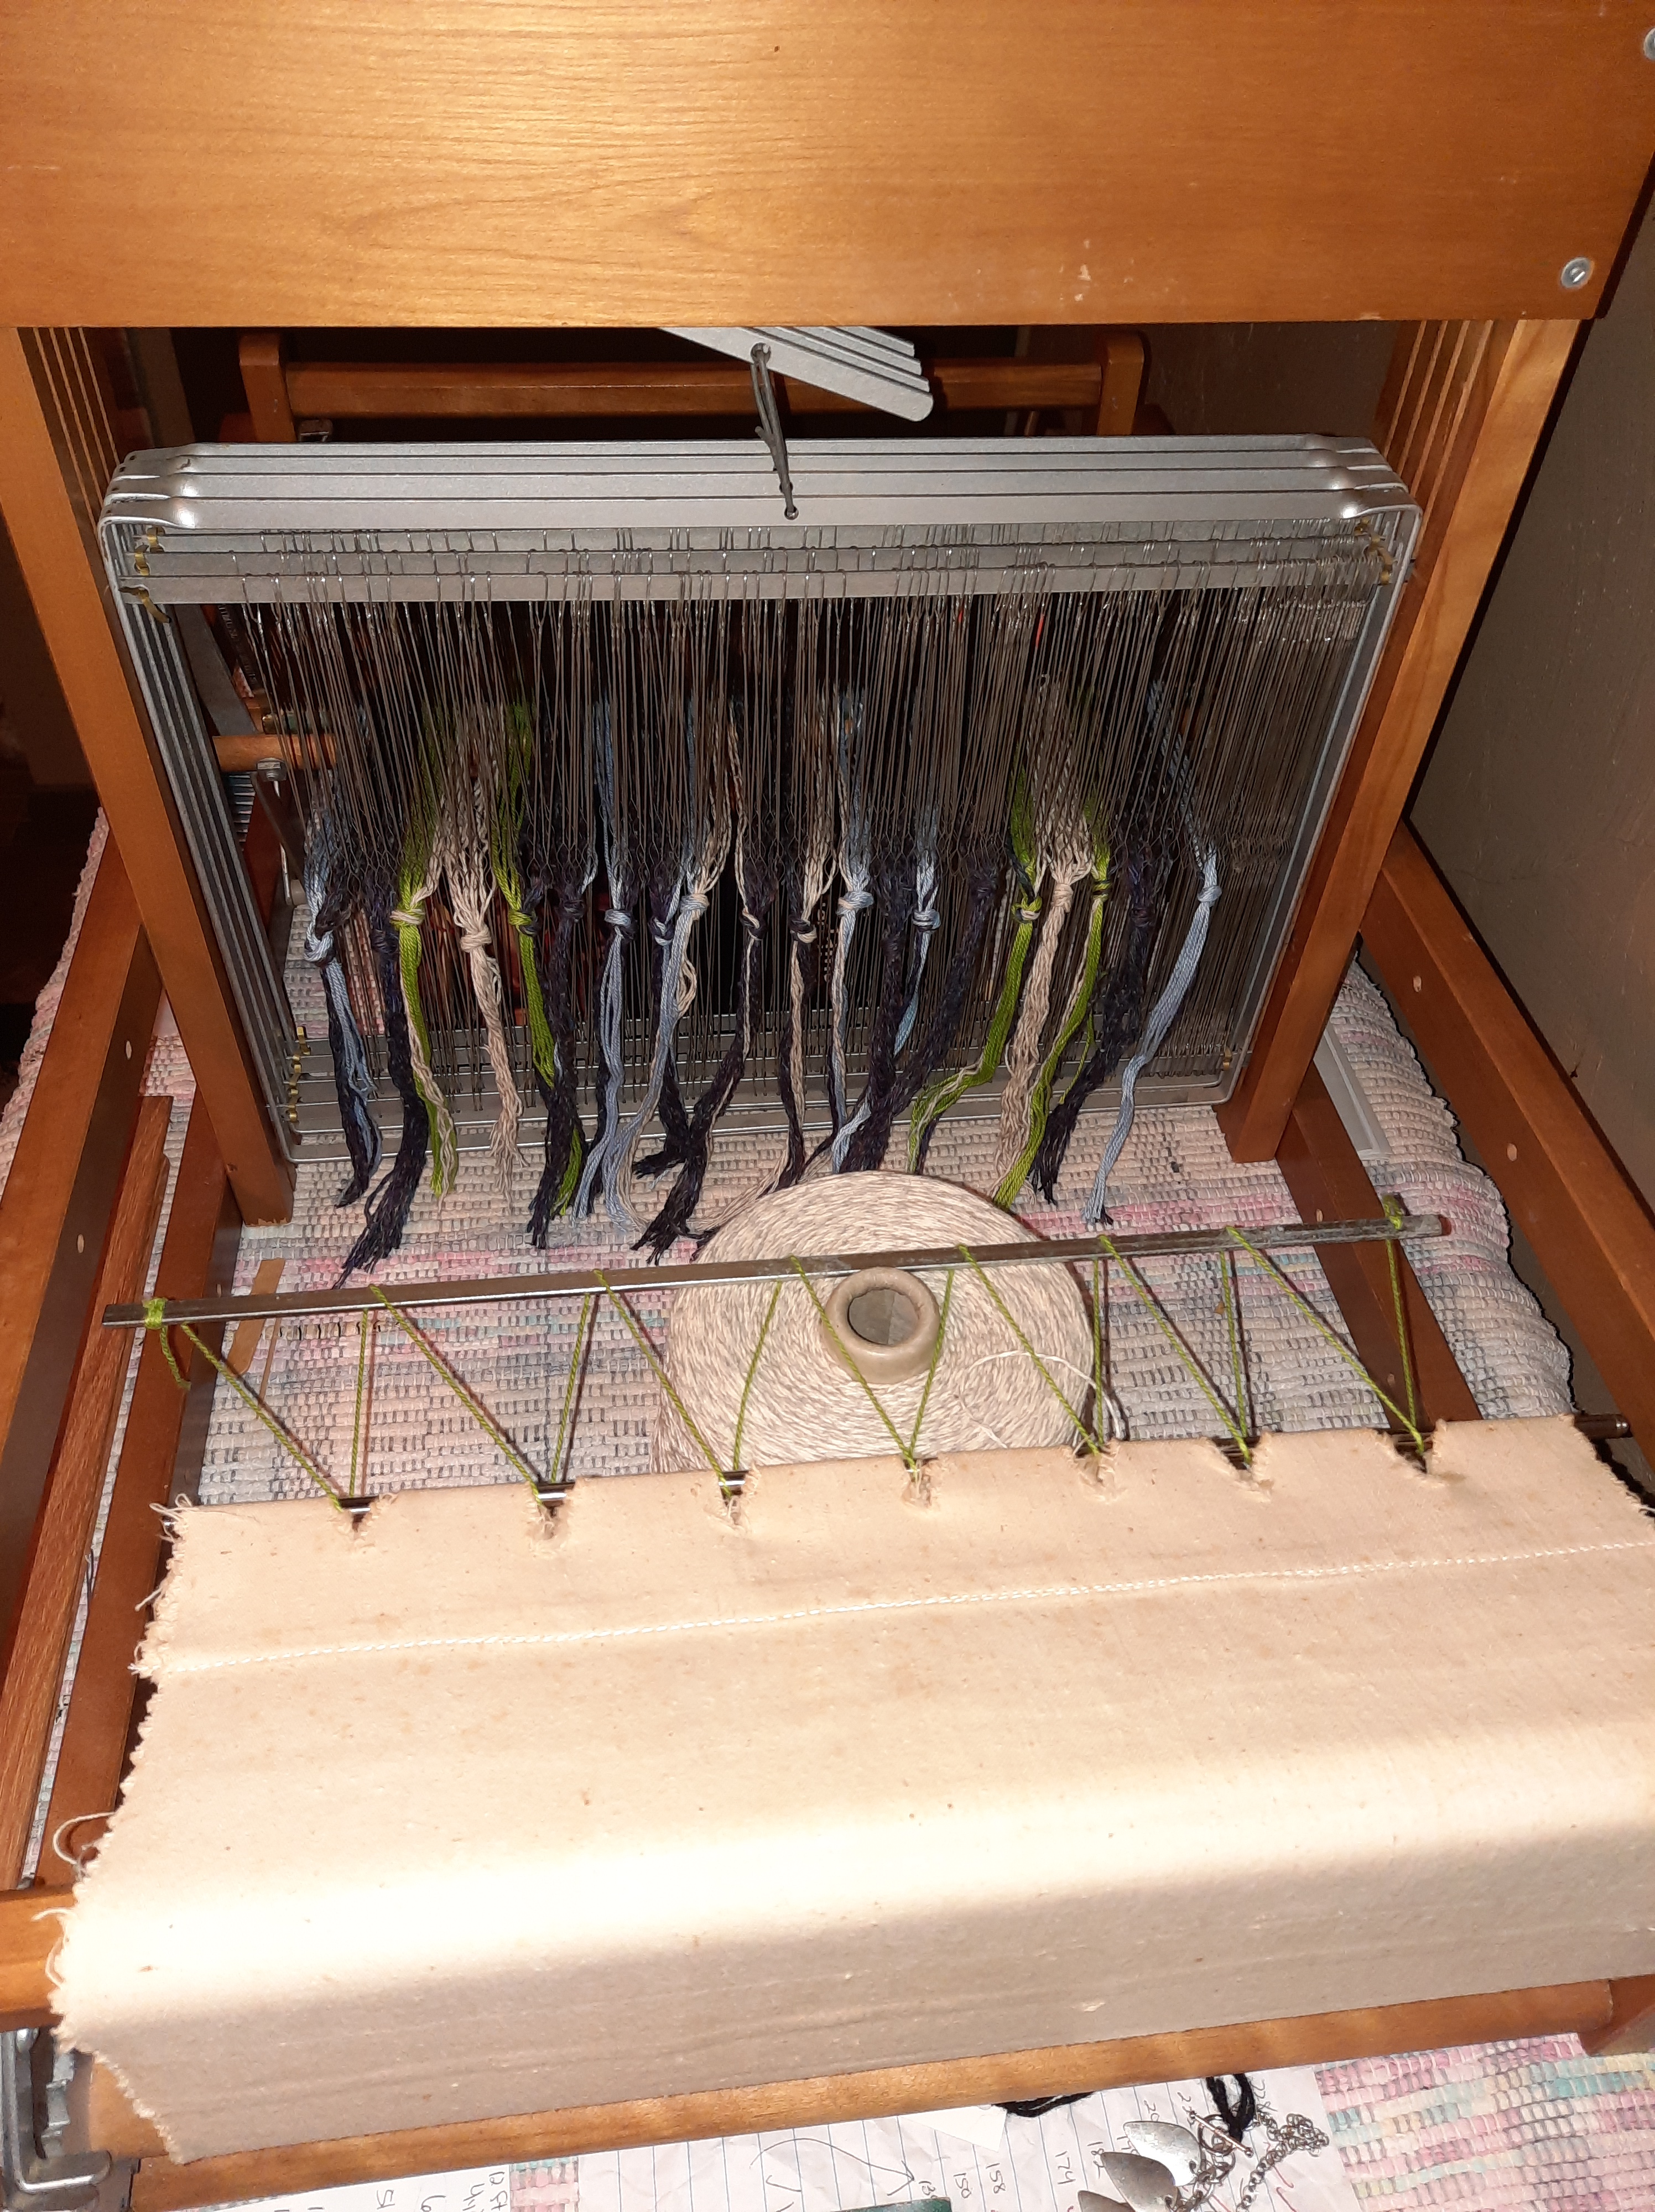
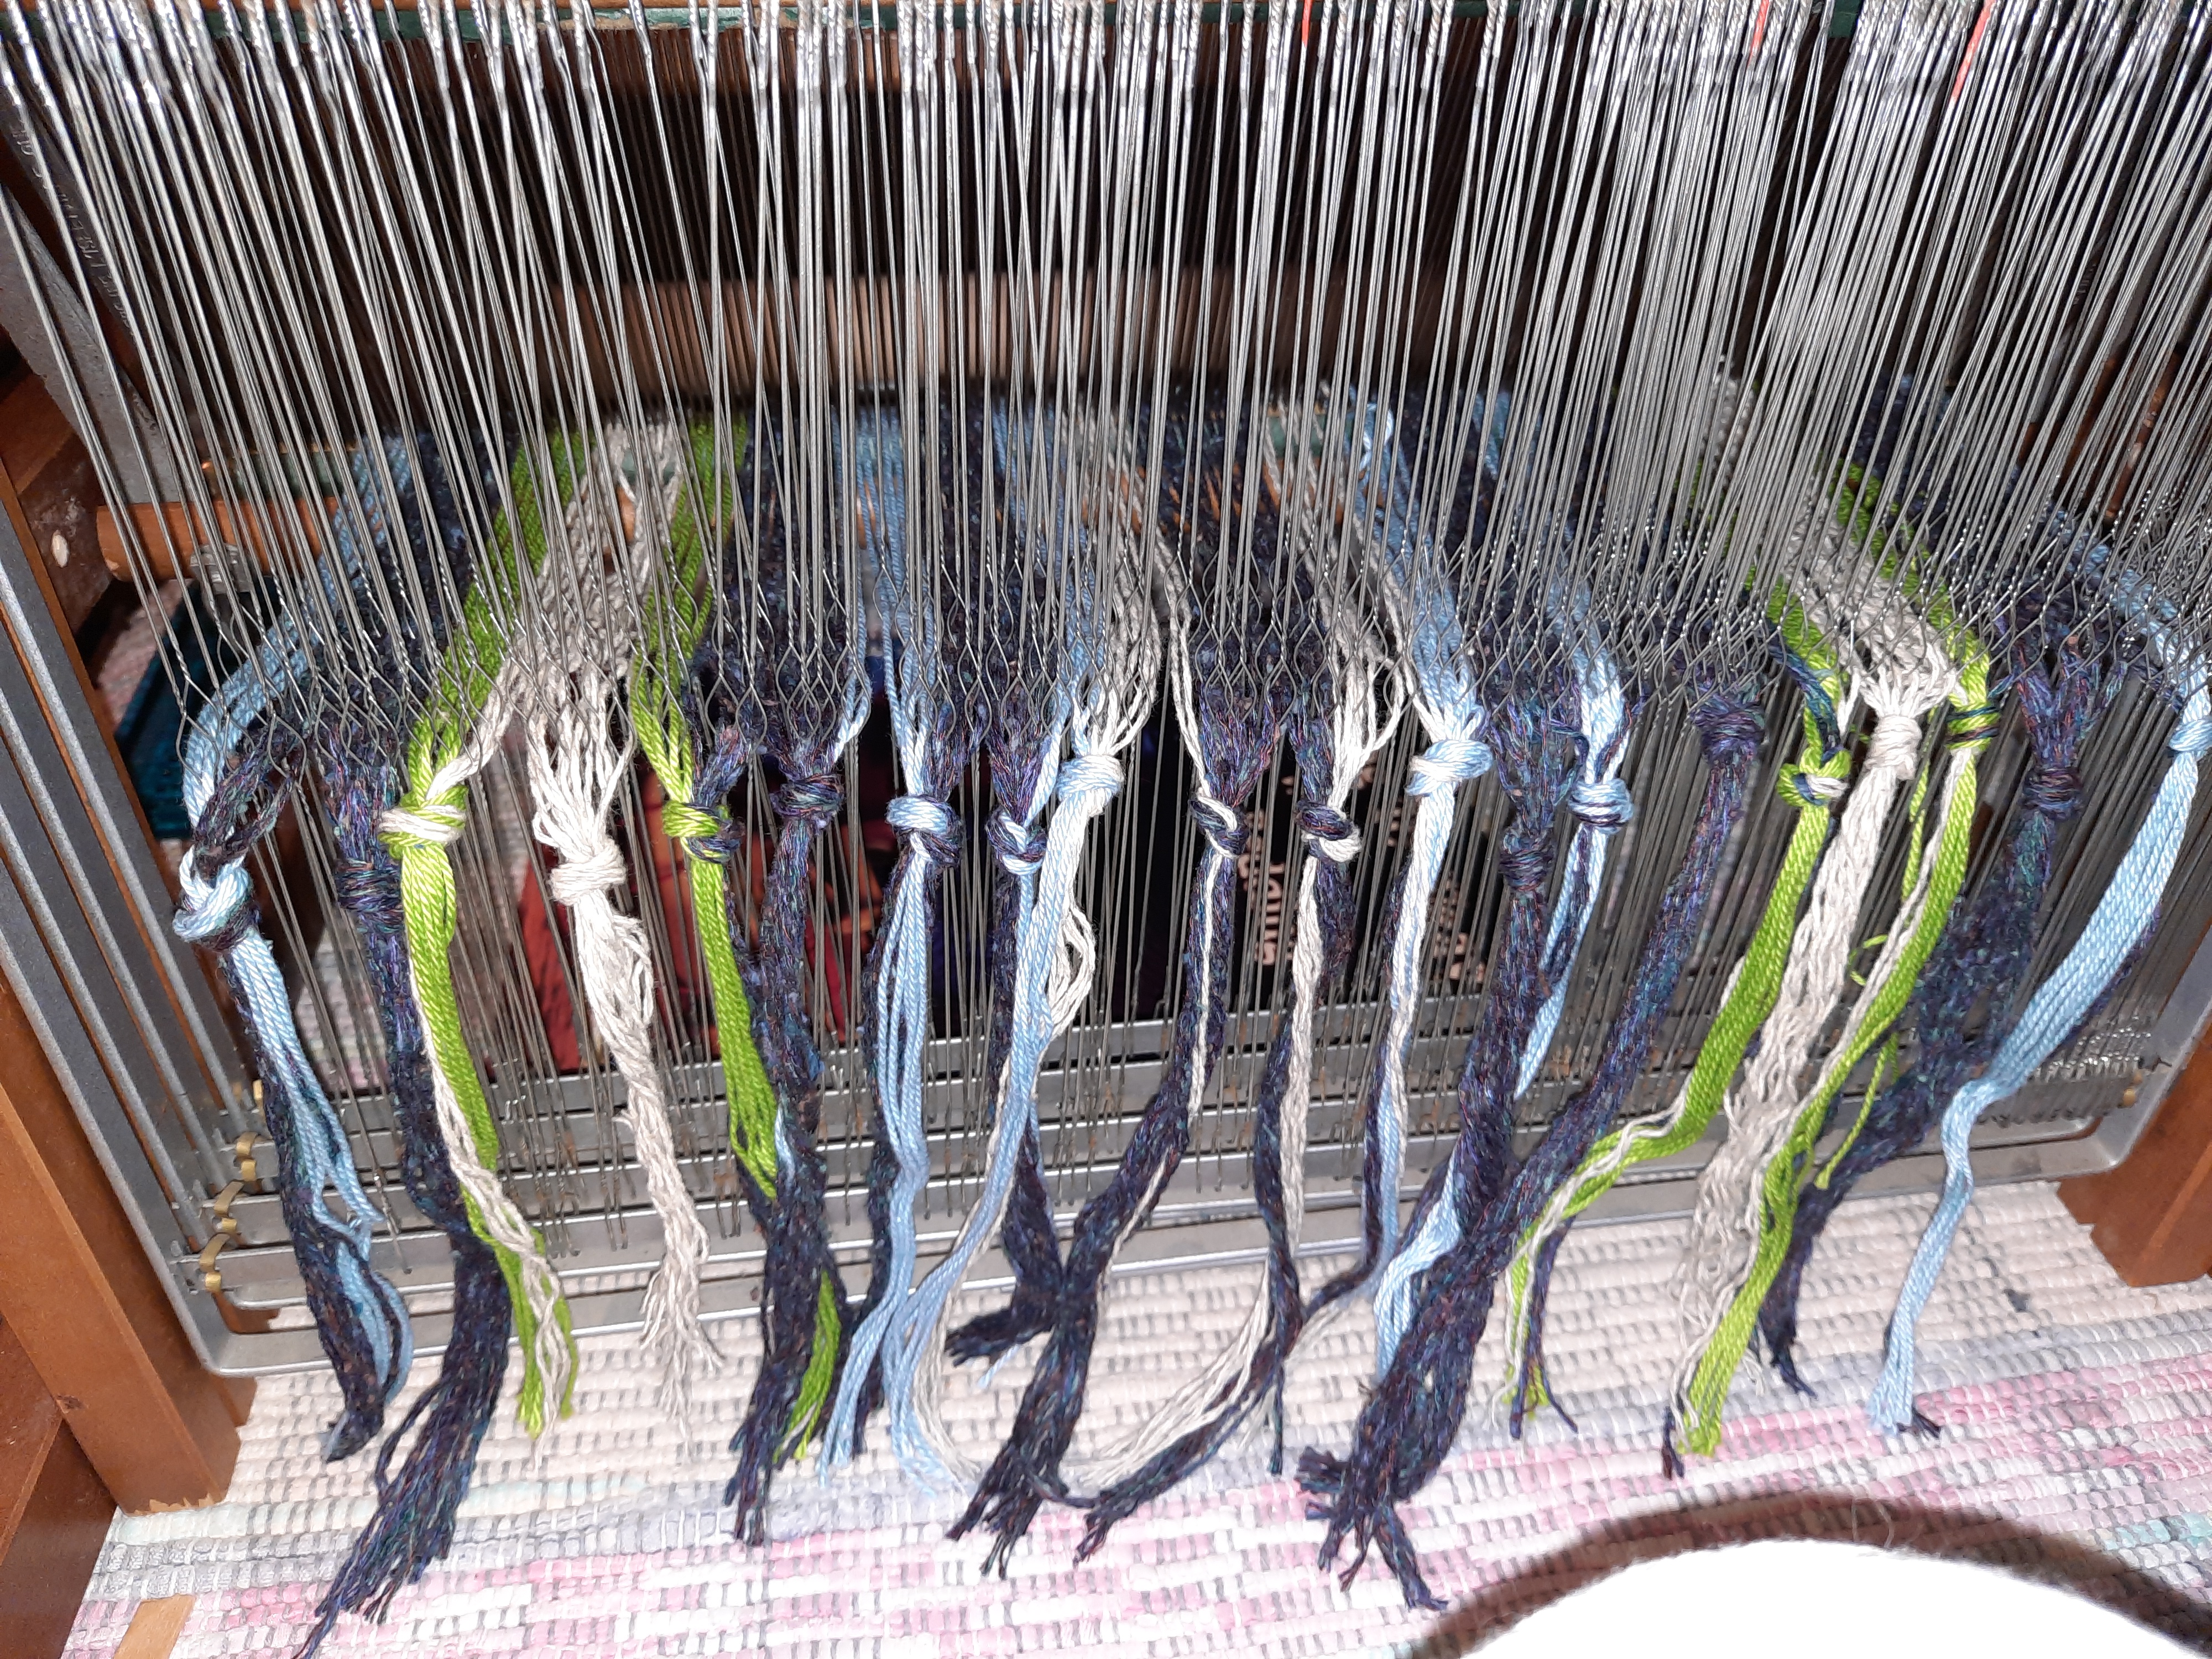
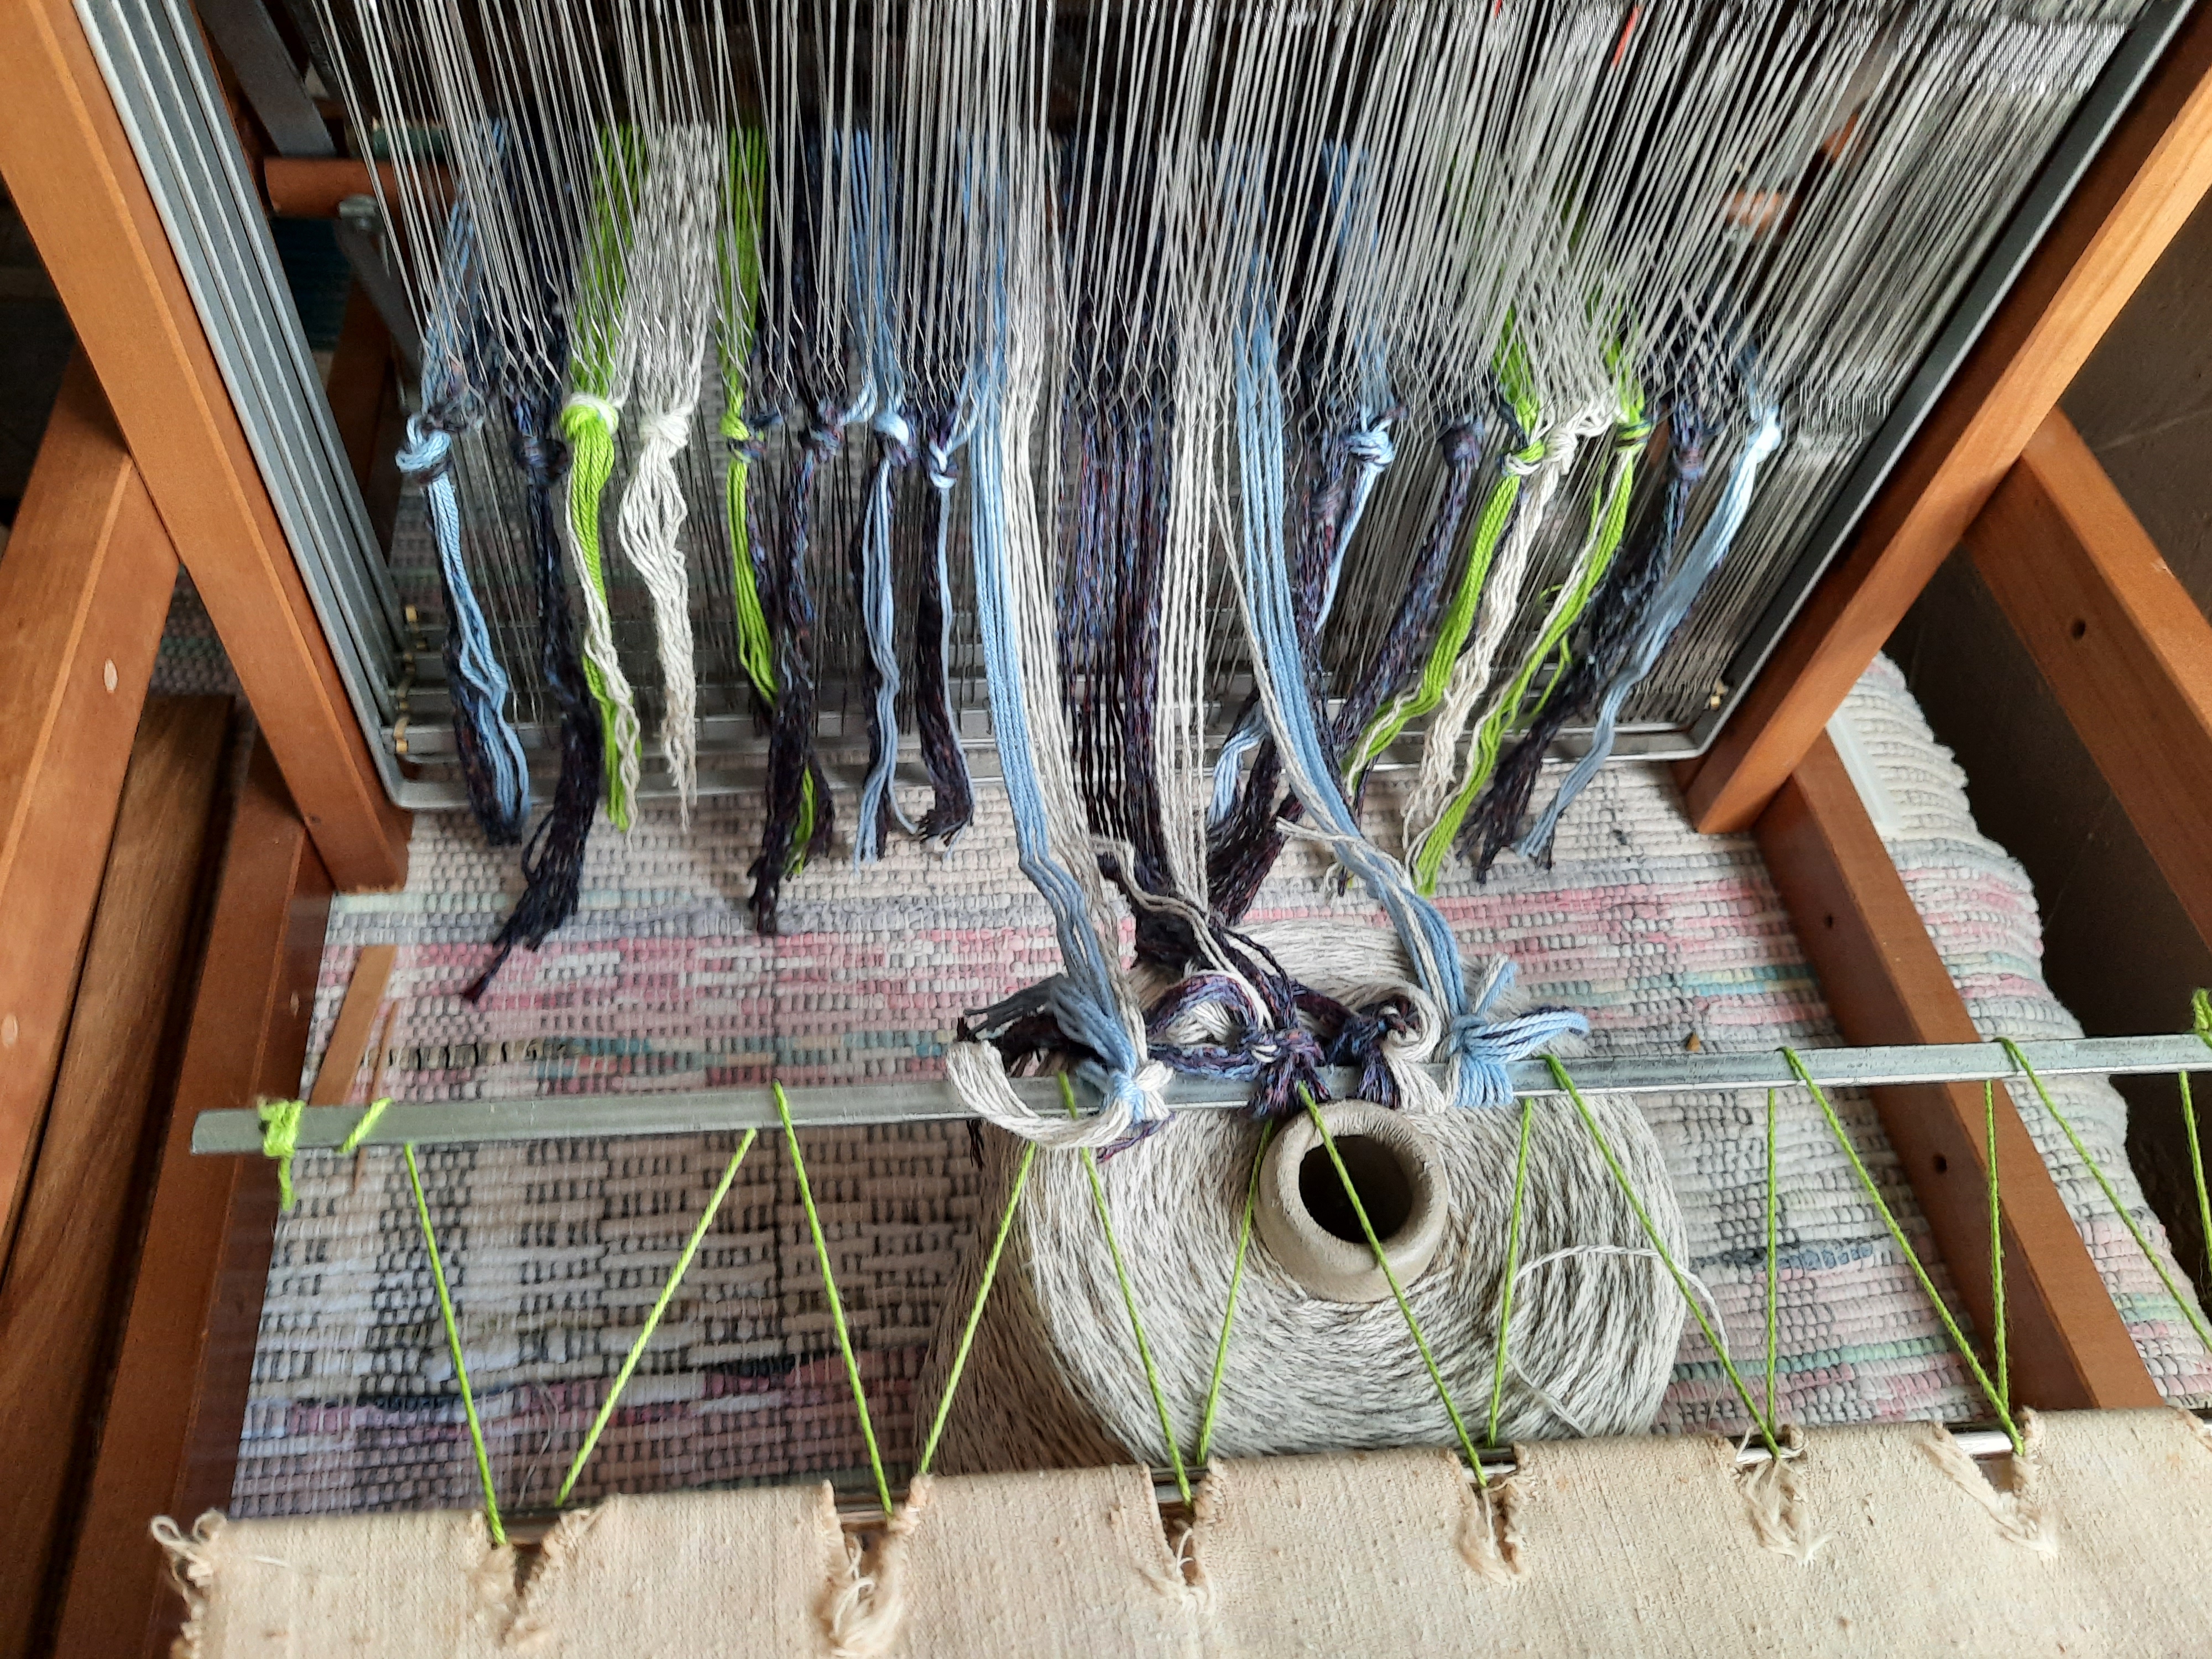
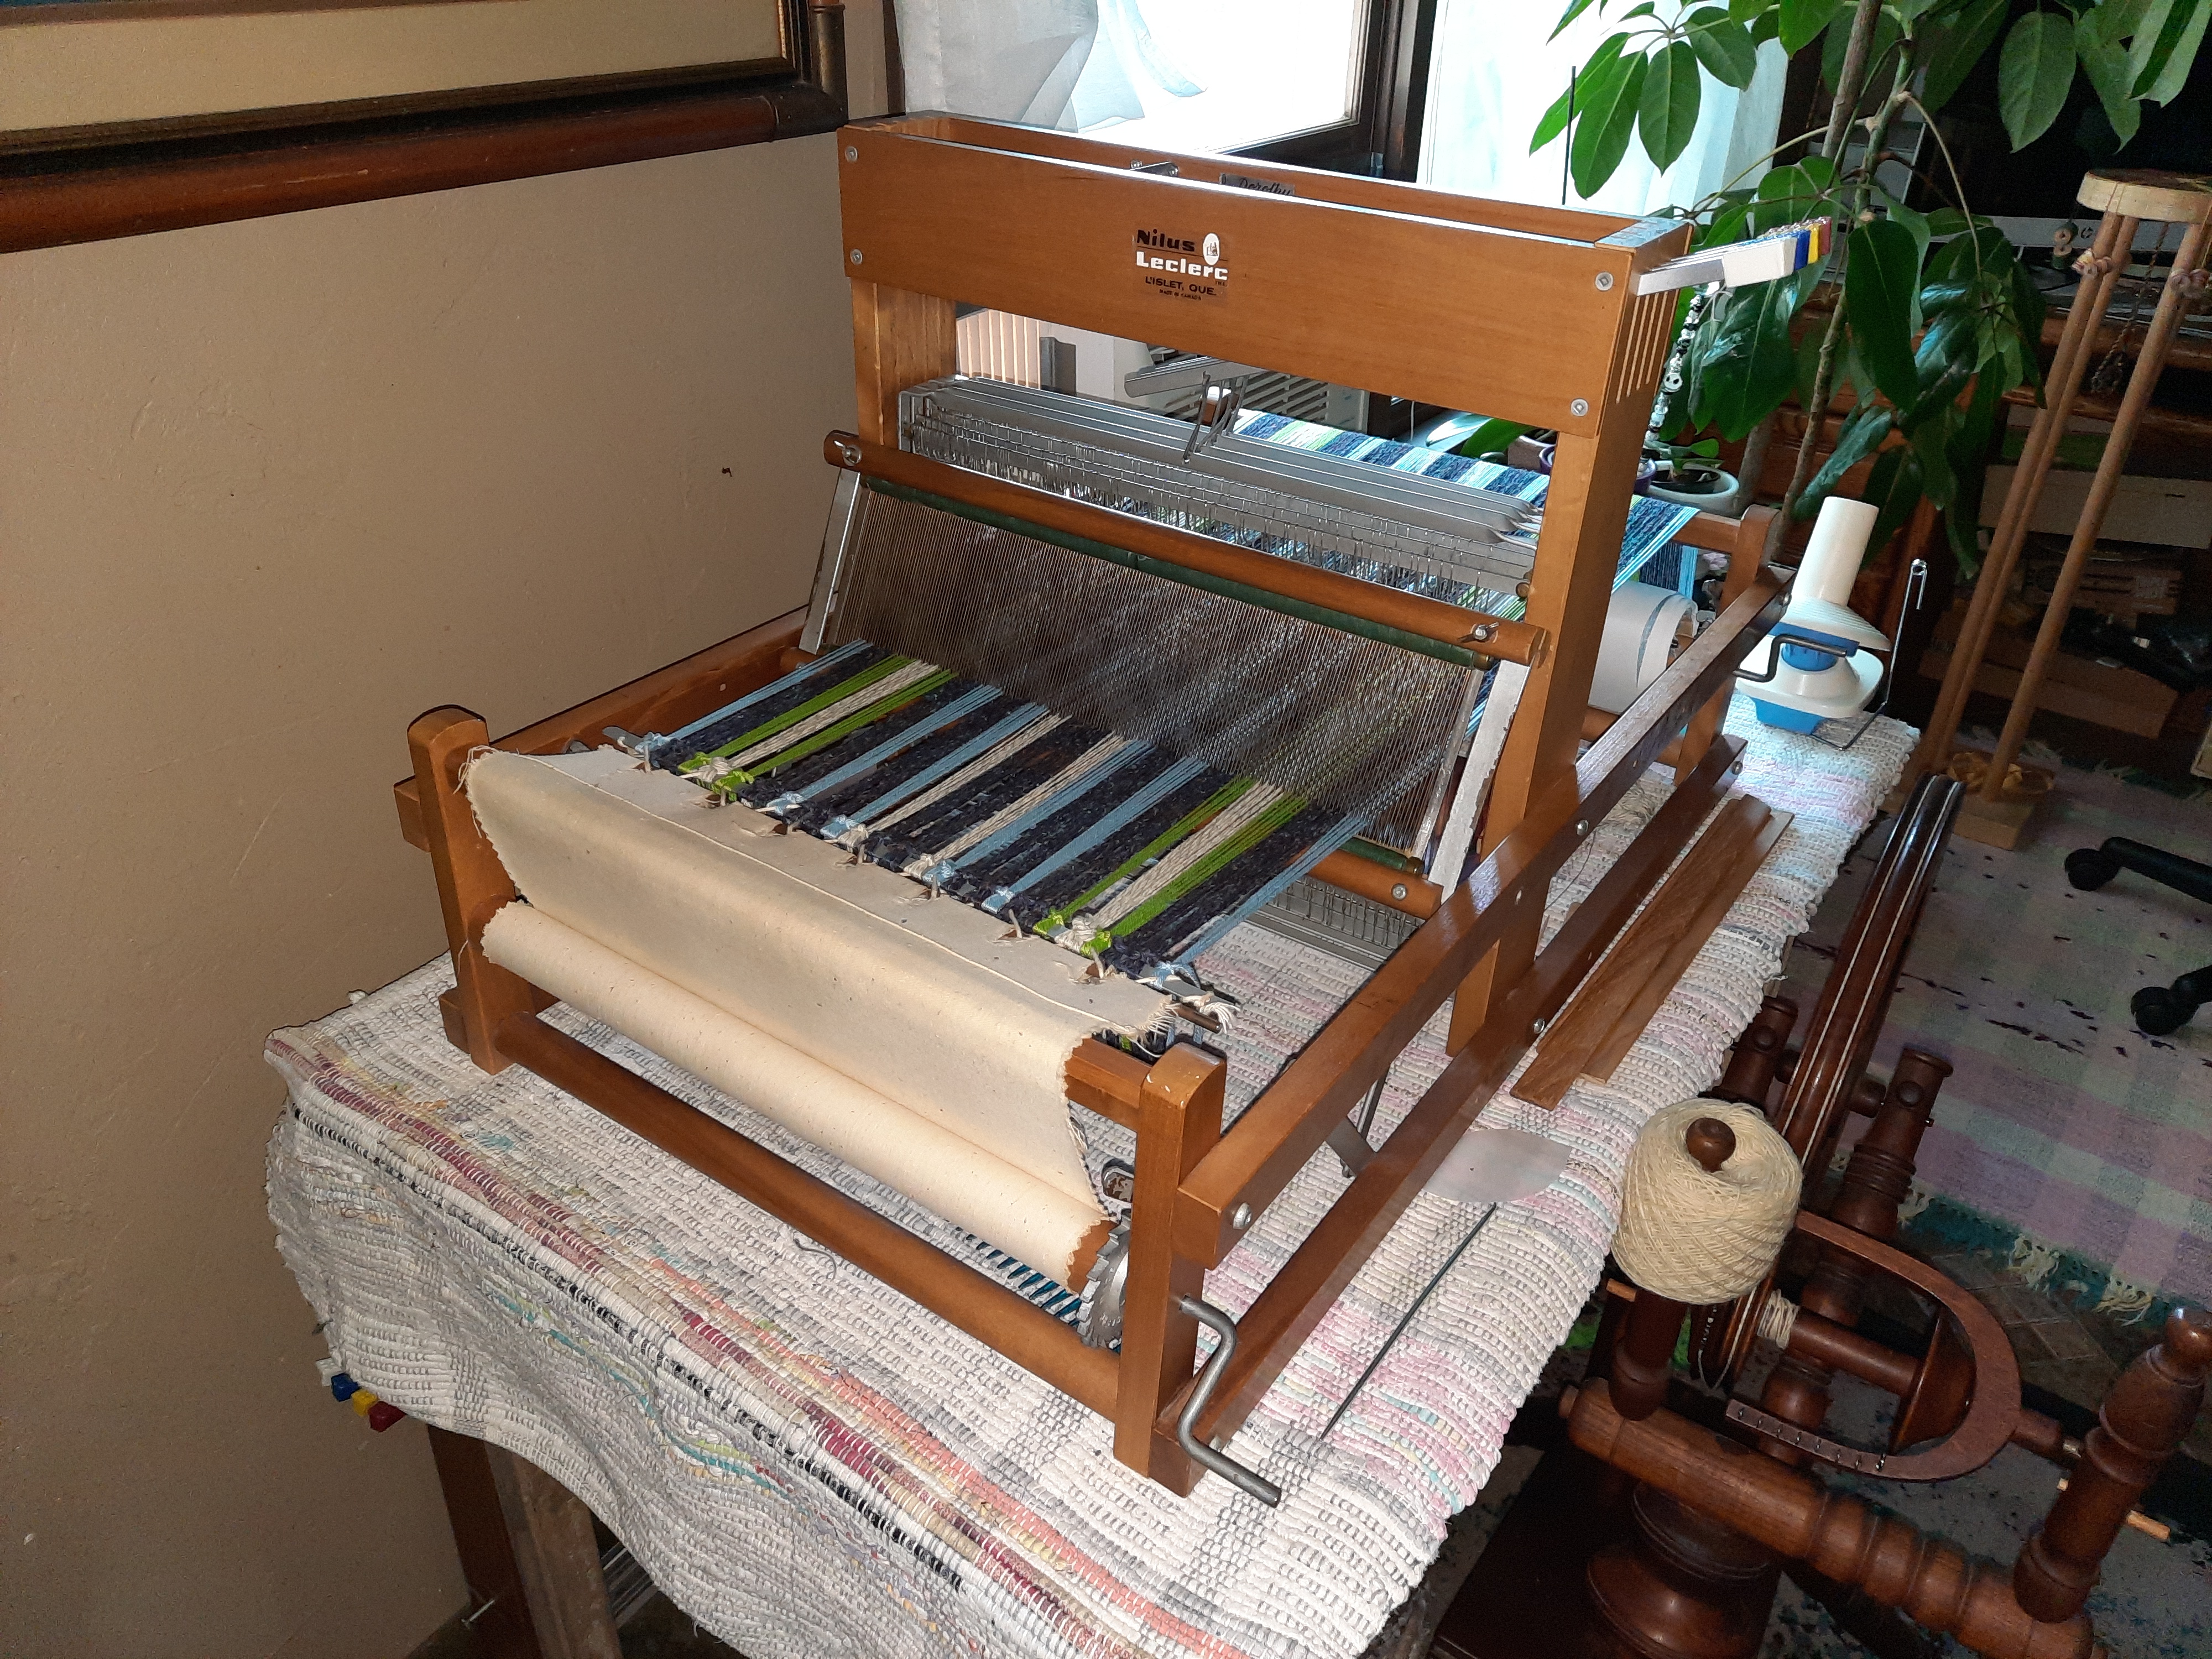
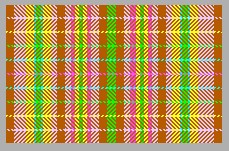
The rest of these towels are woven on the fly, while being notated in a notebook. I prefer creating on the fly because it doesn’t require a computer or electricity.

Get busy! Learn something new or make something you’ve never made before! It will keep your brain healthy!!

The weaving progress of the first set of handwoven dishtowels!

This was an interesting process for me as I’d mostly woven wool cloth and heavy rugs. I did these towels freestyle because I was fascinated by the patterns being created in the plaids. I love plaids, so this seemed most natural to me.

When the warp was all woven up, I cut off the weaving and finished up the dishtowels. I sewed all of the side ends in (weft) and hemmed the ends of each towel. The towels were shipped to the wonderful woman who gave me all of the cotton thread/yarn which led to the creation of these dishtowls.

I used my Singer 319 to hem these dishtowels.

Get busy and make something you love! If you don’t know how, get a book and learn (I do it all of the time!).

The first weaving of my own draft

I cleaned up the loom after removing the first finished weaving. I removed one of the 4-harness blocks and used the warp board that our son and I built 15 years ago to start a new weaving. I decided on dishtowels using #5 and #3 cotton.

I chained the warp while trying to maintain the cross. This is of note because I’d not chained a warp in over 12 years, so it was a lot of virtual hair pulling. I ended up losing about 3 yards of the warp because the cotton didn’t want to play well.

I slowly sleyed the reed and secured the warp onto a shed stick.

Threading the heddles went fairly smoothly and I enjoyed relearning the process. The biggest difference for me was that this was not my Nana’s antique rug loom, so it was easier.

The warp is ready to tie onto the back apron! This is a very interesting process when there’s a warp puddle waiting in a feed tub.

Tying the warp onto the back rear/back apron and beaming it onto the rear warp beam progressed fairly well. It’s slow and steady work and rushing isn’t necessary or desired.

It’s time to have a cup of tea and begin the weaving!!

That’s it for now.

Get busy with creating whatn you like, want, or need. Quit sitting on our brain and get busy!