I subscribe to a lot of knitting blogs and every once in a while, one comes along that grabs my eyeballs just right and I have to share! So, without further ado, here it is:
Keep a smile on and get spinning!!
I subscribe to a lot of knitting blogs and every once in a while, one comes along that grabs my eyeballs just right and I have to share! So, without further ado, here it is:
Keep a smile on and get spinning!!
Okay. For the record: I like facebook. It’s a great place to hang with friends, far and near. It’s a nice, quiet place to have an awesome chat. It’s also a place that I can get sucked in with all of the nifty, neato things you can do with cast off items. One of these items is a bowling ball. I found this post tonight and decided that I most definitely need to find at least one old bowling ball, so I can make one of these cute lawn creatures, as shared by https://www.facebook.com/usbc.
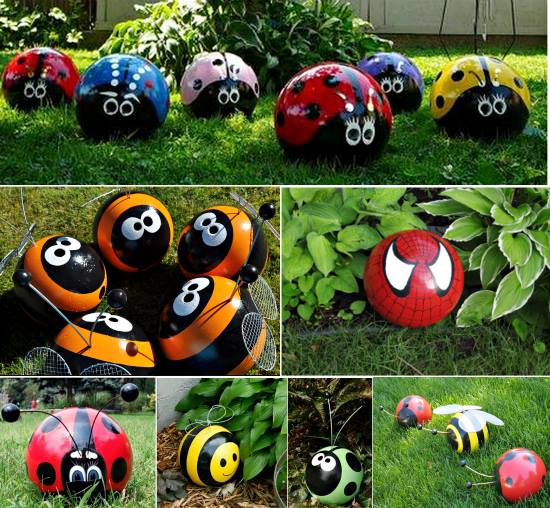
When it’s time to retire your bowling balls, there are so many cool things you can do with them! Check it out!!
Posted by The Sport of Bowling – USBC on Tuesday, 9 June 2015
P.S. Have I told you that I also love gnomes???? Yes. I love garden gnomes. I think they’re super awesome!!!
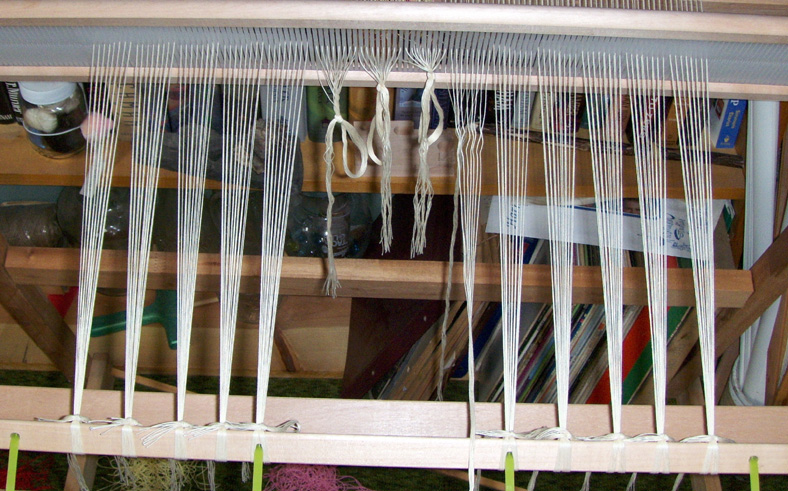
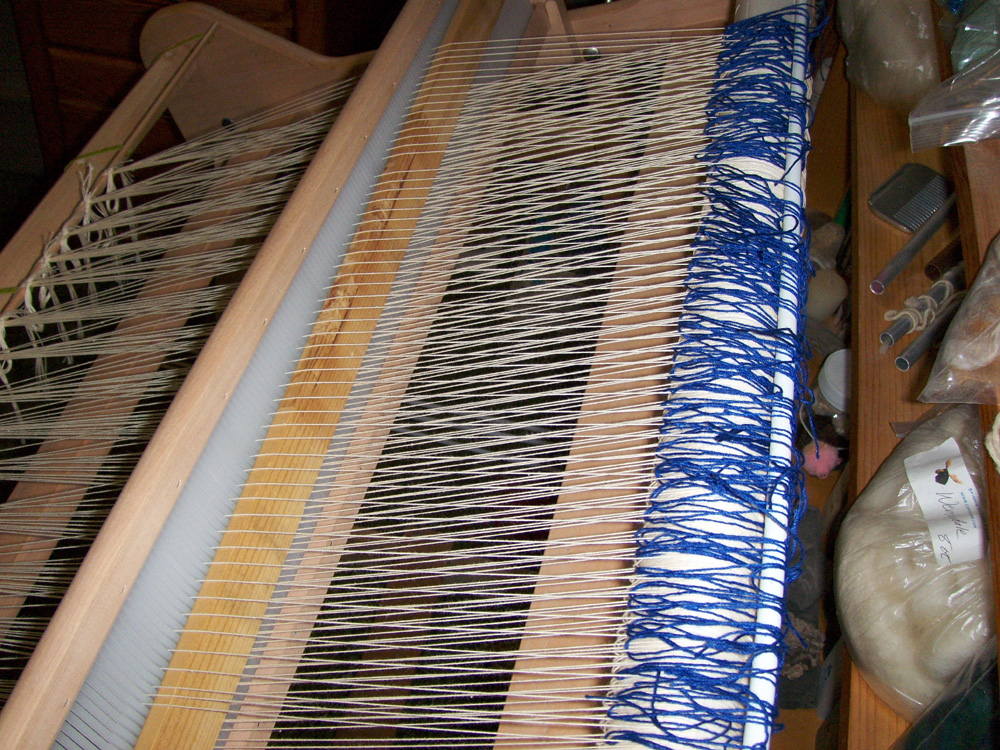
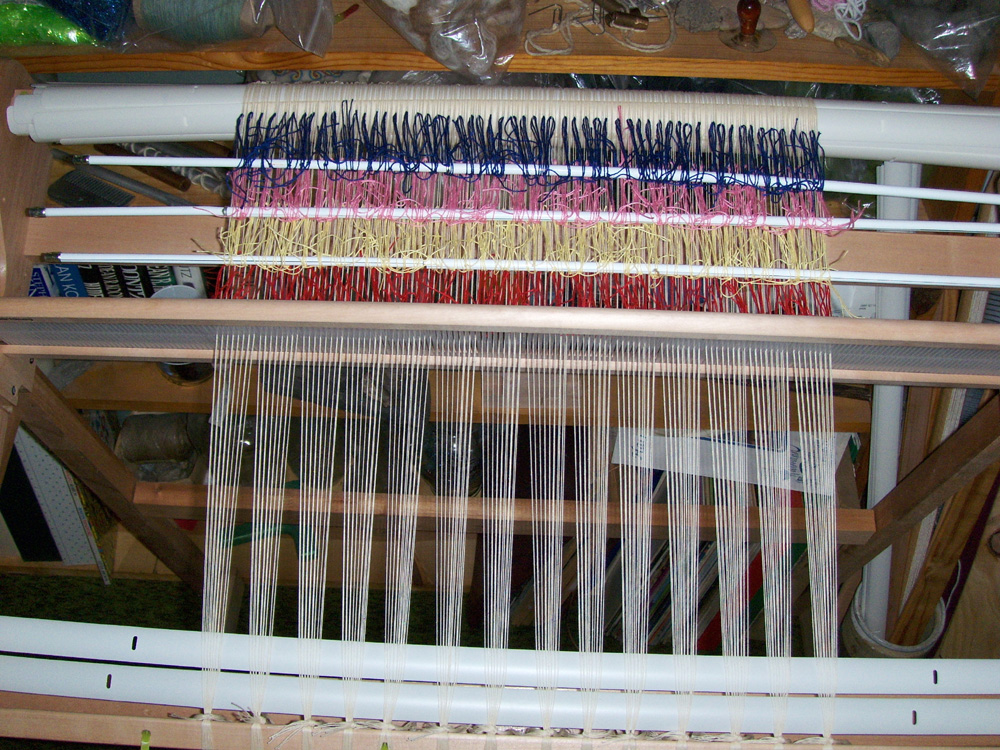
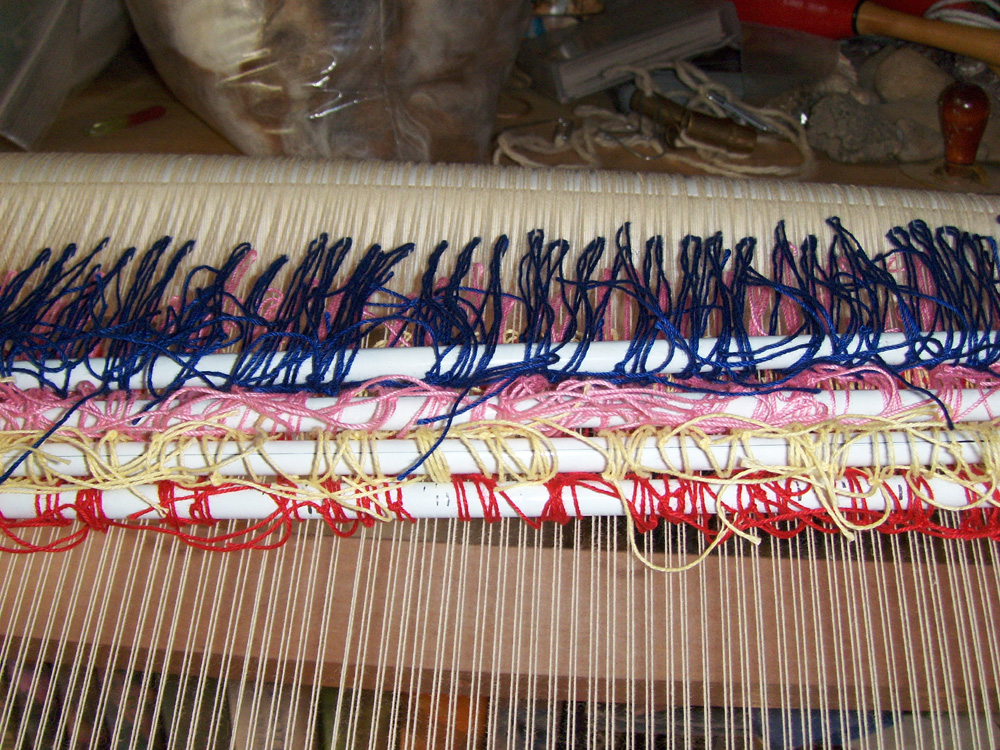
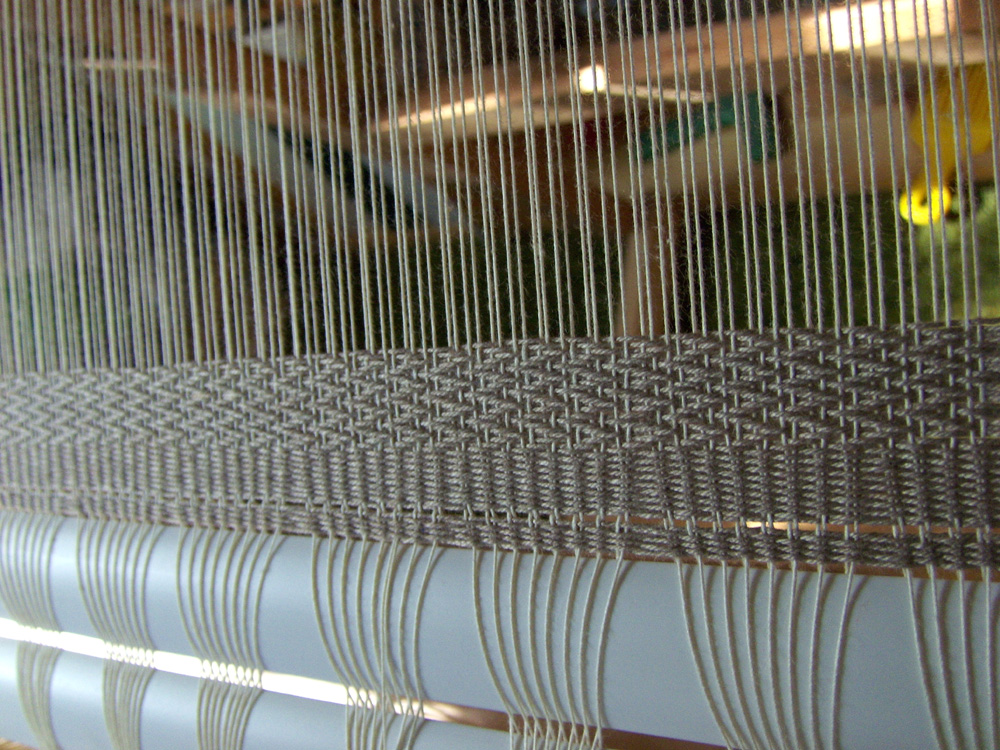
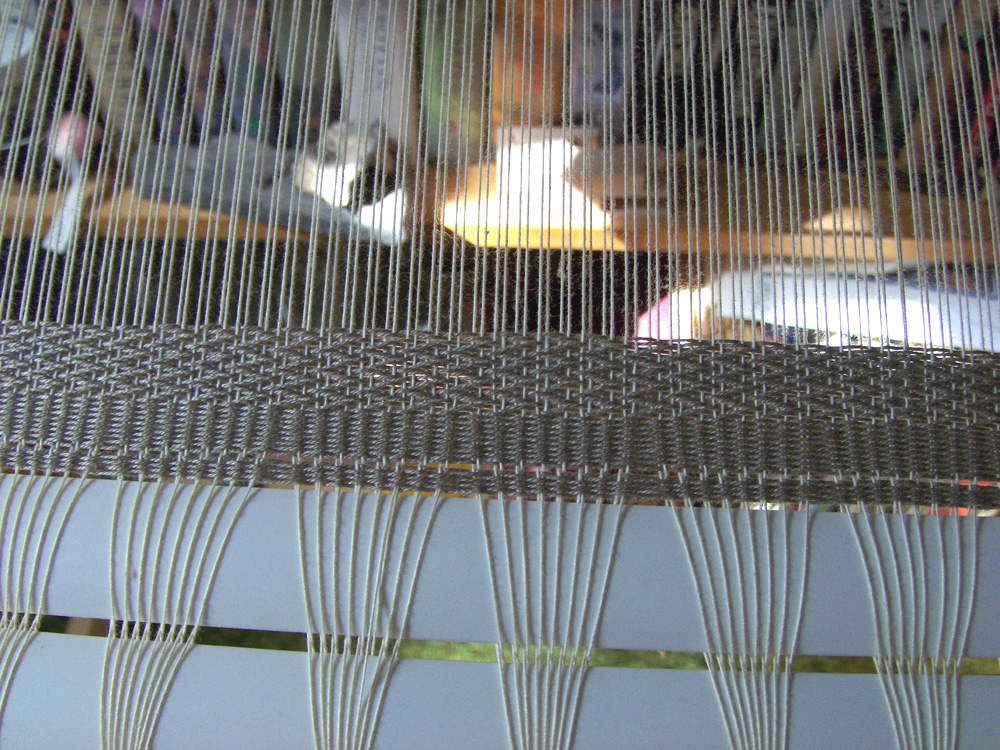
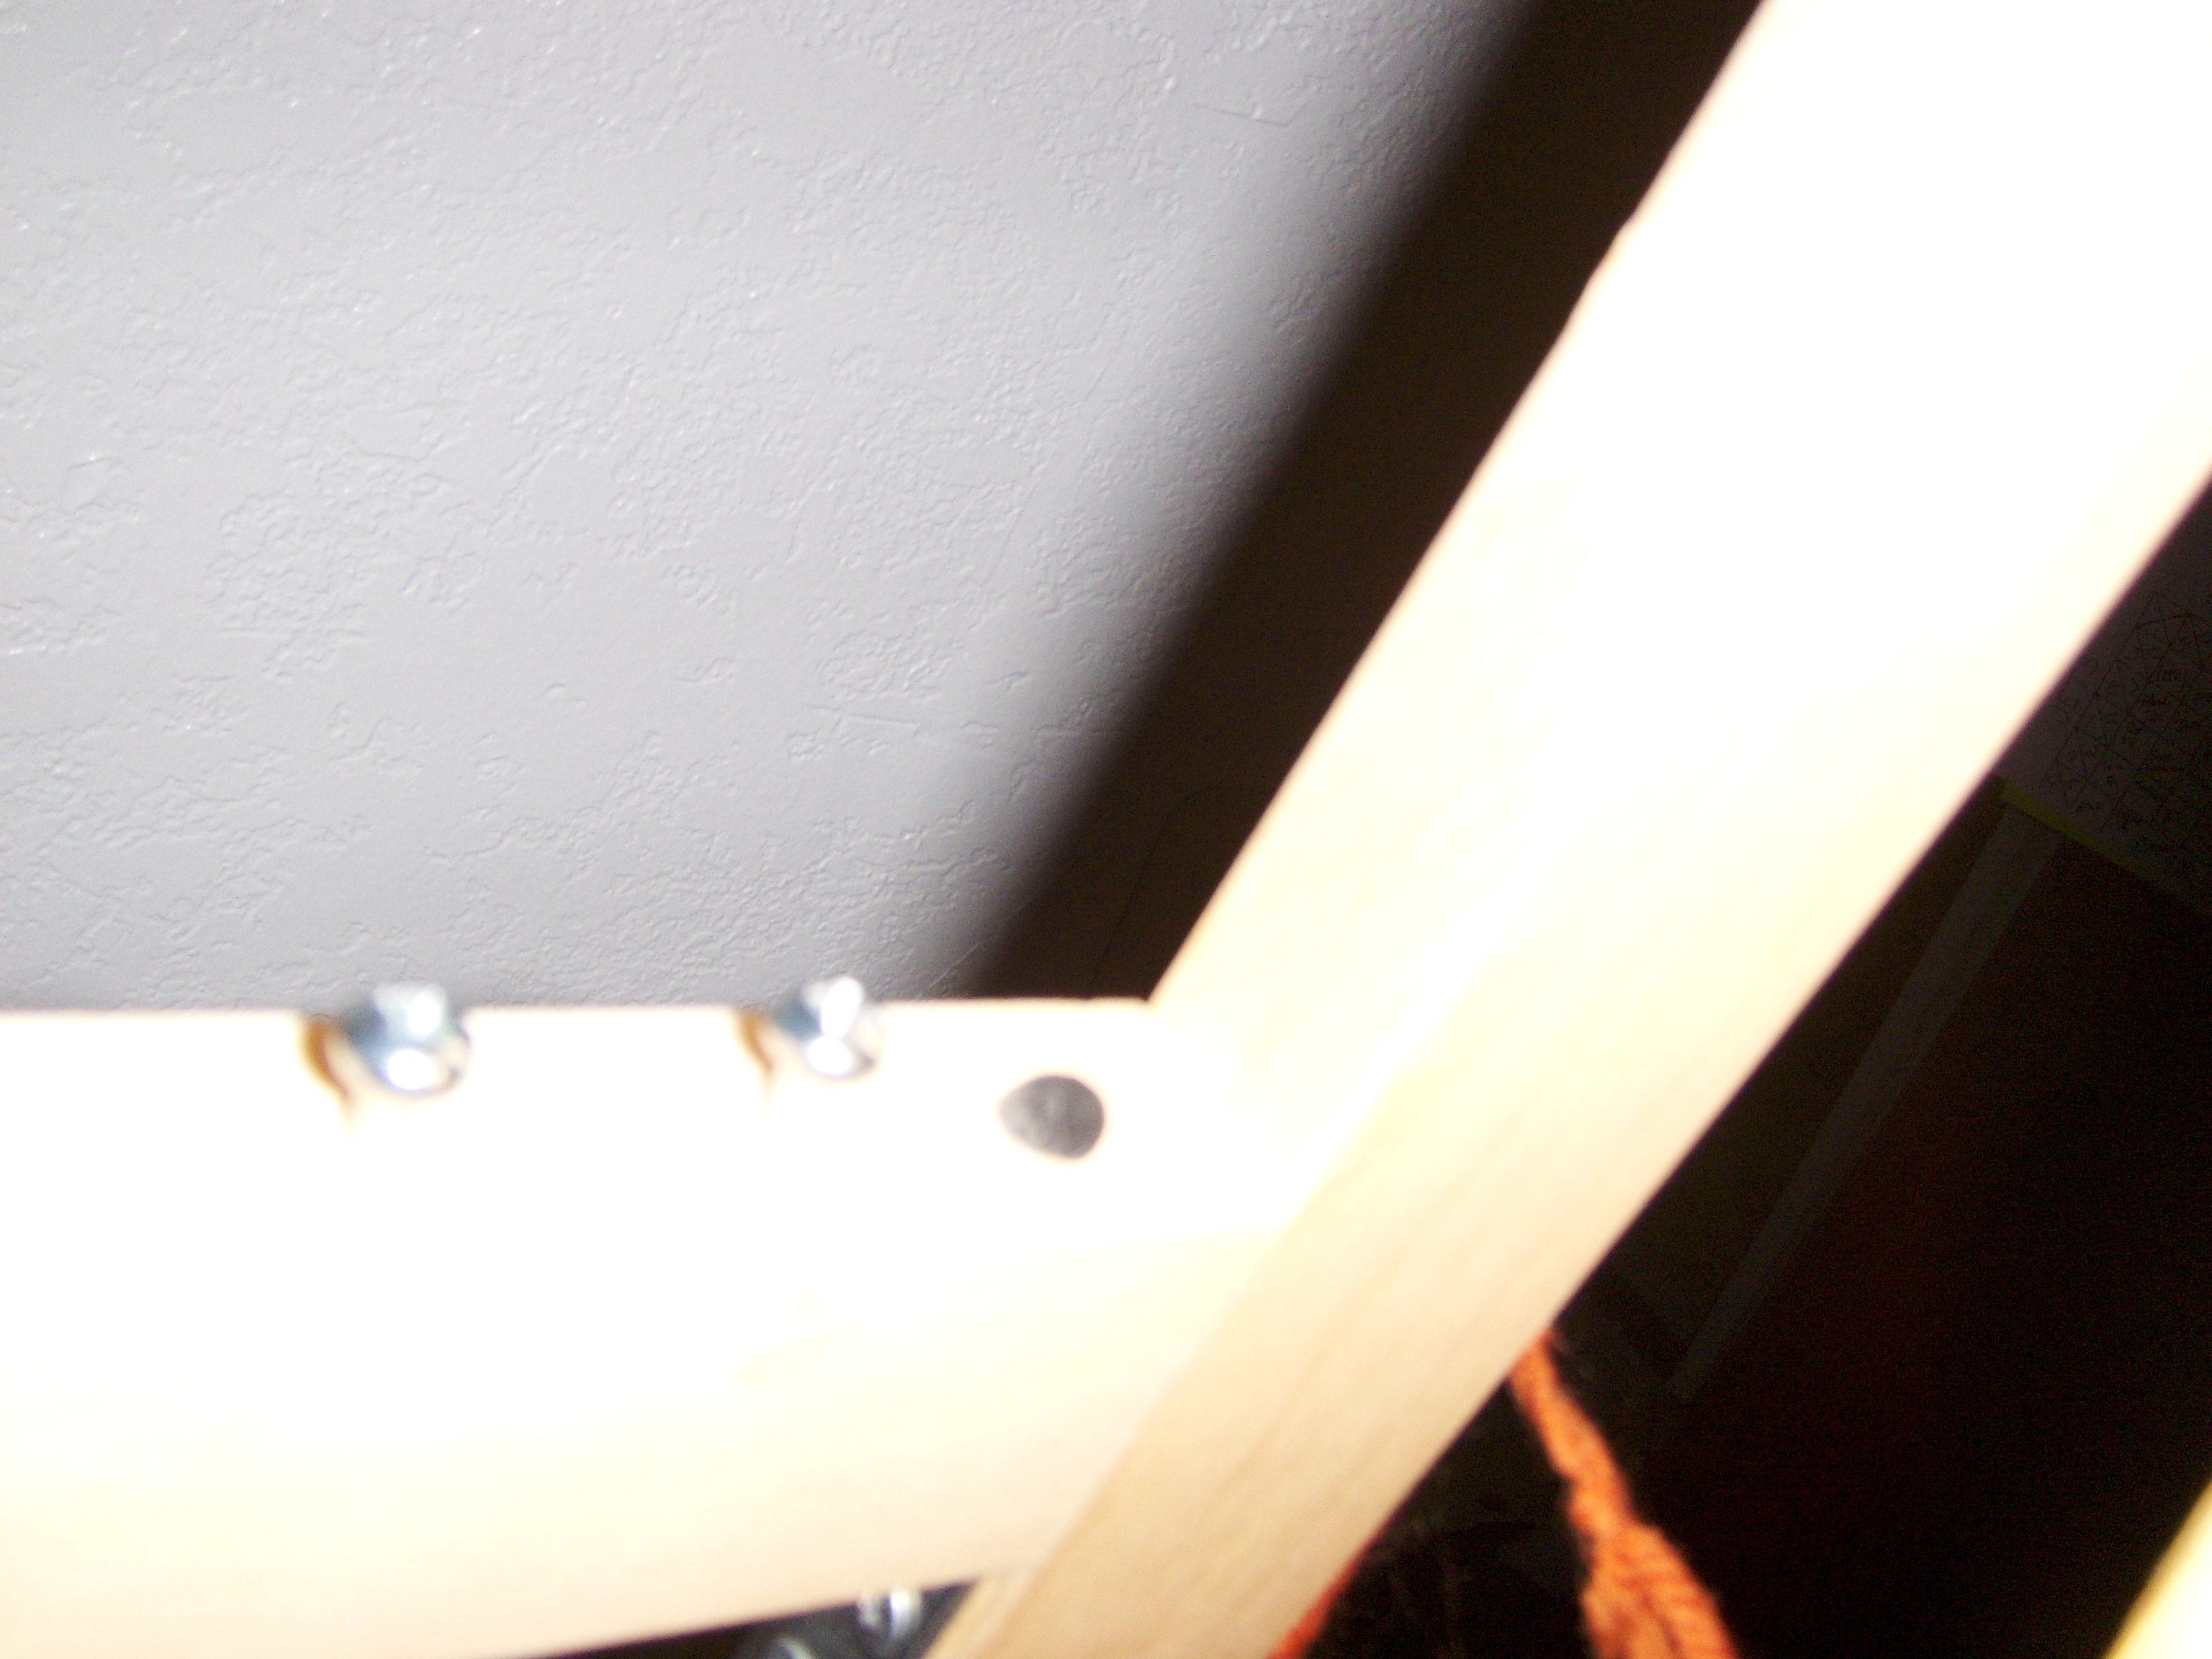
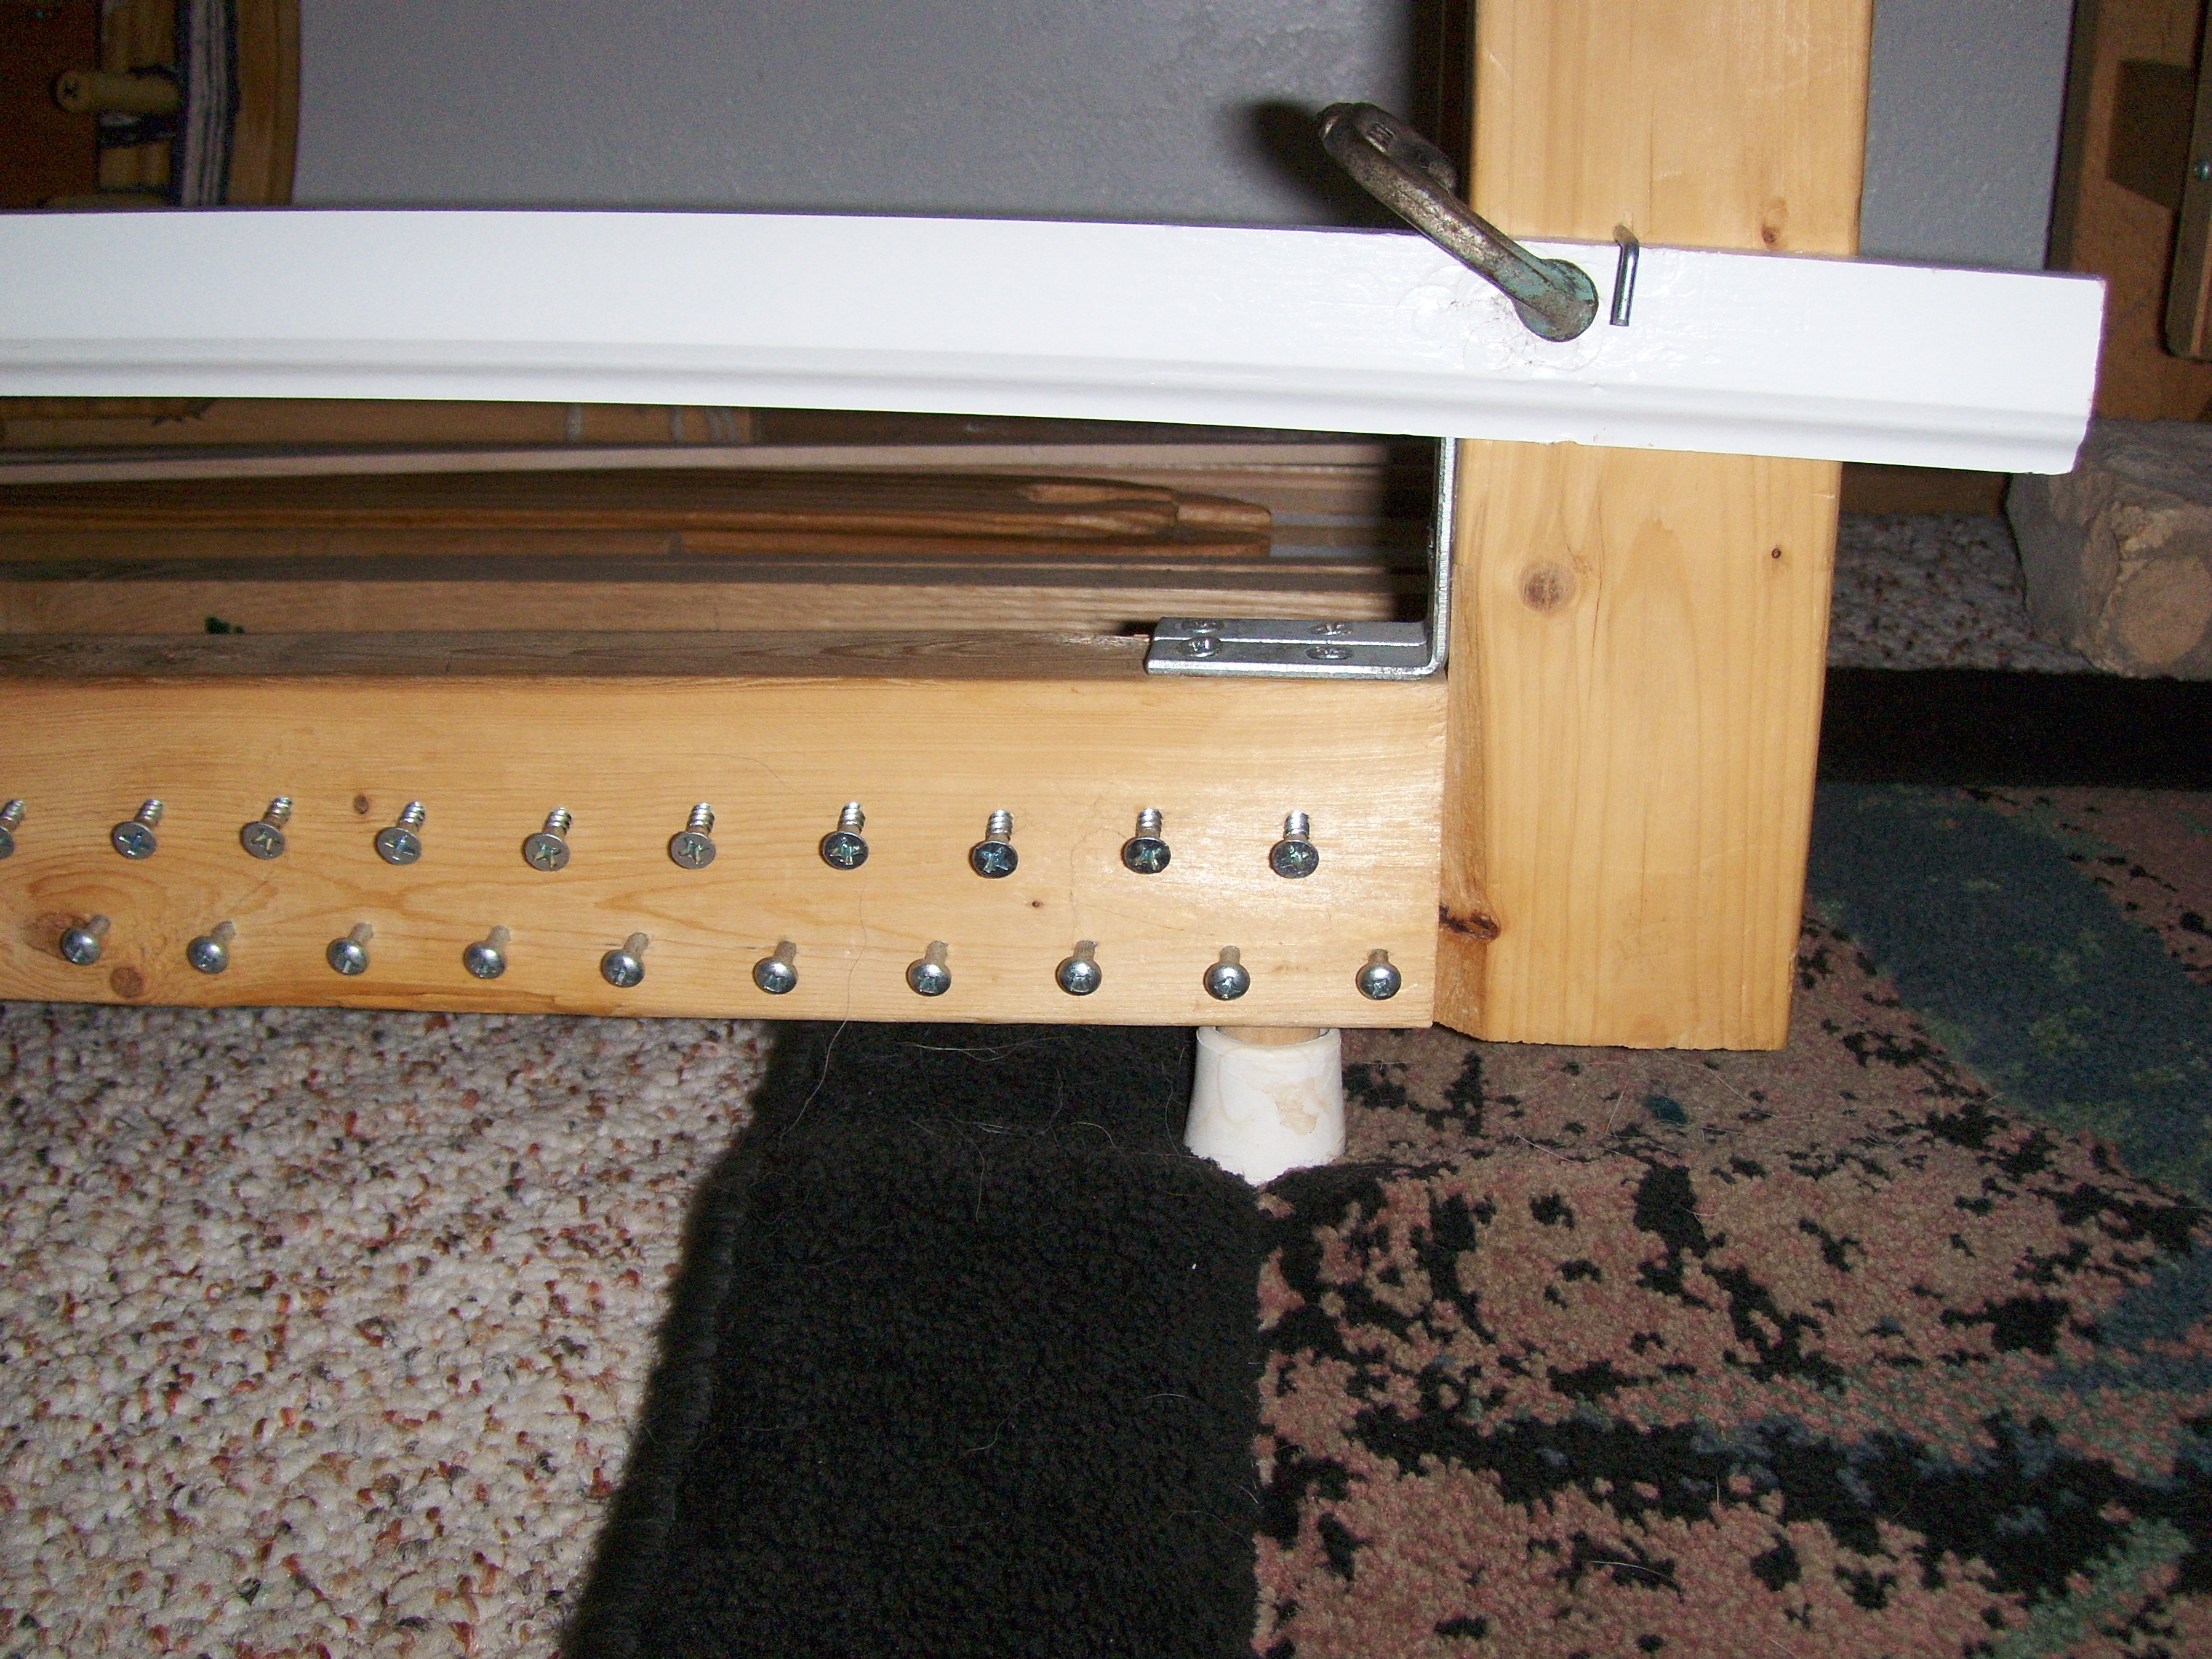
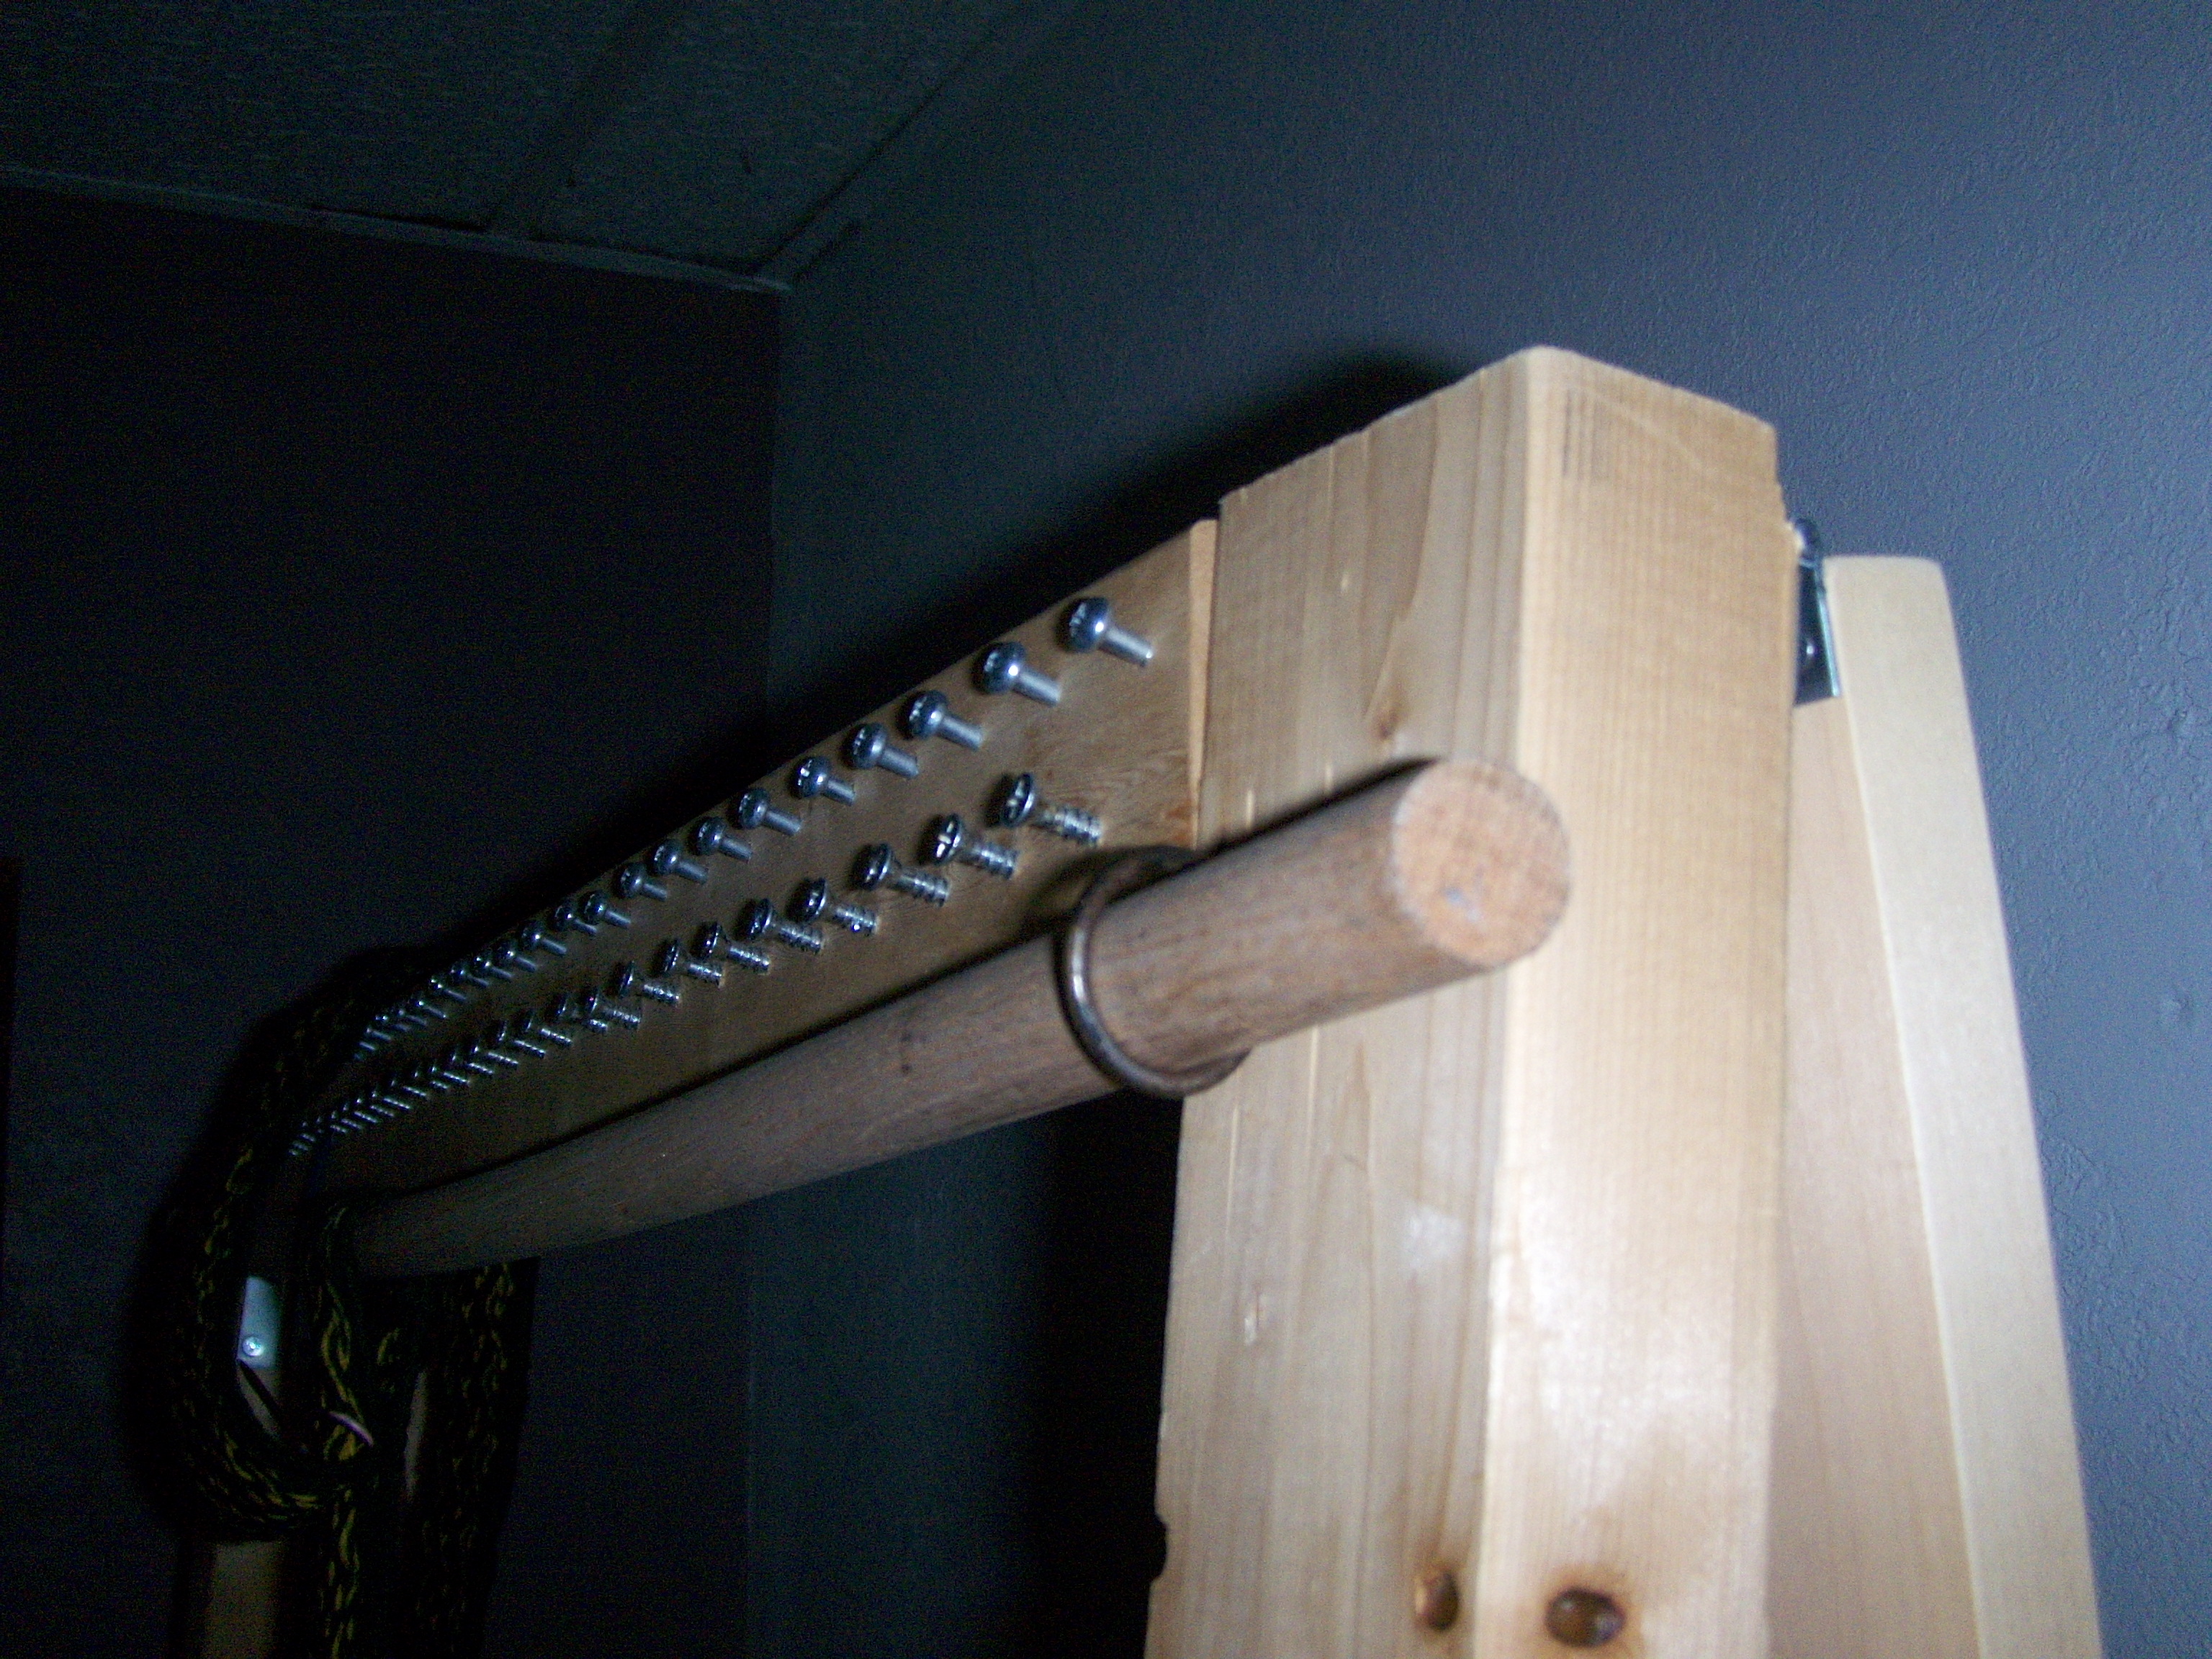
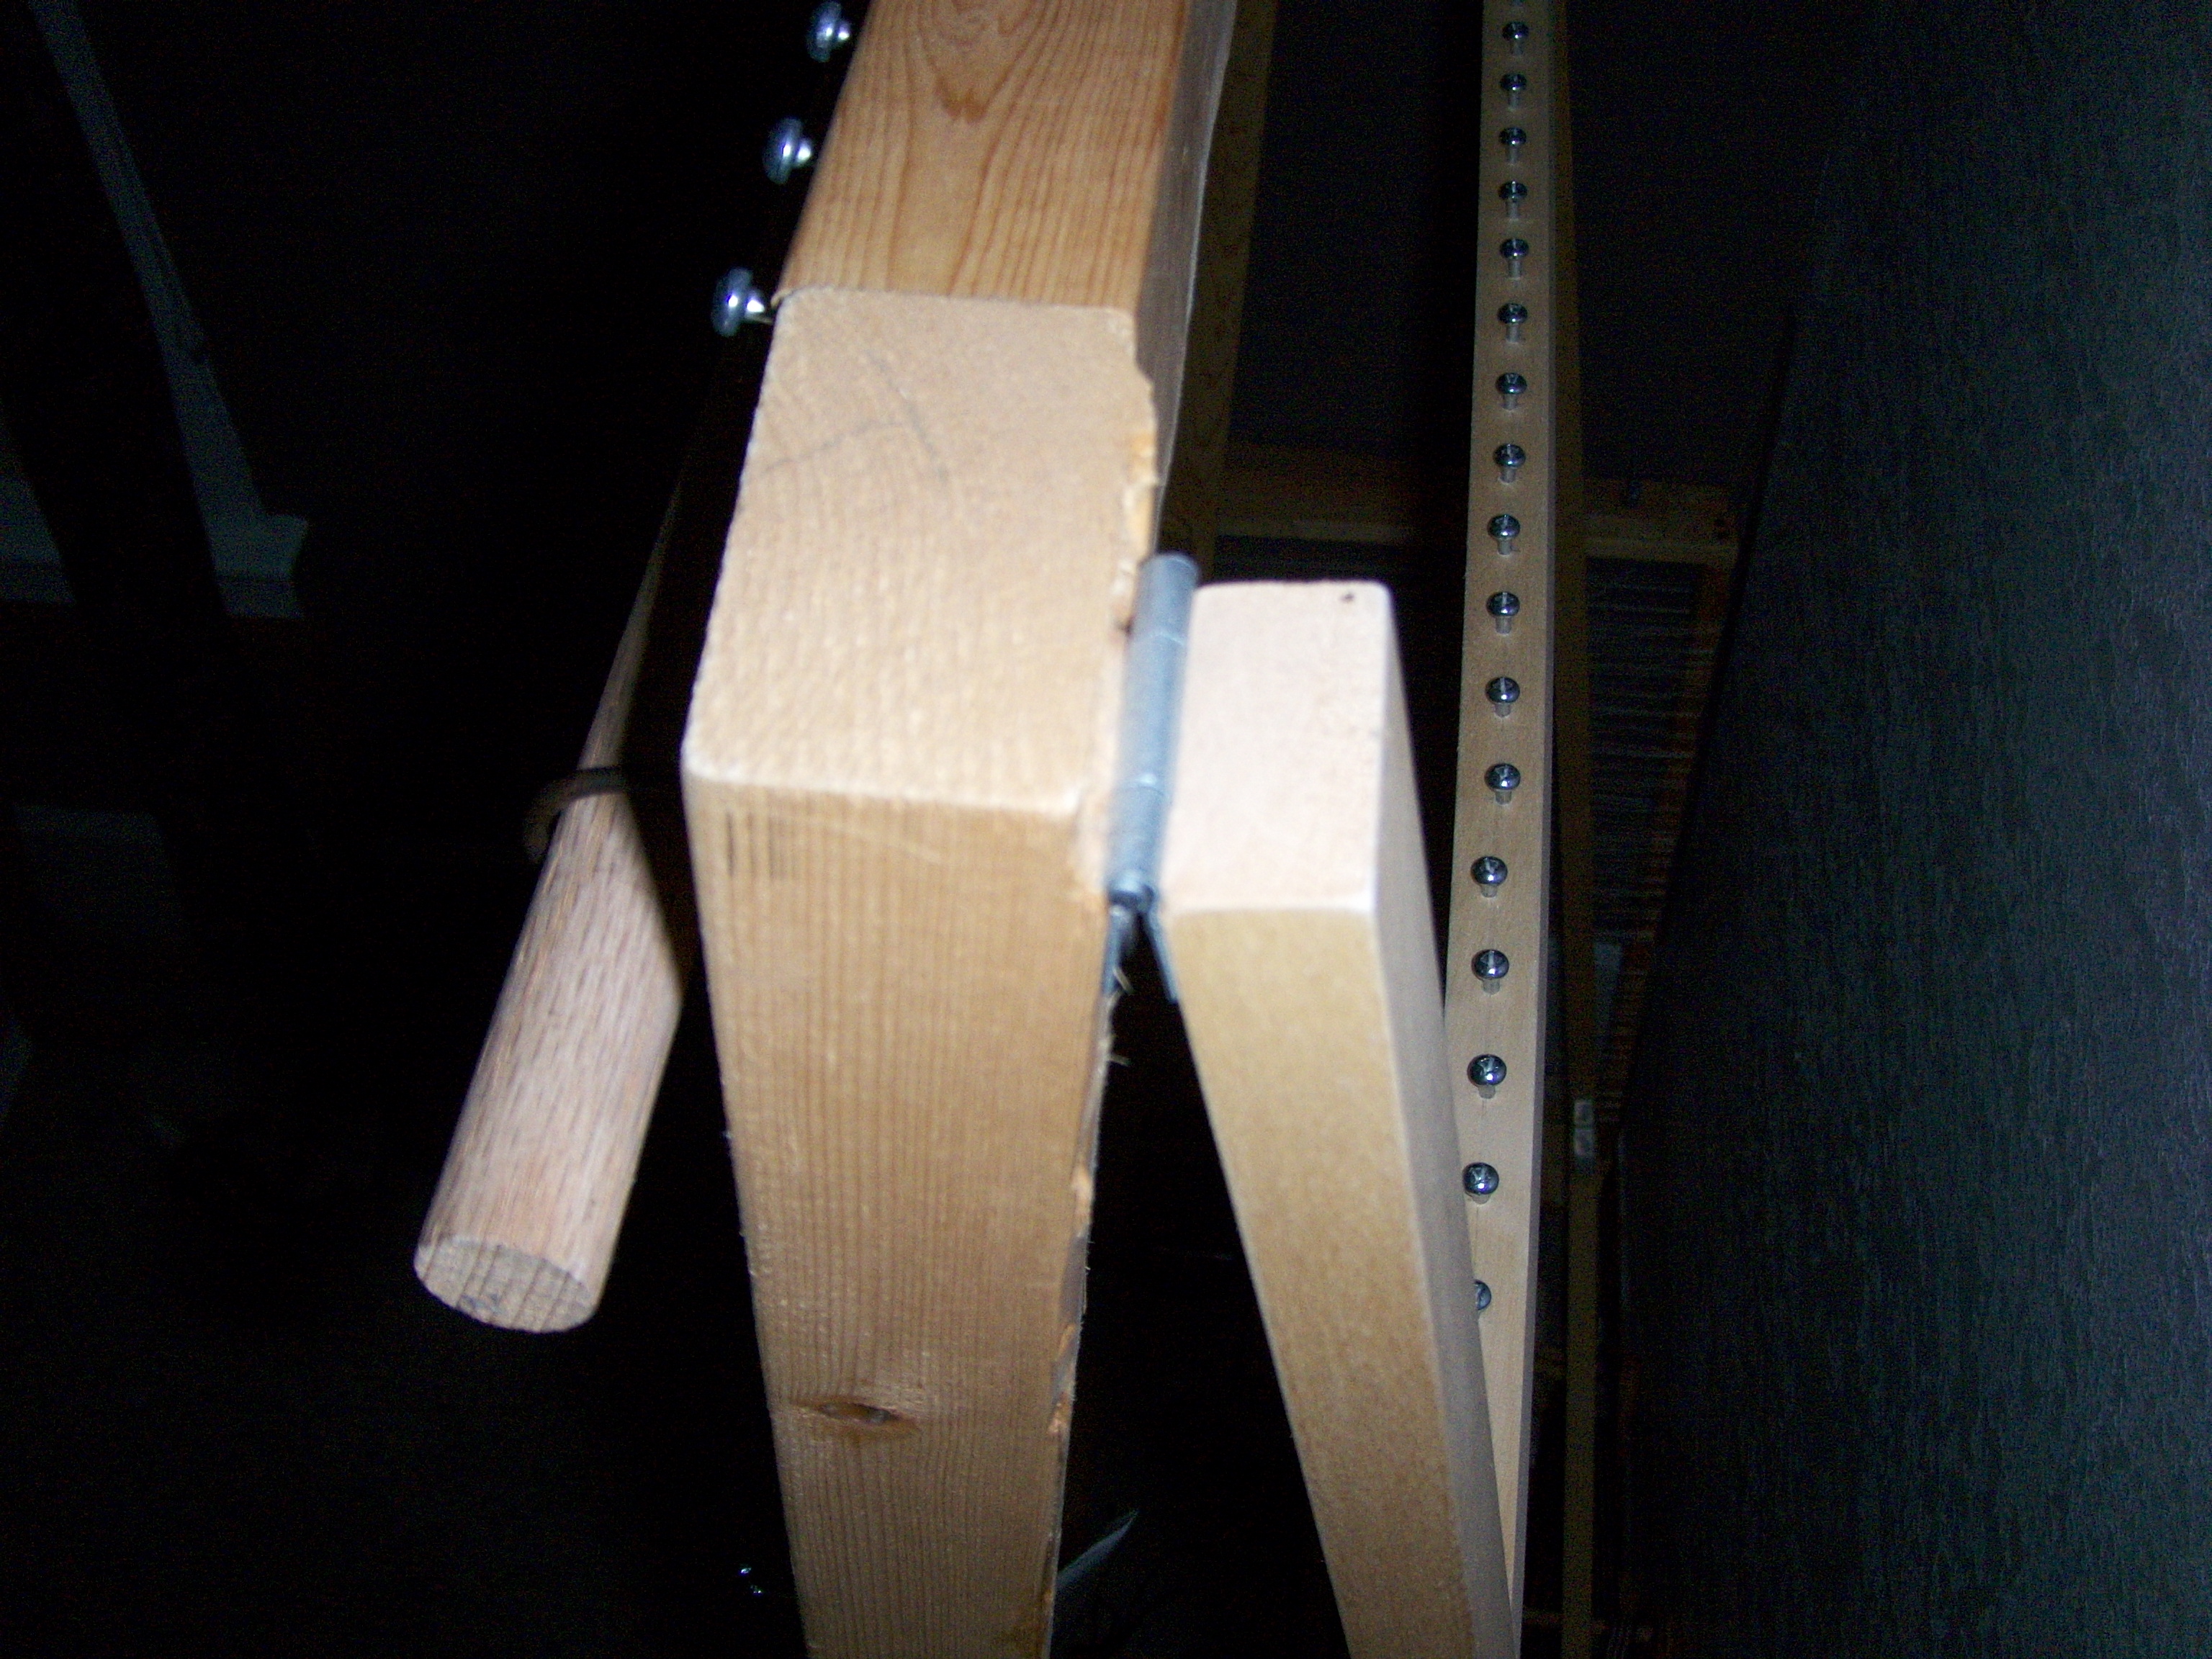
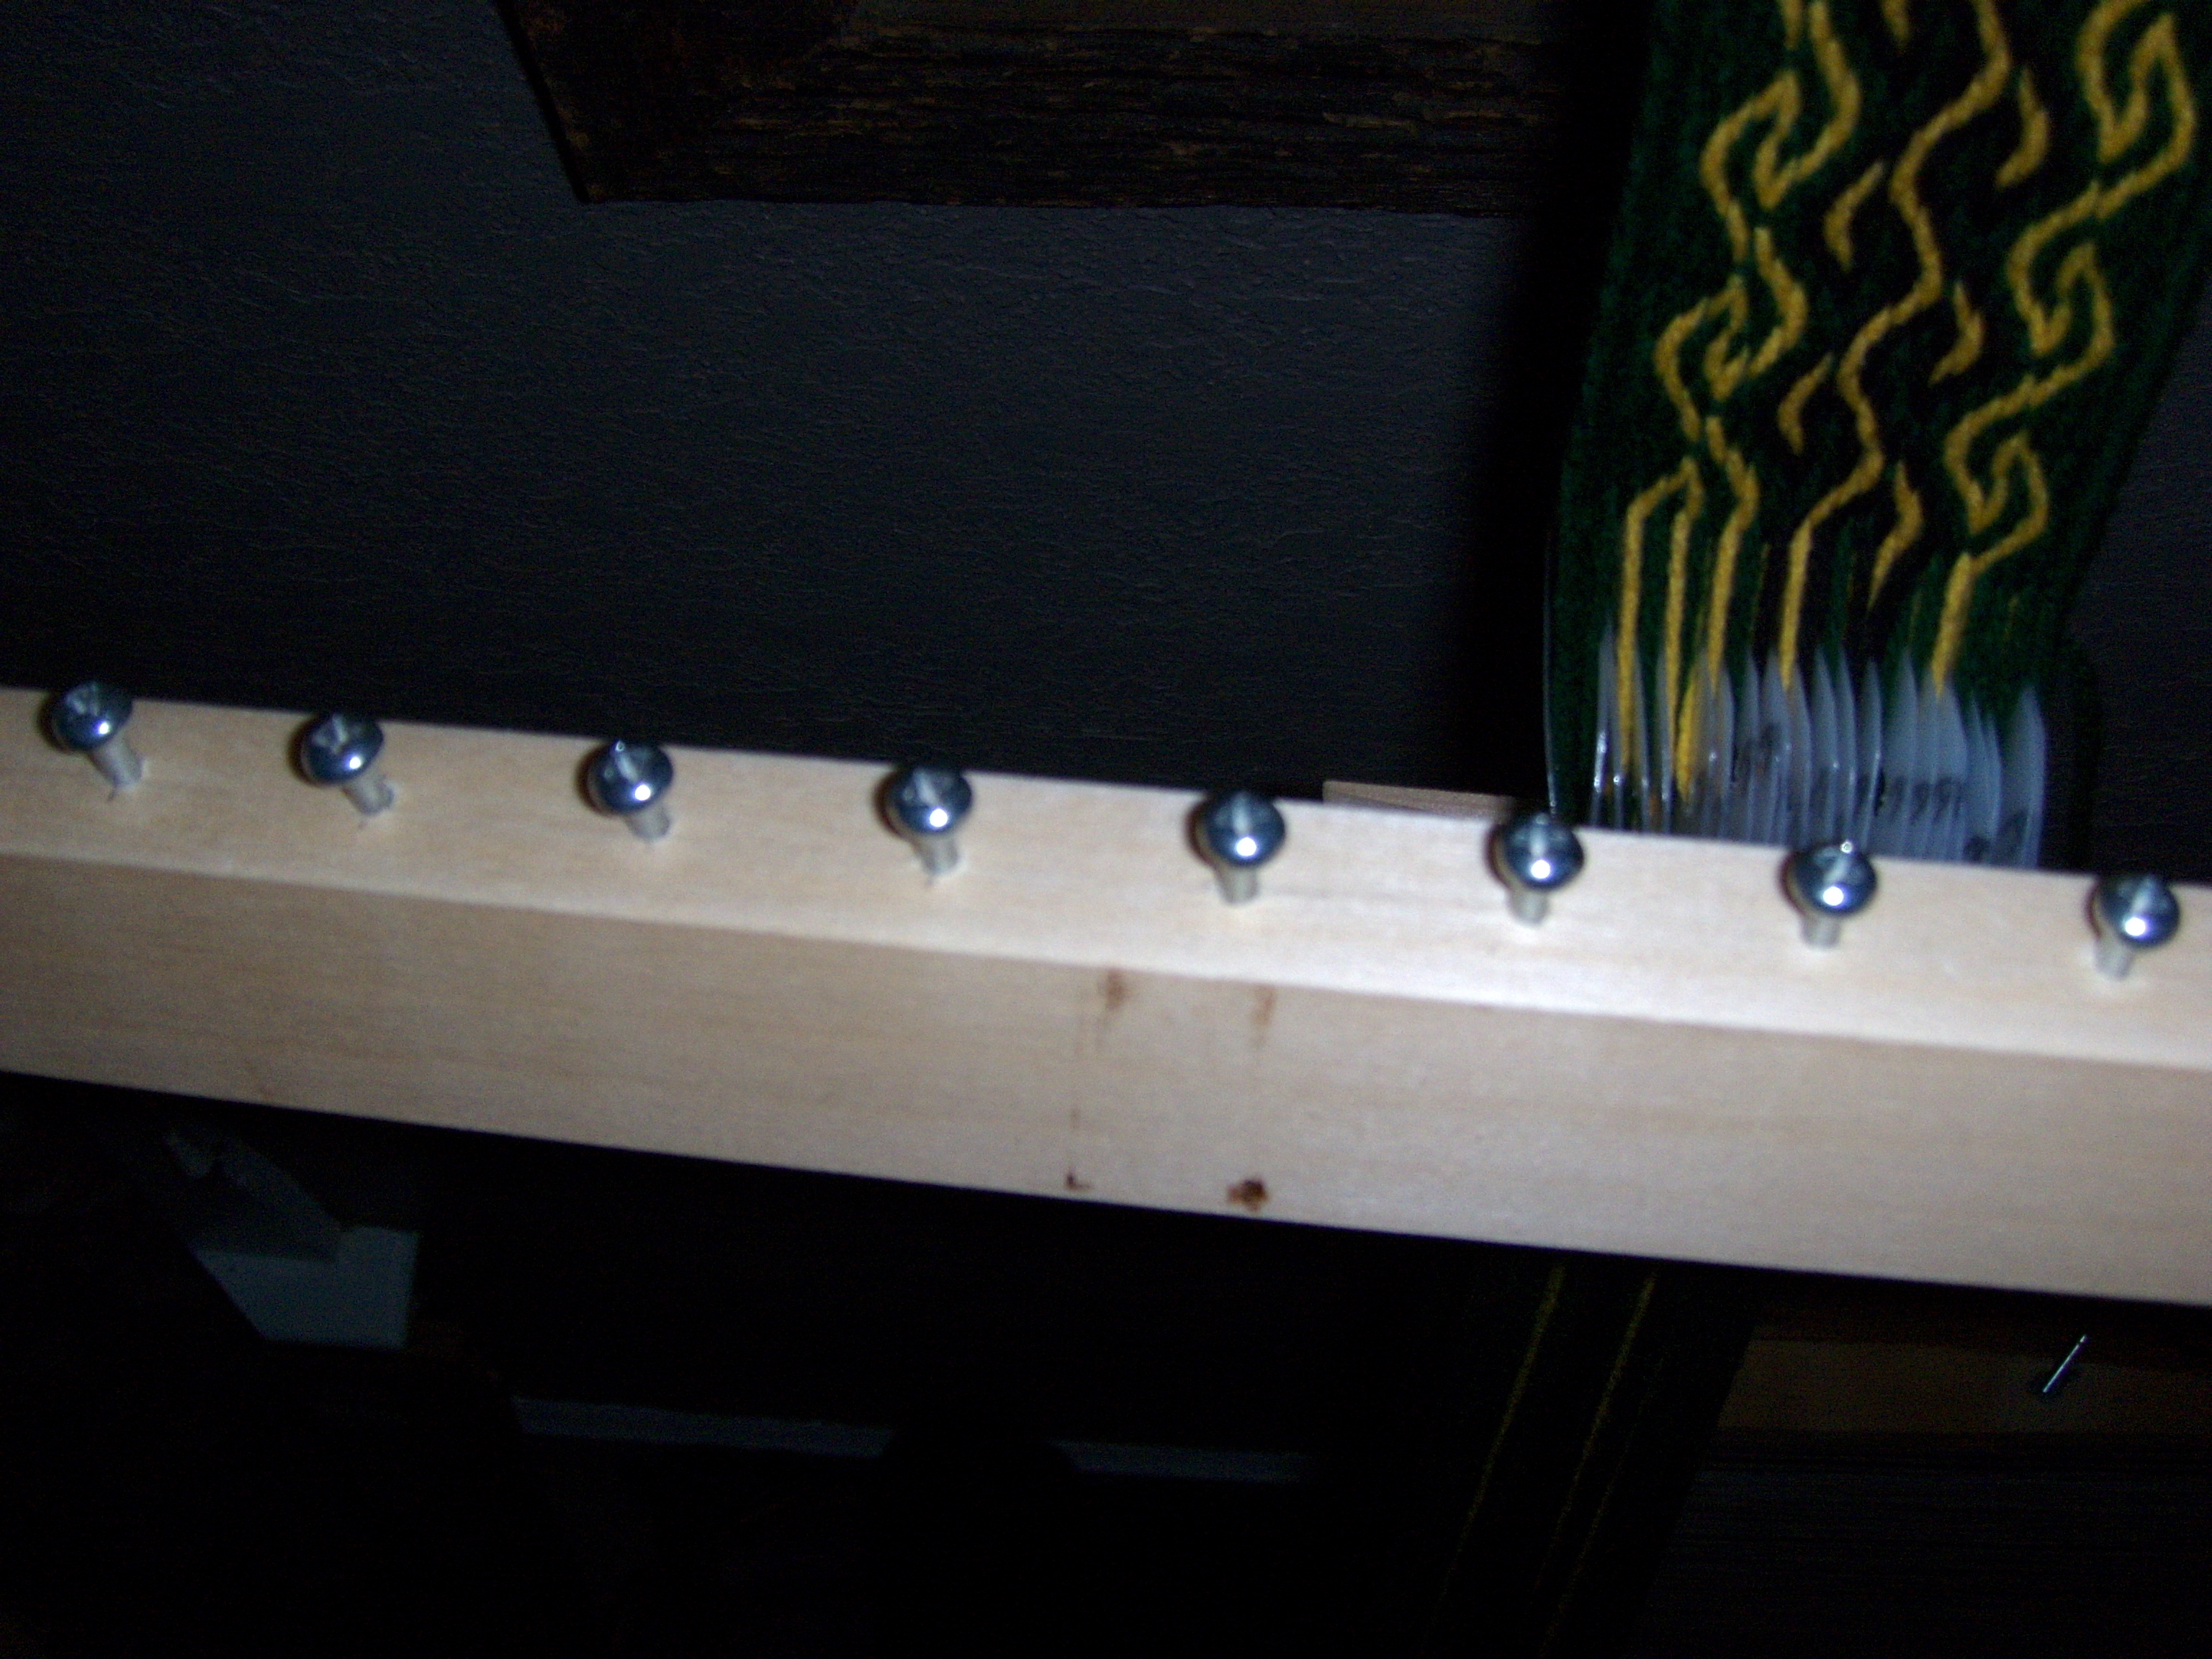
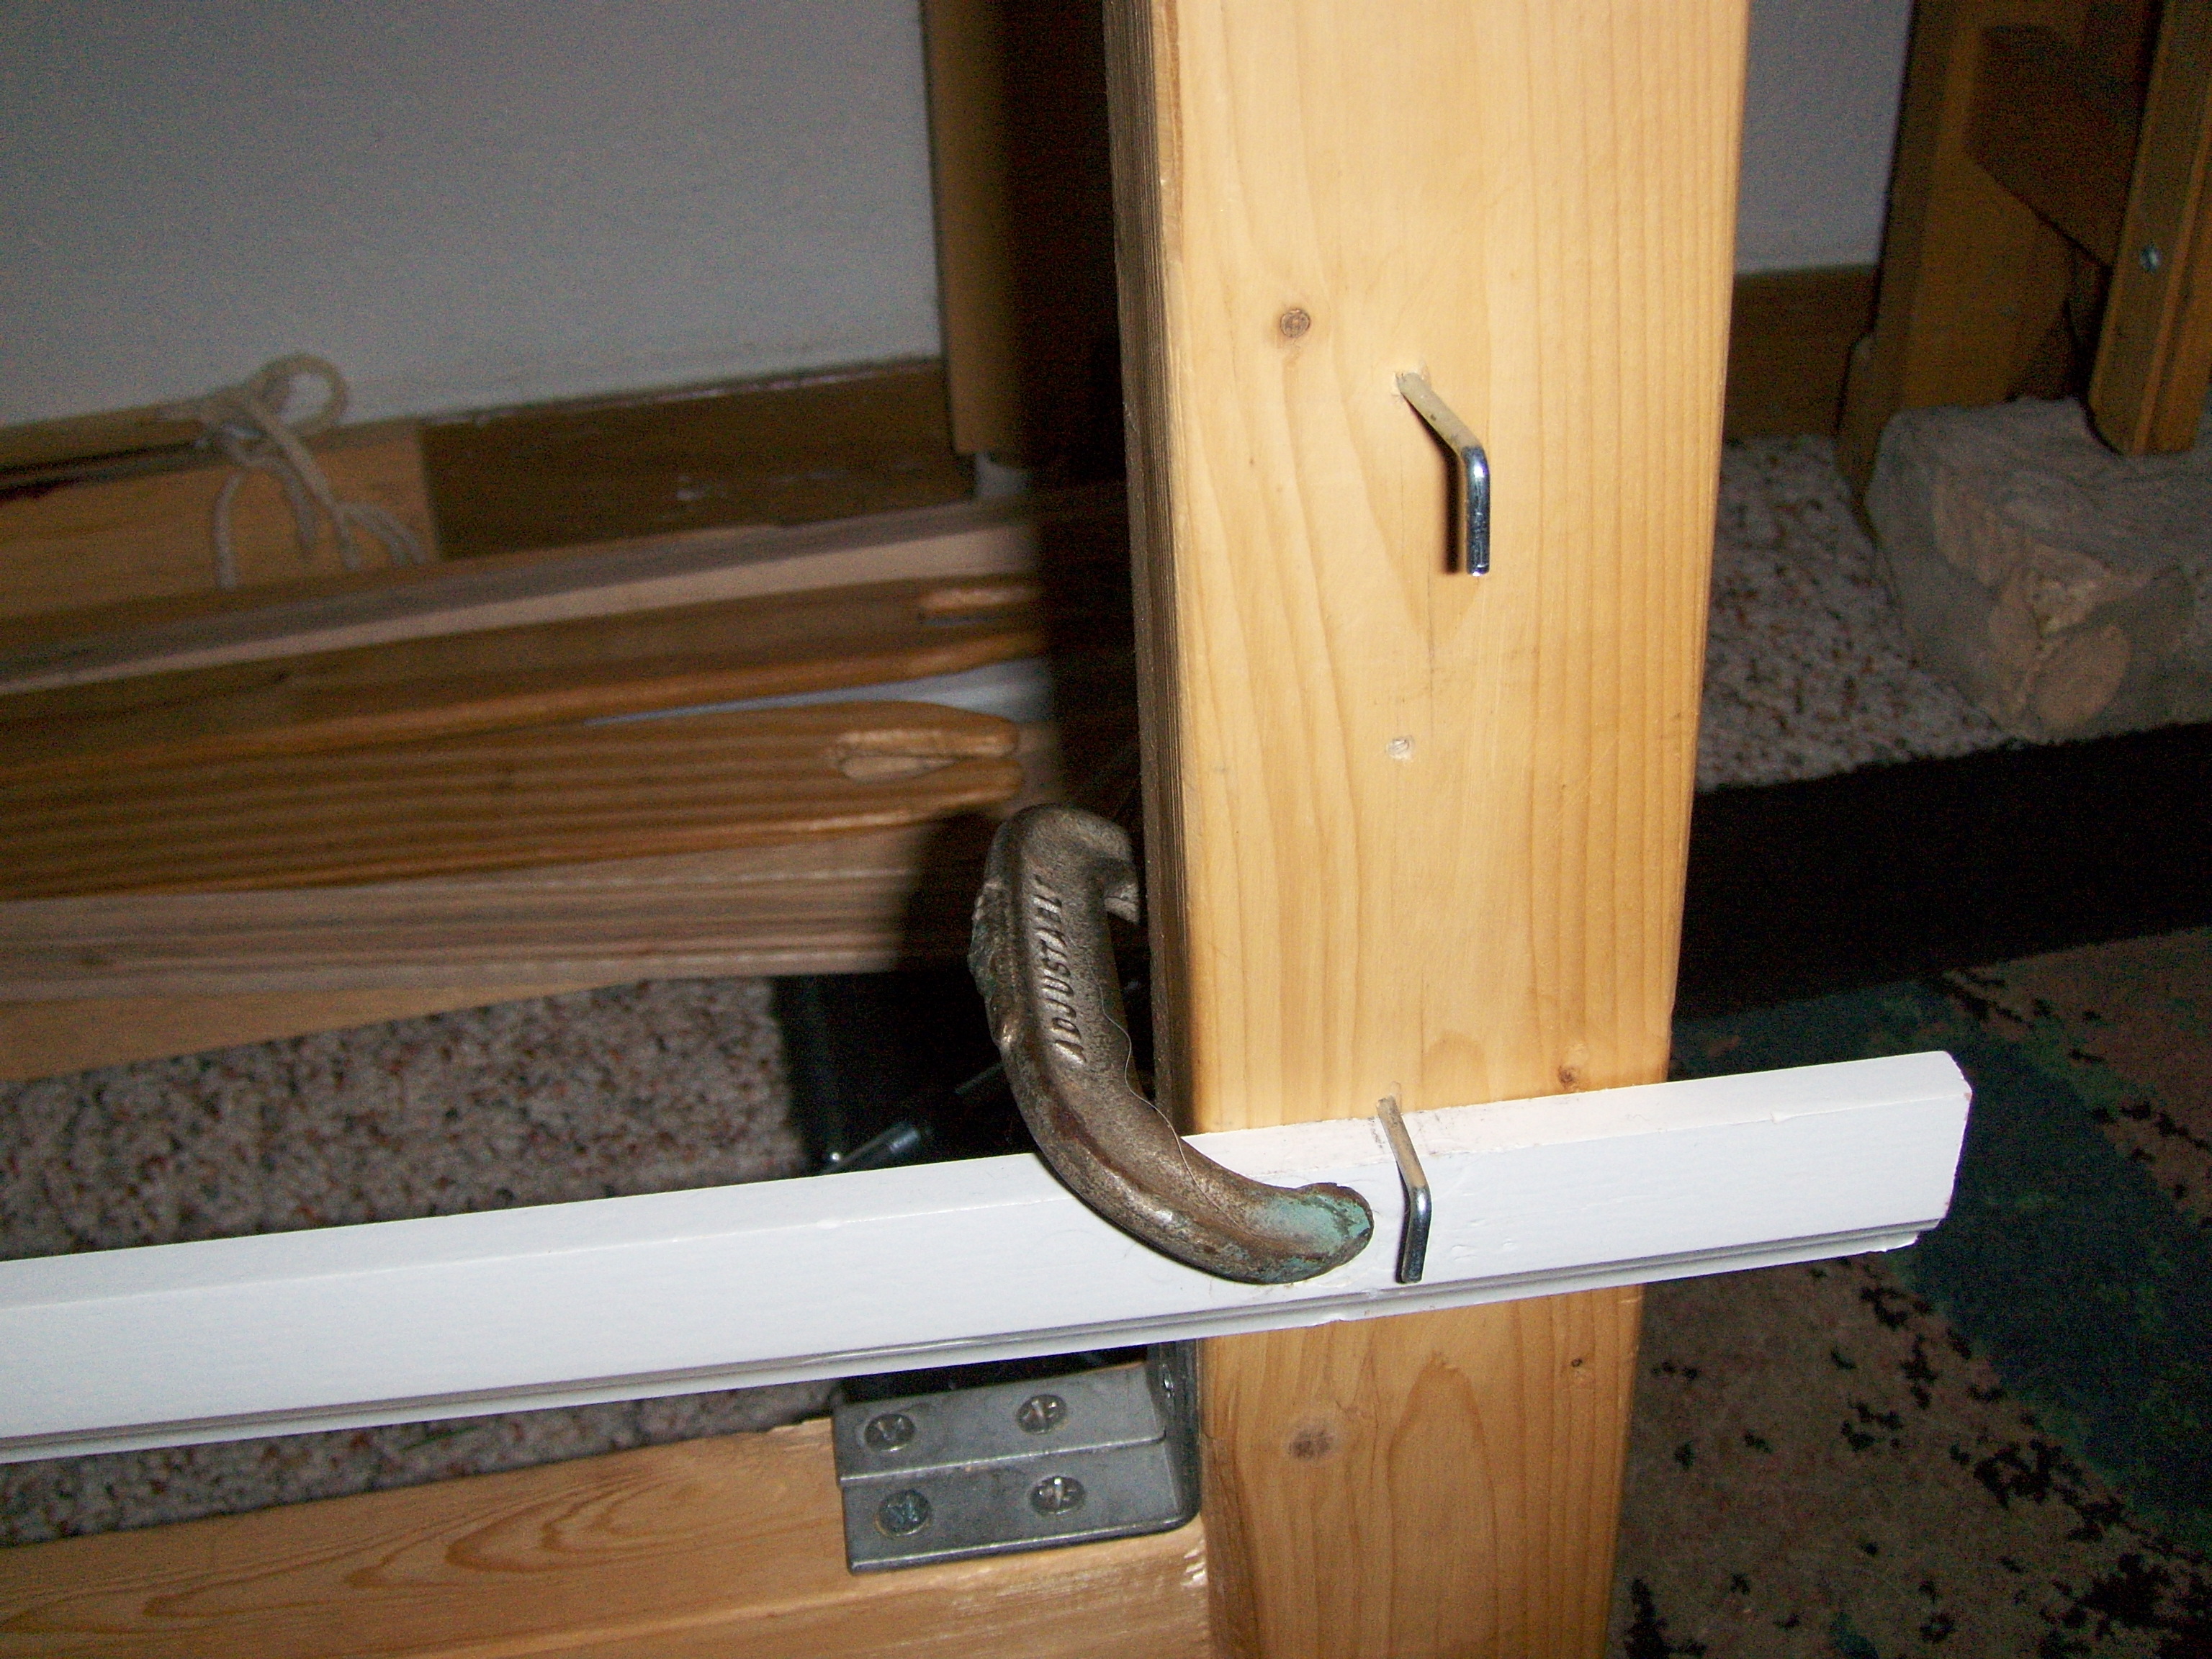
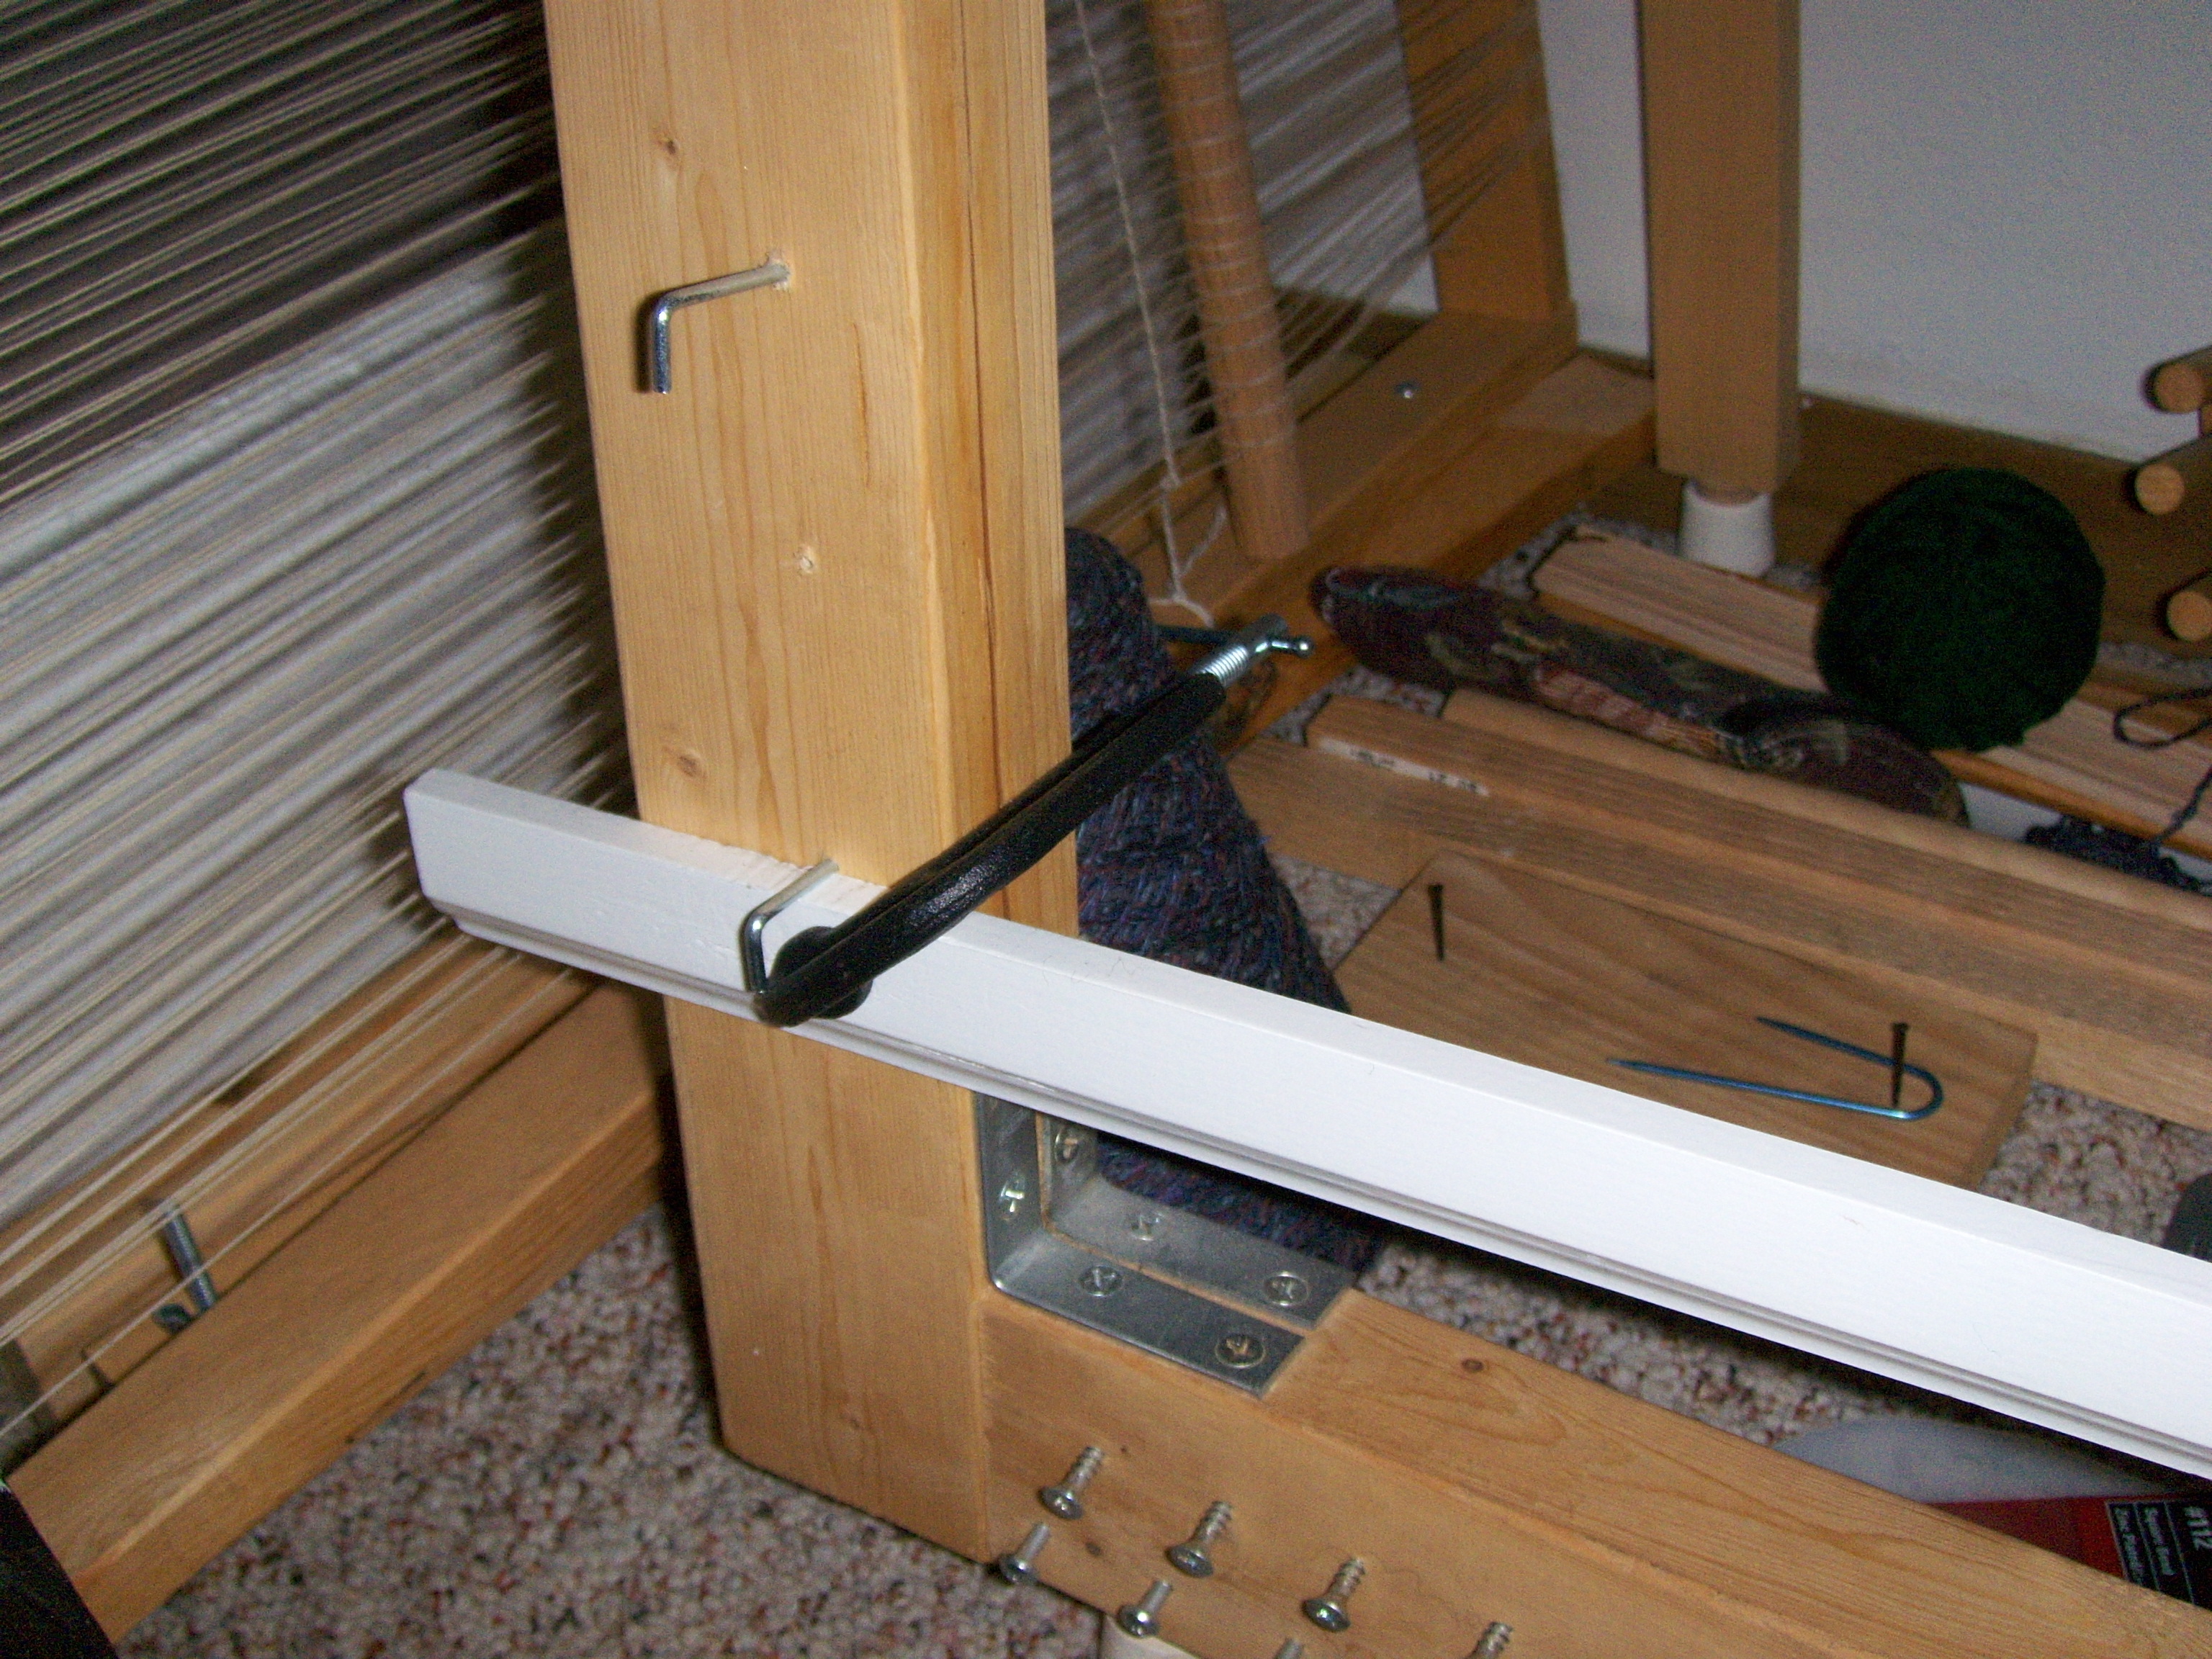
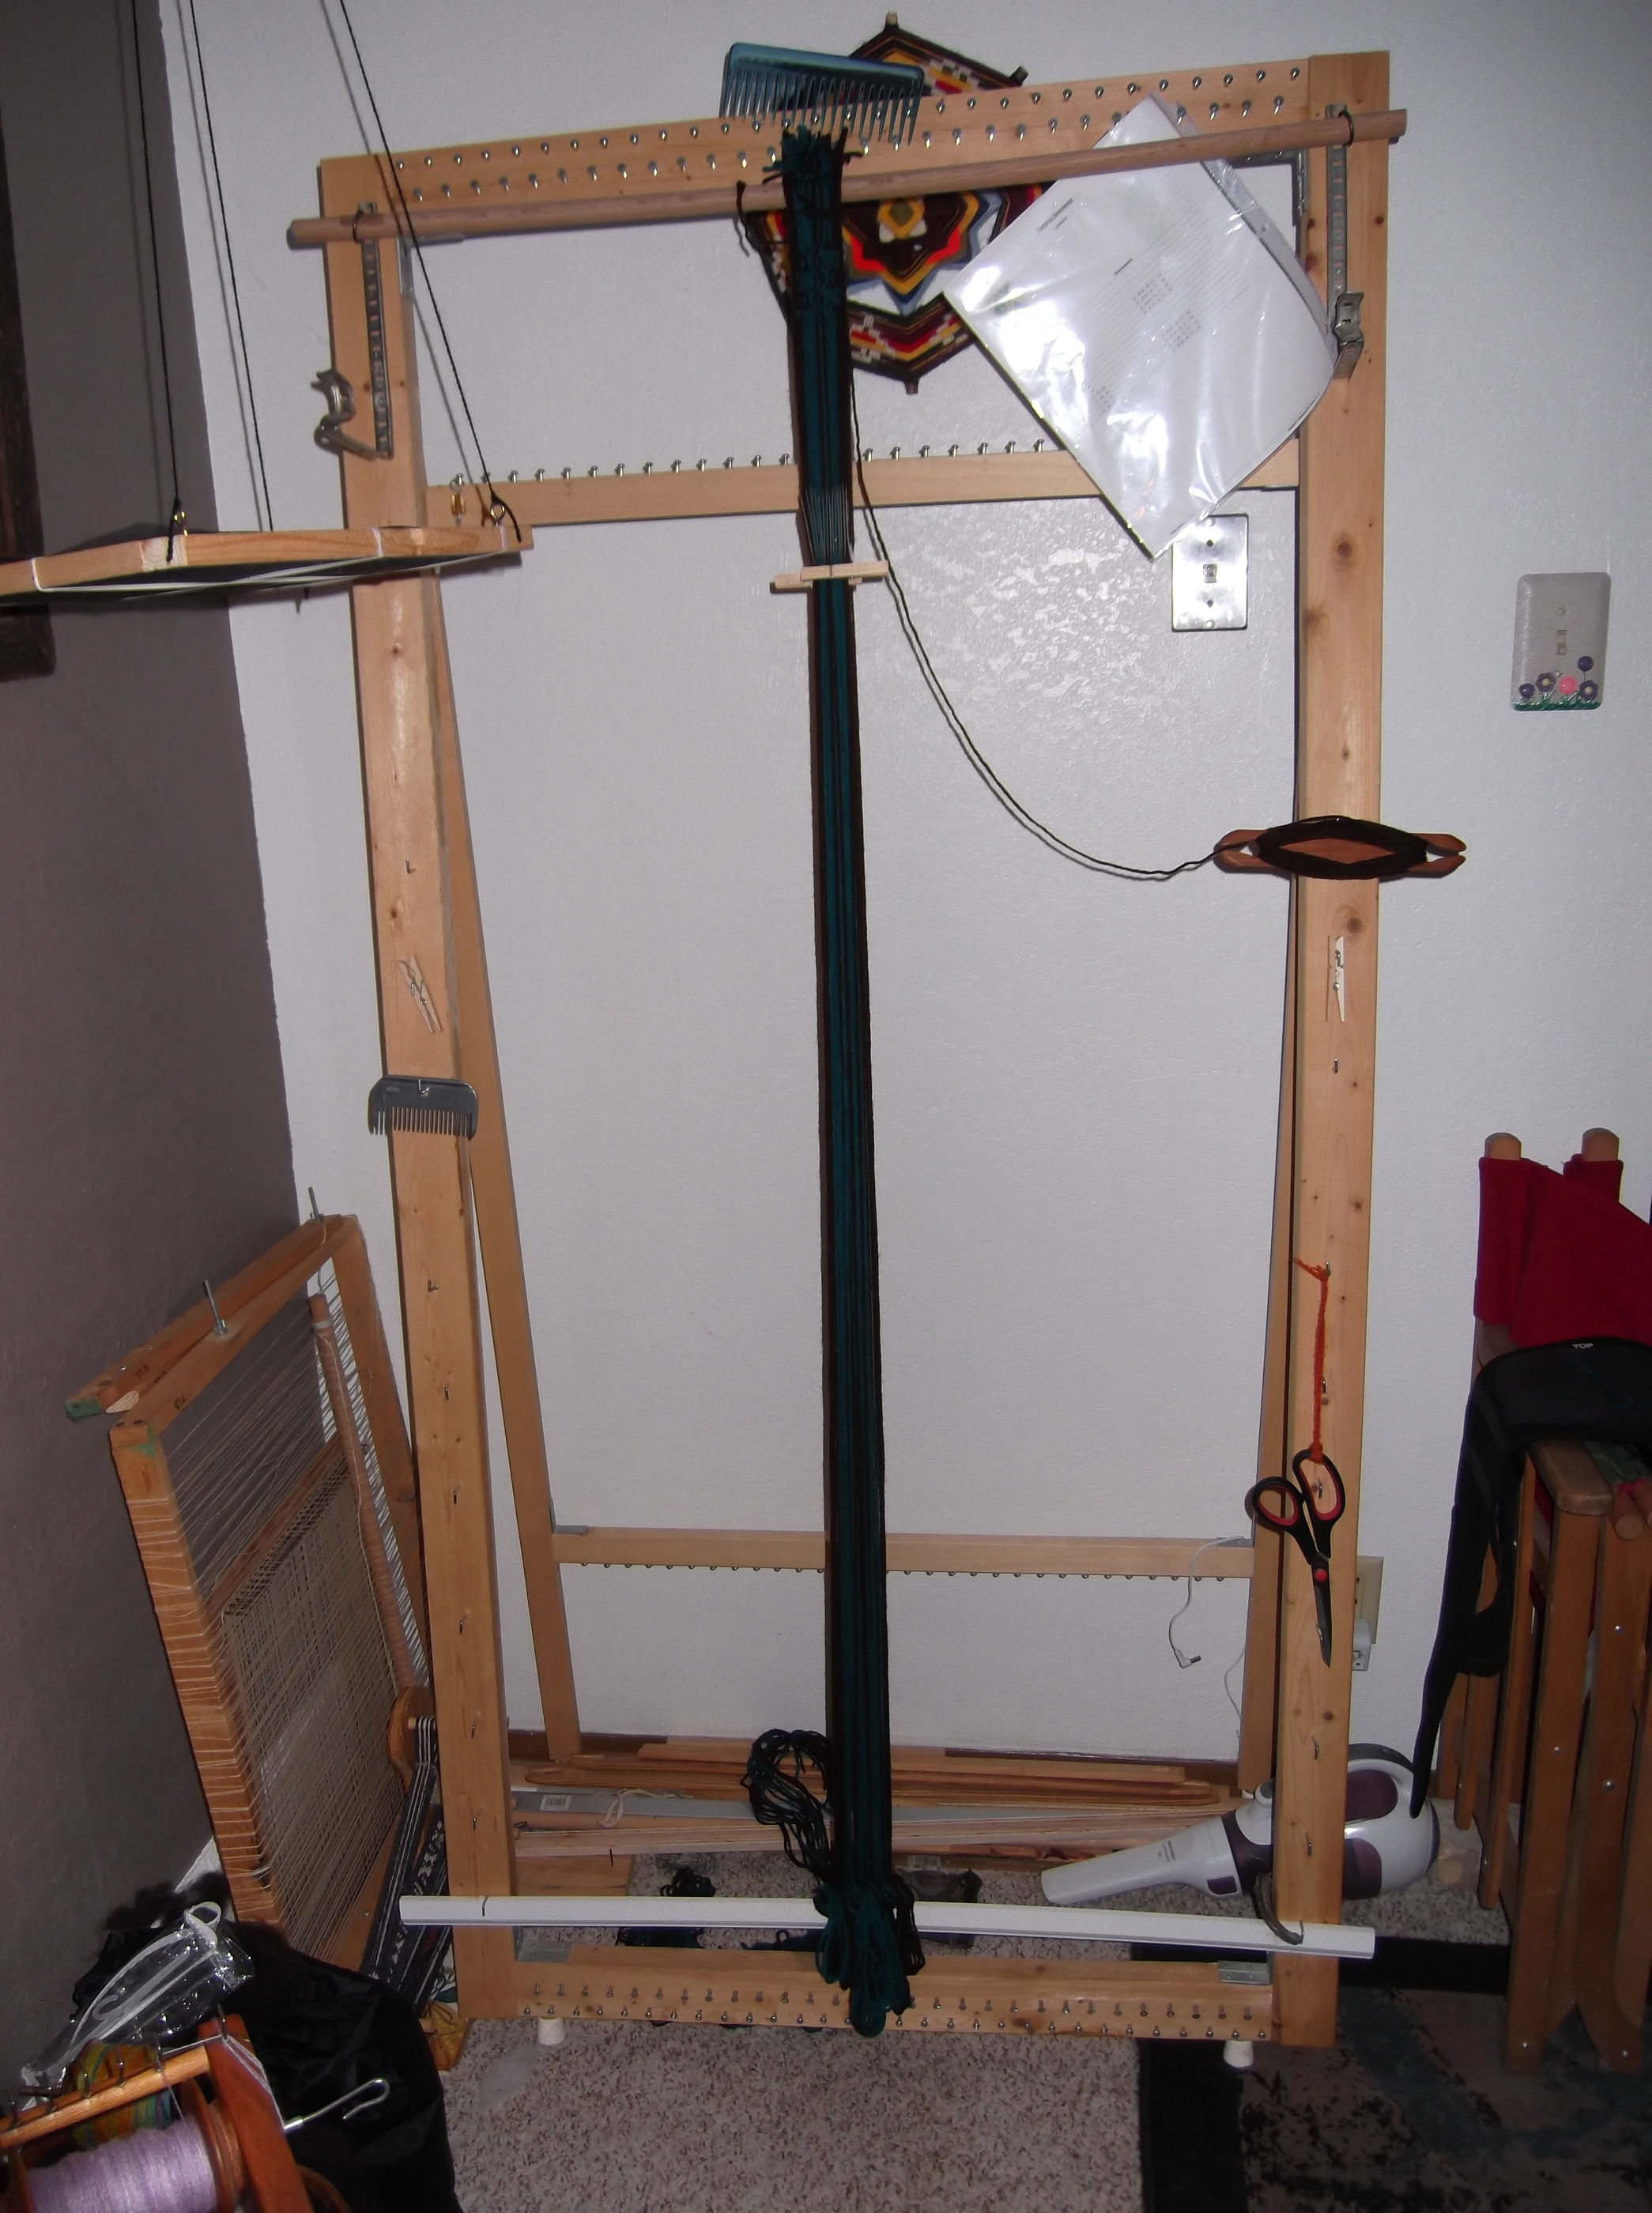
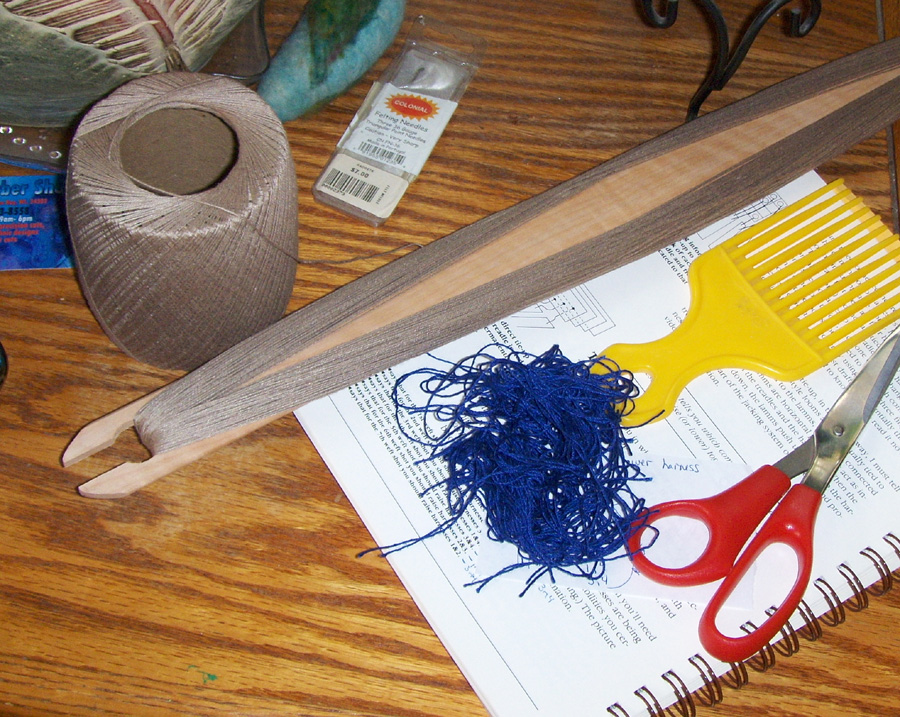
This post is for all of you DIYers that are interested in building a nice, portable, standing weaving loom. This is the same loom I use for darn near everything I weave. It costs less than $50 to make. The pdf file is free to download. You can sell all of the looms you want. DO NOT sell my pattern.
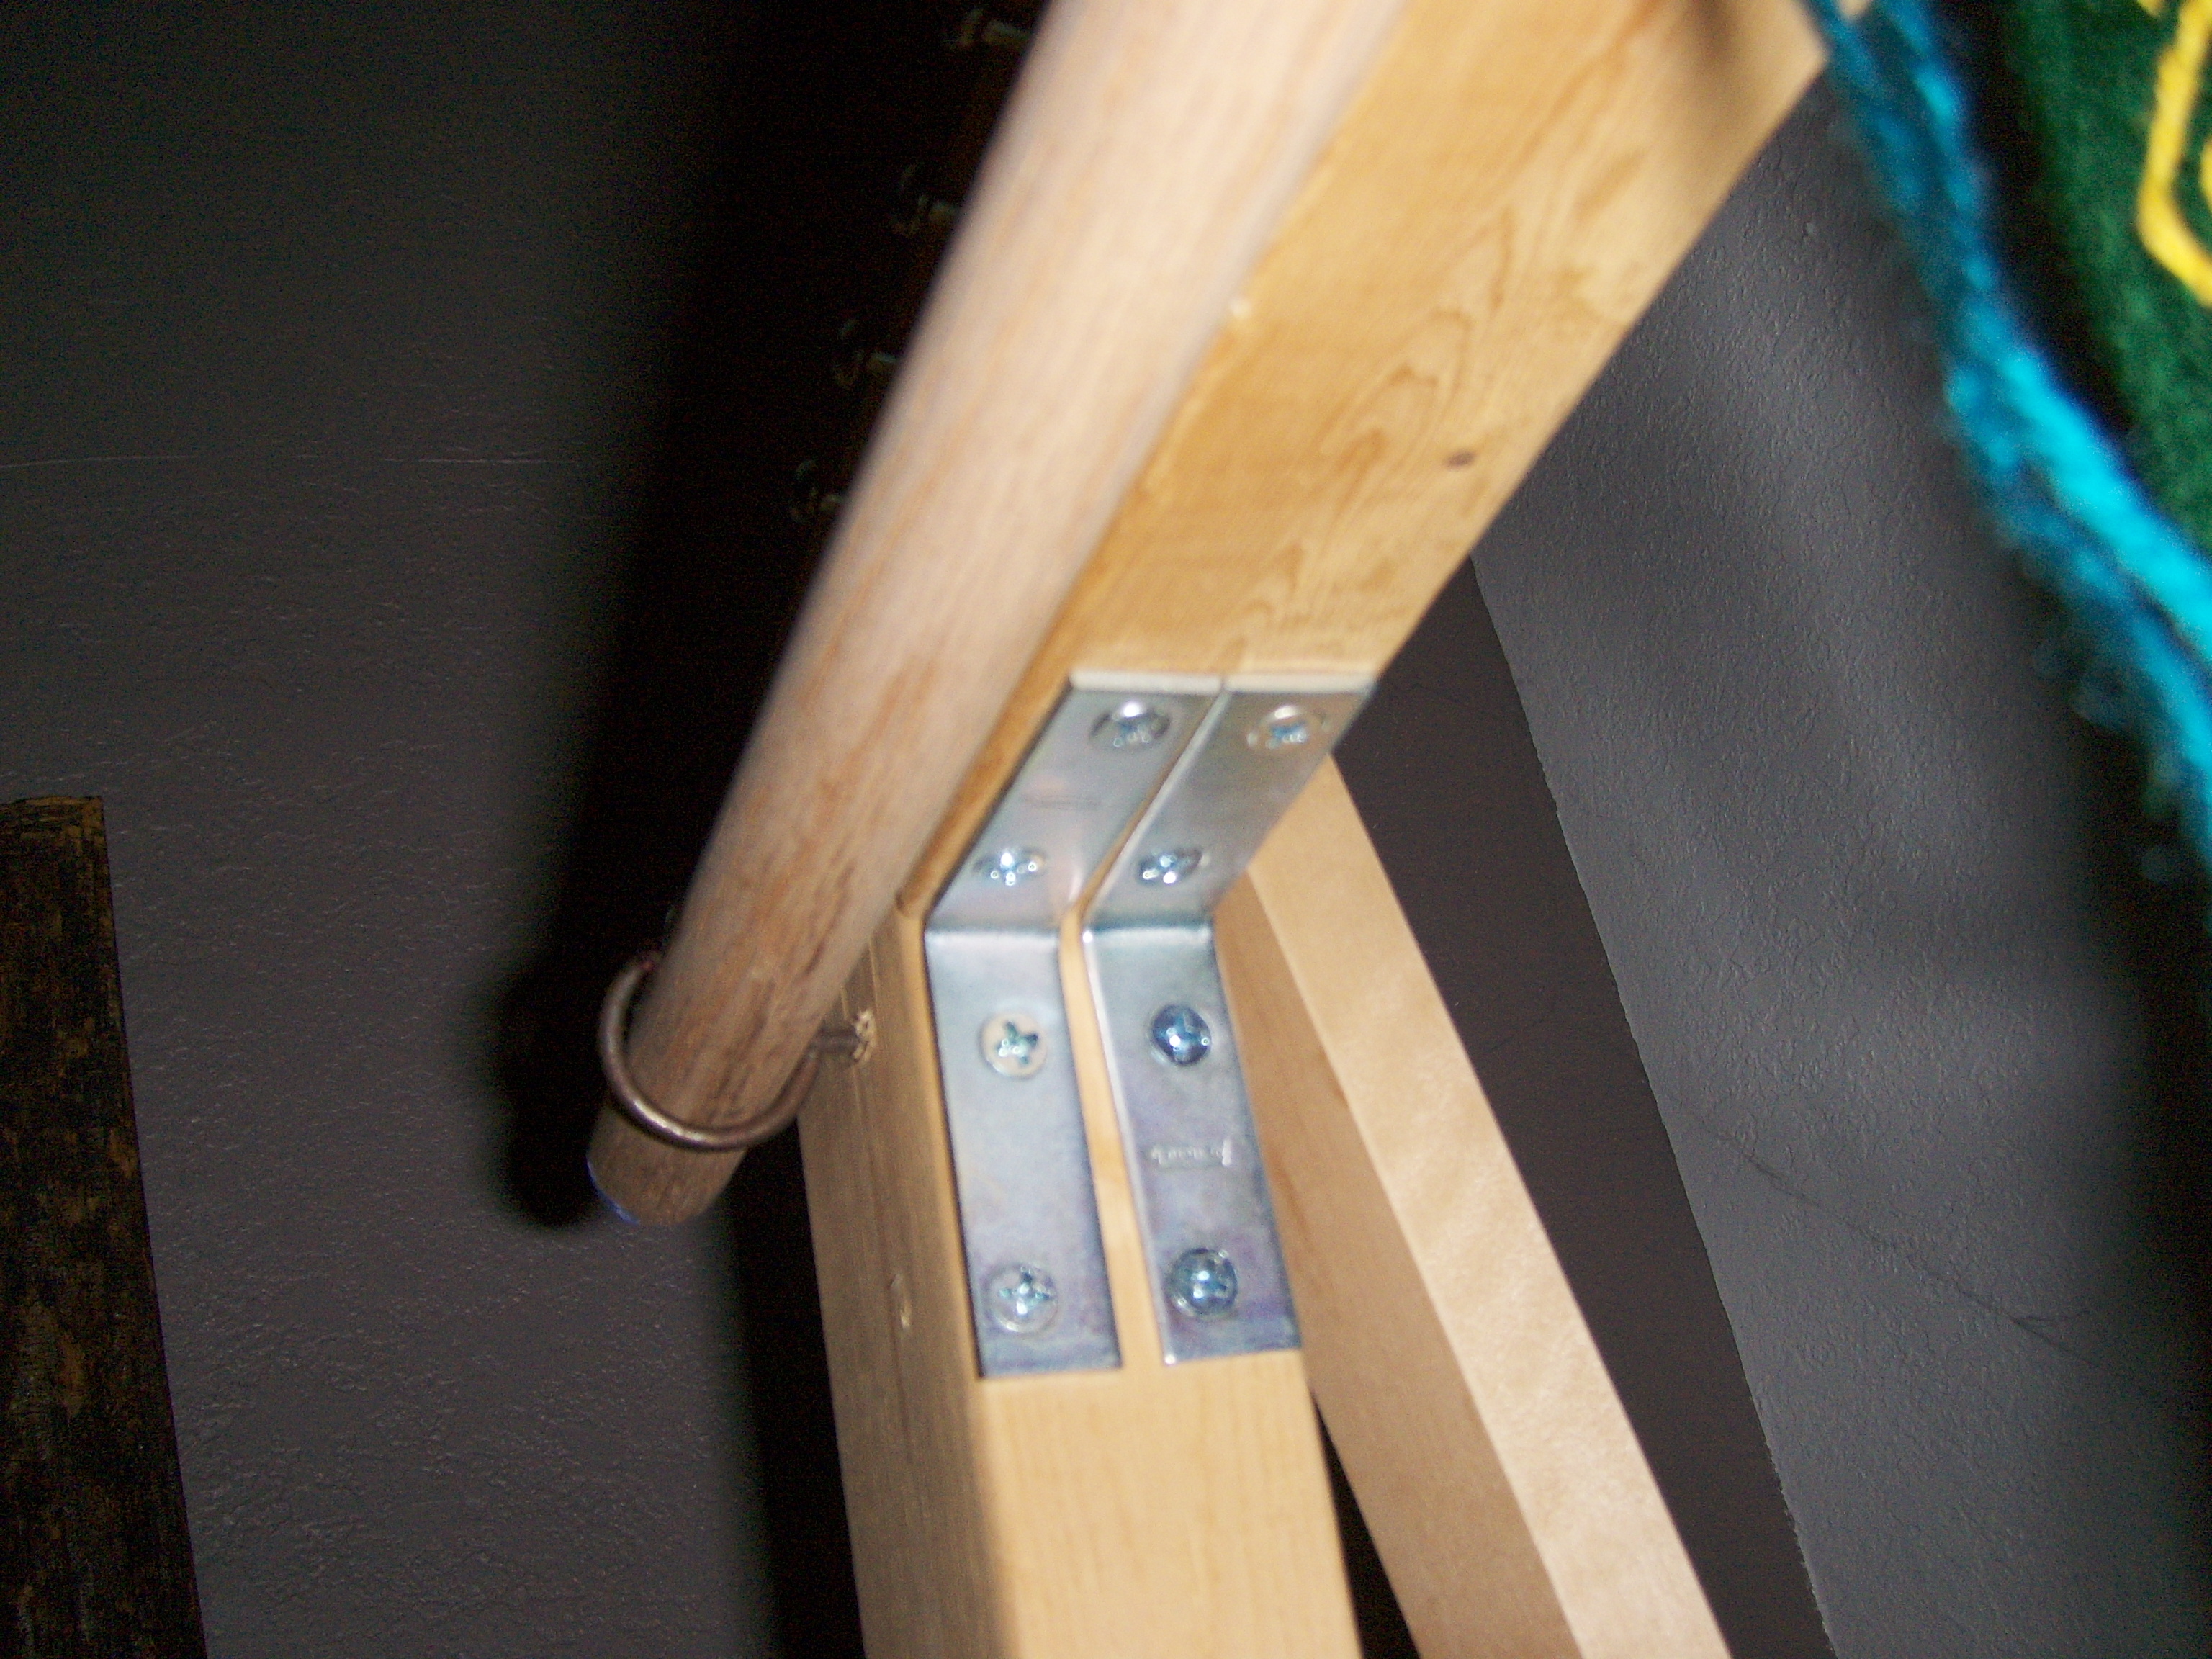
The following pictures are merely for reference while you’re building your loom. Please, if you have any questions, contact me and I’ll do the best I can to help. (And yes, the little folding loom on the floor, to the left of the standing loom, is a tapestry loom that I also made. When time permits, I will do up the instructions for this one as well.)
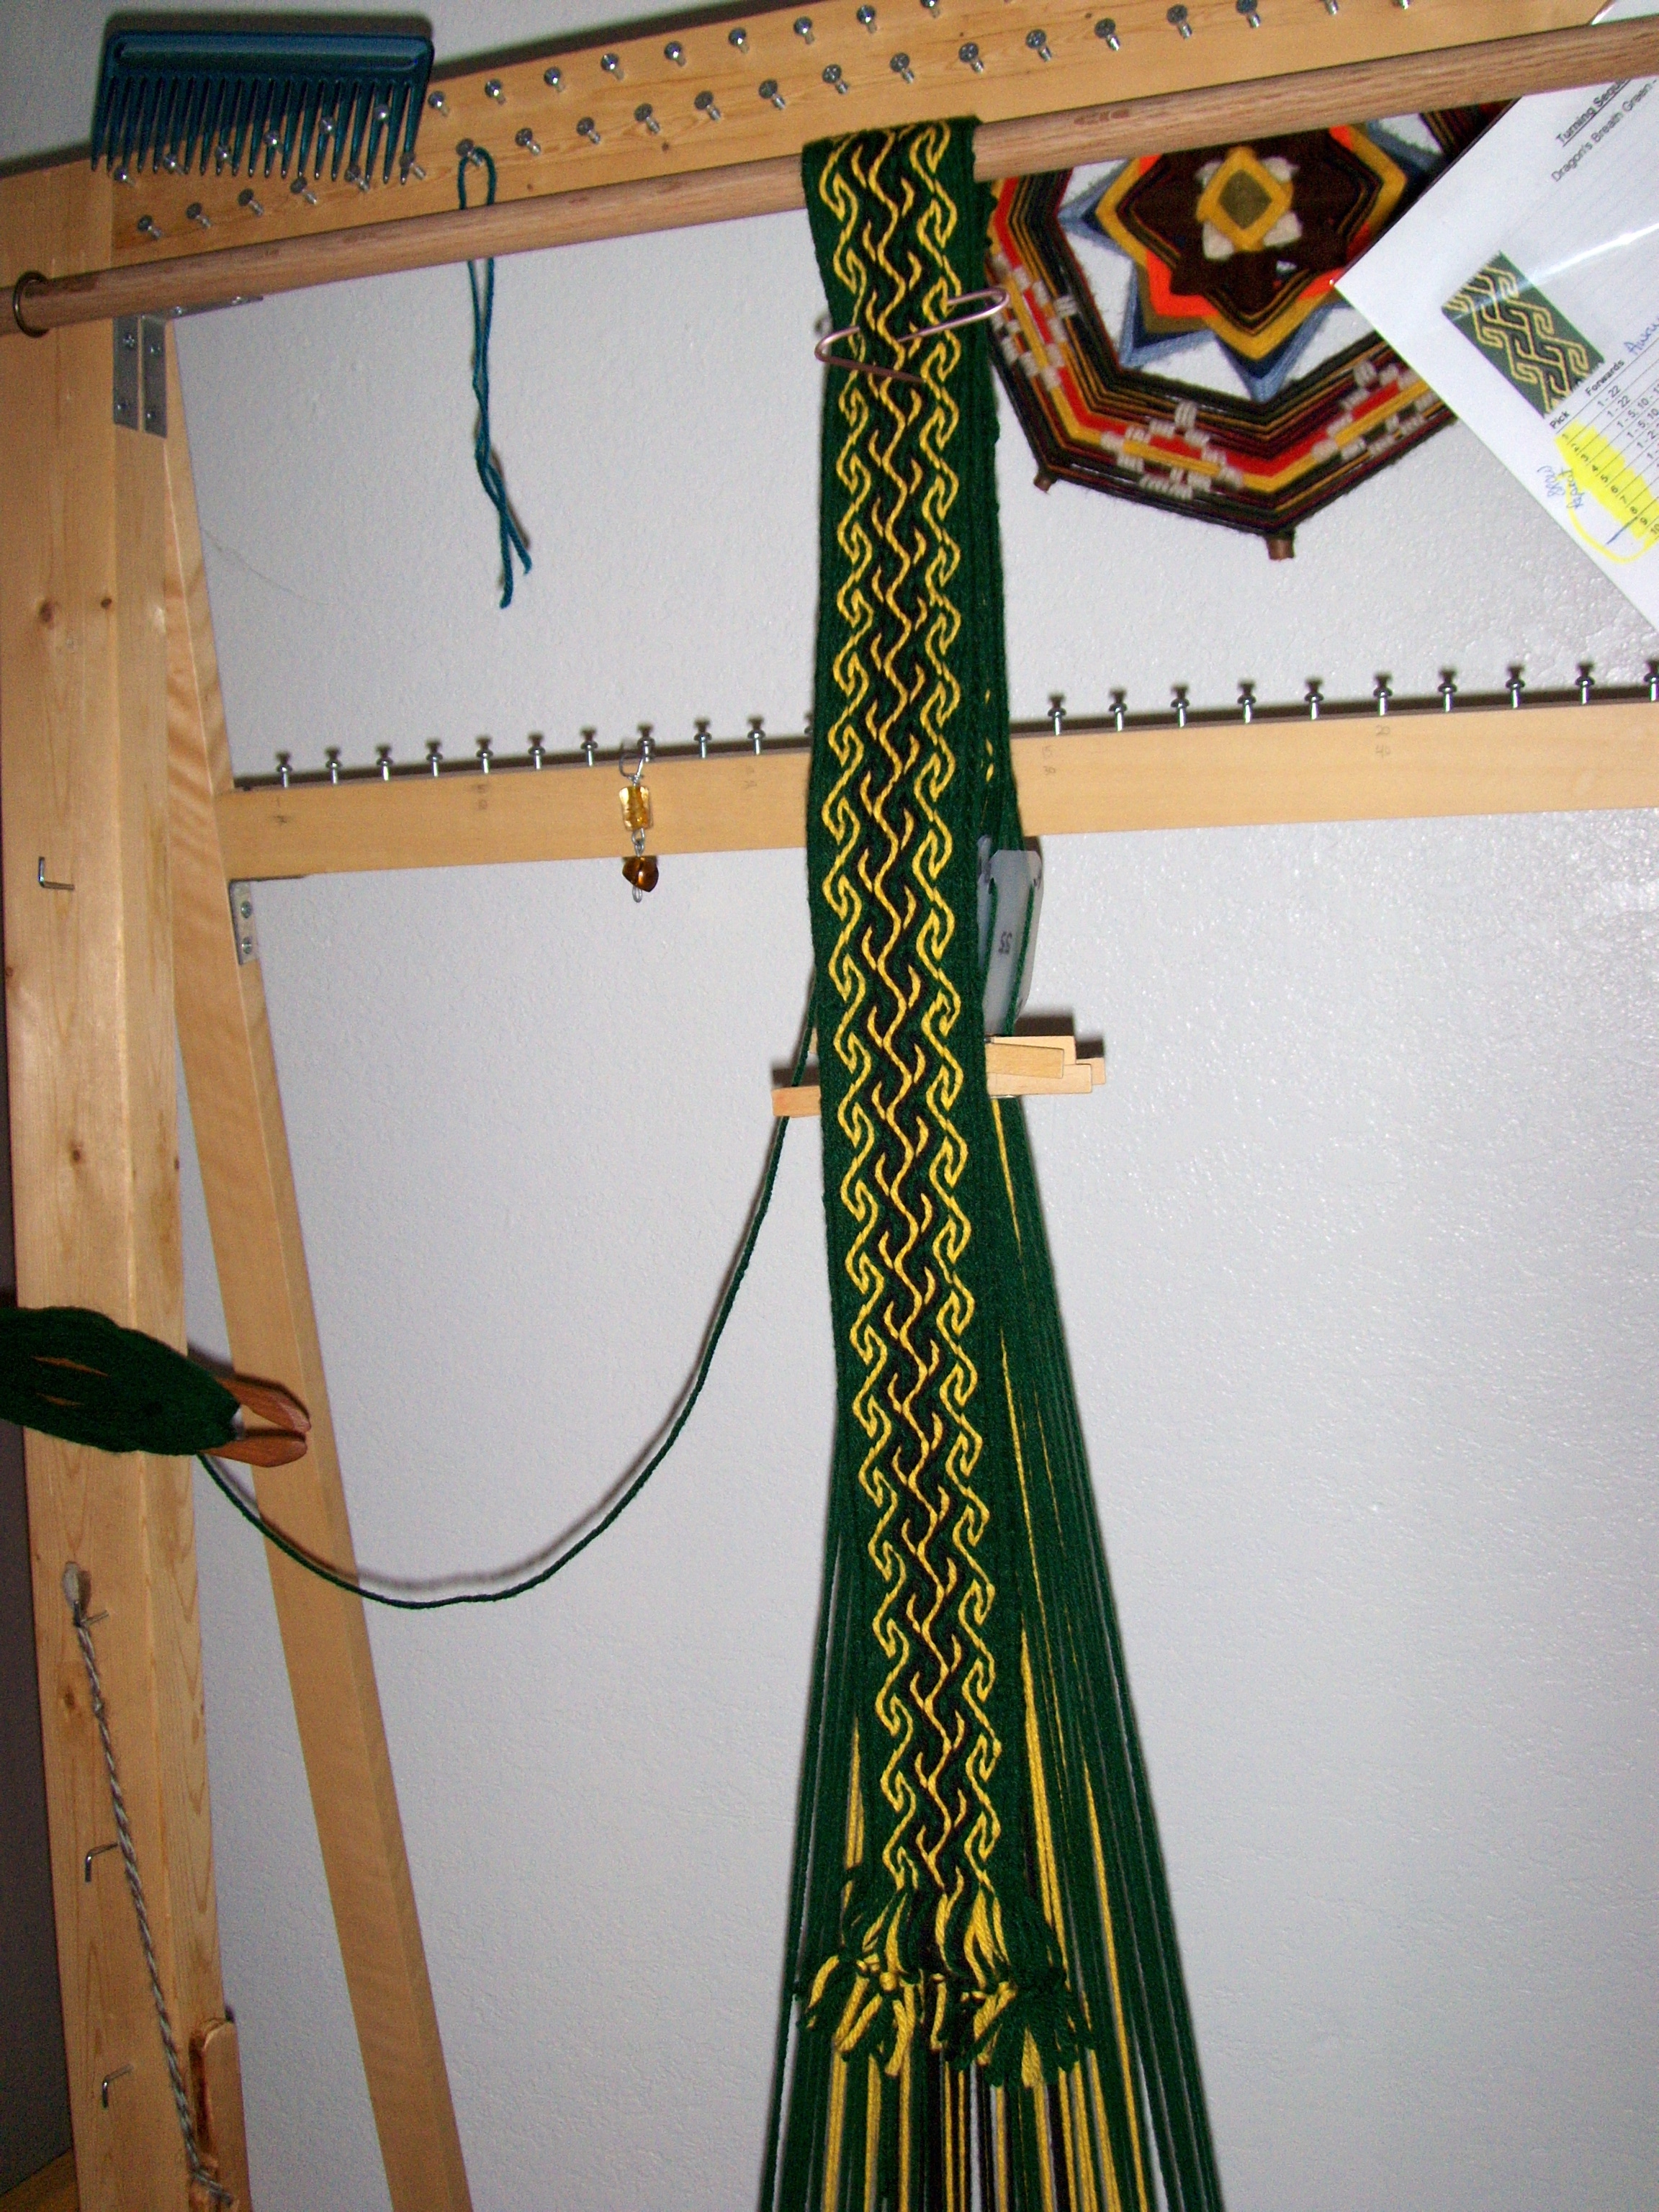
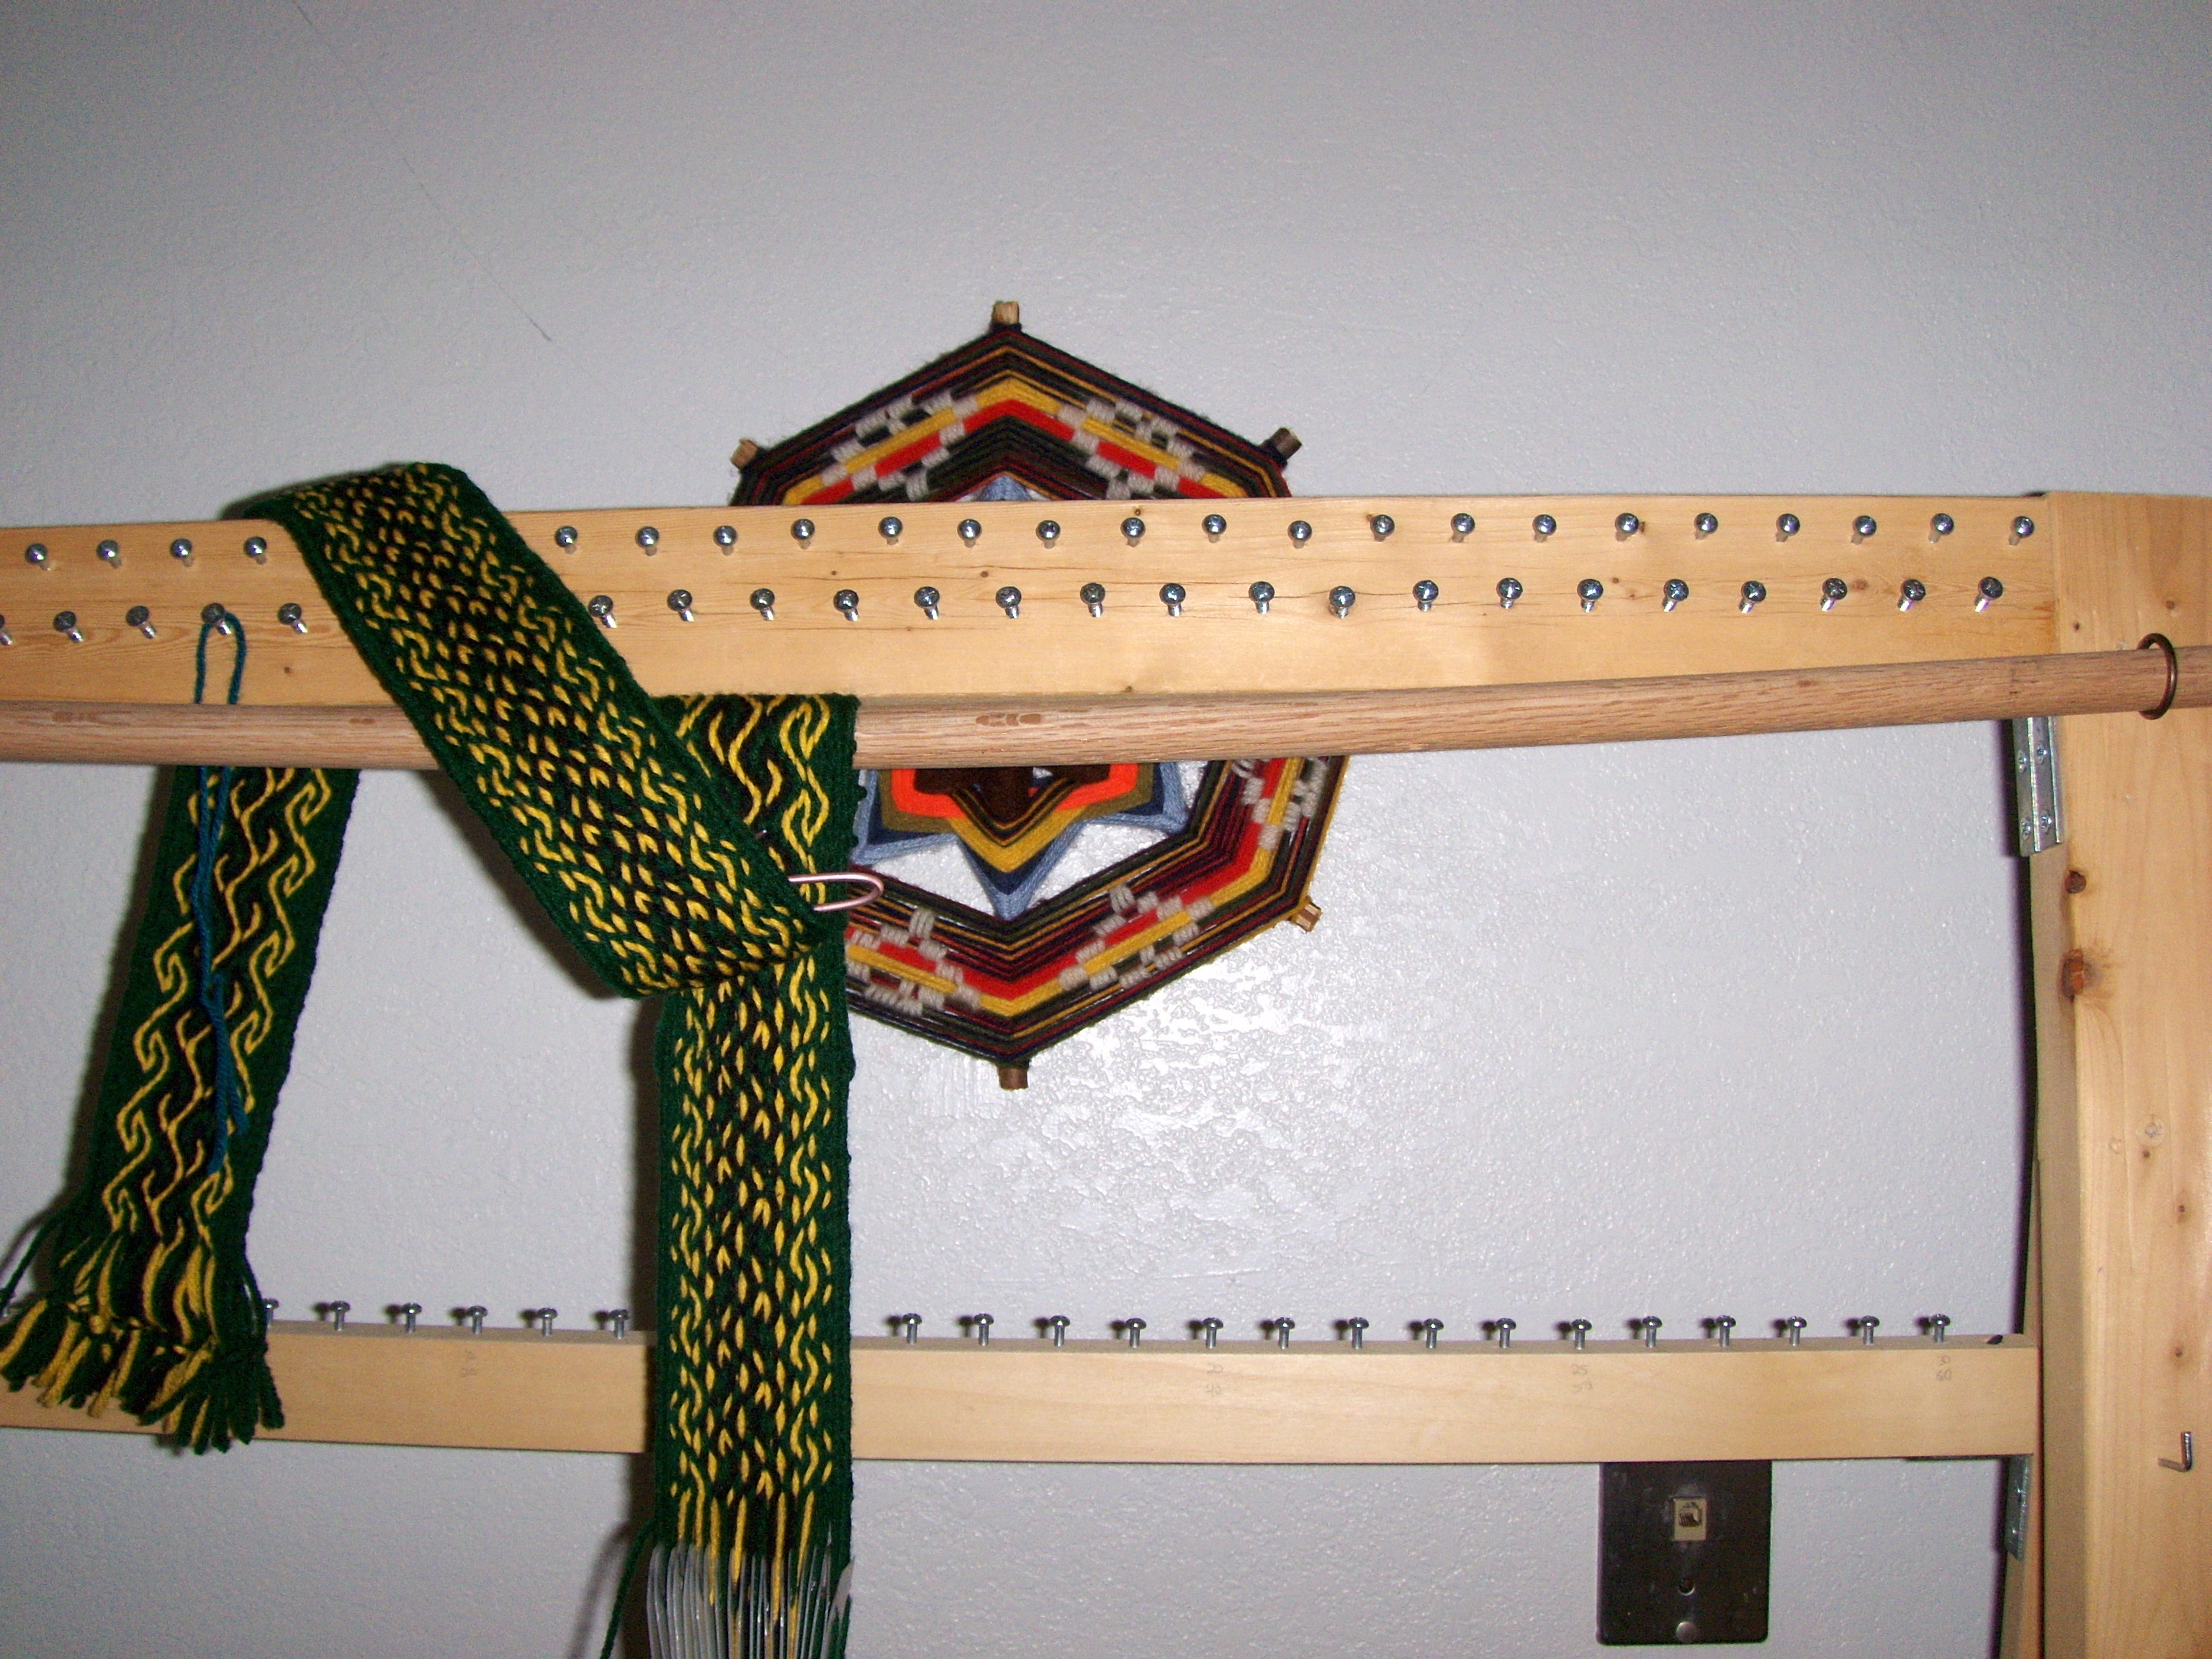
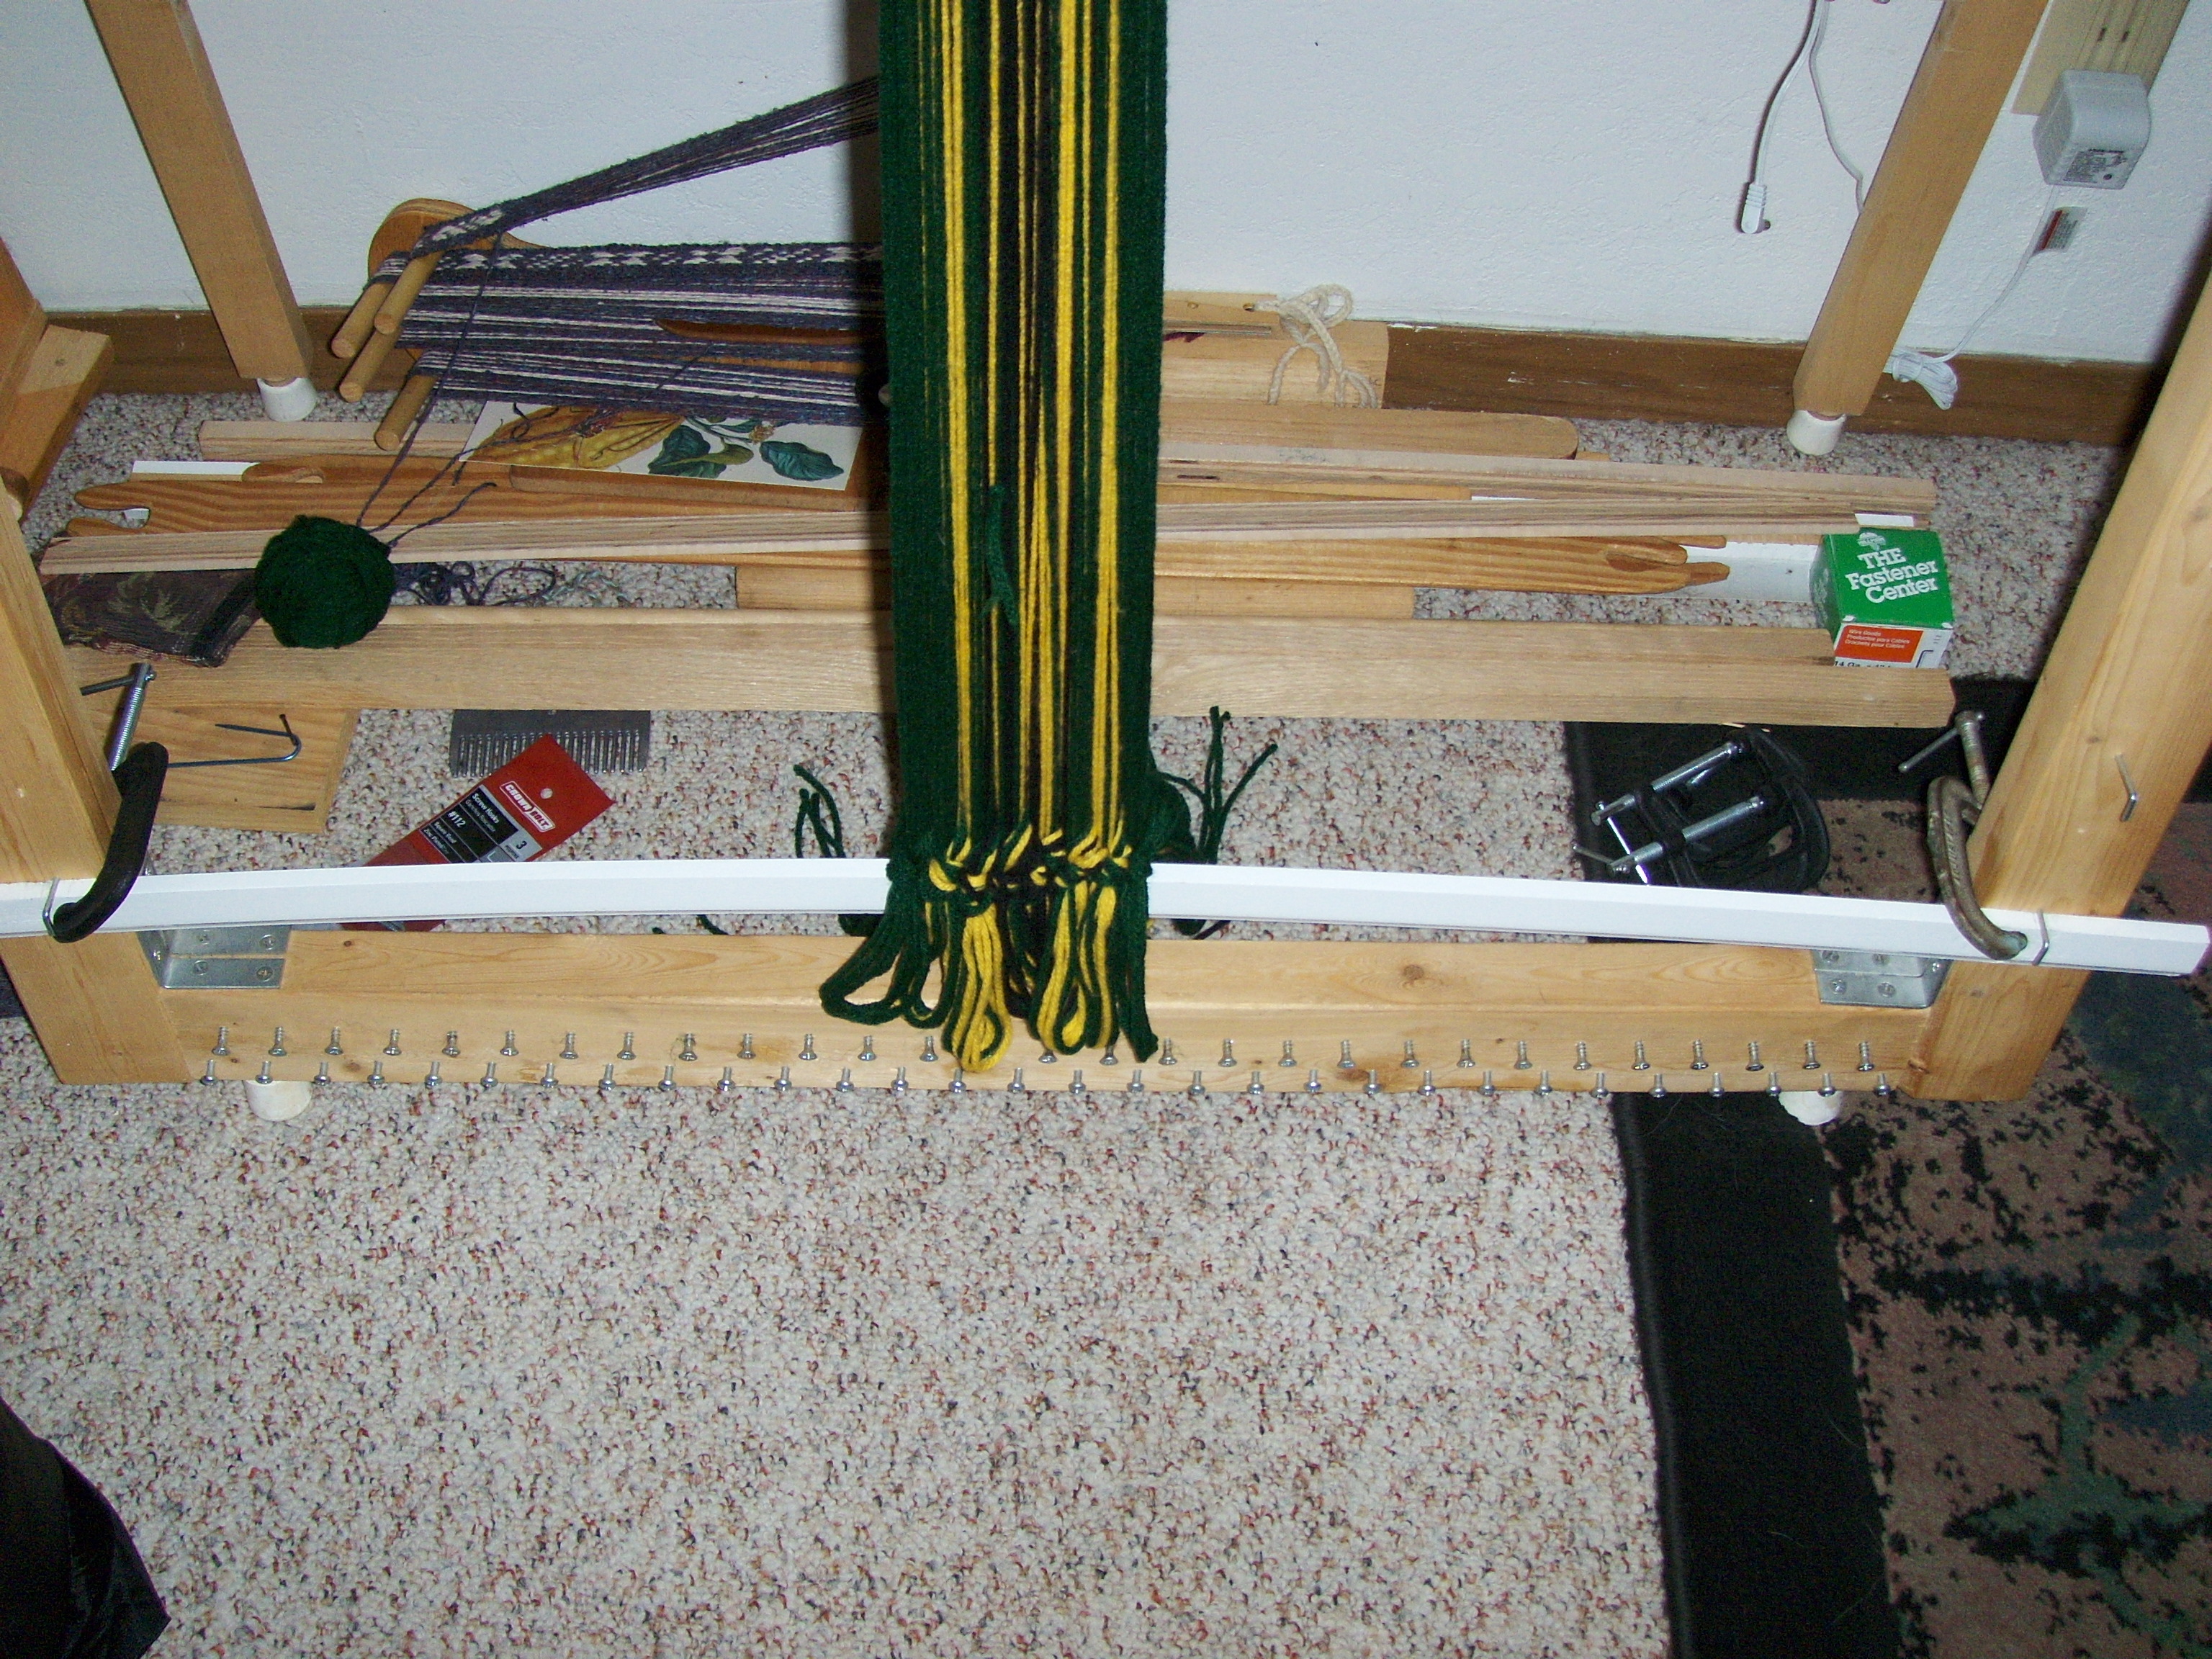
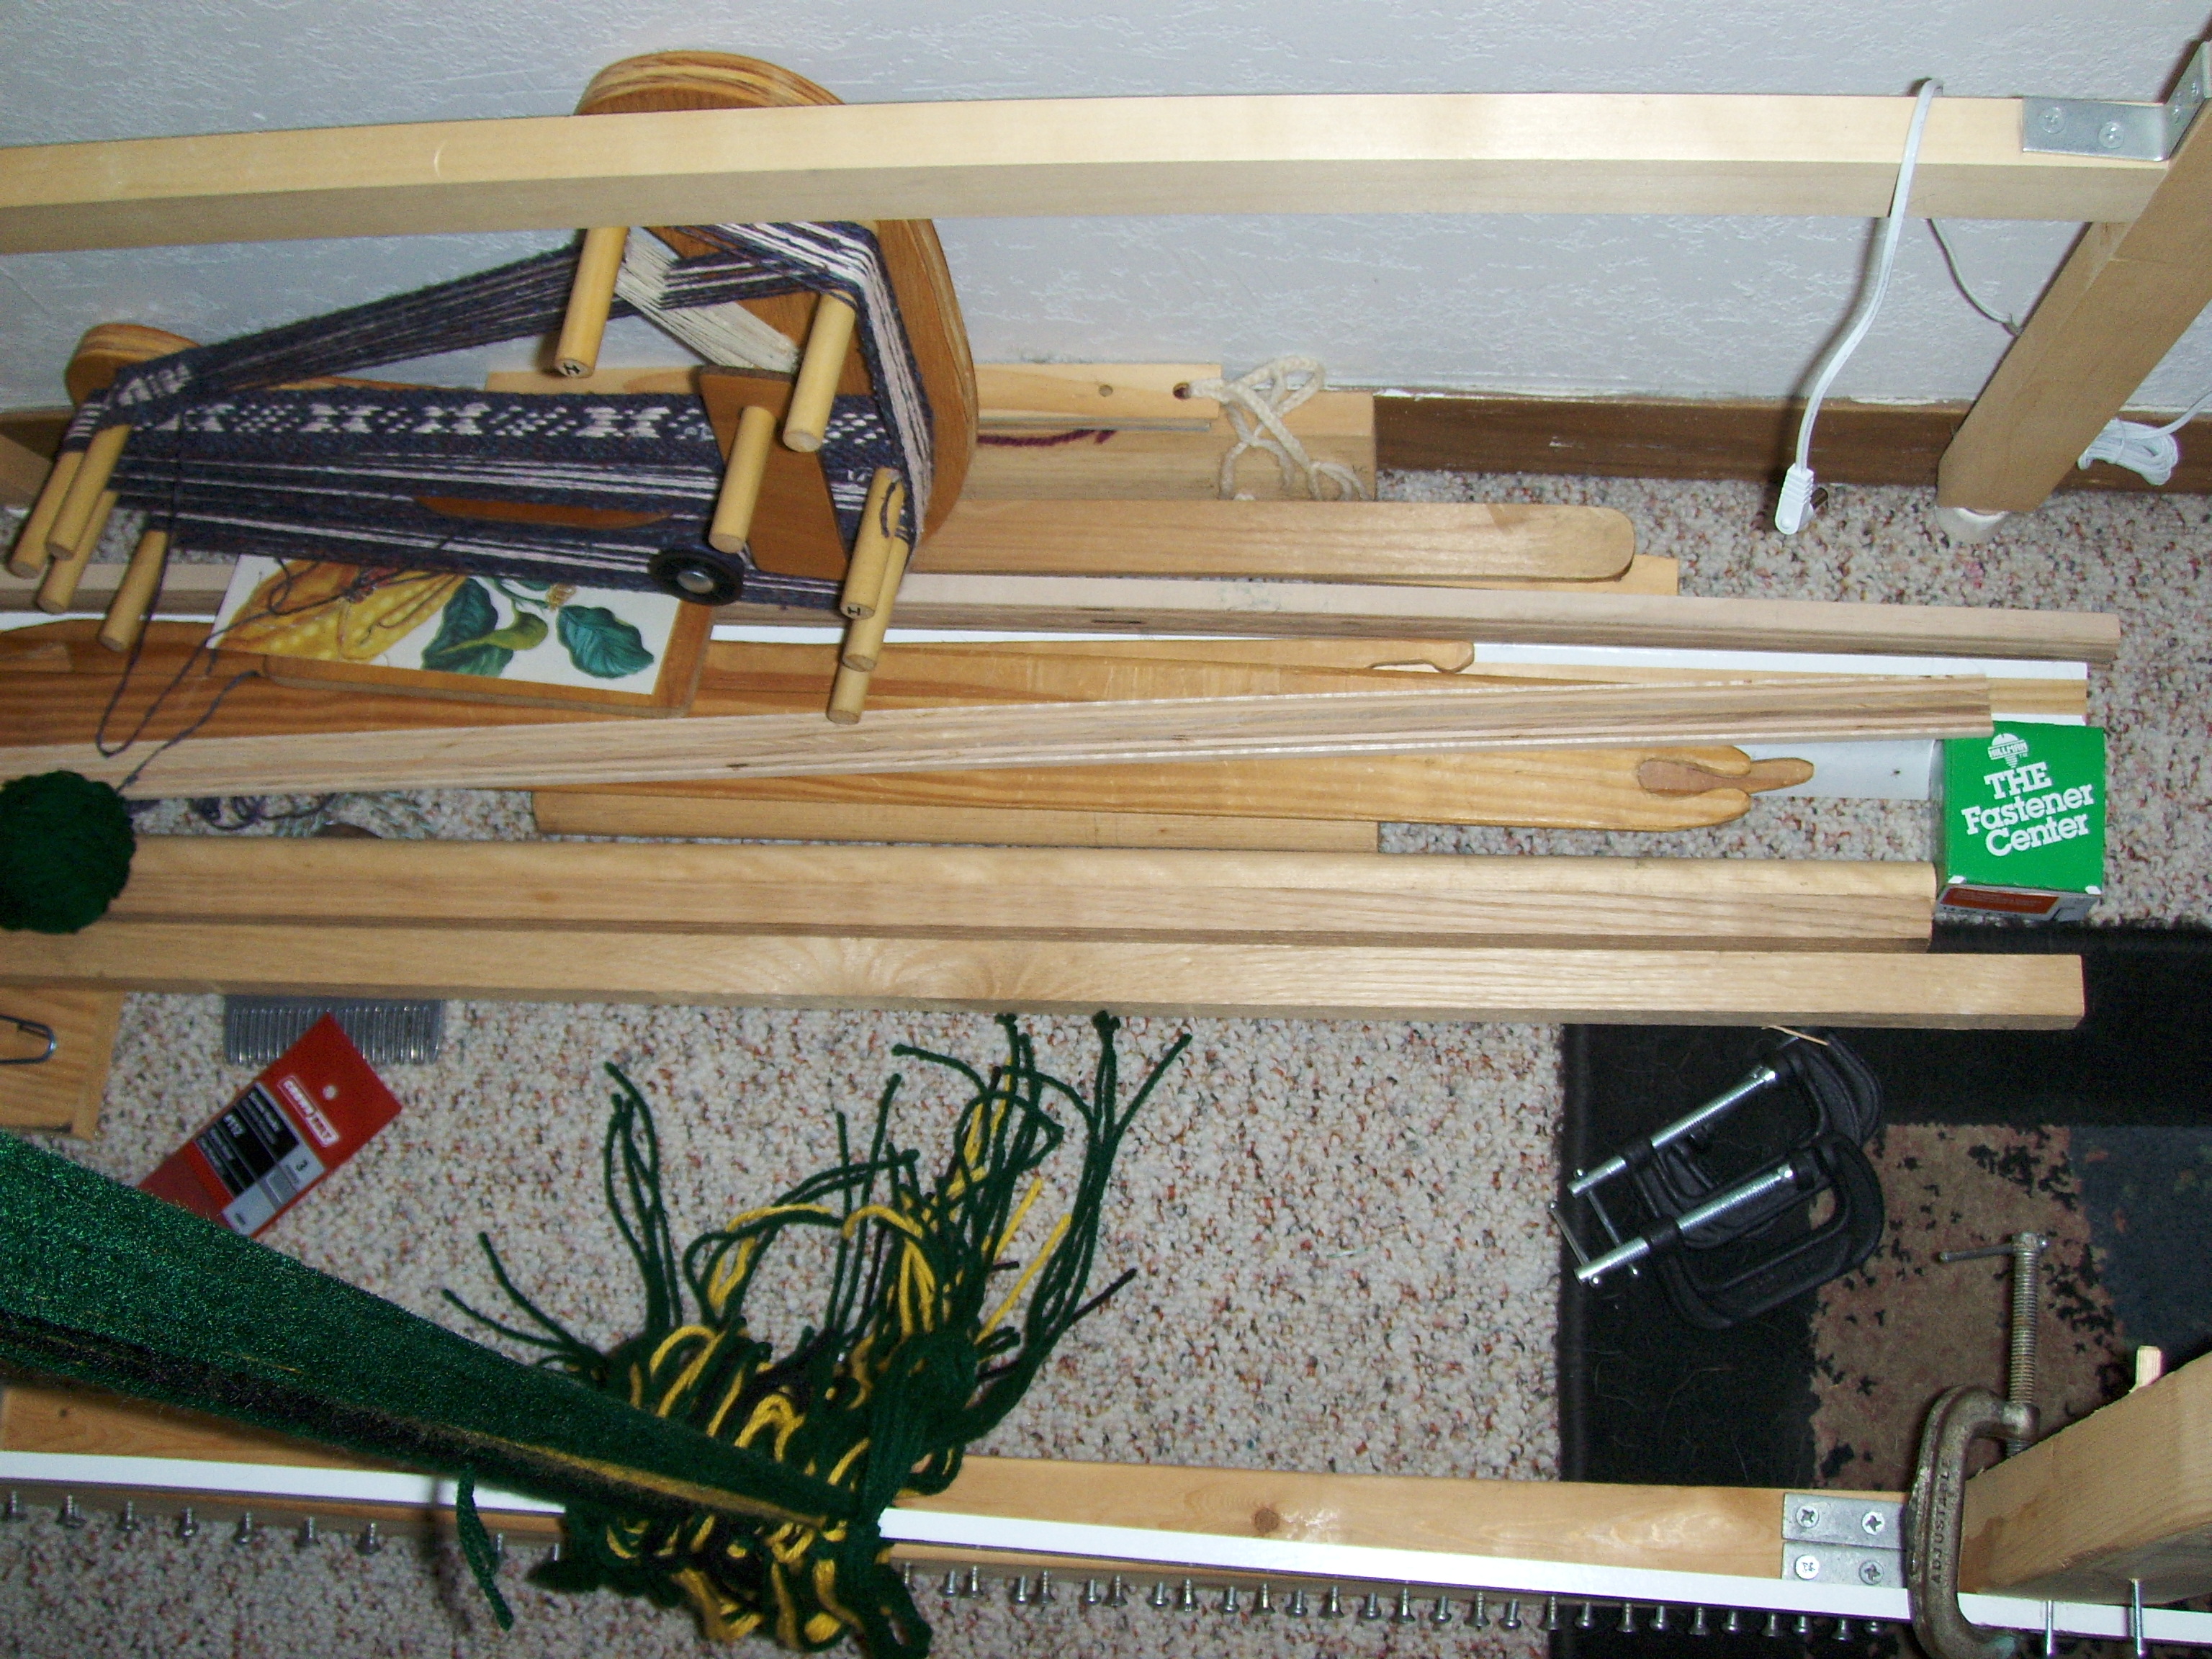
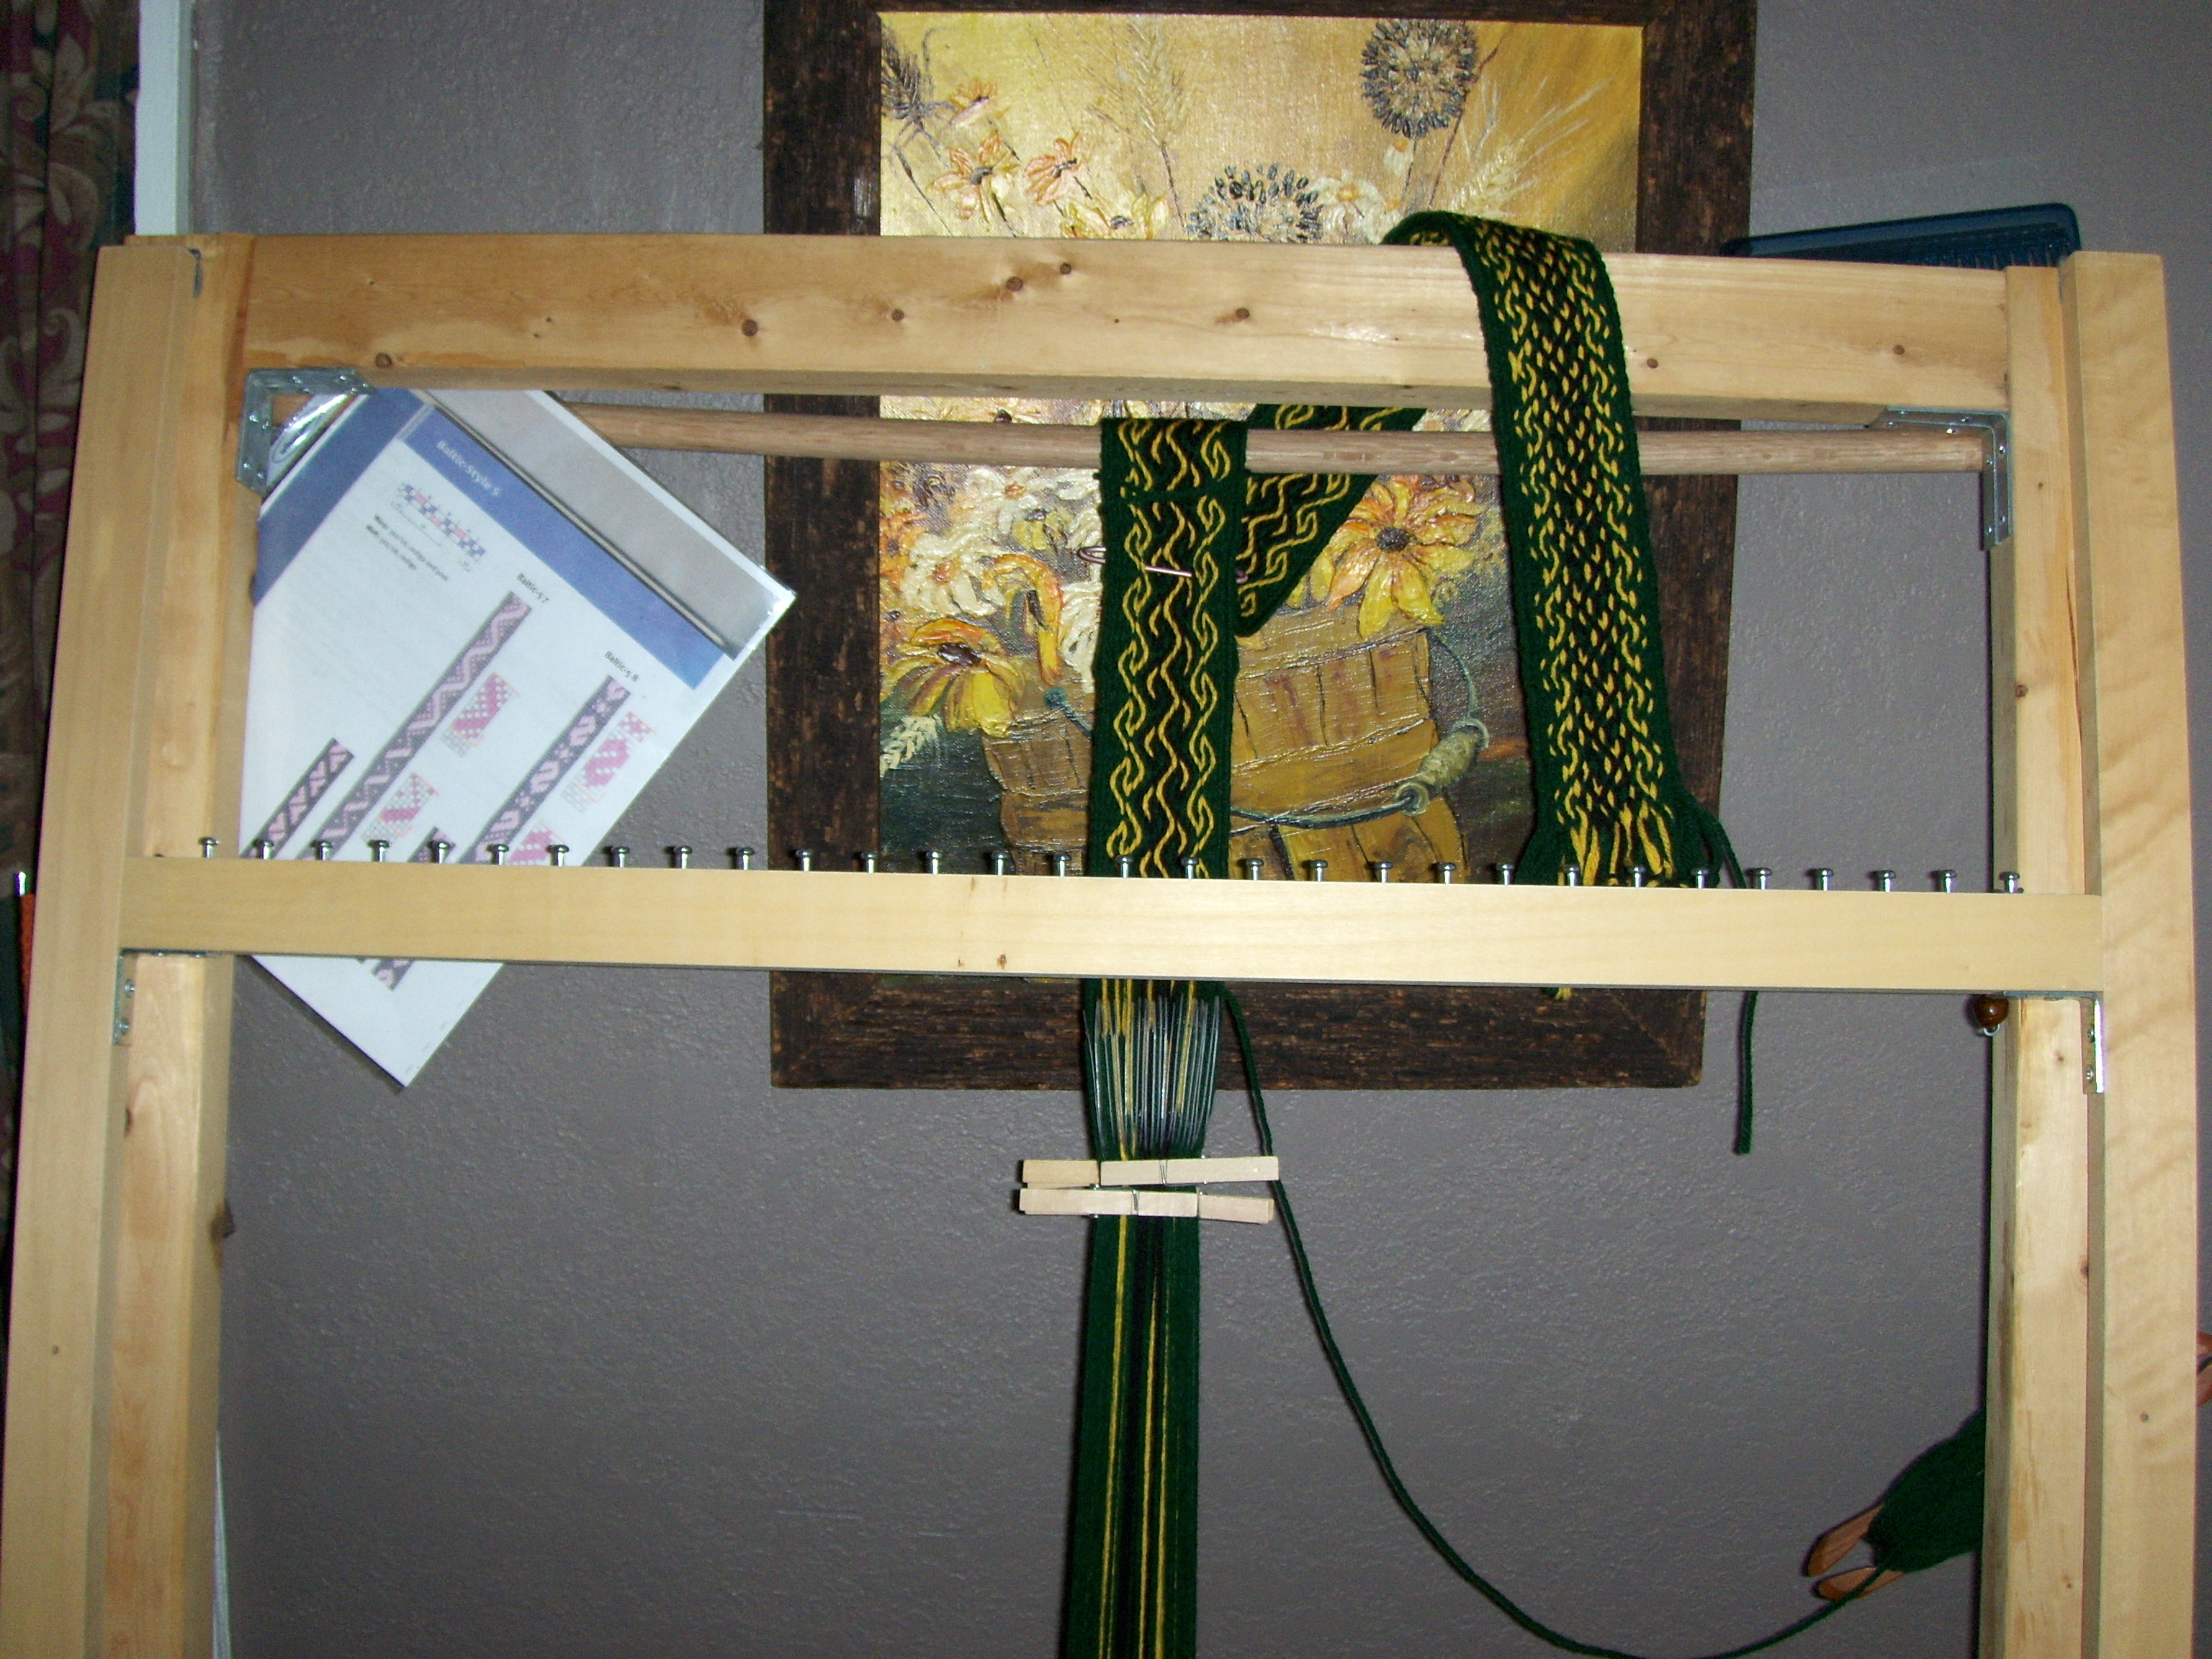
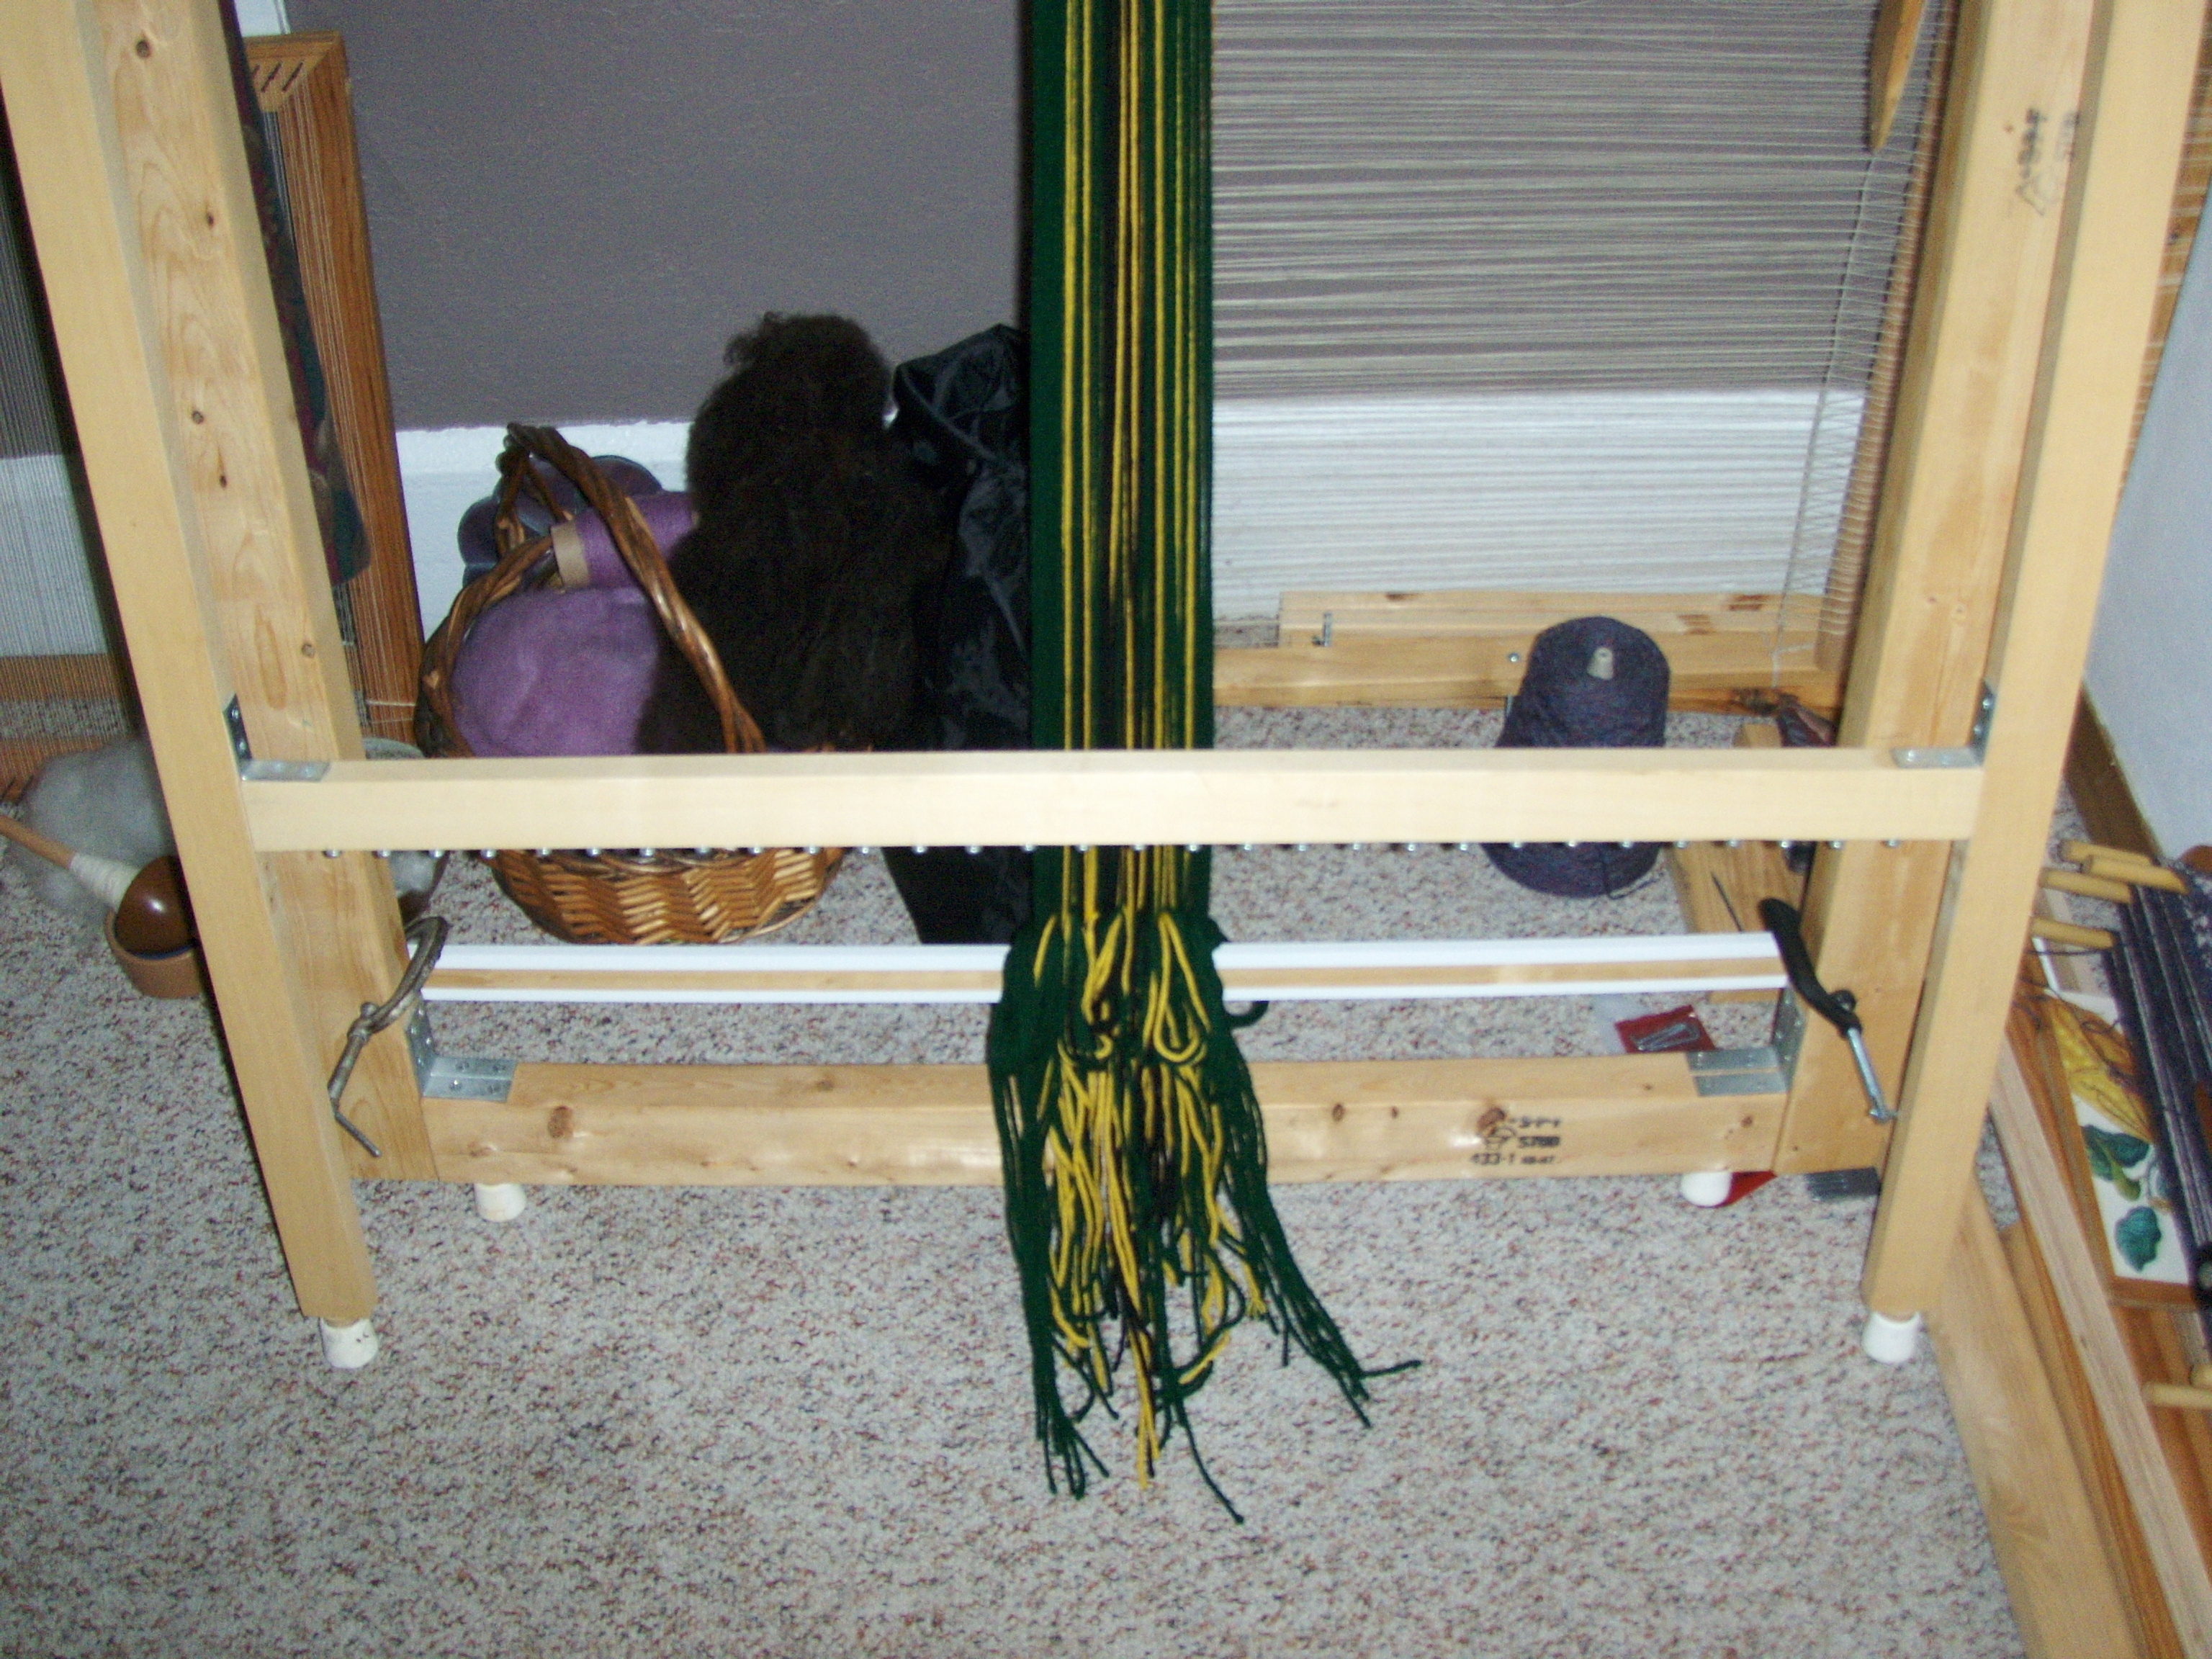
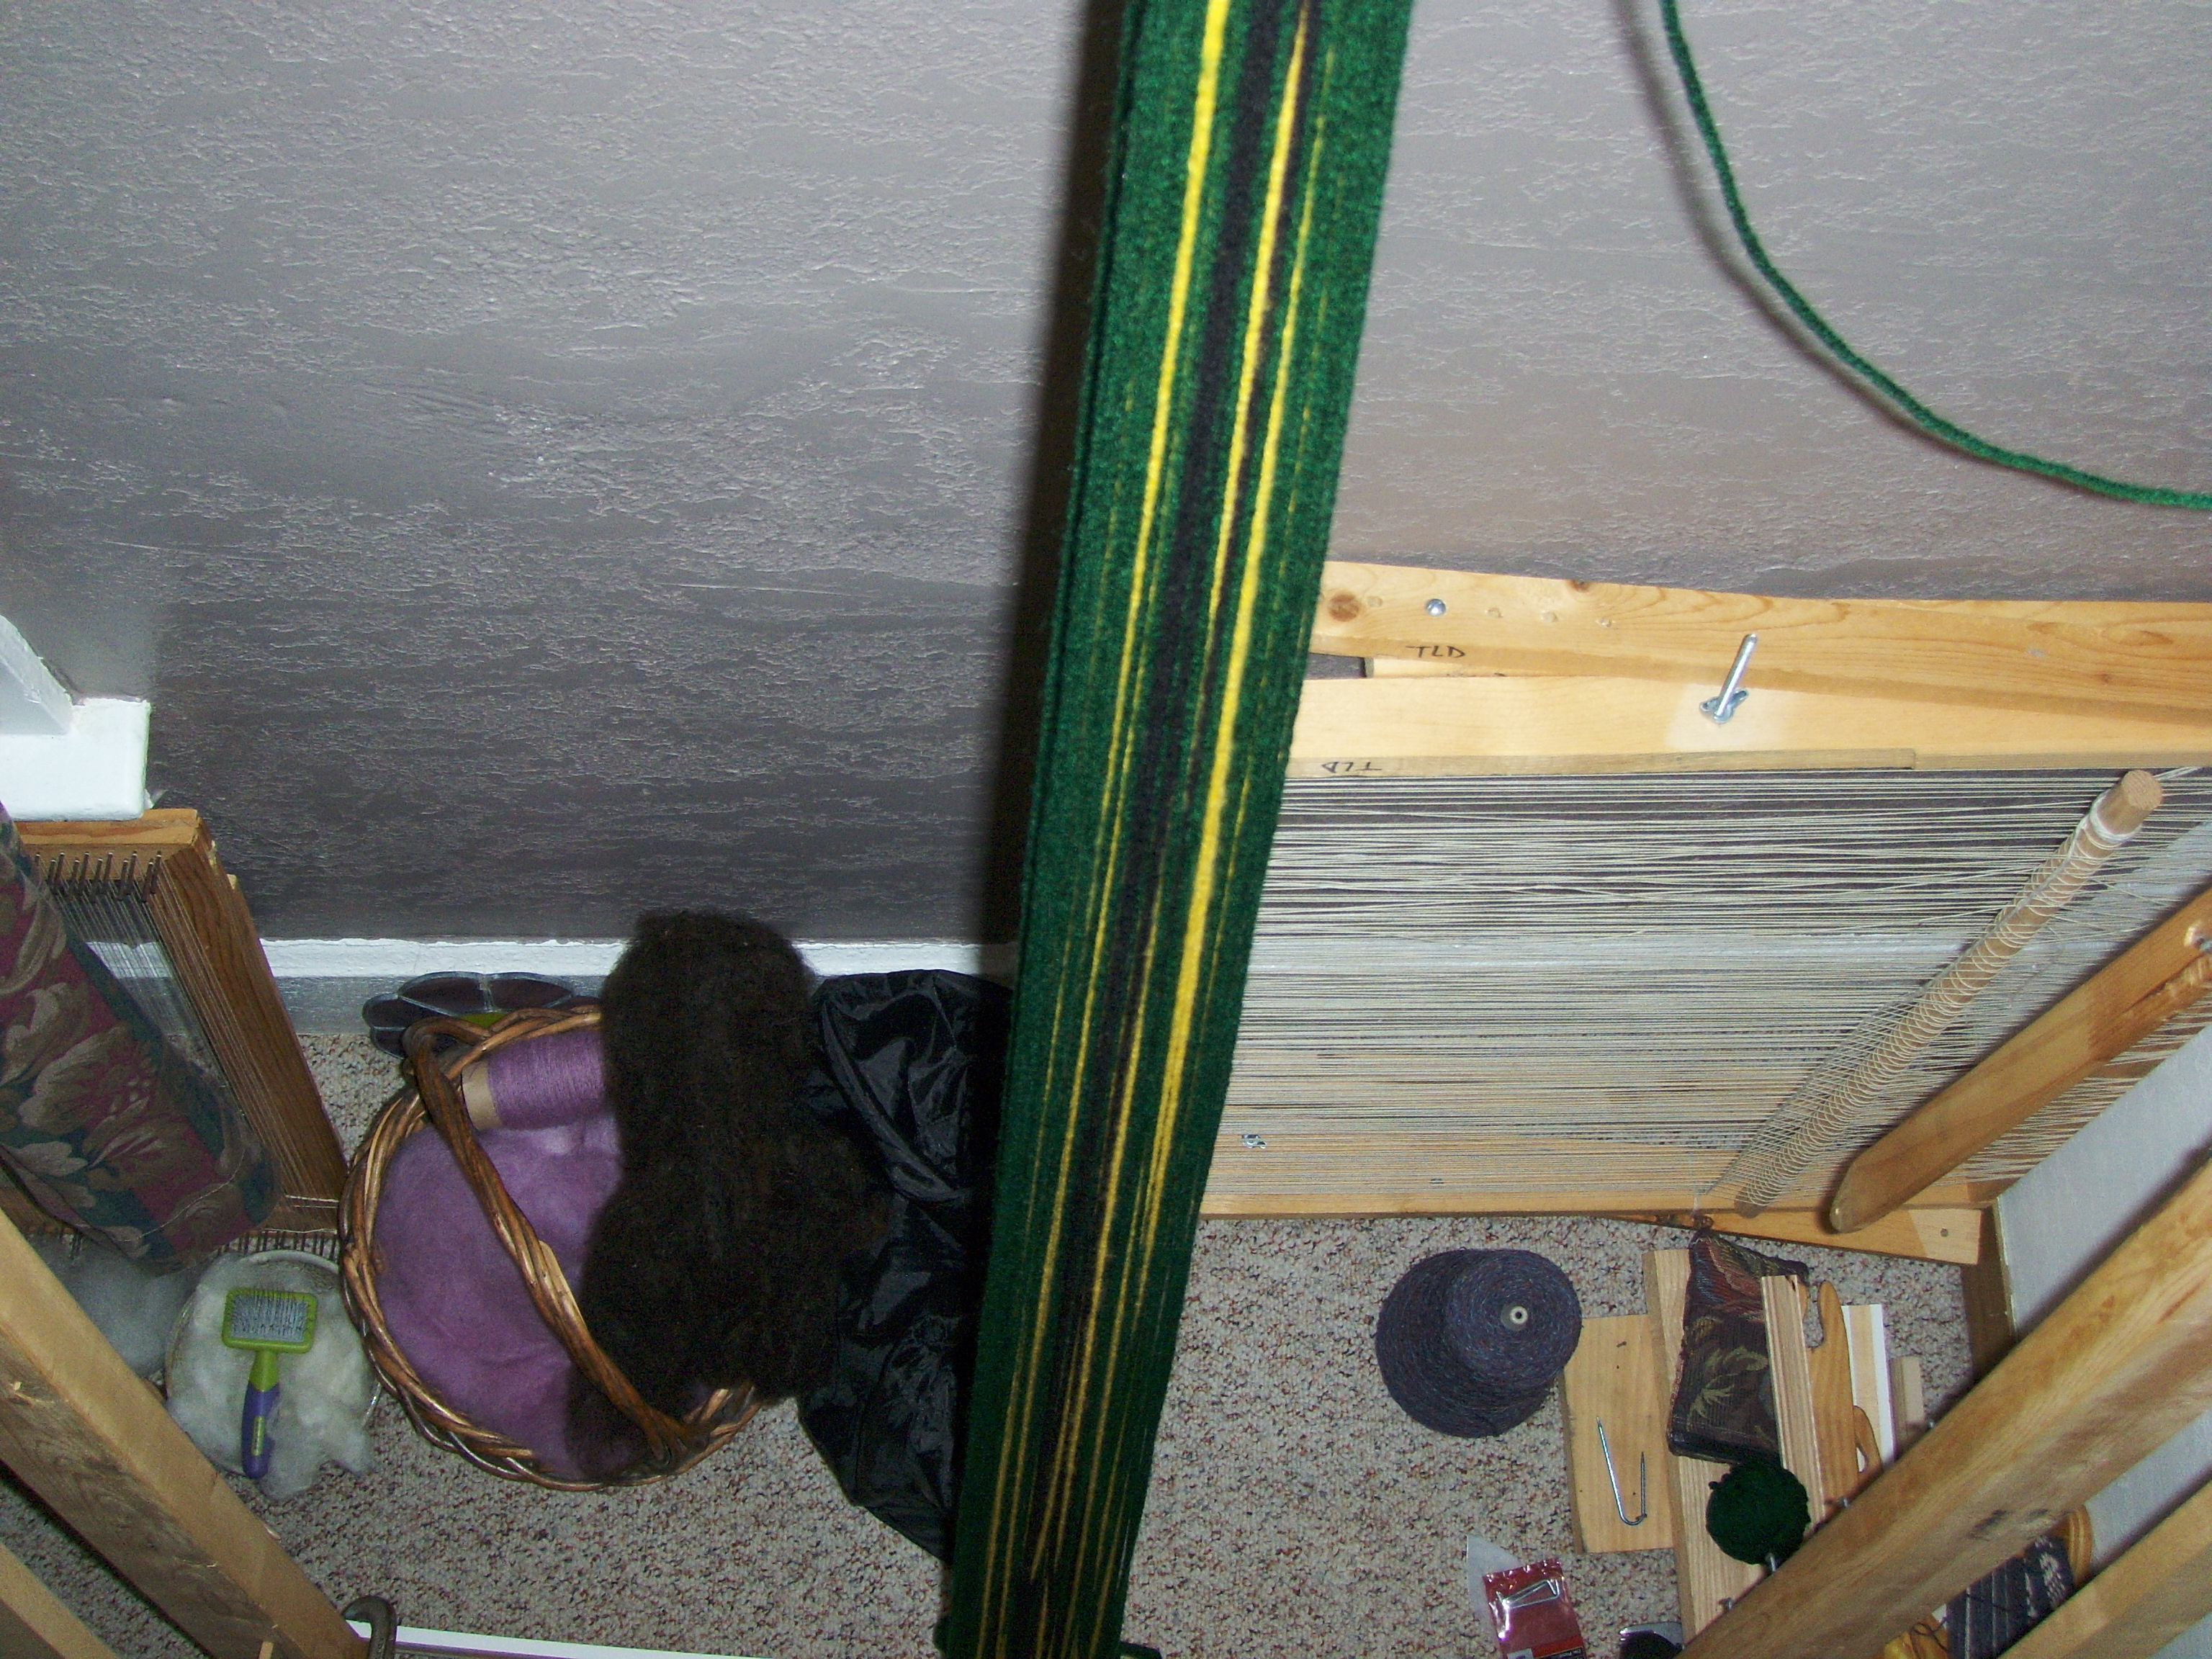
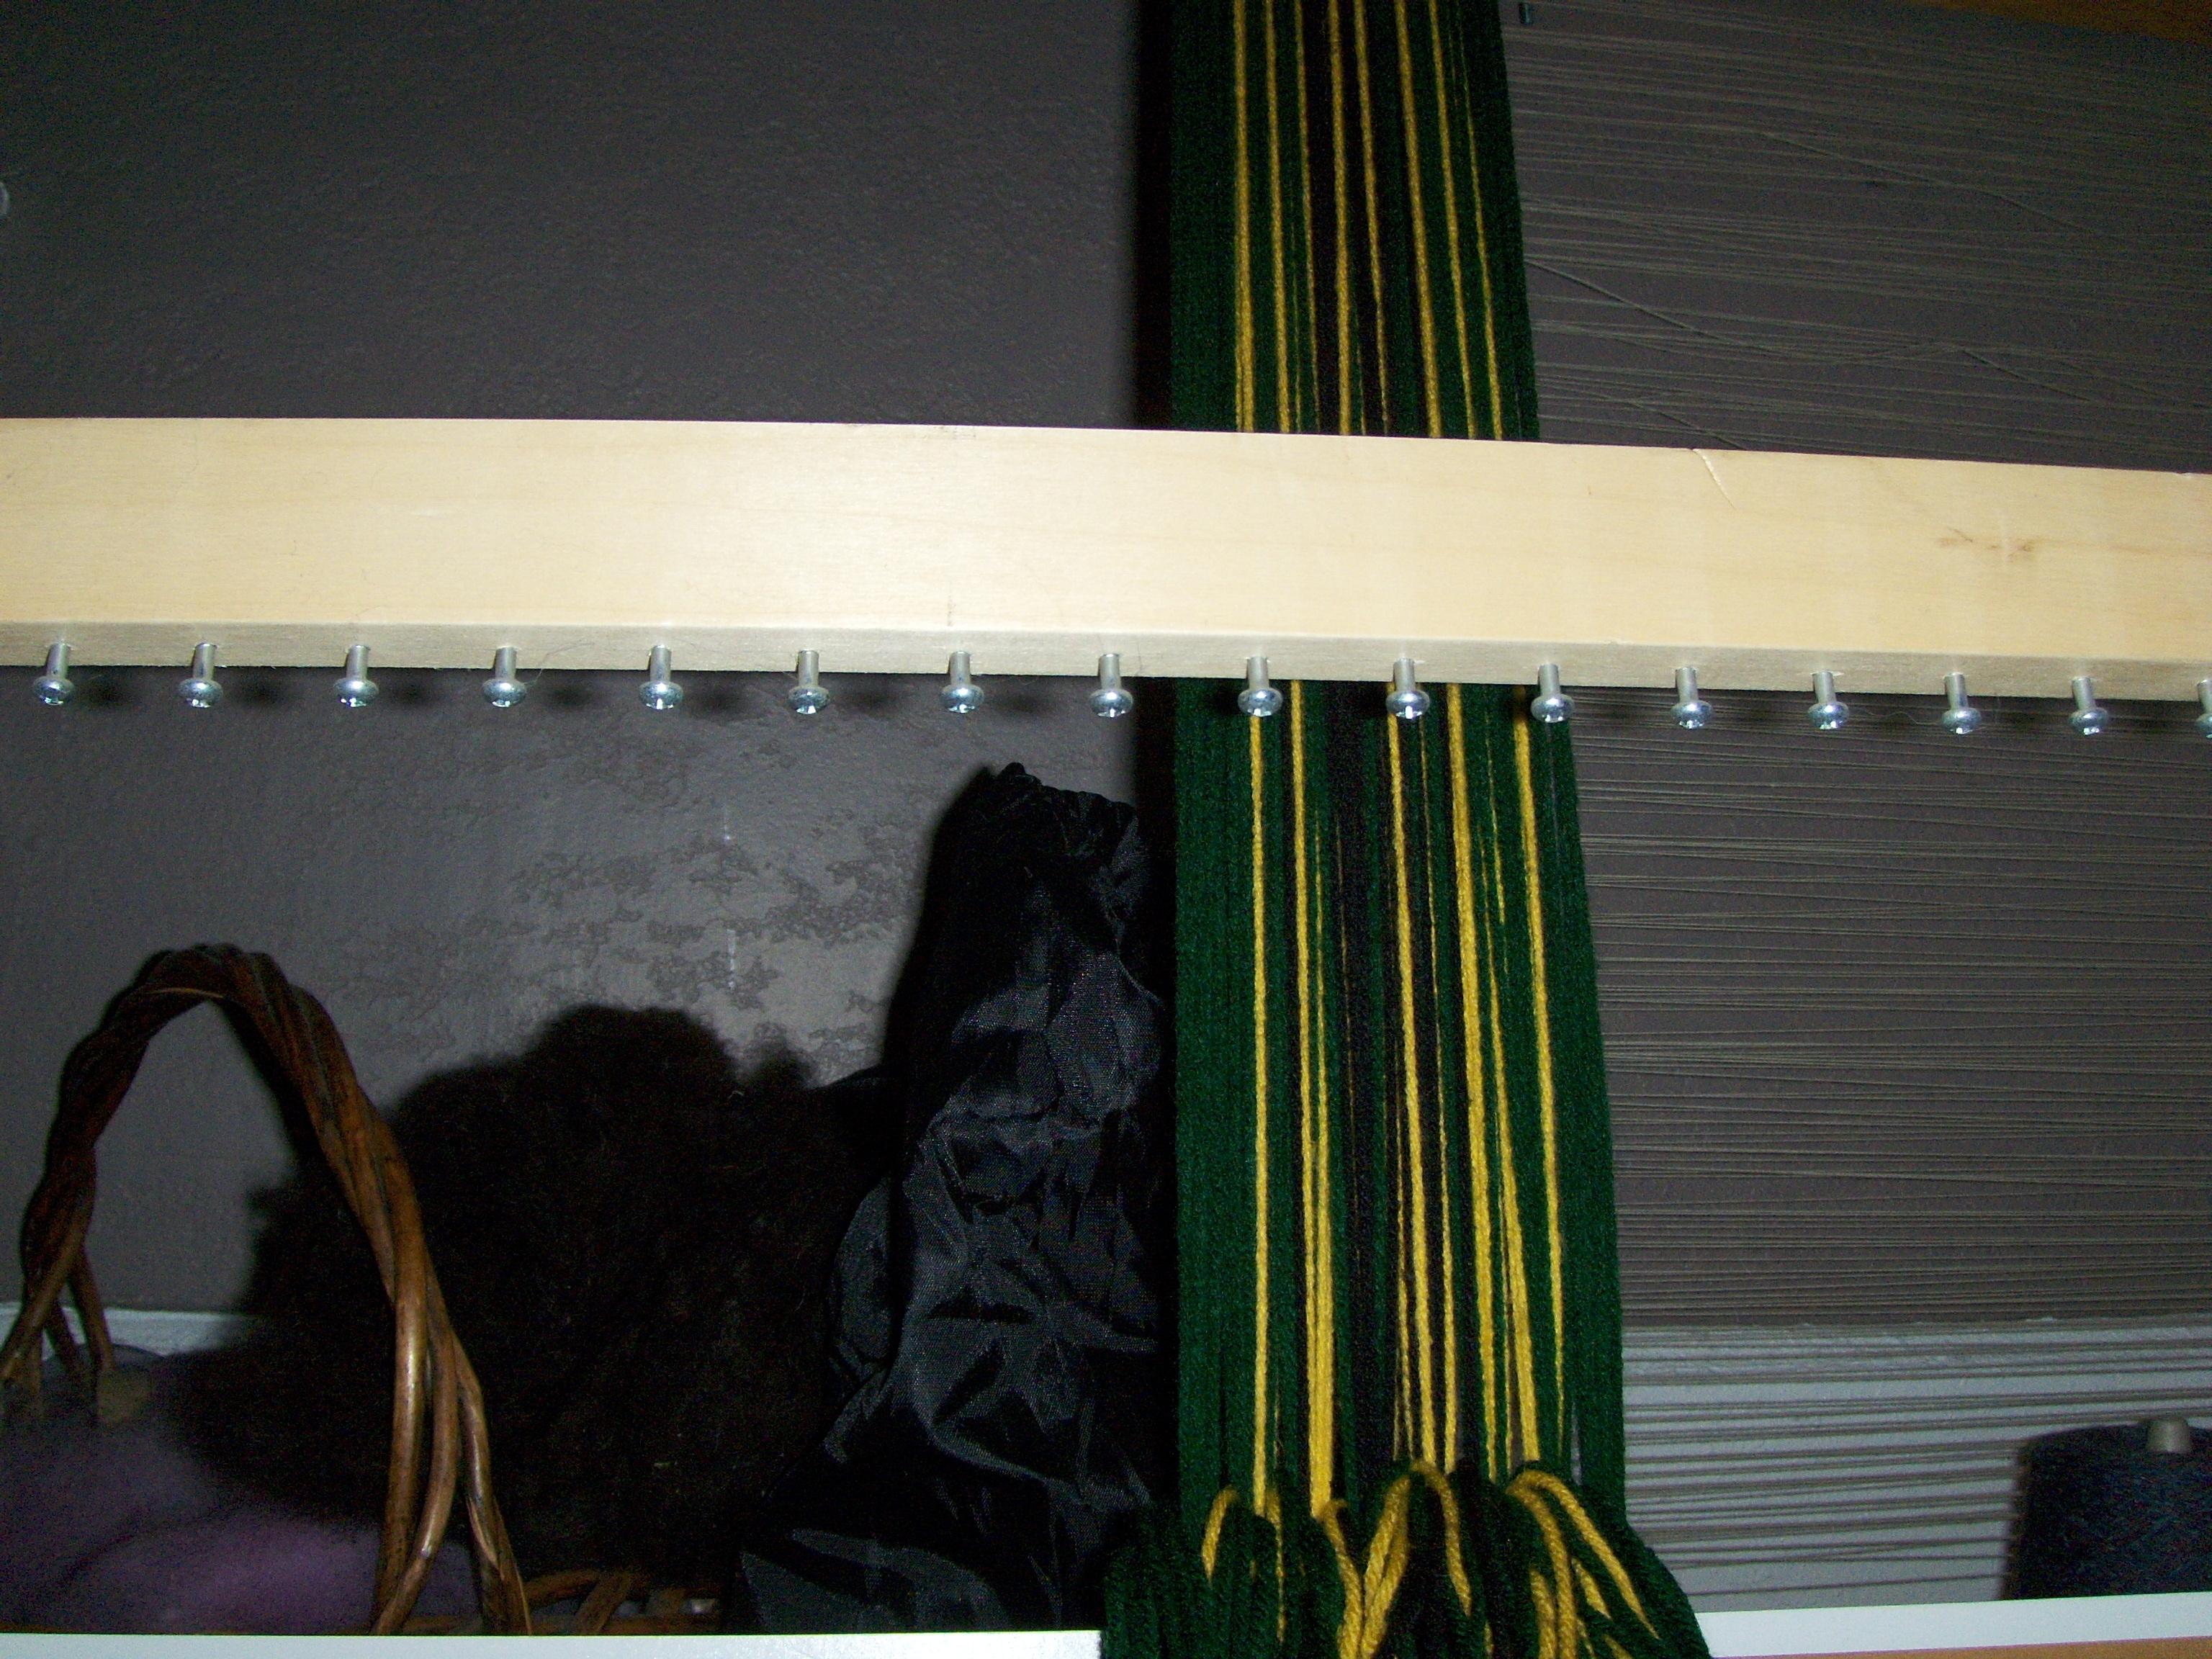


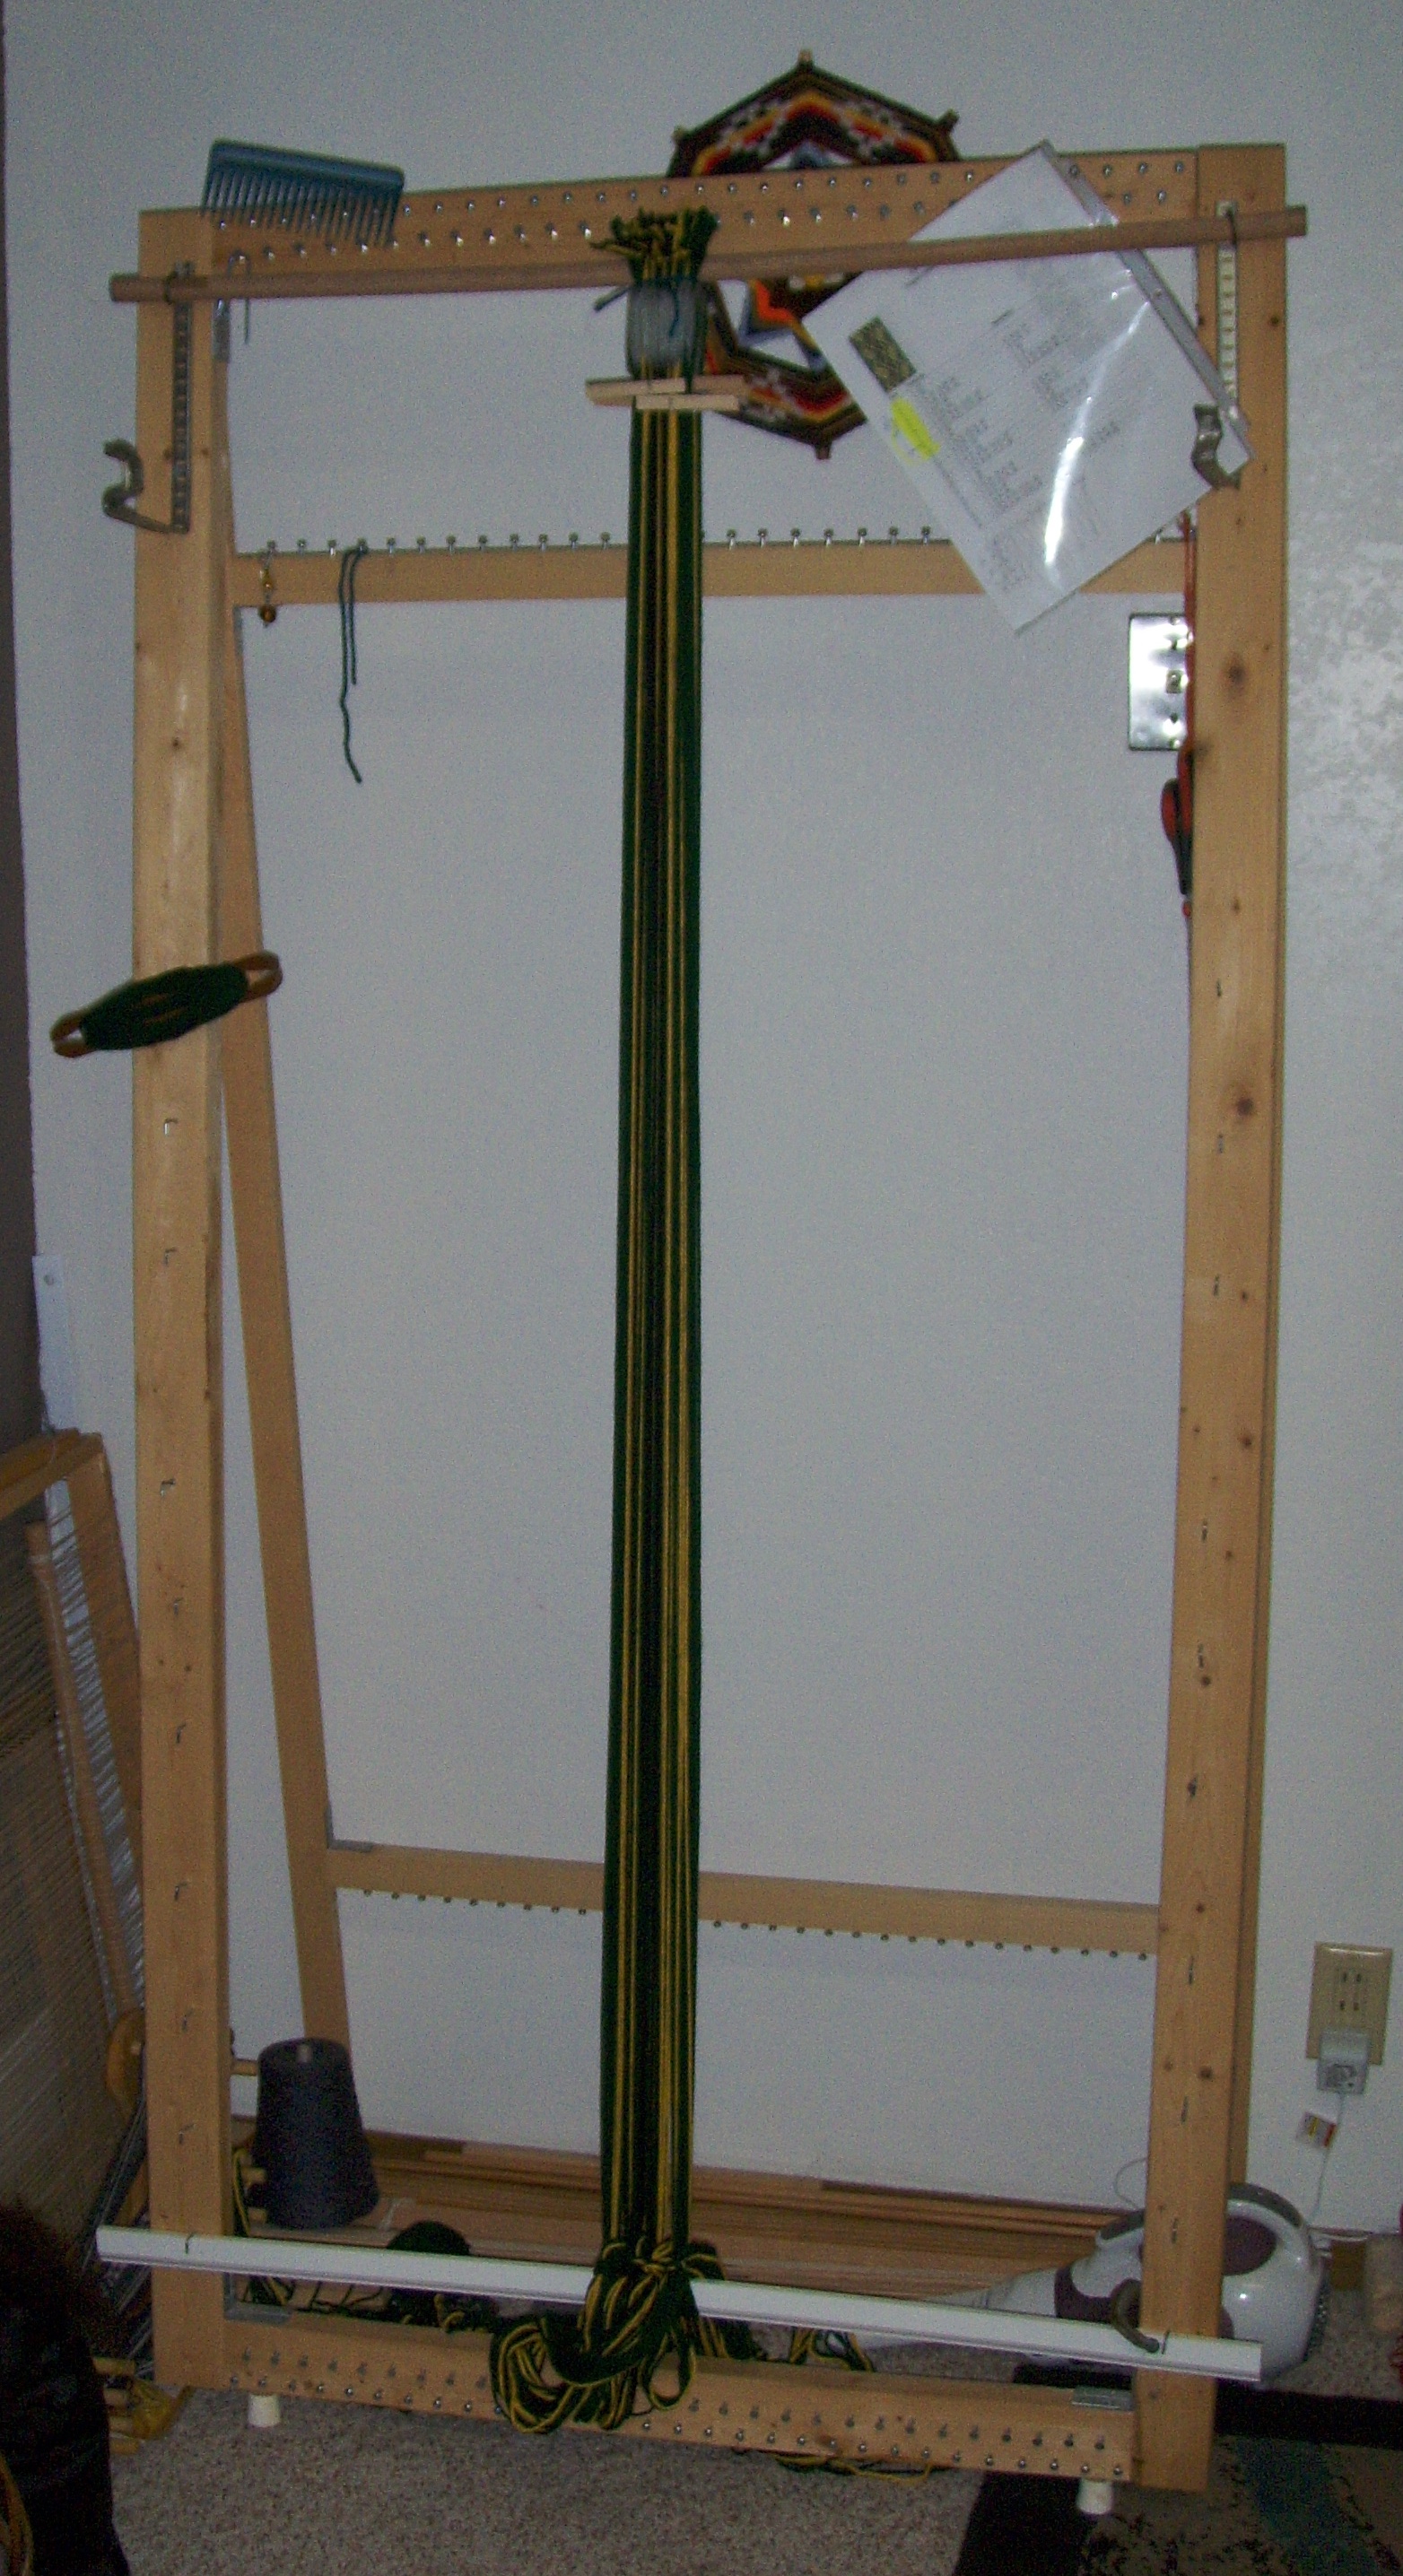
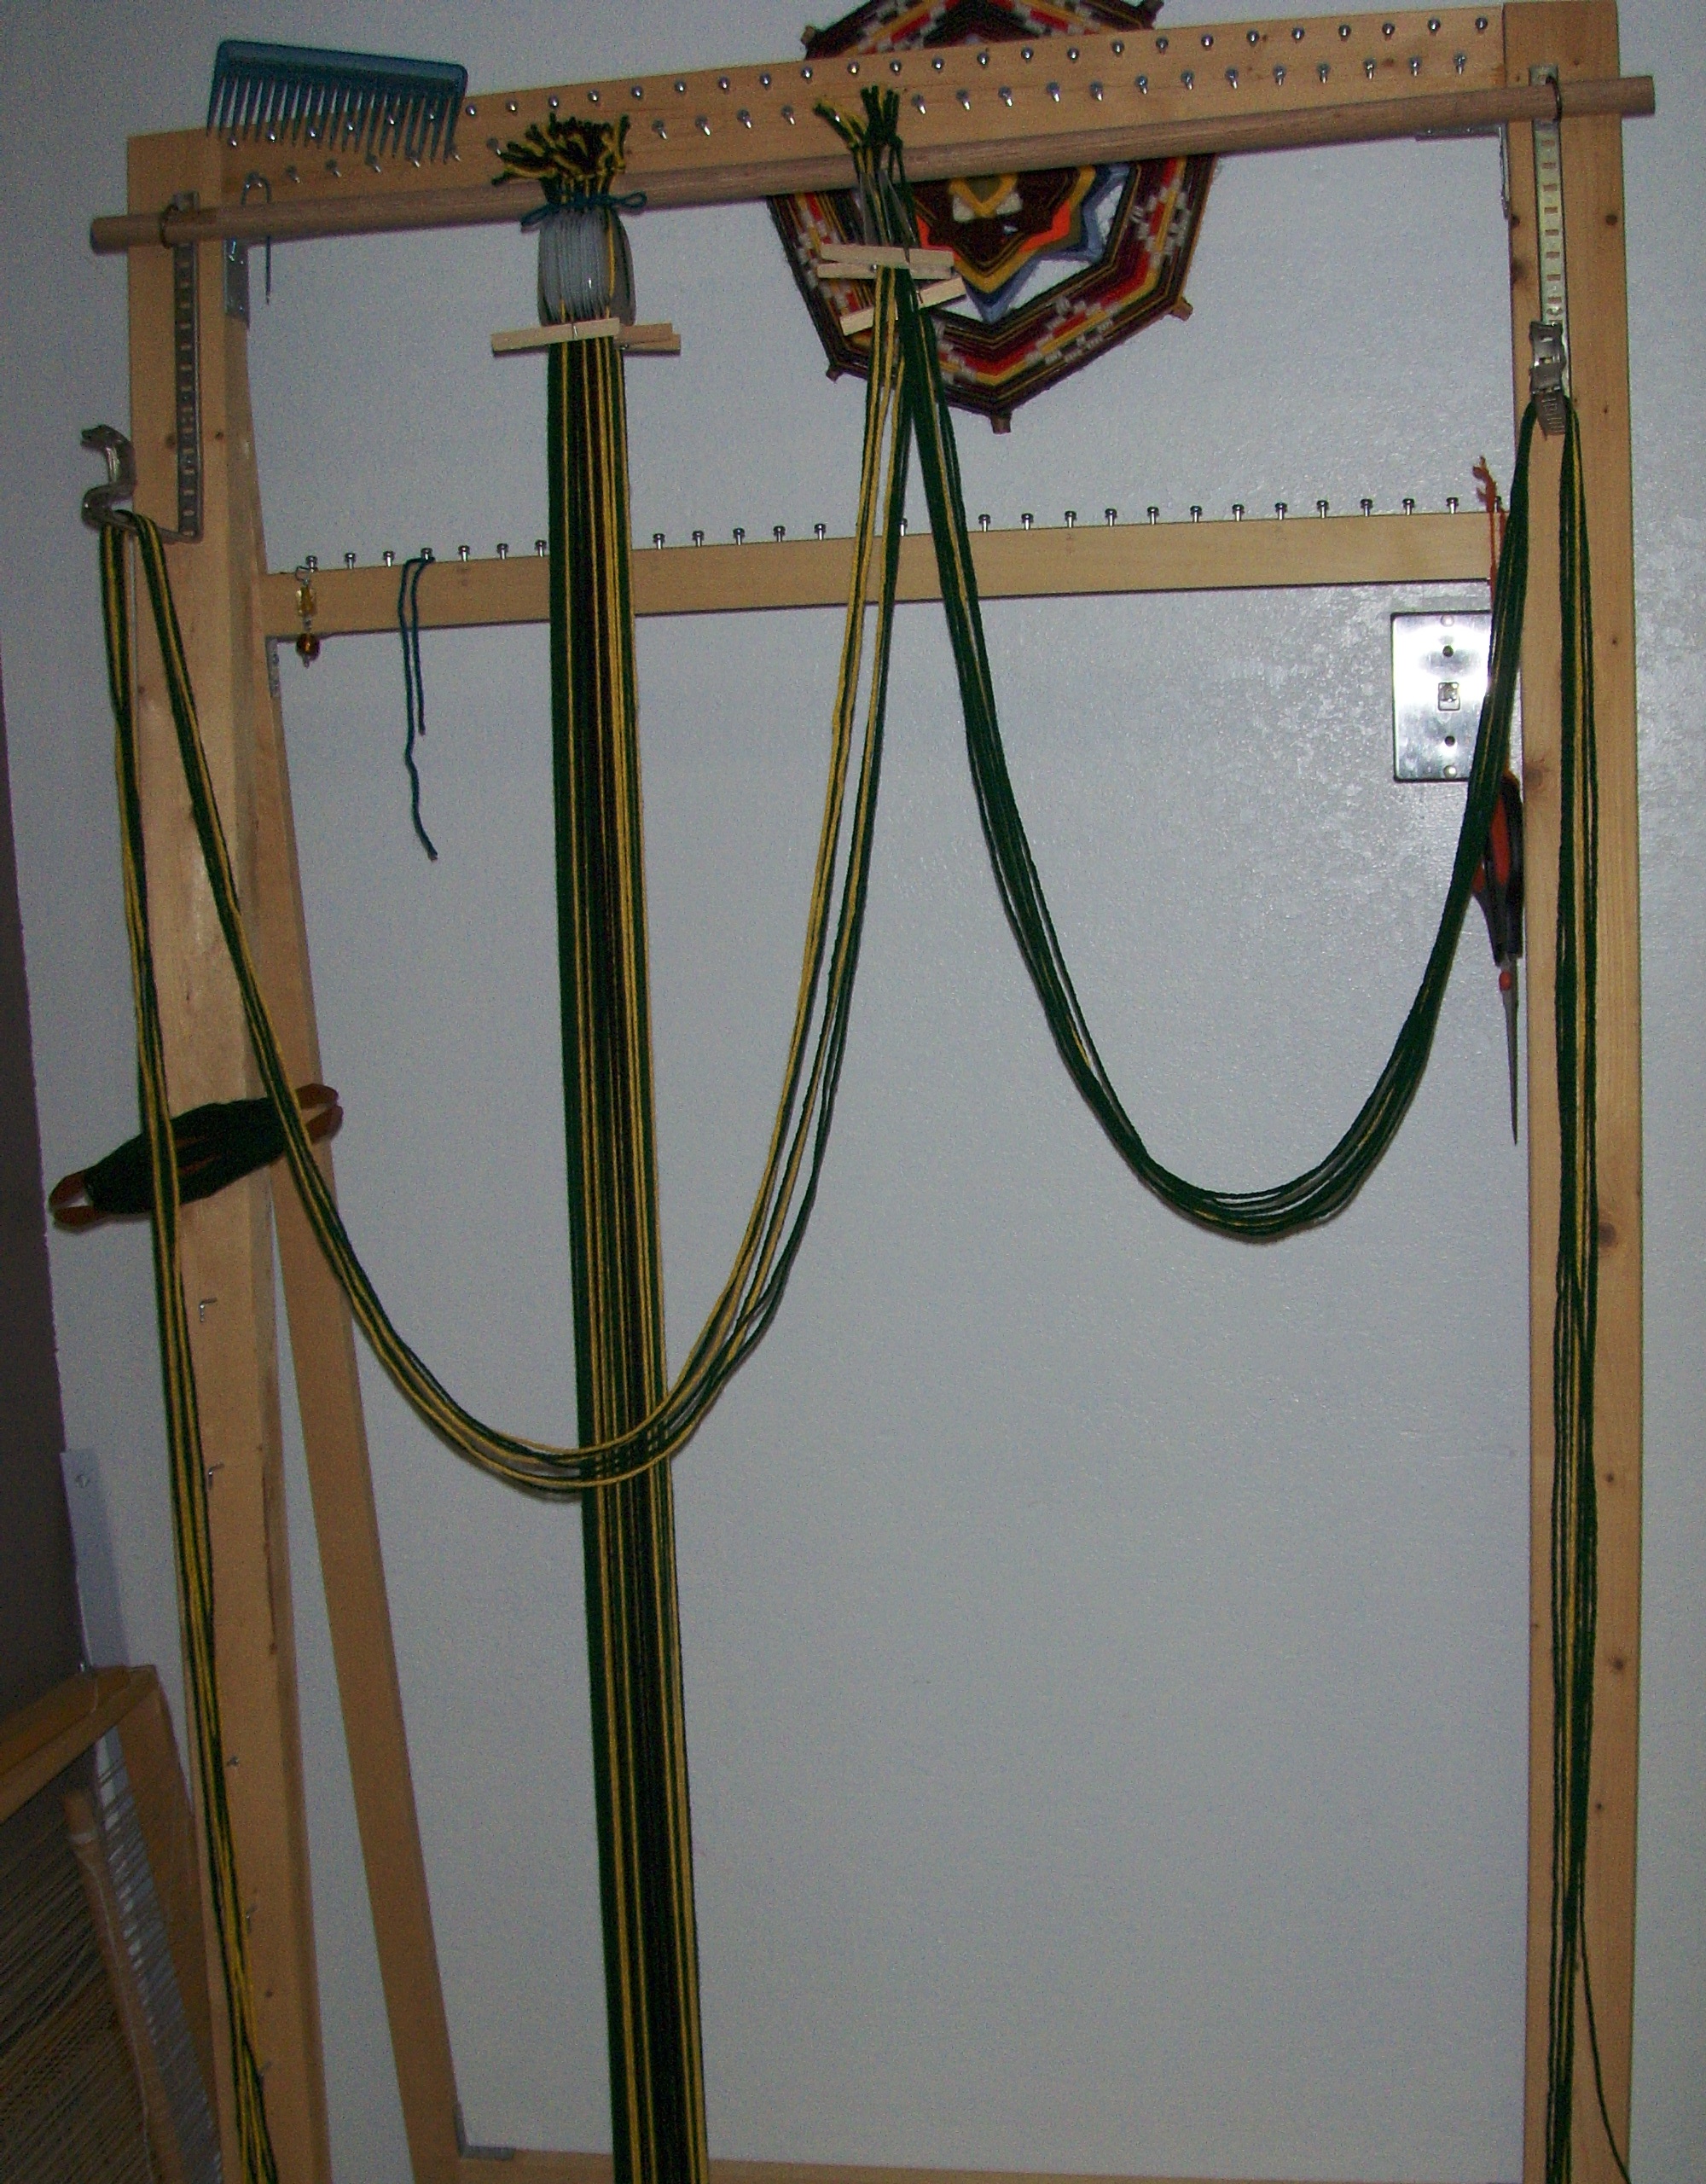
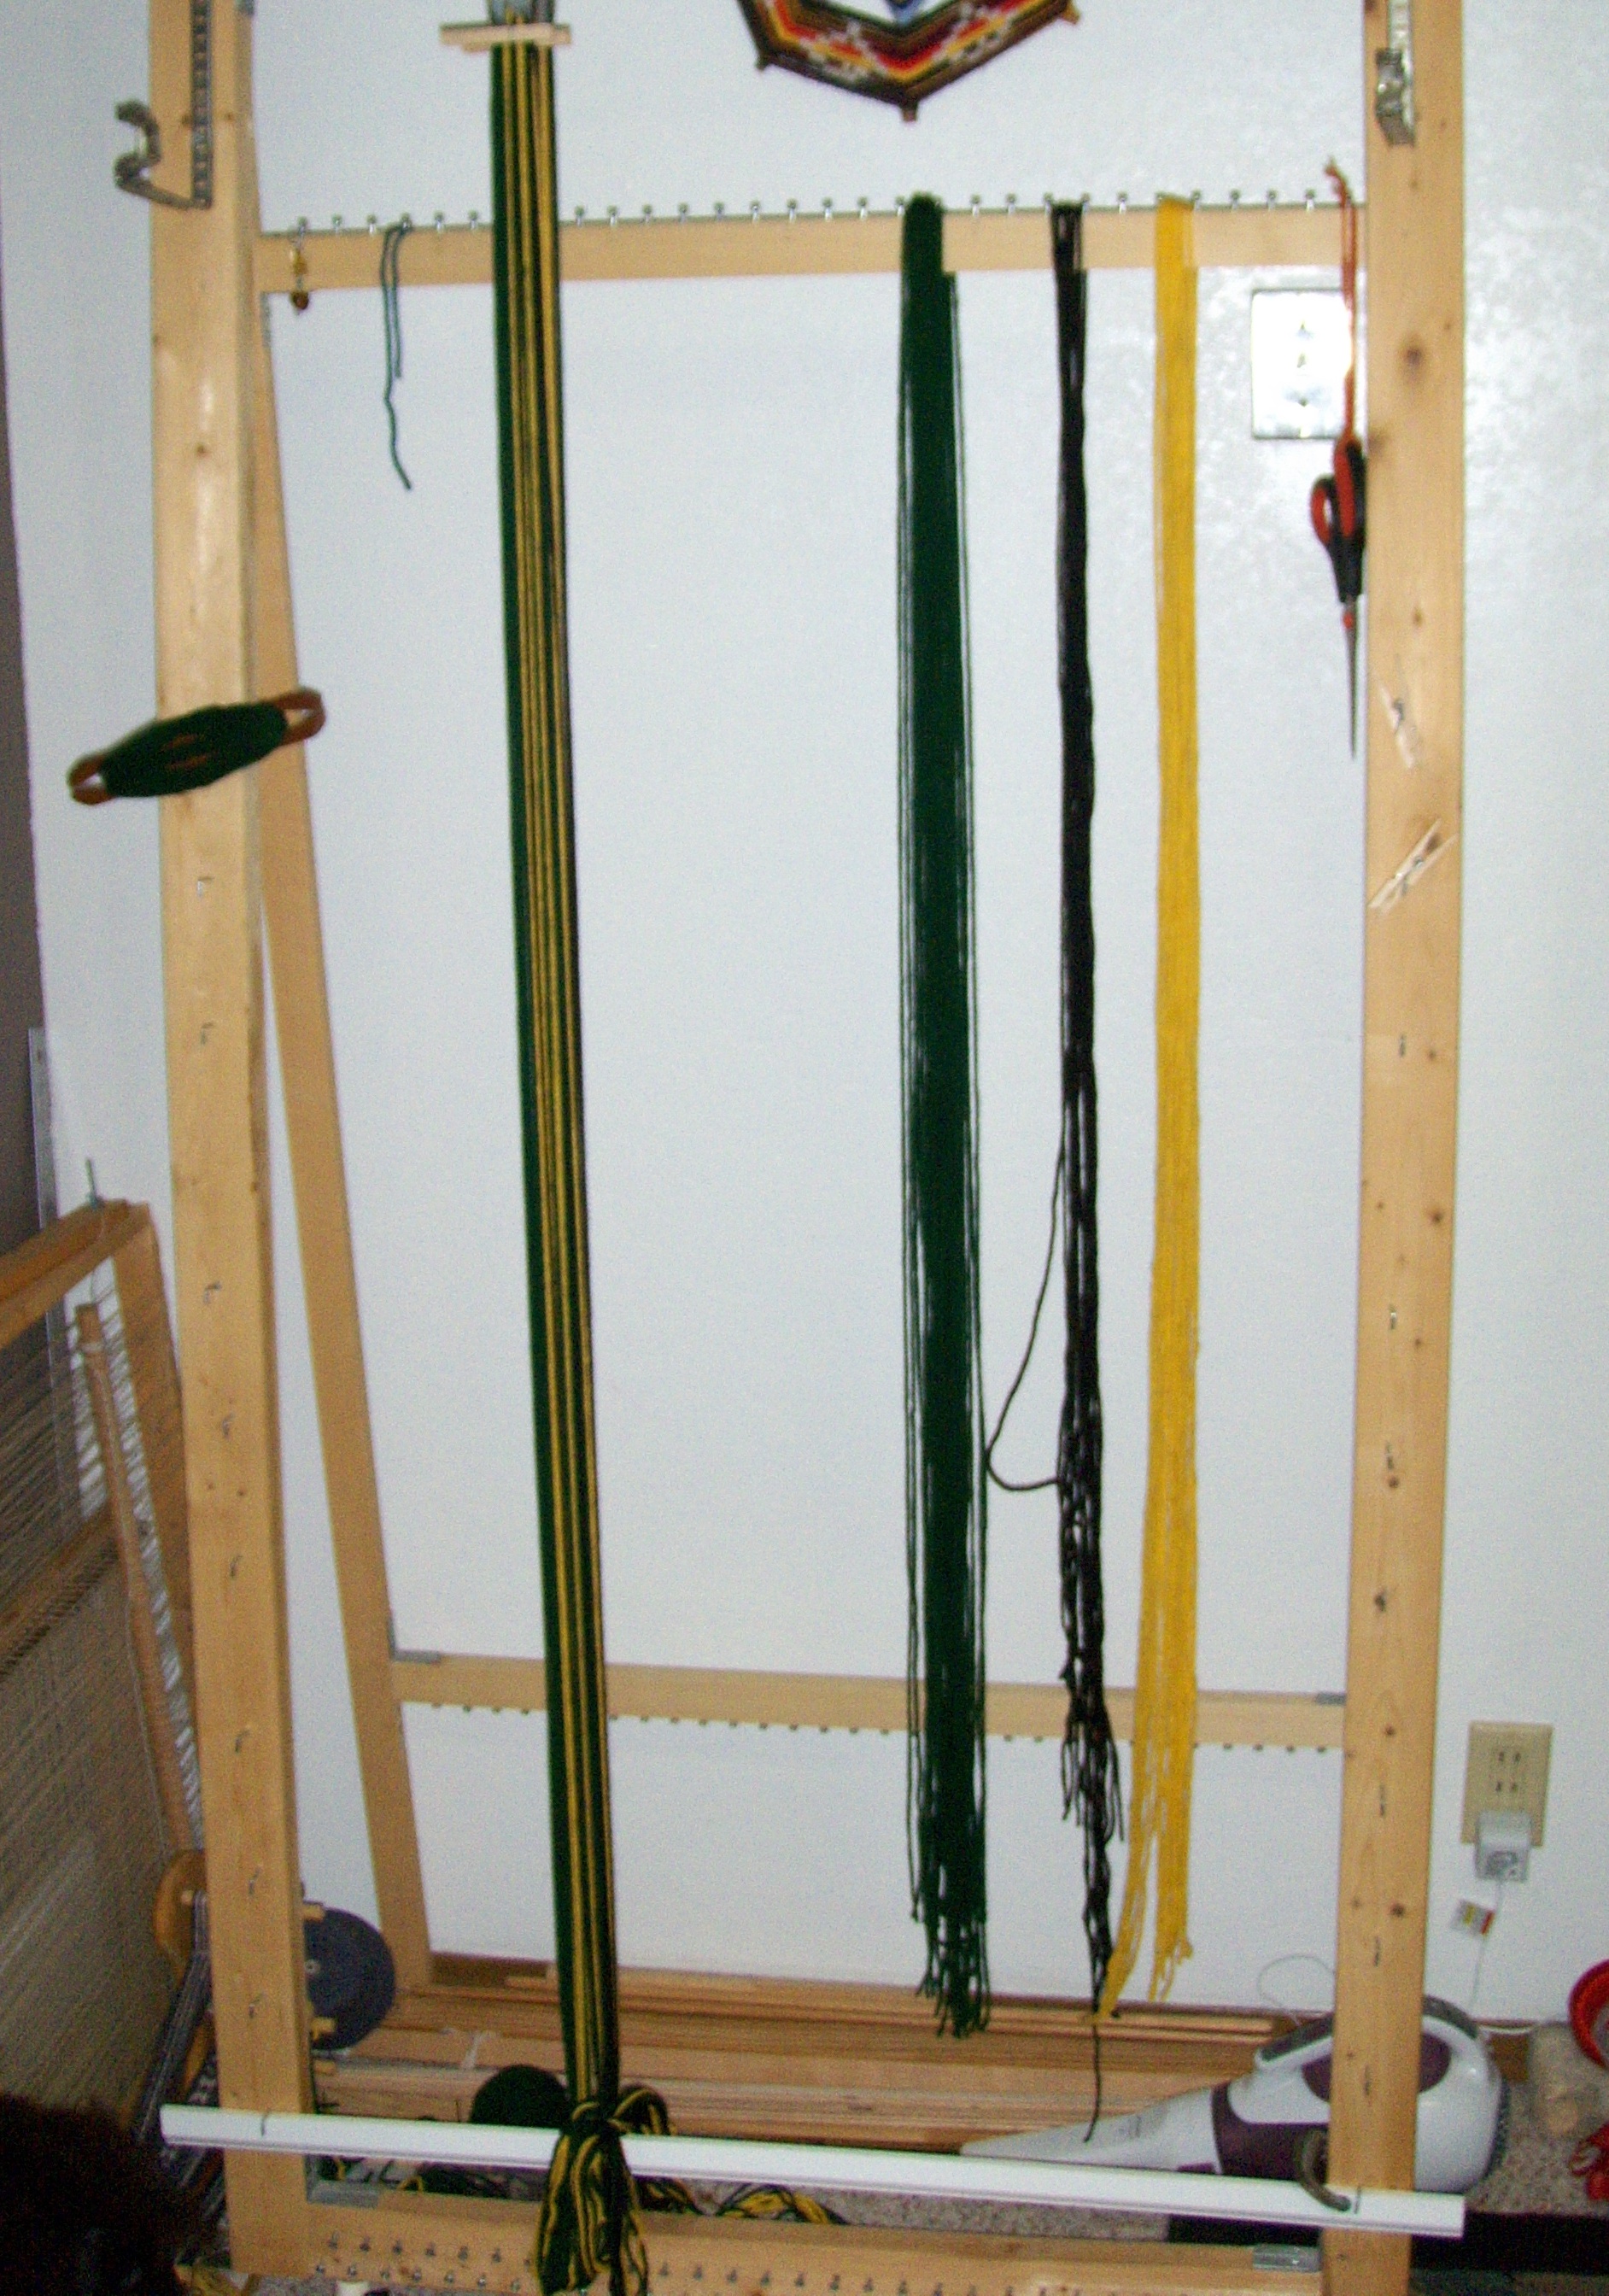
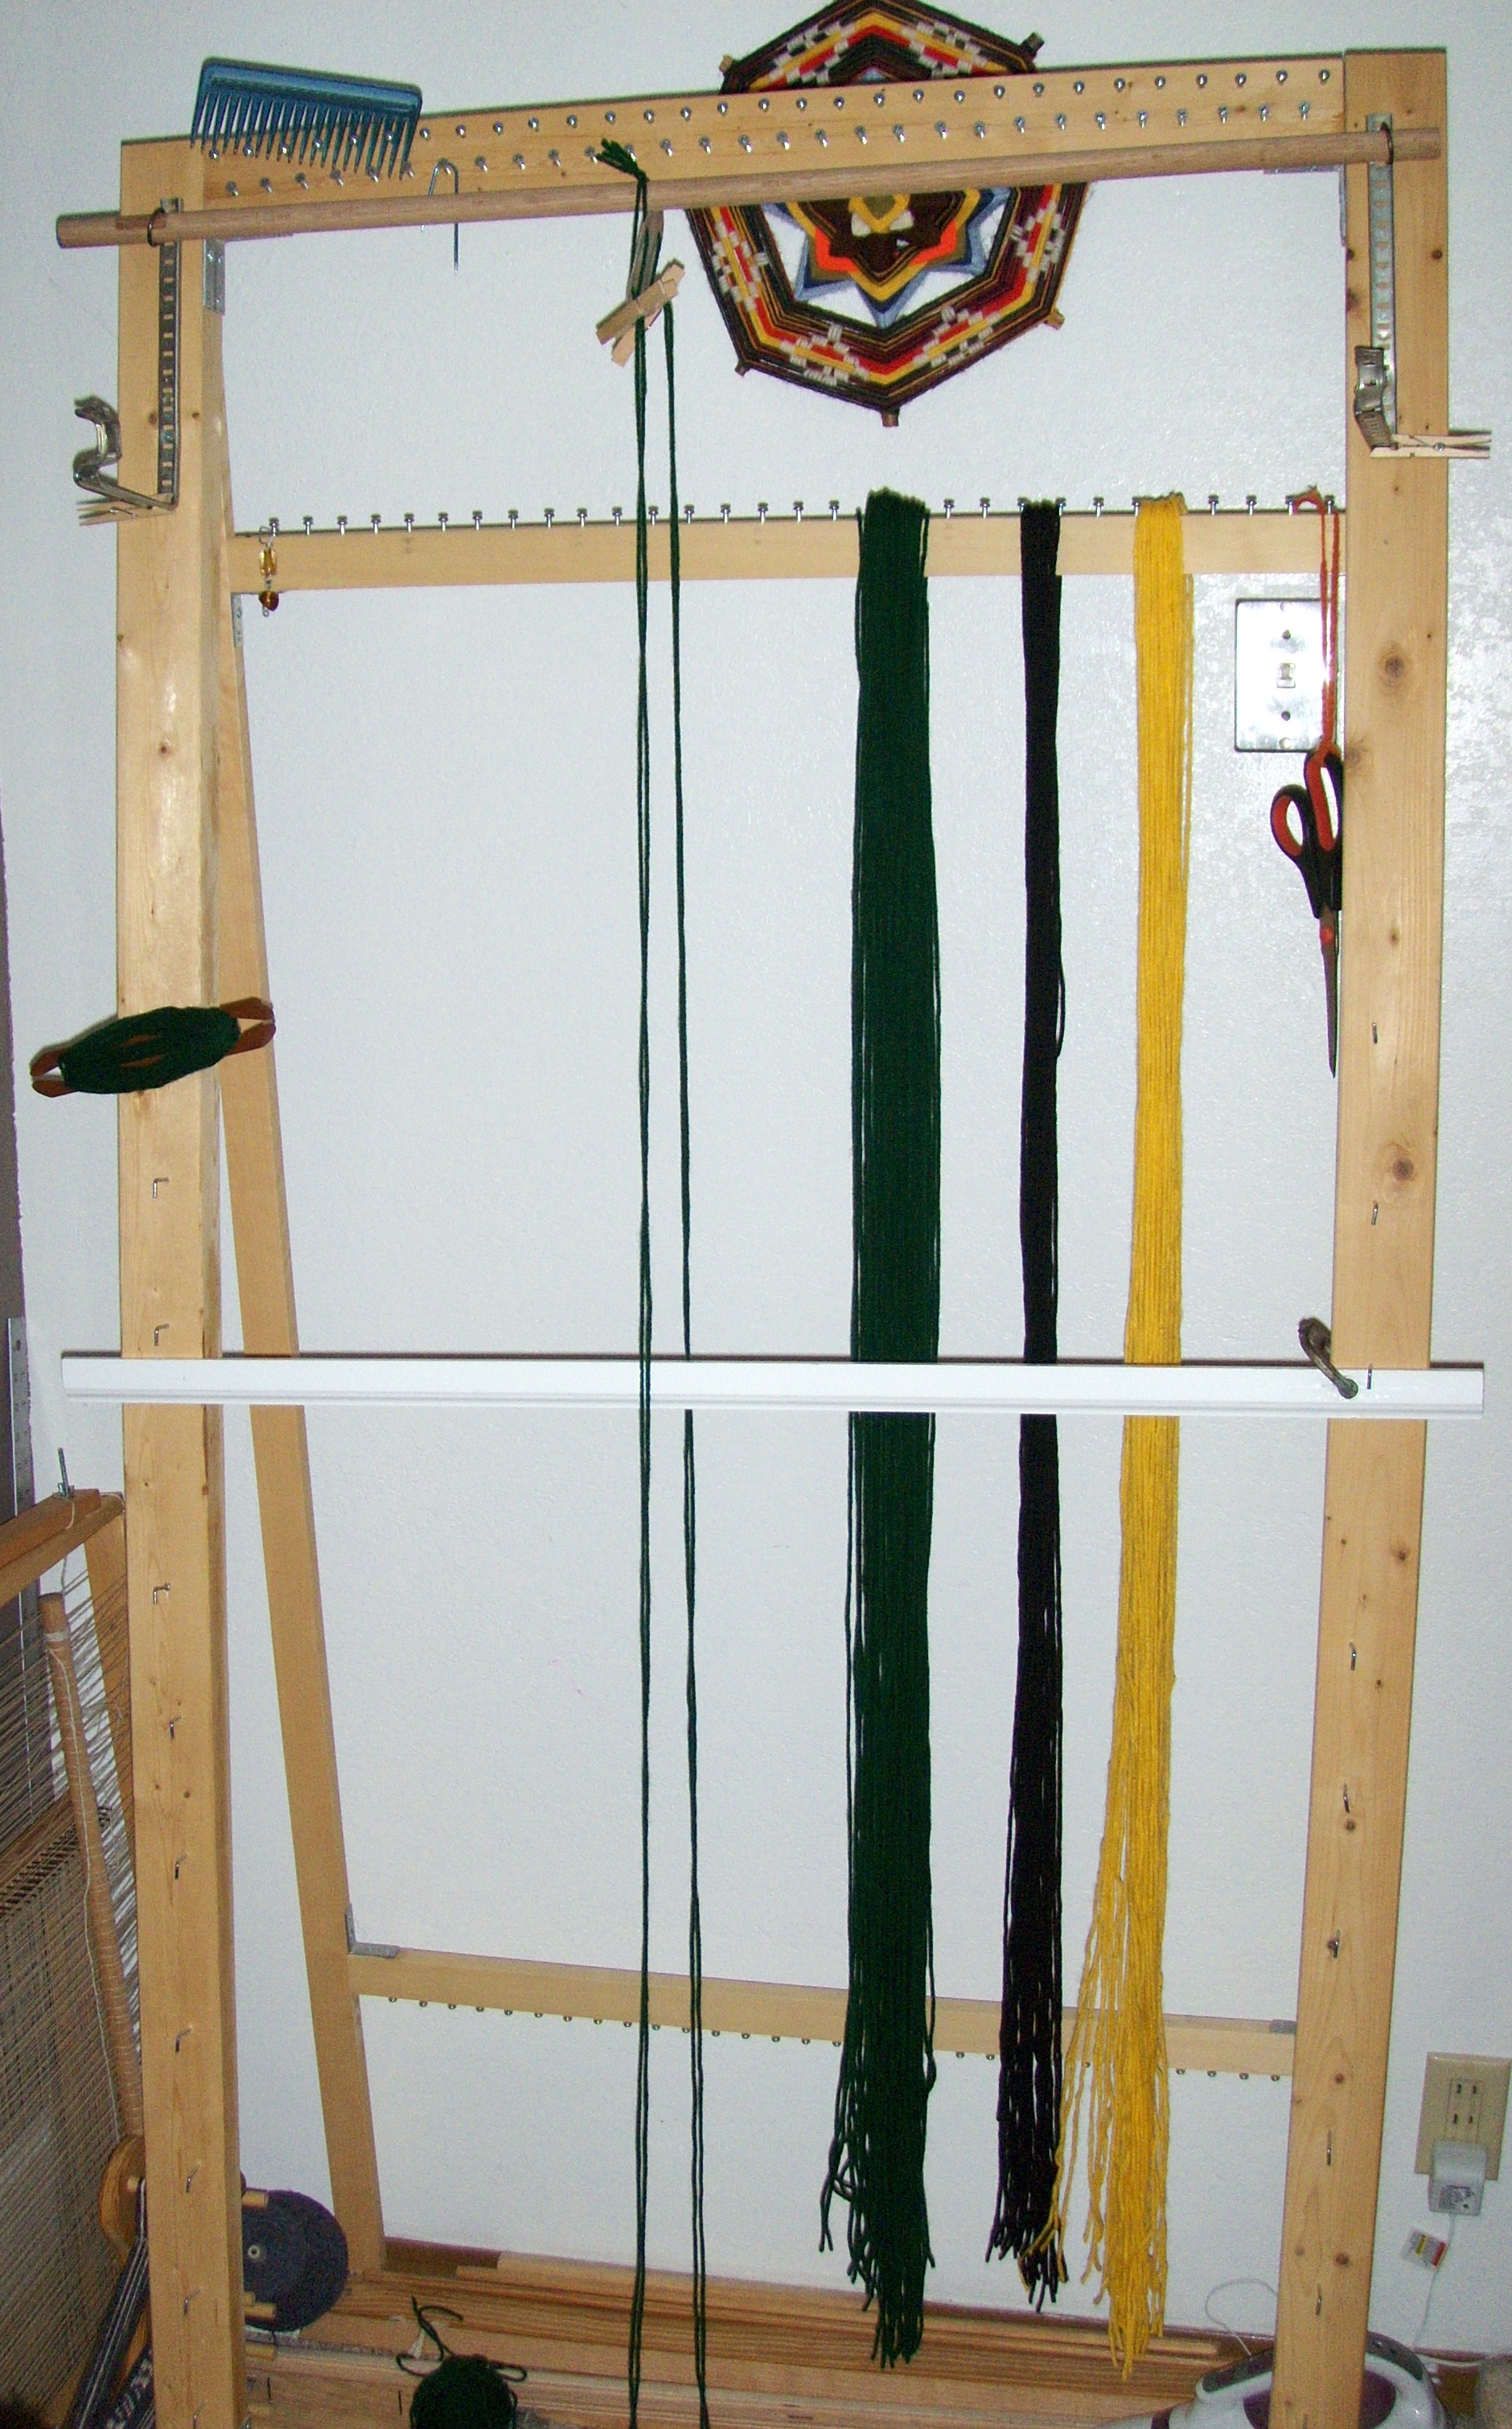

The above photo of the loom has a rug on the front side of it and I turned it around to start a card weaving (it’s the dog leash I currently walk Princess Vanity with)!!
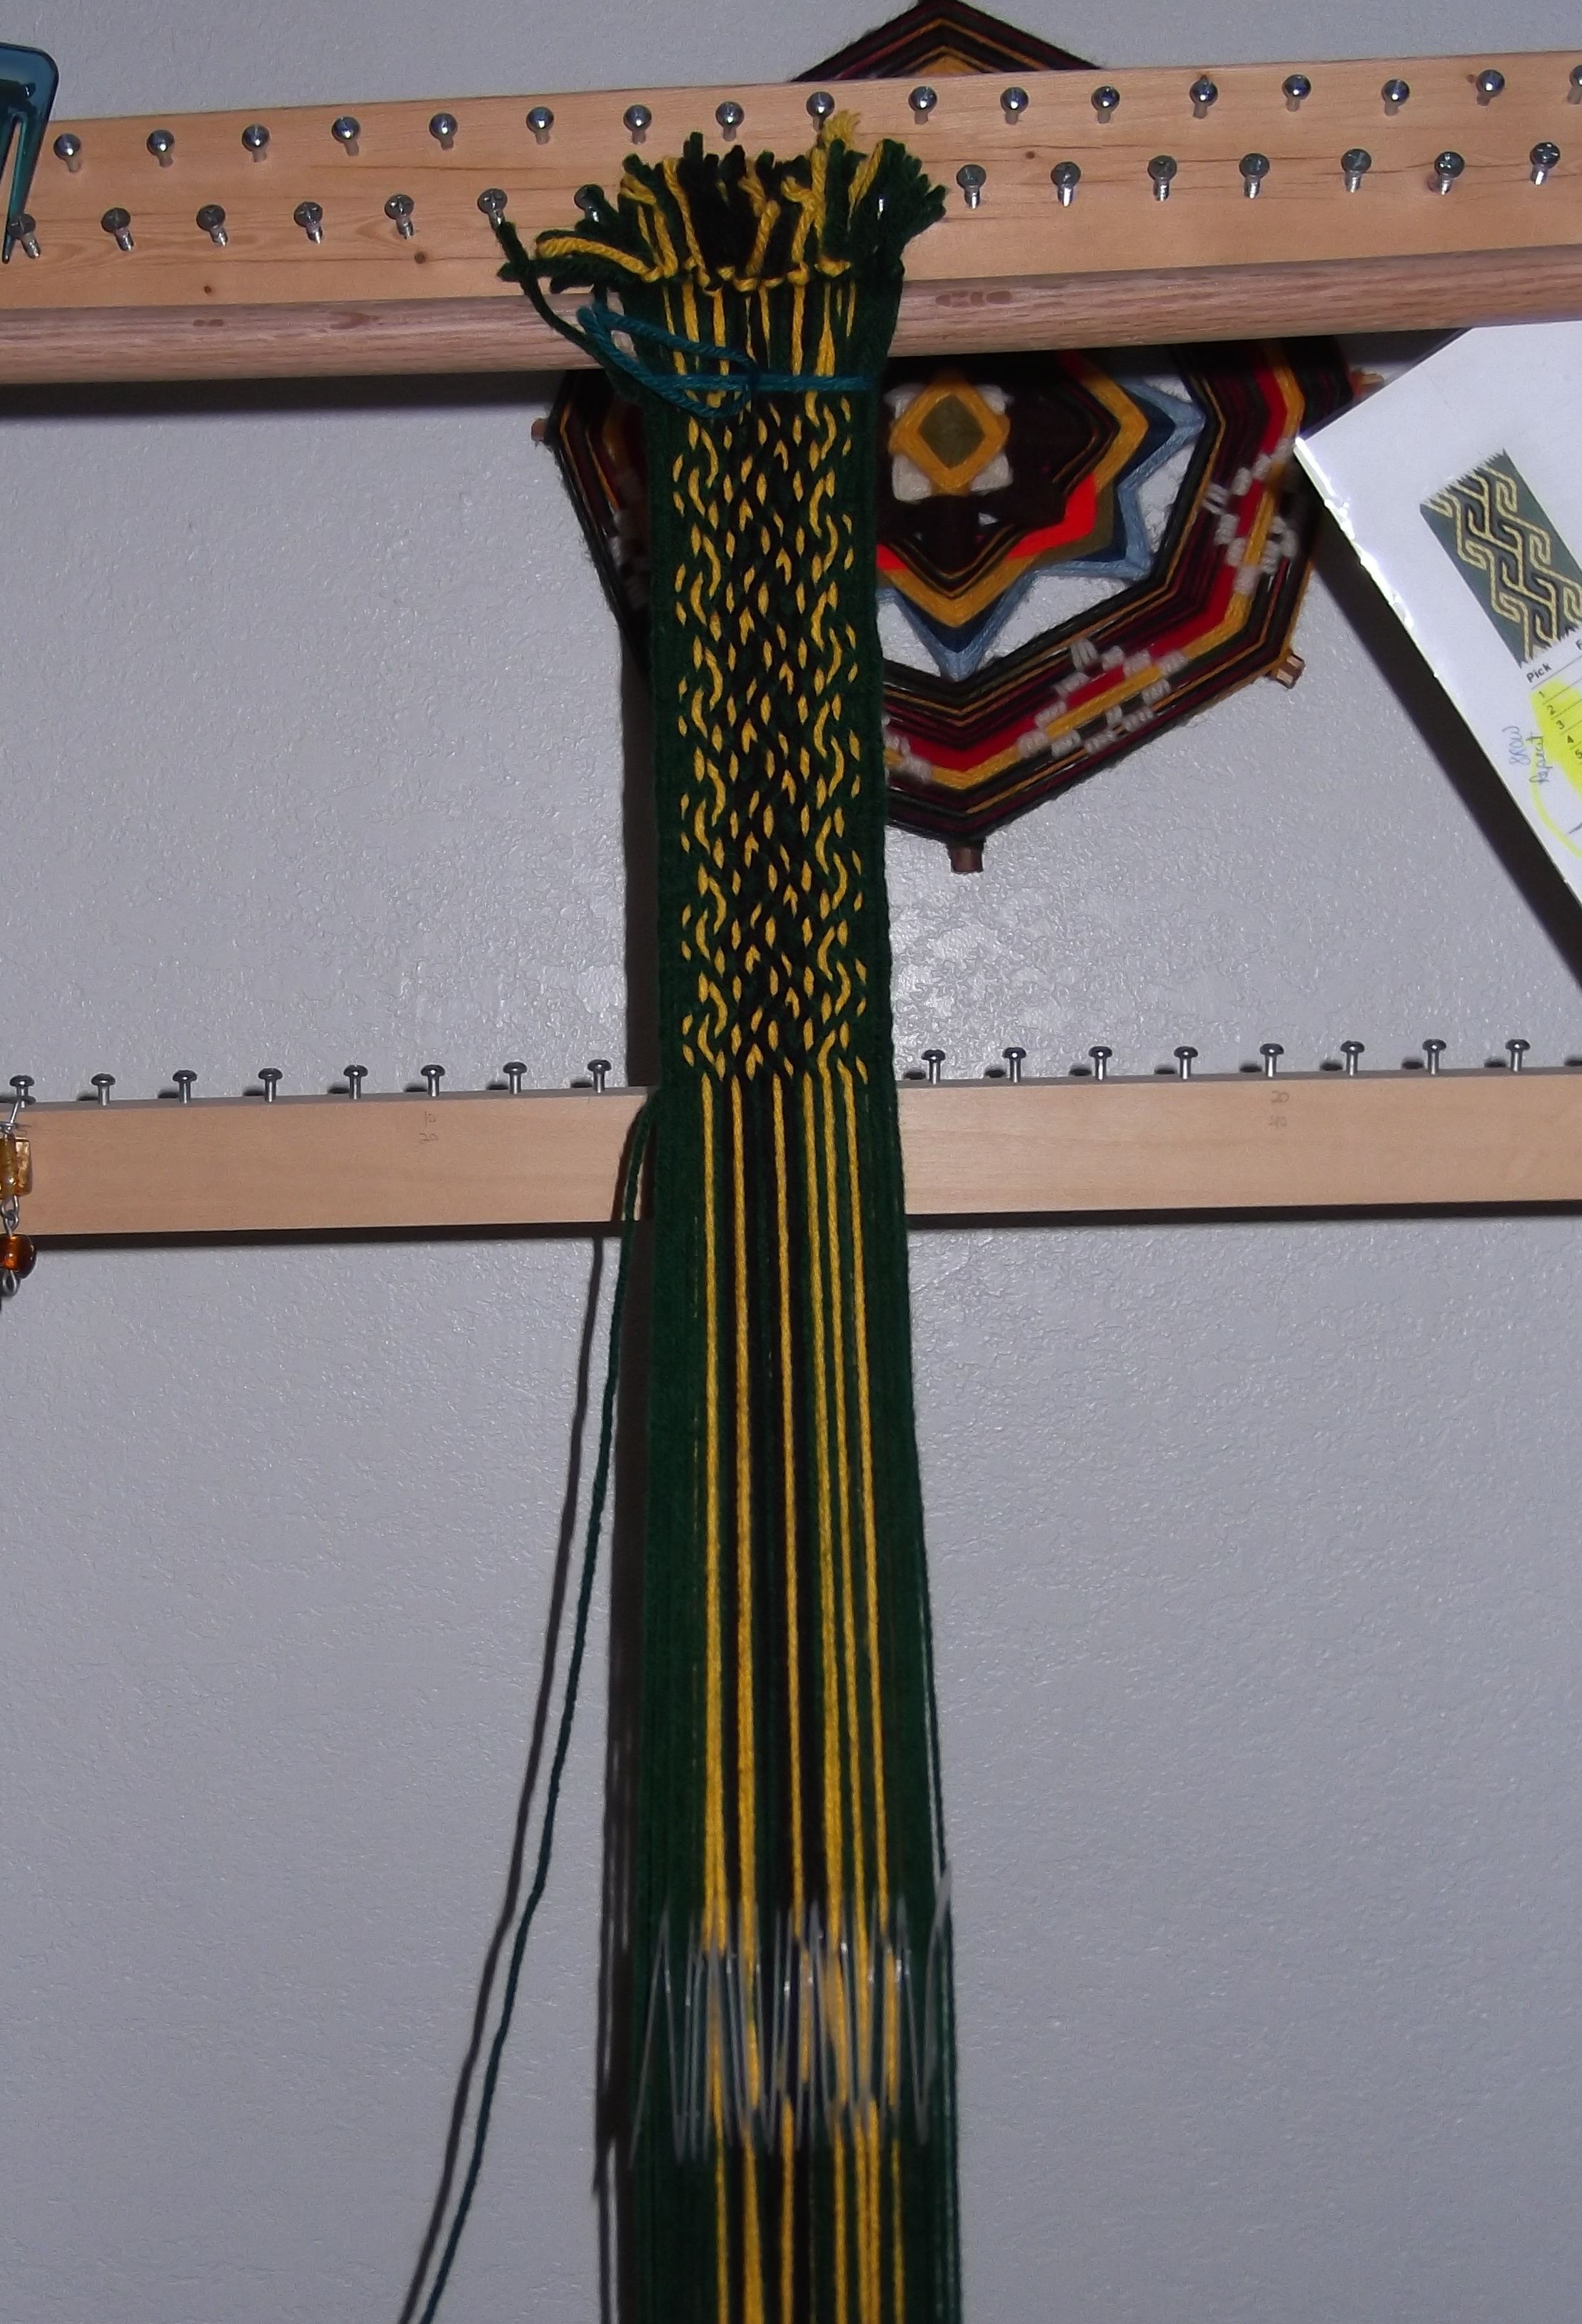
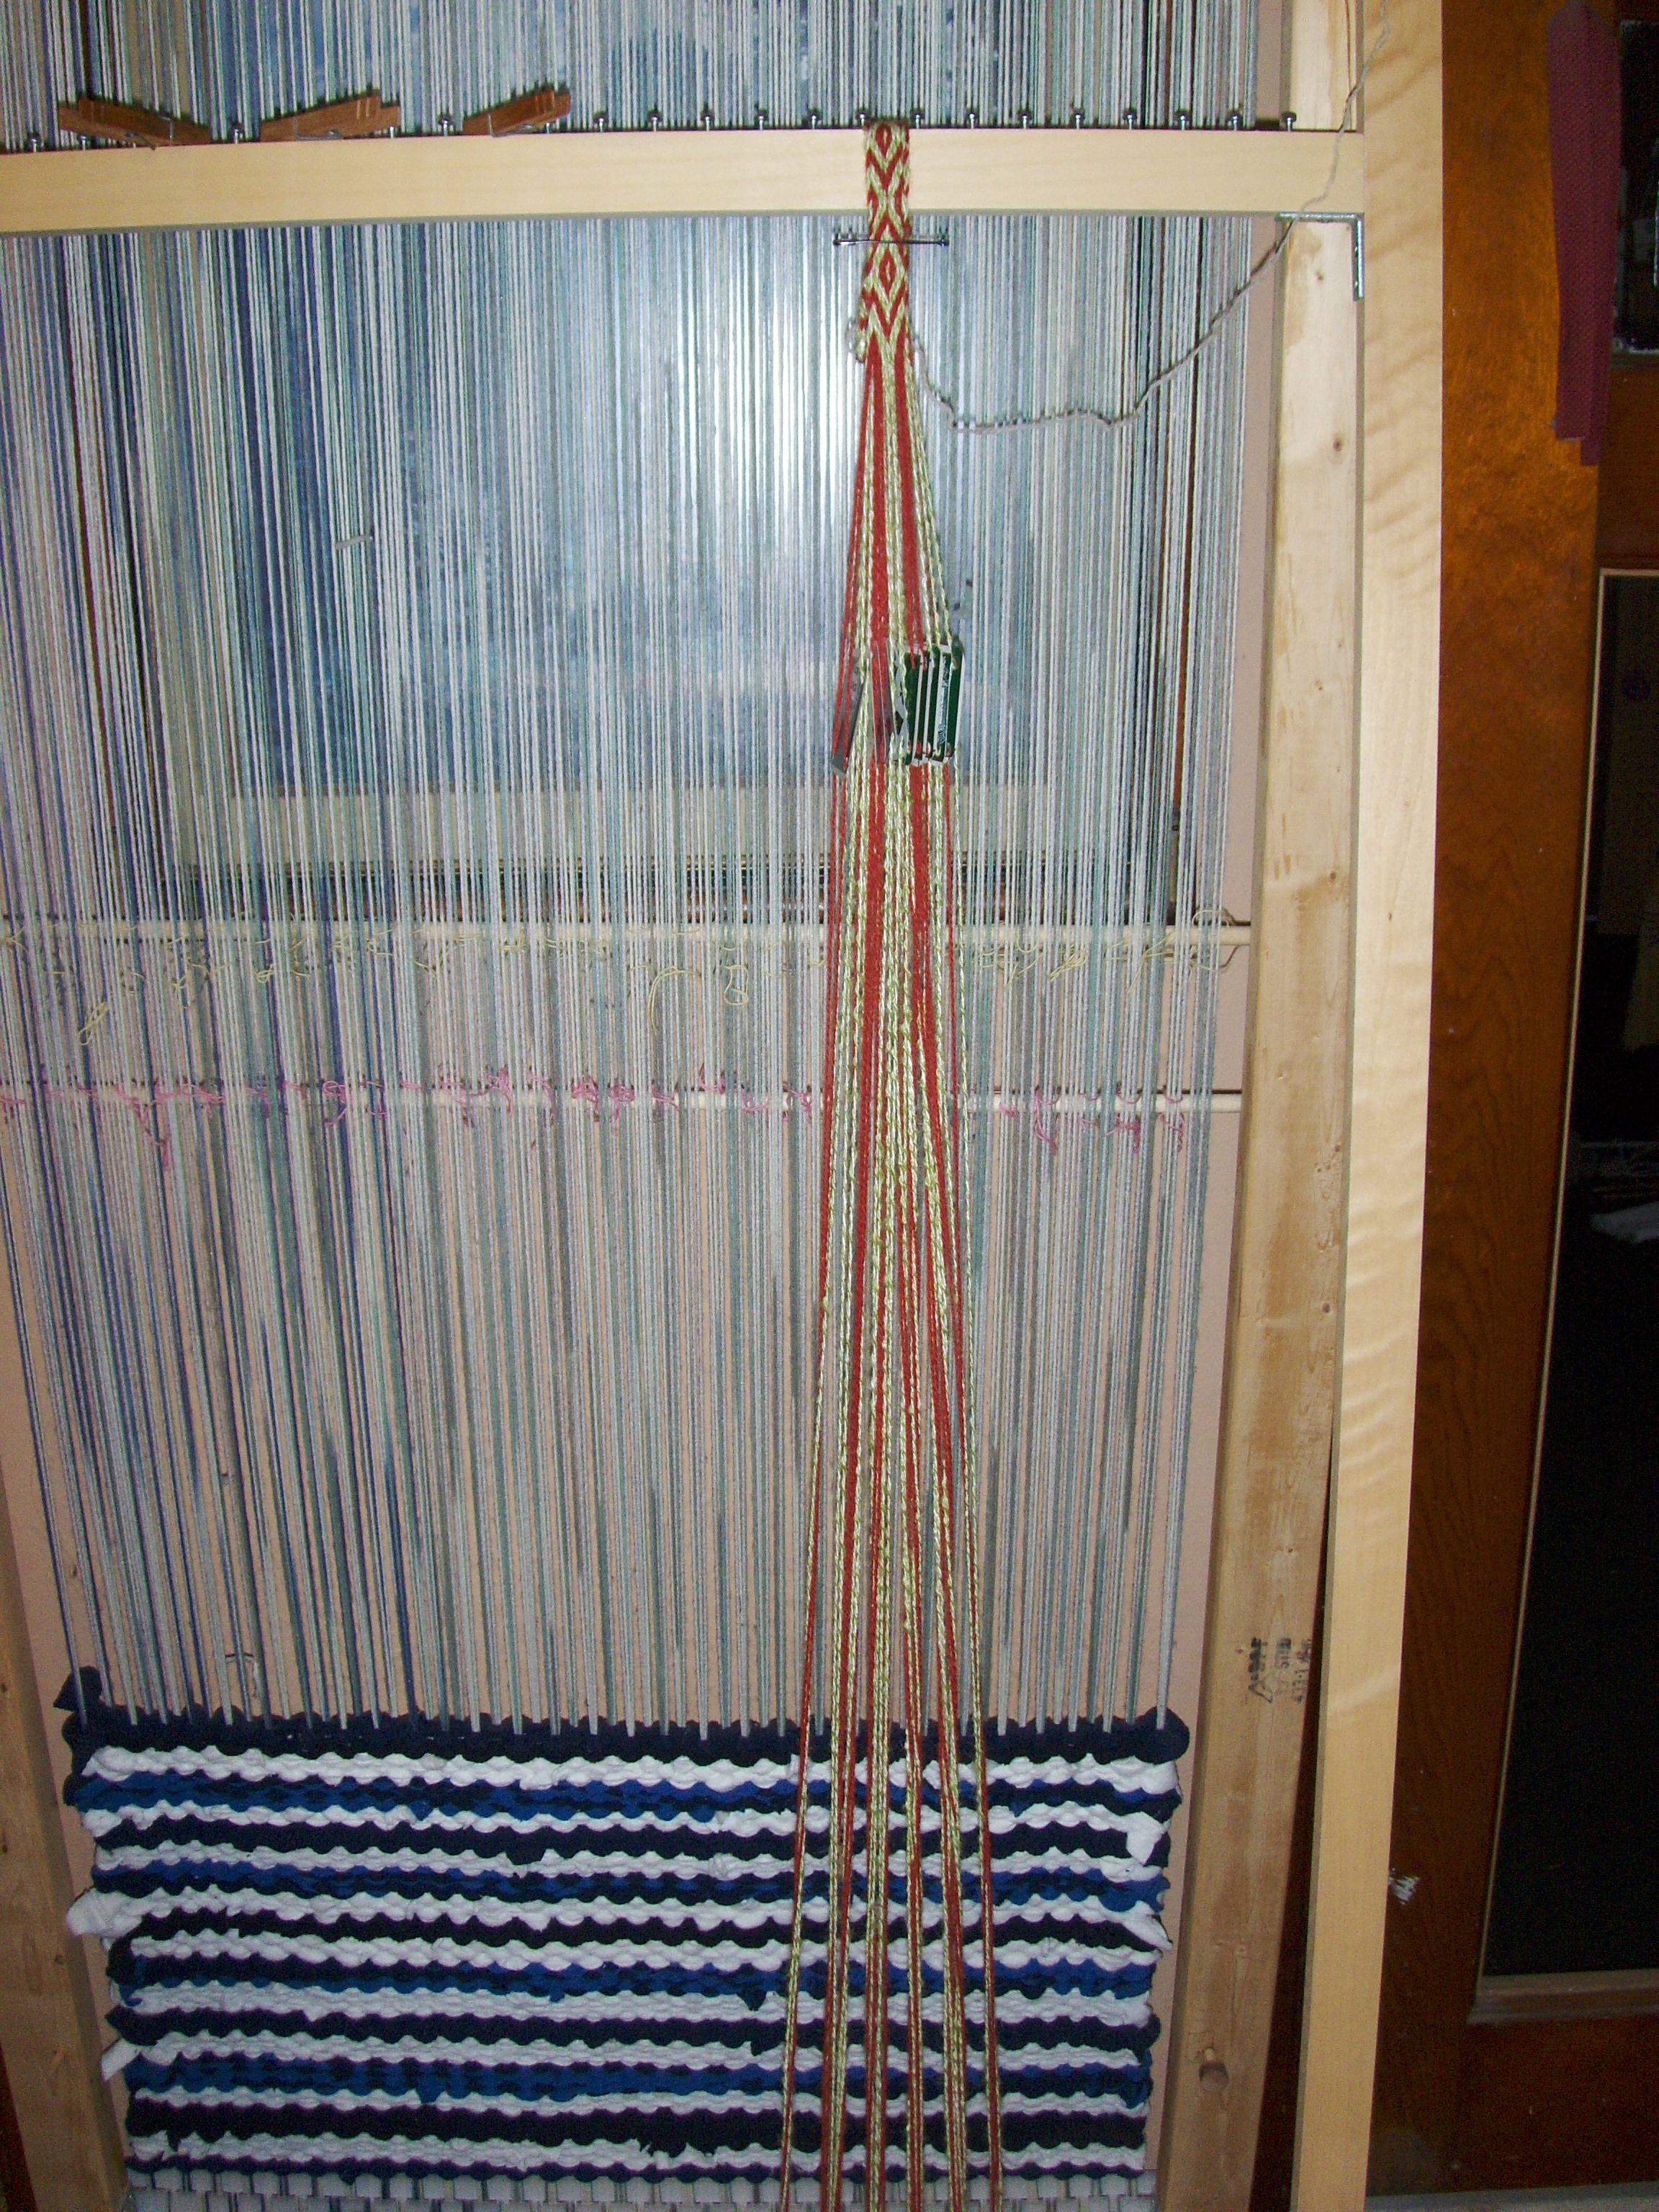
Get busy and weave something!!!
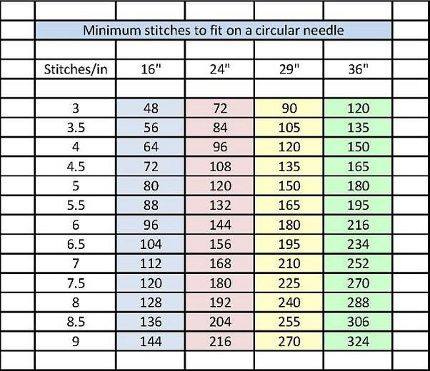
This is a neat little chart that tells what length circulars to use for a given number of stitches. I found it on my facebook feed and it was posted by AllFreeKnitting and Knit-N-Purl!
Get busy and knit something!!
Greetings earthlings!
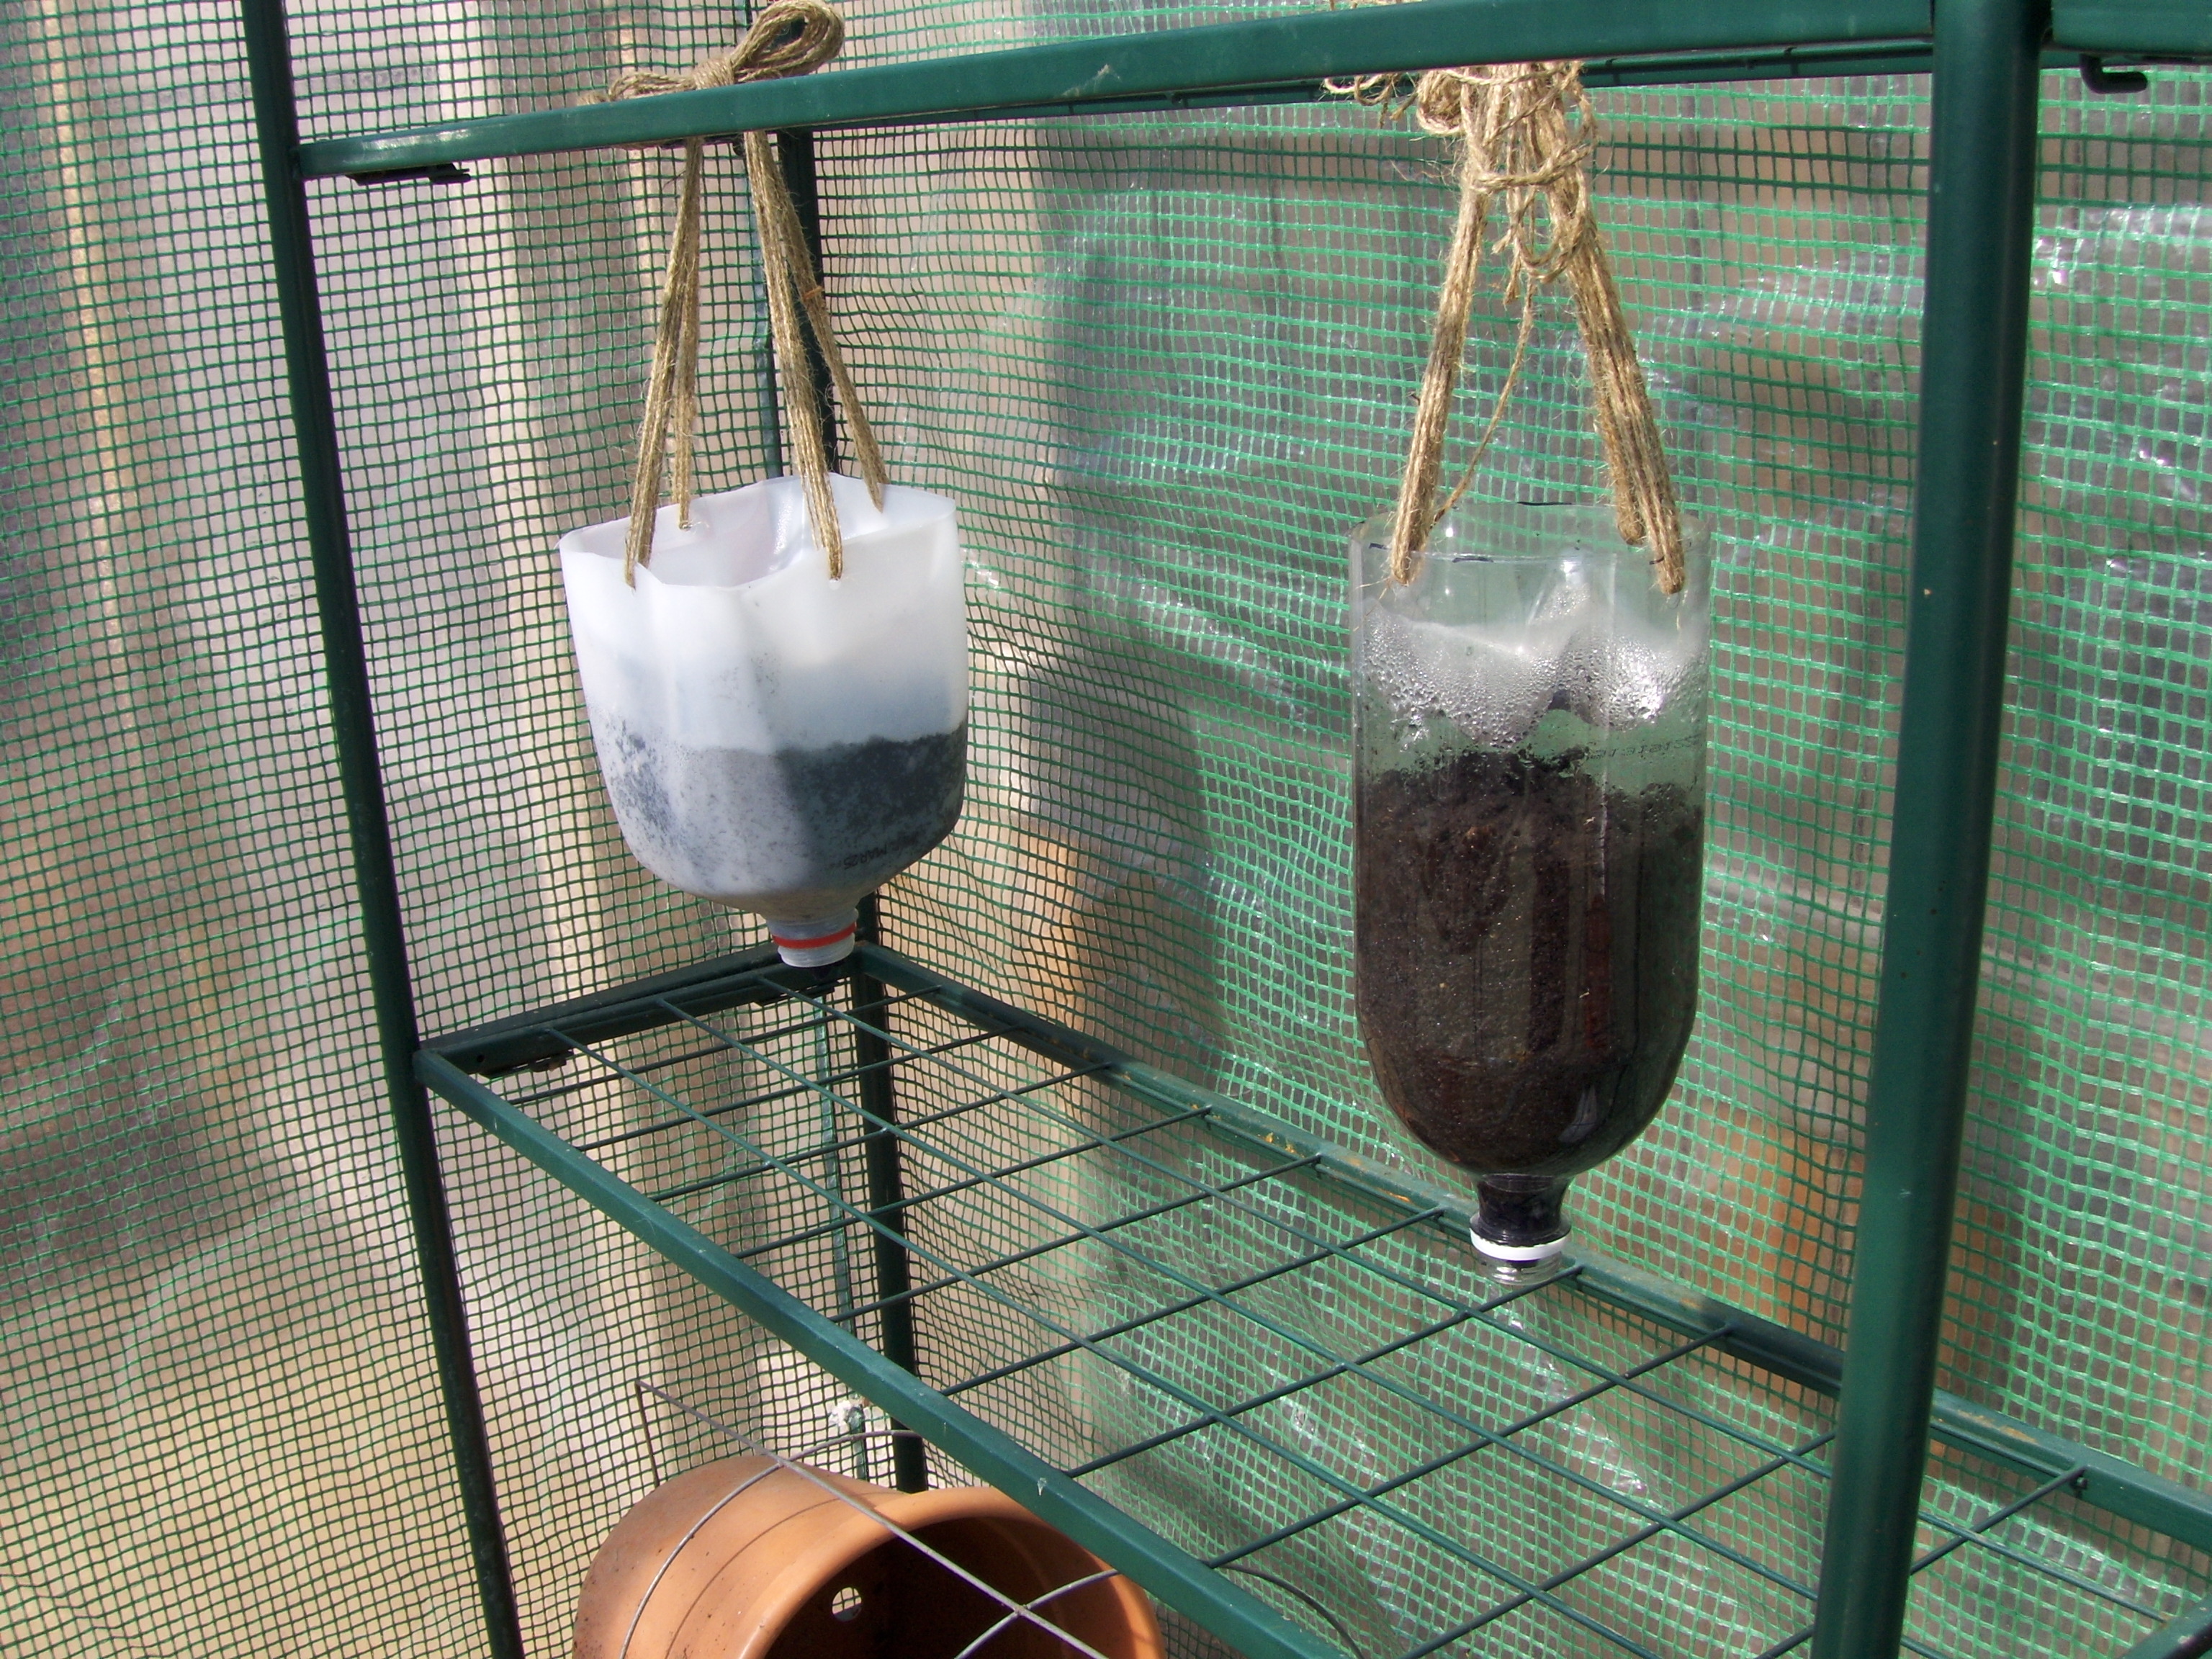
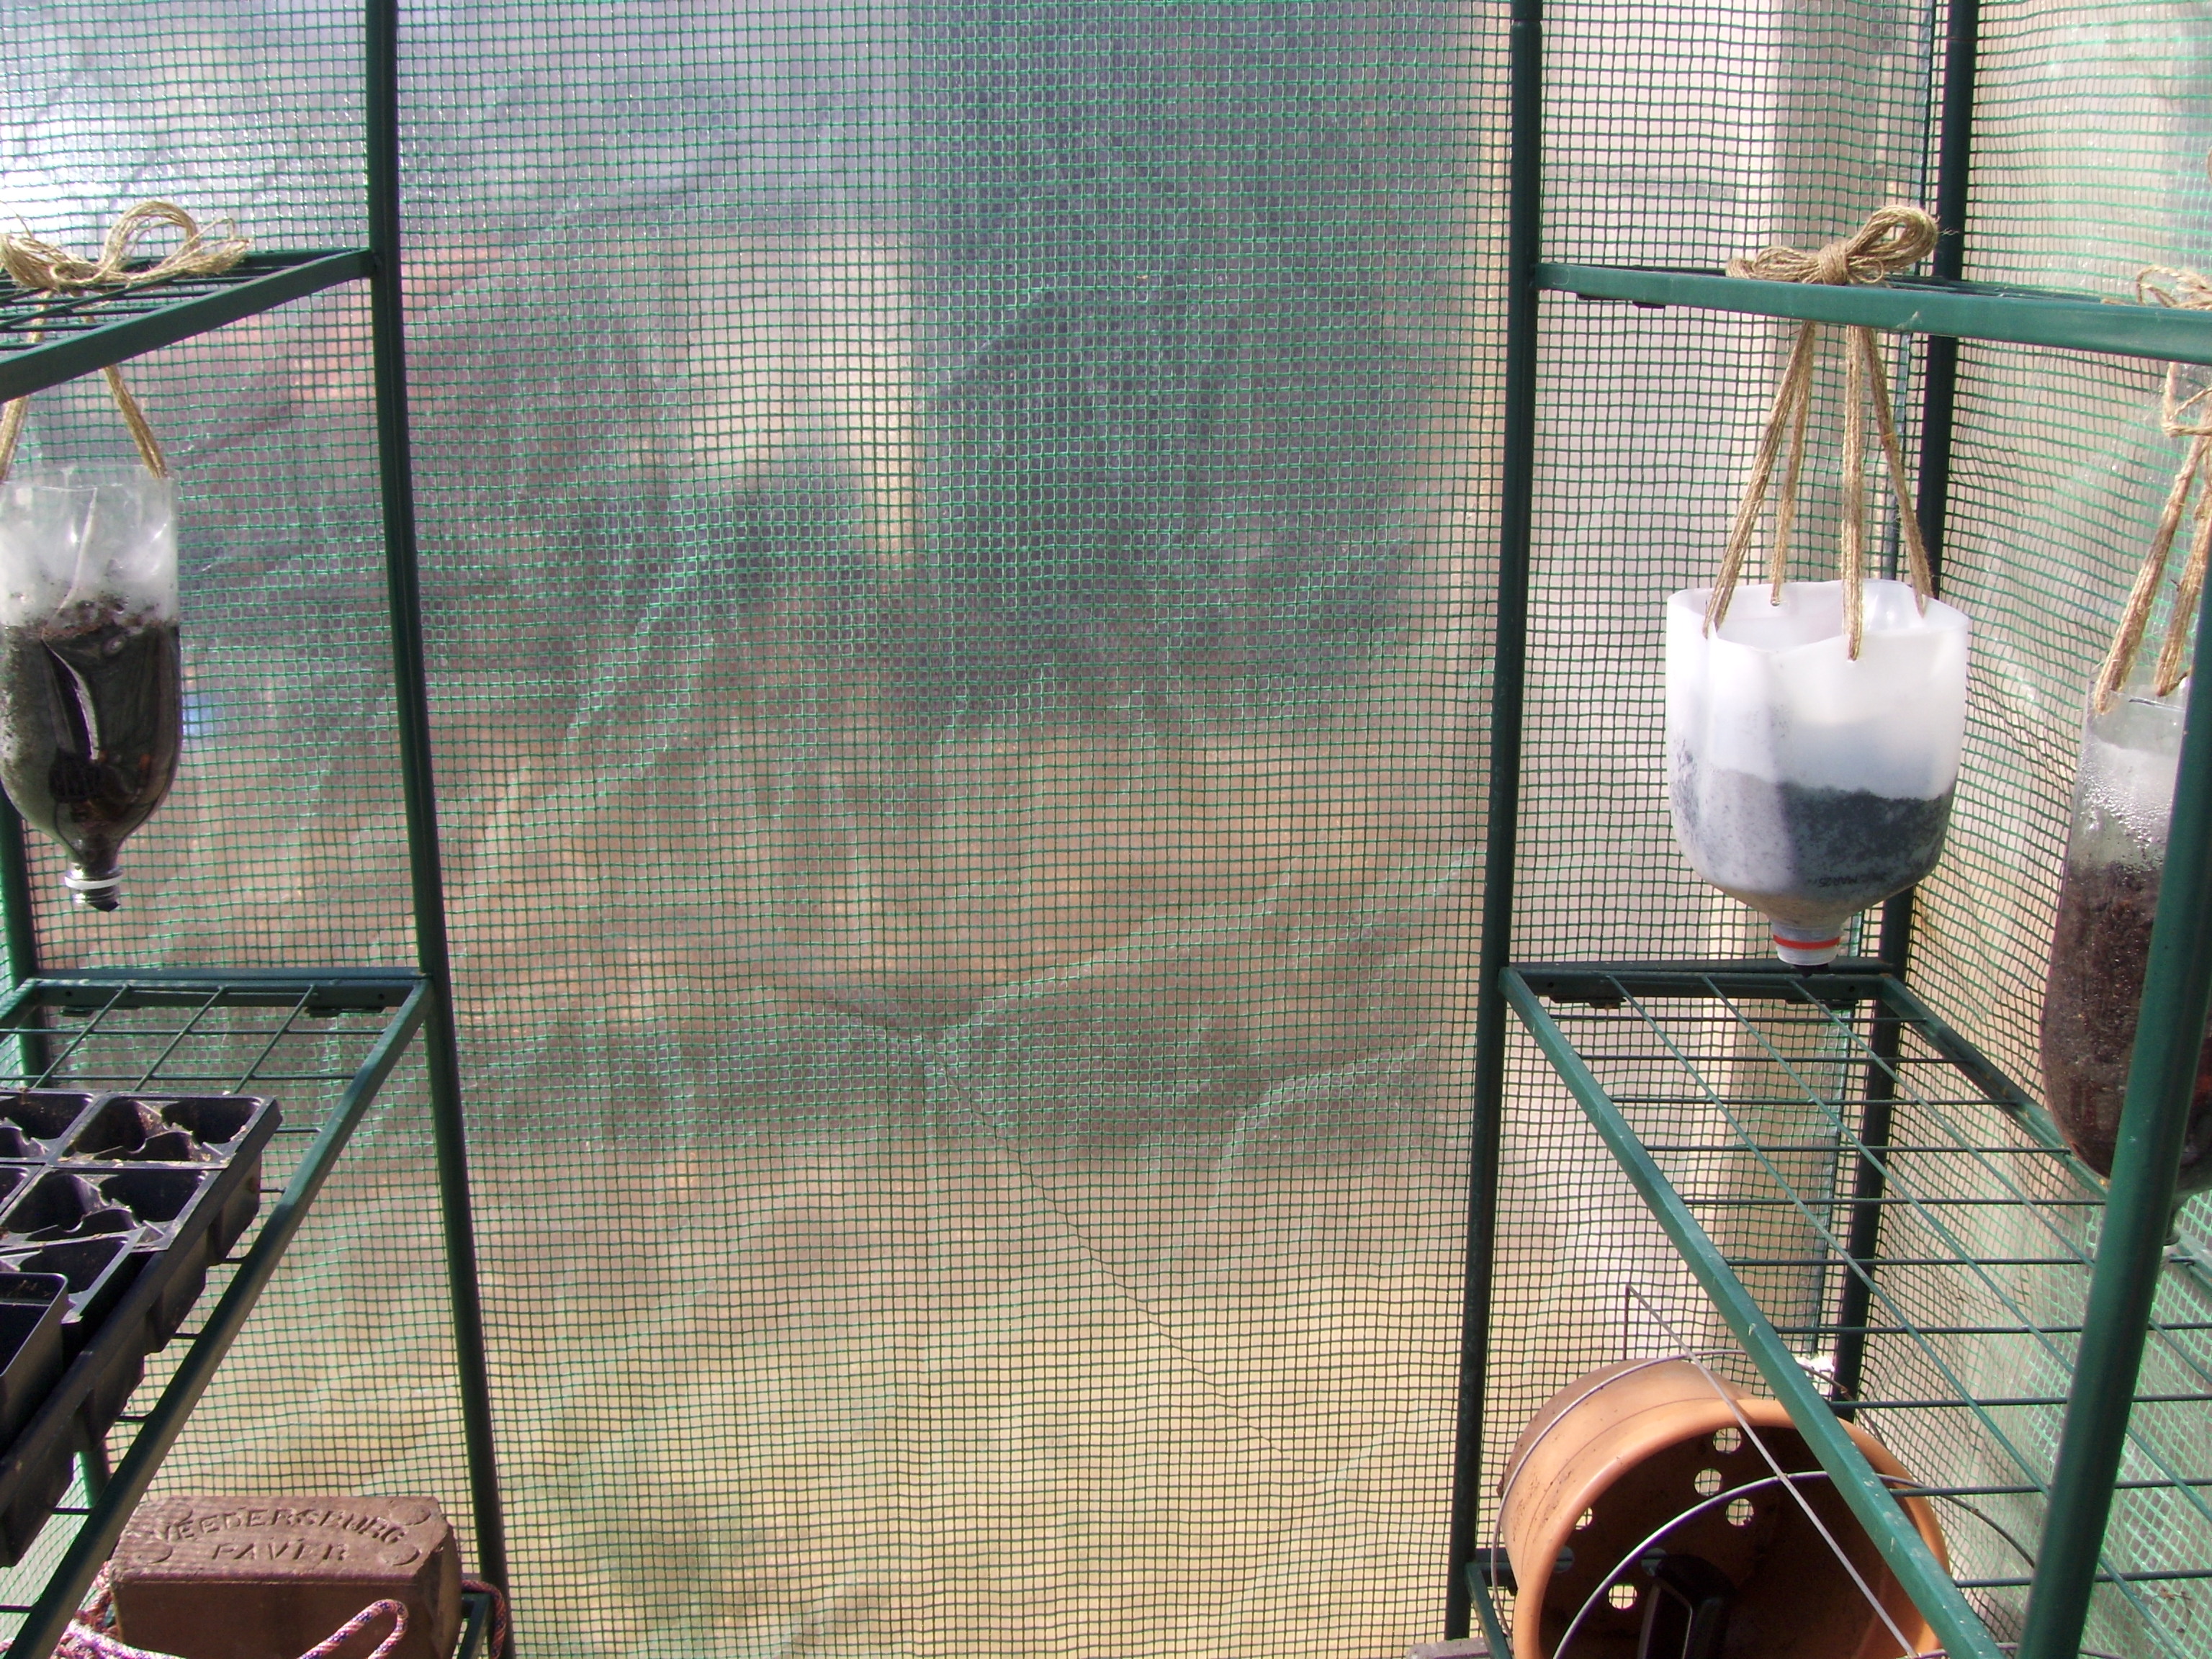
Mark and I put up my greenhouse nearly 2 weeks ago and as we’ve finally entered the spring equinox, I figured I would do a post on how to make a hanging planter for those of you who are space challenged. I’ve seen the upside-down hanging tomato planter thingies and I just don’t like them. I tried the upside-down method of growing tomatoes and found that it’s just not worth the 3 or 4 tomatoes the plant manages to eke out. I have learned that, when modified, these planters are excellent for starting and growing small batches of lettuce, spinach and radishes. The added benefit is that the rabbits can’t get at these!!
Objects and tools needed:
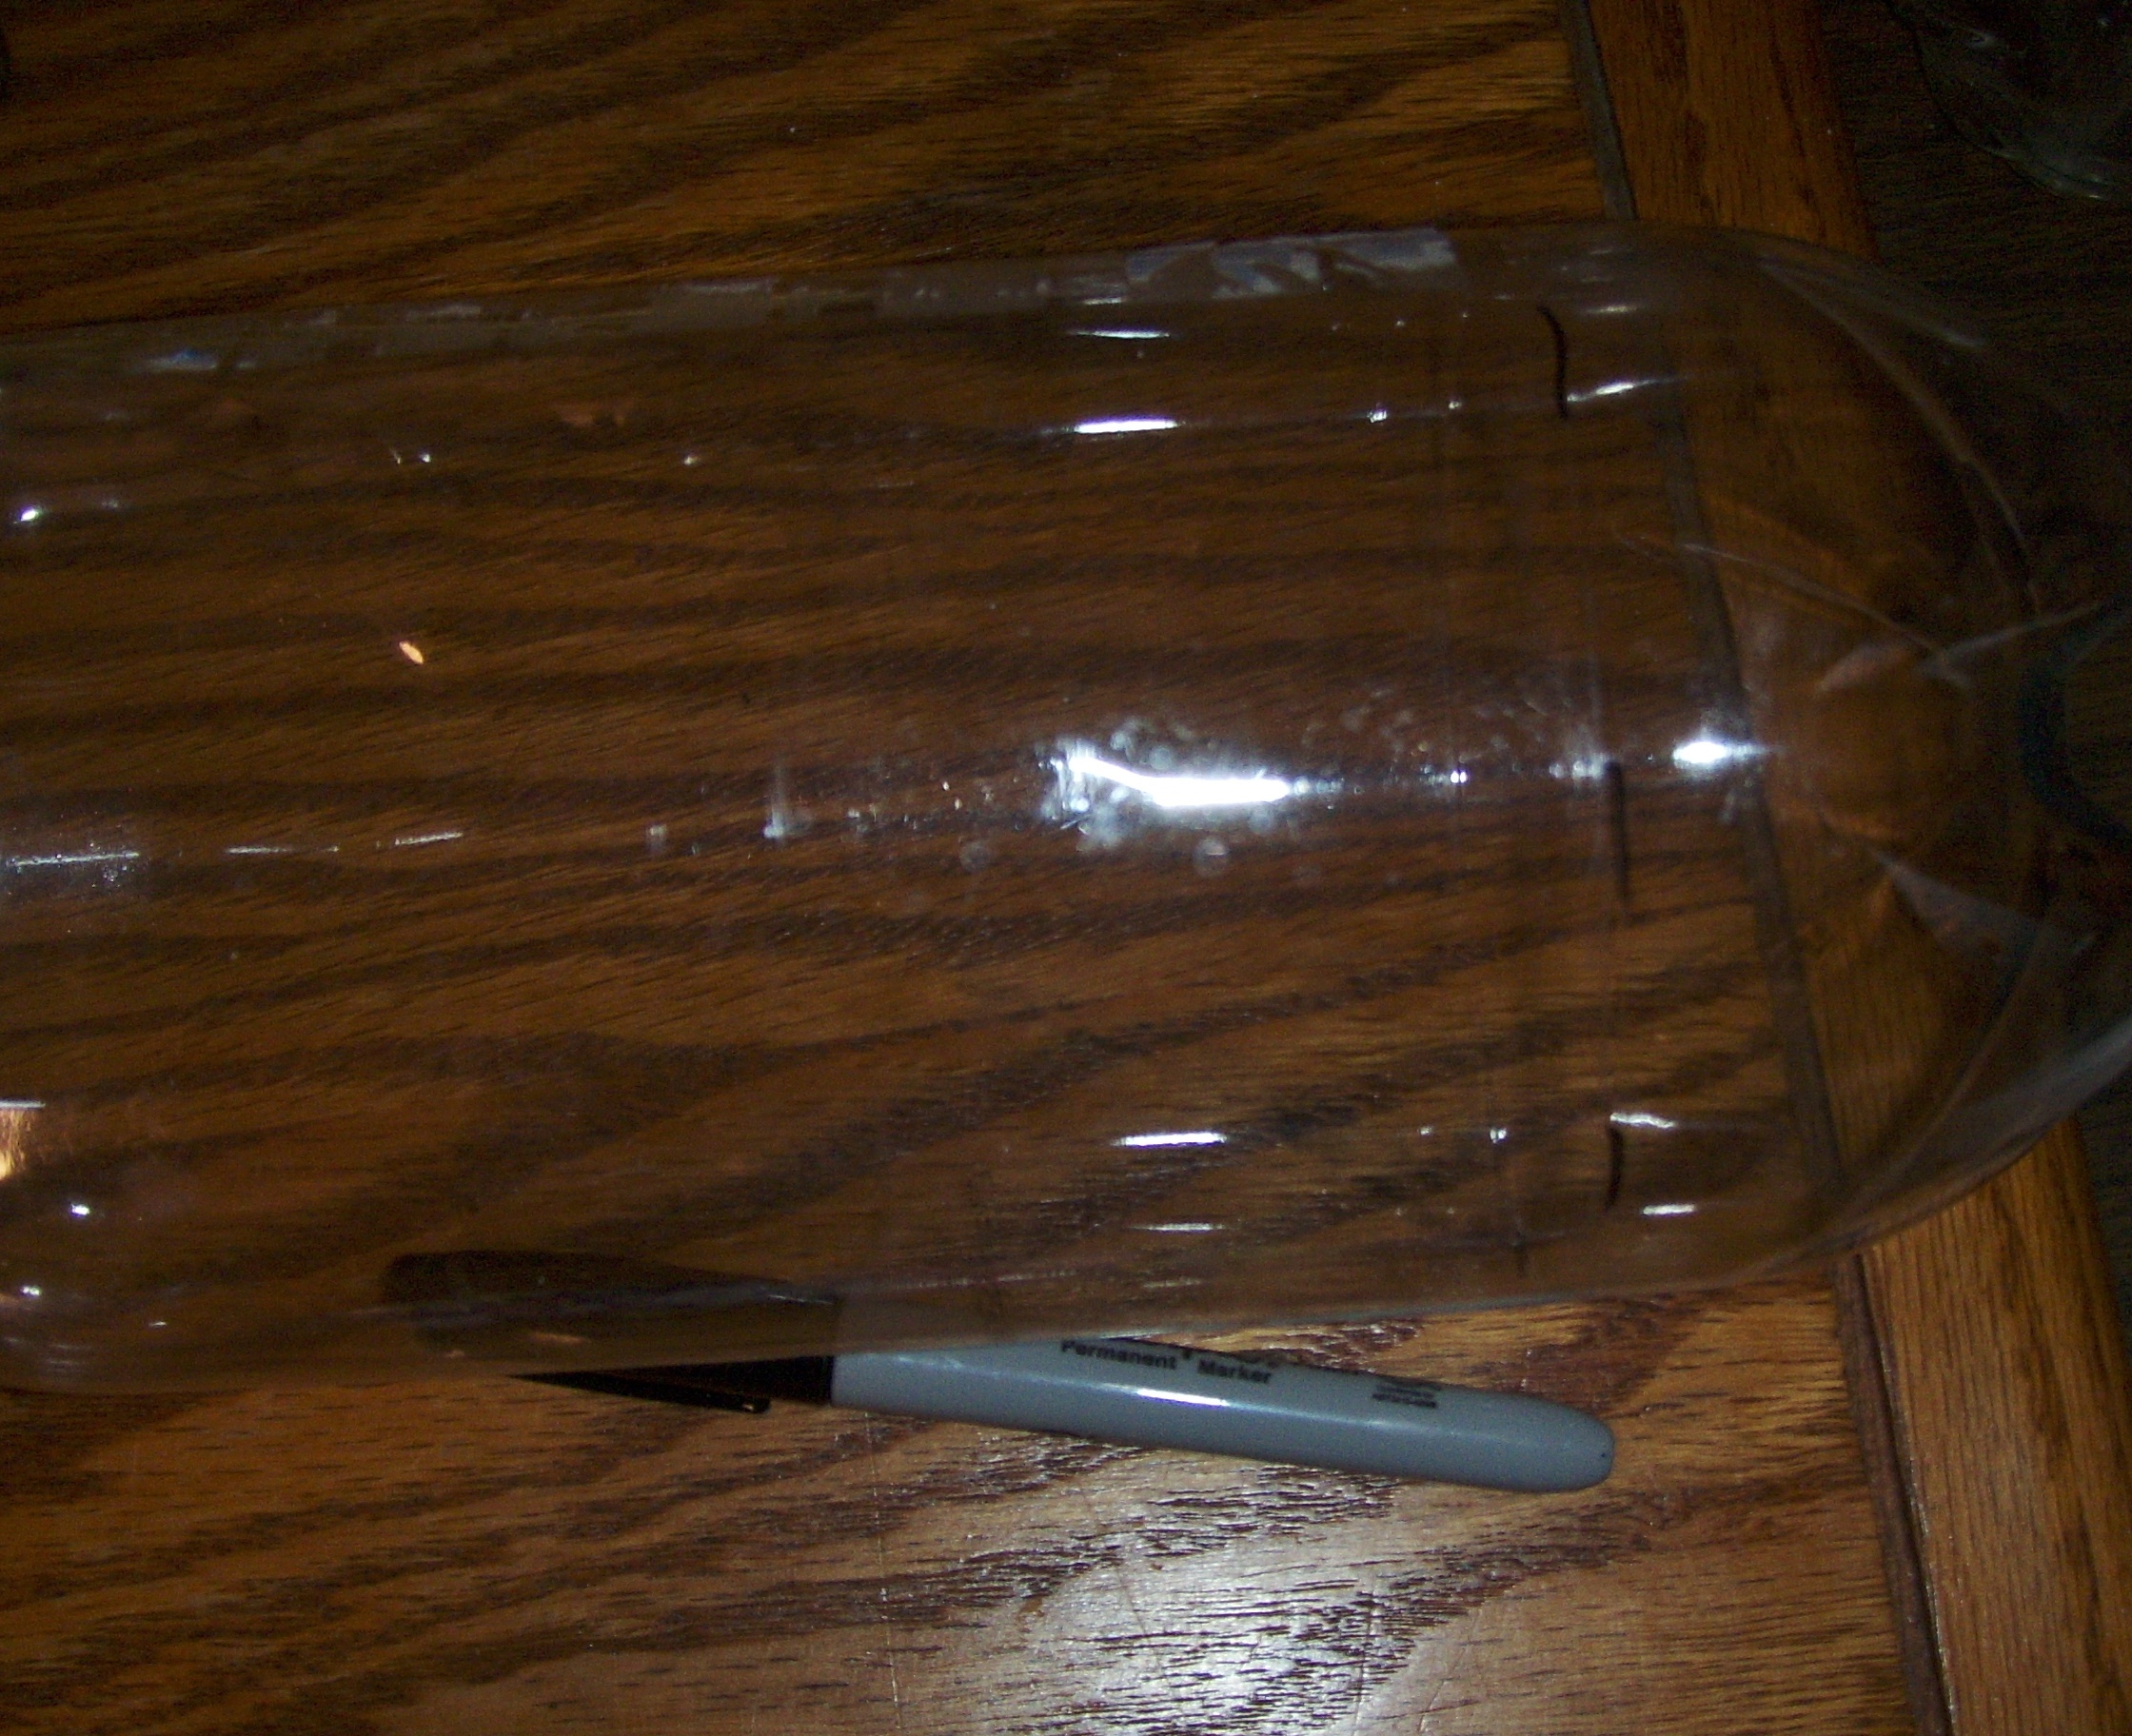
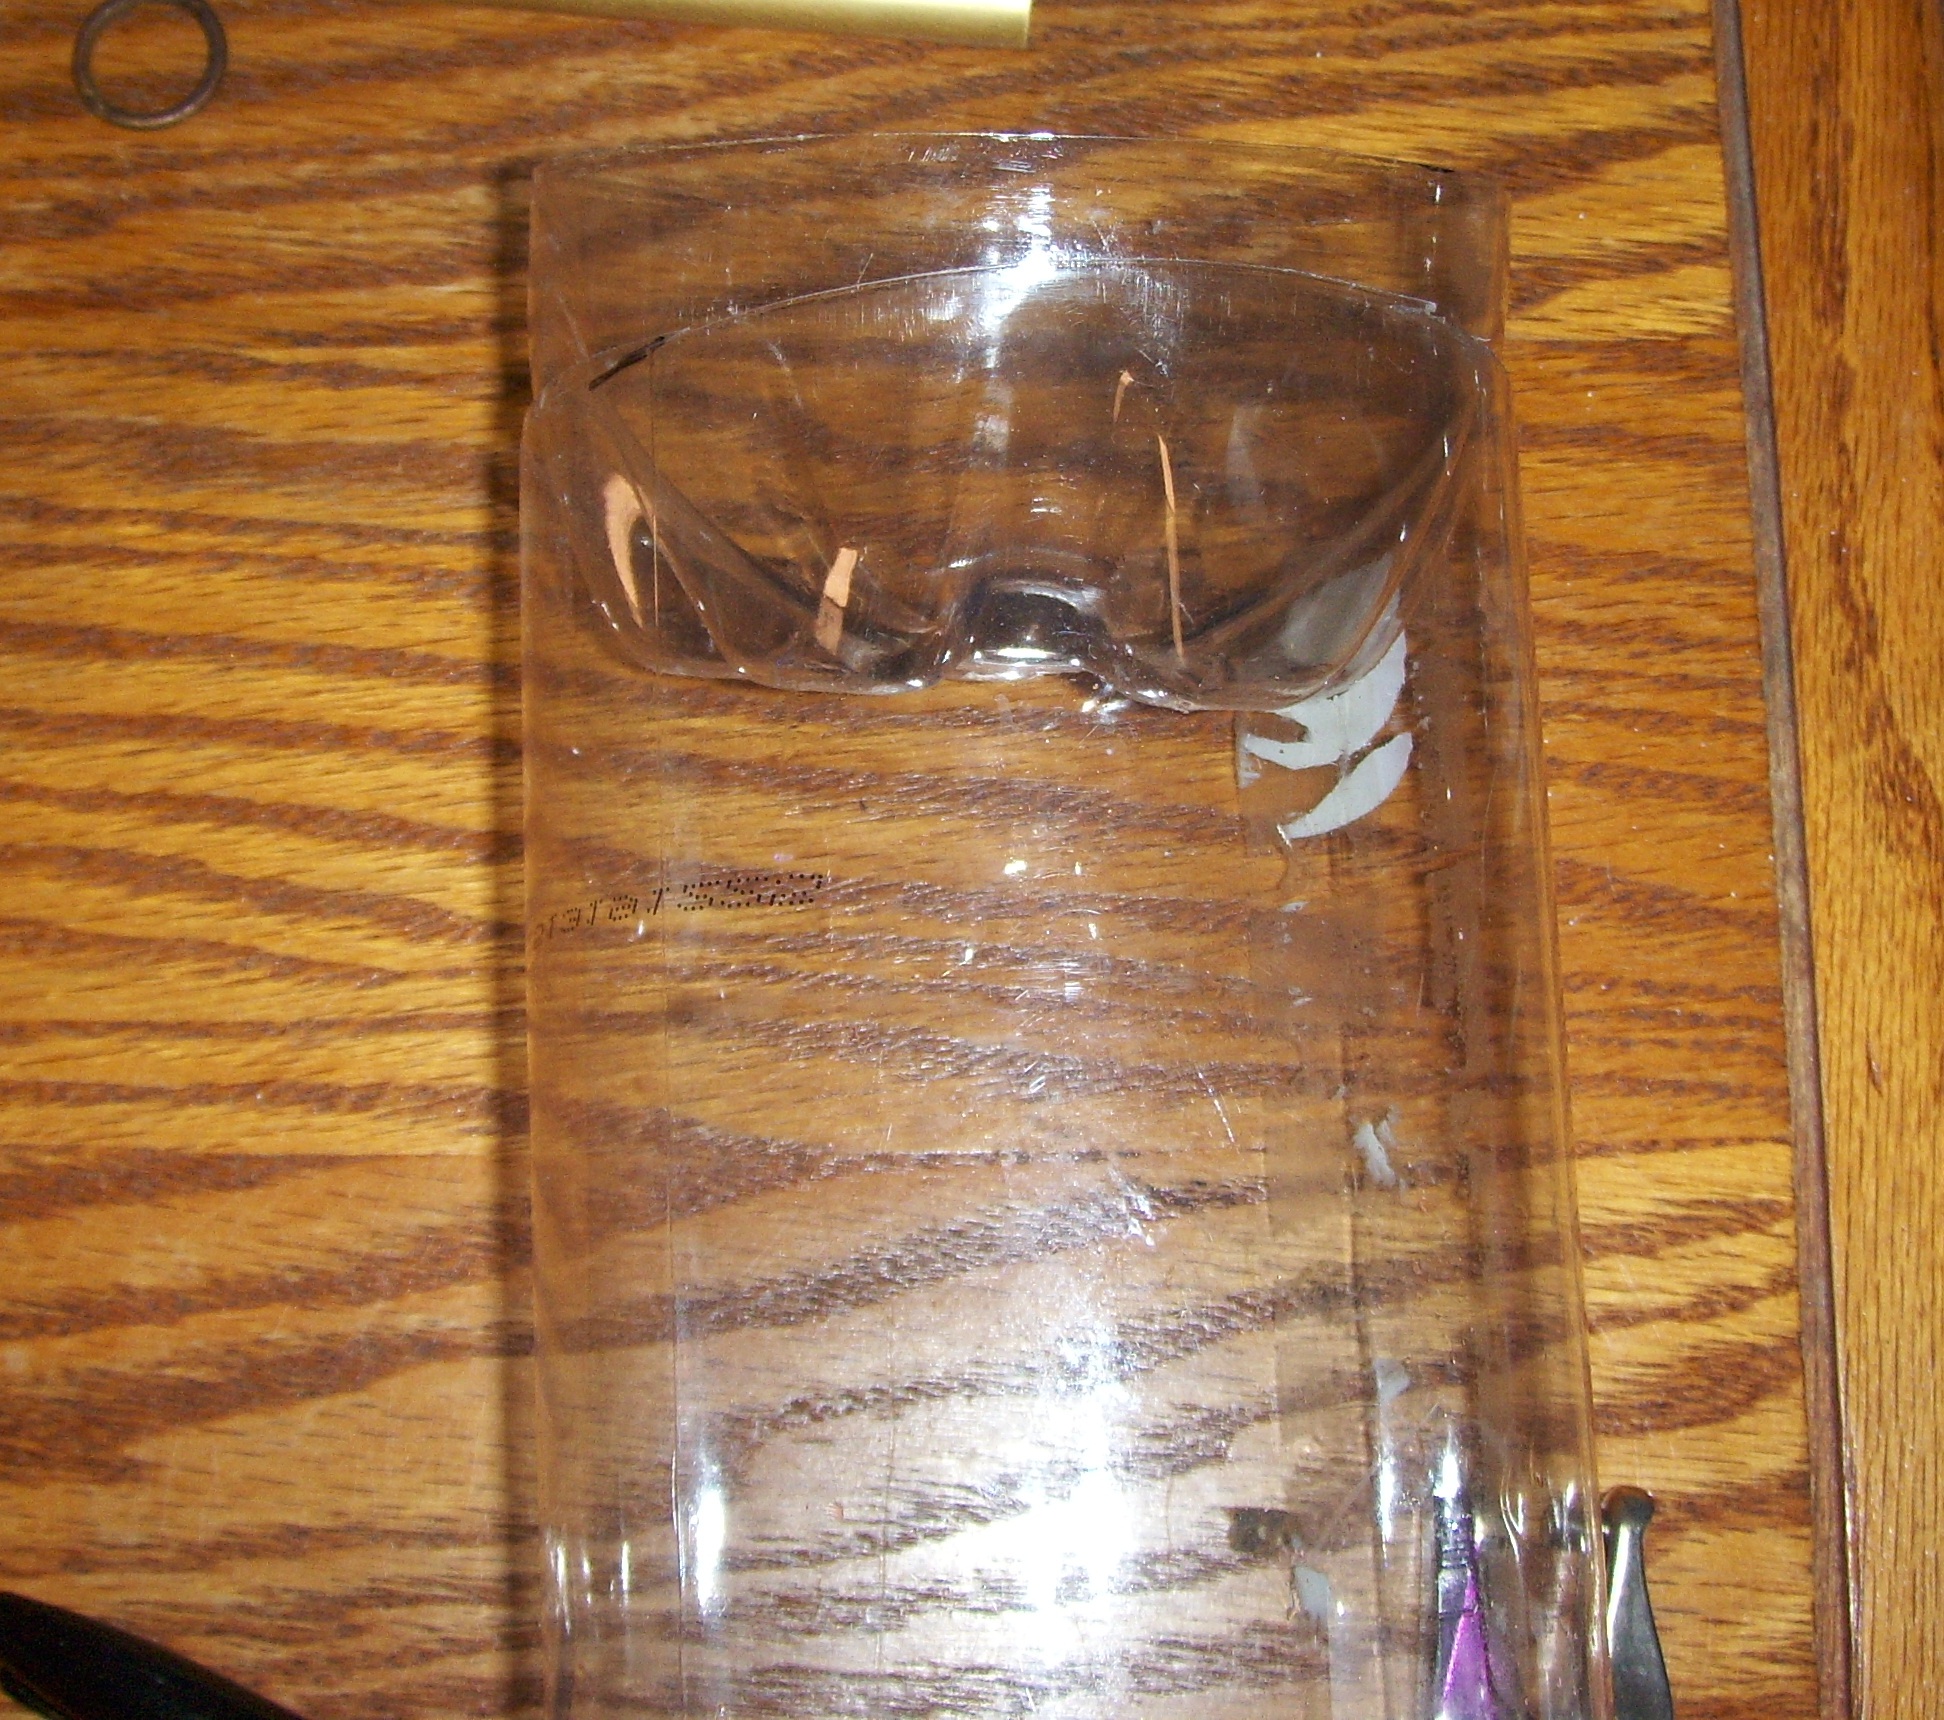
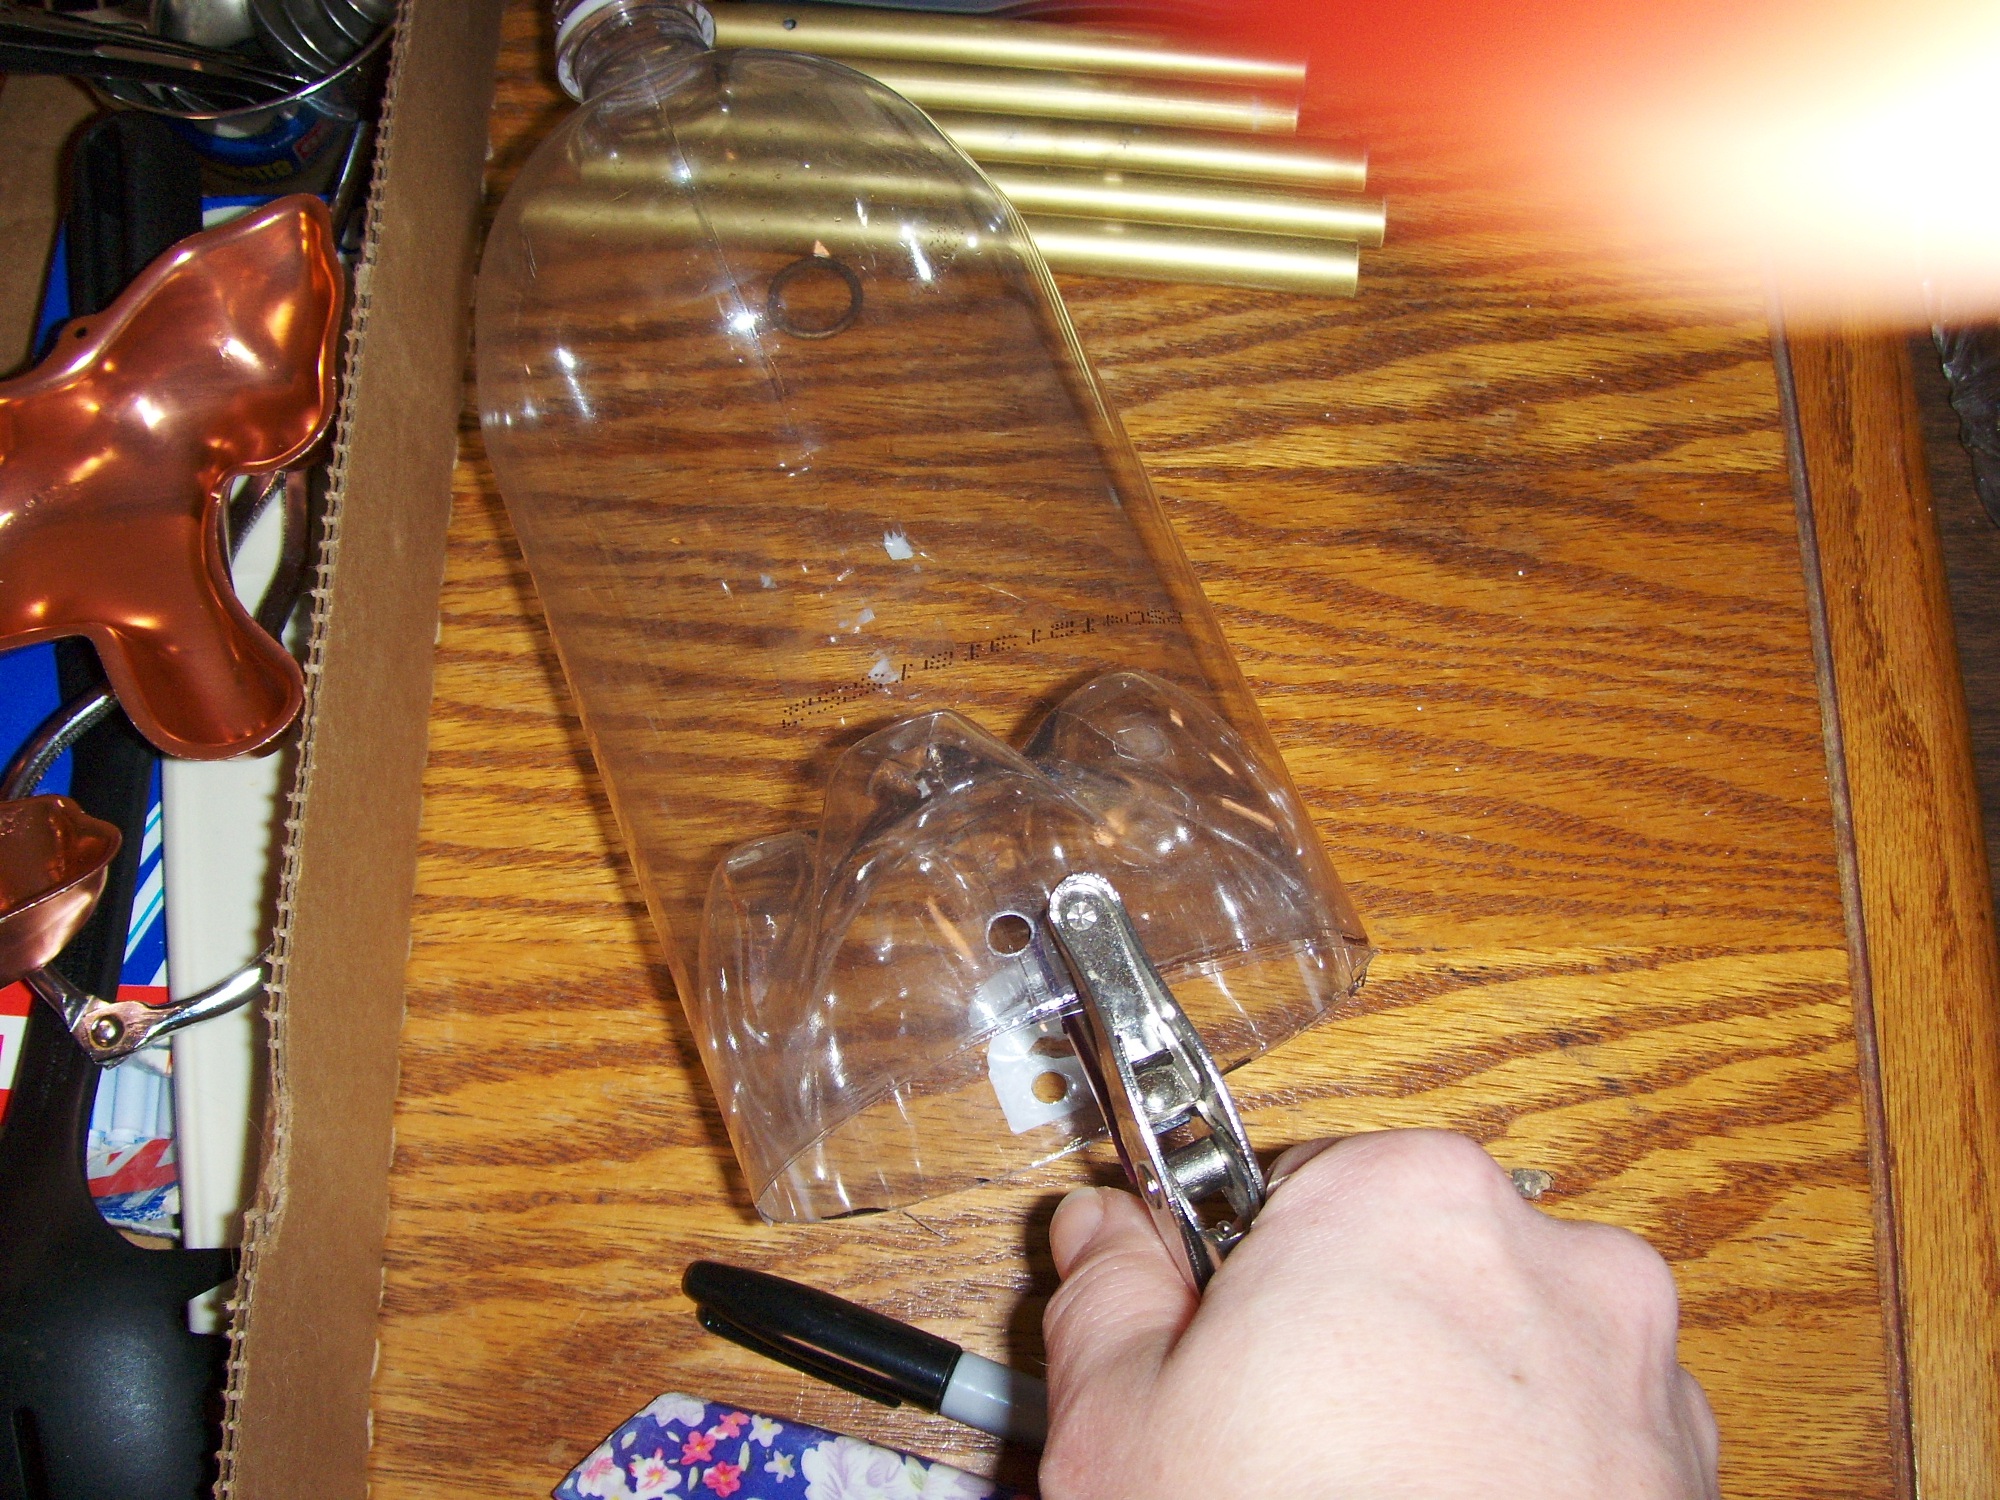
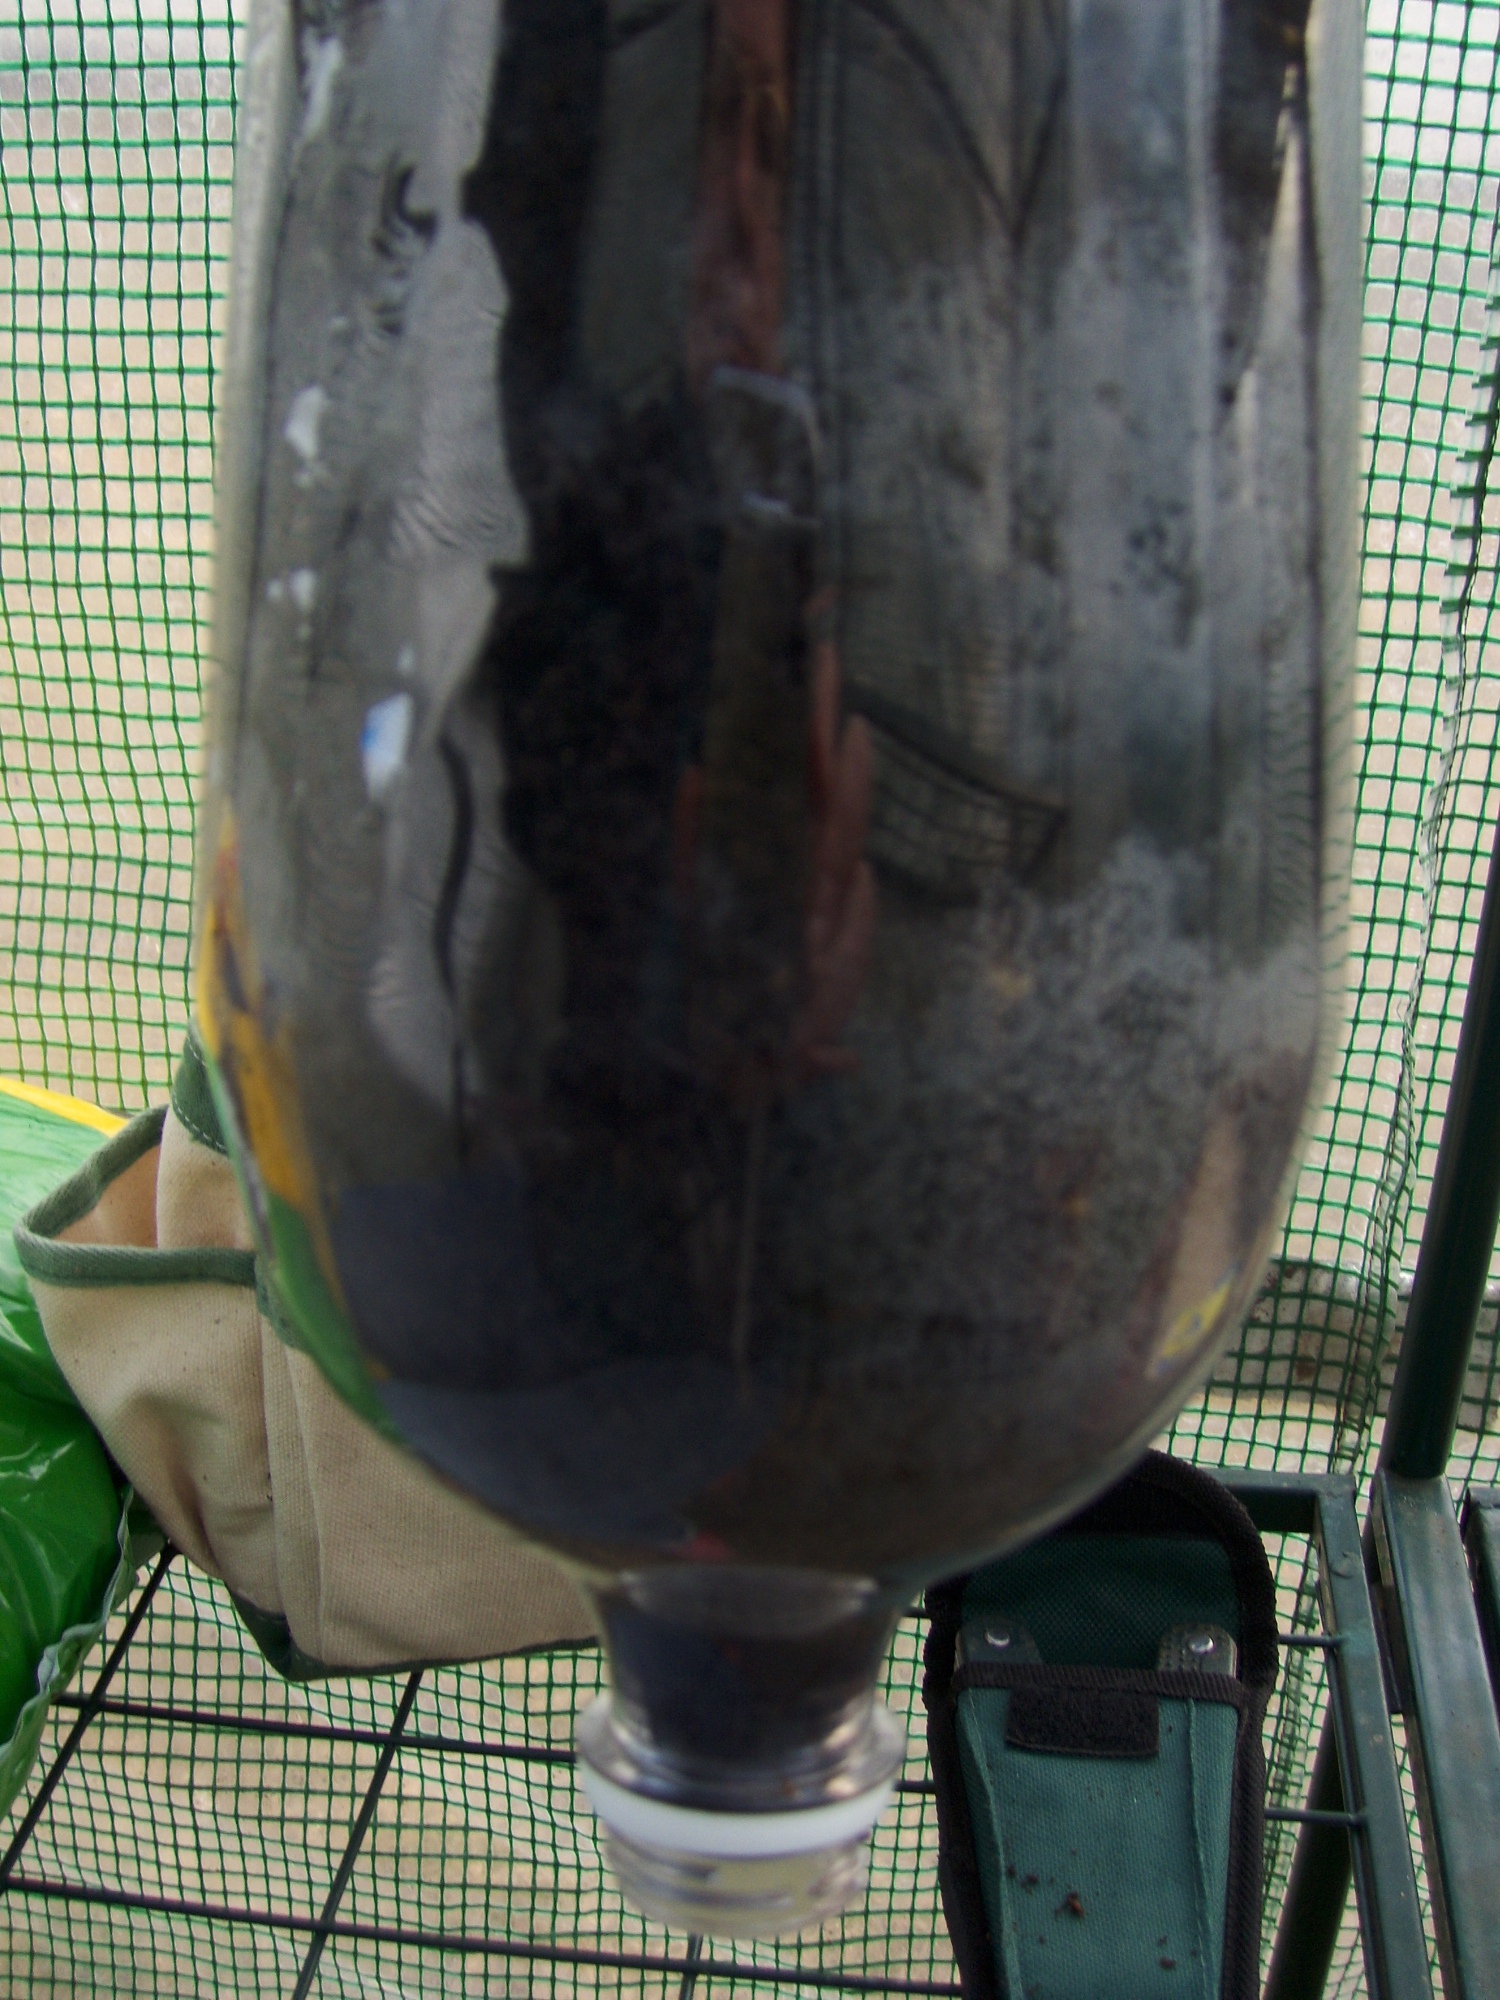
Start by removing the label from a clear, 2 liter, soda container. Use a sharpie to mark the cut-off point (about 2.75″ from the bottom). Sometimes there is a mold mark line there and you can just cut around that.
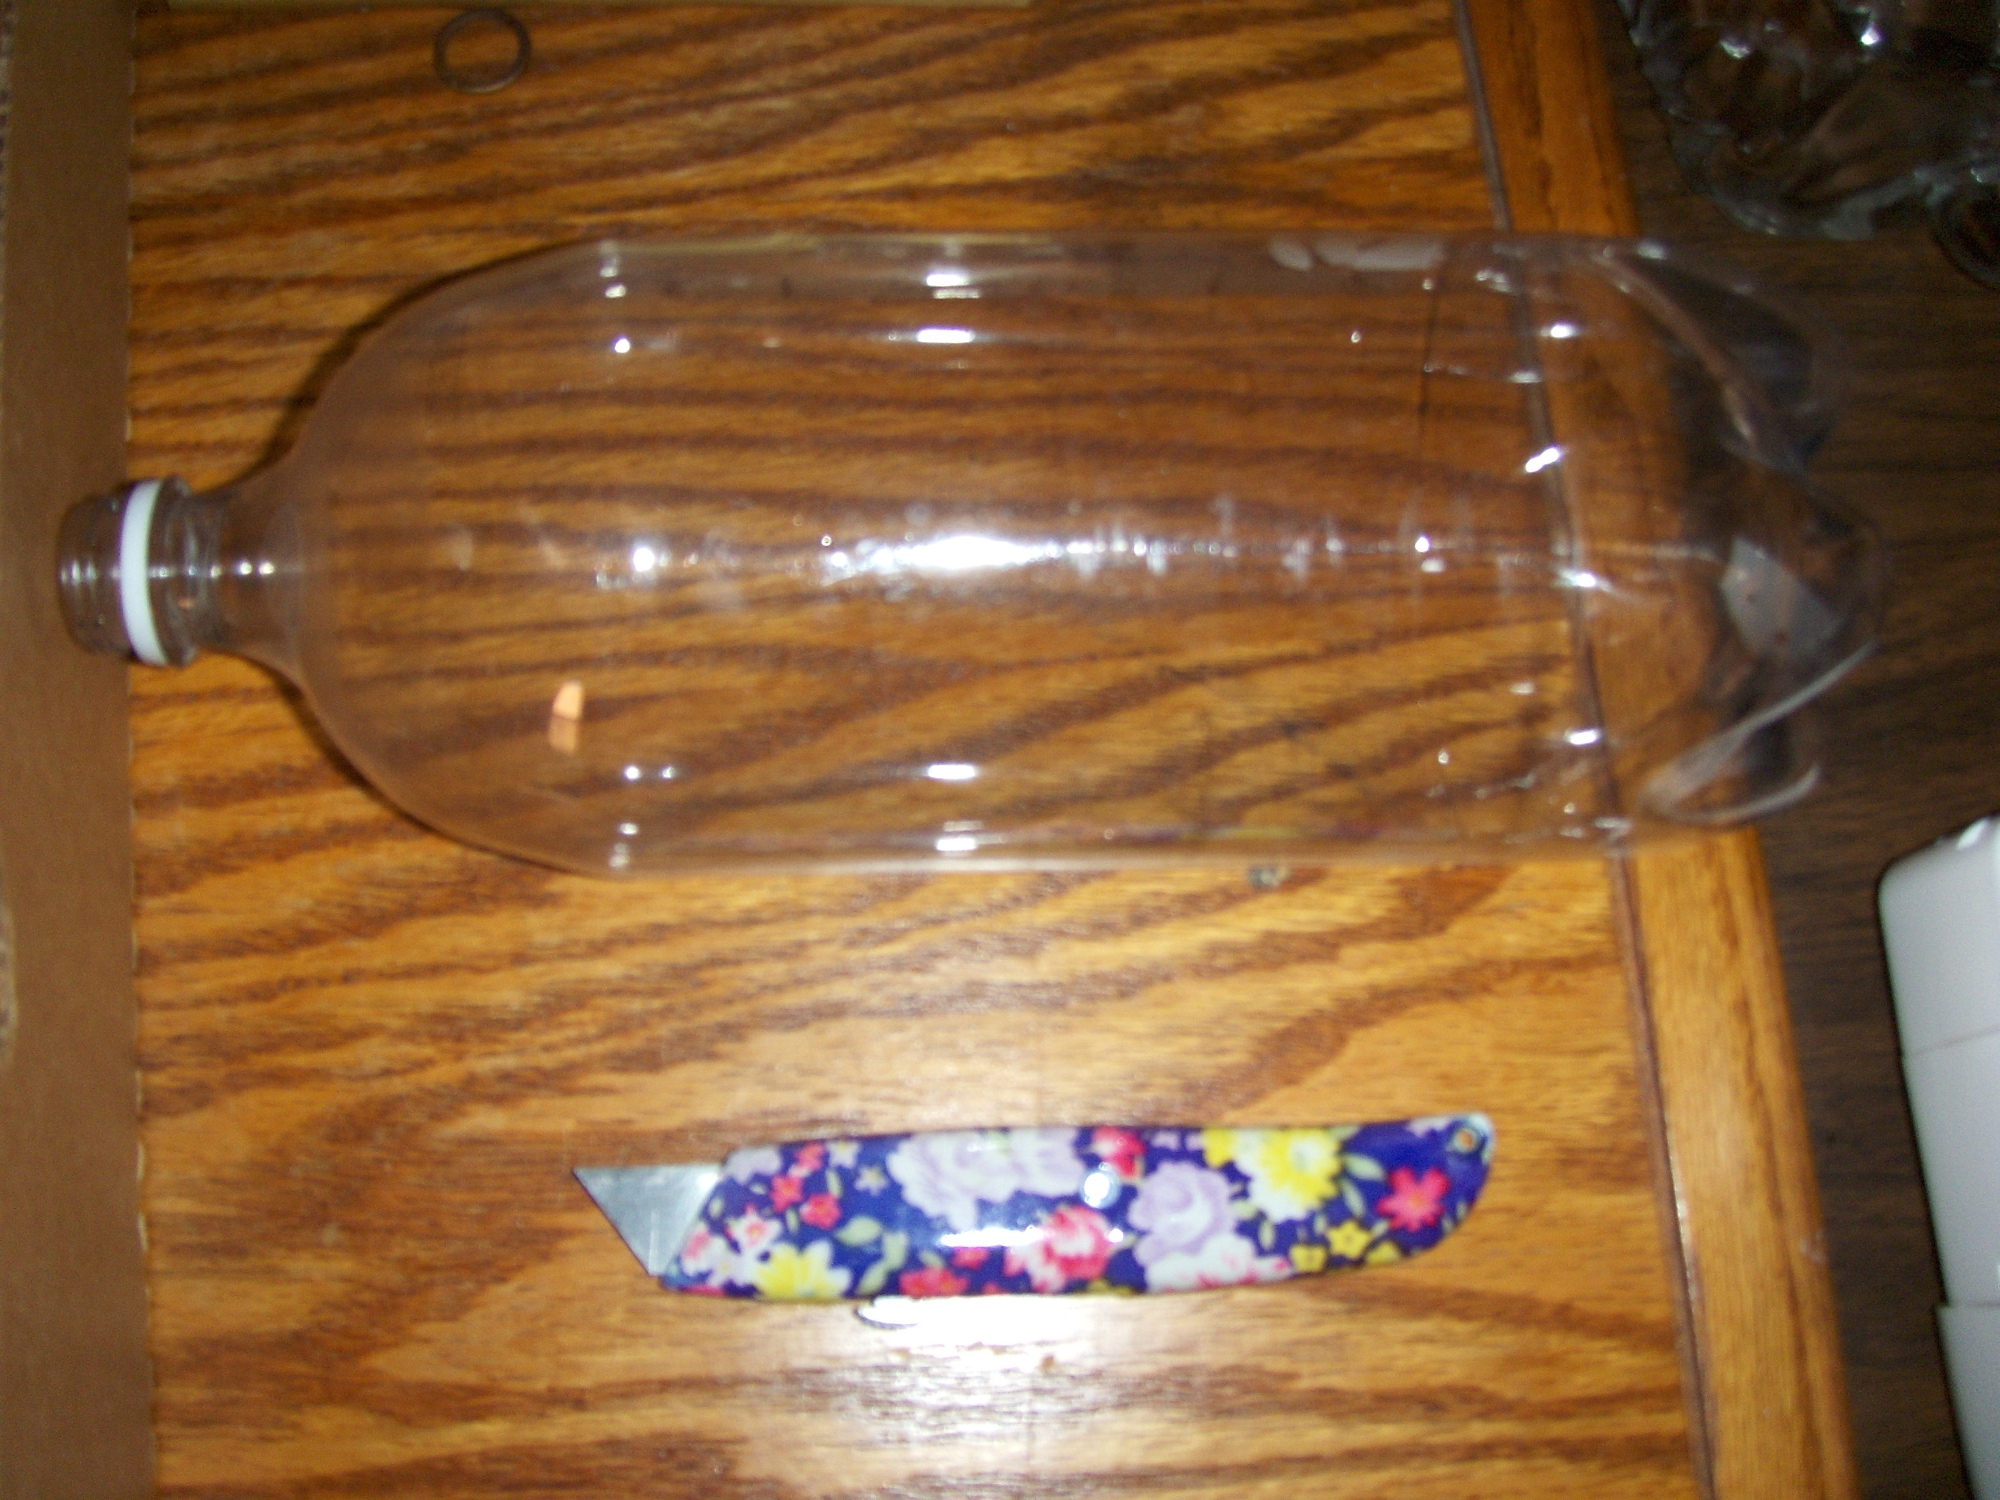
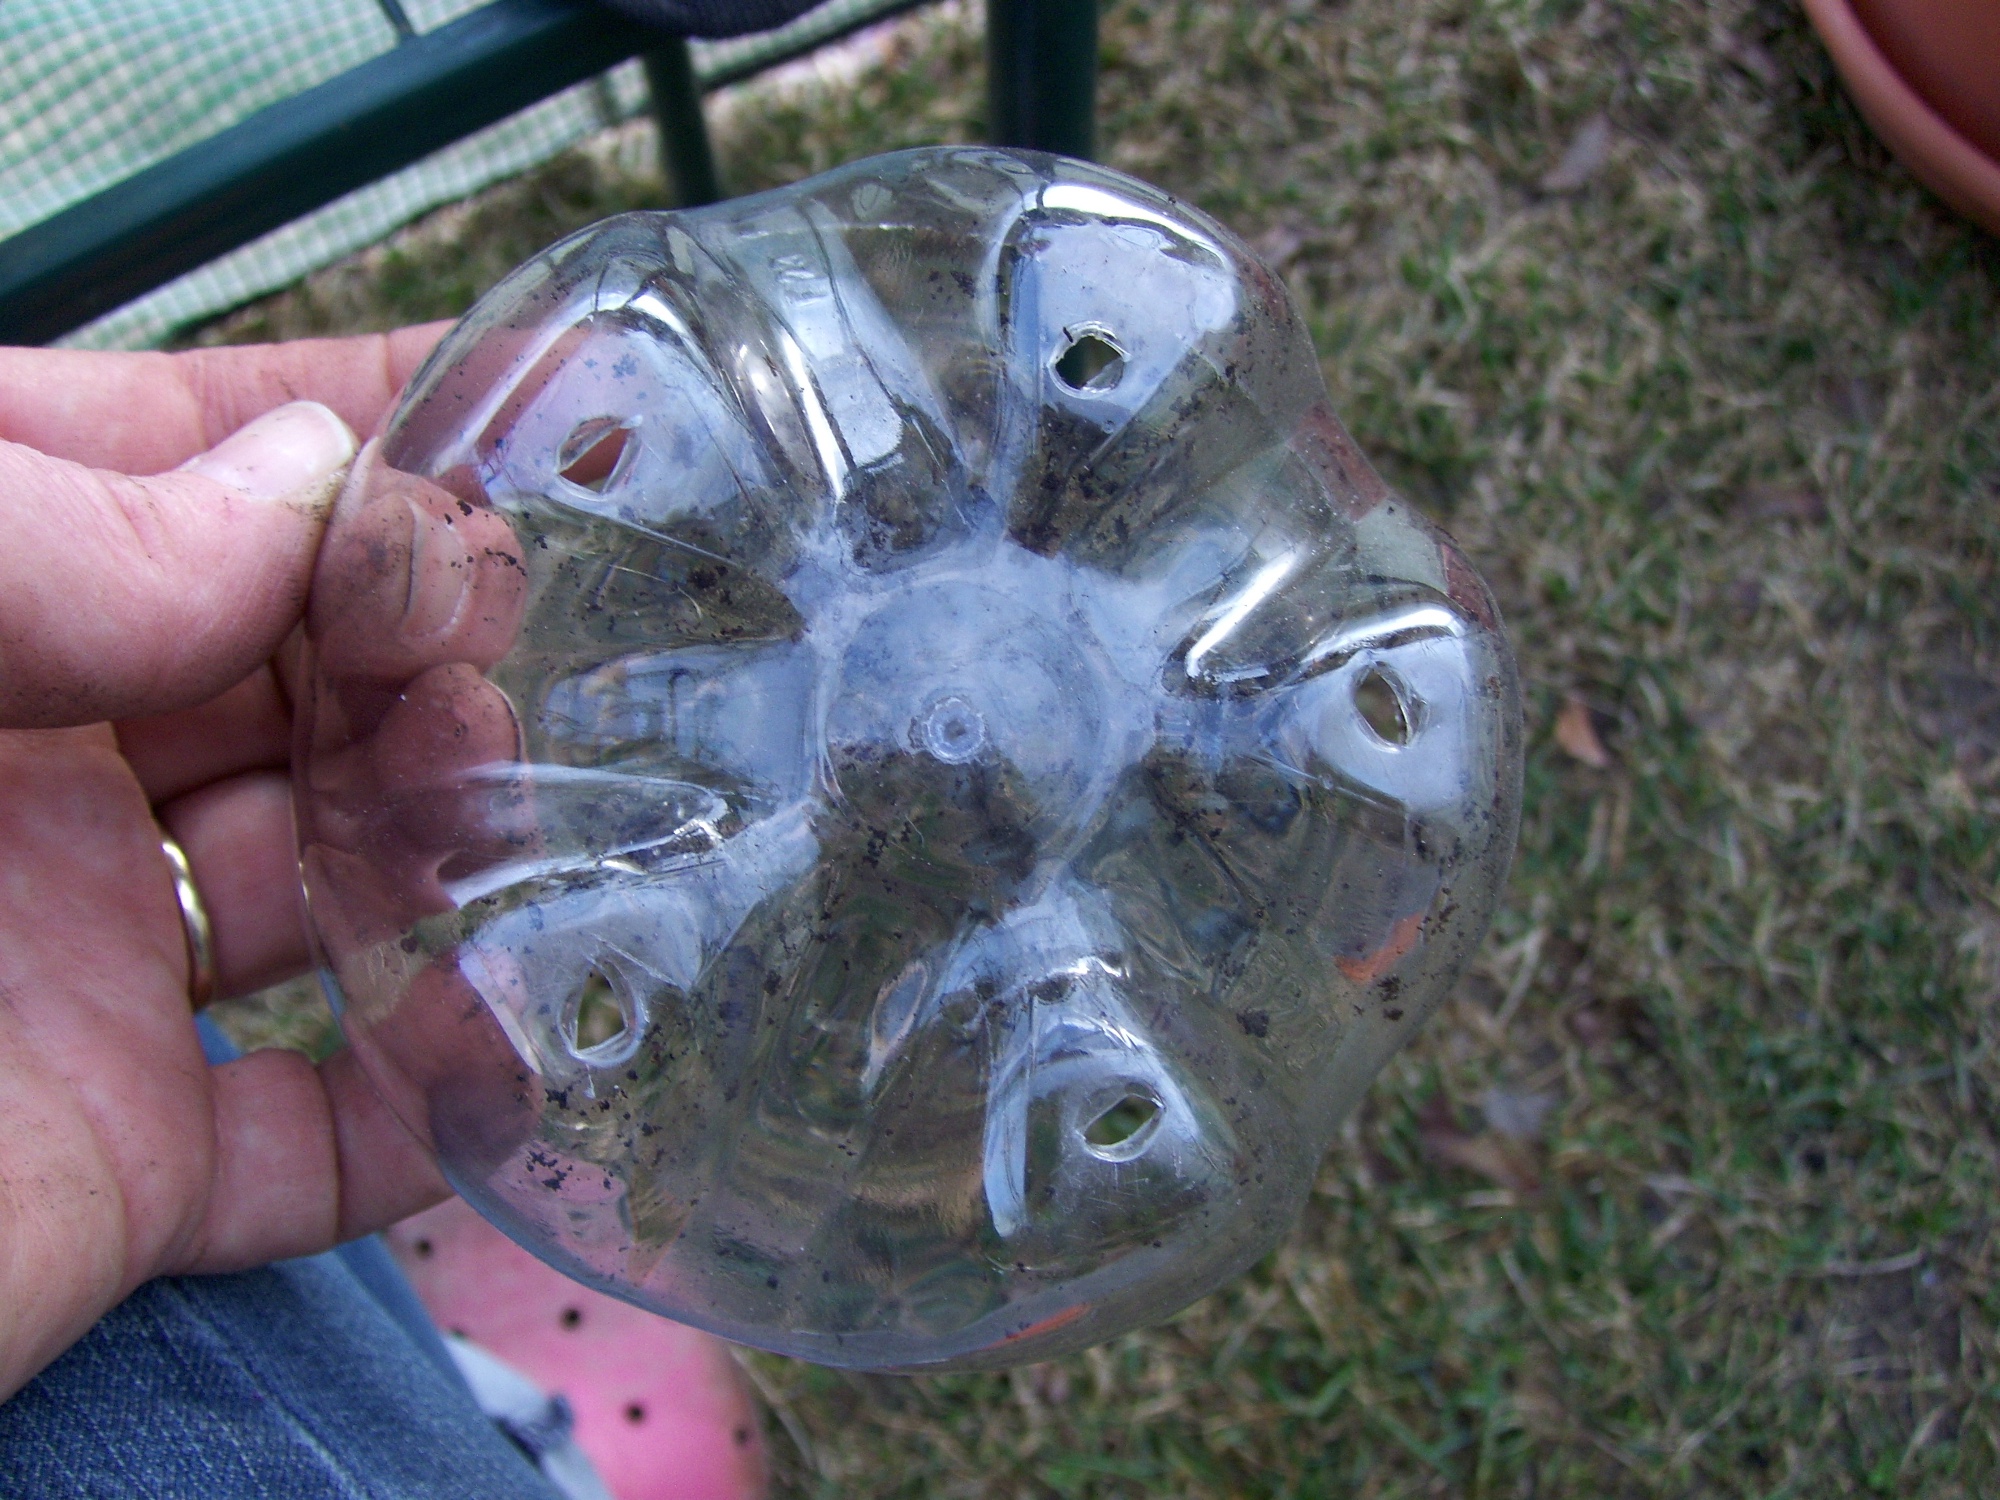
Take the bottom, flip it over so it can be snugly inserted into the opening you’ve just created. Use a hole punch and punch holes in 1/4 increments around the container as shown in the 3rd picture of this grouping. (*Please forgive my errant thumb.) *Use the sharpie to number at least two of the holes so you can line it up later.
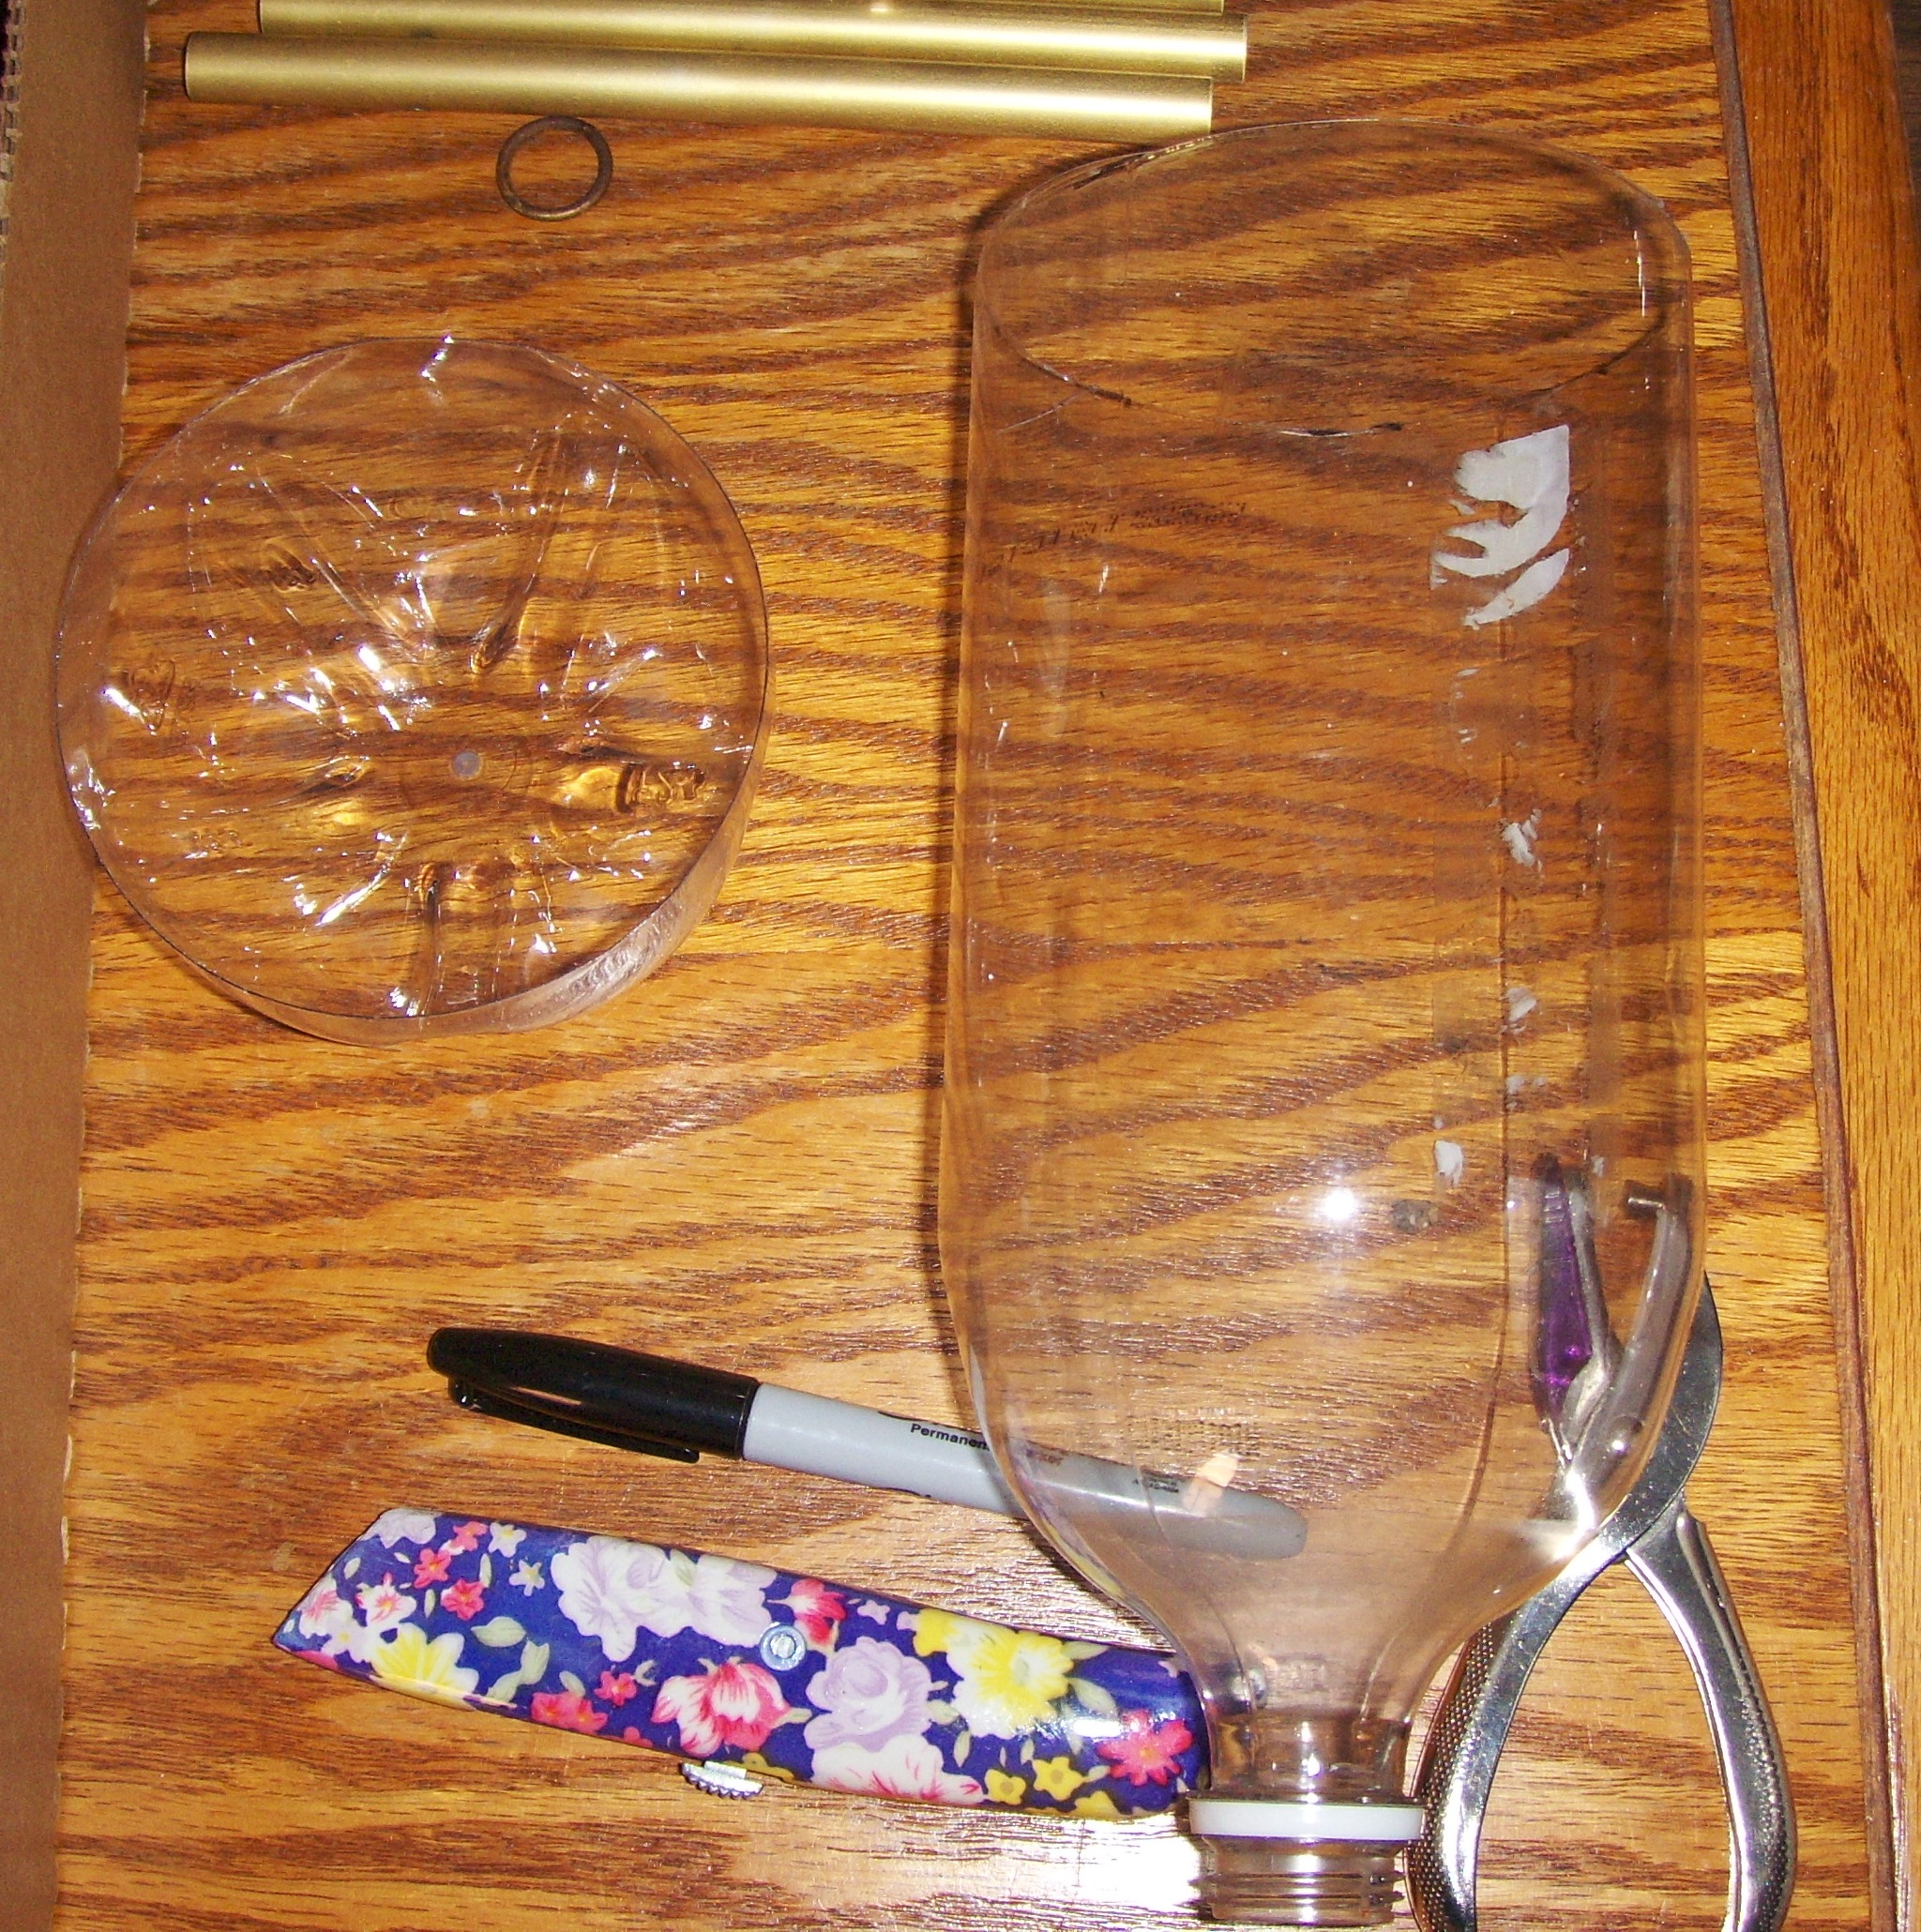
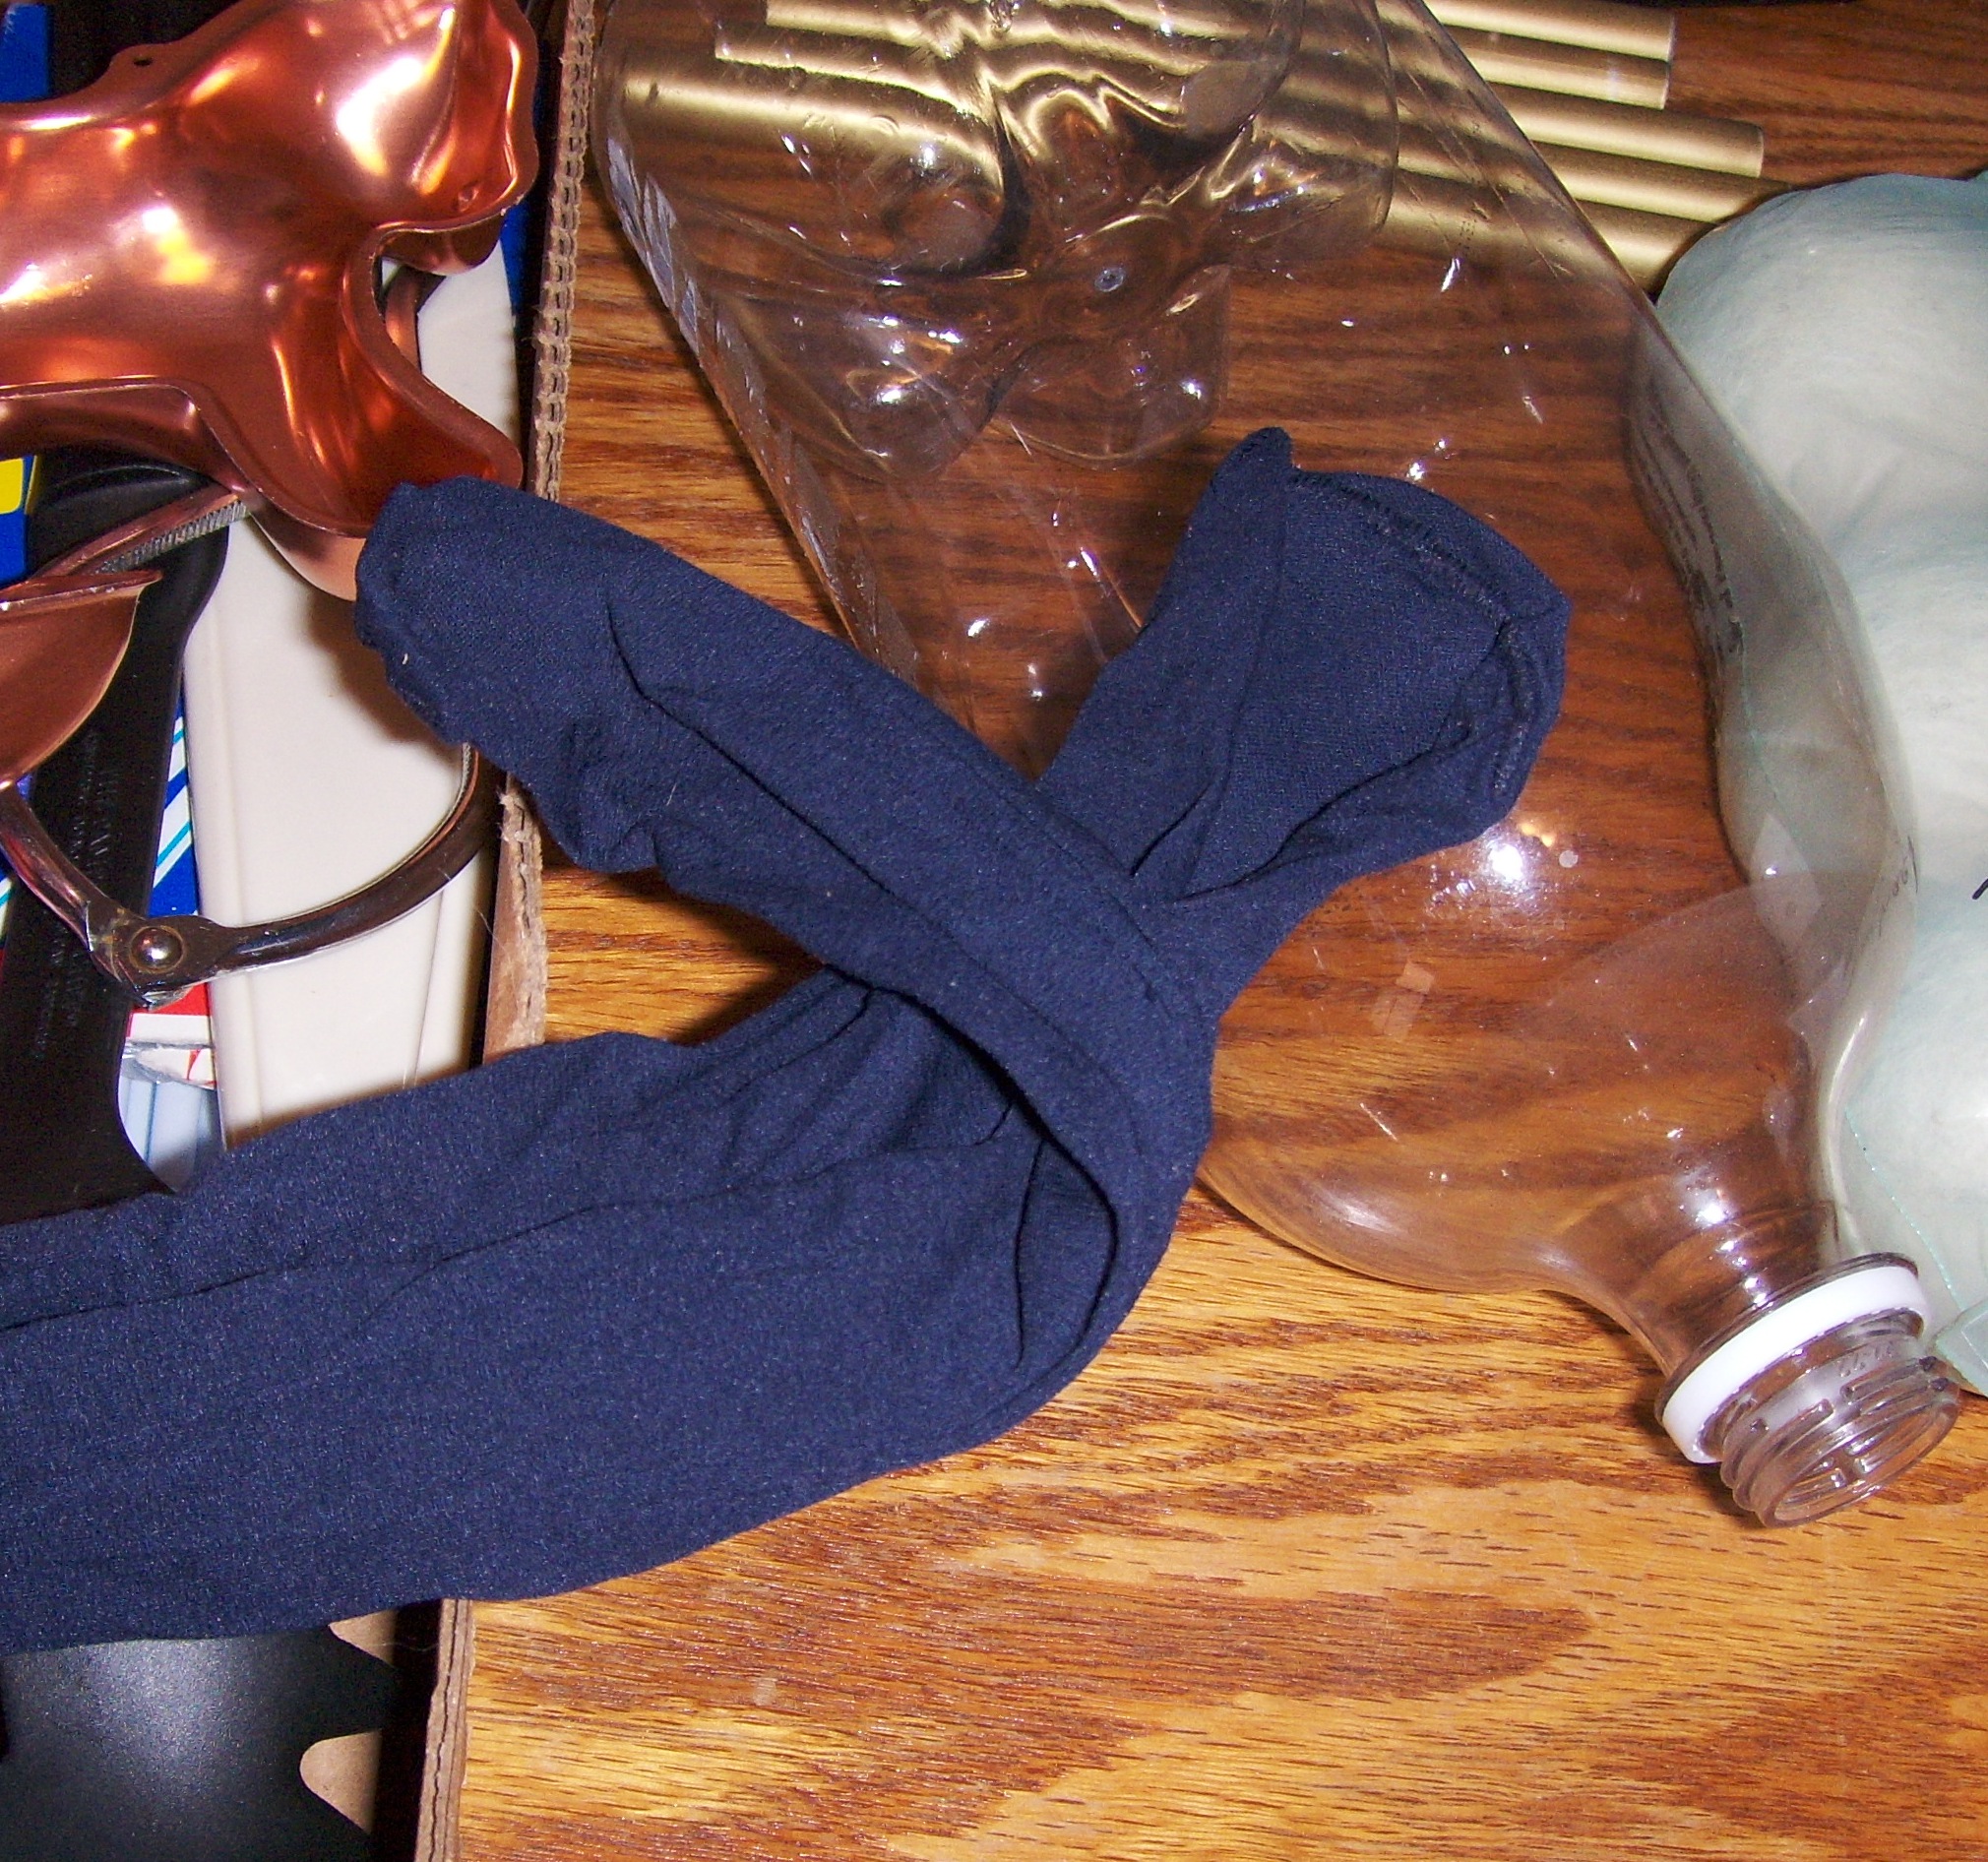
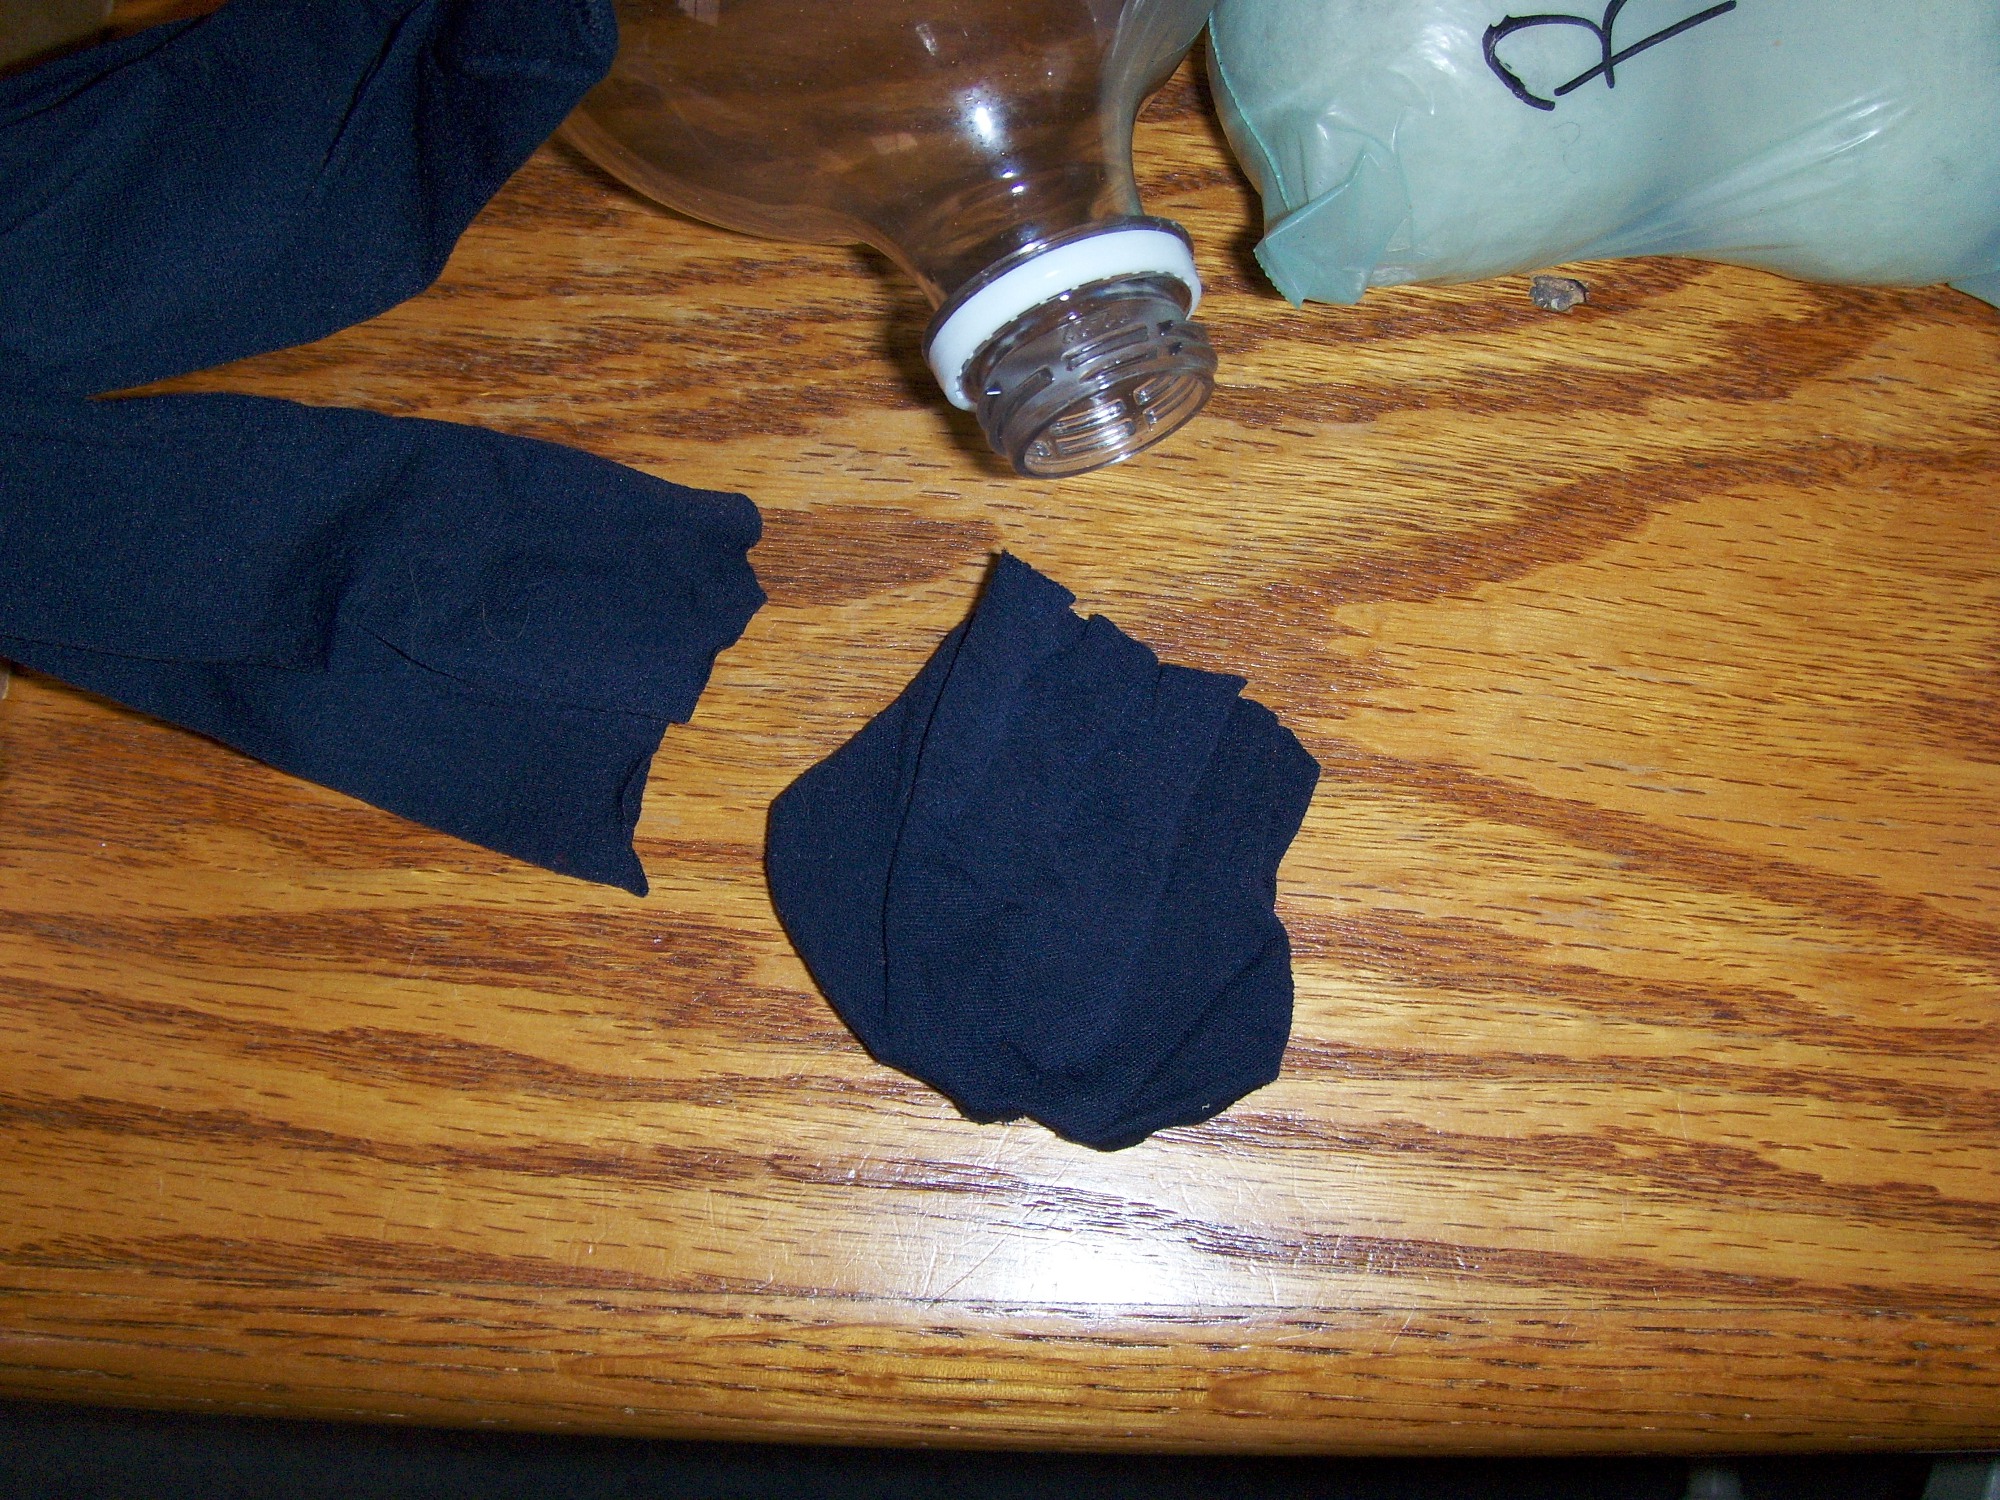
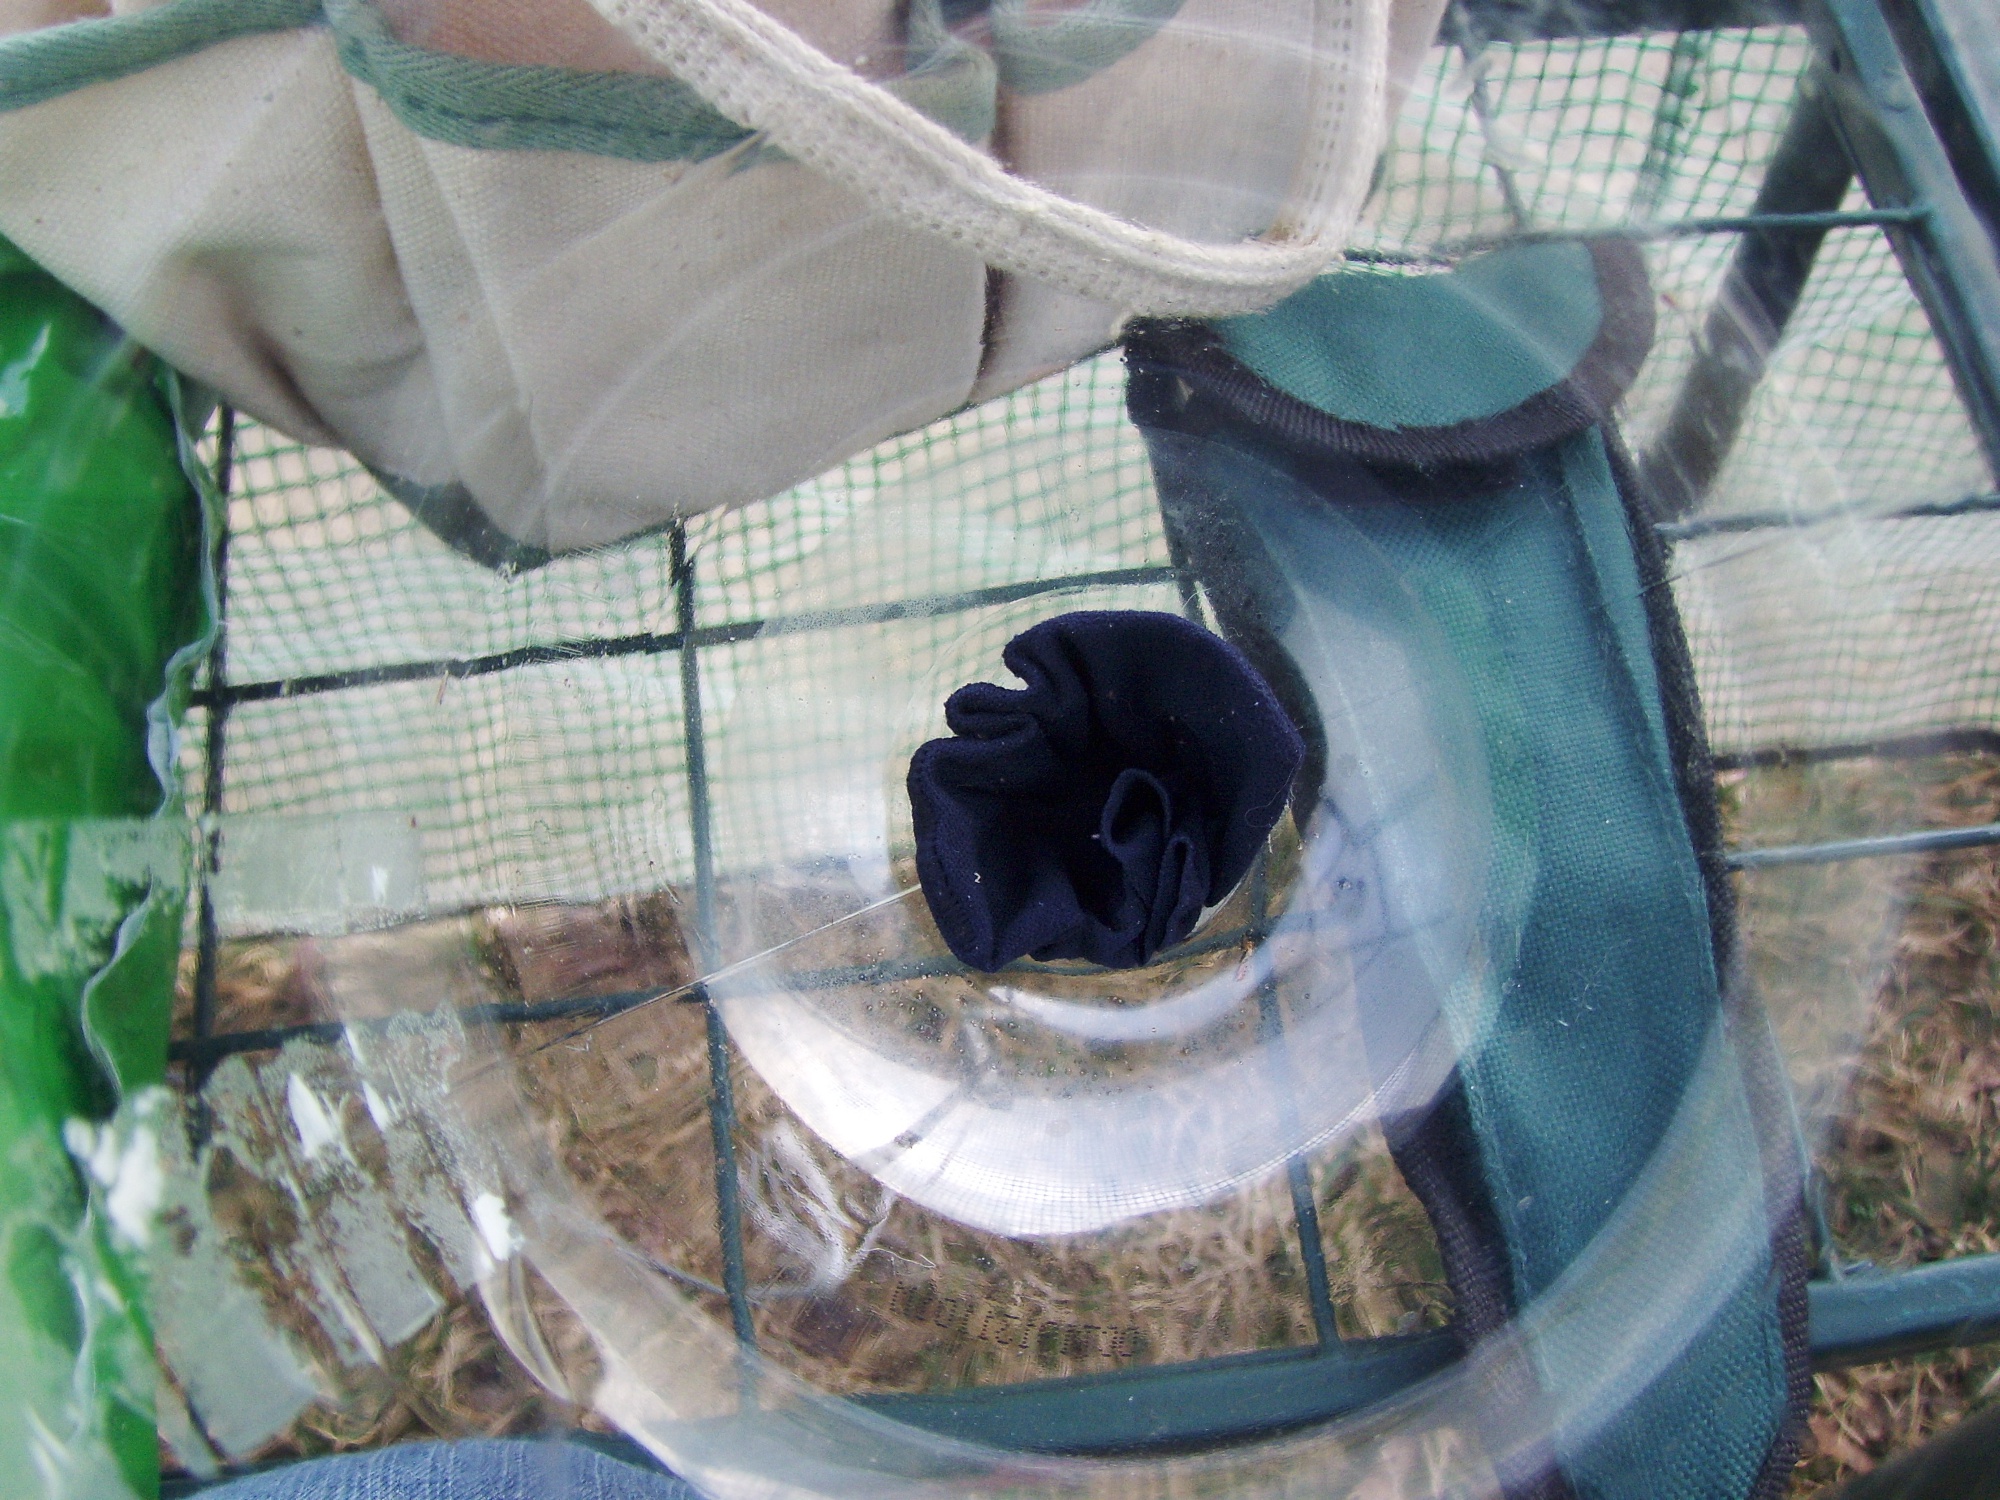
Get a pair of old pantyhose (nylons or whatever you’d like them to be called) and cut off about 3 – 4″. Place the cut off piece into the mouth of the container. This will act as your ‘screen’ against the dirt falling out of it and will provide extremely adequate drainage in the coming growing months.
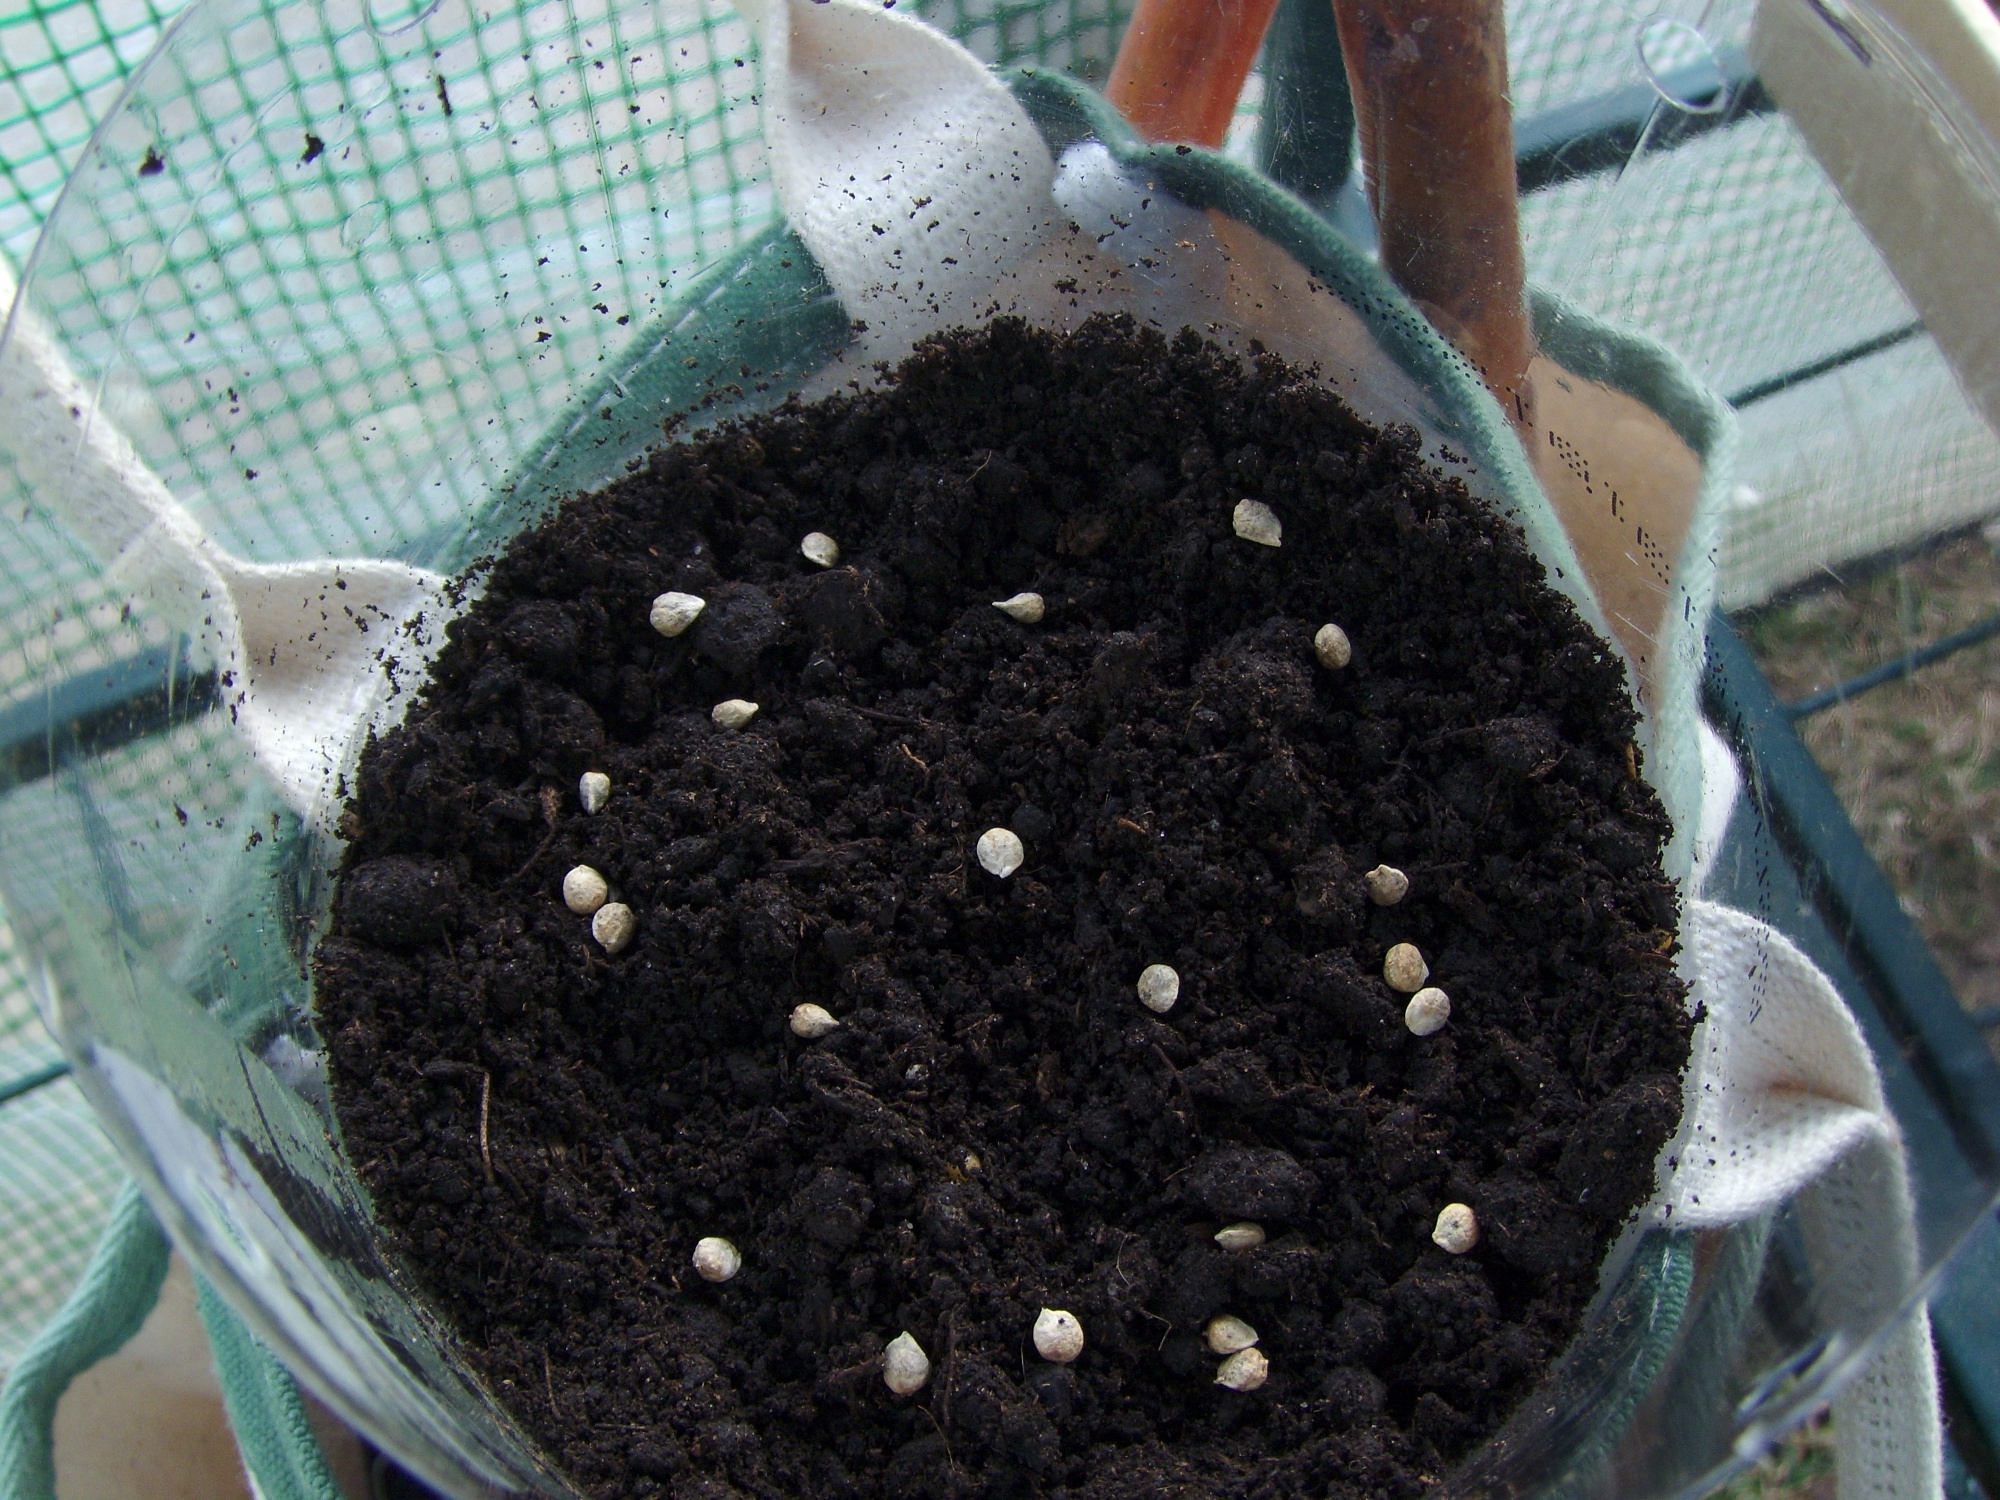
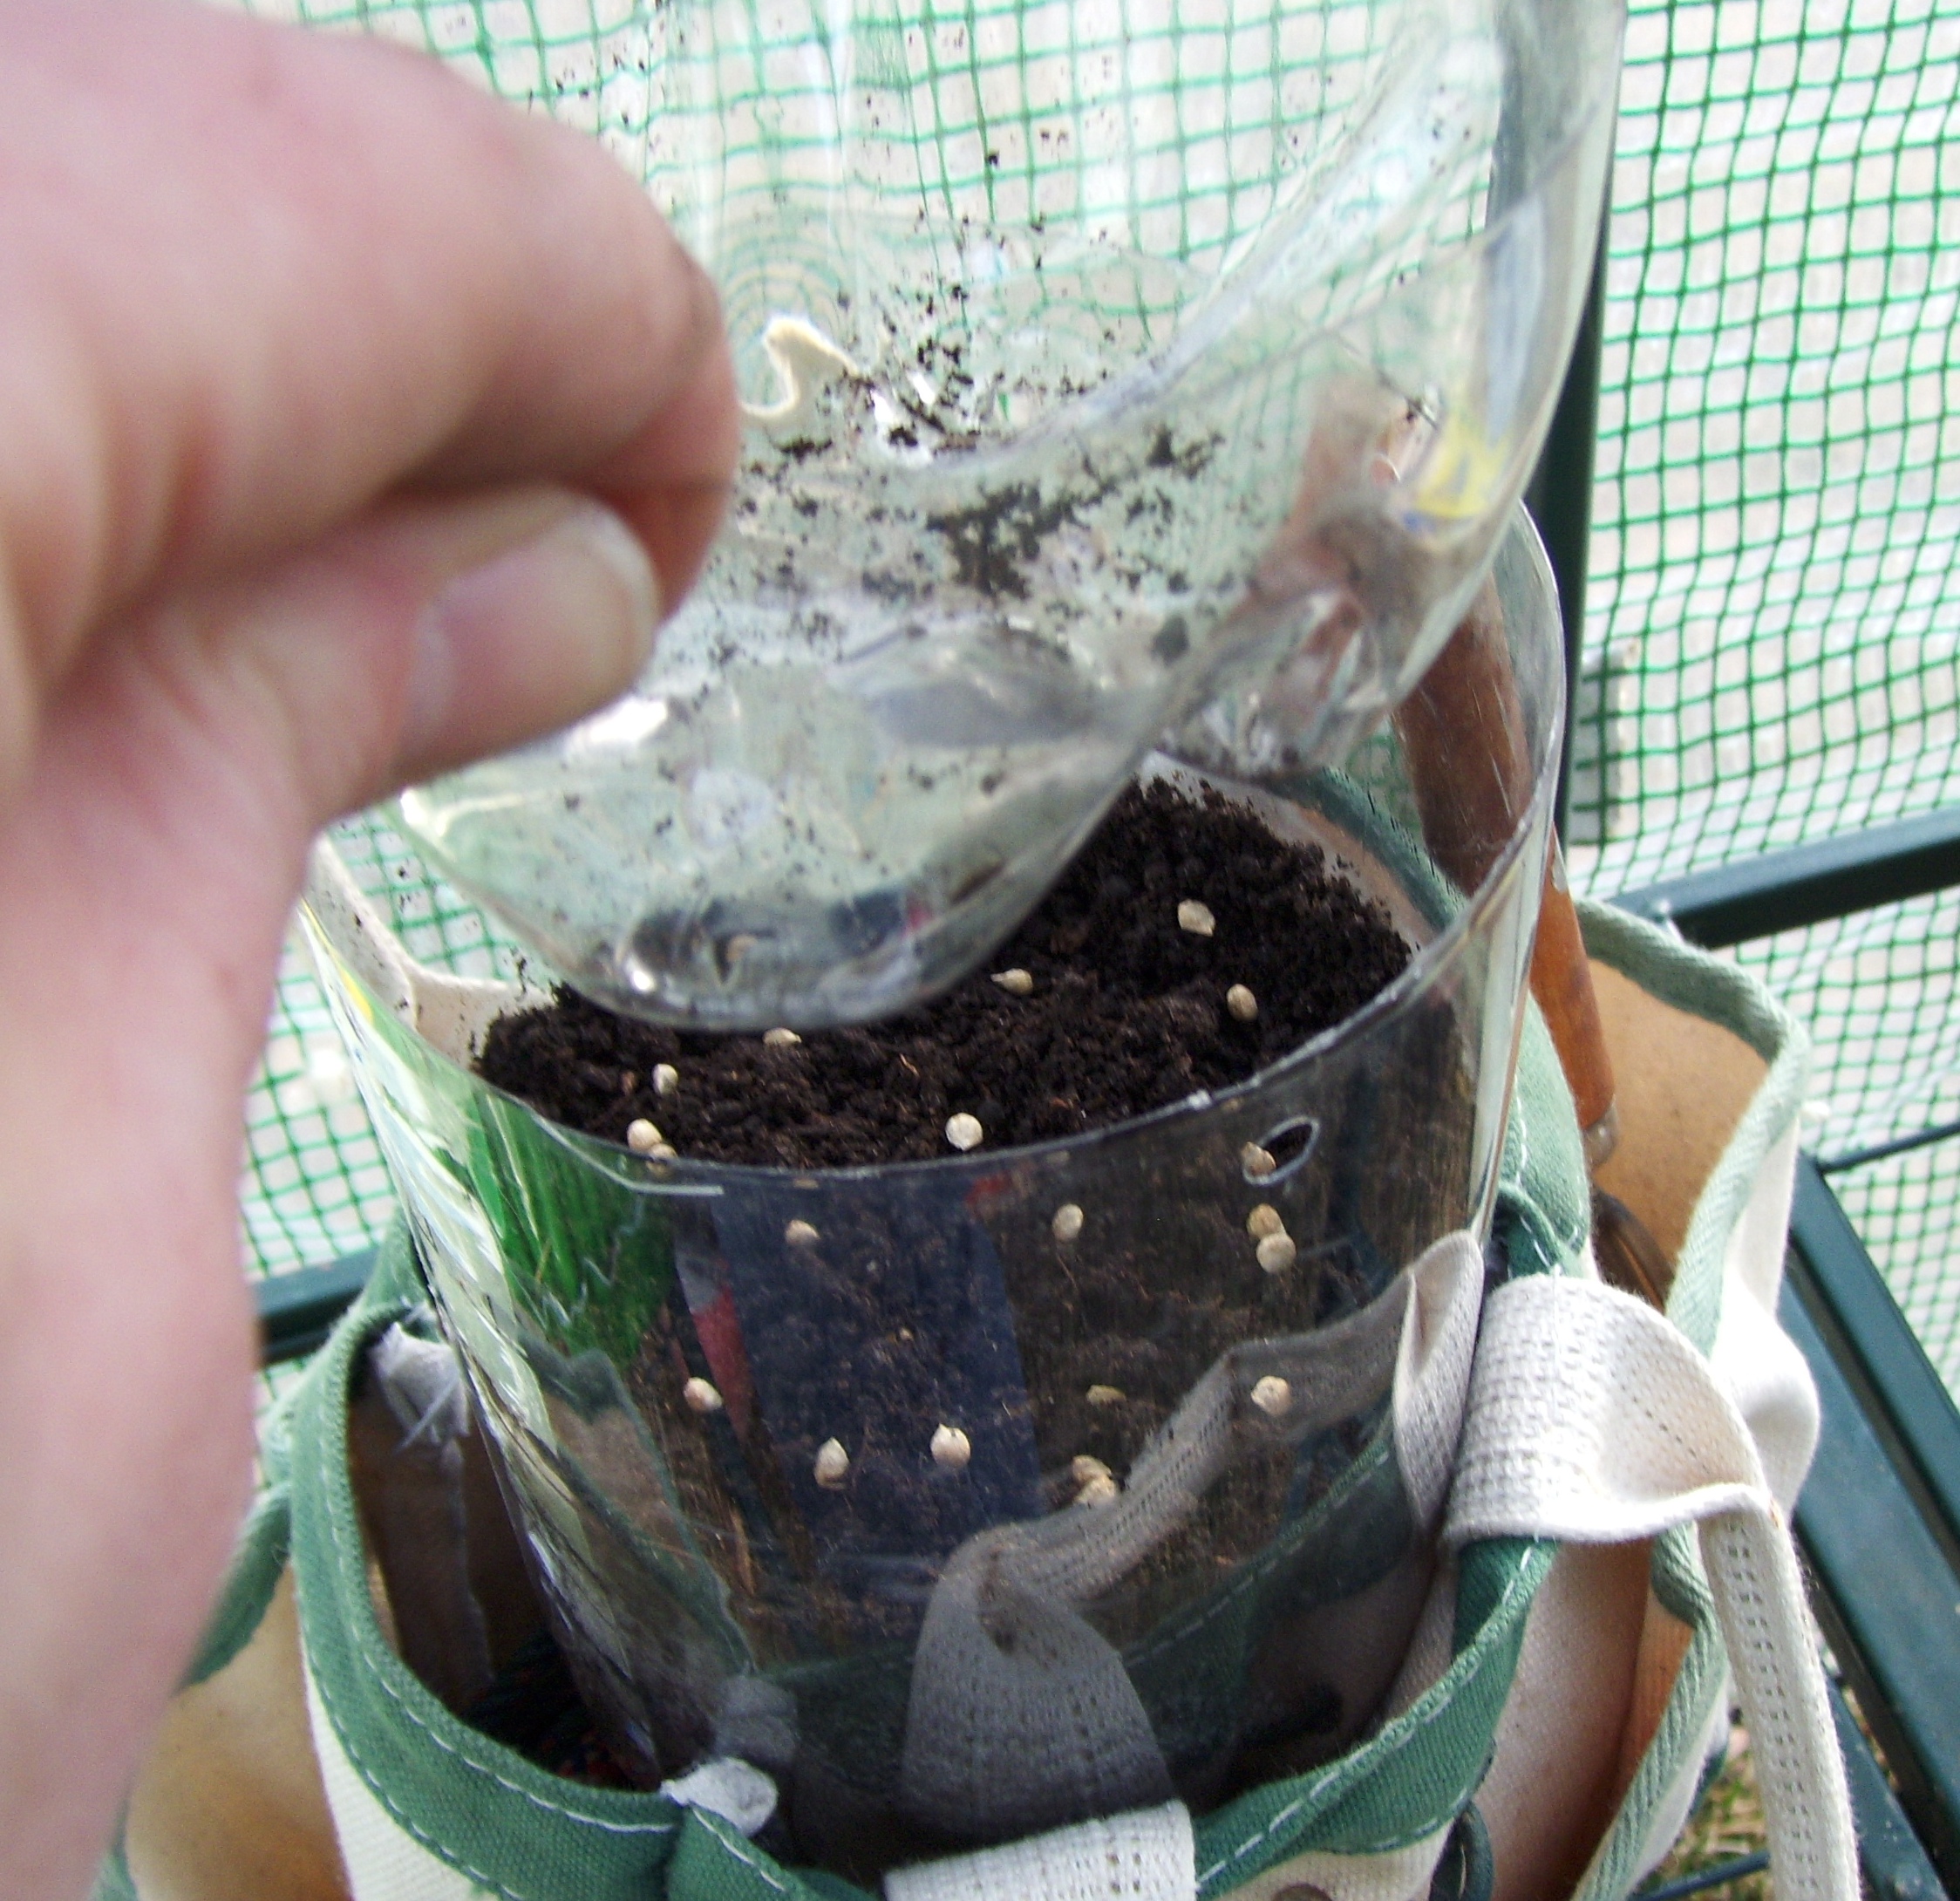
Fill with soil, making sure to leave at least 4 inches of space so the ‘lid’ will fit and the seeds will have room to sprout. Poke some holes in the ‘lid’ with a sharp knife (please don’t use a dull knife as this may cause injury).
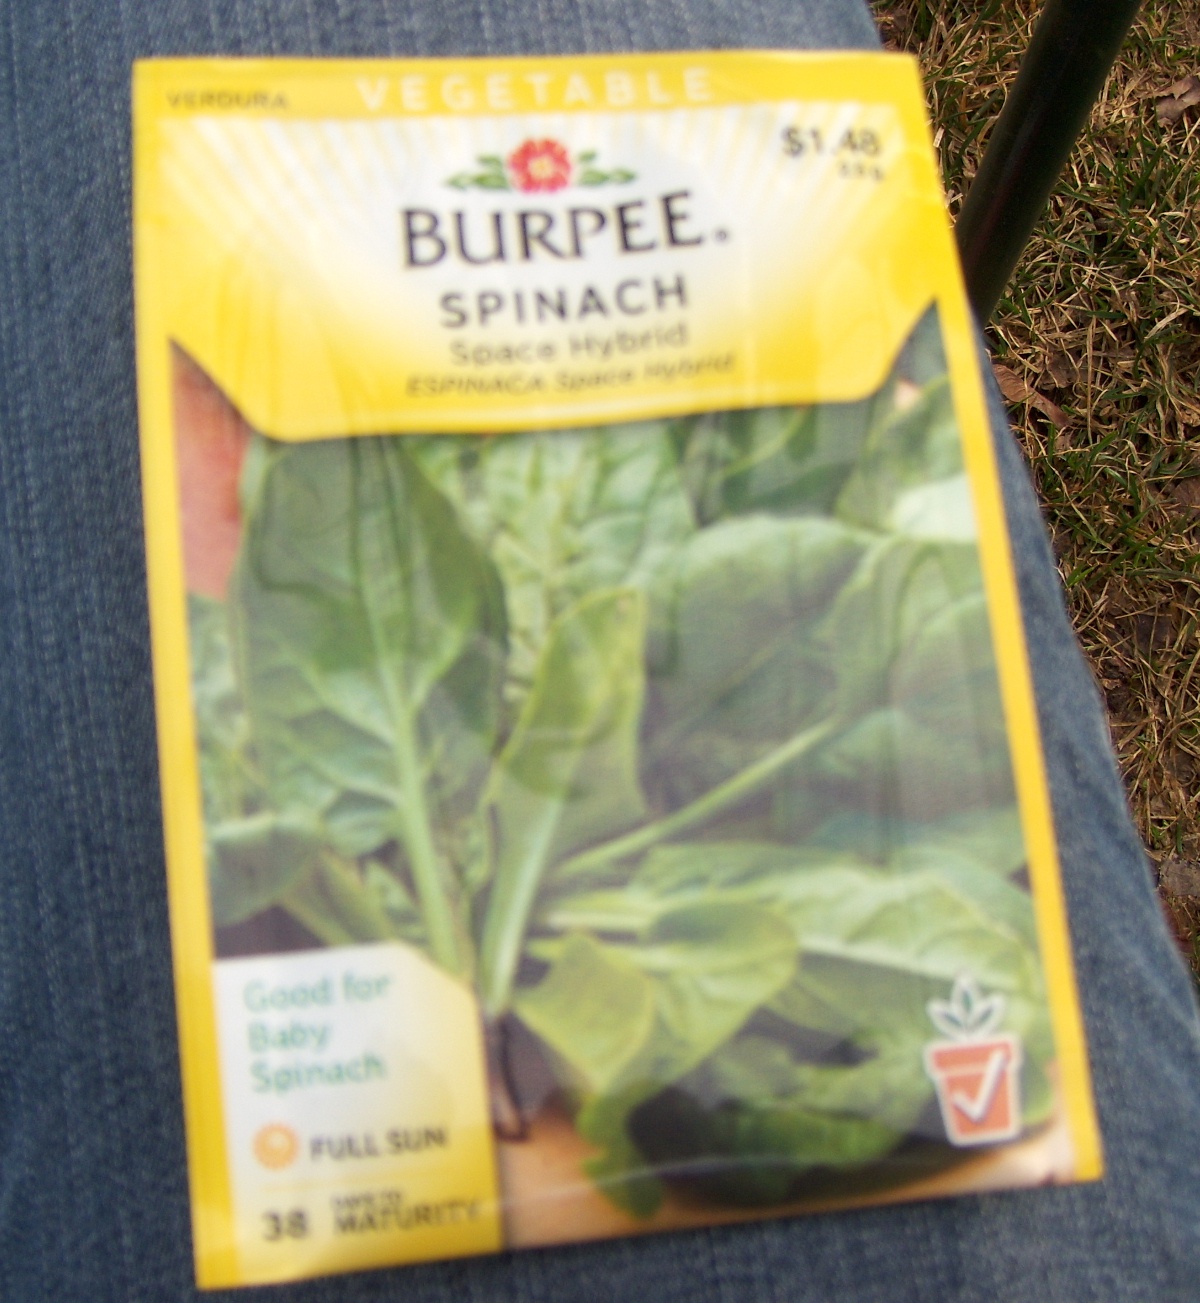
Plant your seeds. I’m using a space hybrid spinach for this example. This spinach is designed for growing in close quarters and will fill up the top of the container quite nicely by the time you’re ready to harvest it. (Note: I did cover the seeds up, I merely forgot to photograph it.)
Place the ‘lid’ inside of the container and make sure you line up the holes. The holes are used to hang the planter.
Cut 4 pieces of strong twine measuring 5 feet long. Double each one and thread through the holes. Do this with all 4 holes. Tie up or knot your hanger and hang it up. You’ll notice that I have an inch of space between the bottom of the ‘lid’ and the soil. This will allow the sprouts a bit of room until you need to remove the lid.
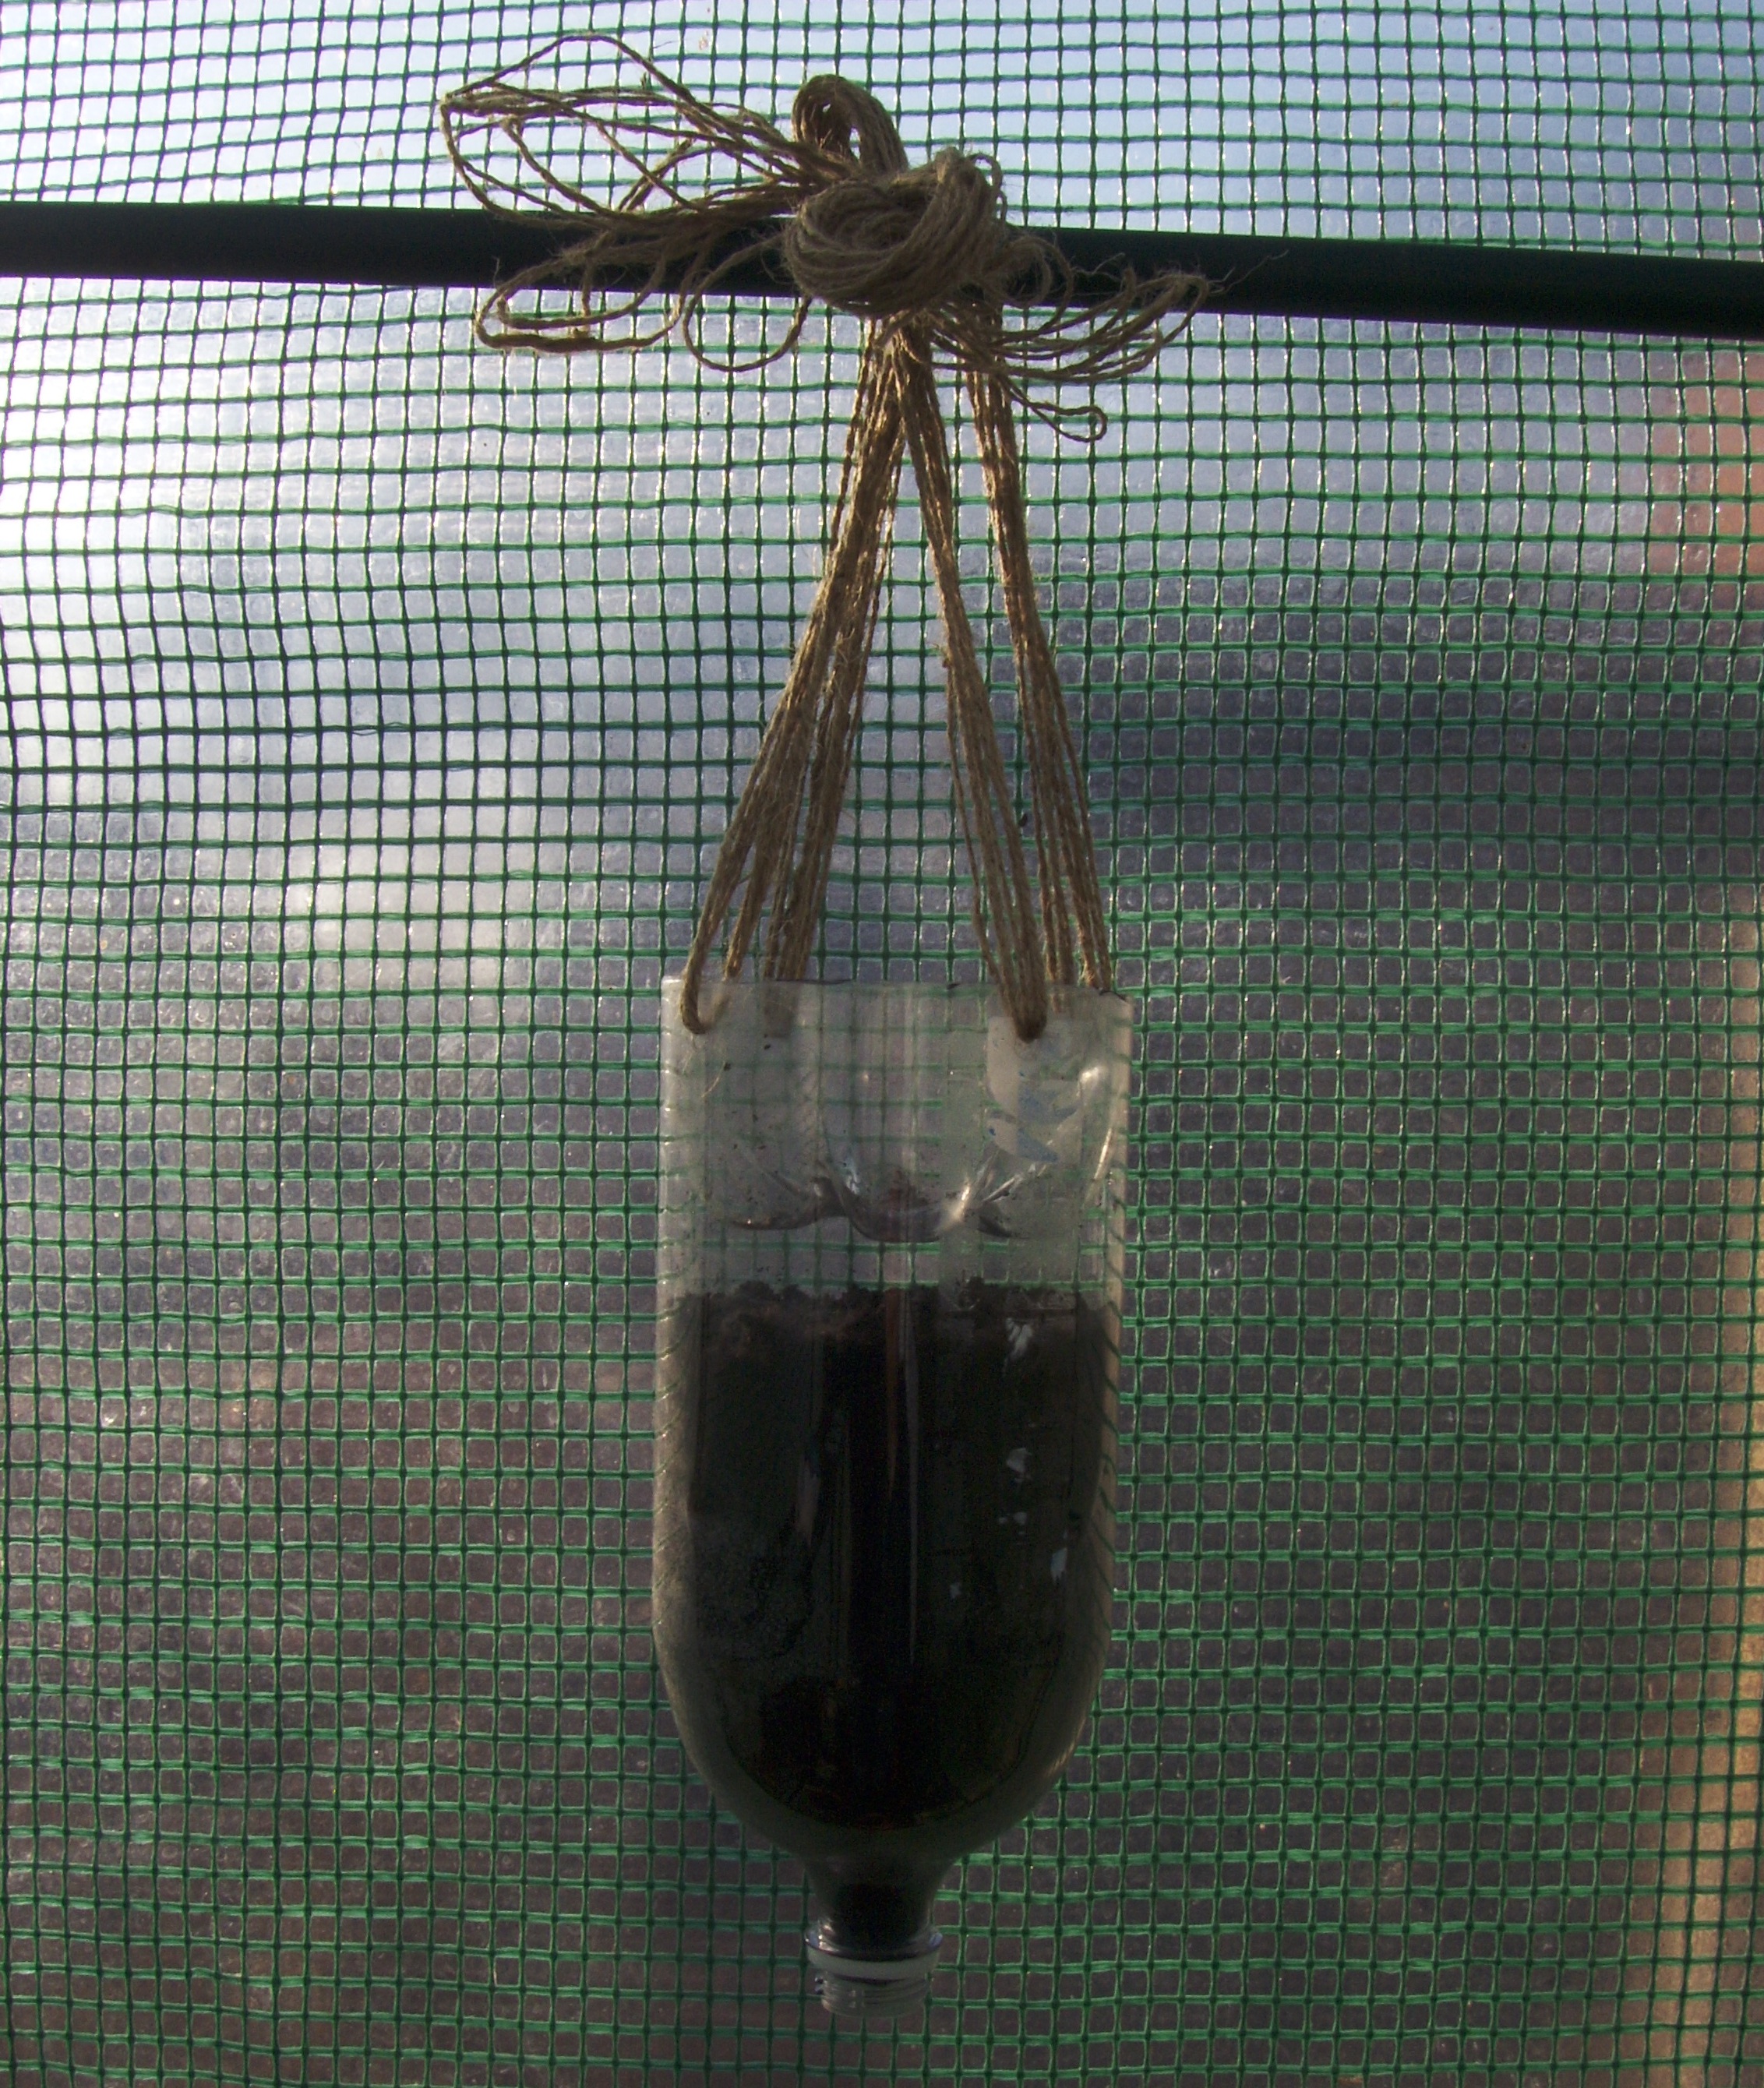
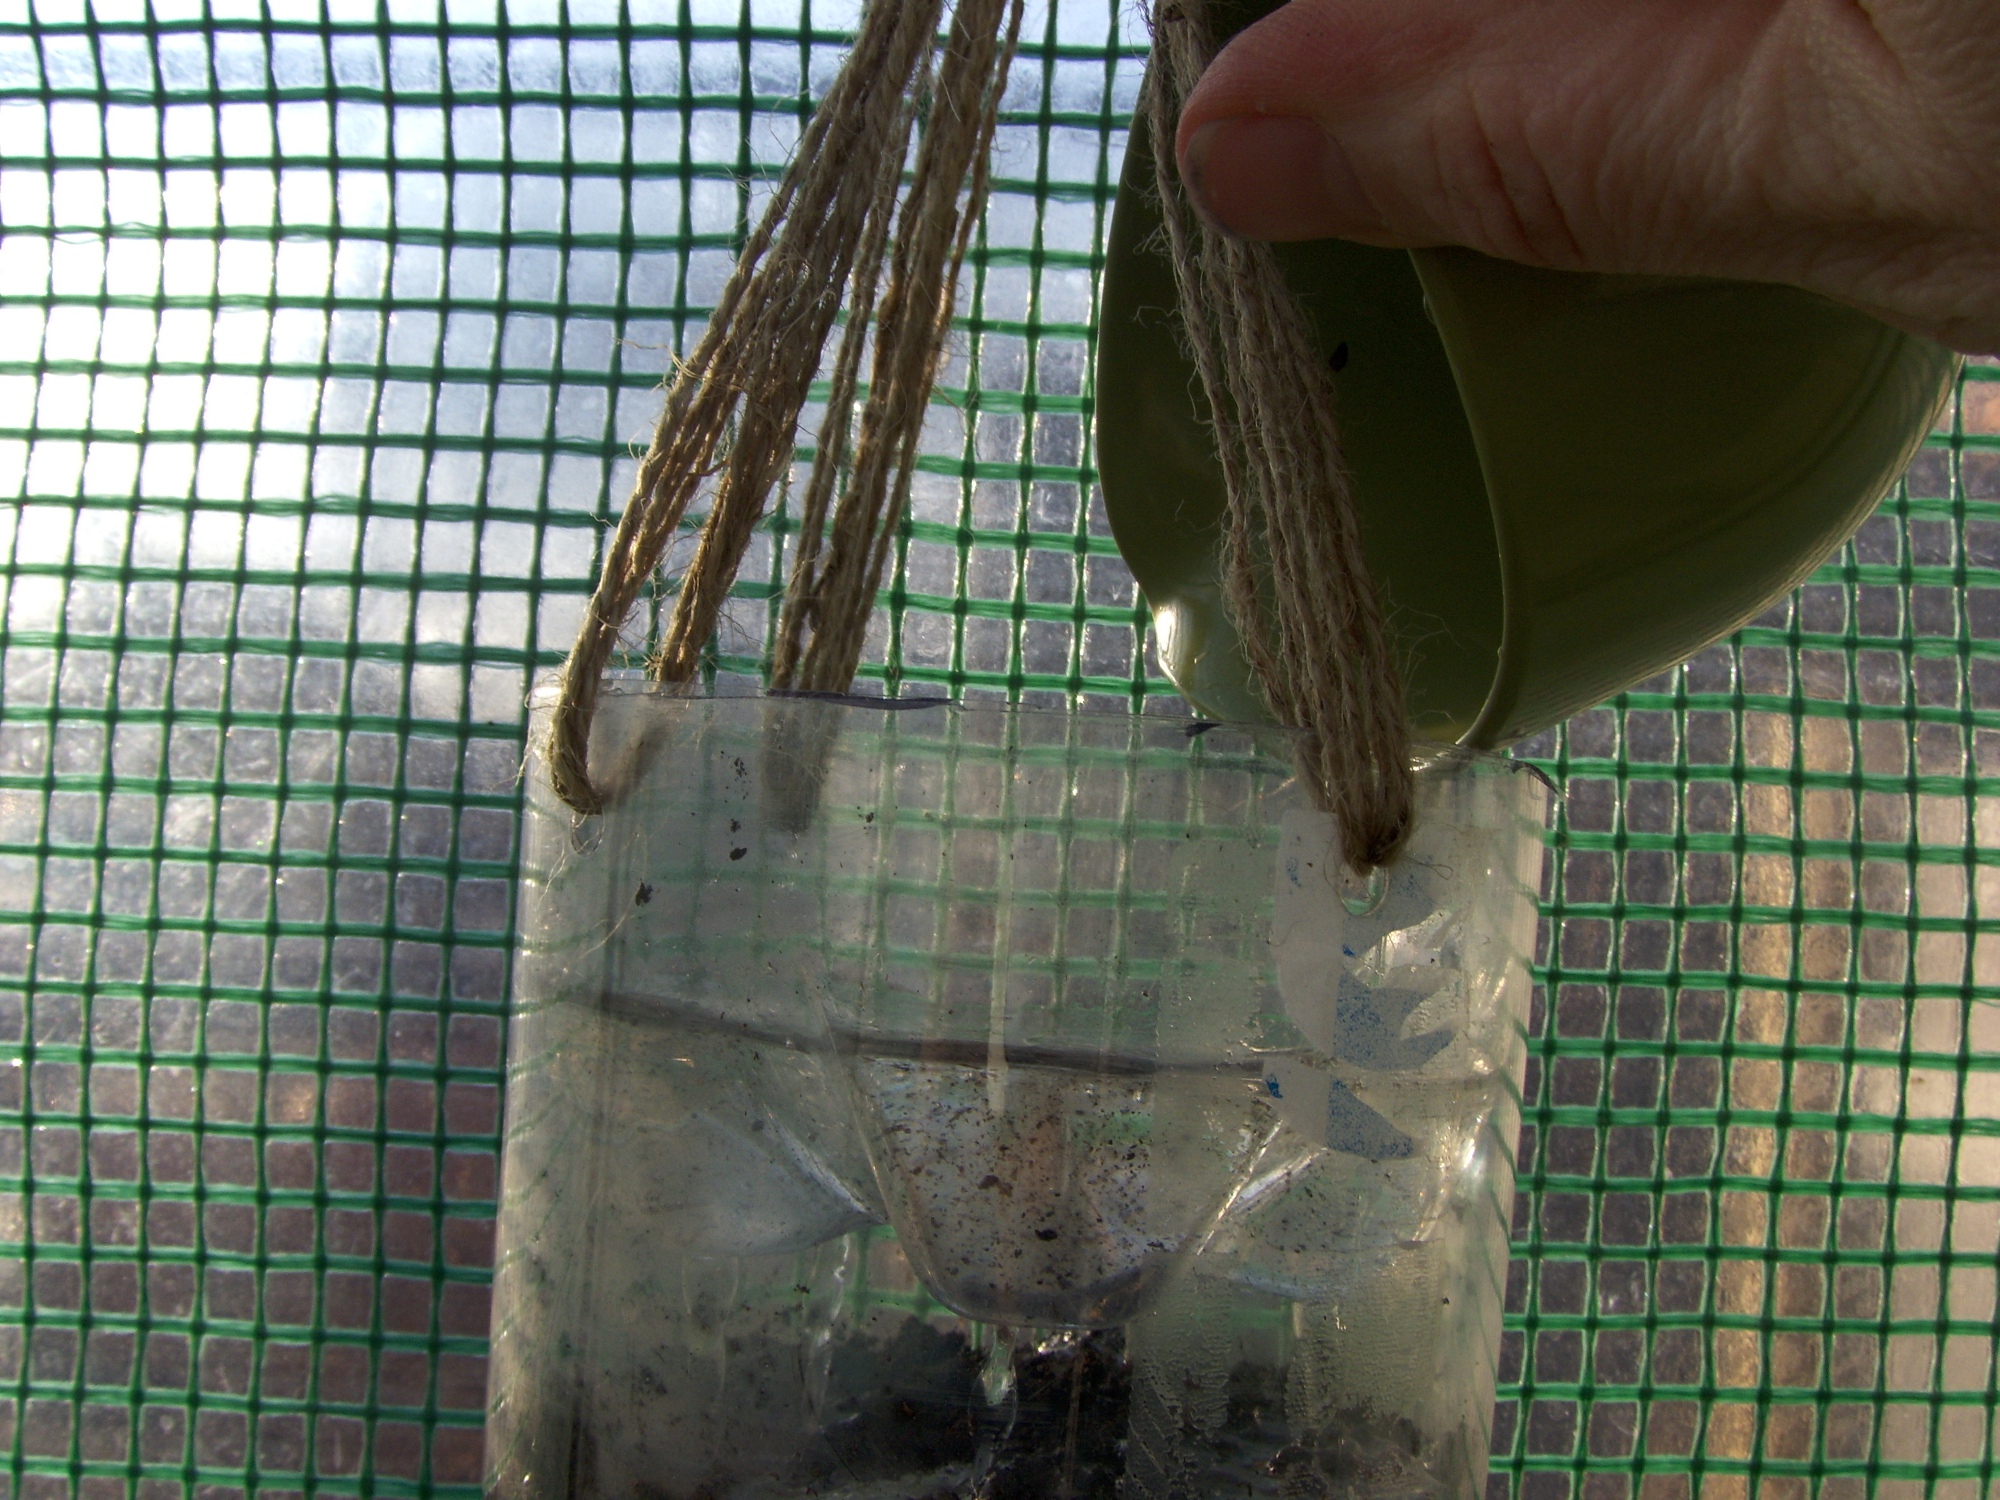
Pour a 1/2″ of water into the top of your new hanging planter. This setup acts like a mini greenhouse so you won’t need to water it a lot.

When the plants are nearly touching the lid, take the planter down and remove the lid. Rehang the planter and water as needed until you’re ready to harvest. Do not hang this planter in an area you don’t want to be wet.
Update: 03/21/2015 @ 5:19 PM
I’ve also made a couple of planters from milk jugs and planted lettuce seeds in them. You would make these in the same way as you do the soda bottles.
Questions? Feel free to ask!!
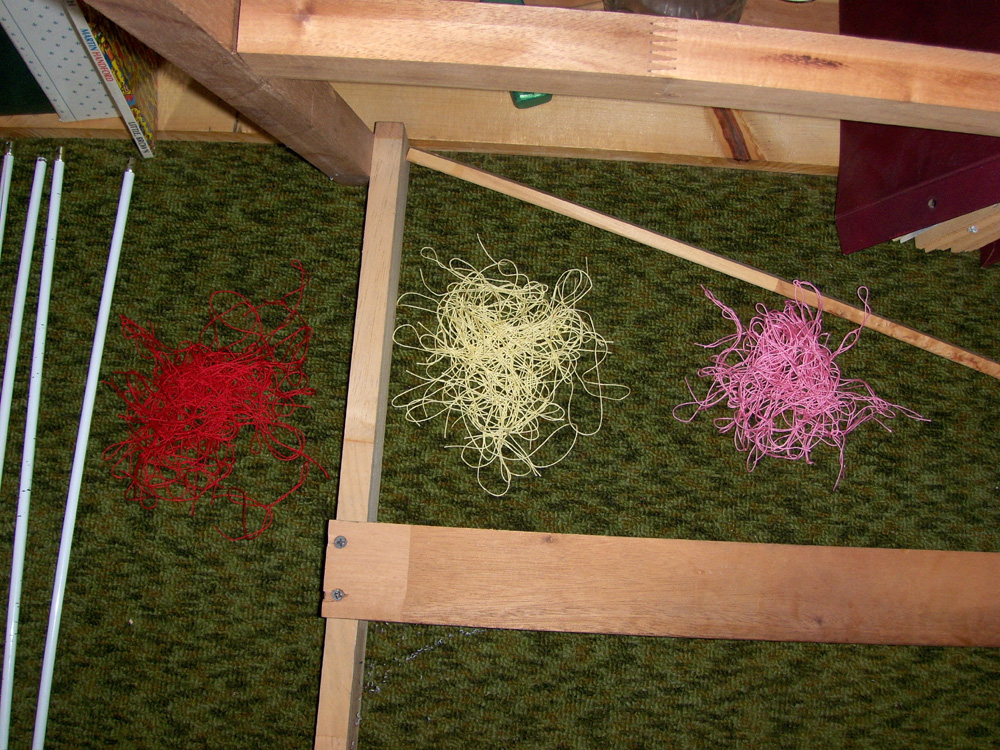
Pound two nails about 5 inches apart (I know the site says 7″, but 5″ will do.), straight across from each other, into a piece of wood that’s at least 8″ long and 4″ wide. I tied 4 different colors because I don’t like using a shed stick.