The above dishtowel was woven from gray and white plyed, stranded, weaving cotton. While I don’t remember the grist, I remember enjoying sampling the structures in this towel and 18 years later, it dries dishes like a champ.
Handwoven cotton dishtowel
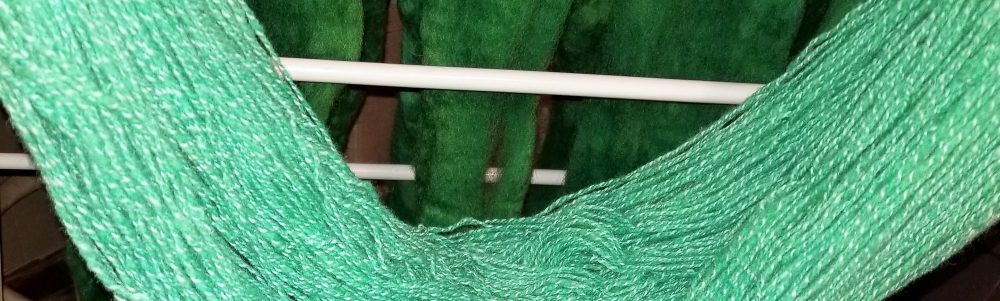
This dishtowel was woven using washed, spooled crochet cotton. It’s a bit heavier than most, and is sturdy and strong. It absorbs water 100% better than any commercial terry cloth dishtowel I’ve ever owned. It dries super fast as well!
The key to finishing dishtowels is to pre-wash them at least once in a washing machine, preferably a top loader. This pulls everything together.
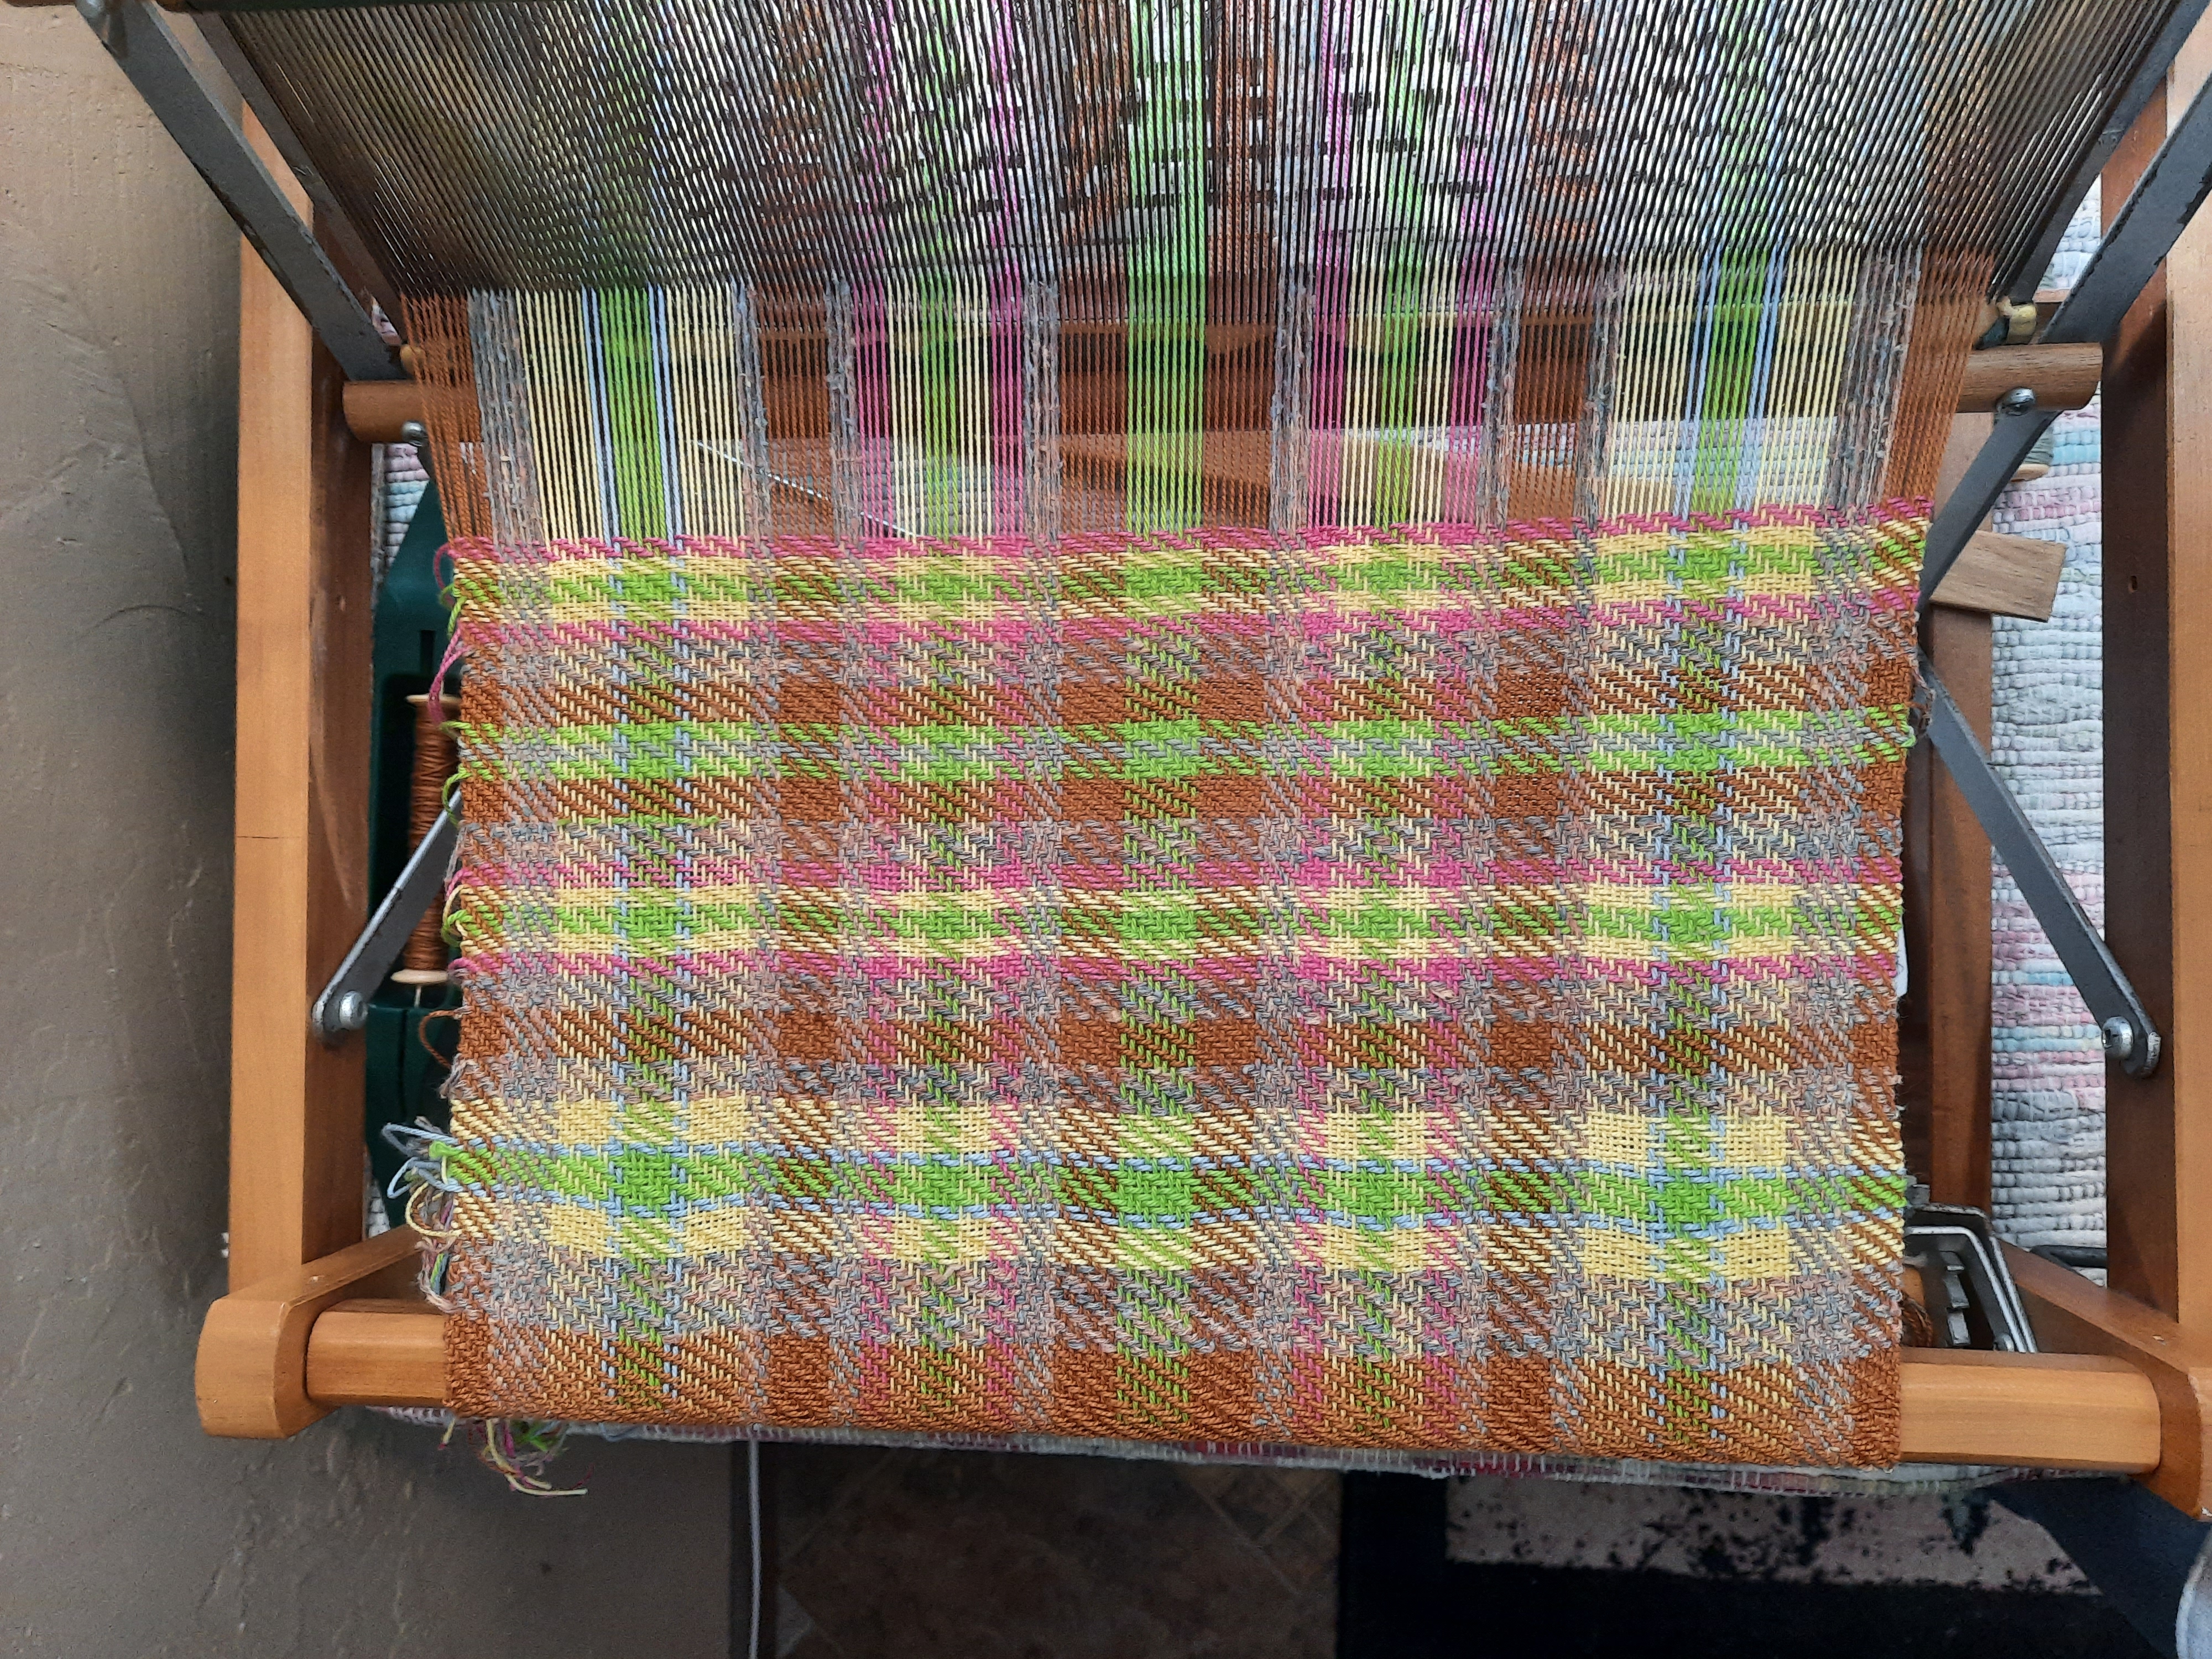
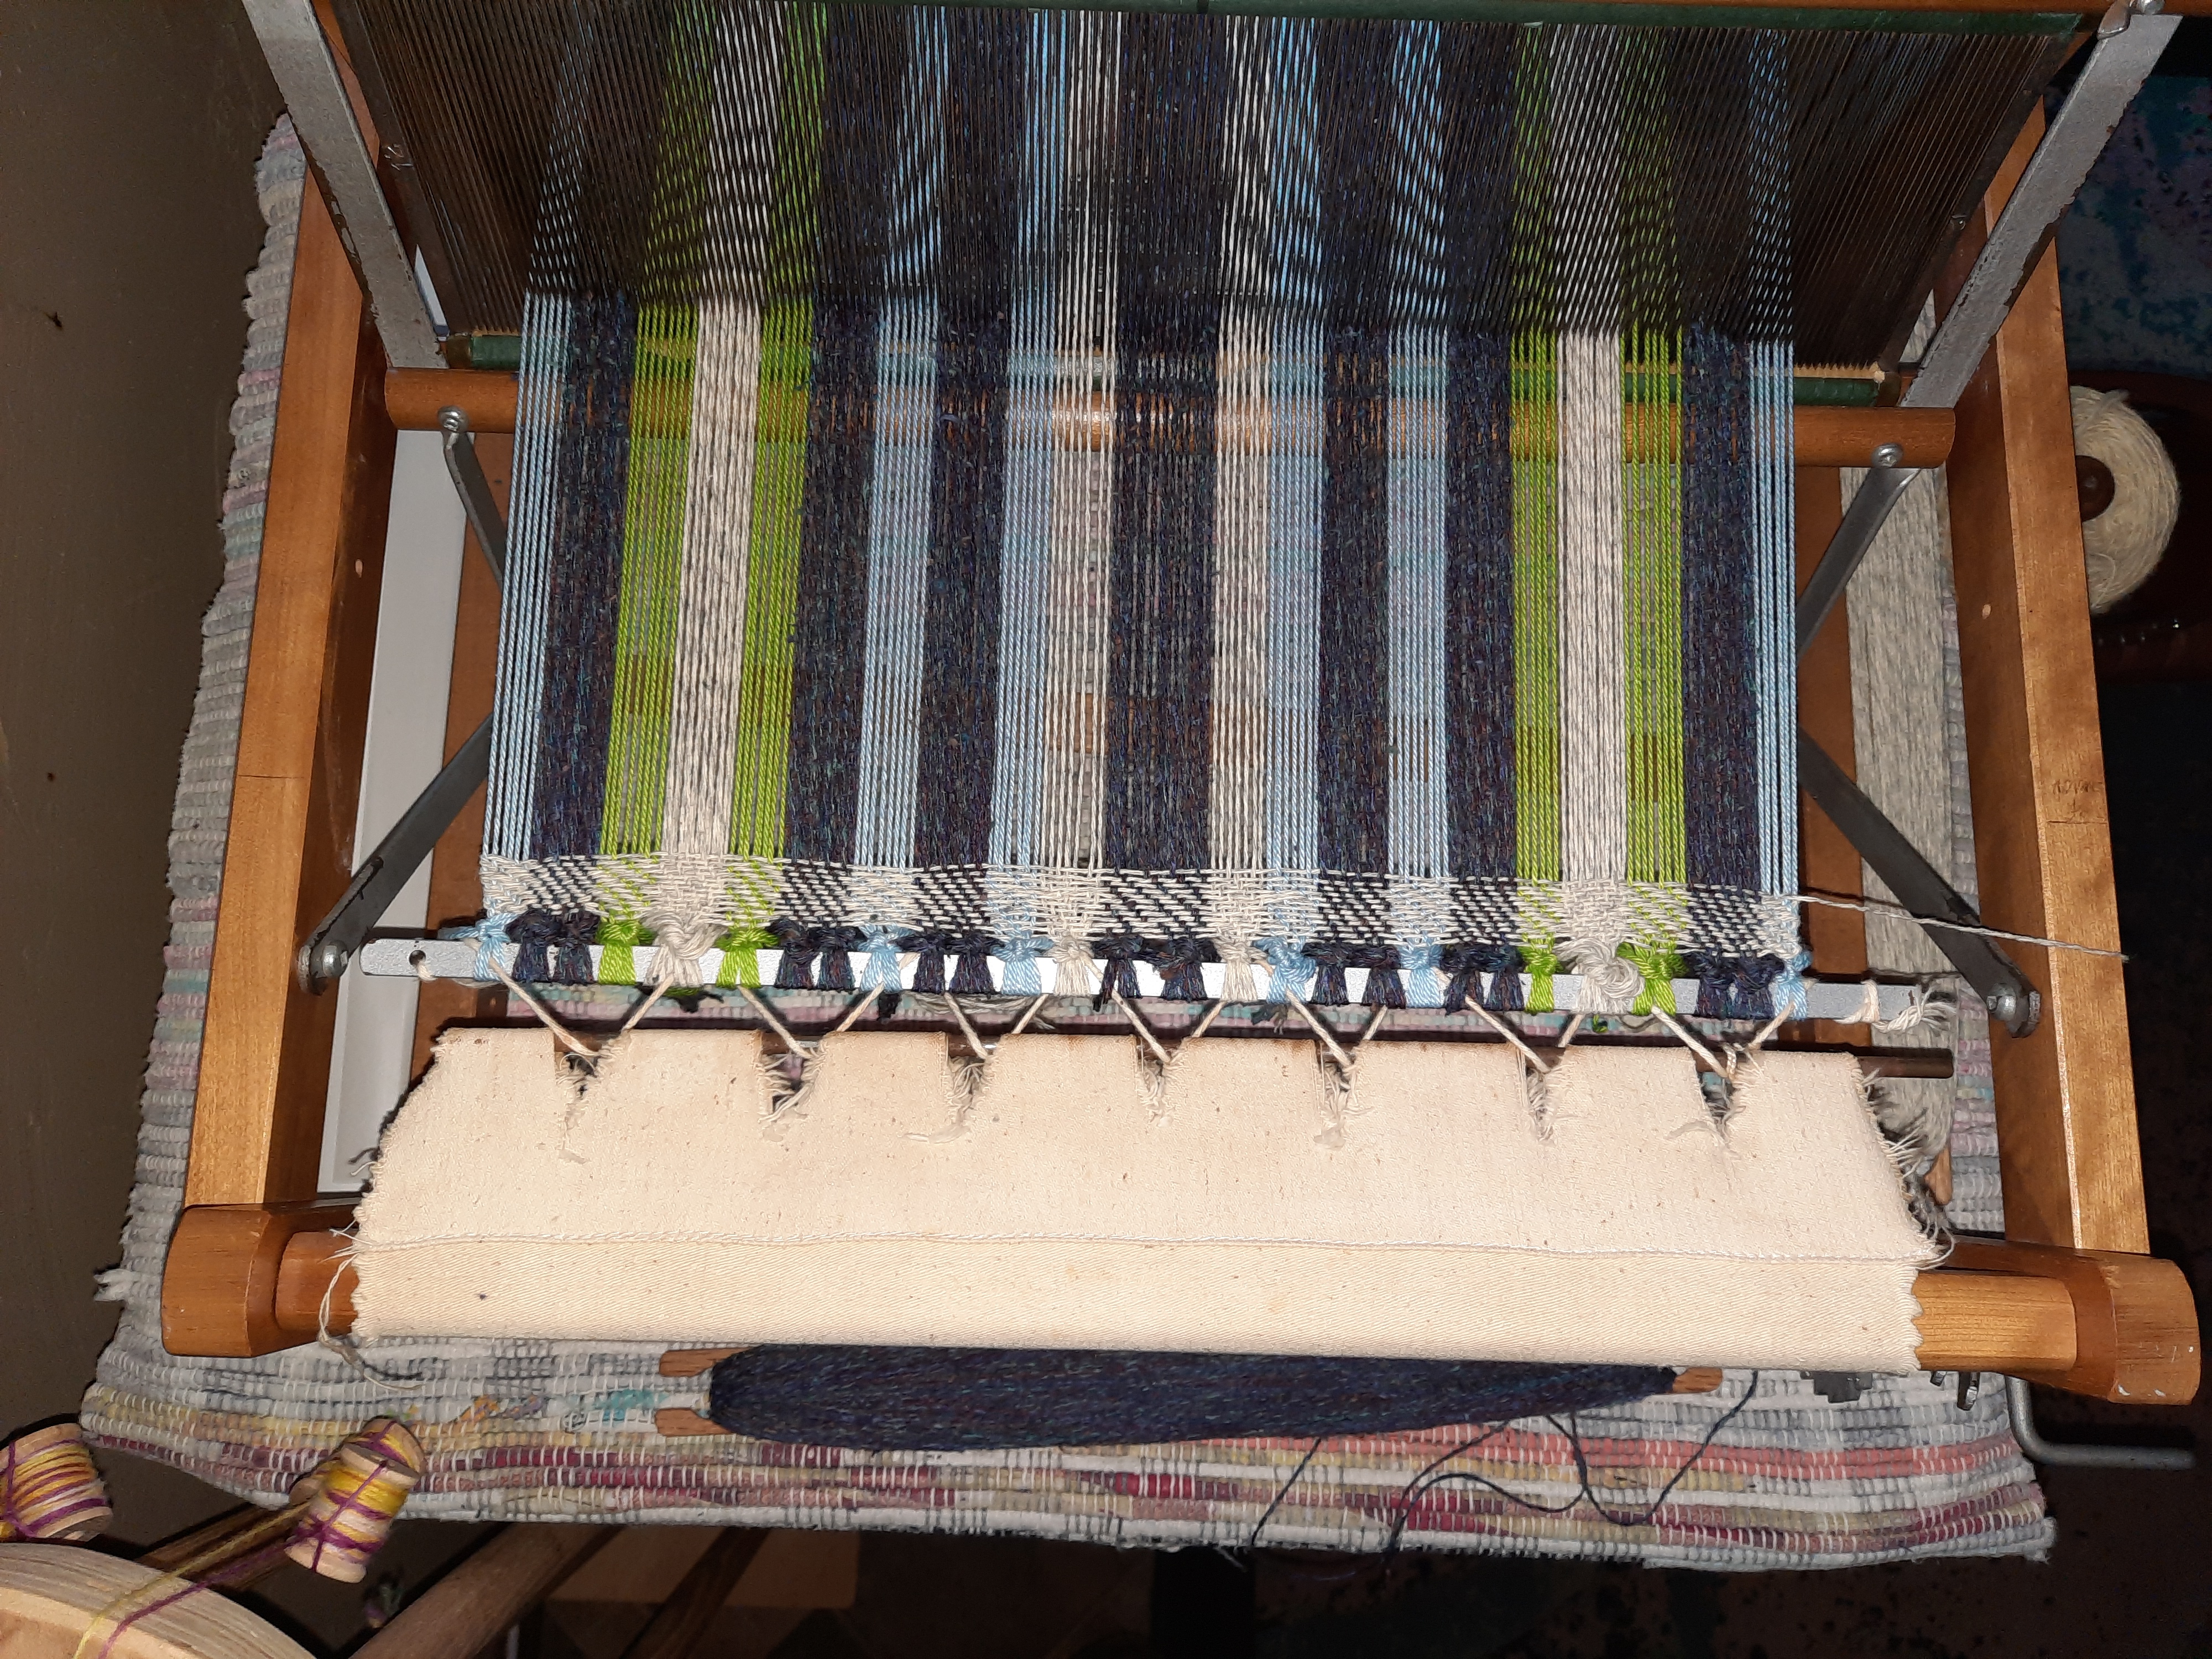
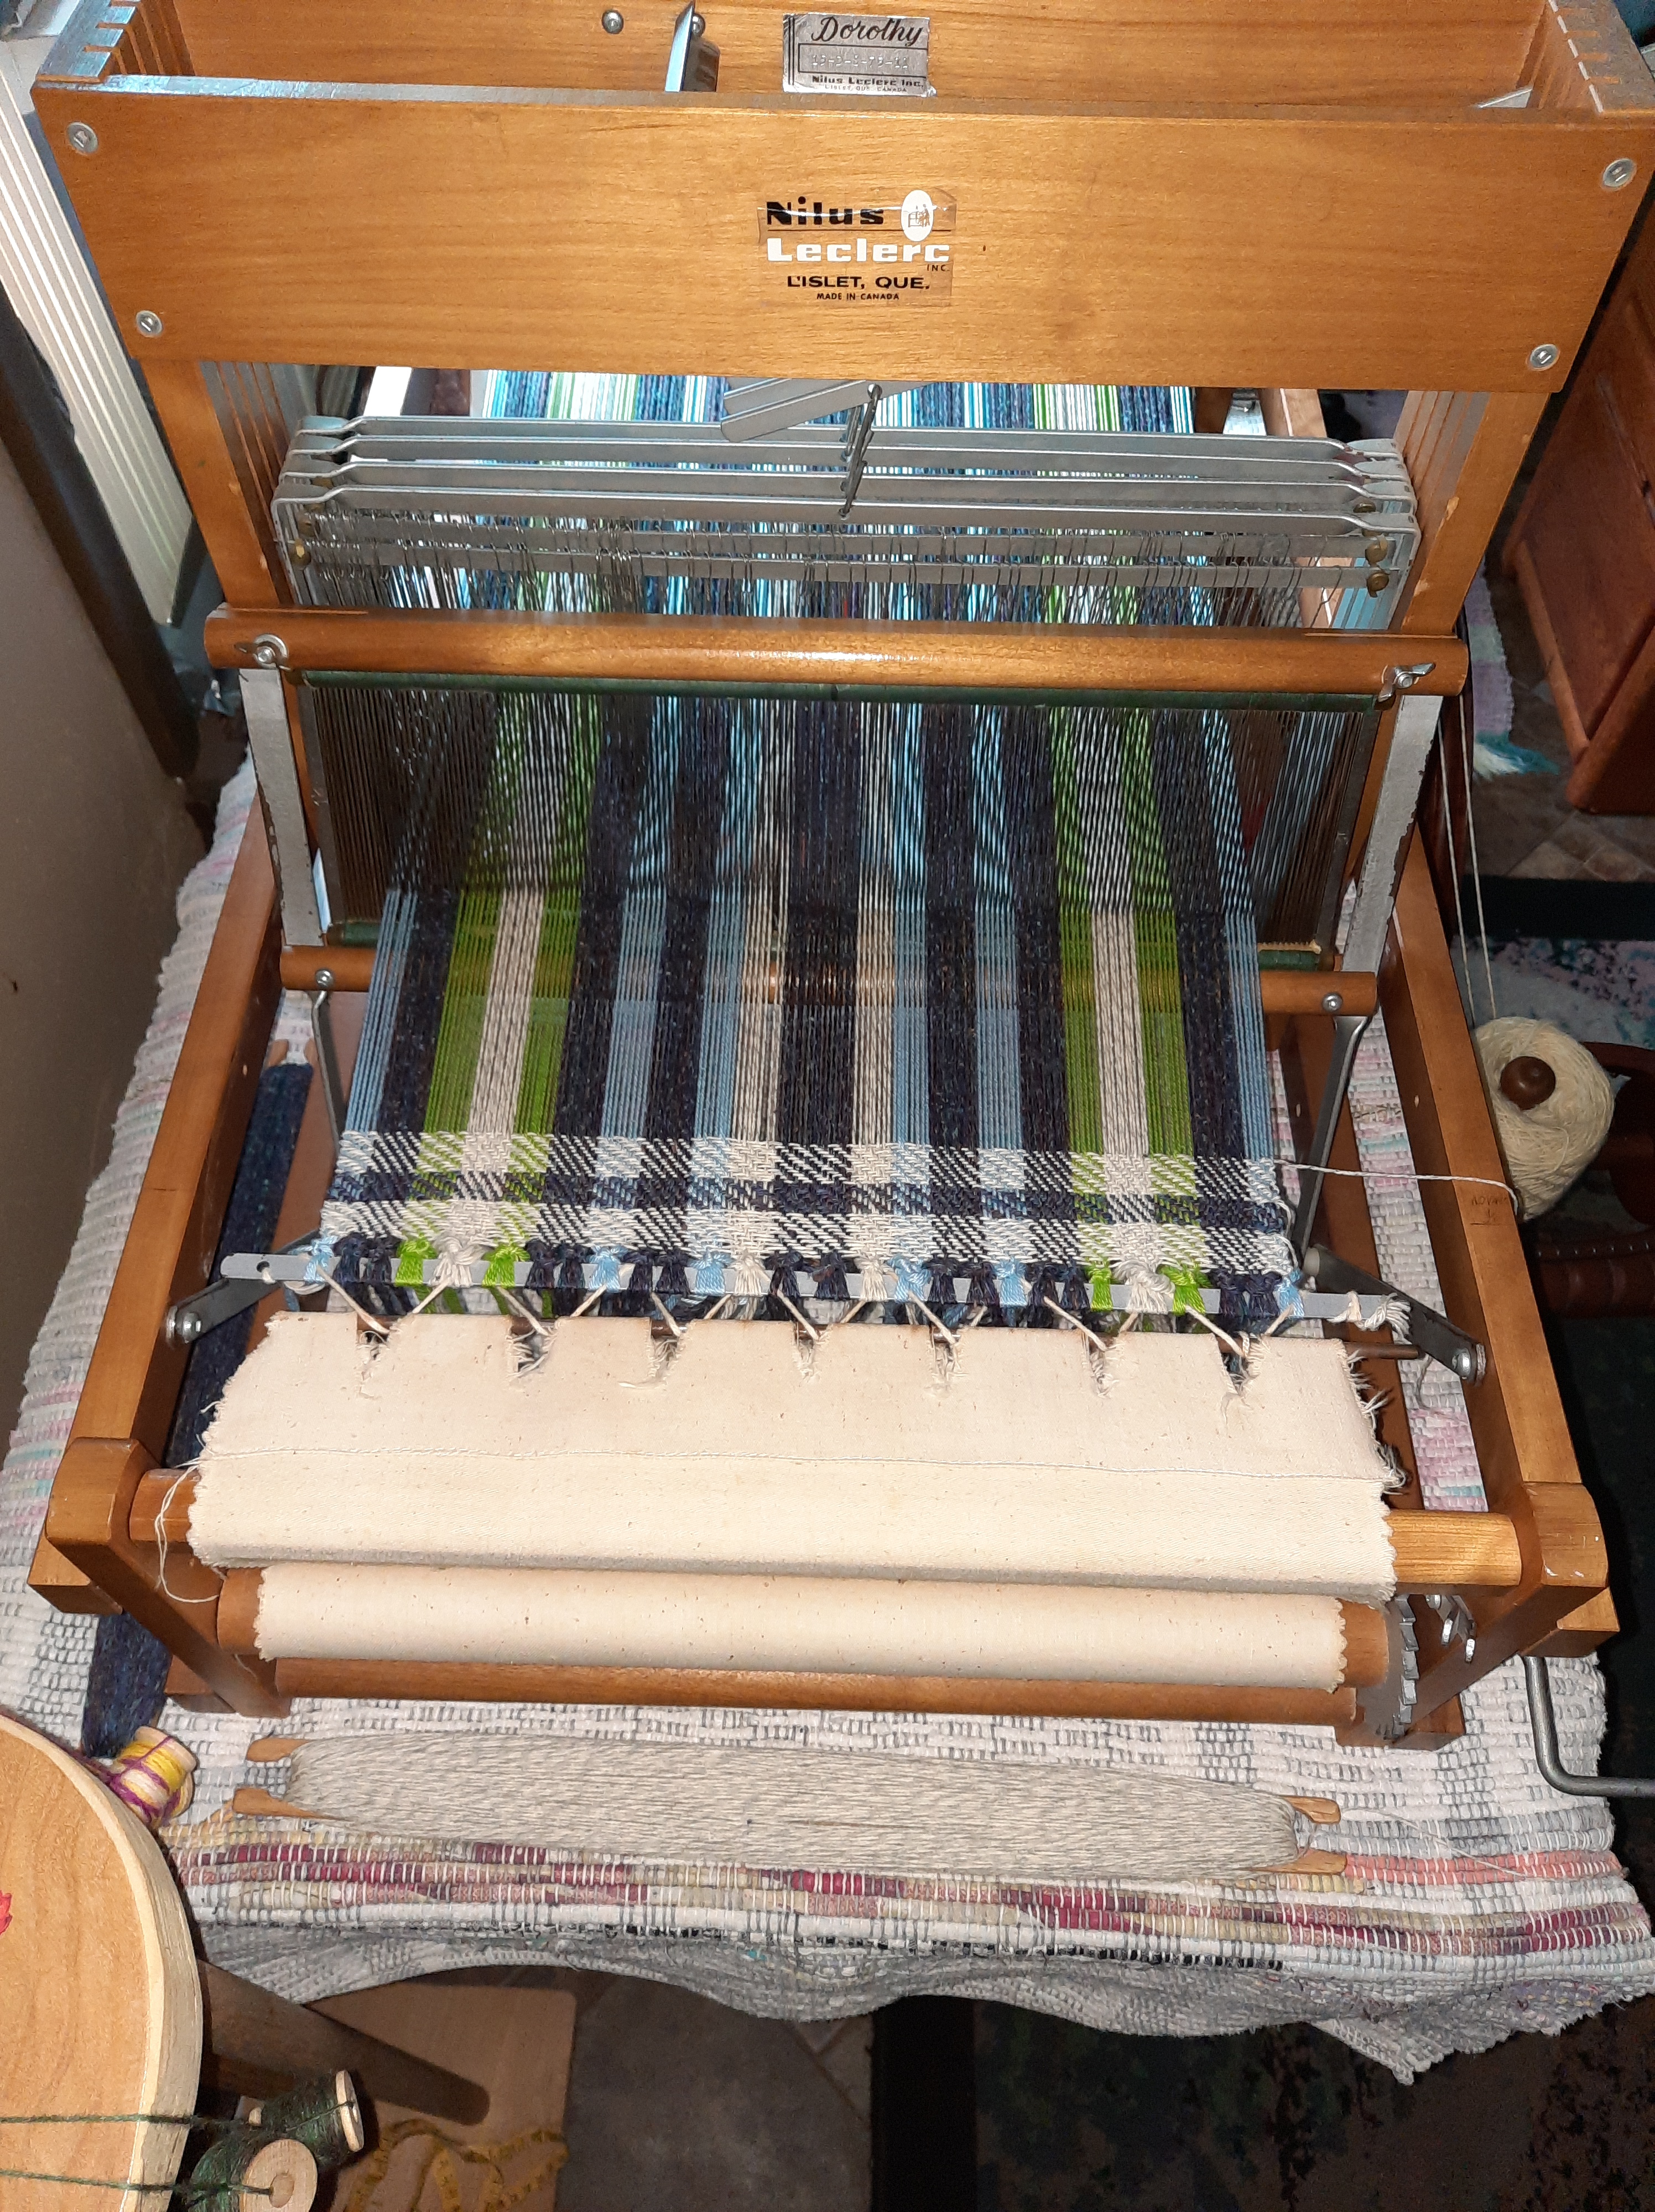
Spring Fling Dishtowel #3
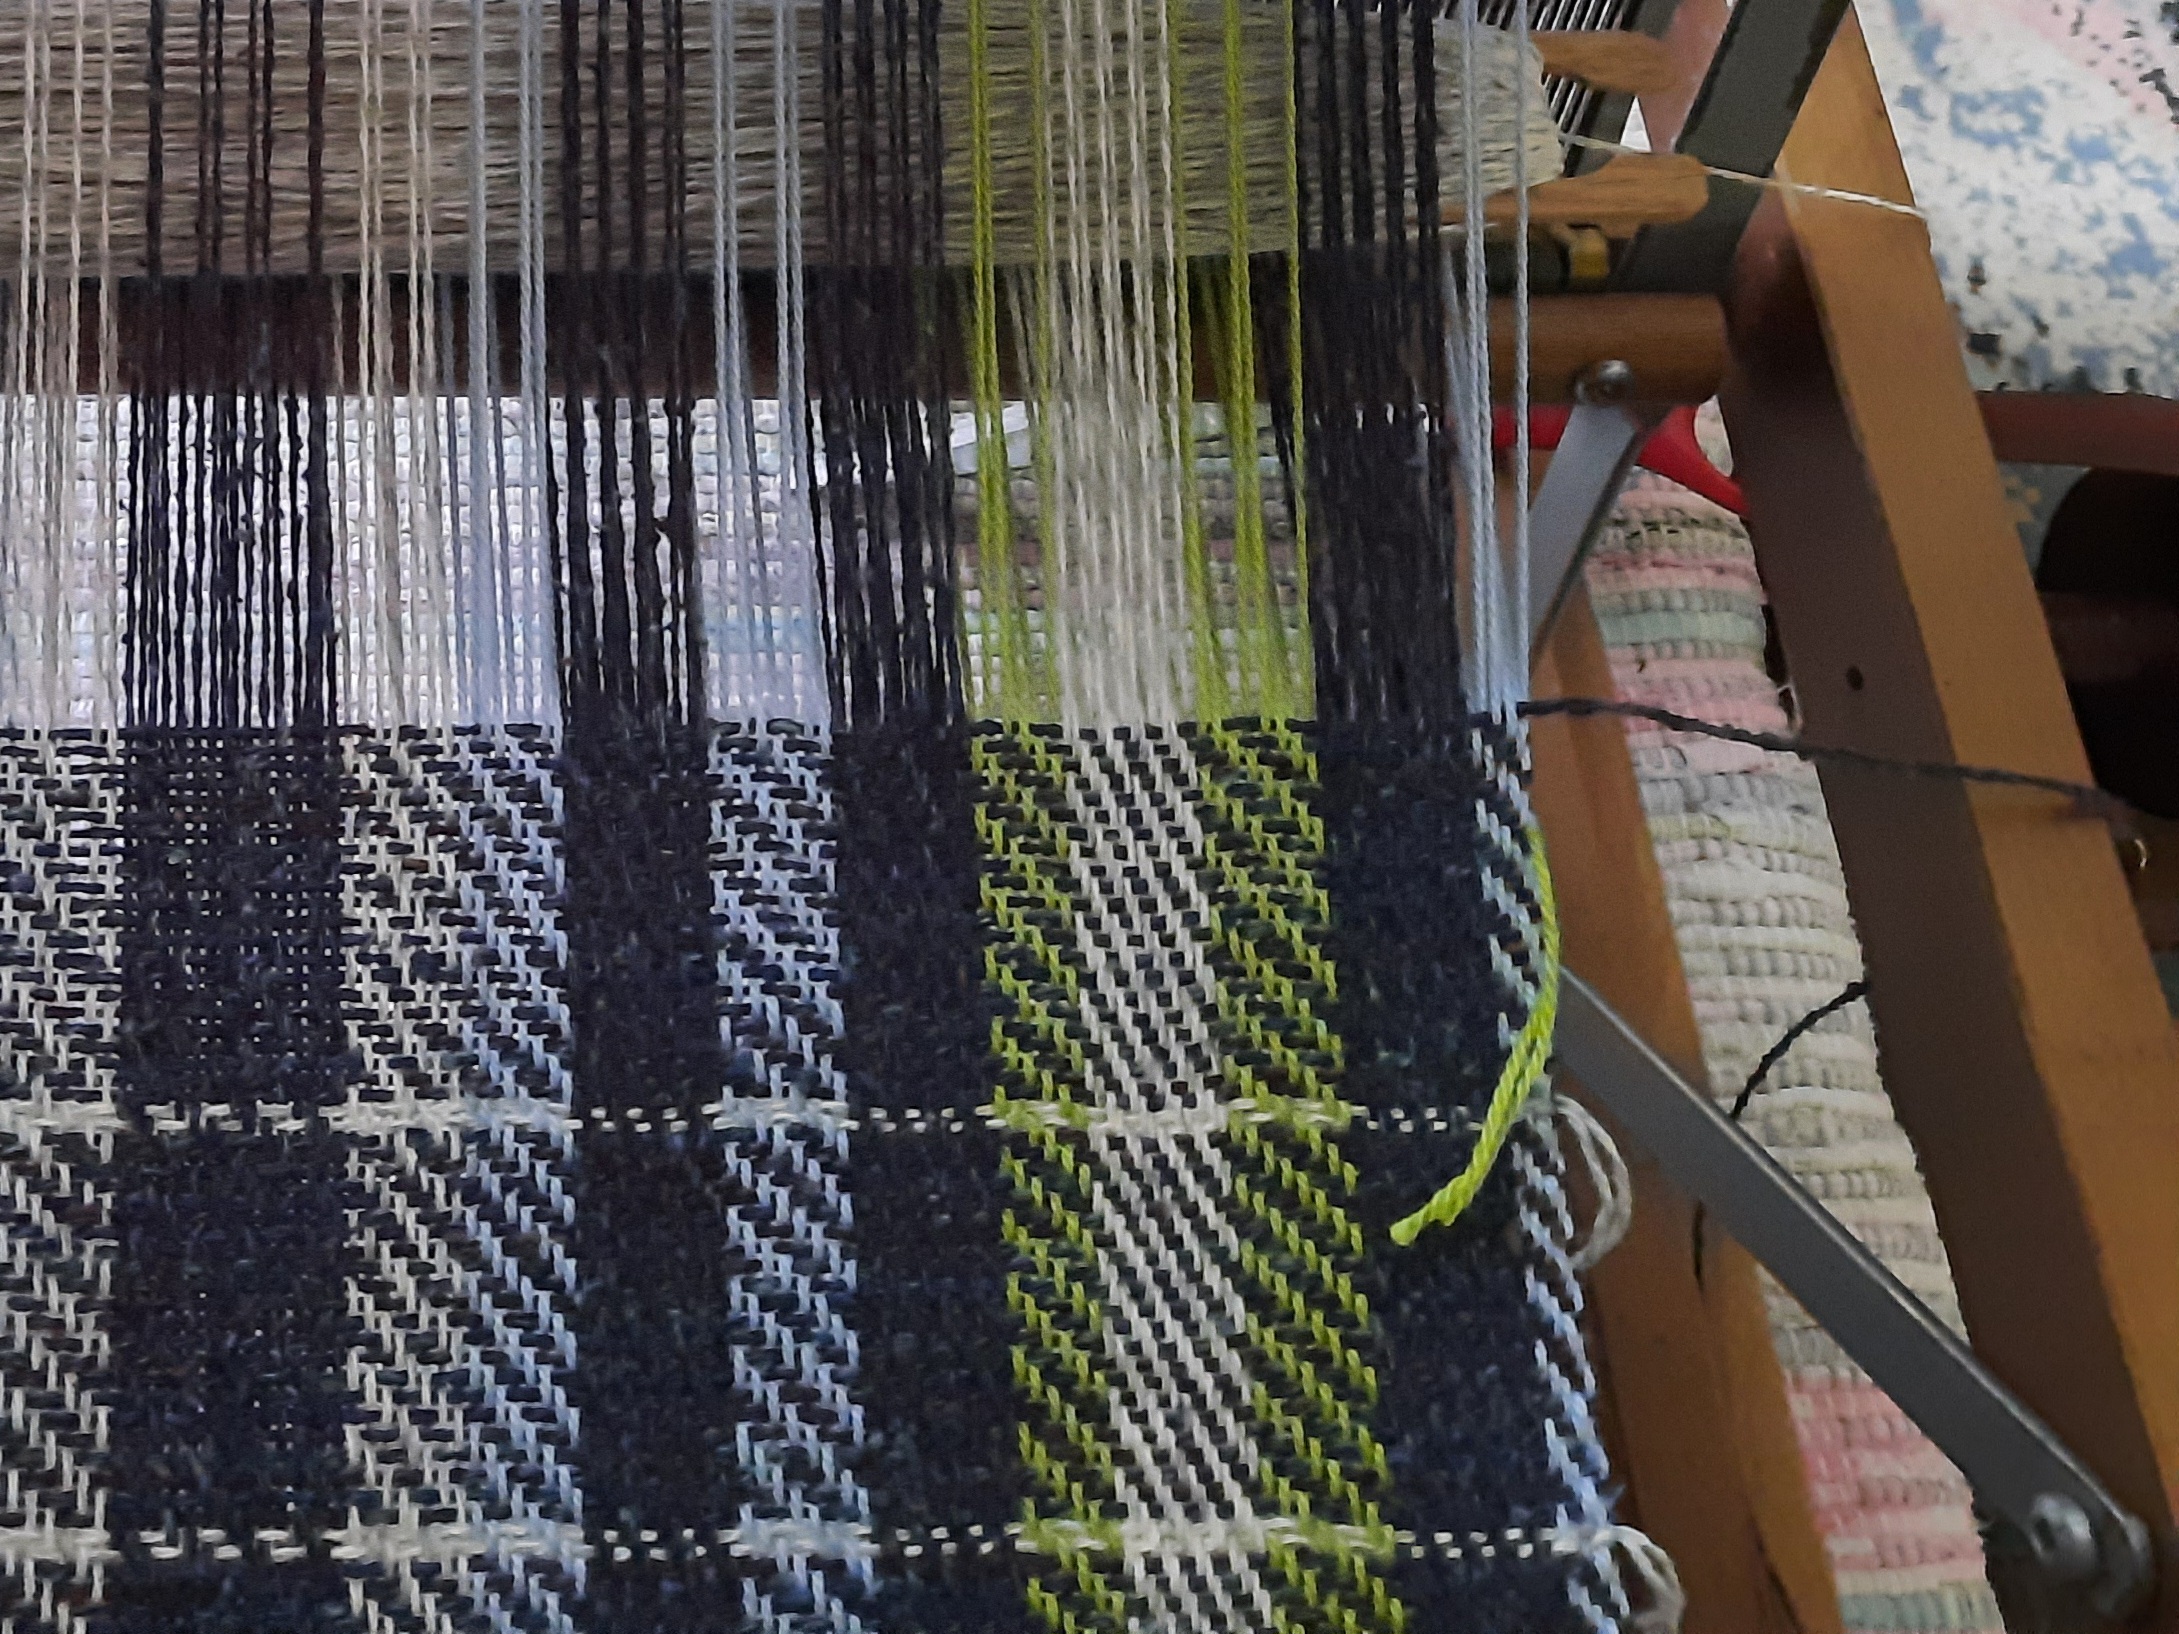
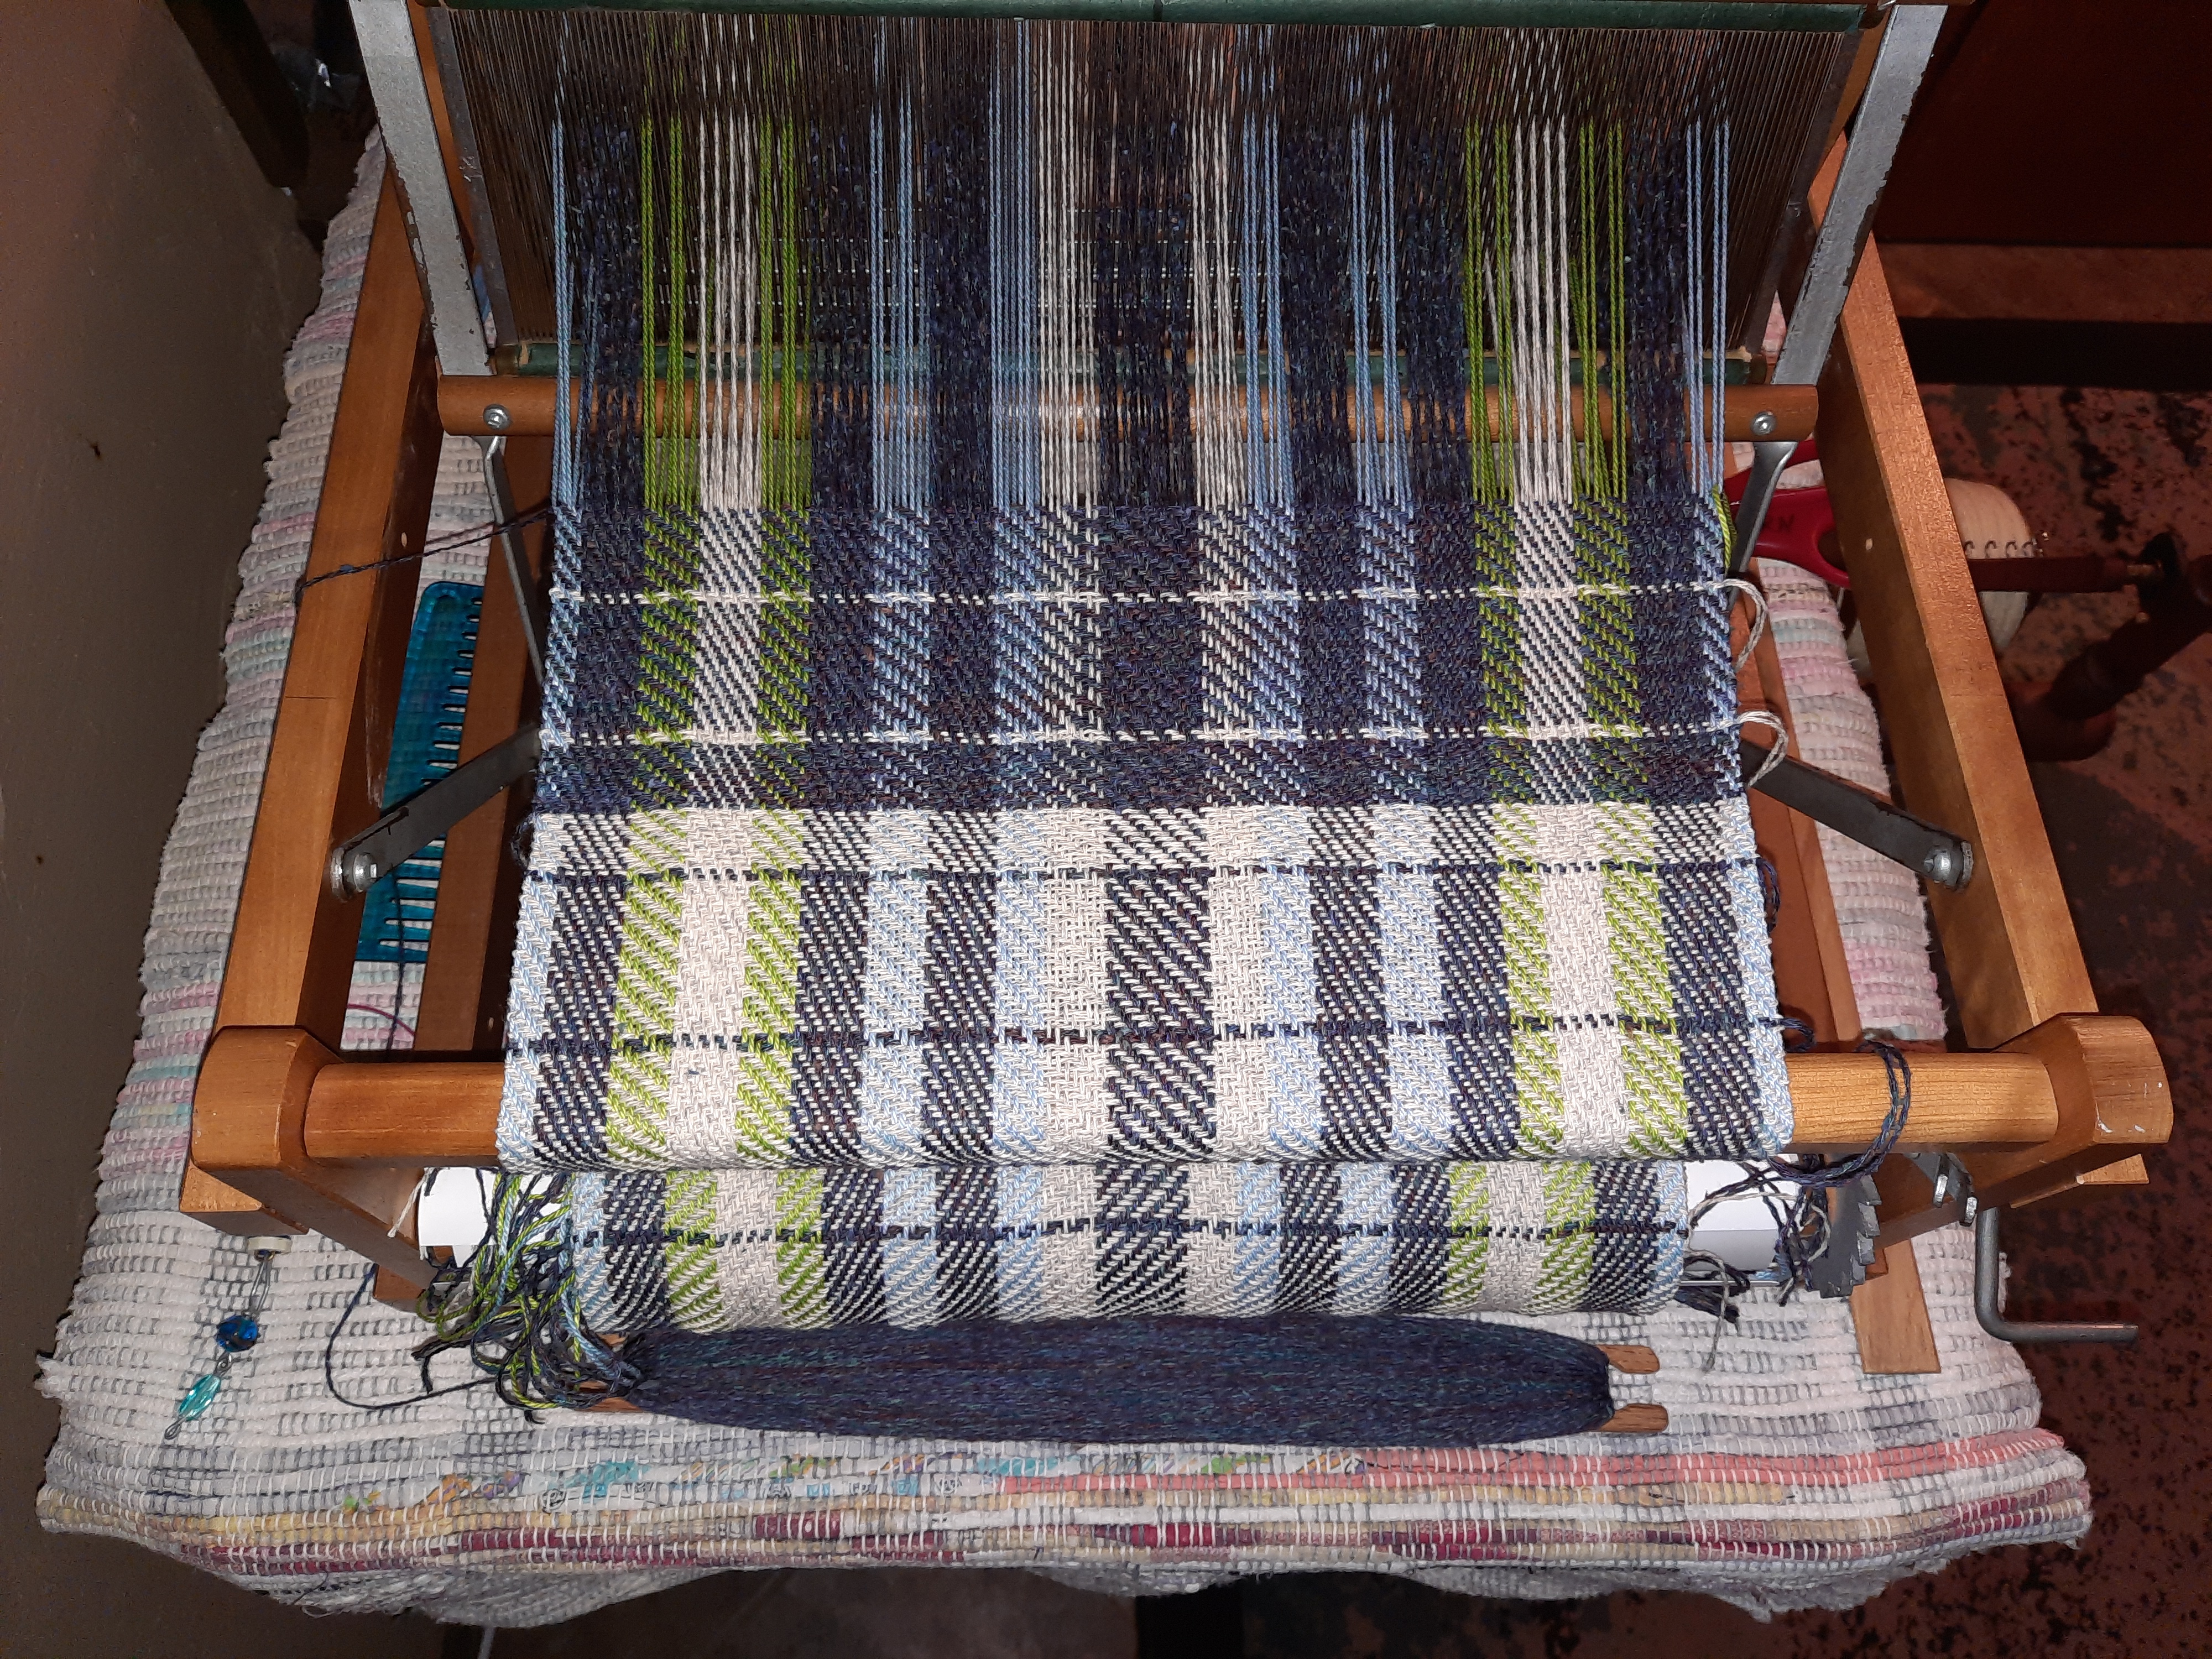
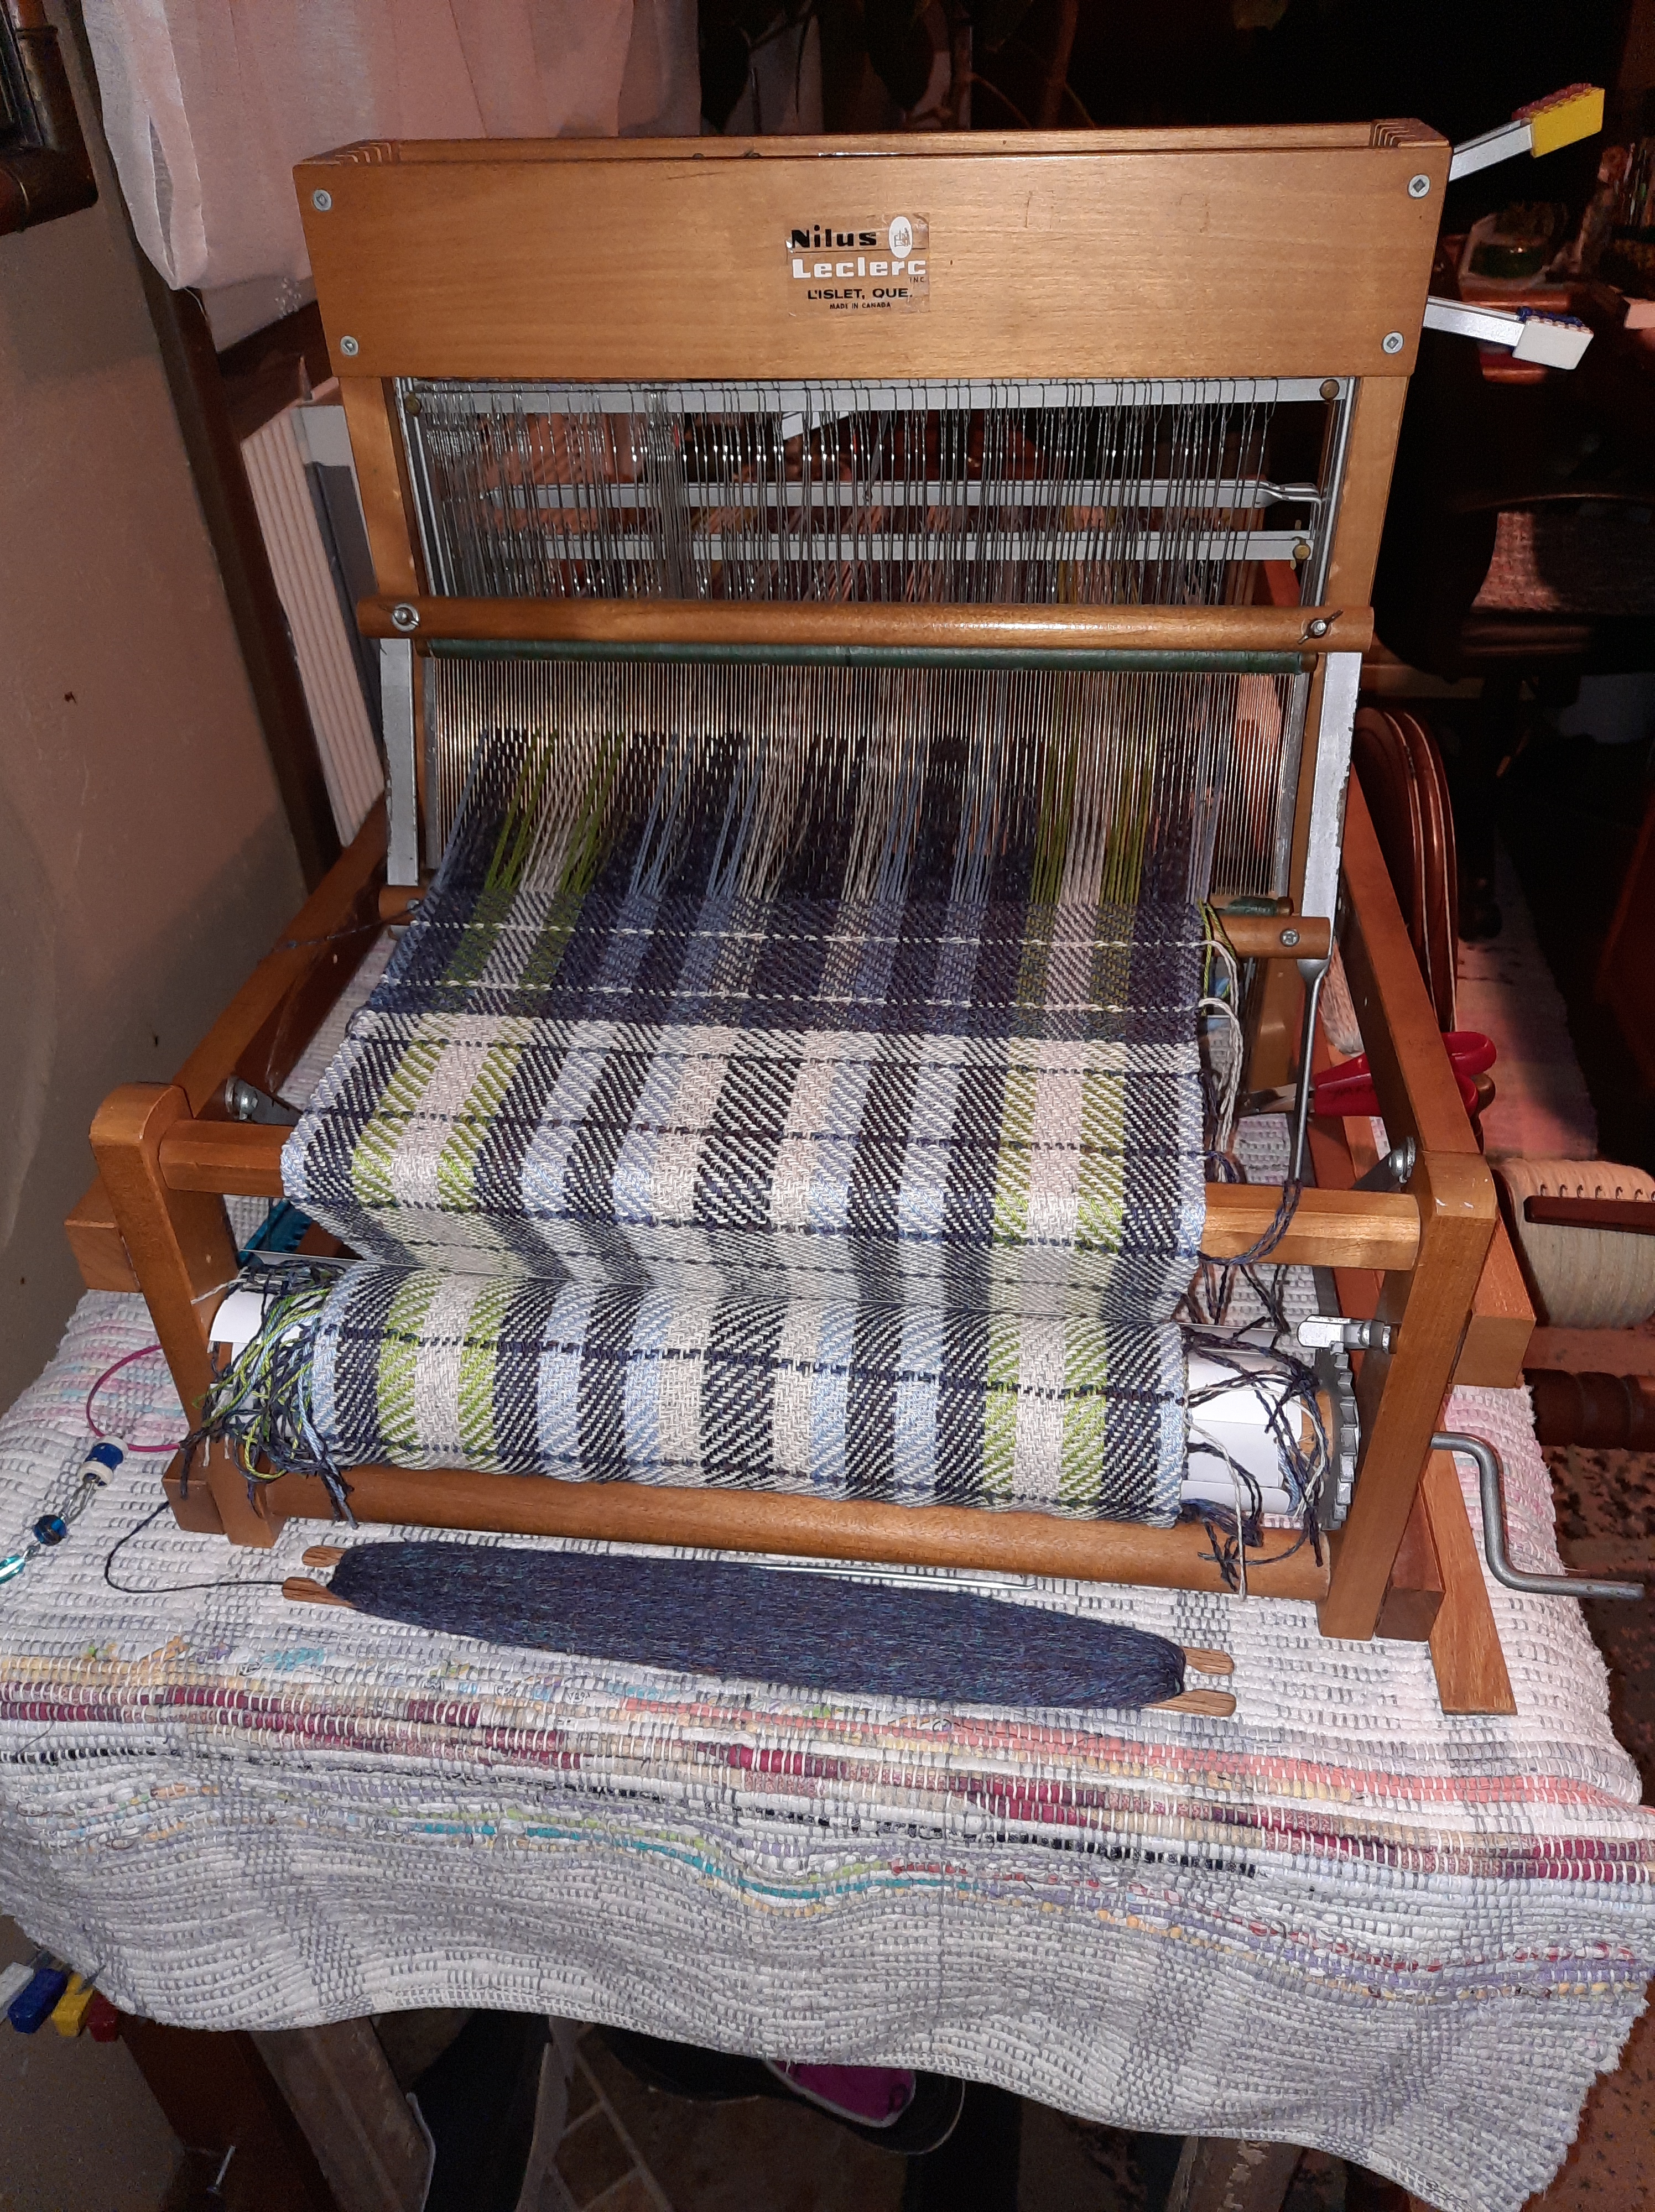
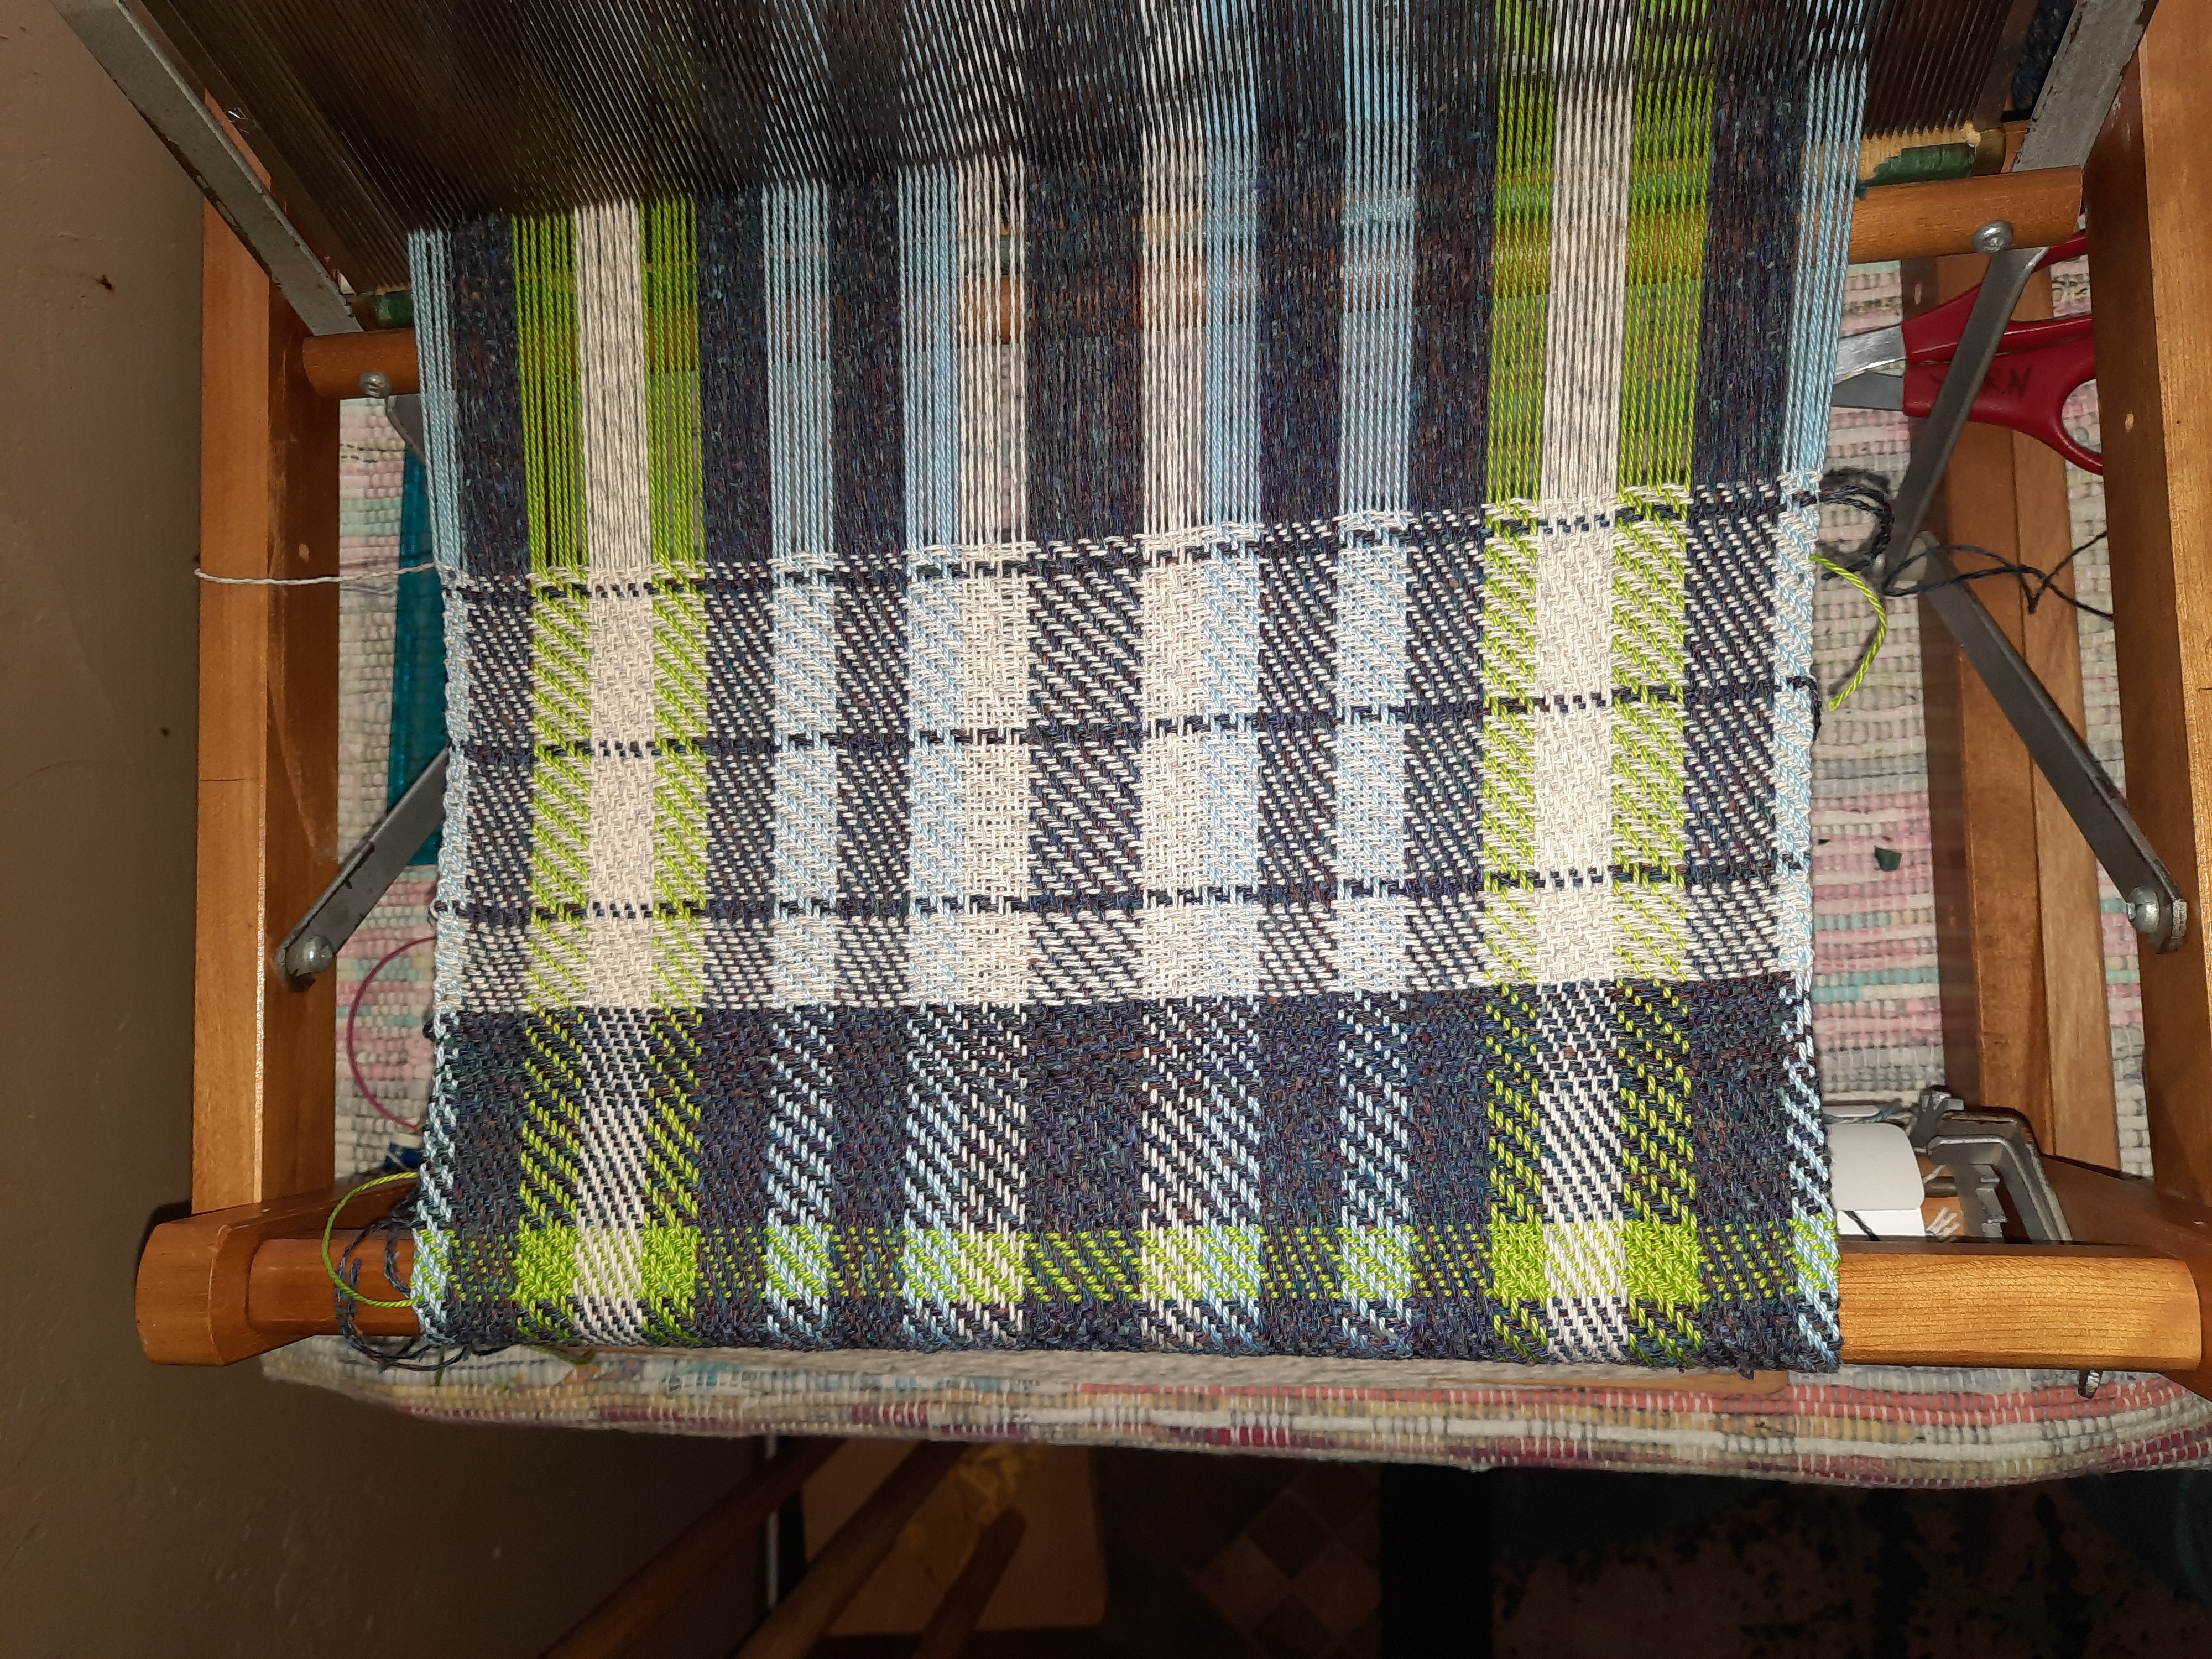
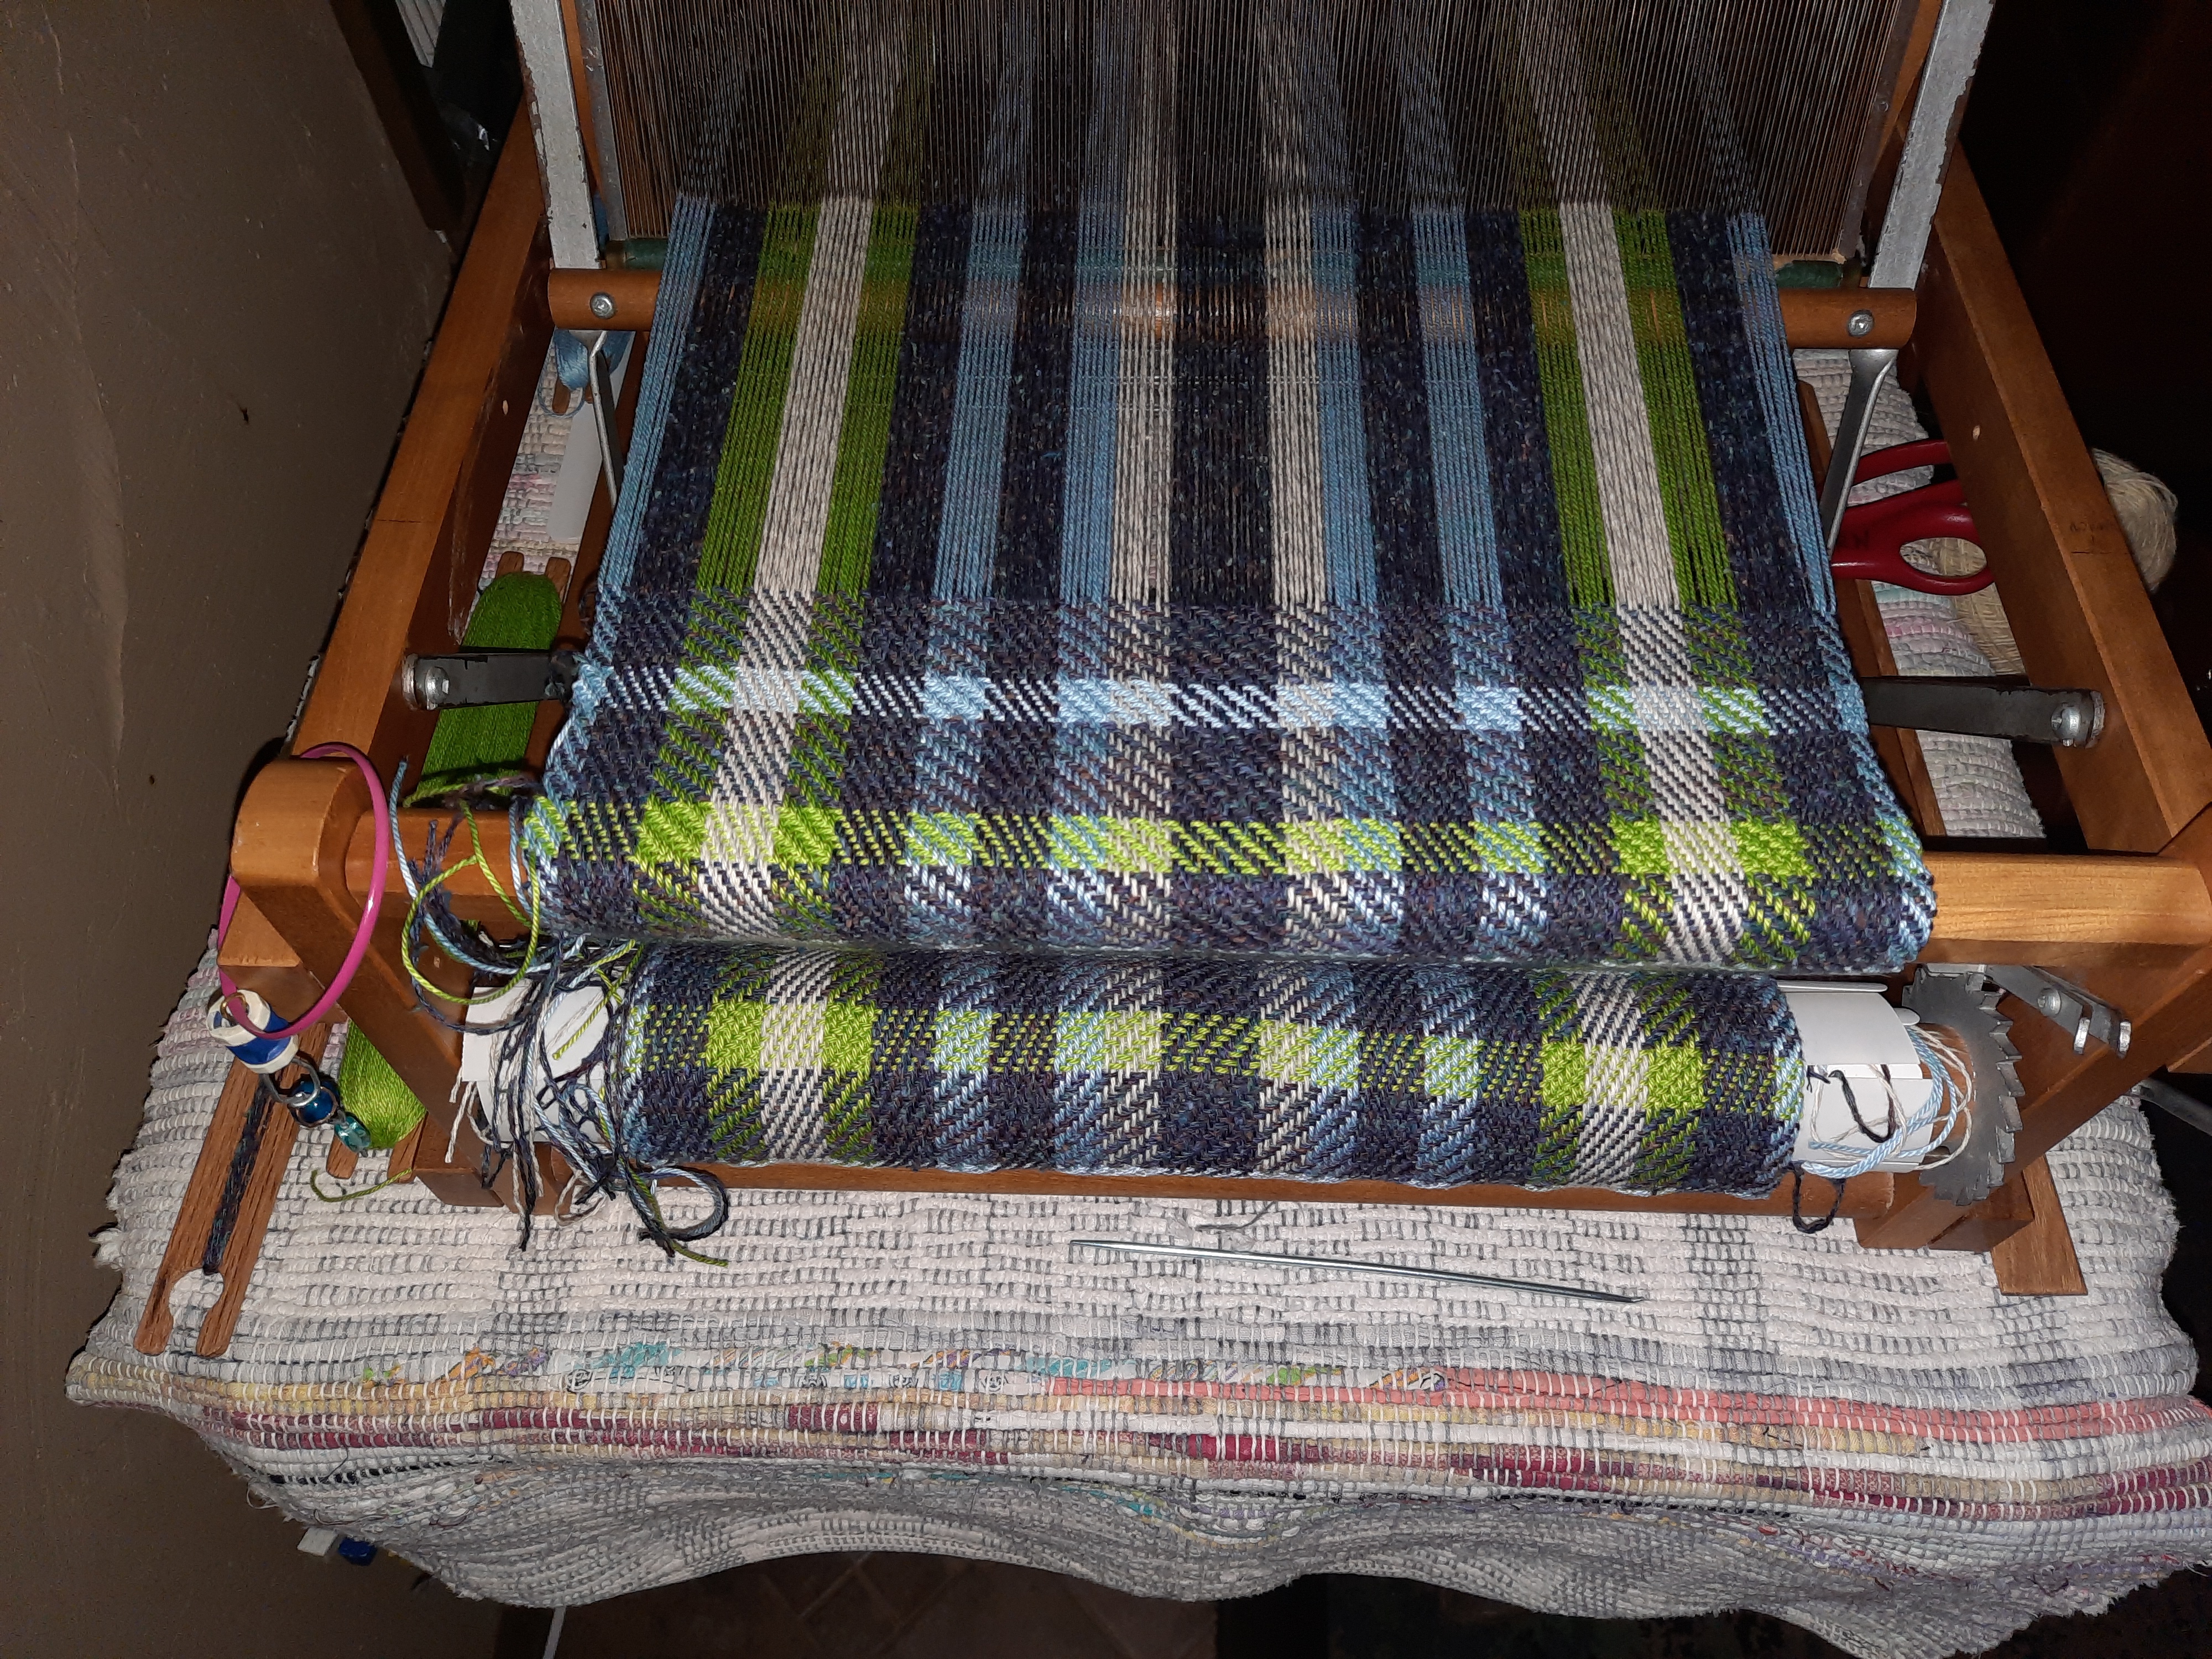
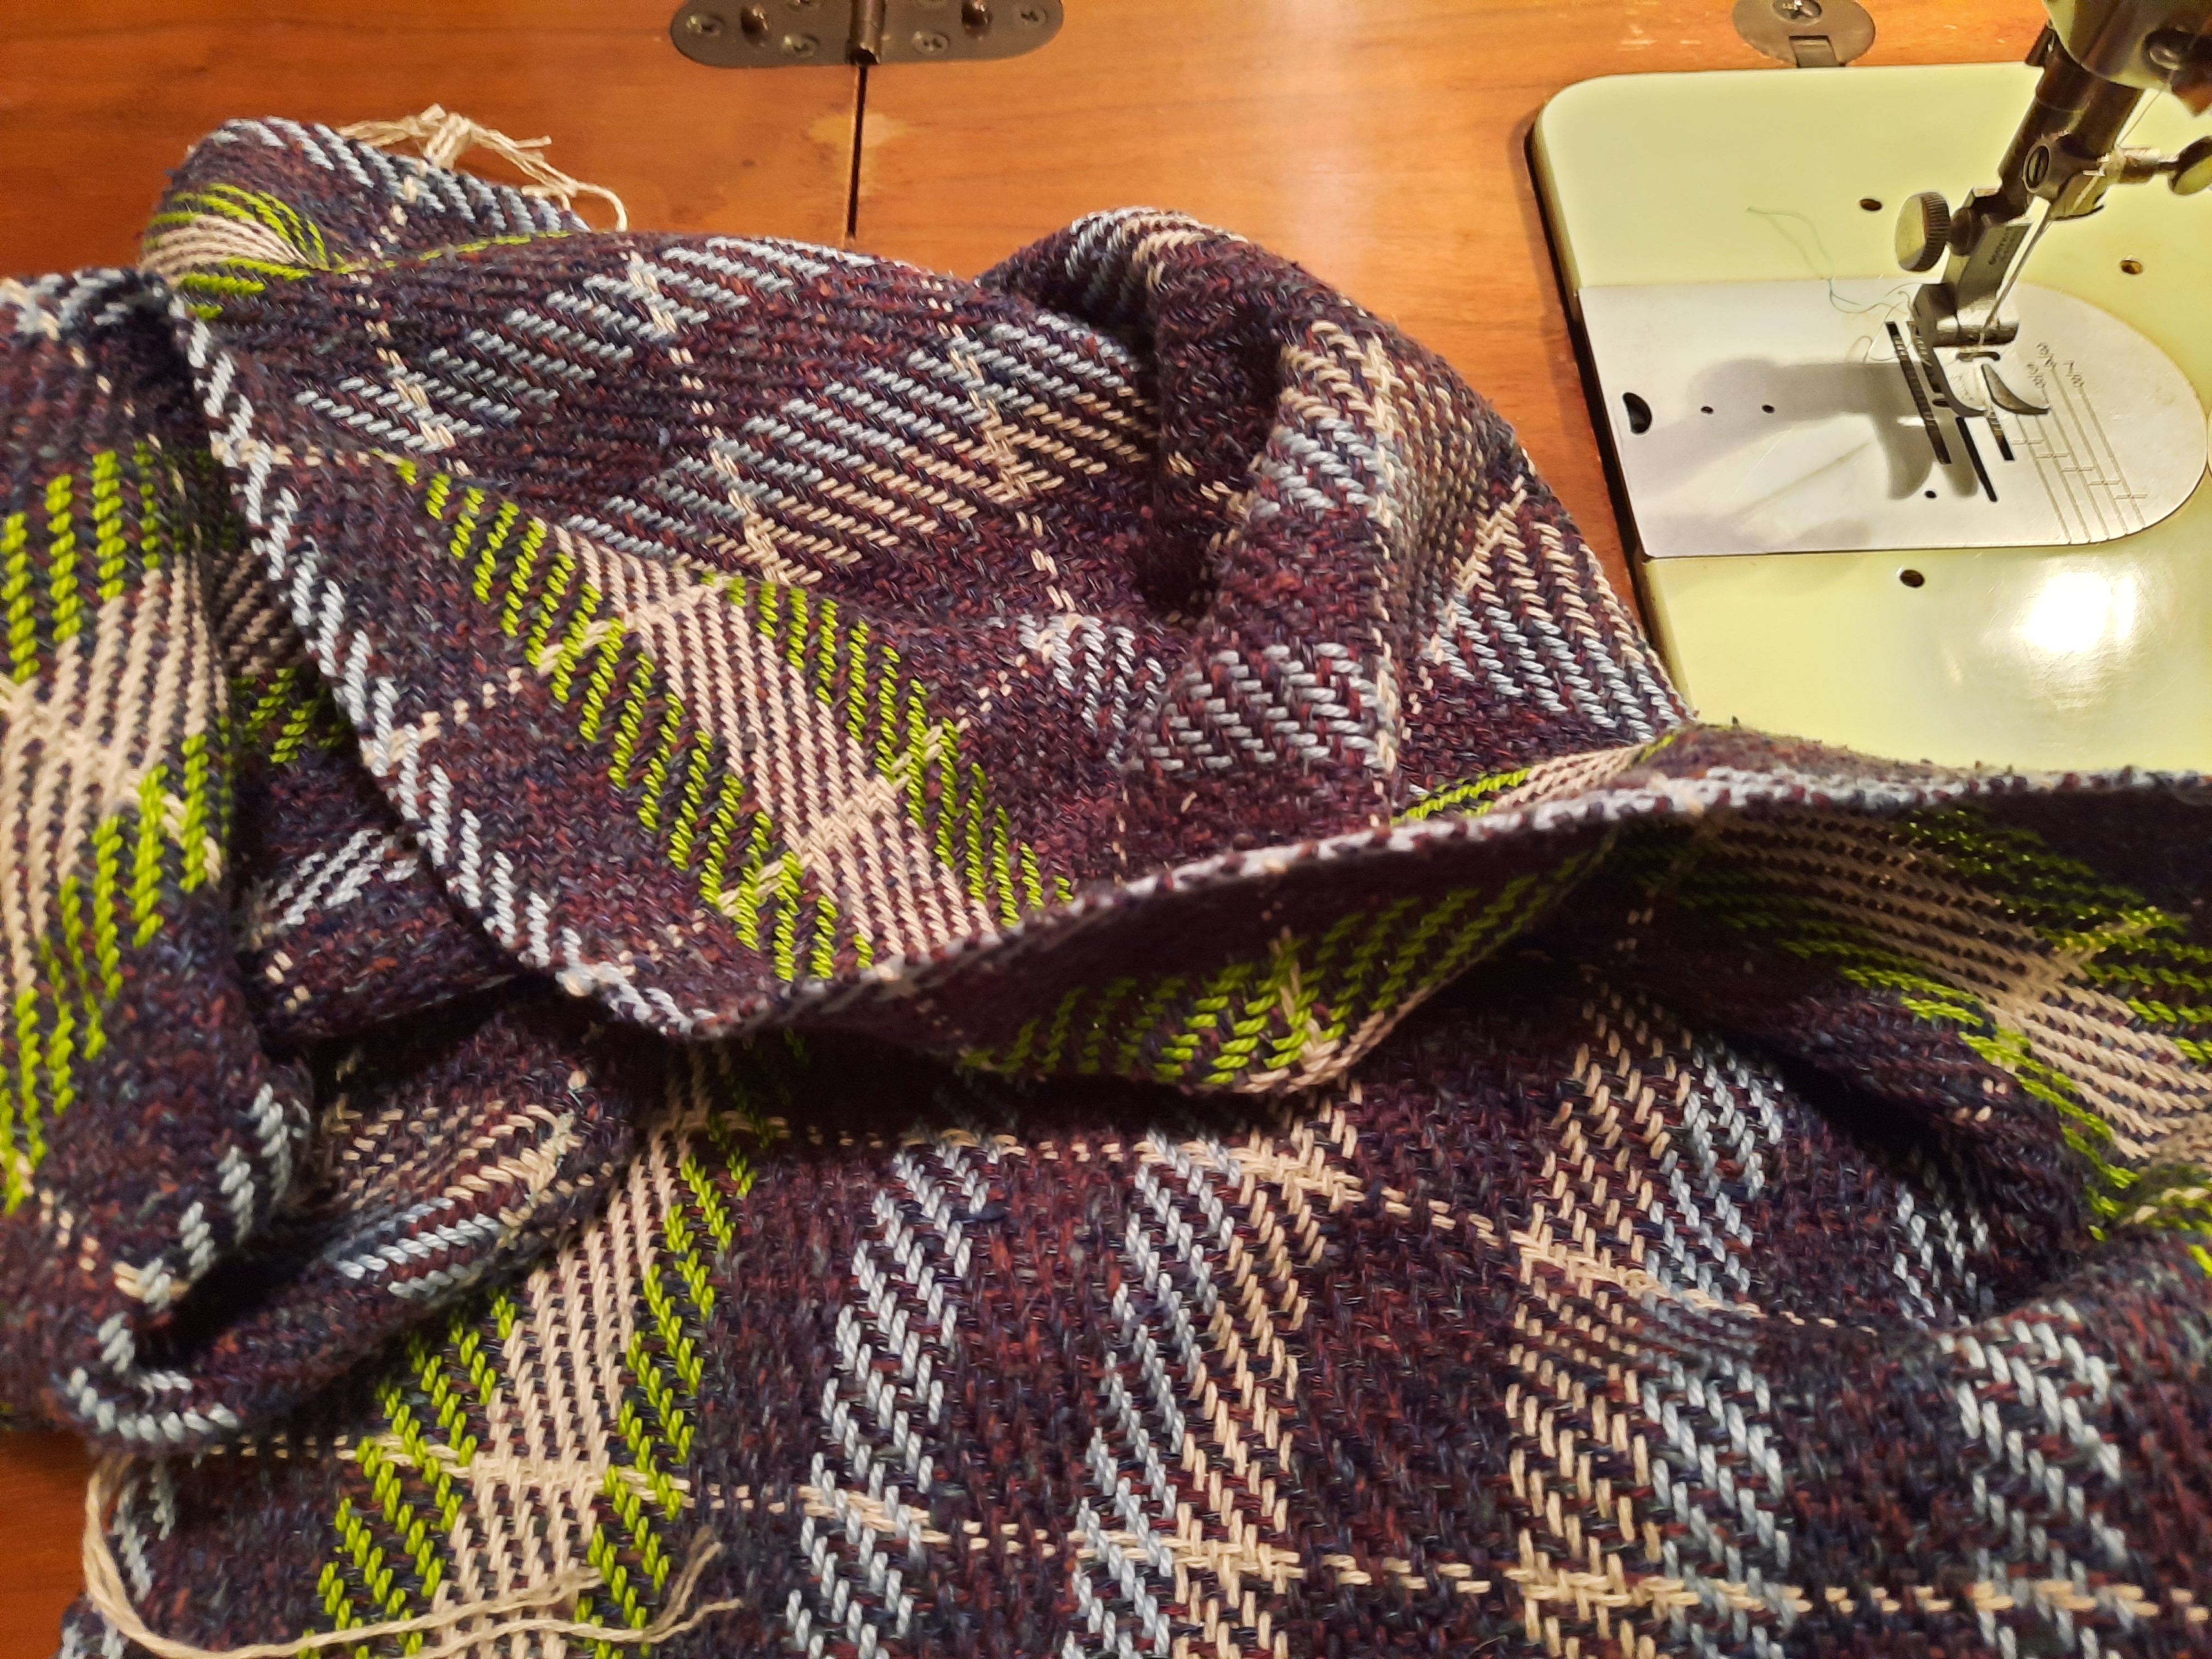
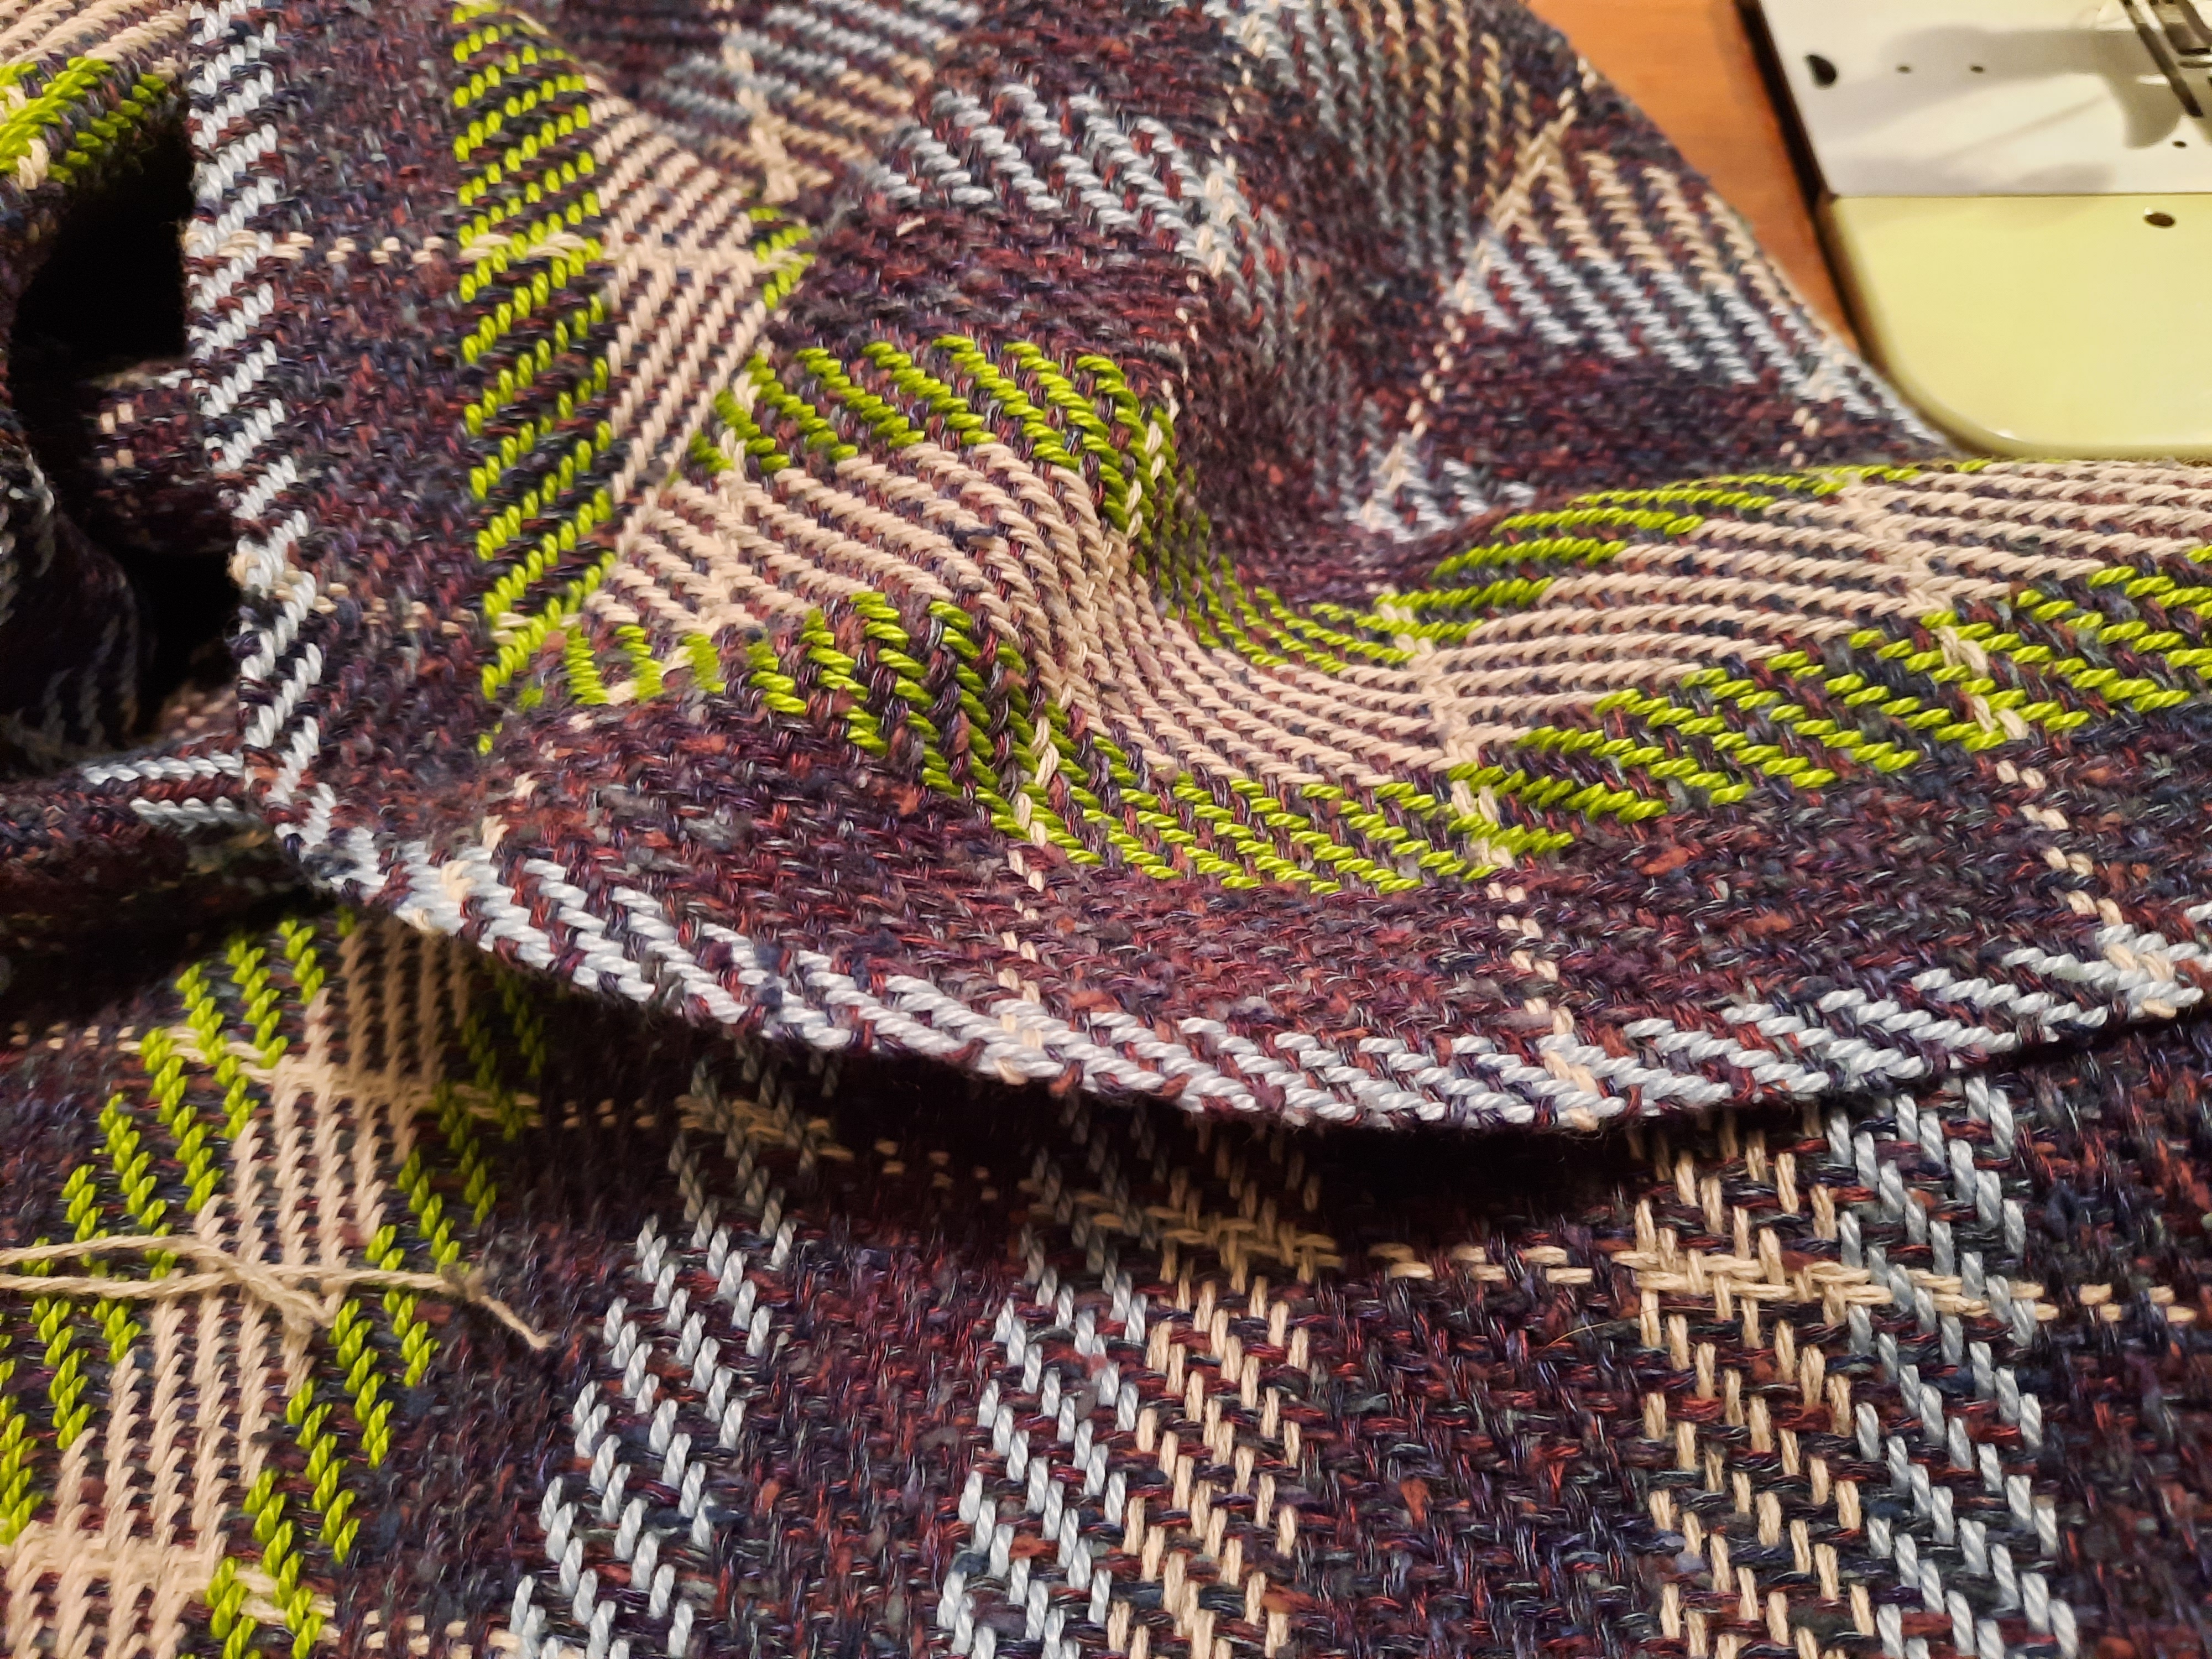
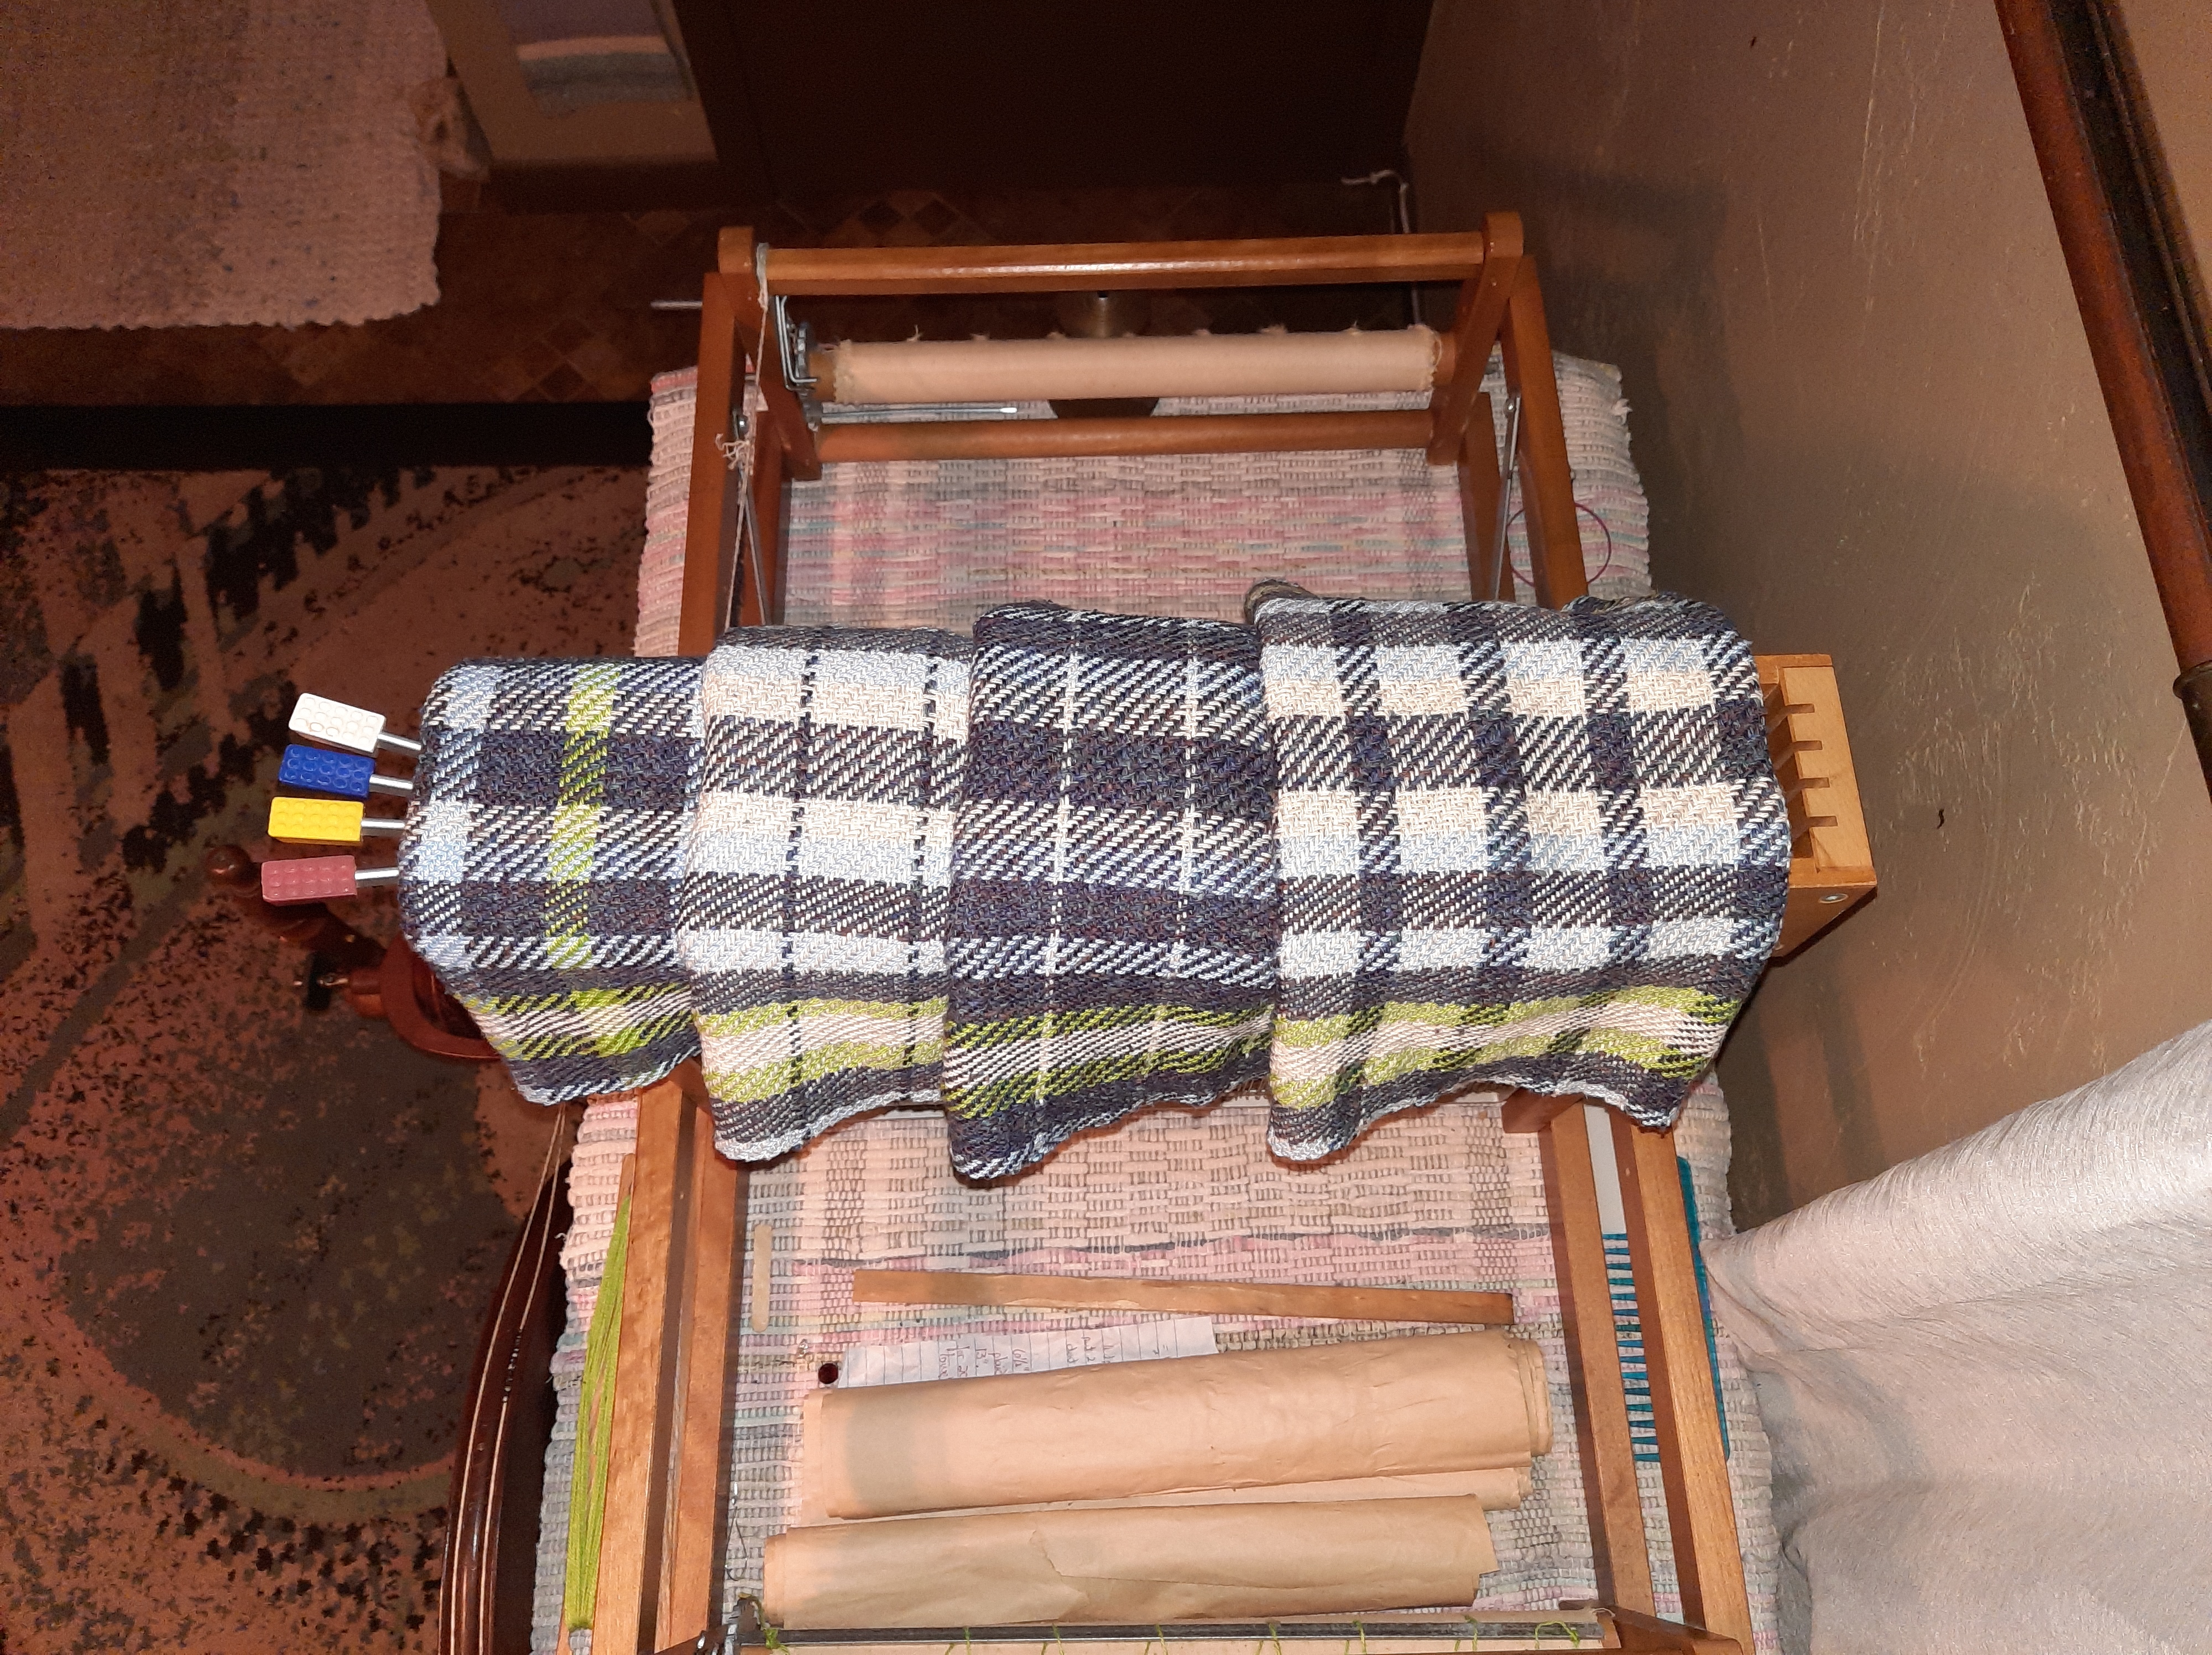
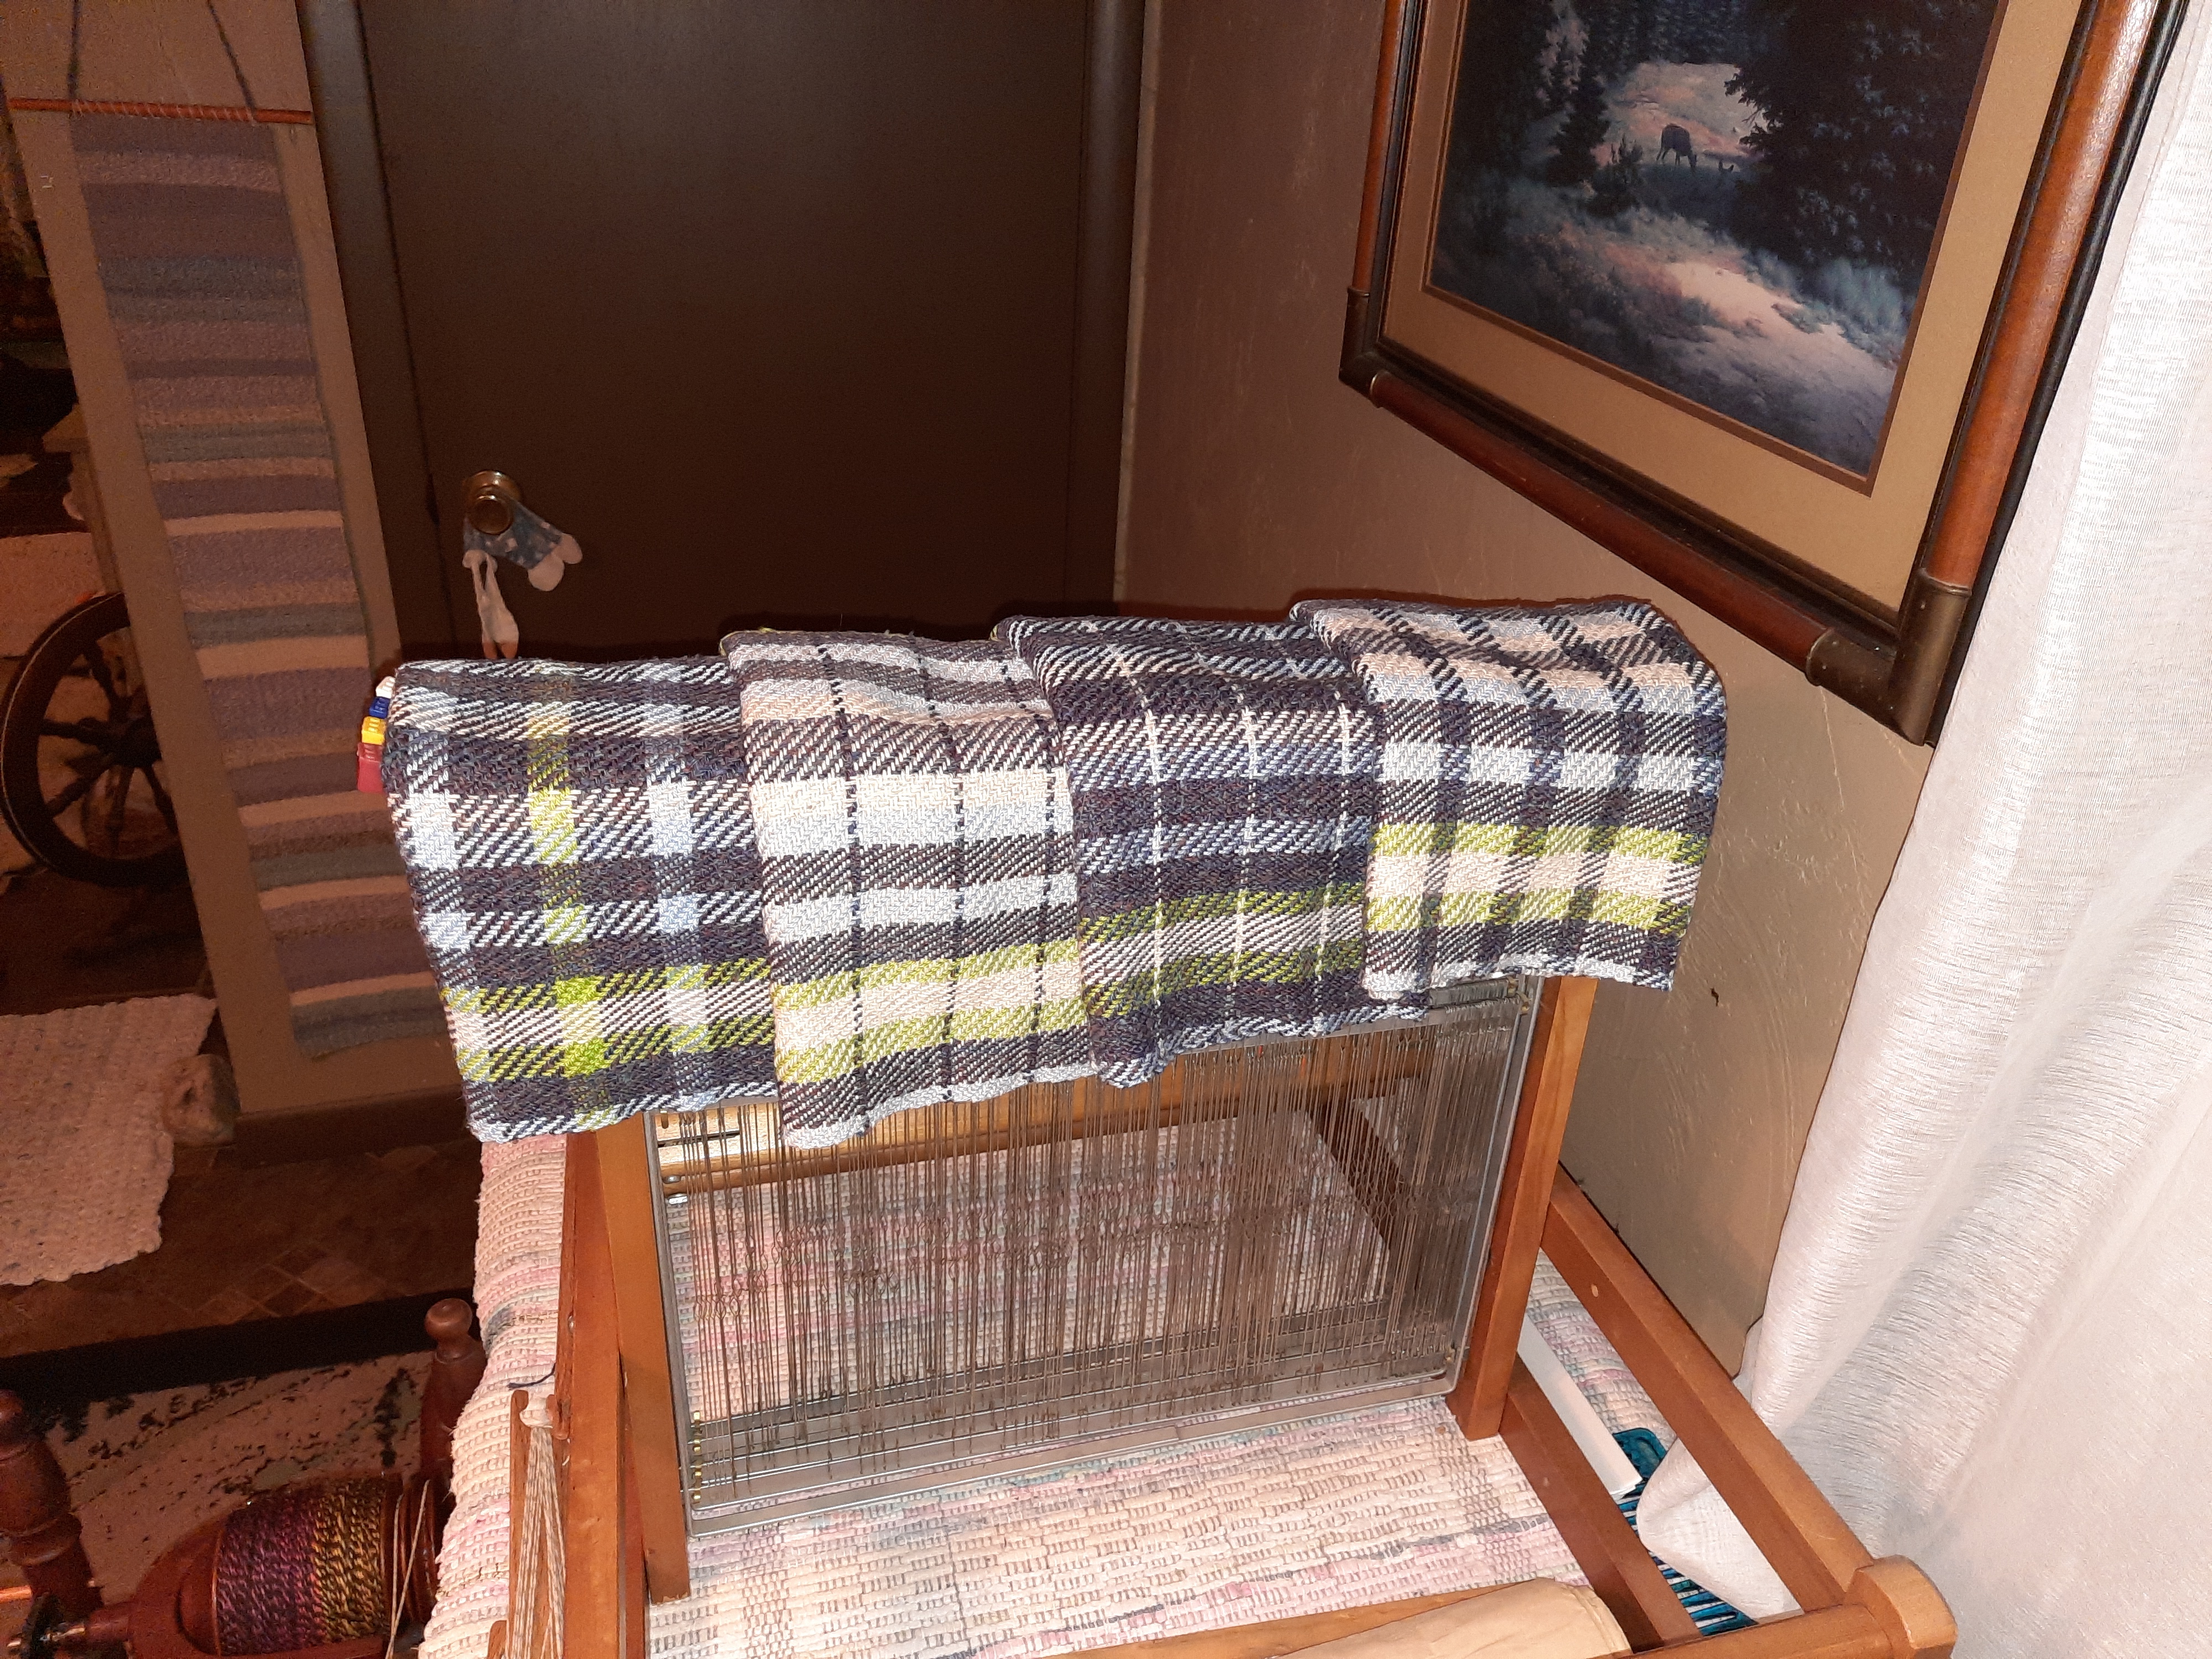
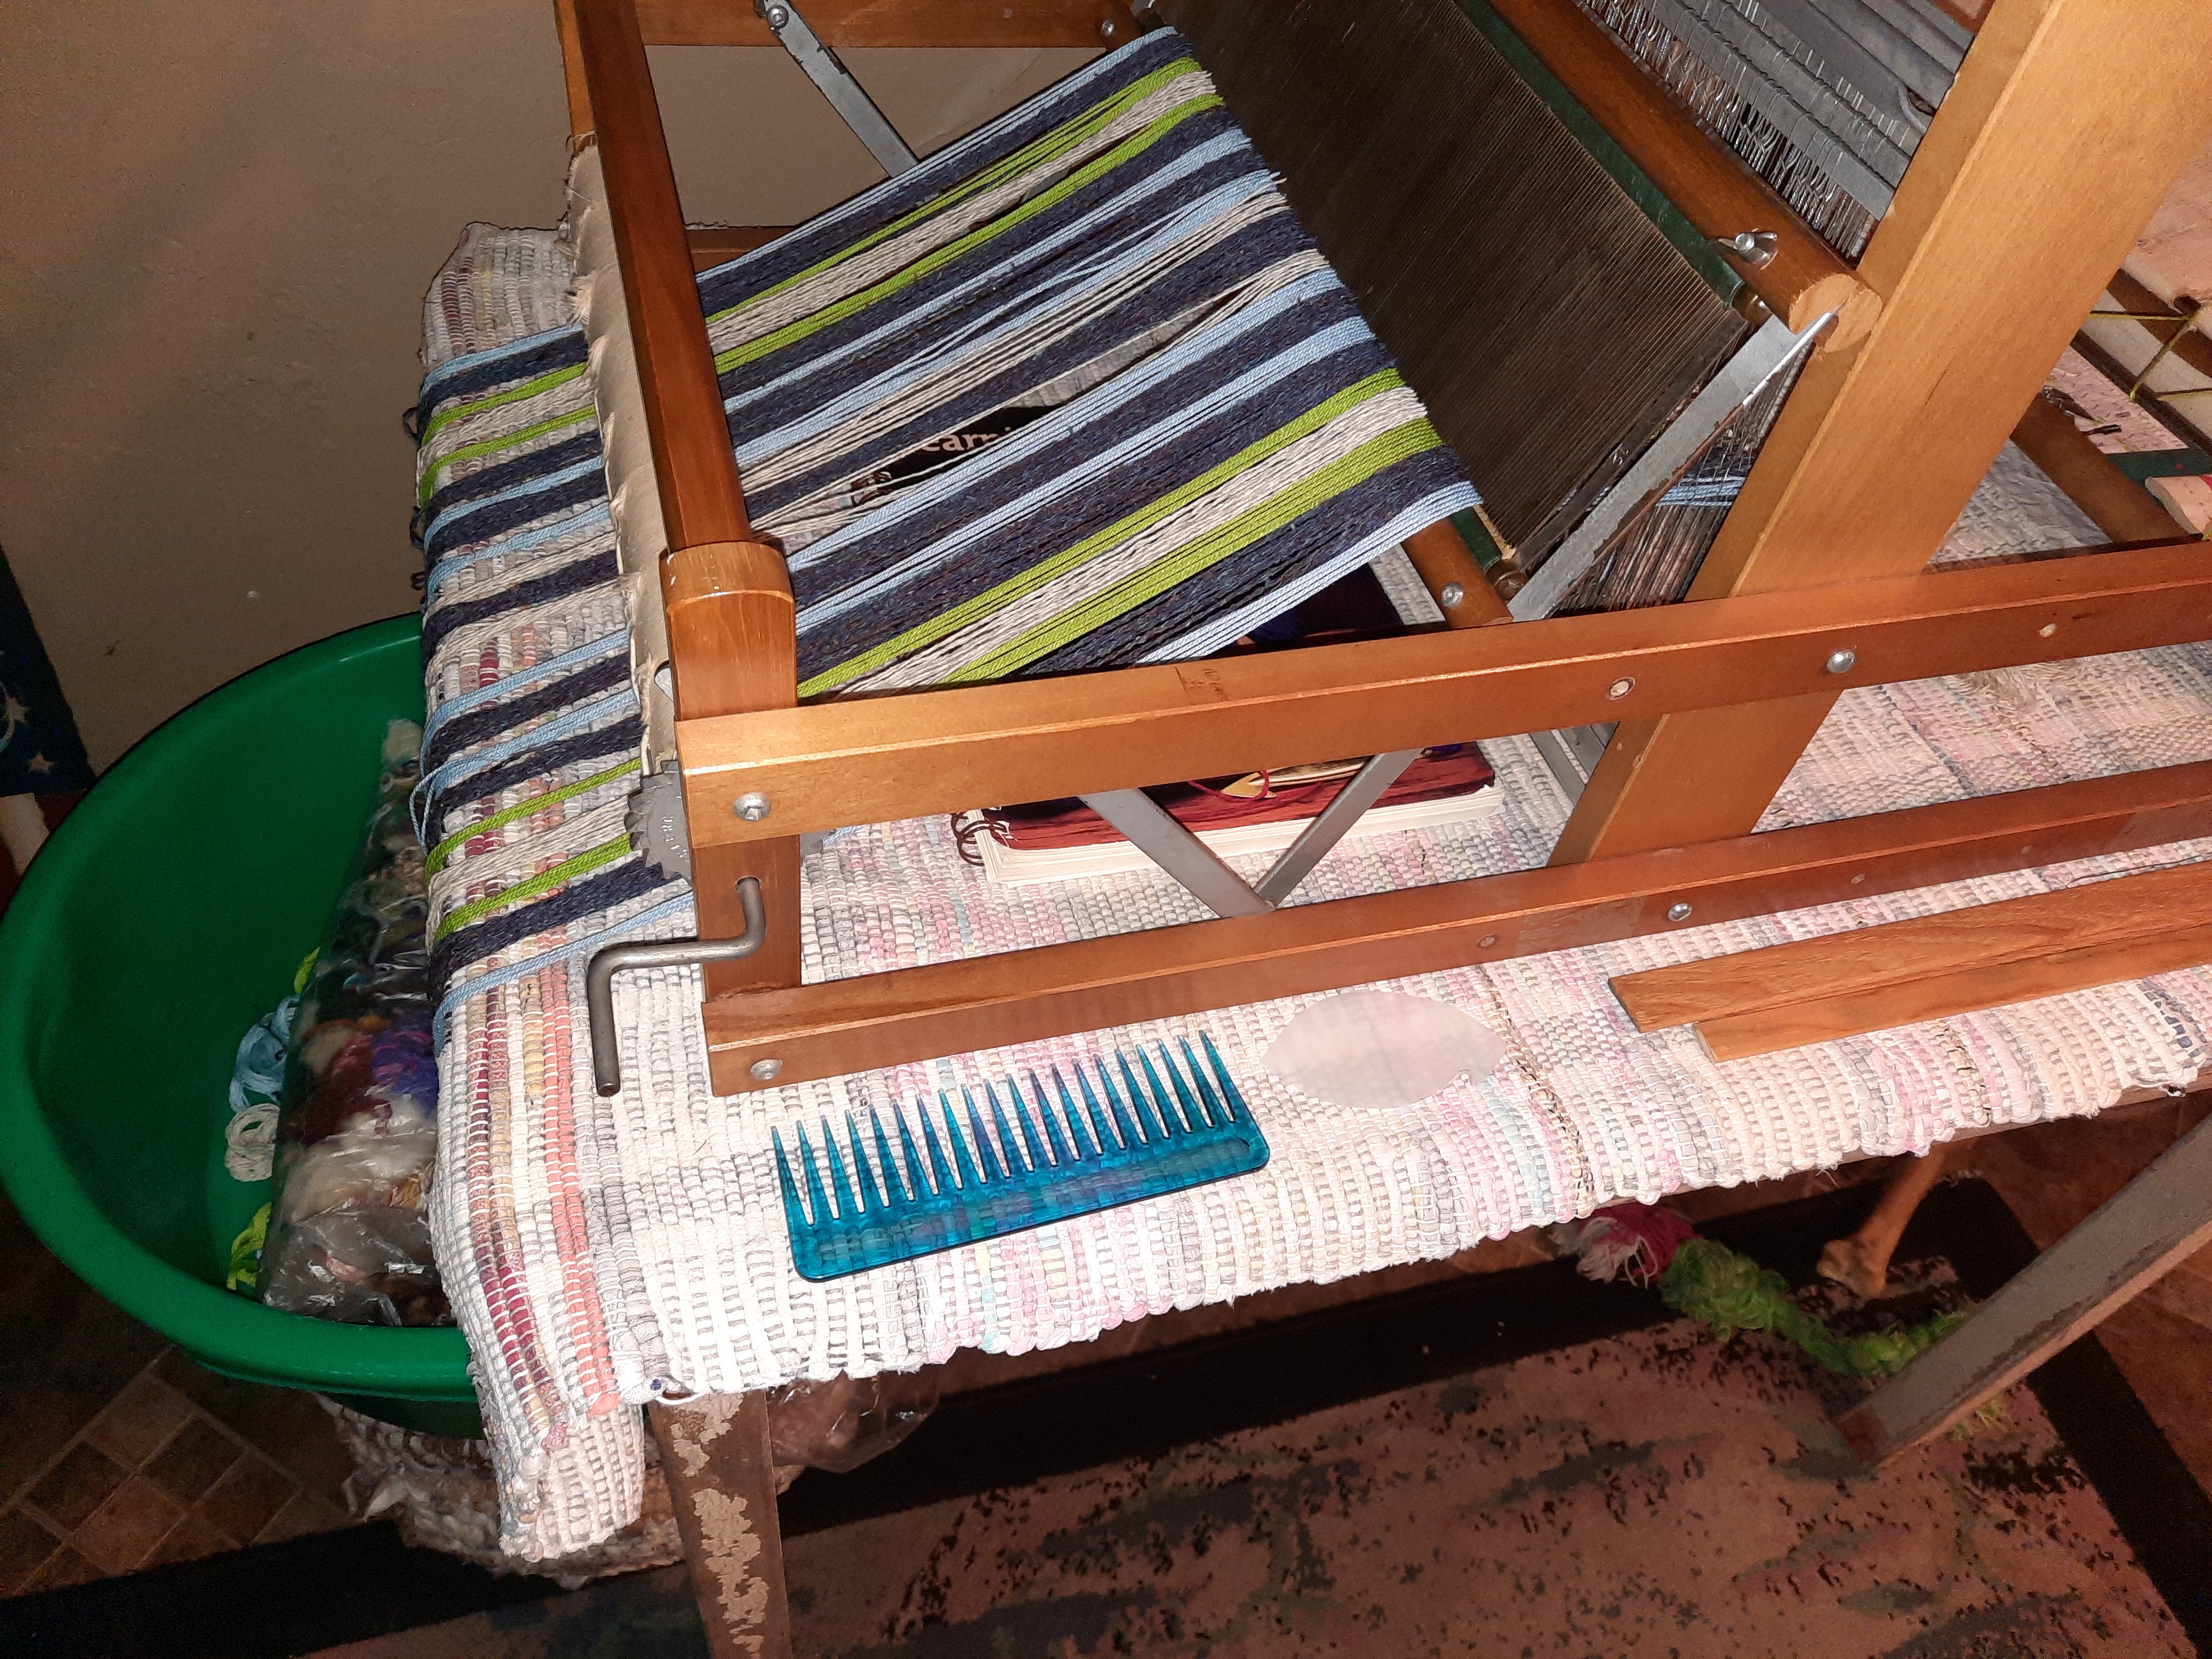
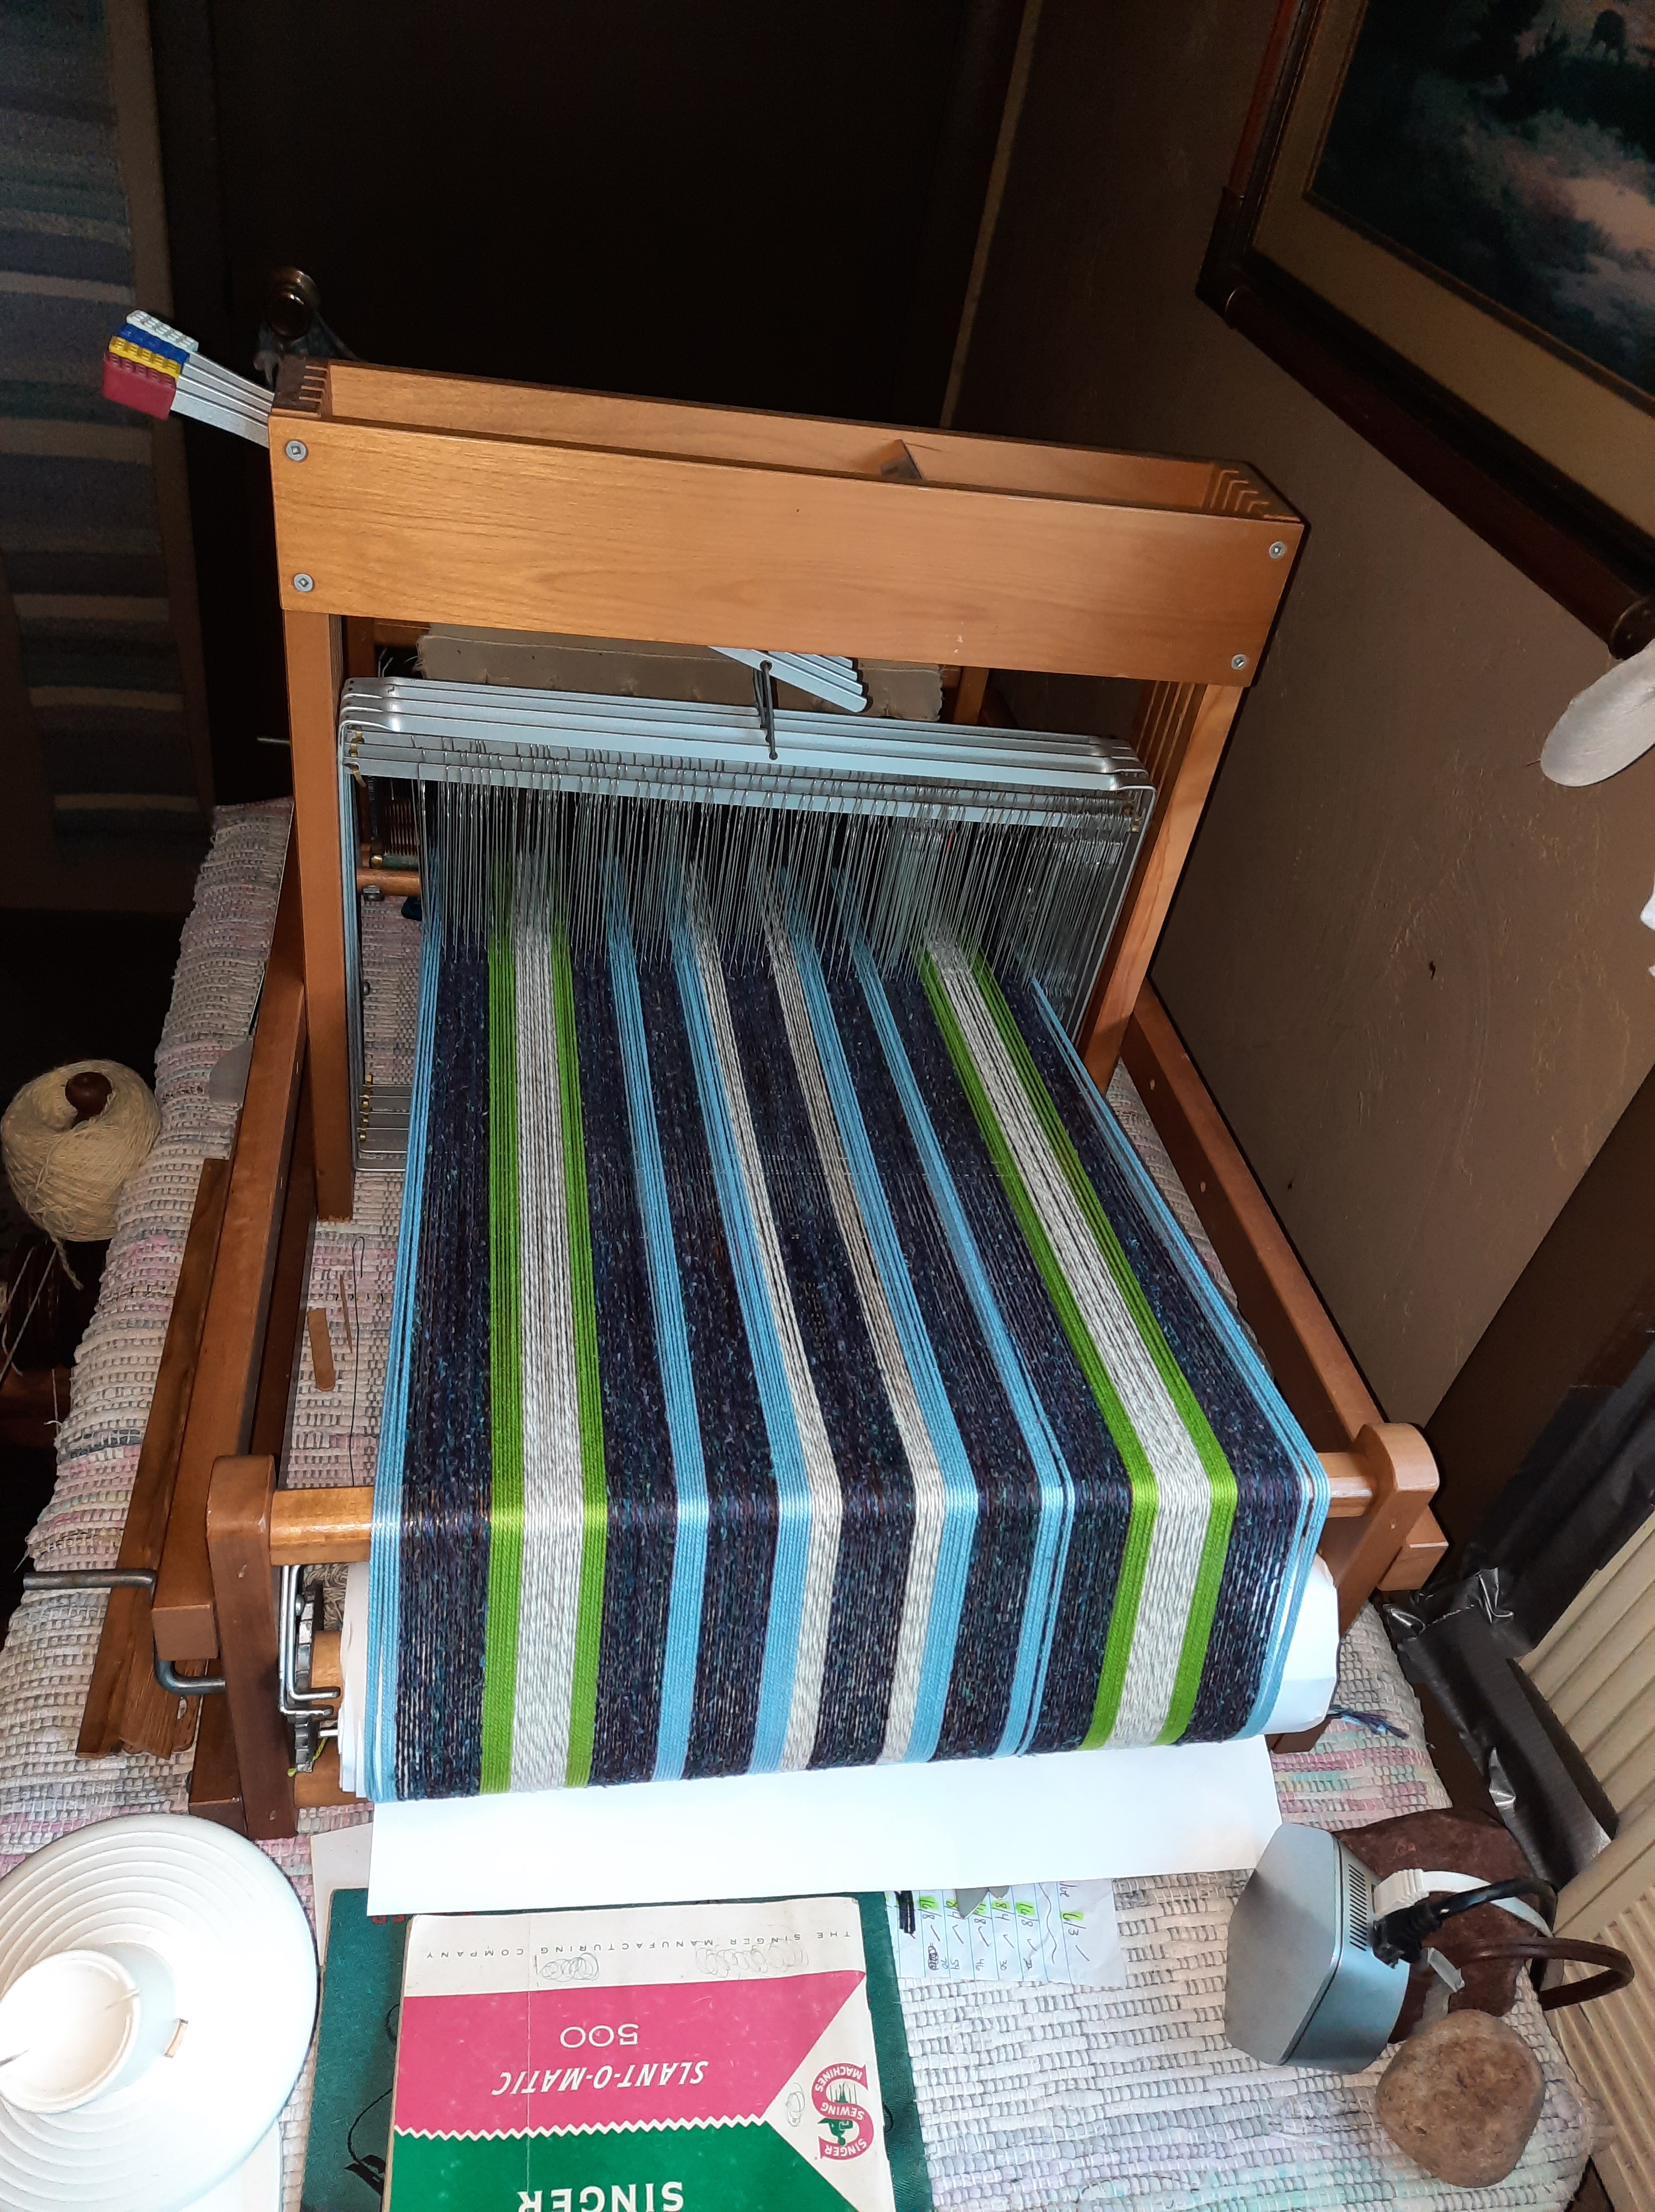
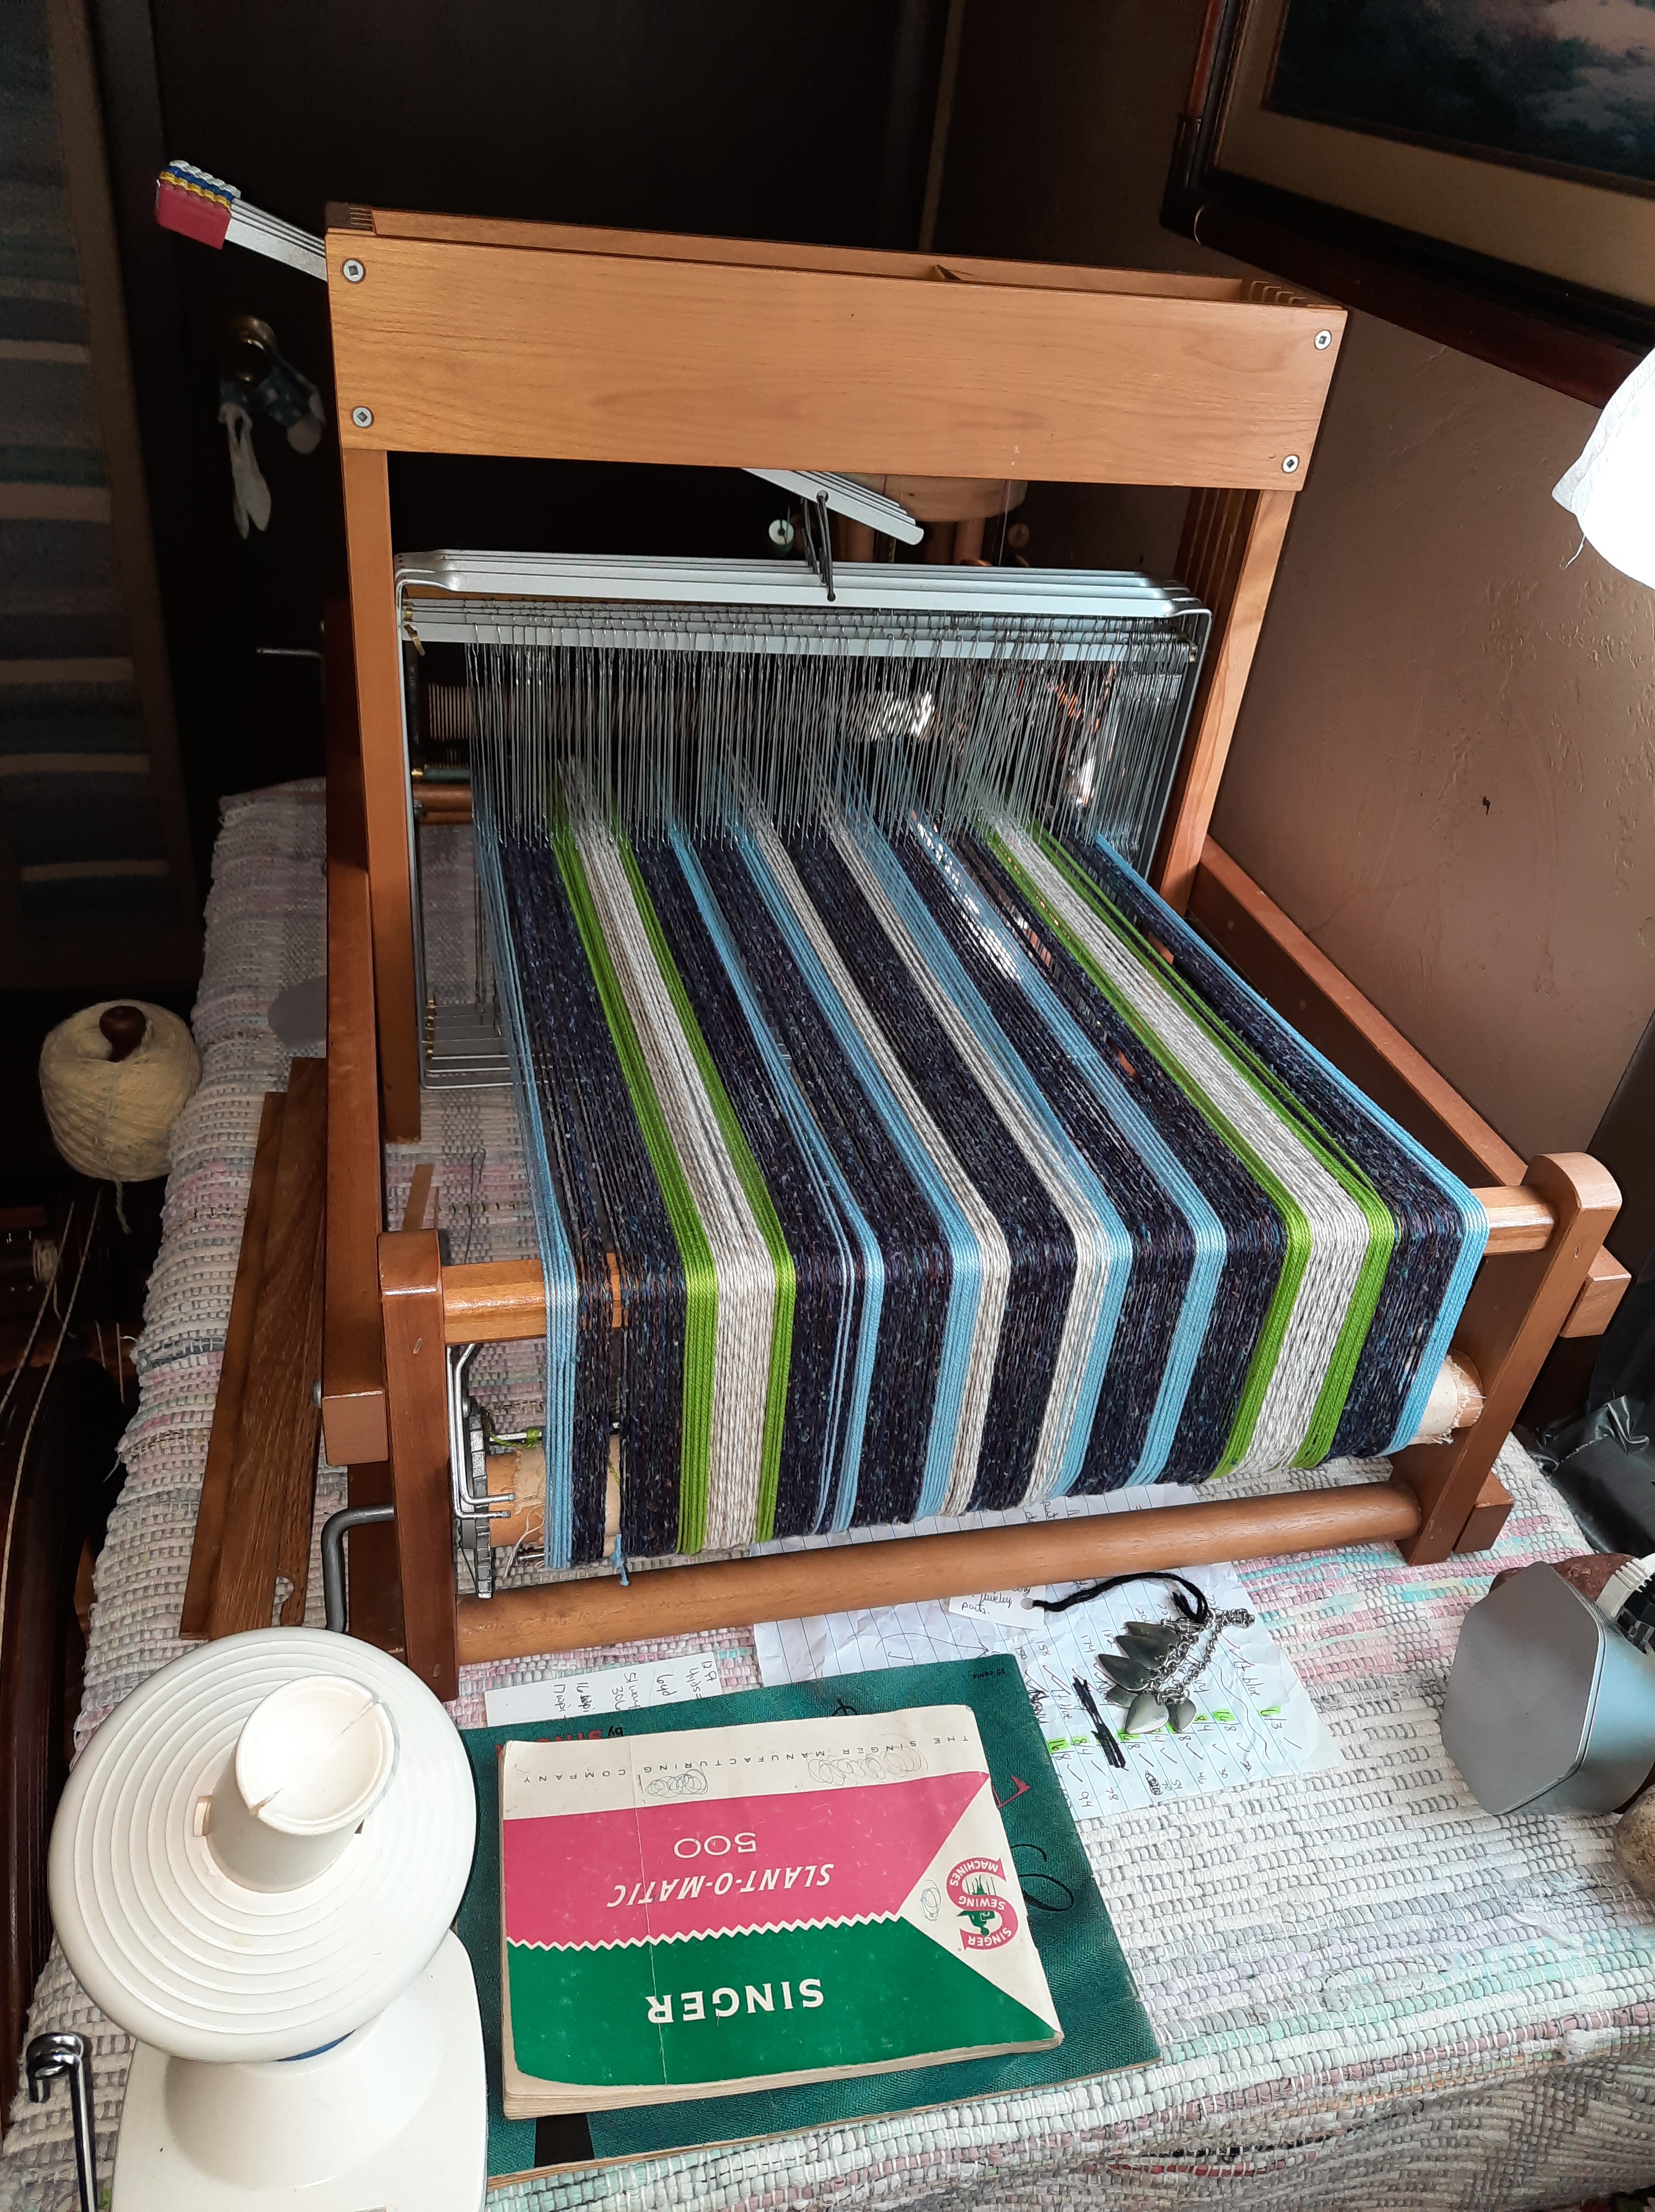
This is the third set of Spring Fling dishtowels is currently on the LeClerc Dorothy loom and is being woven in a true plaid. I think it could’ve been more square, but I’ll need to acquire an appropriate reed to do that.
Spring is nearly here! Get busy and create something or sort your garden seeds and test them for viability.
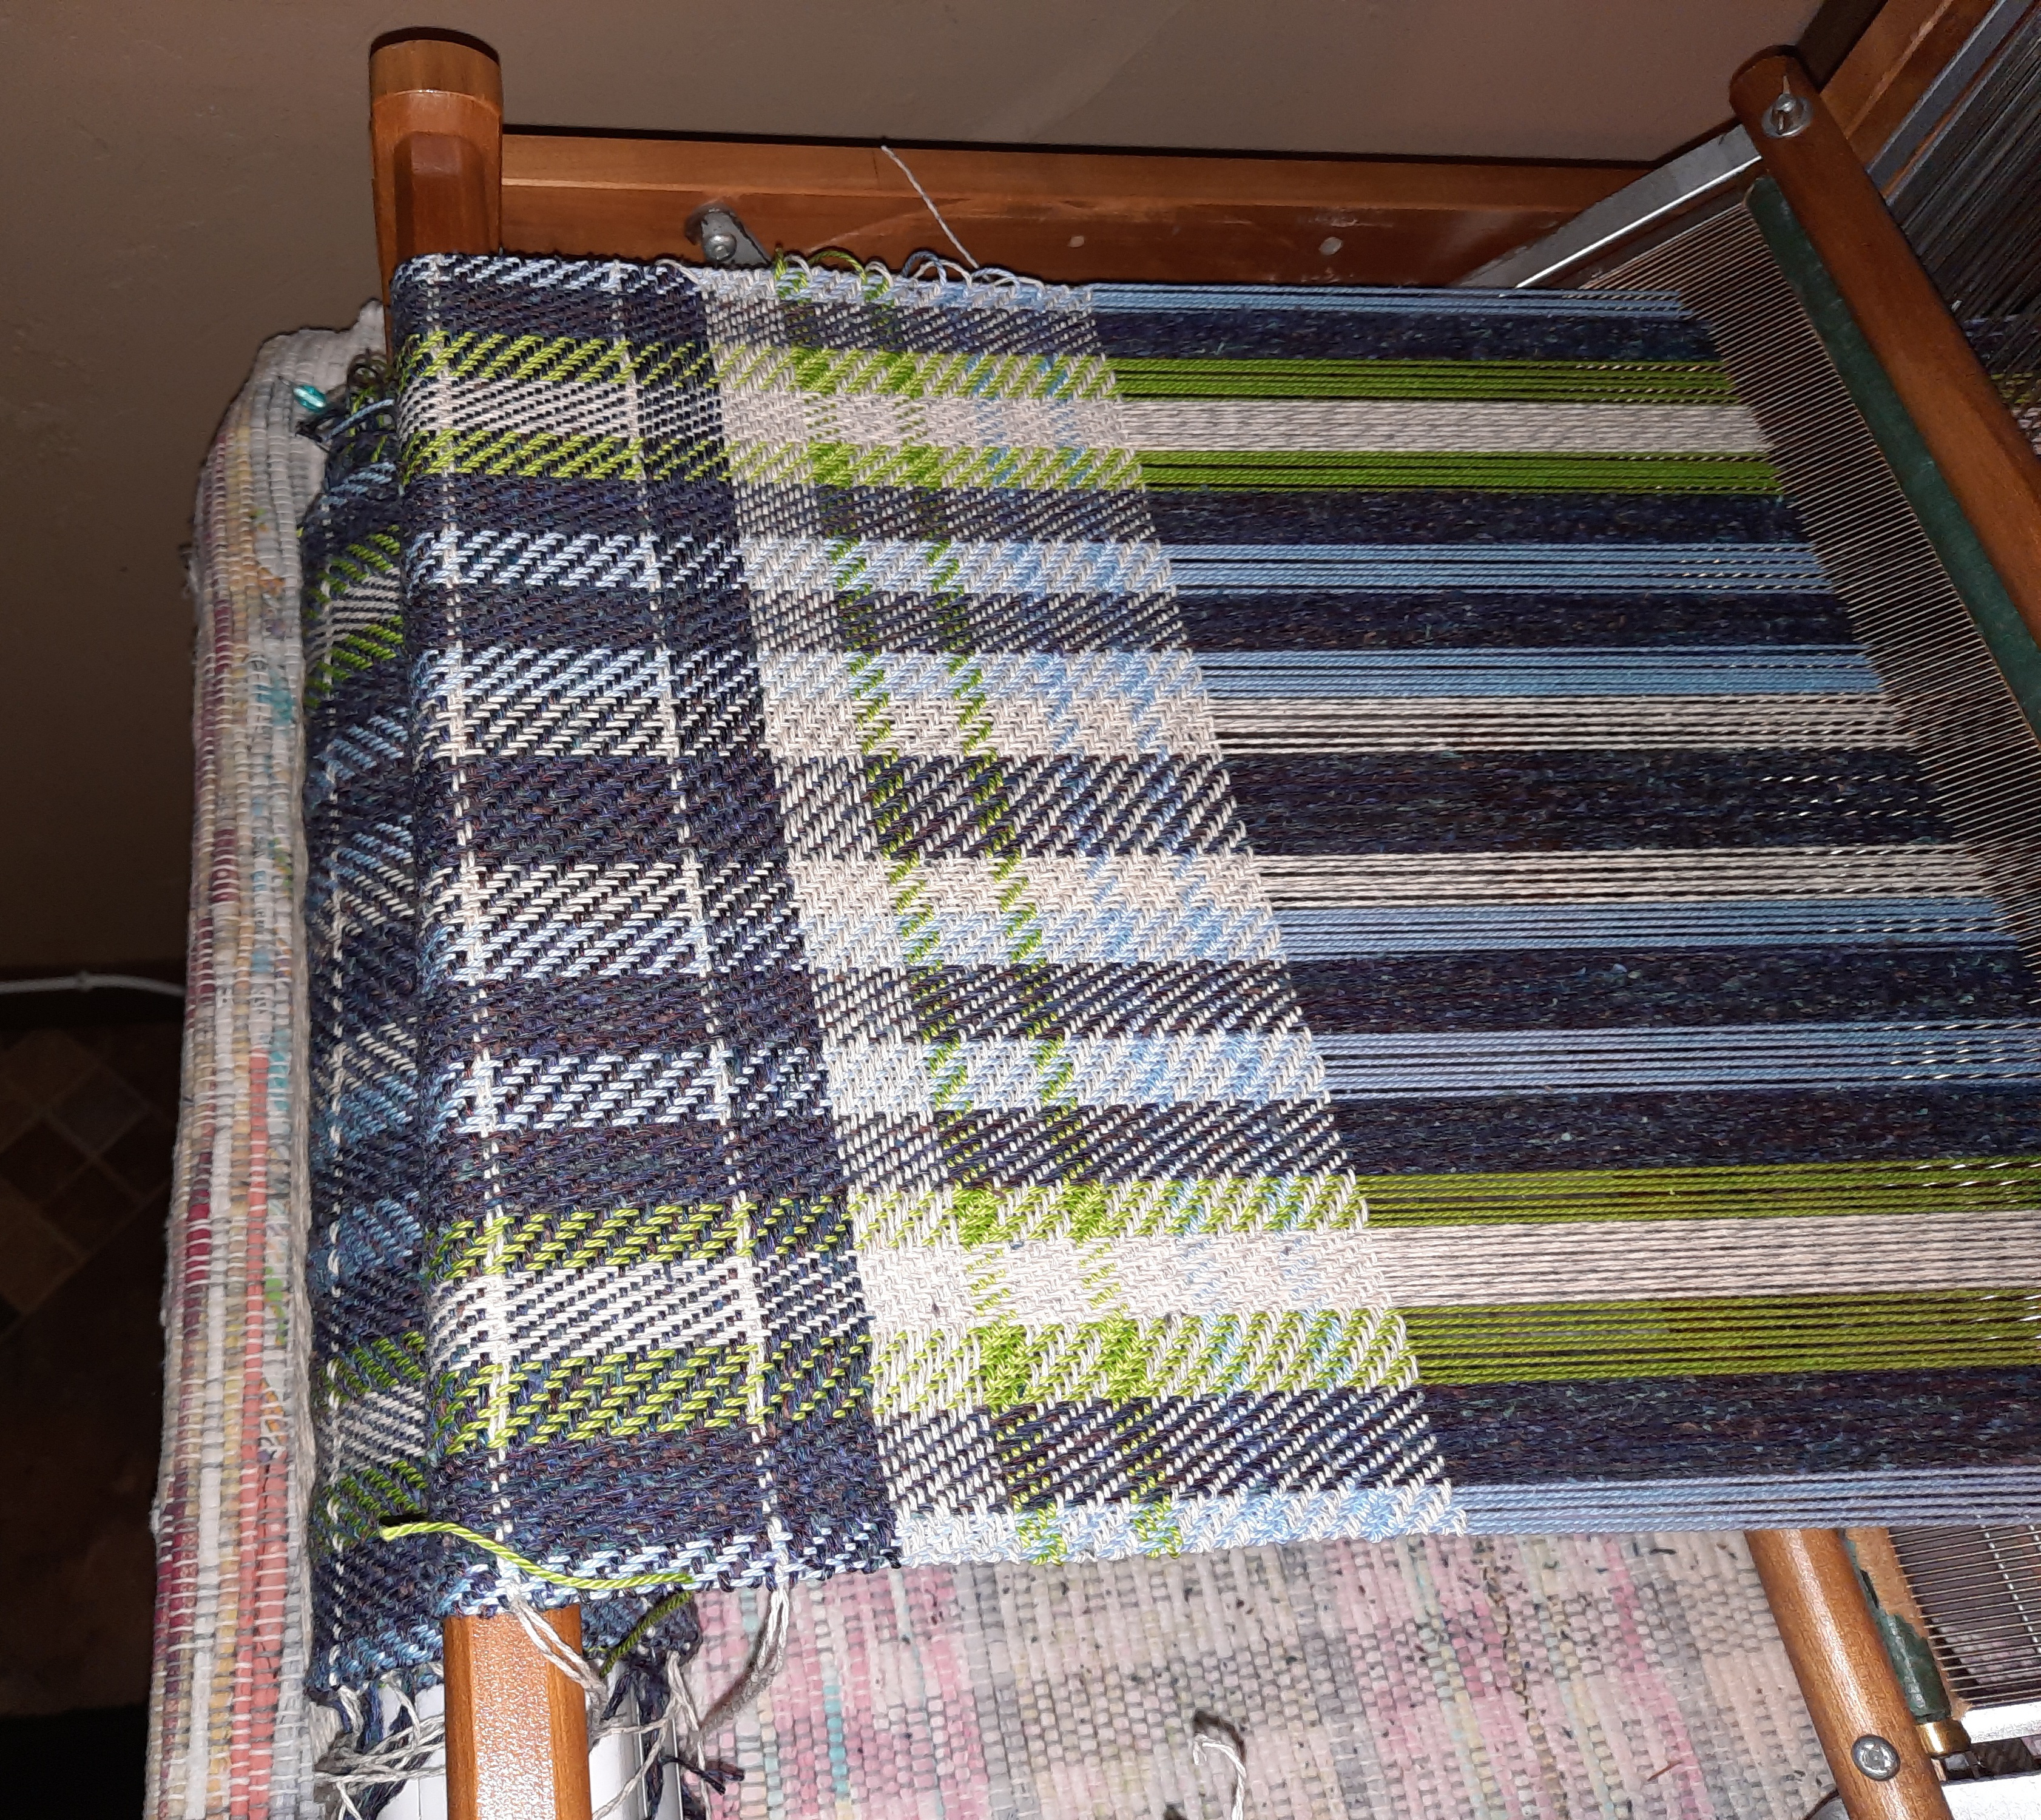
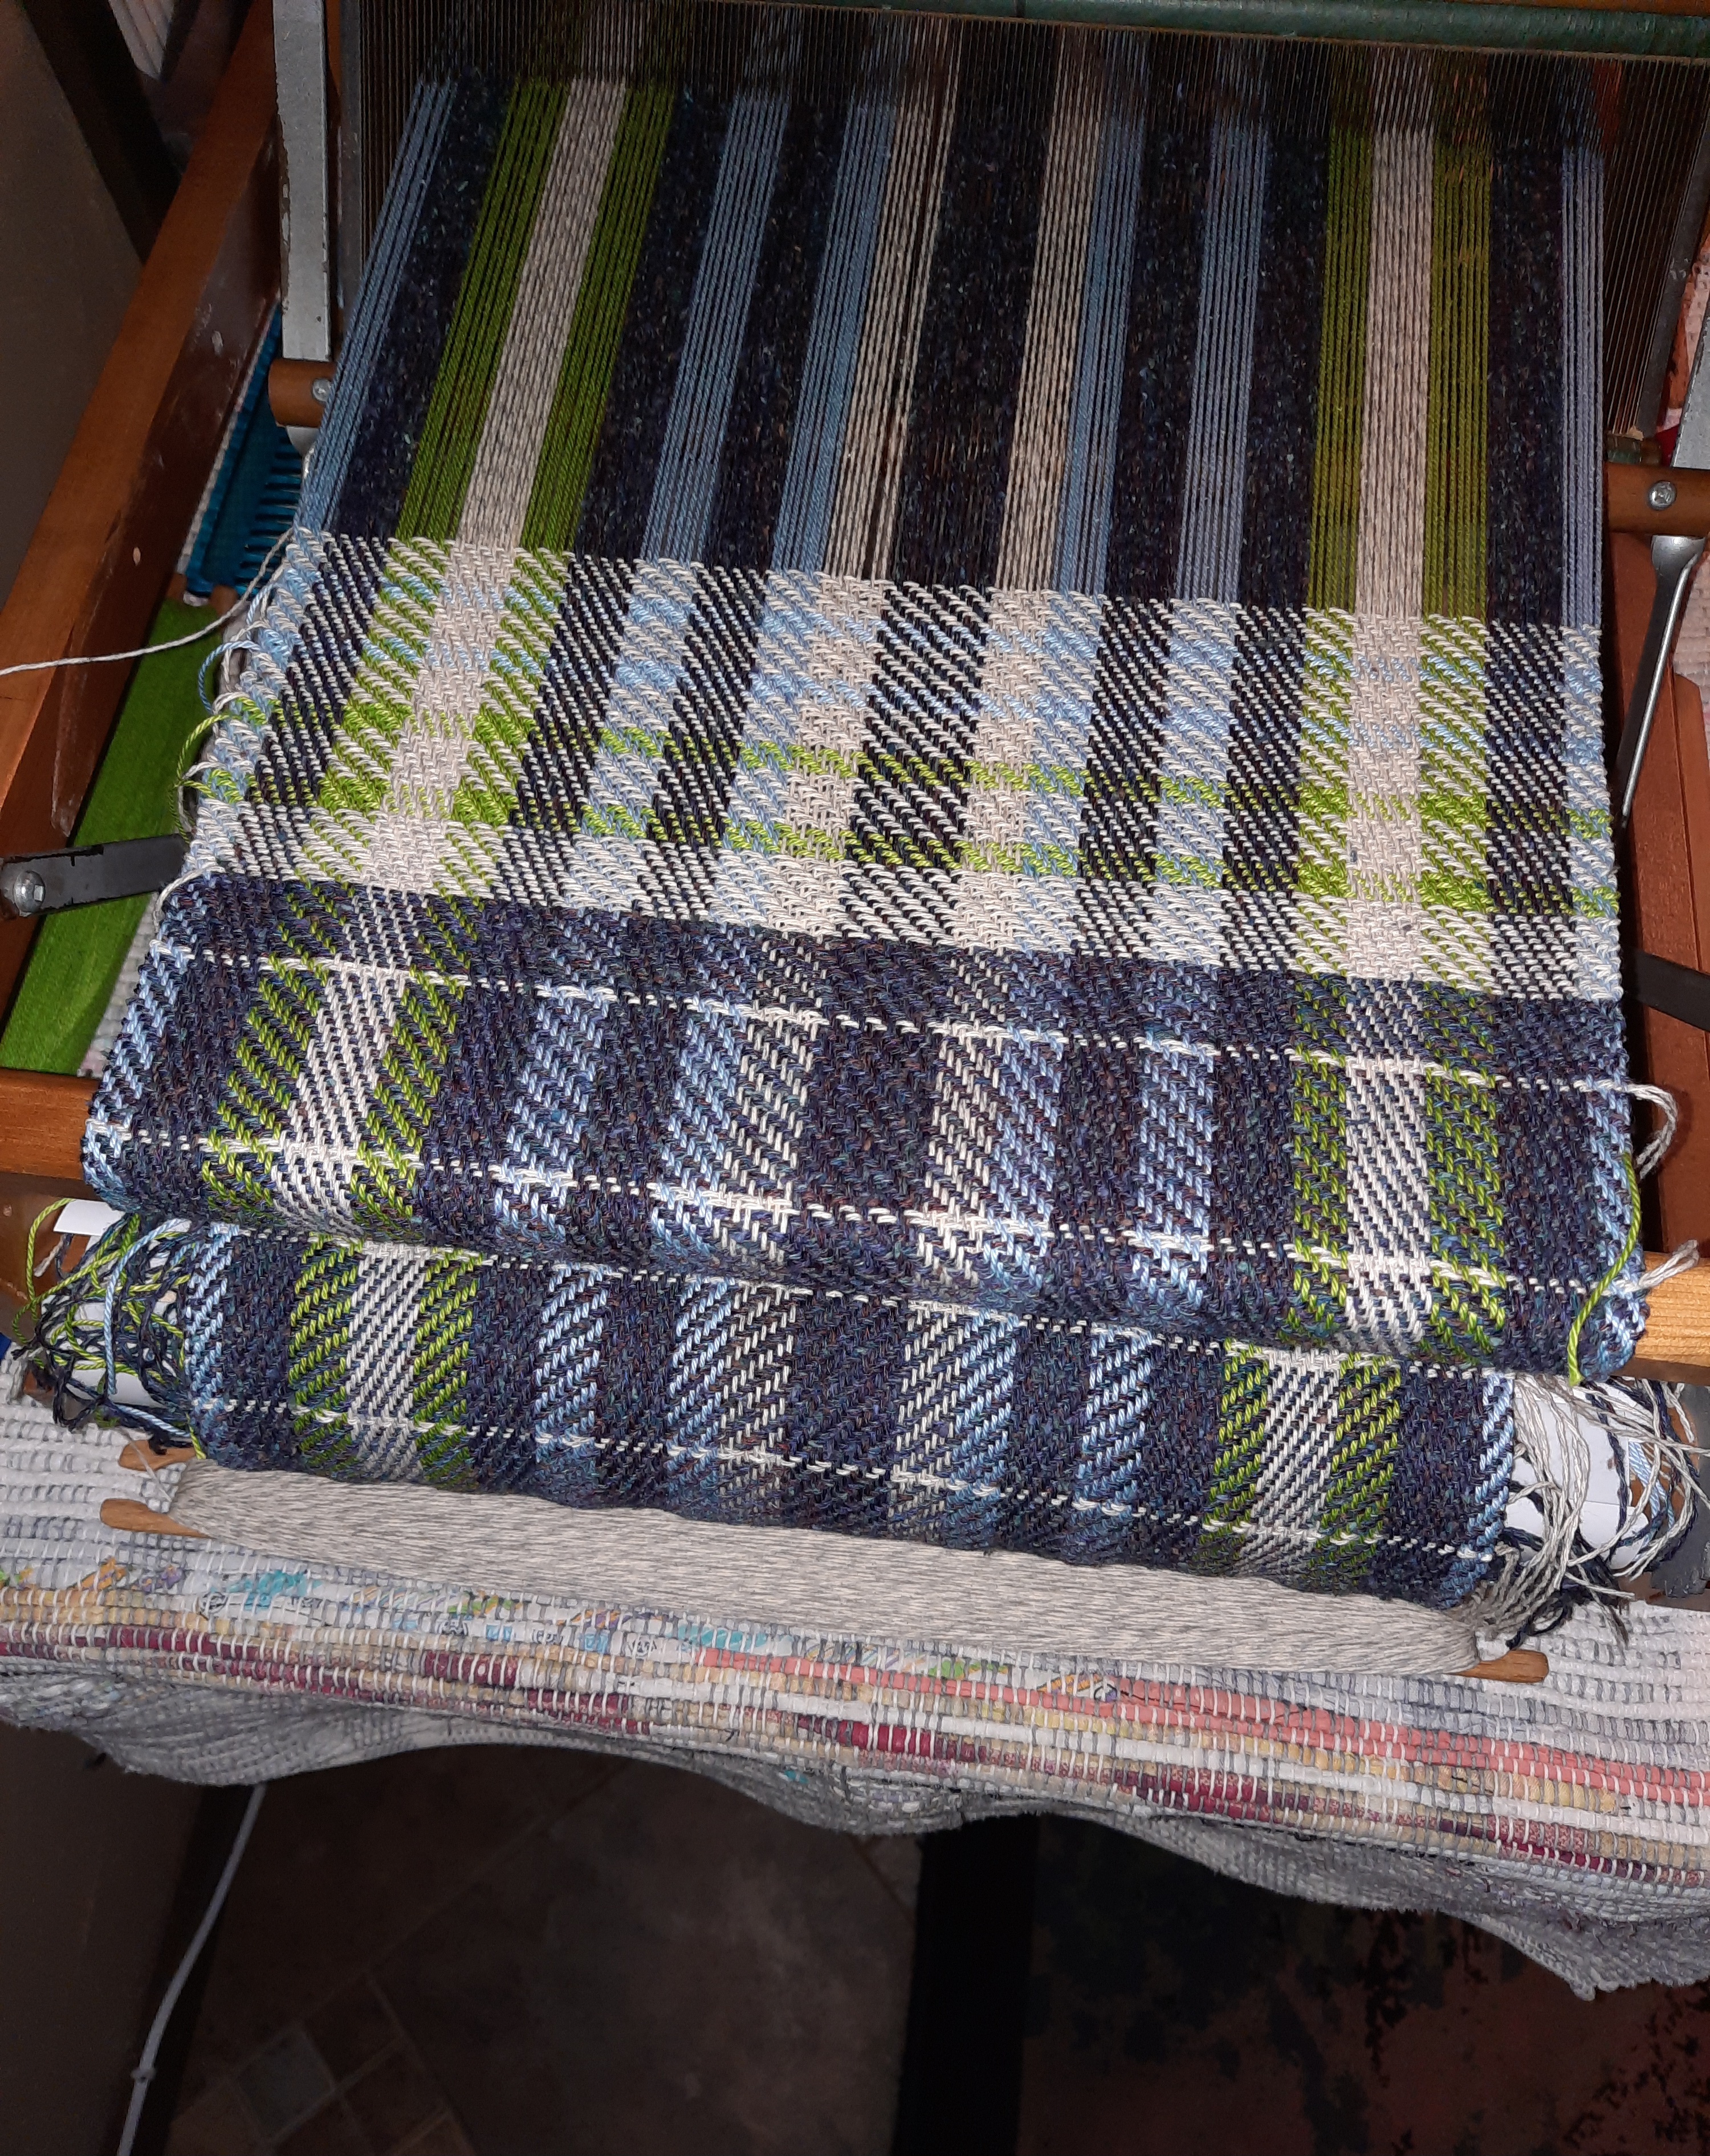
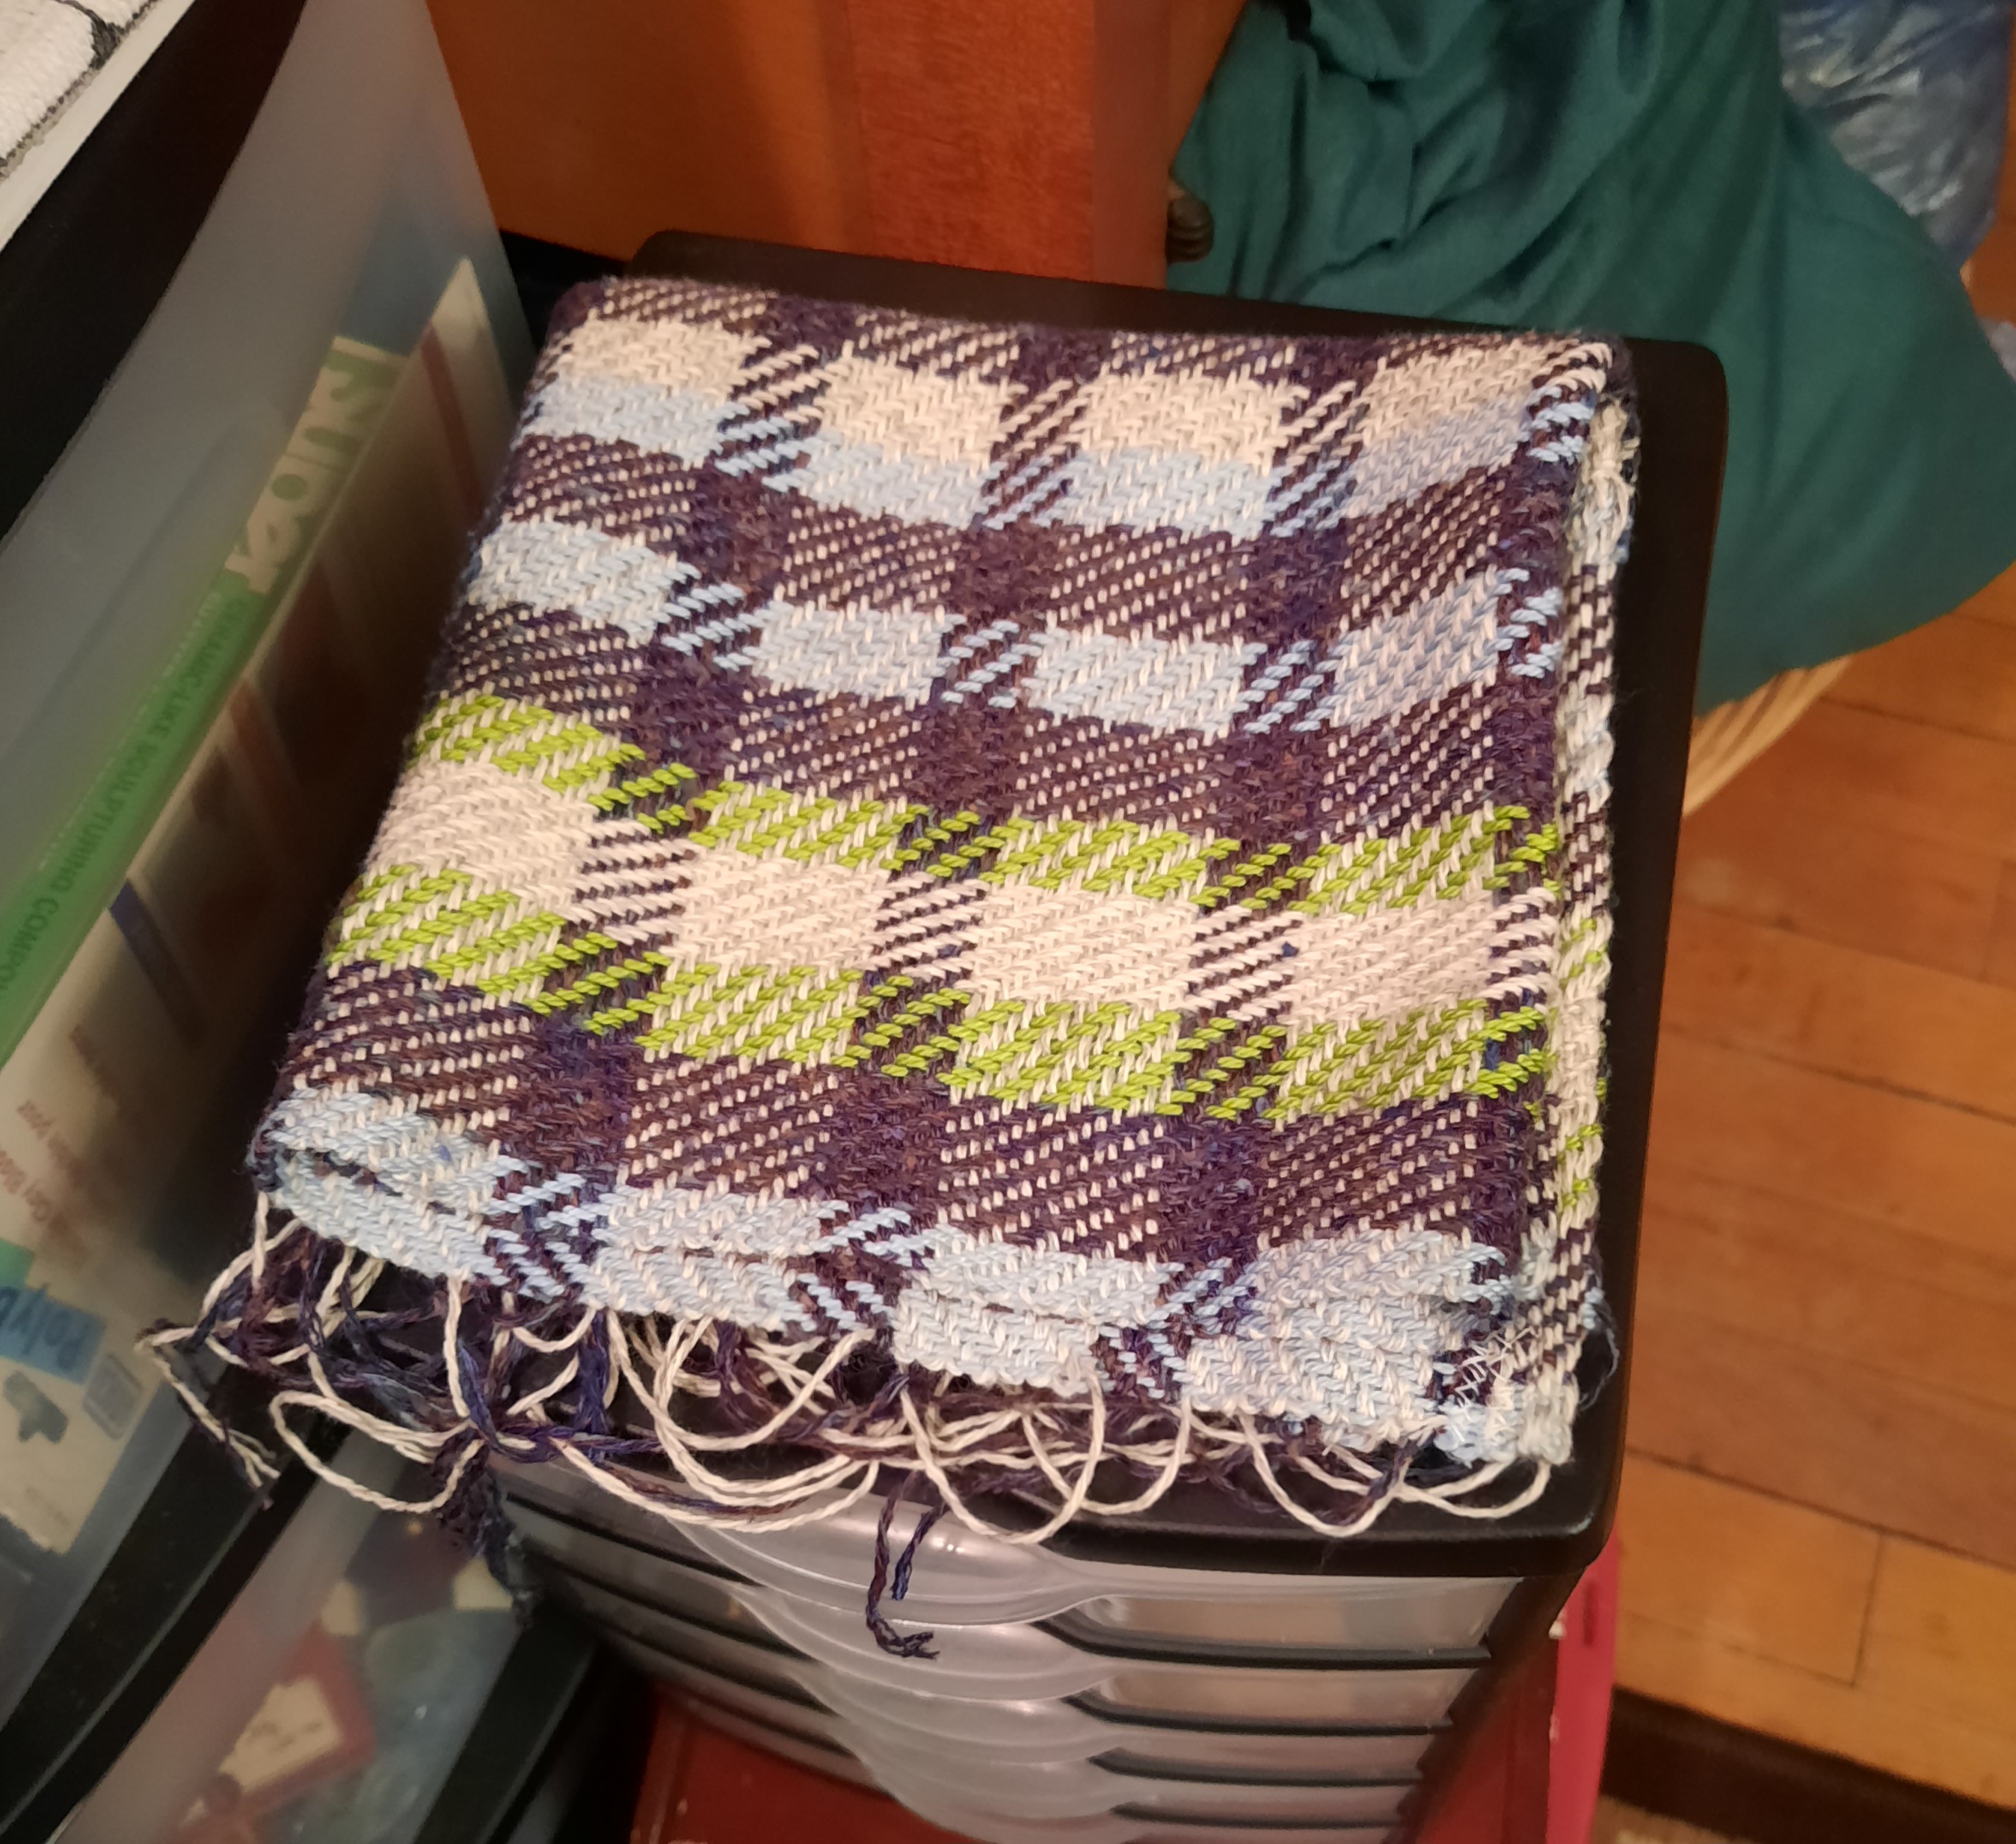
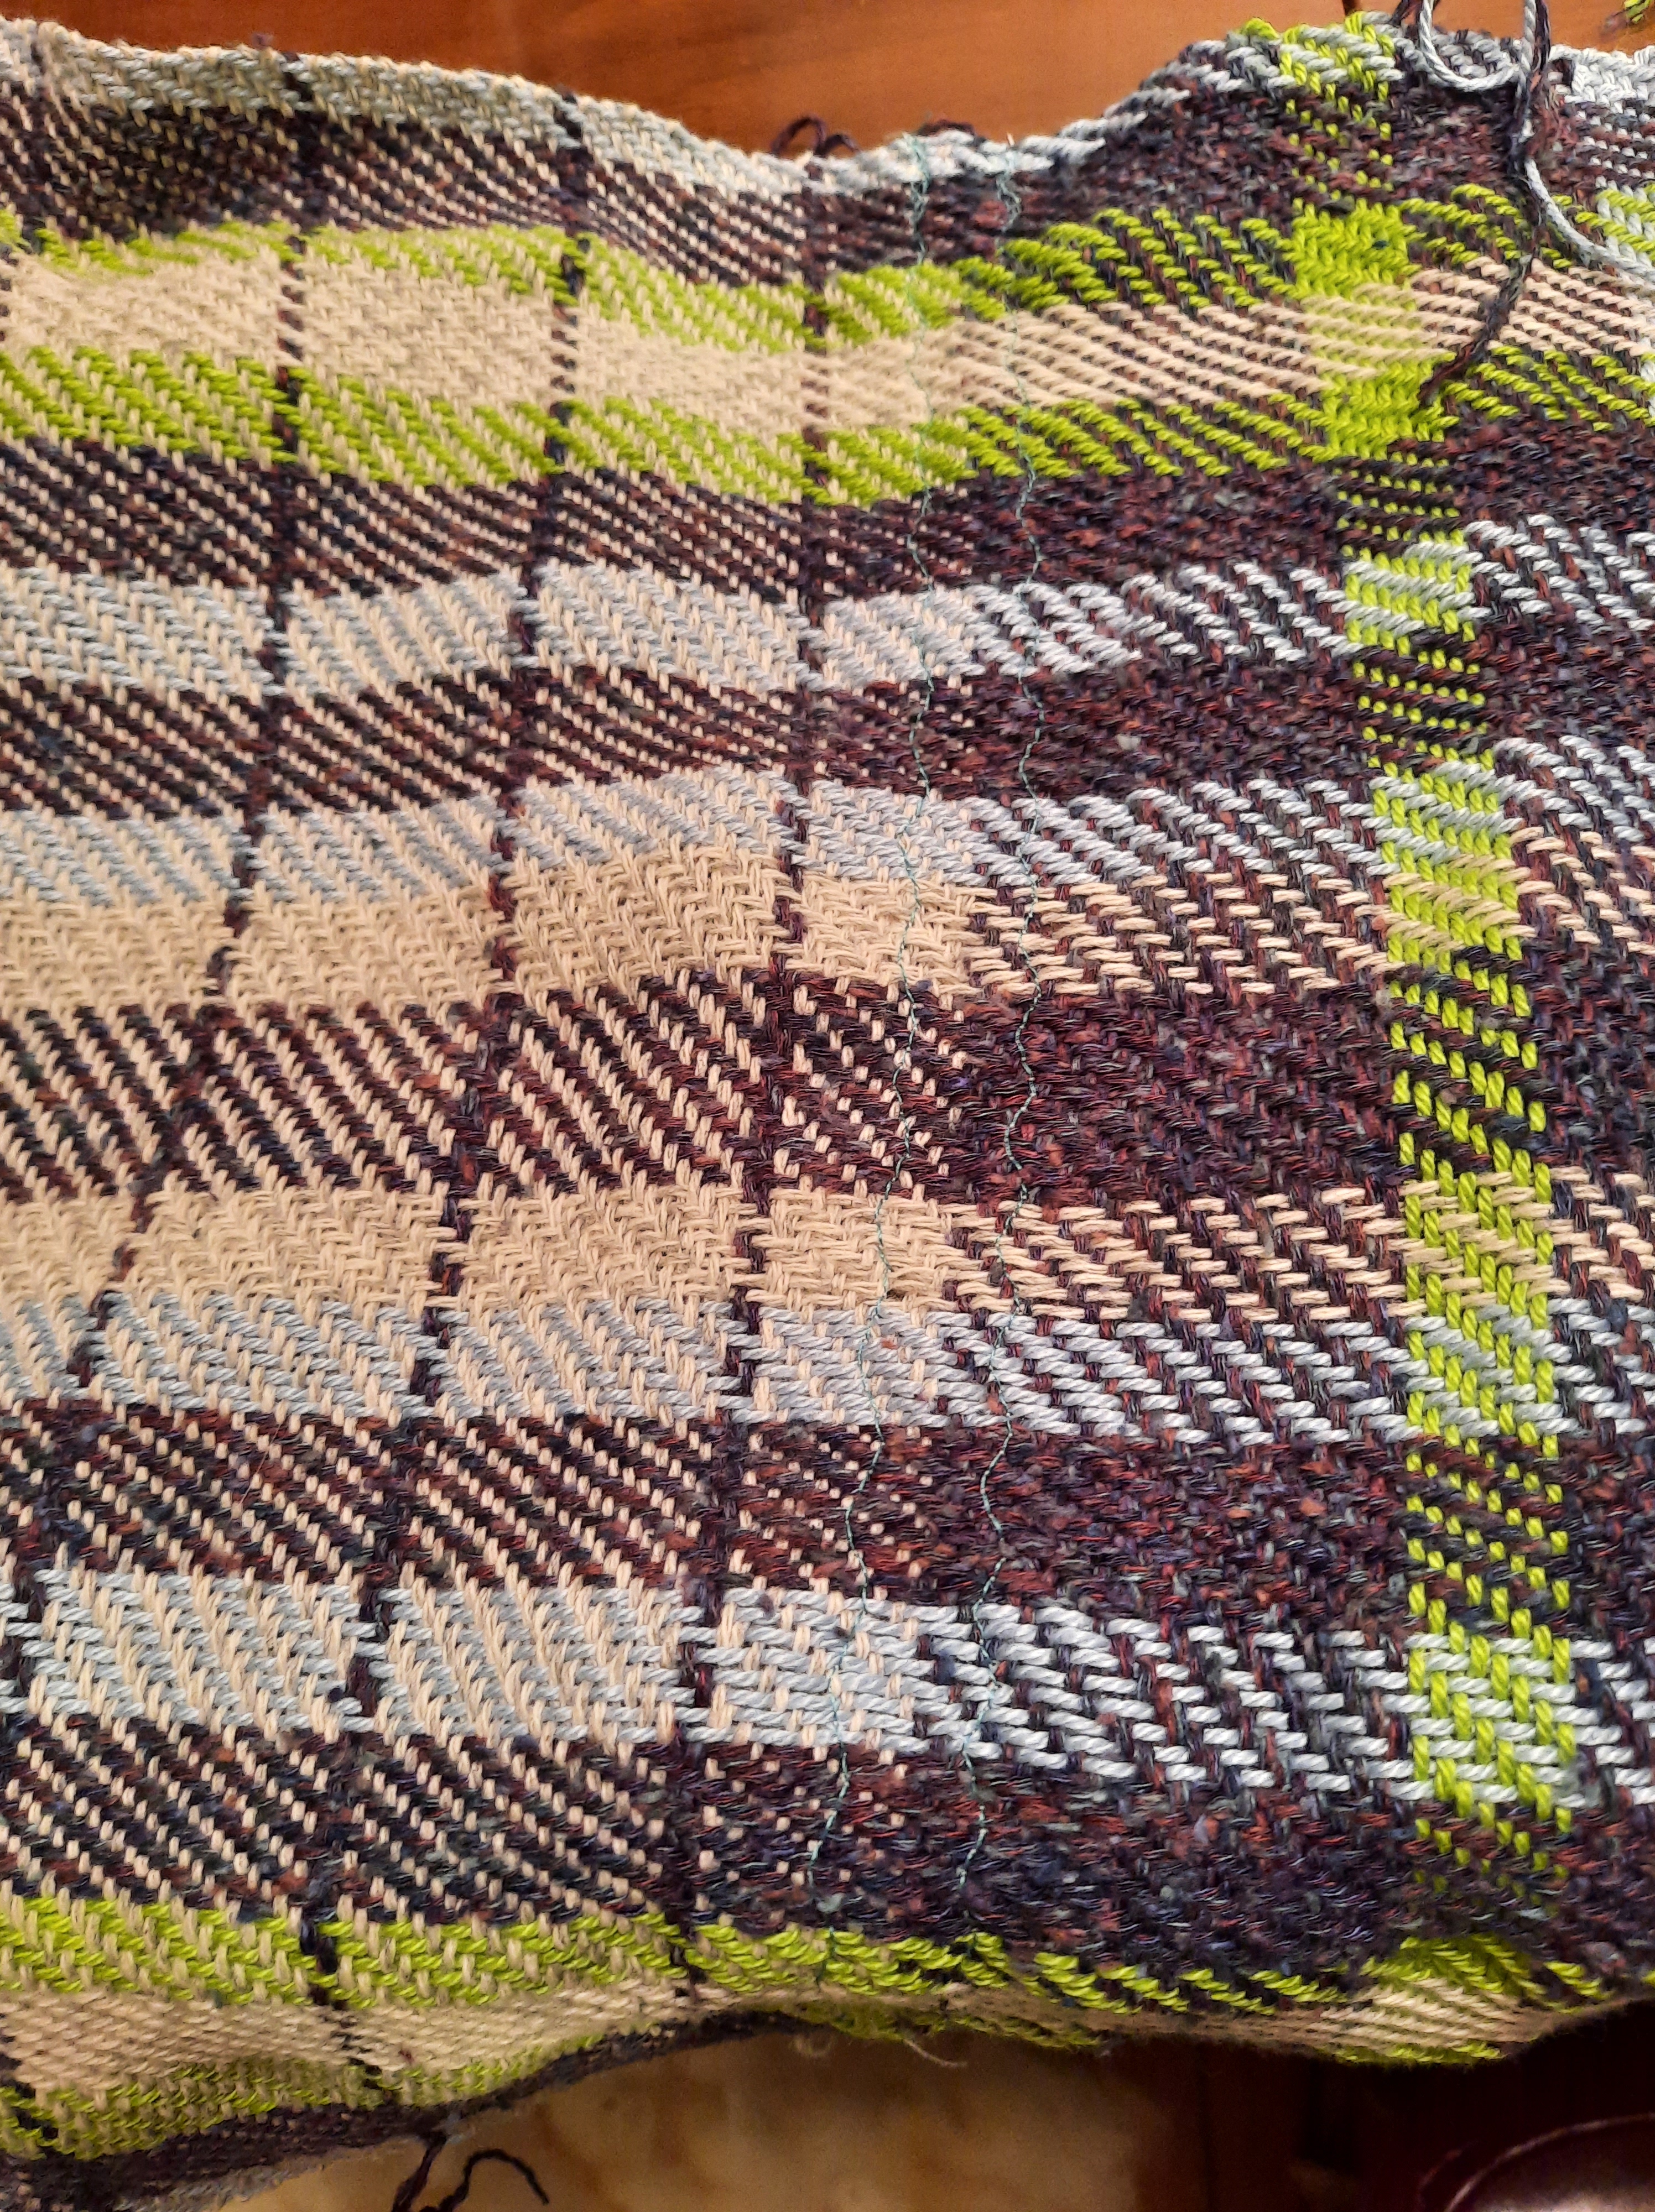
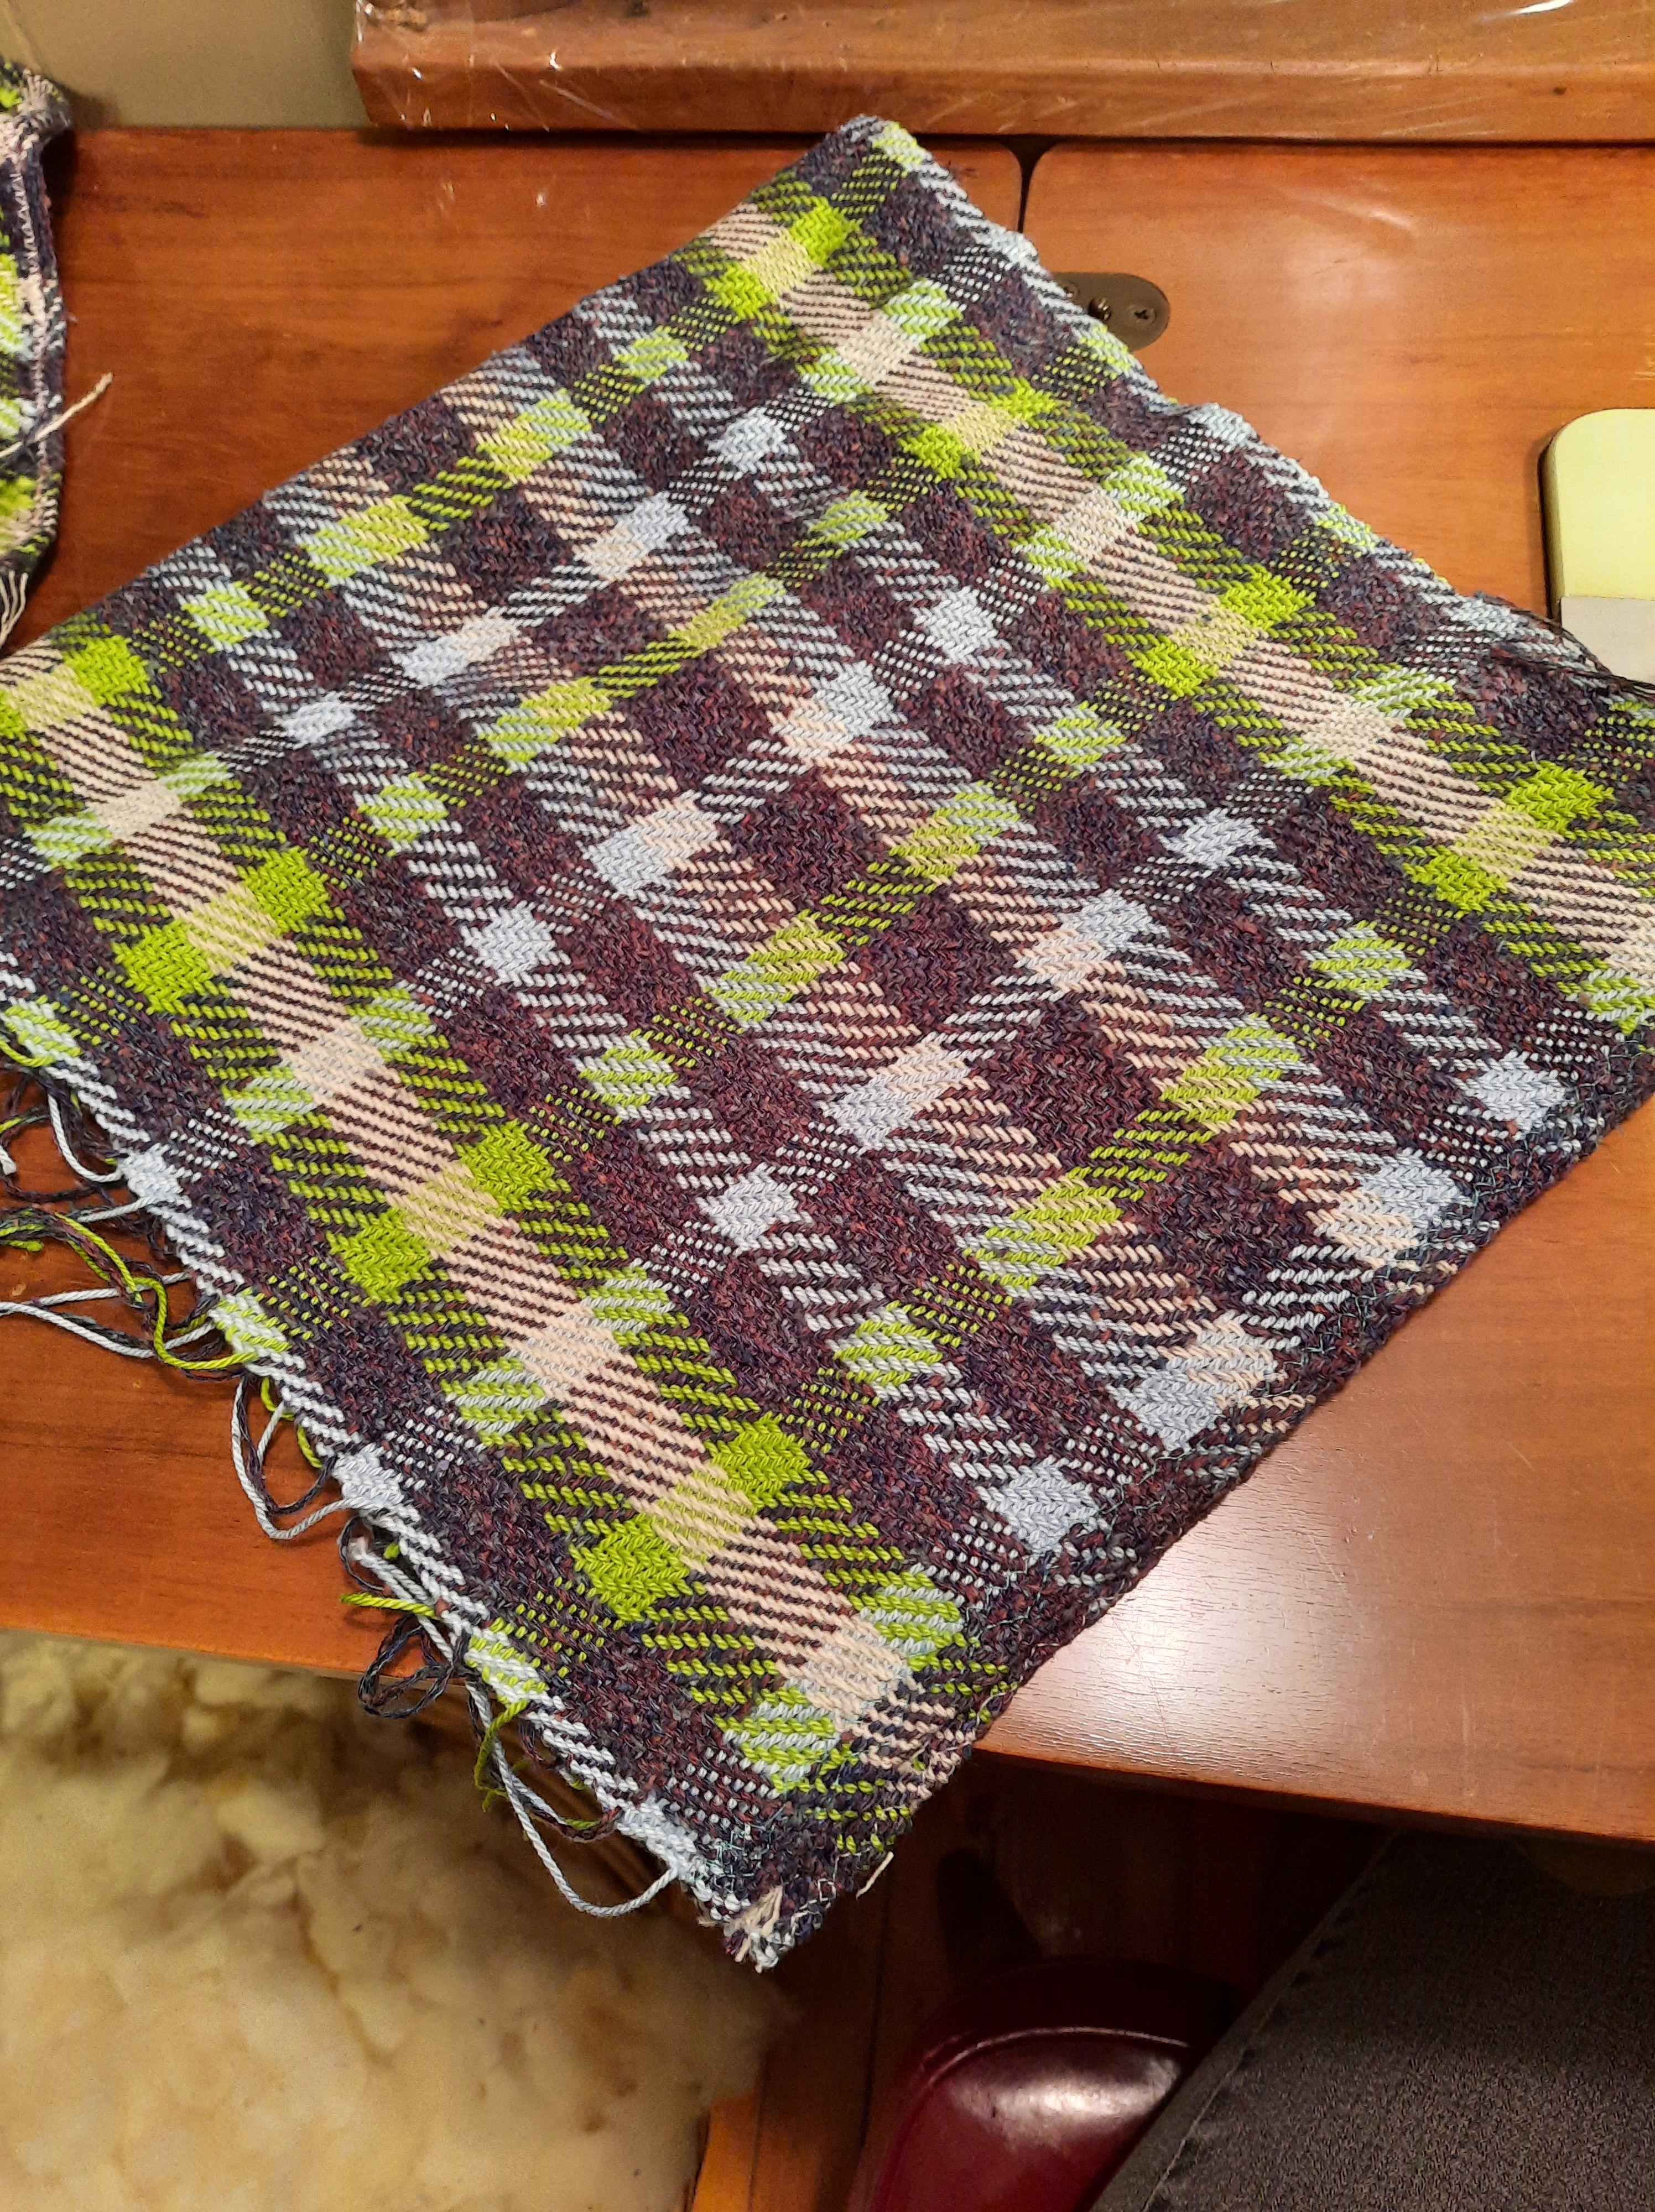
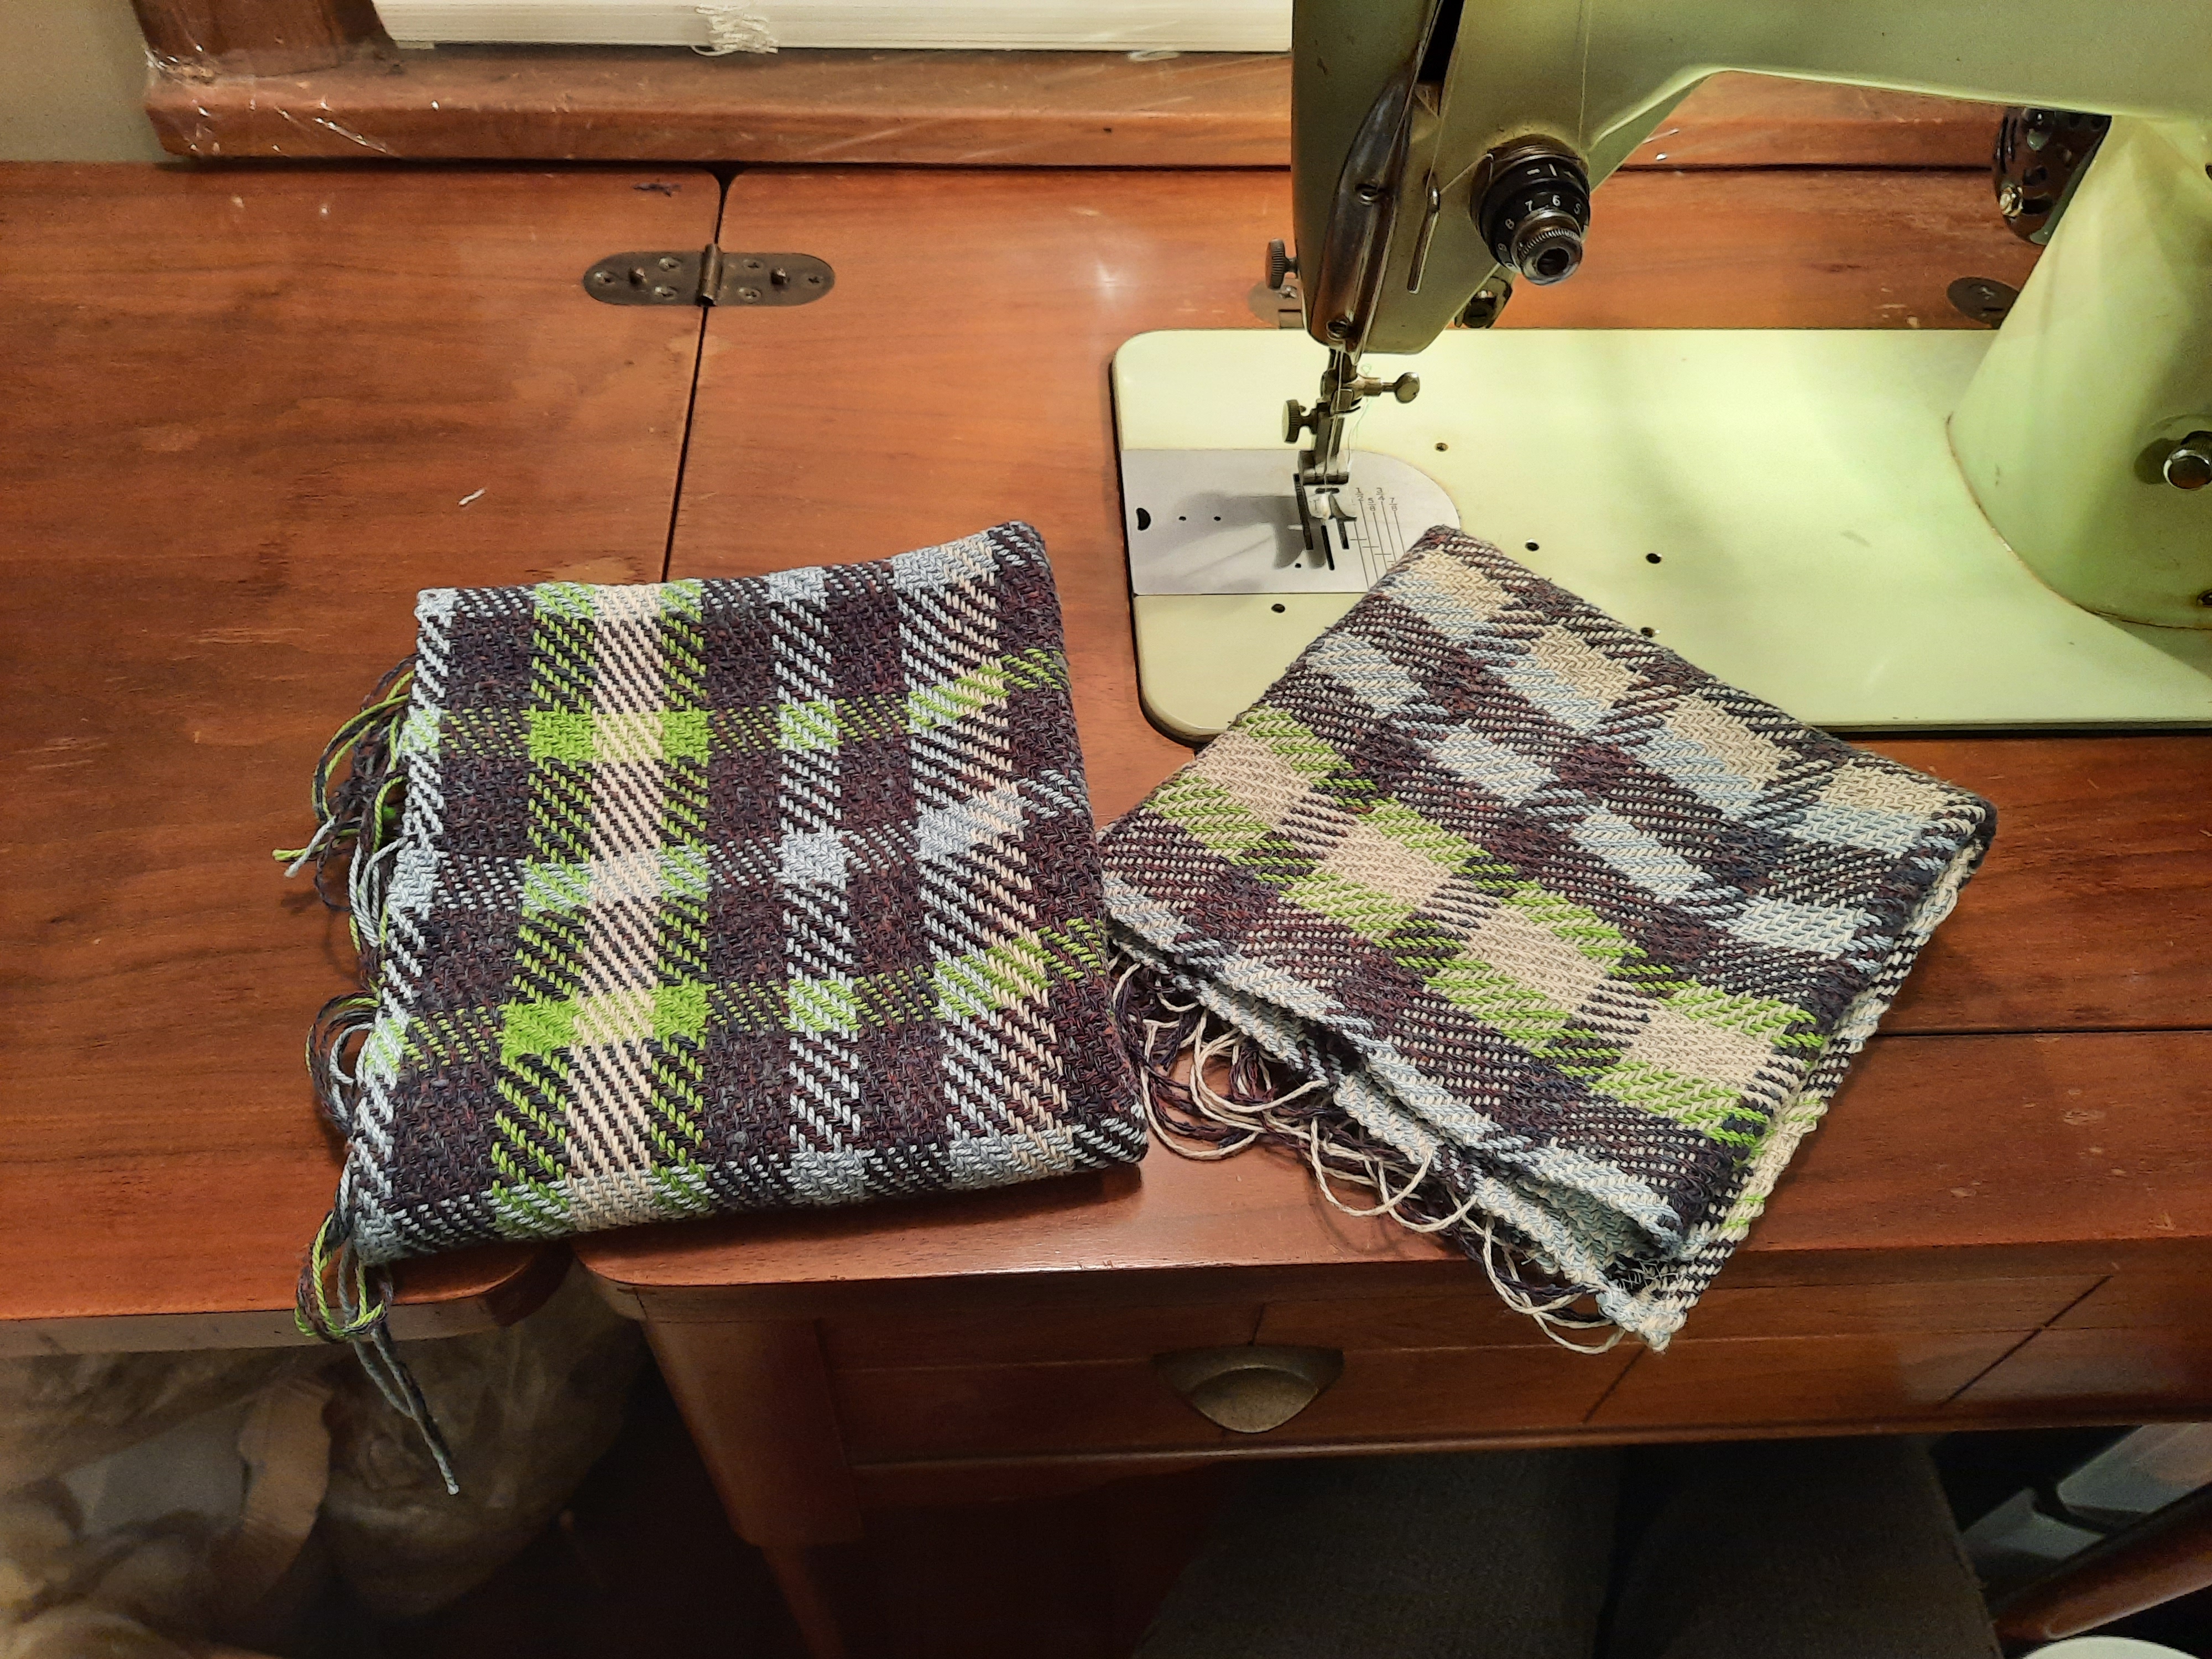
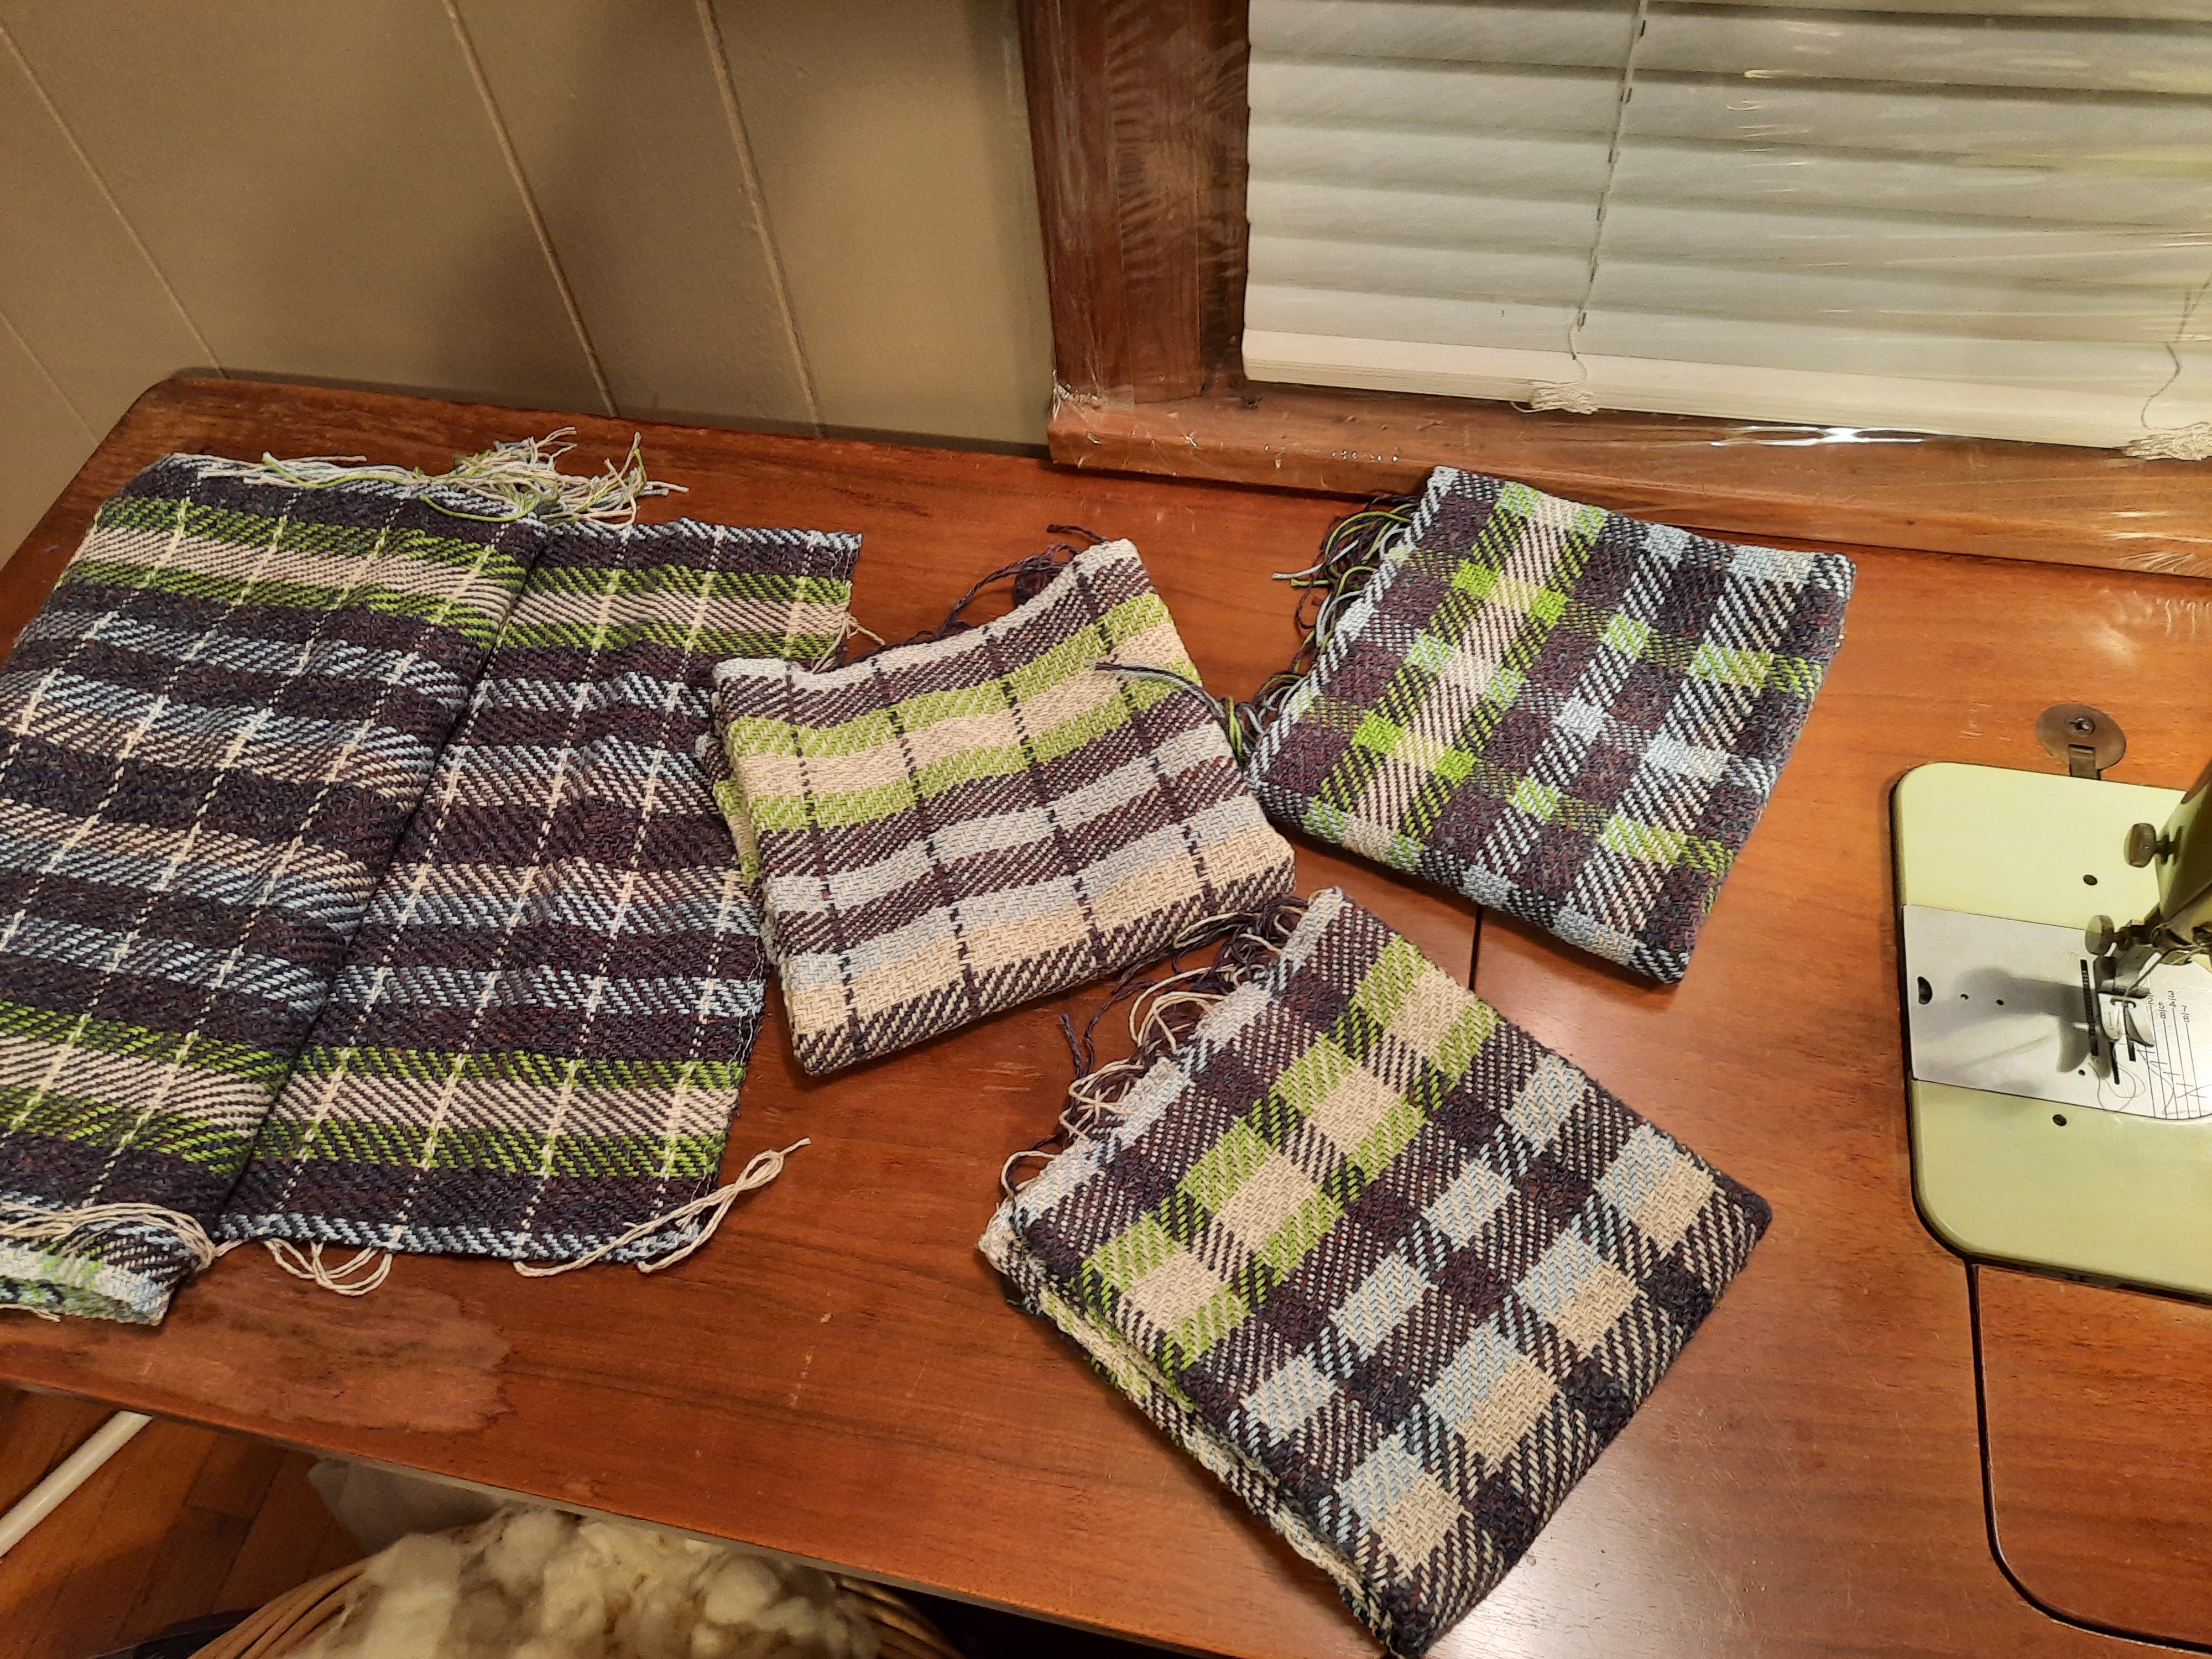
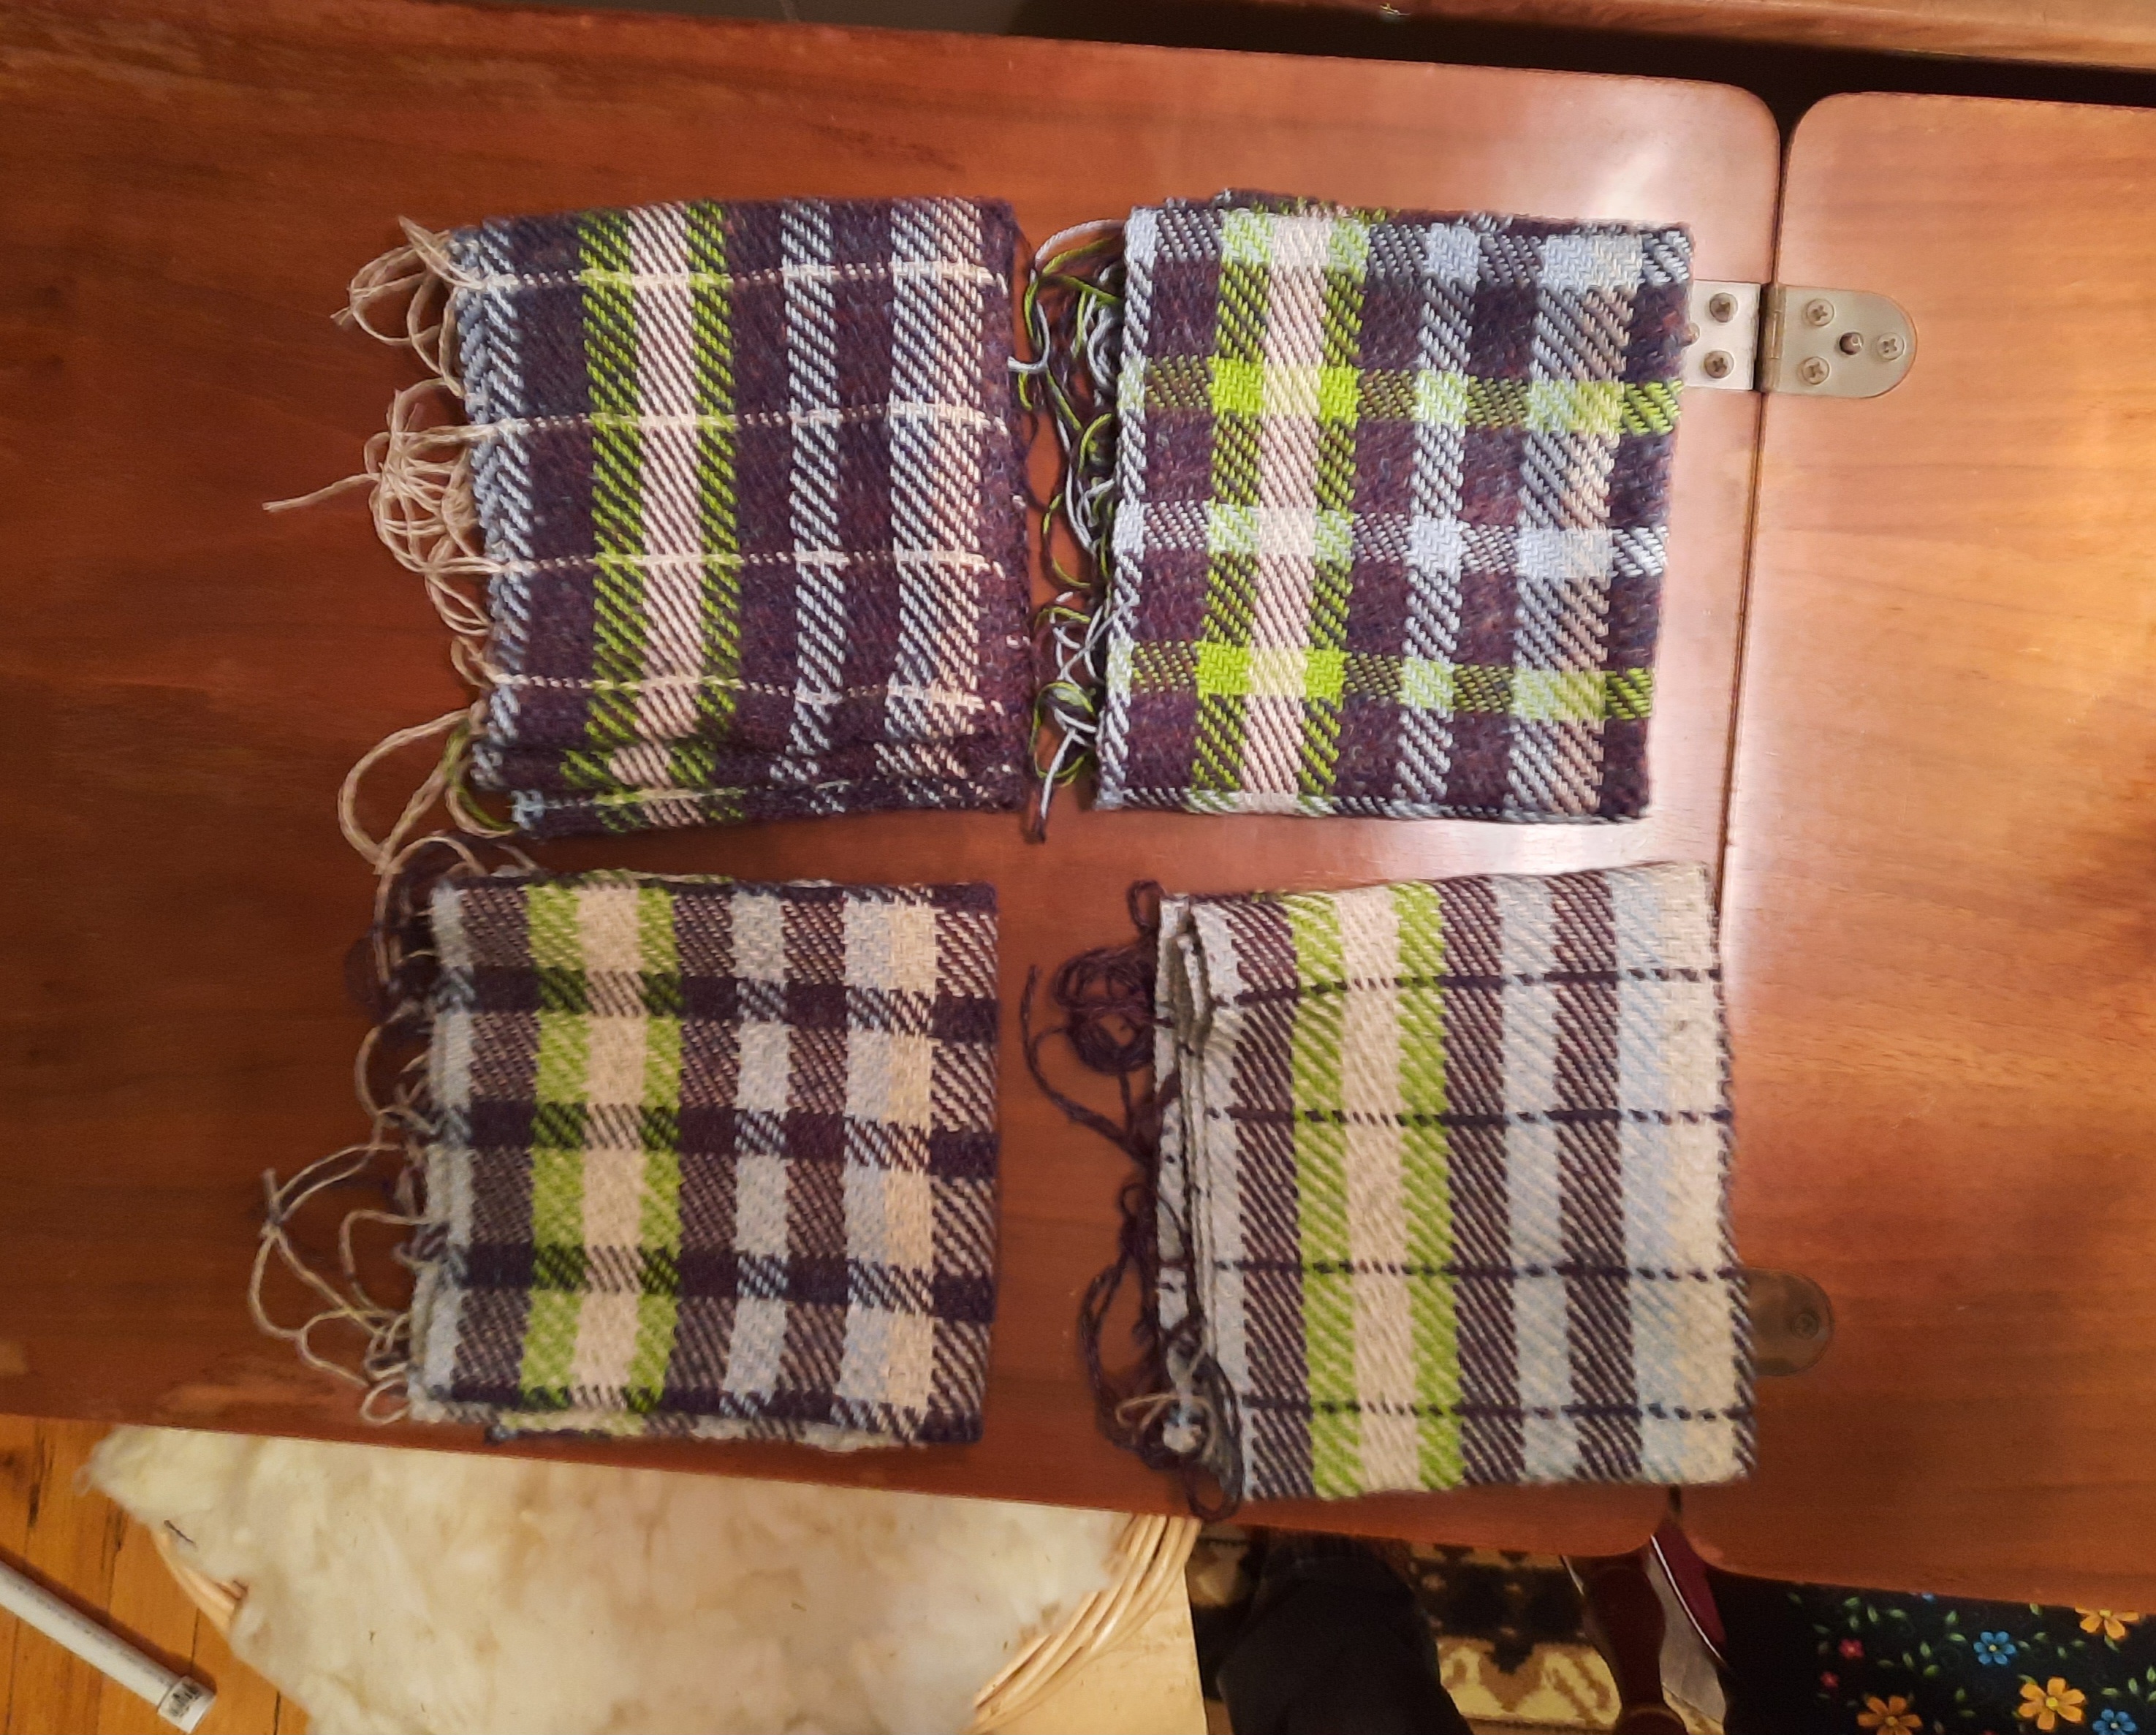
This was an interesting process for me as I’d mostly woven wool cloth and heavy rugs. I did these towels freestyle because I was fascinated by the patterns being created in the plaids. I love plaids, so this seemed most natural to me.
When the warp was all woven up, I cut off the weaving and finished up the dishtowels. I sewed all of the side ends in (weft) and hemmed the ends of each towel. The towels were shipped to the wonderful woman who gave me all of the cotton thread/yarn which led to the creation of these dishtowls.
I used my Singer 319 to hem these dishtowels.
Get busy and make something you love! If you don’t know how, get a book and learn (I do it all of the time!).
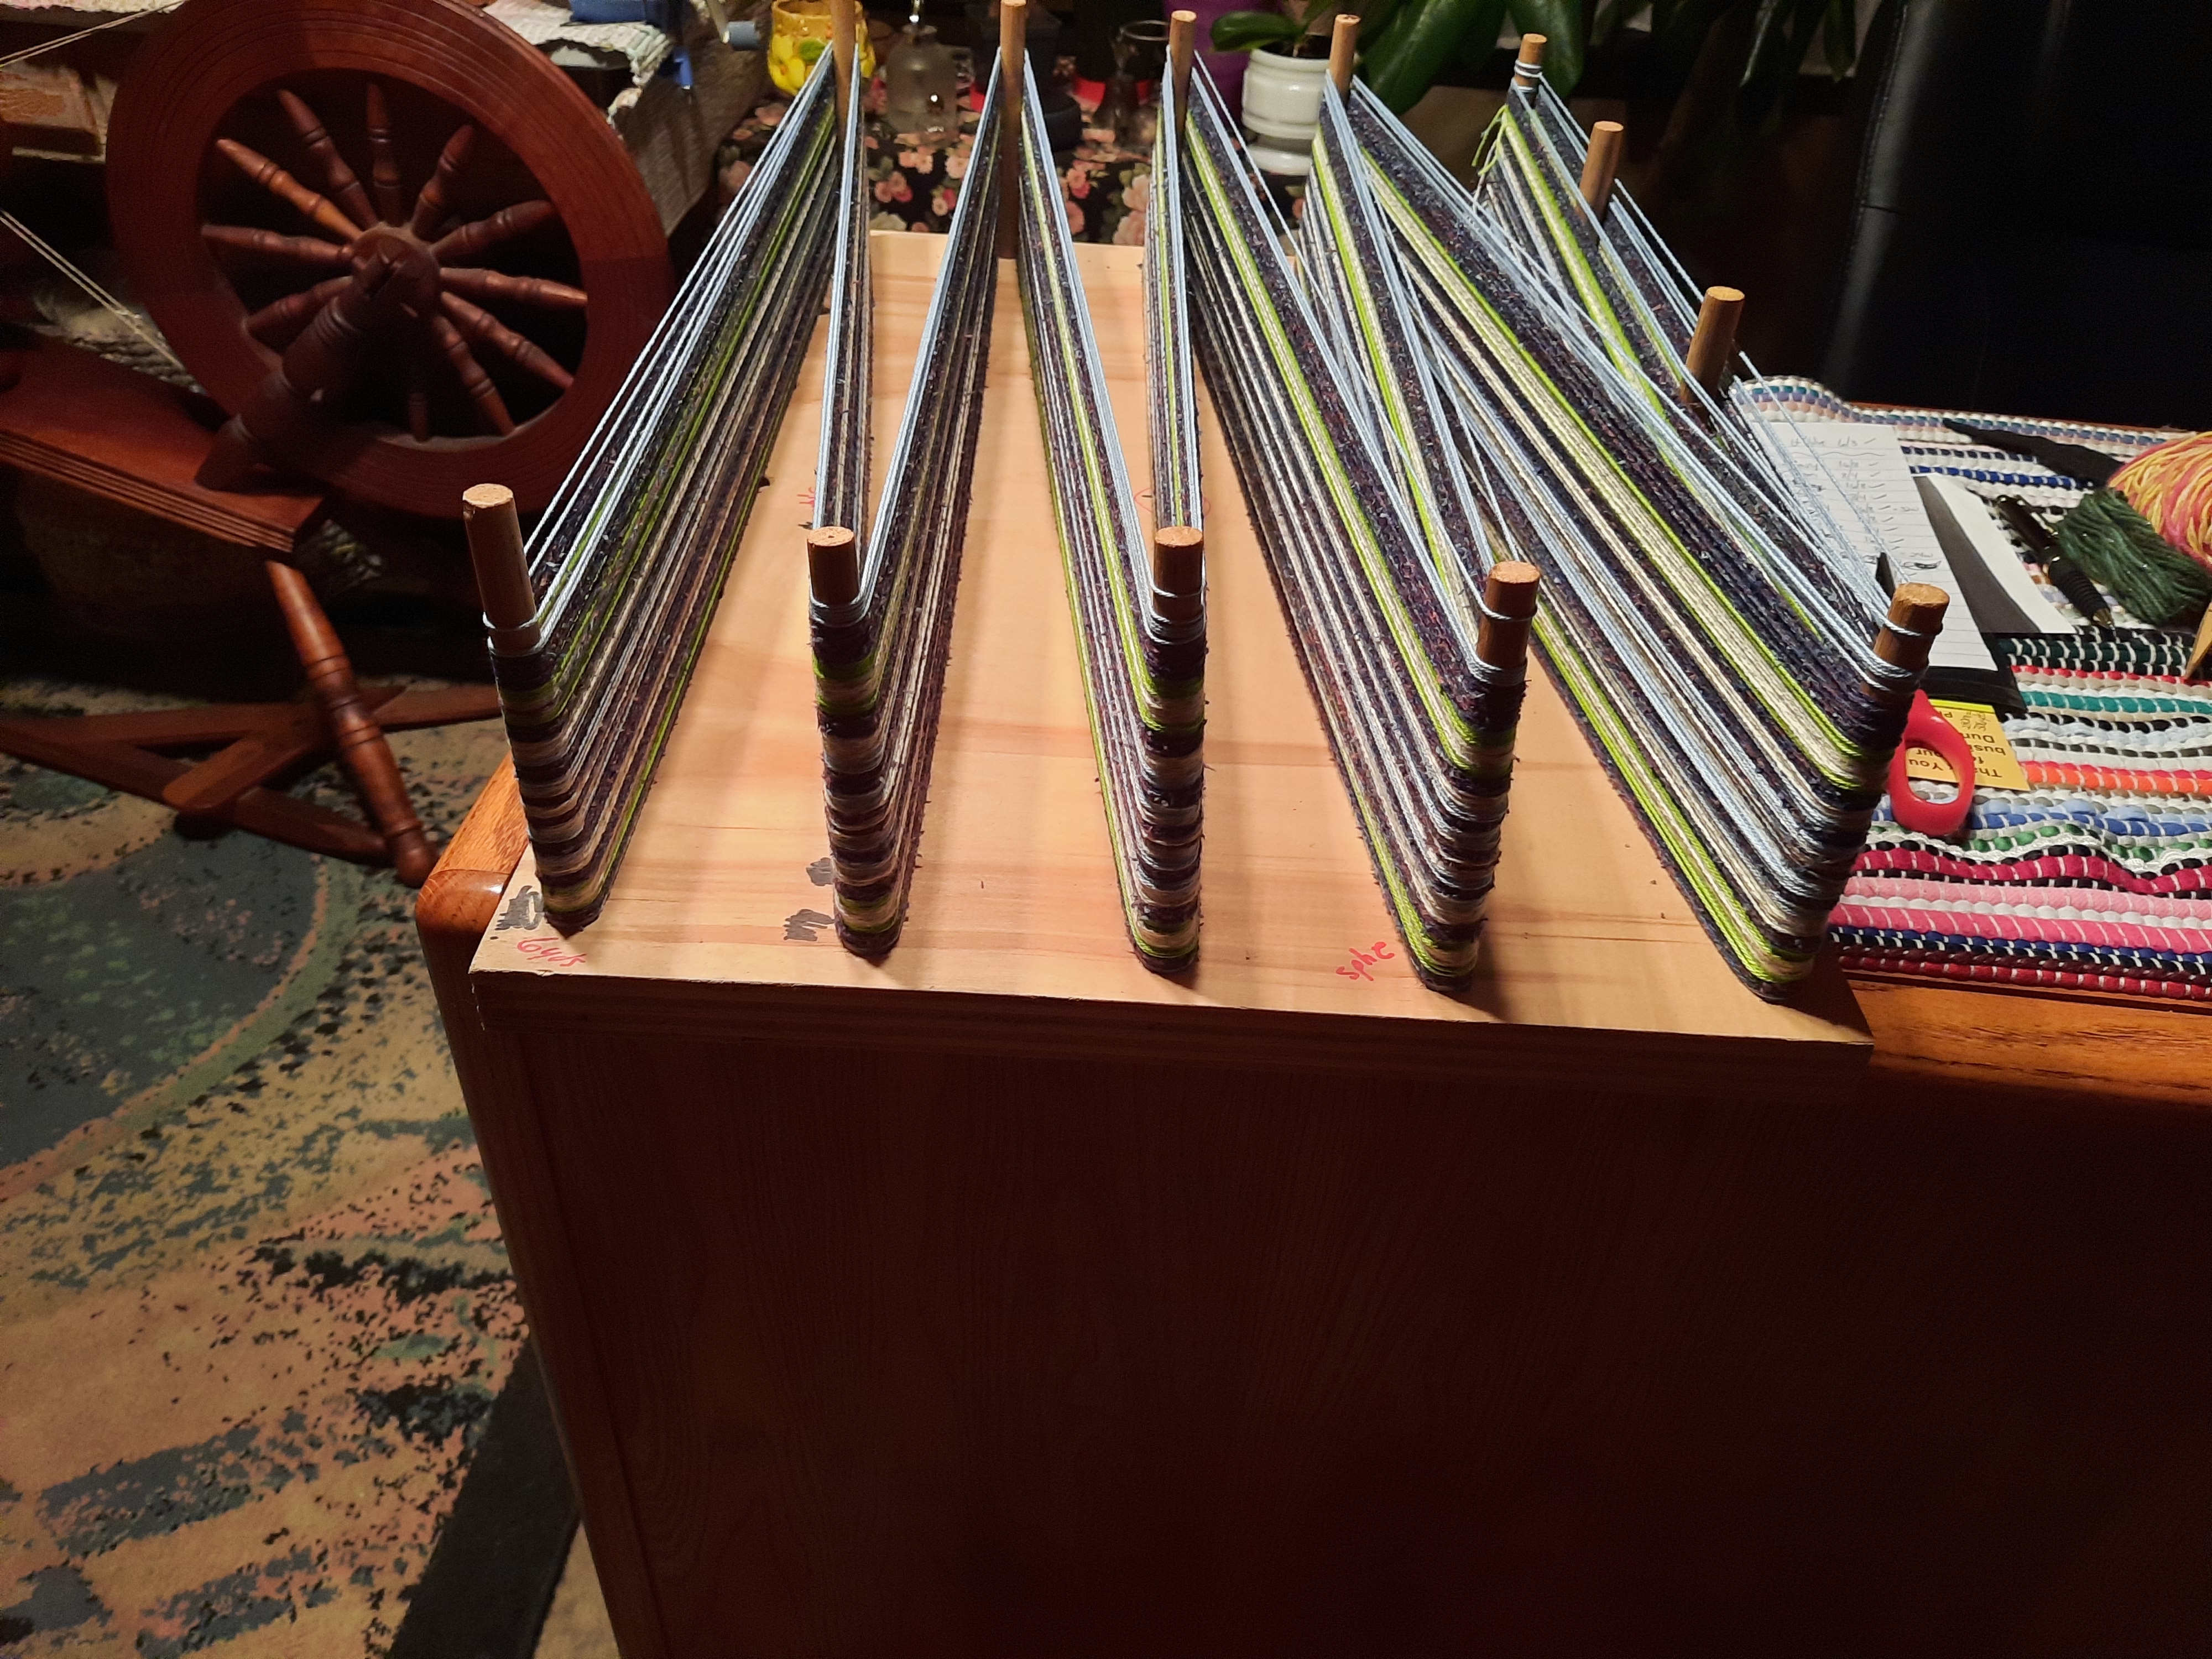
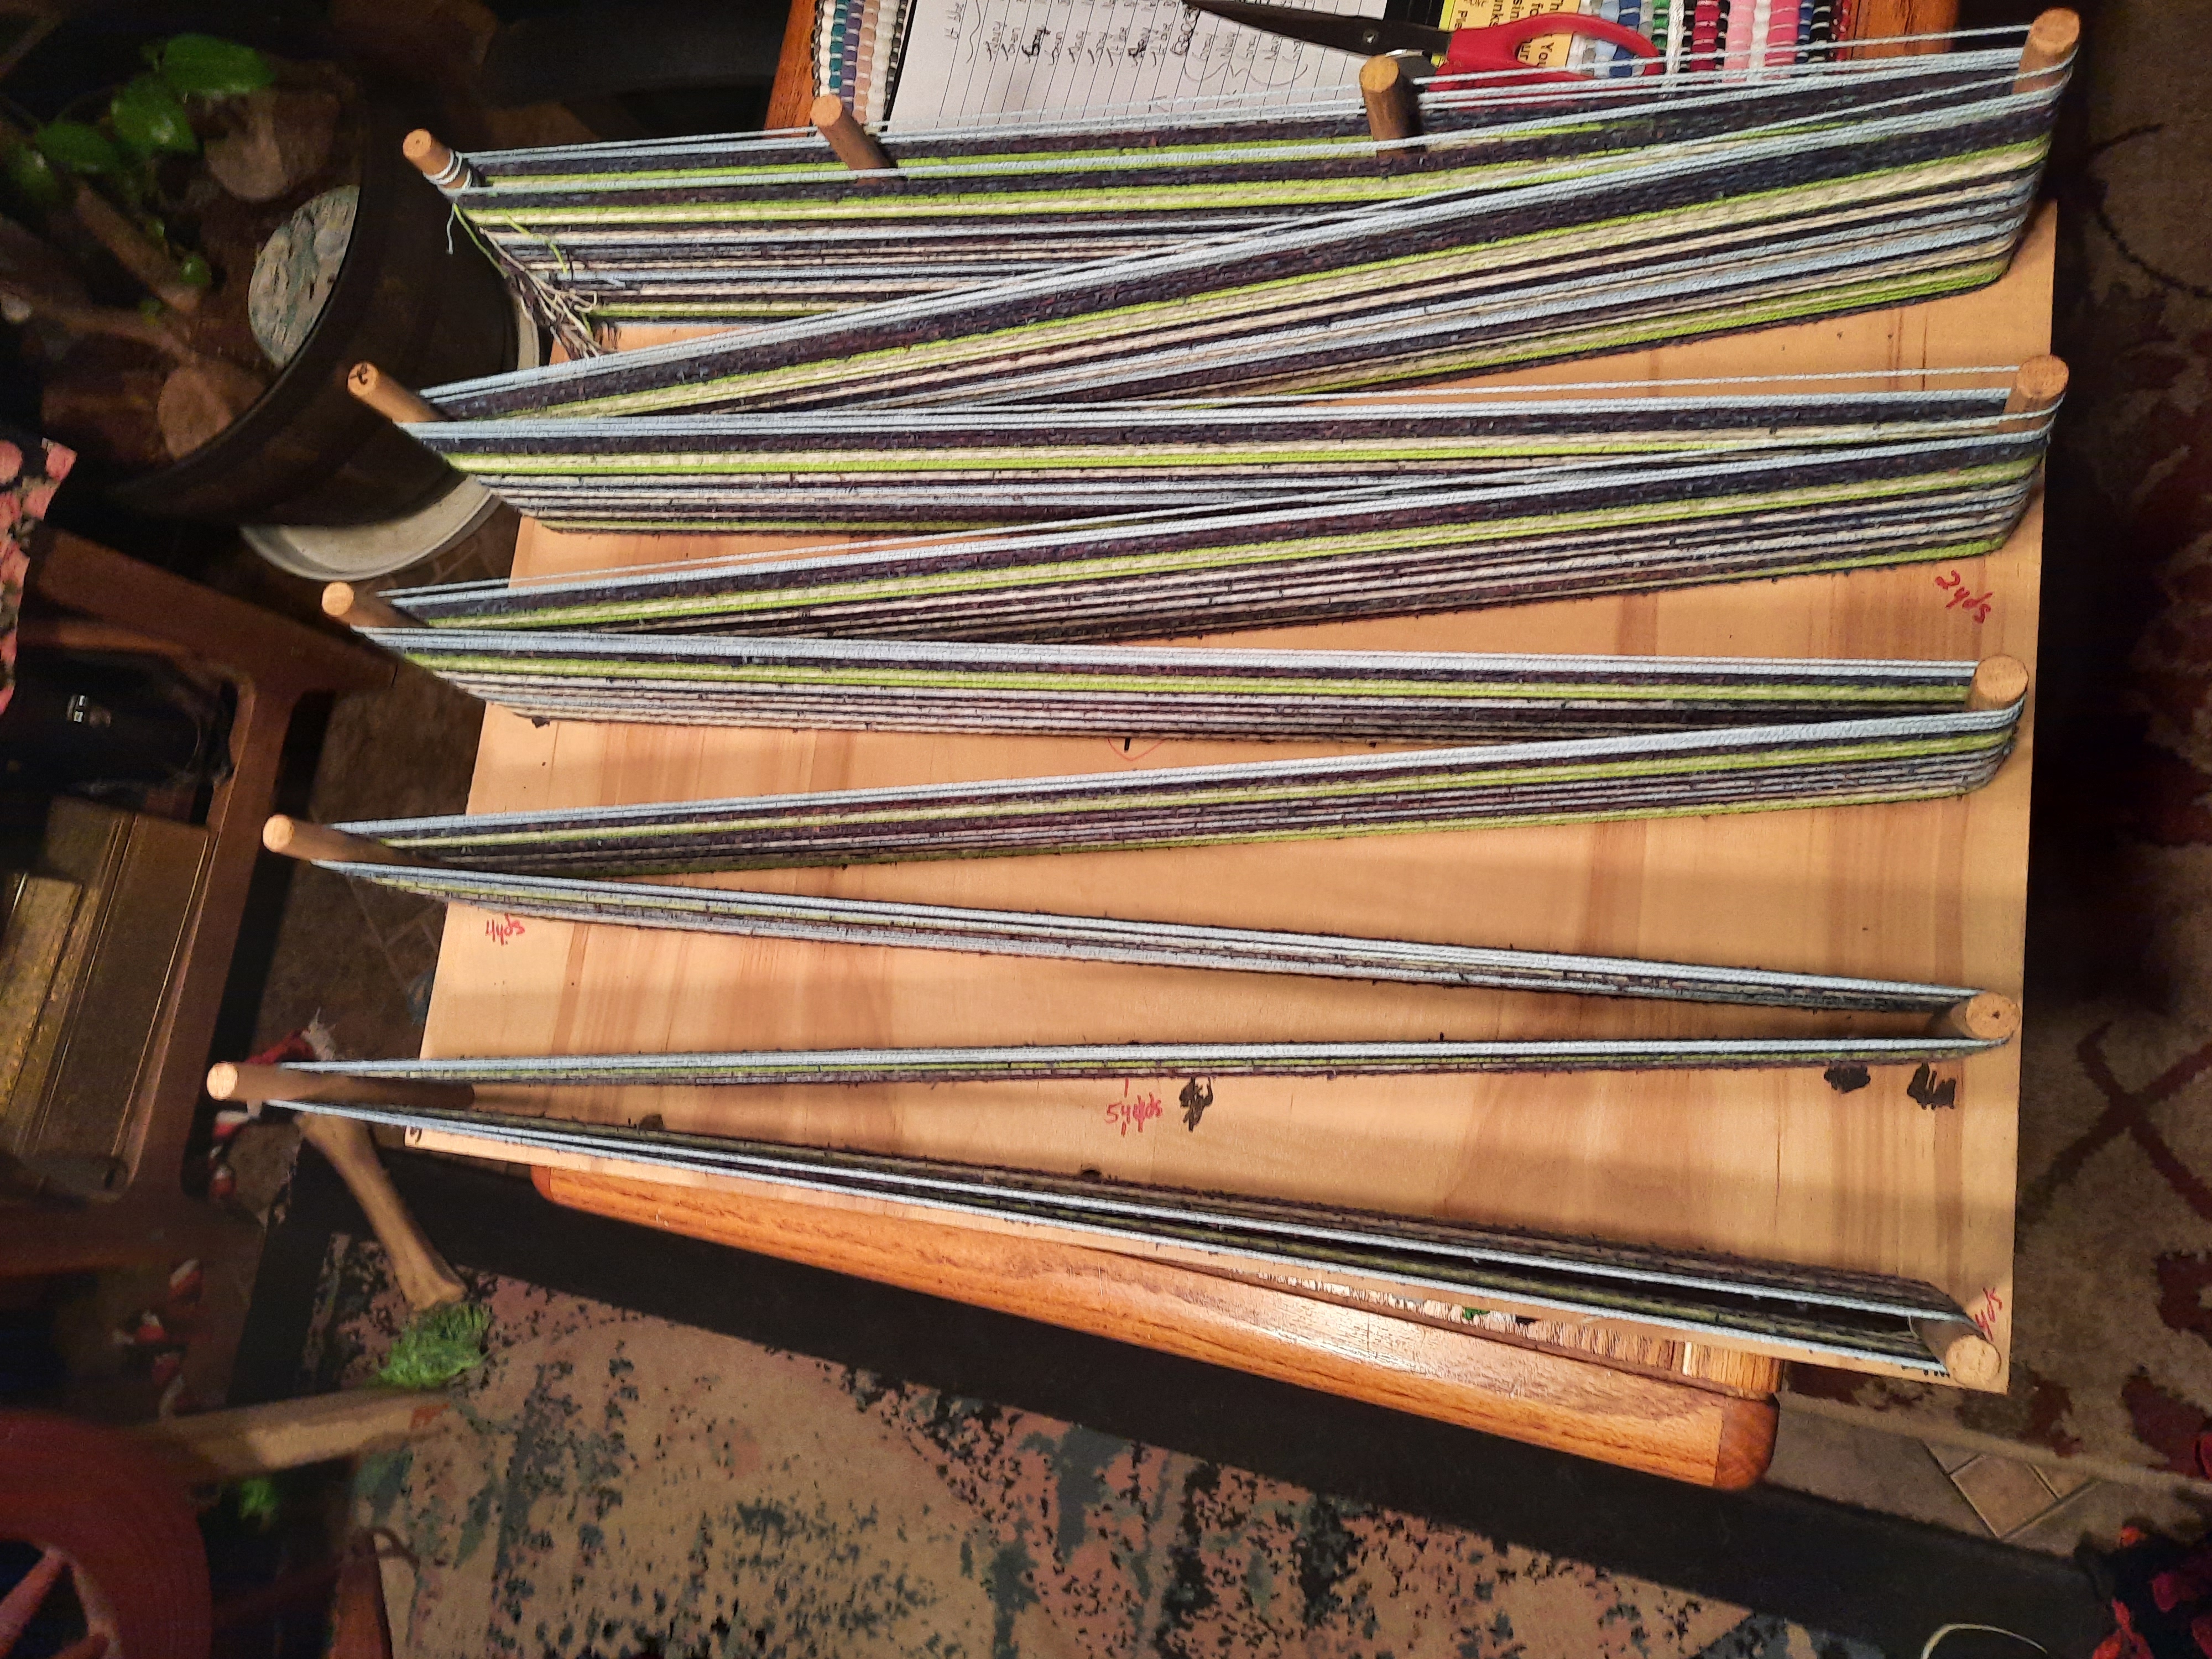
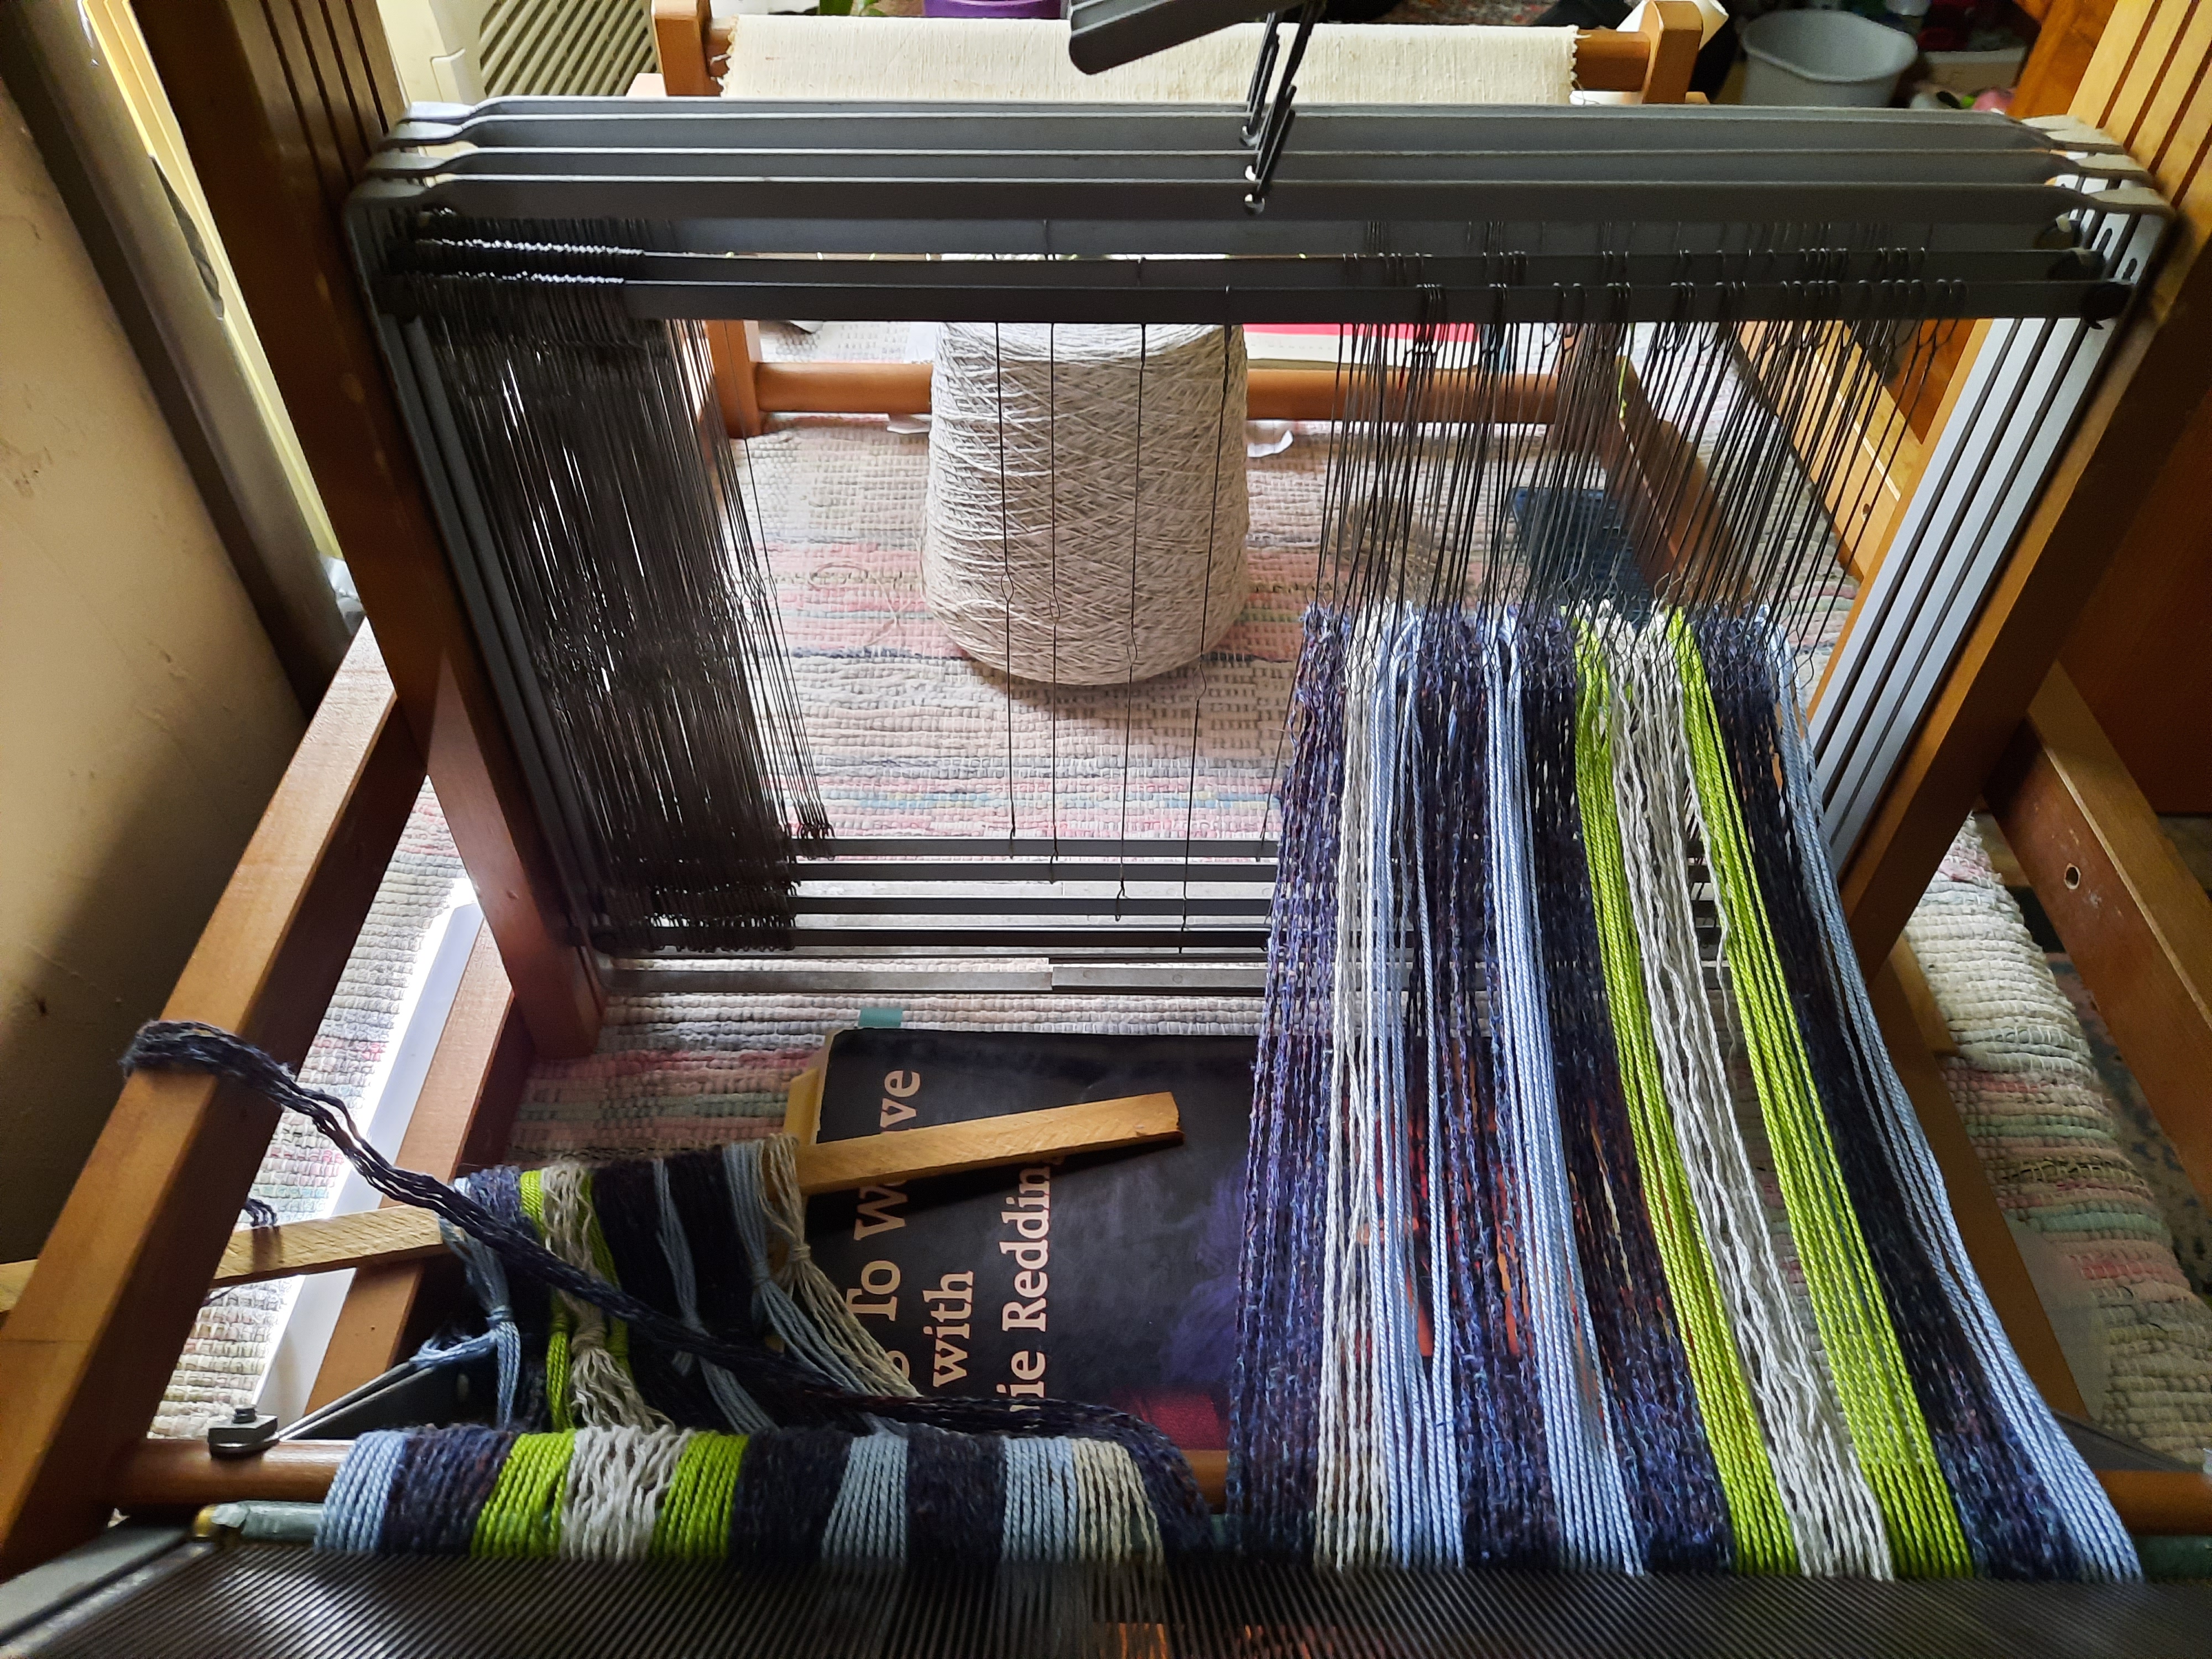
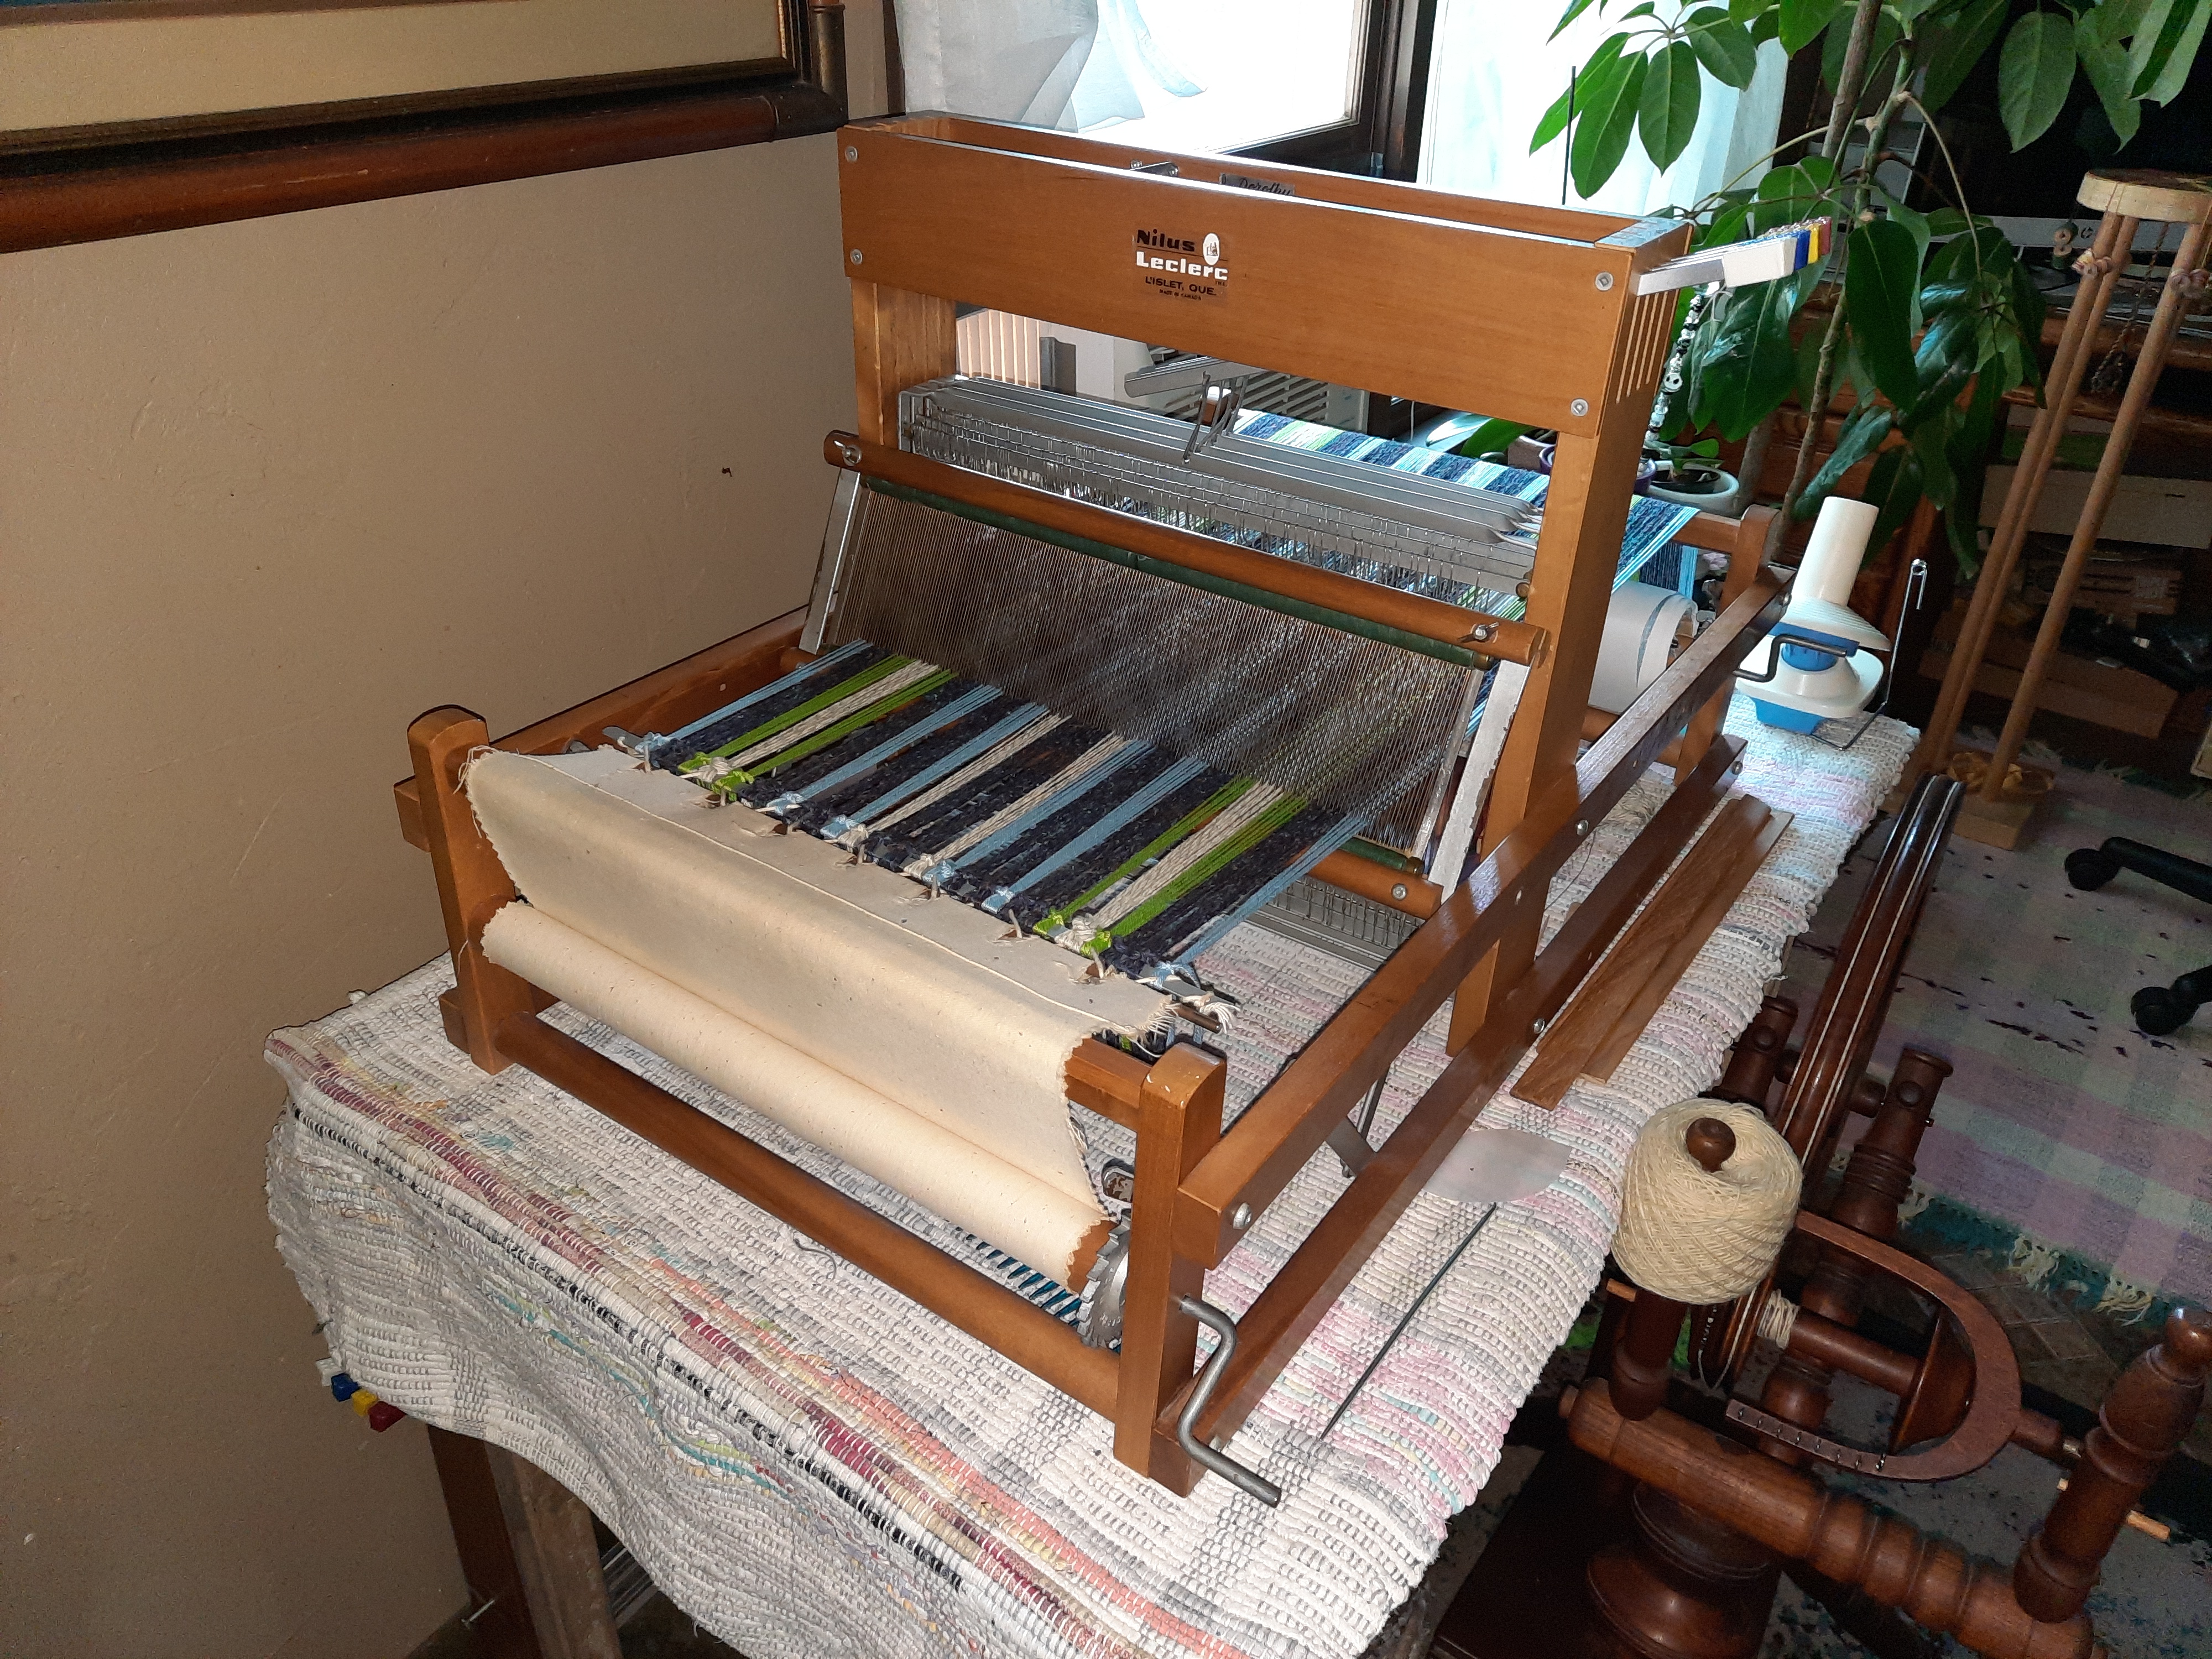
I cleaned up the loom after removing the first finished weaving. I removed one of the 4-harness blocks and used the warp board that our son and I built 15 years ago to start a new weaving. I decided on dishtowels using #5 and #3 cotton.
I chained the warp while trying to maintain the cross. This is of note because I’d not chained a warp in over 12 years, so it was a lot of virtual hair pulling. I ended up losing about 3 yards of the warp because the cotton didn’t want to play well.
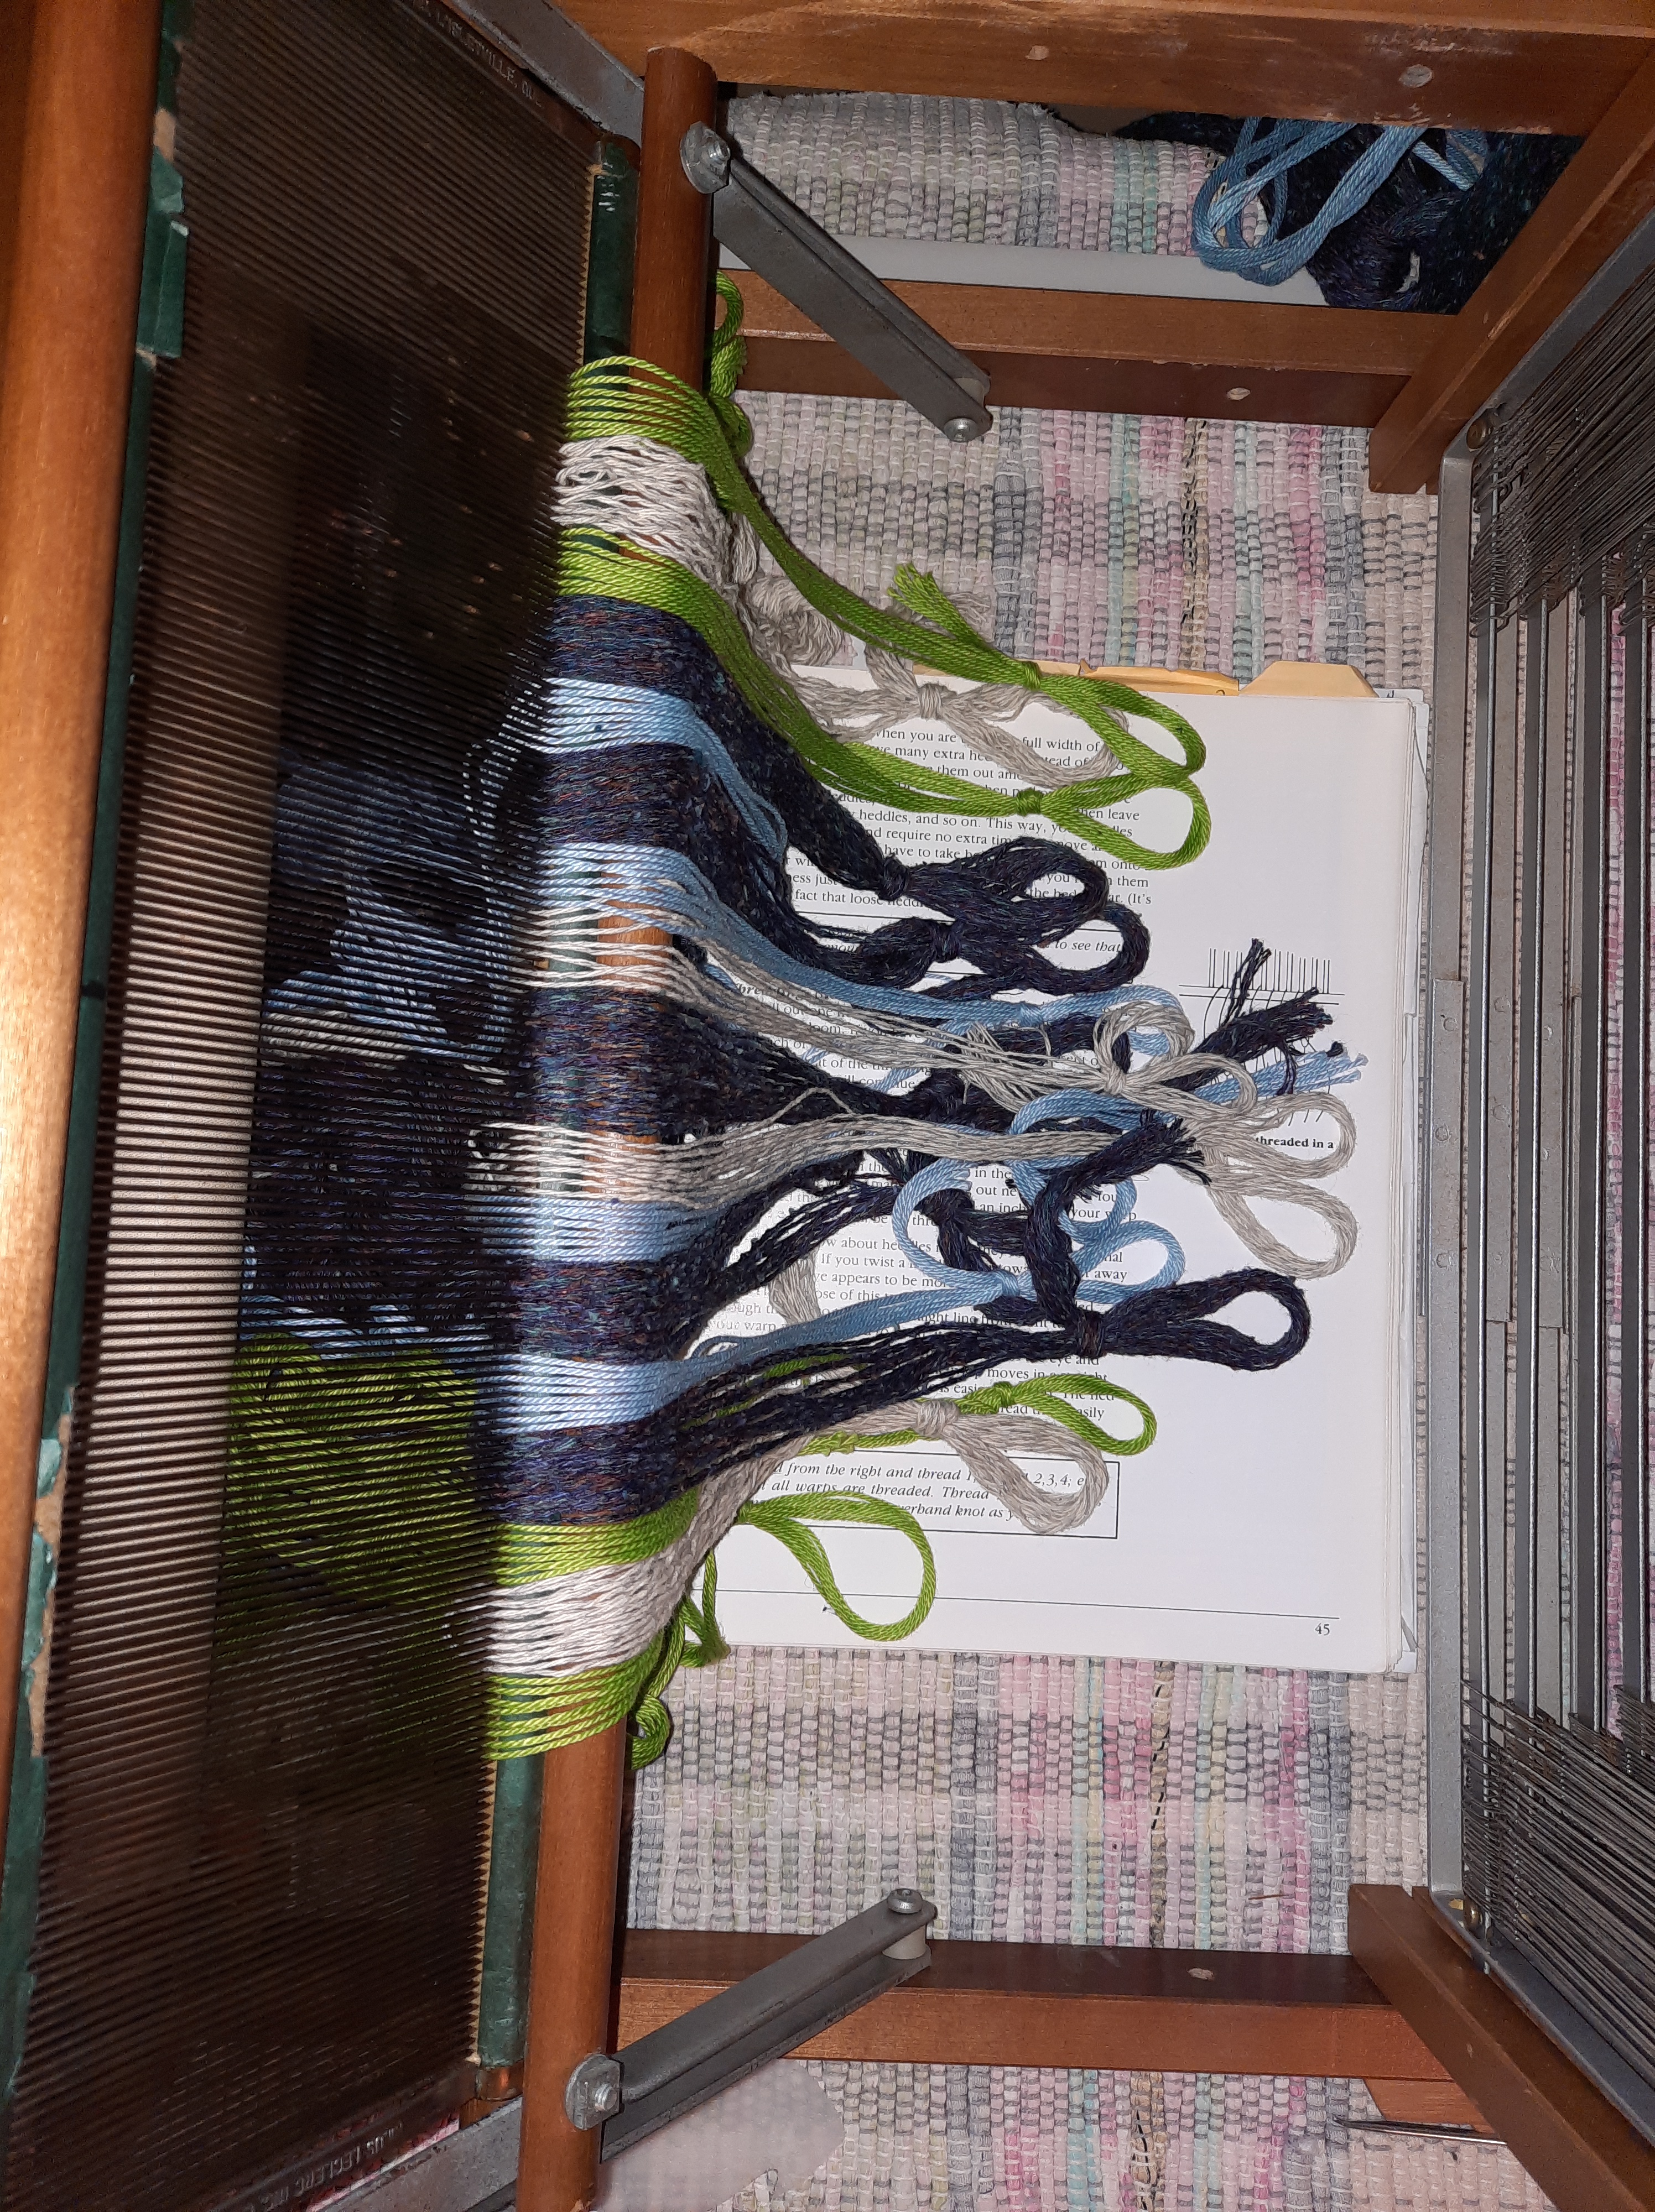
I slowly sleyed the reed and secured the warp onto a shed stick.
Sleying the reedThe resting warp threadsI made my reed threader from a plastic milk jugThe warp is restingThe warp is being held by a shed stick.
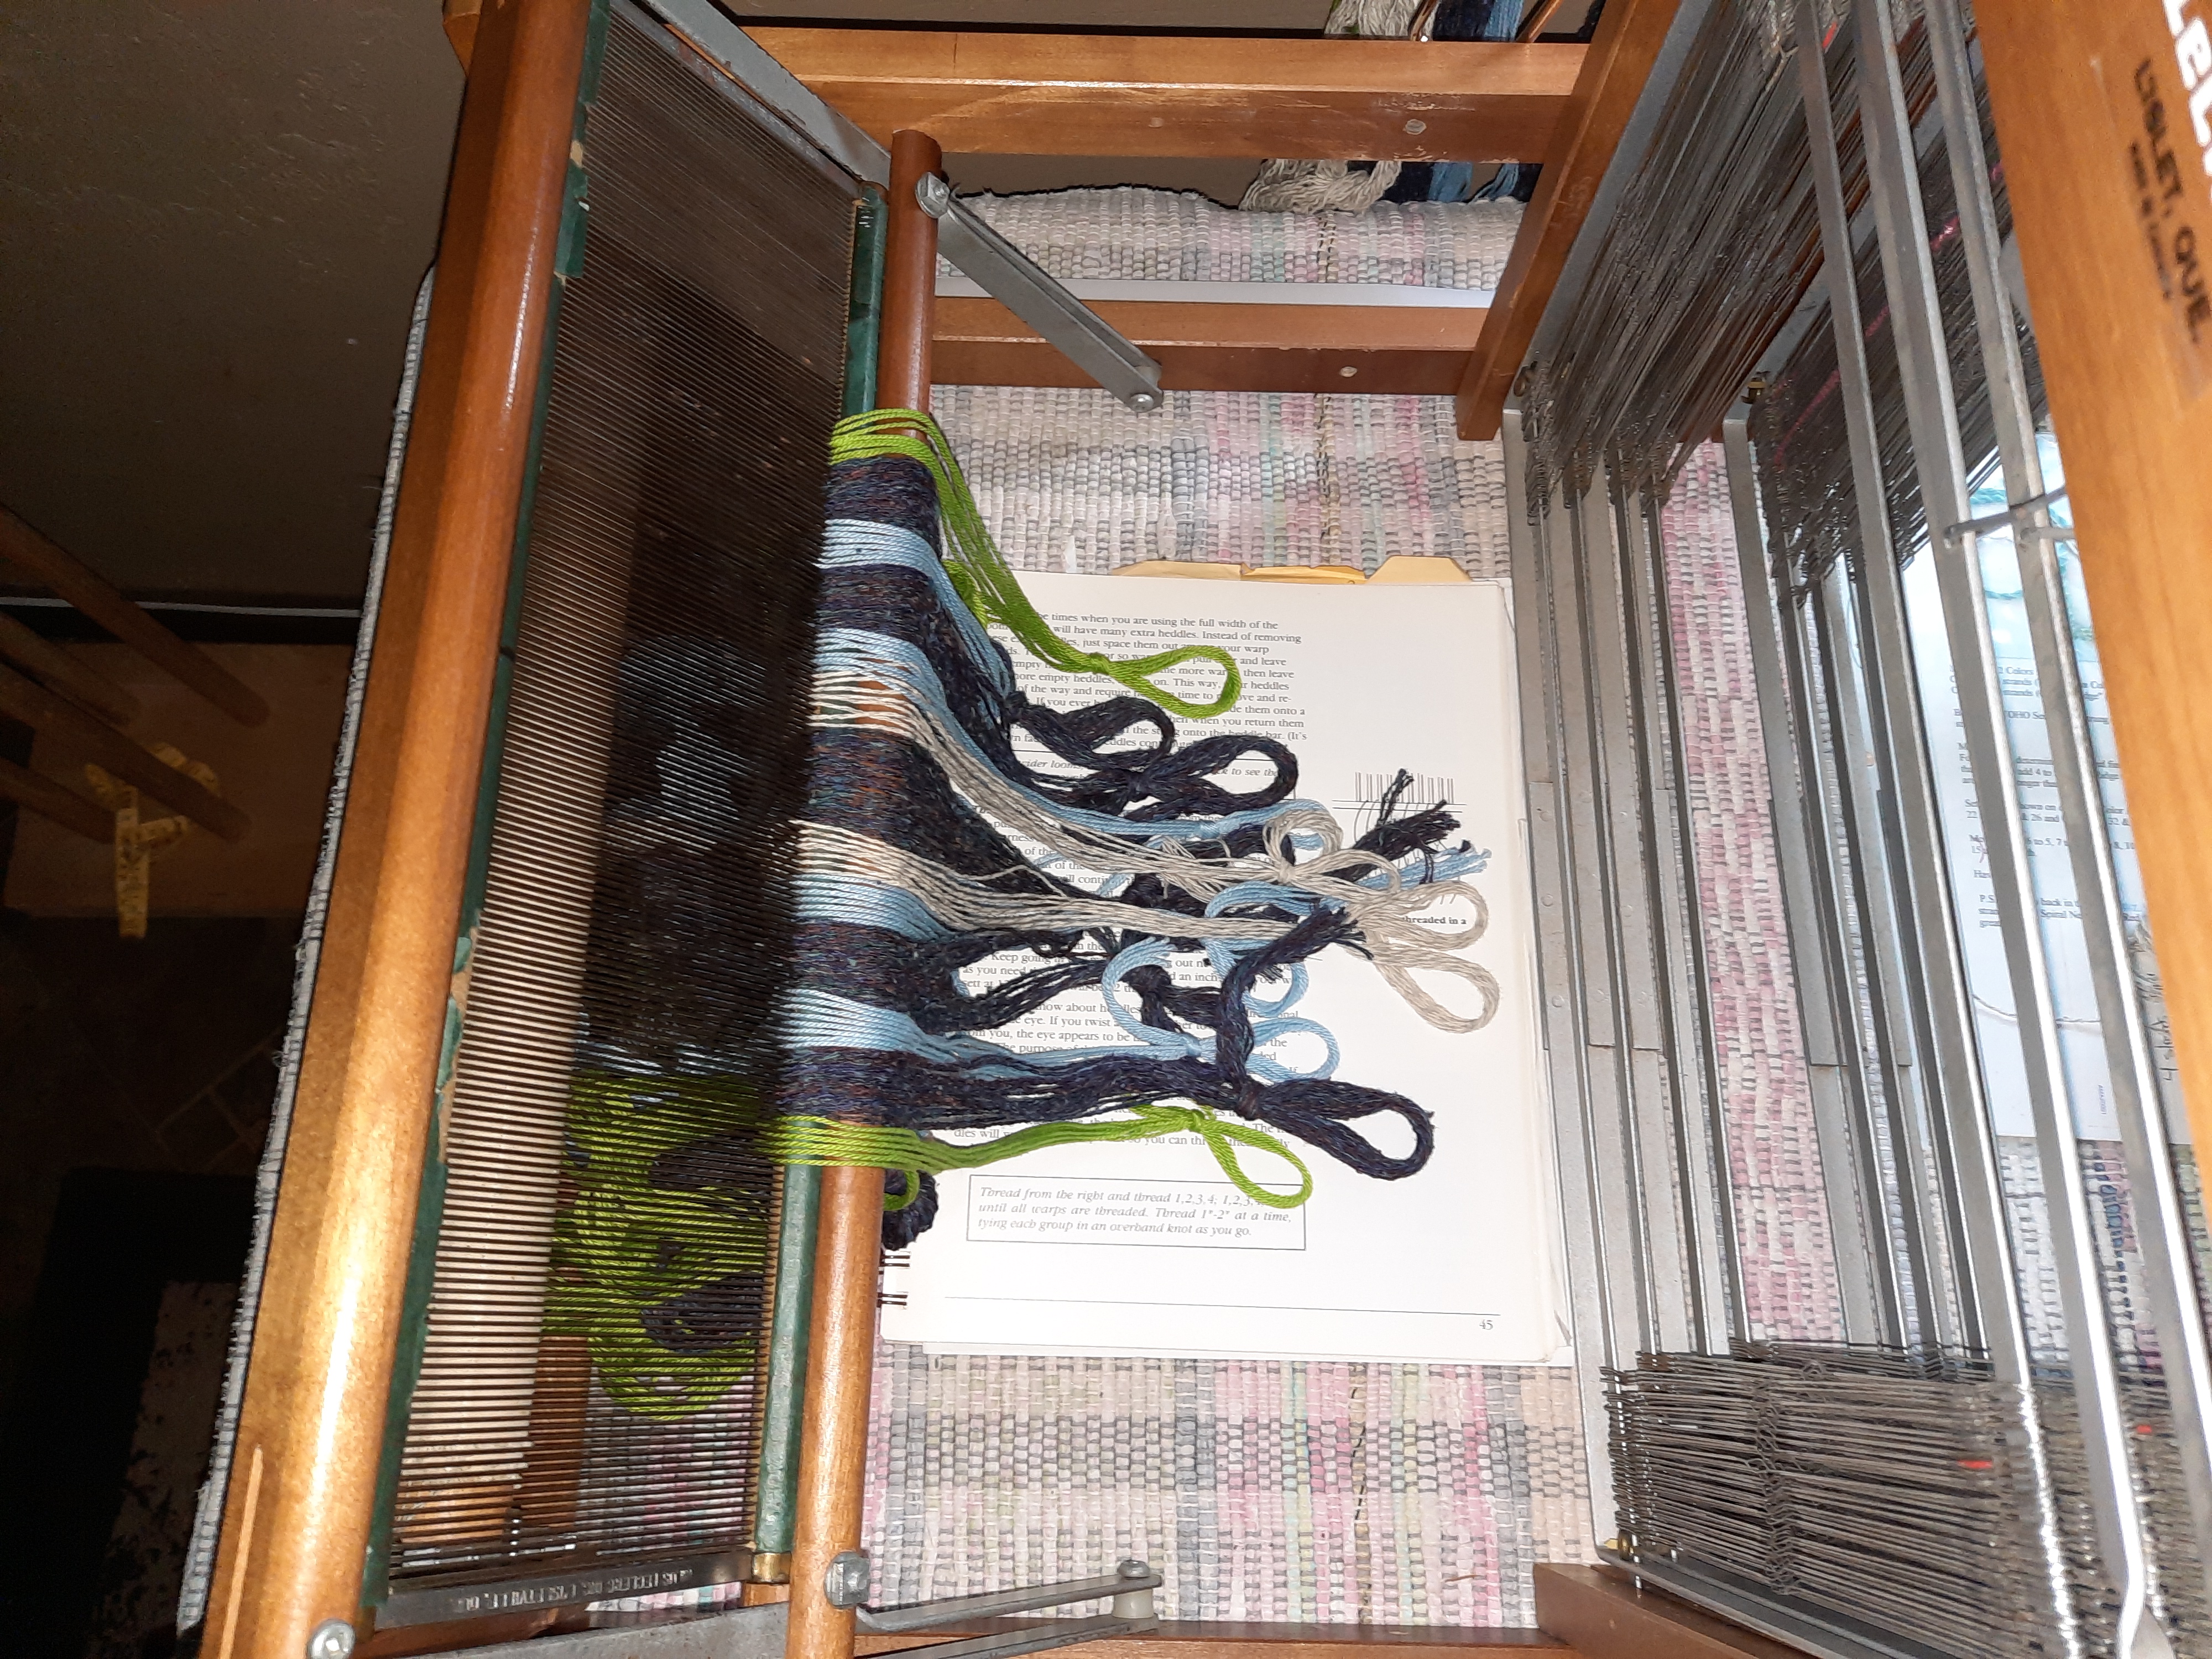
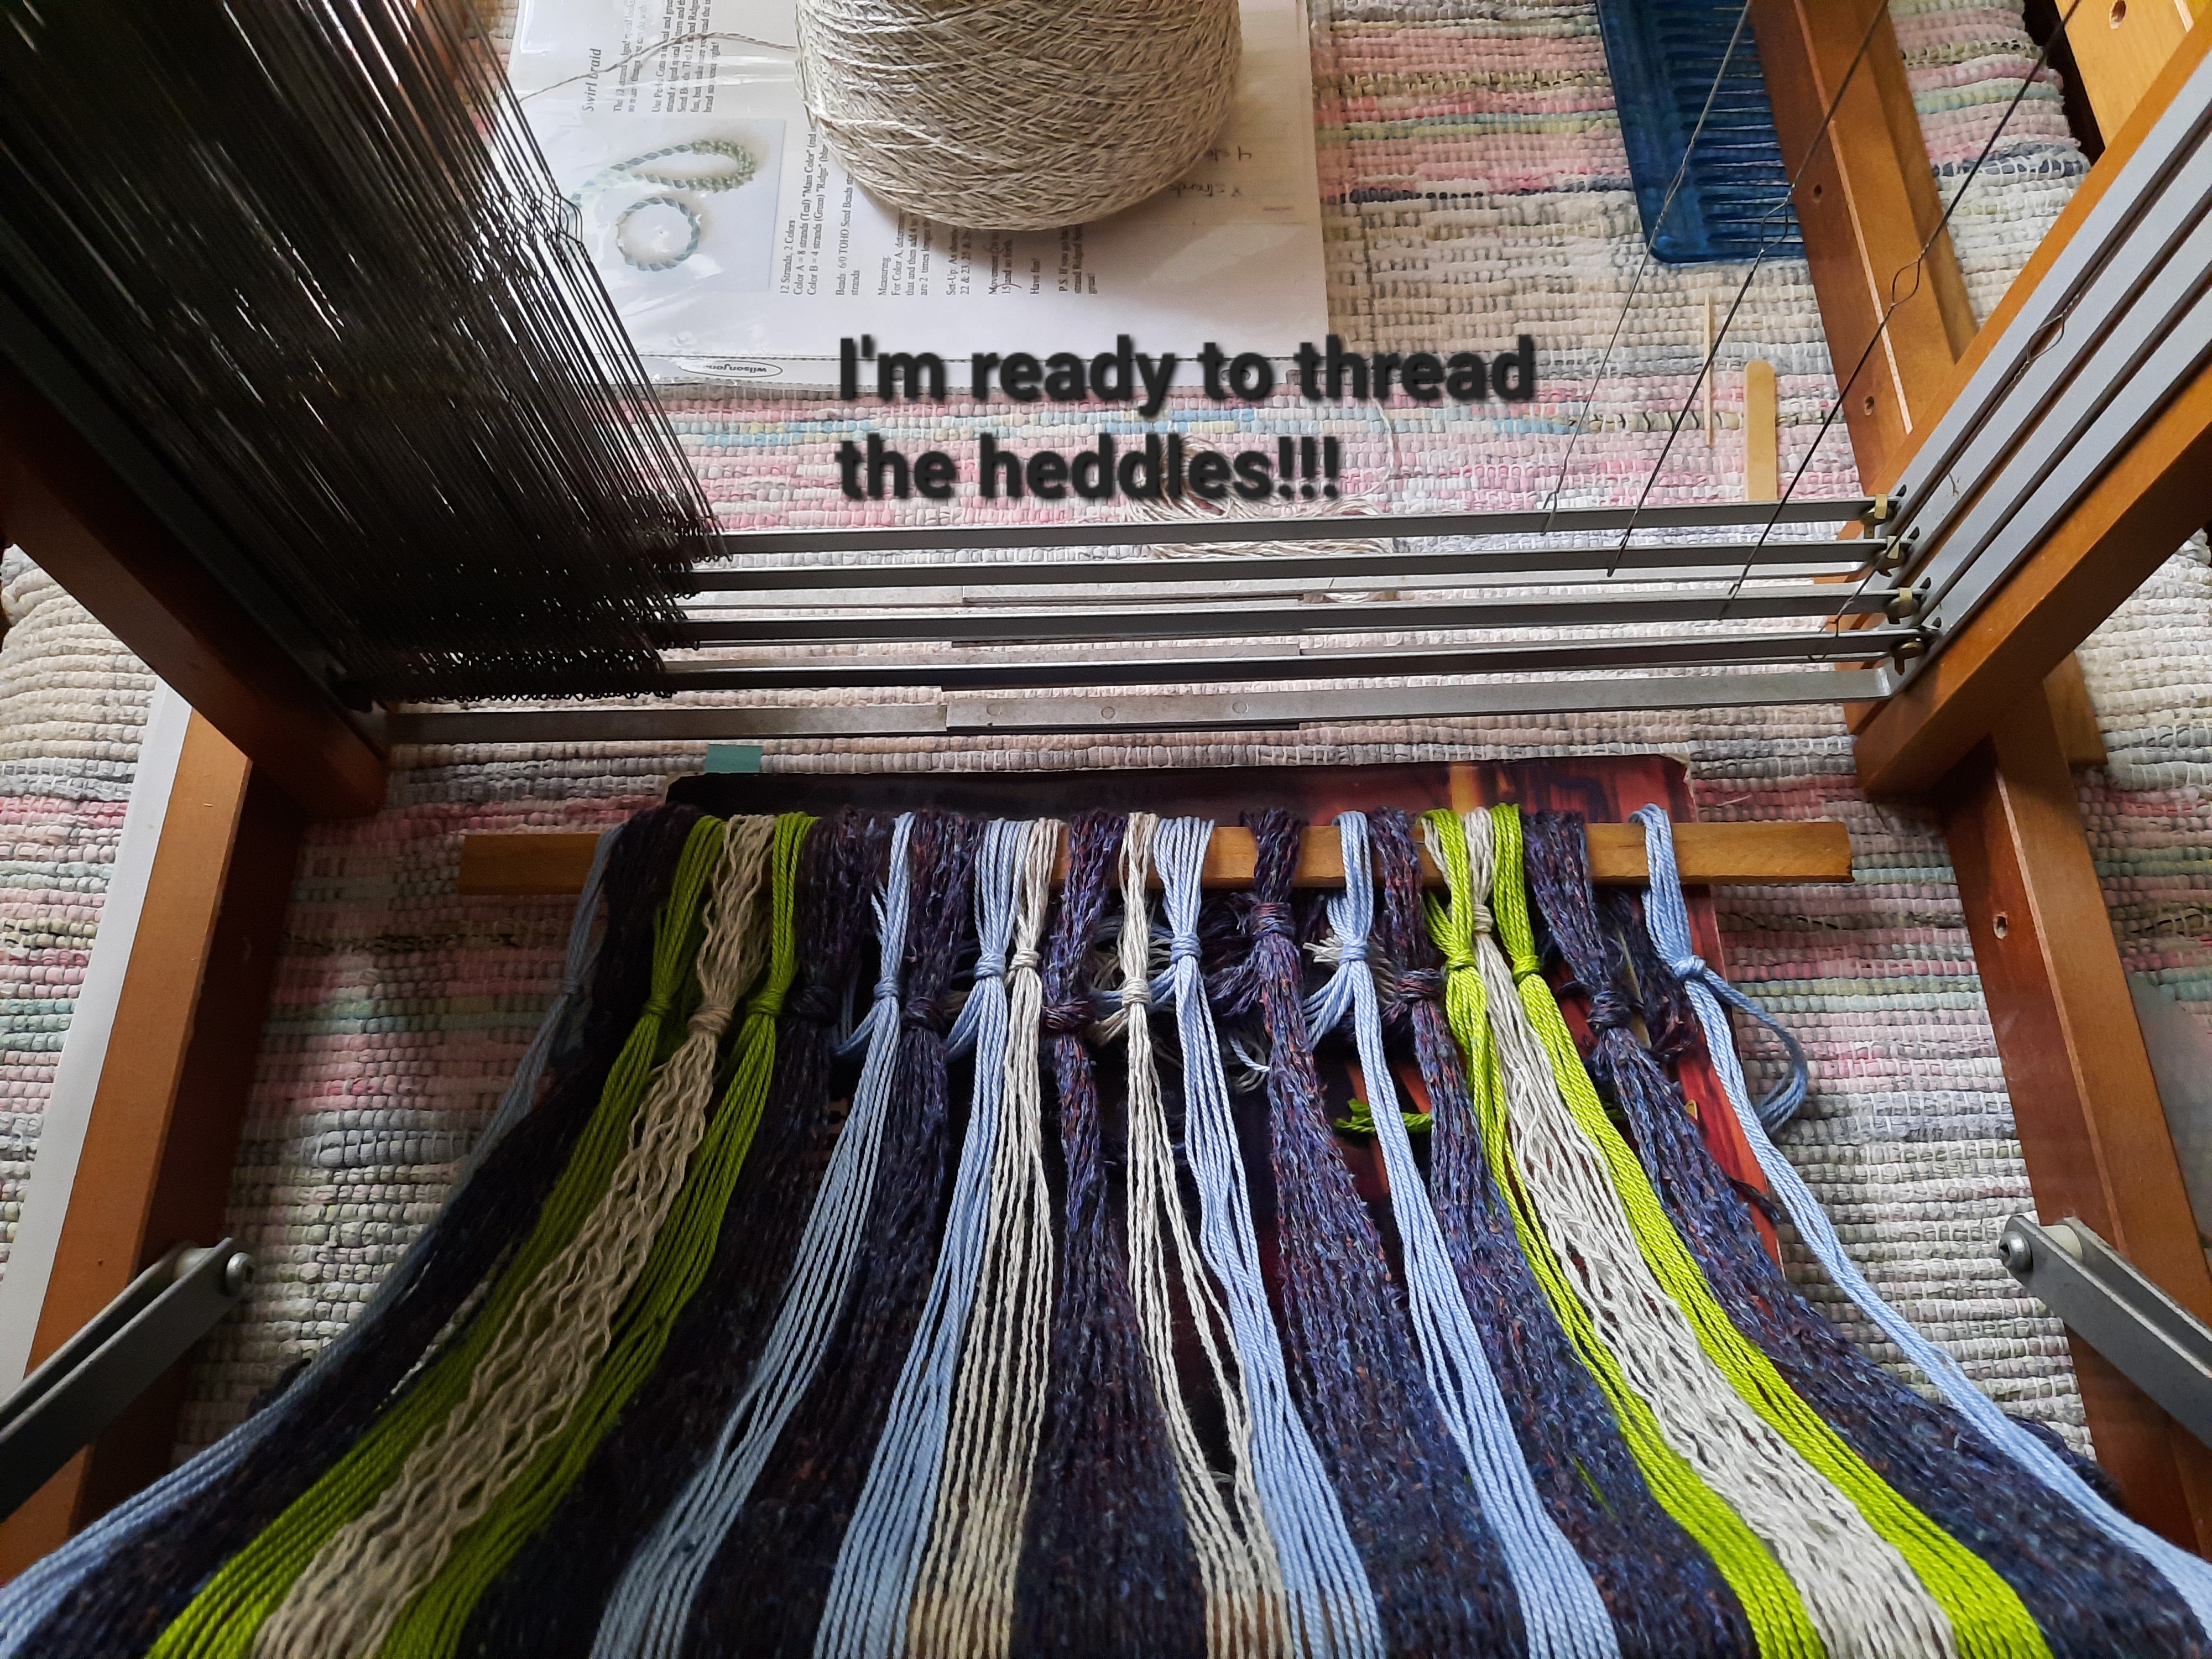
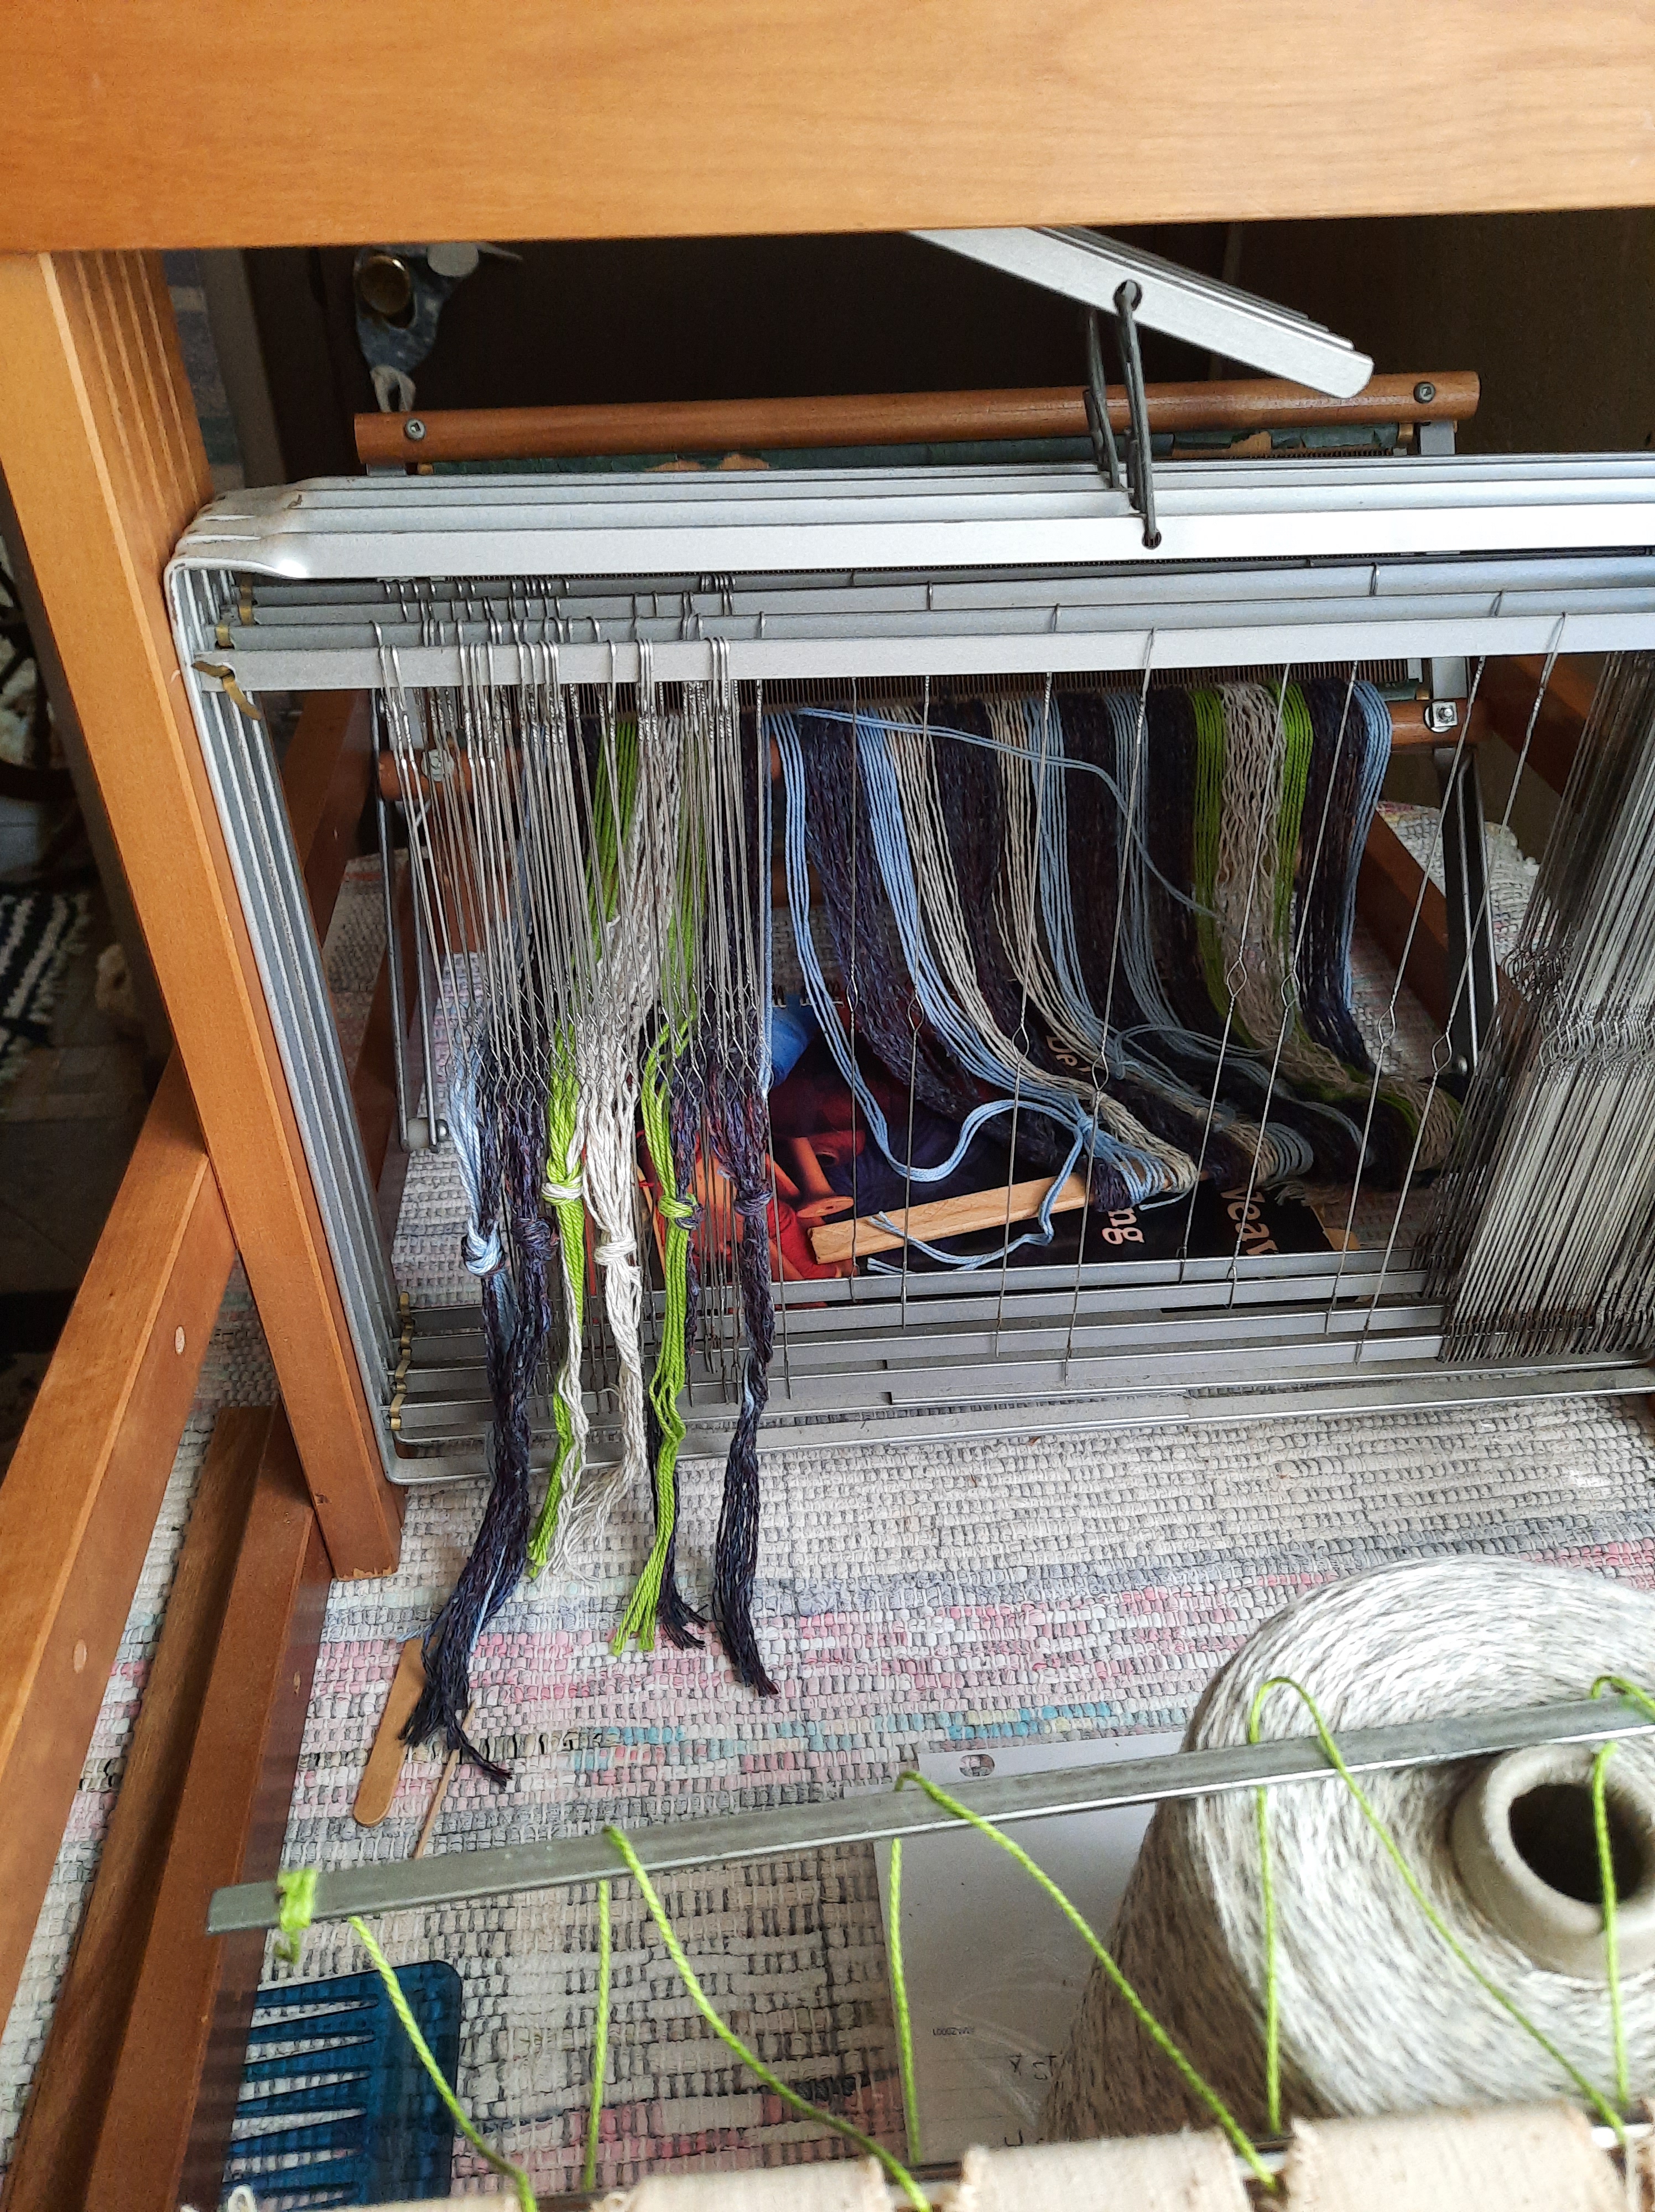
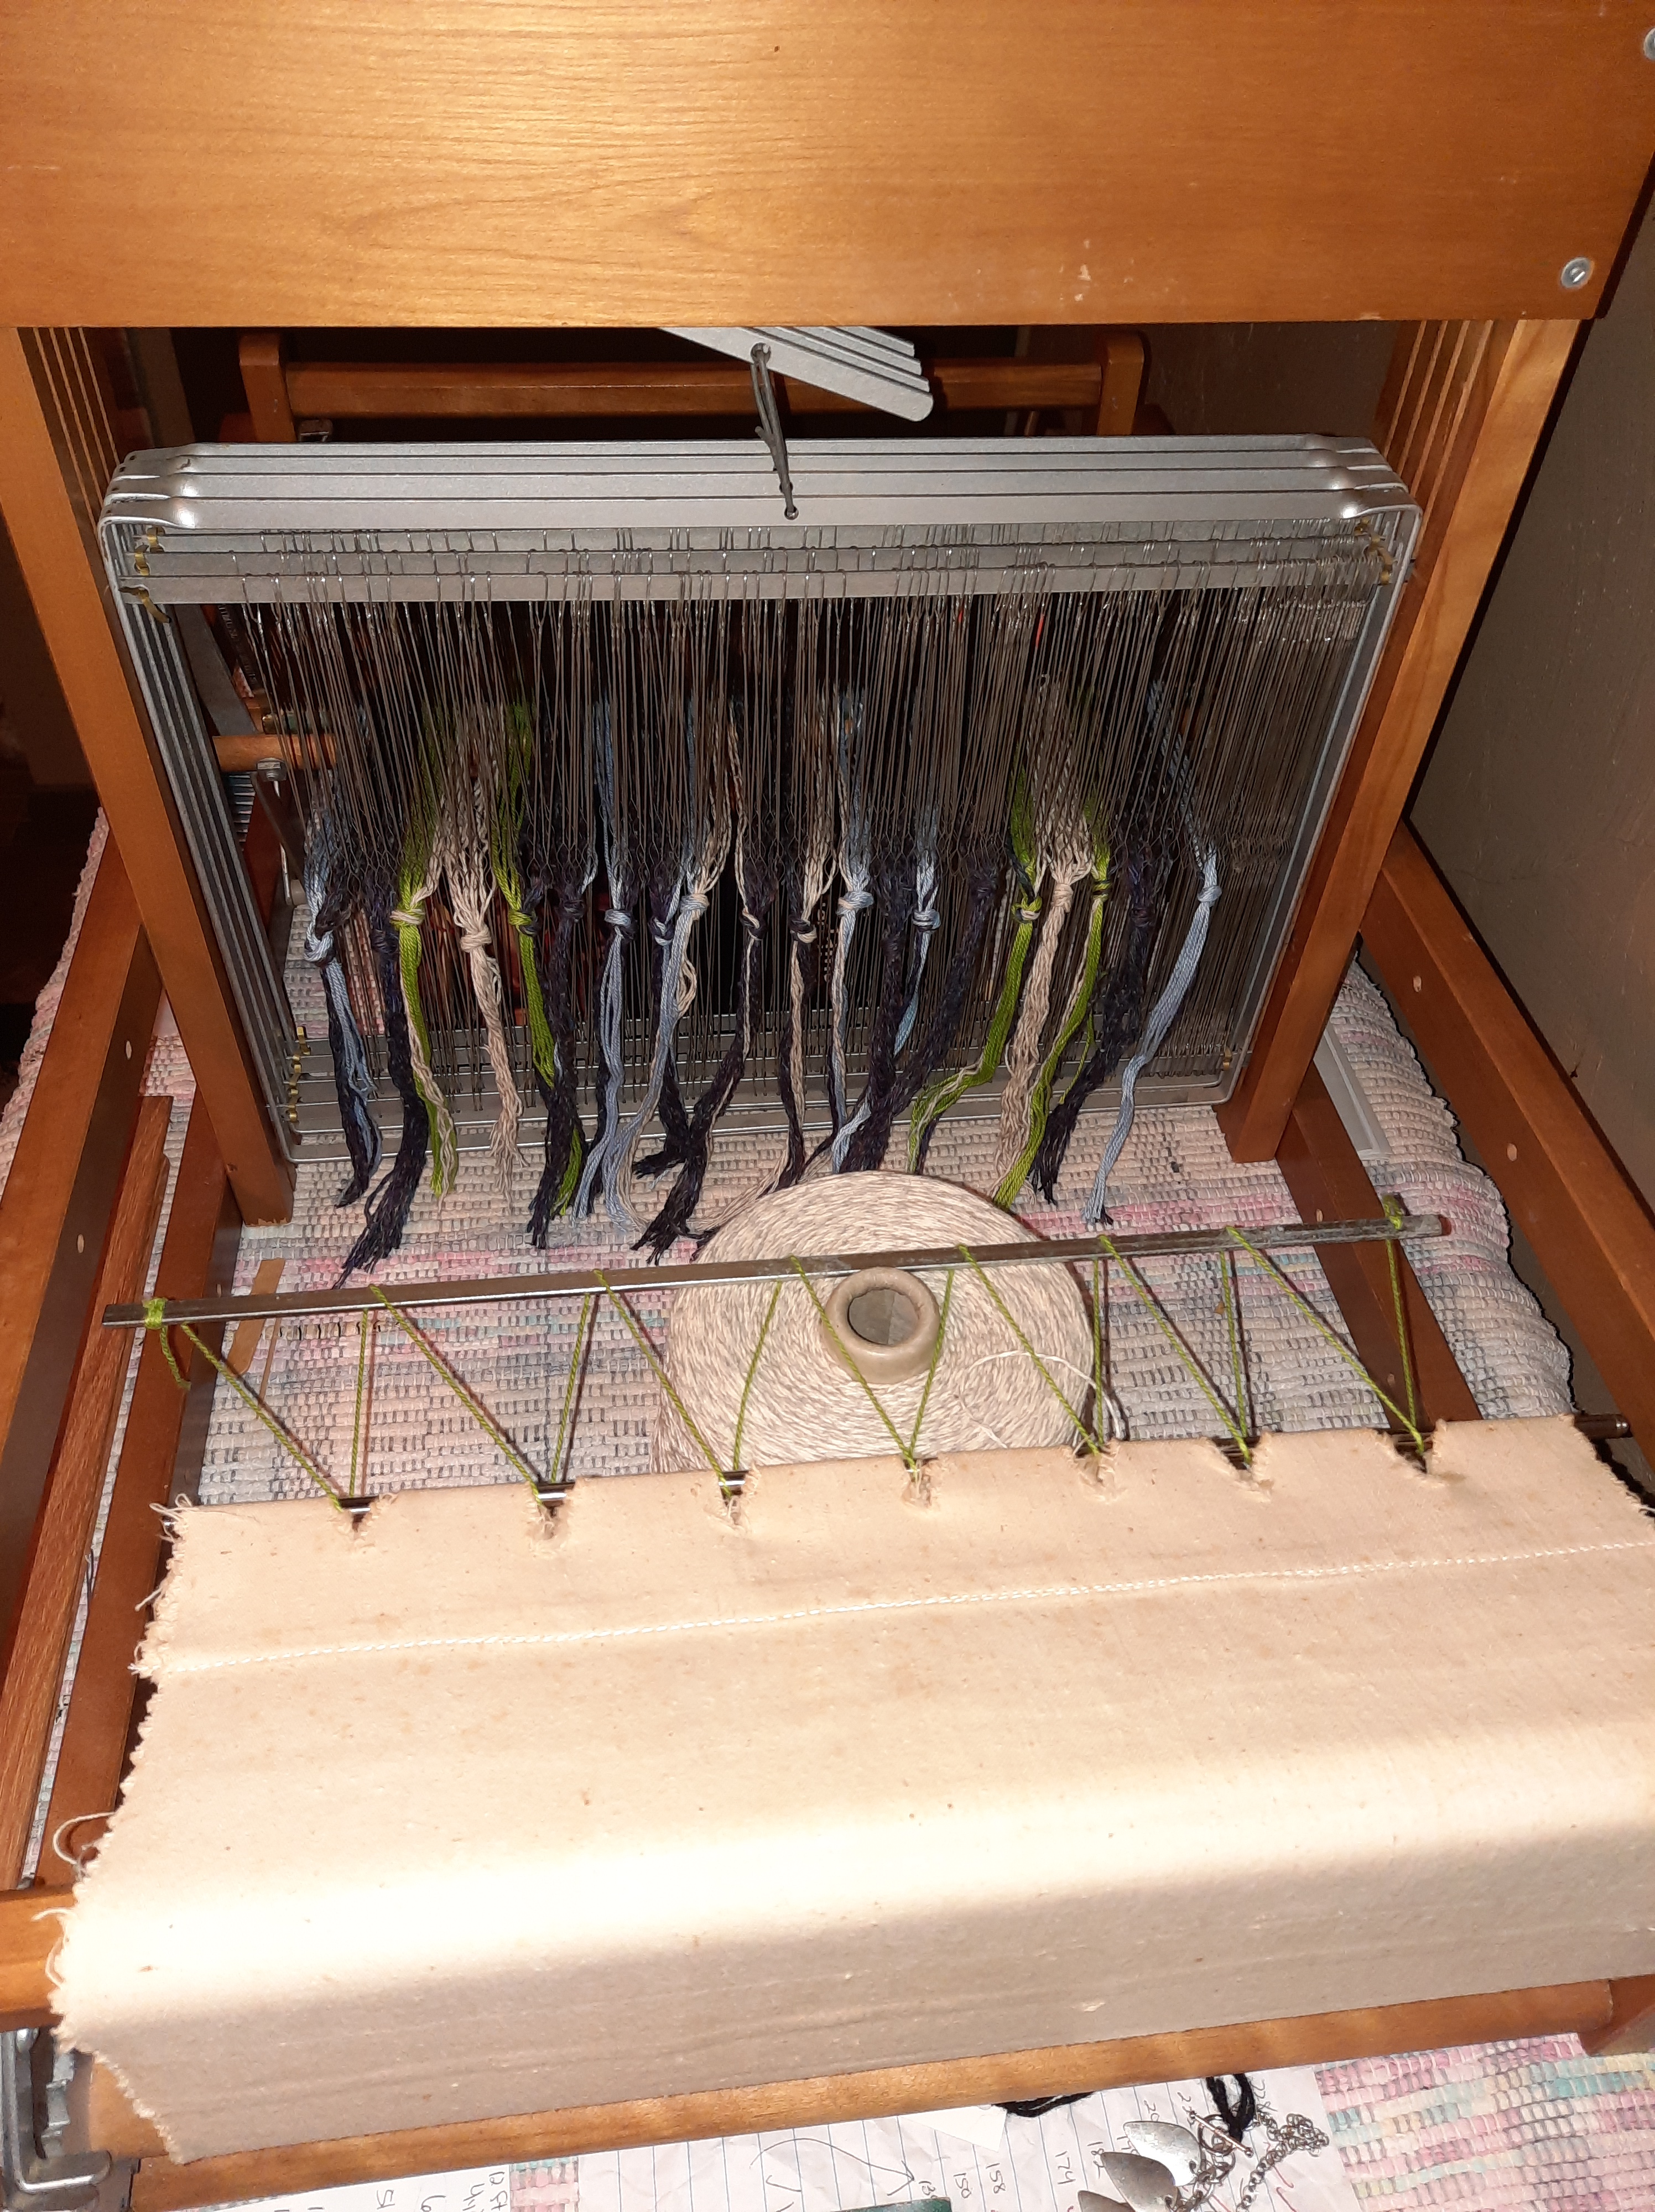
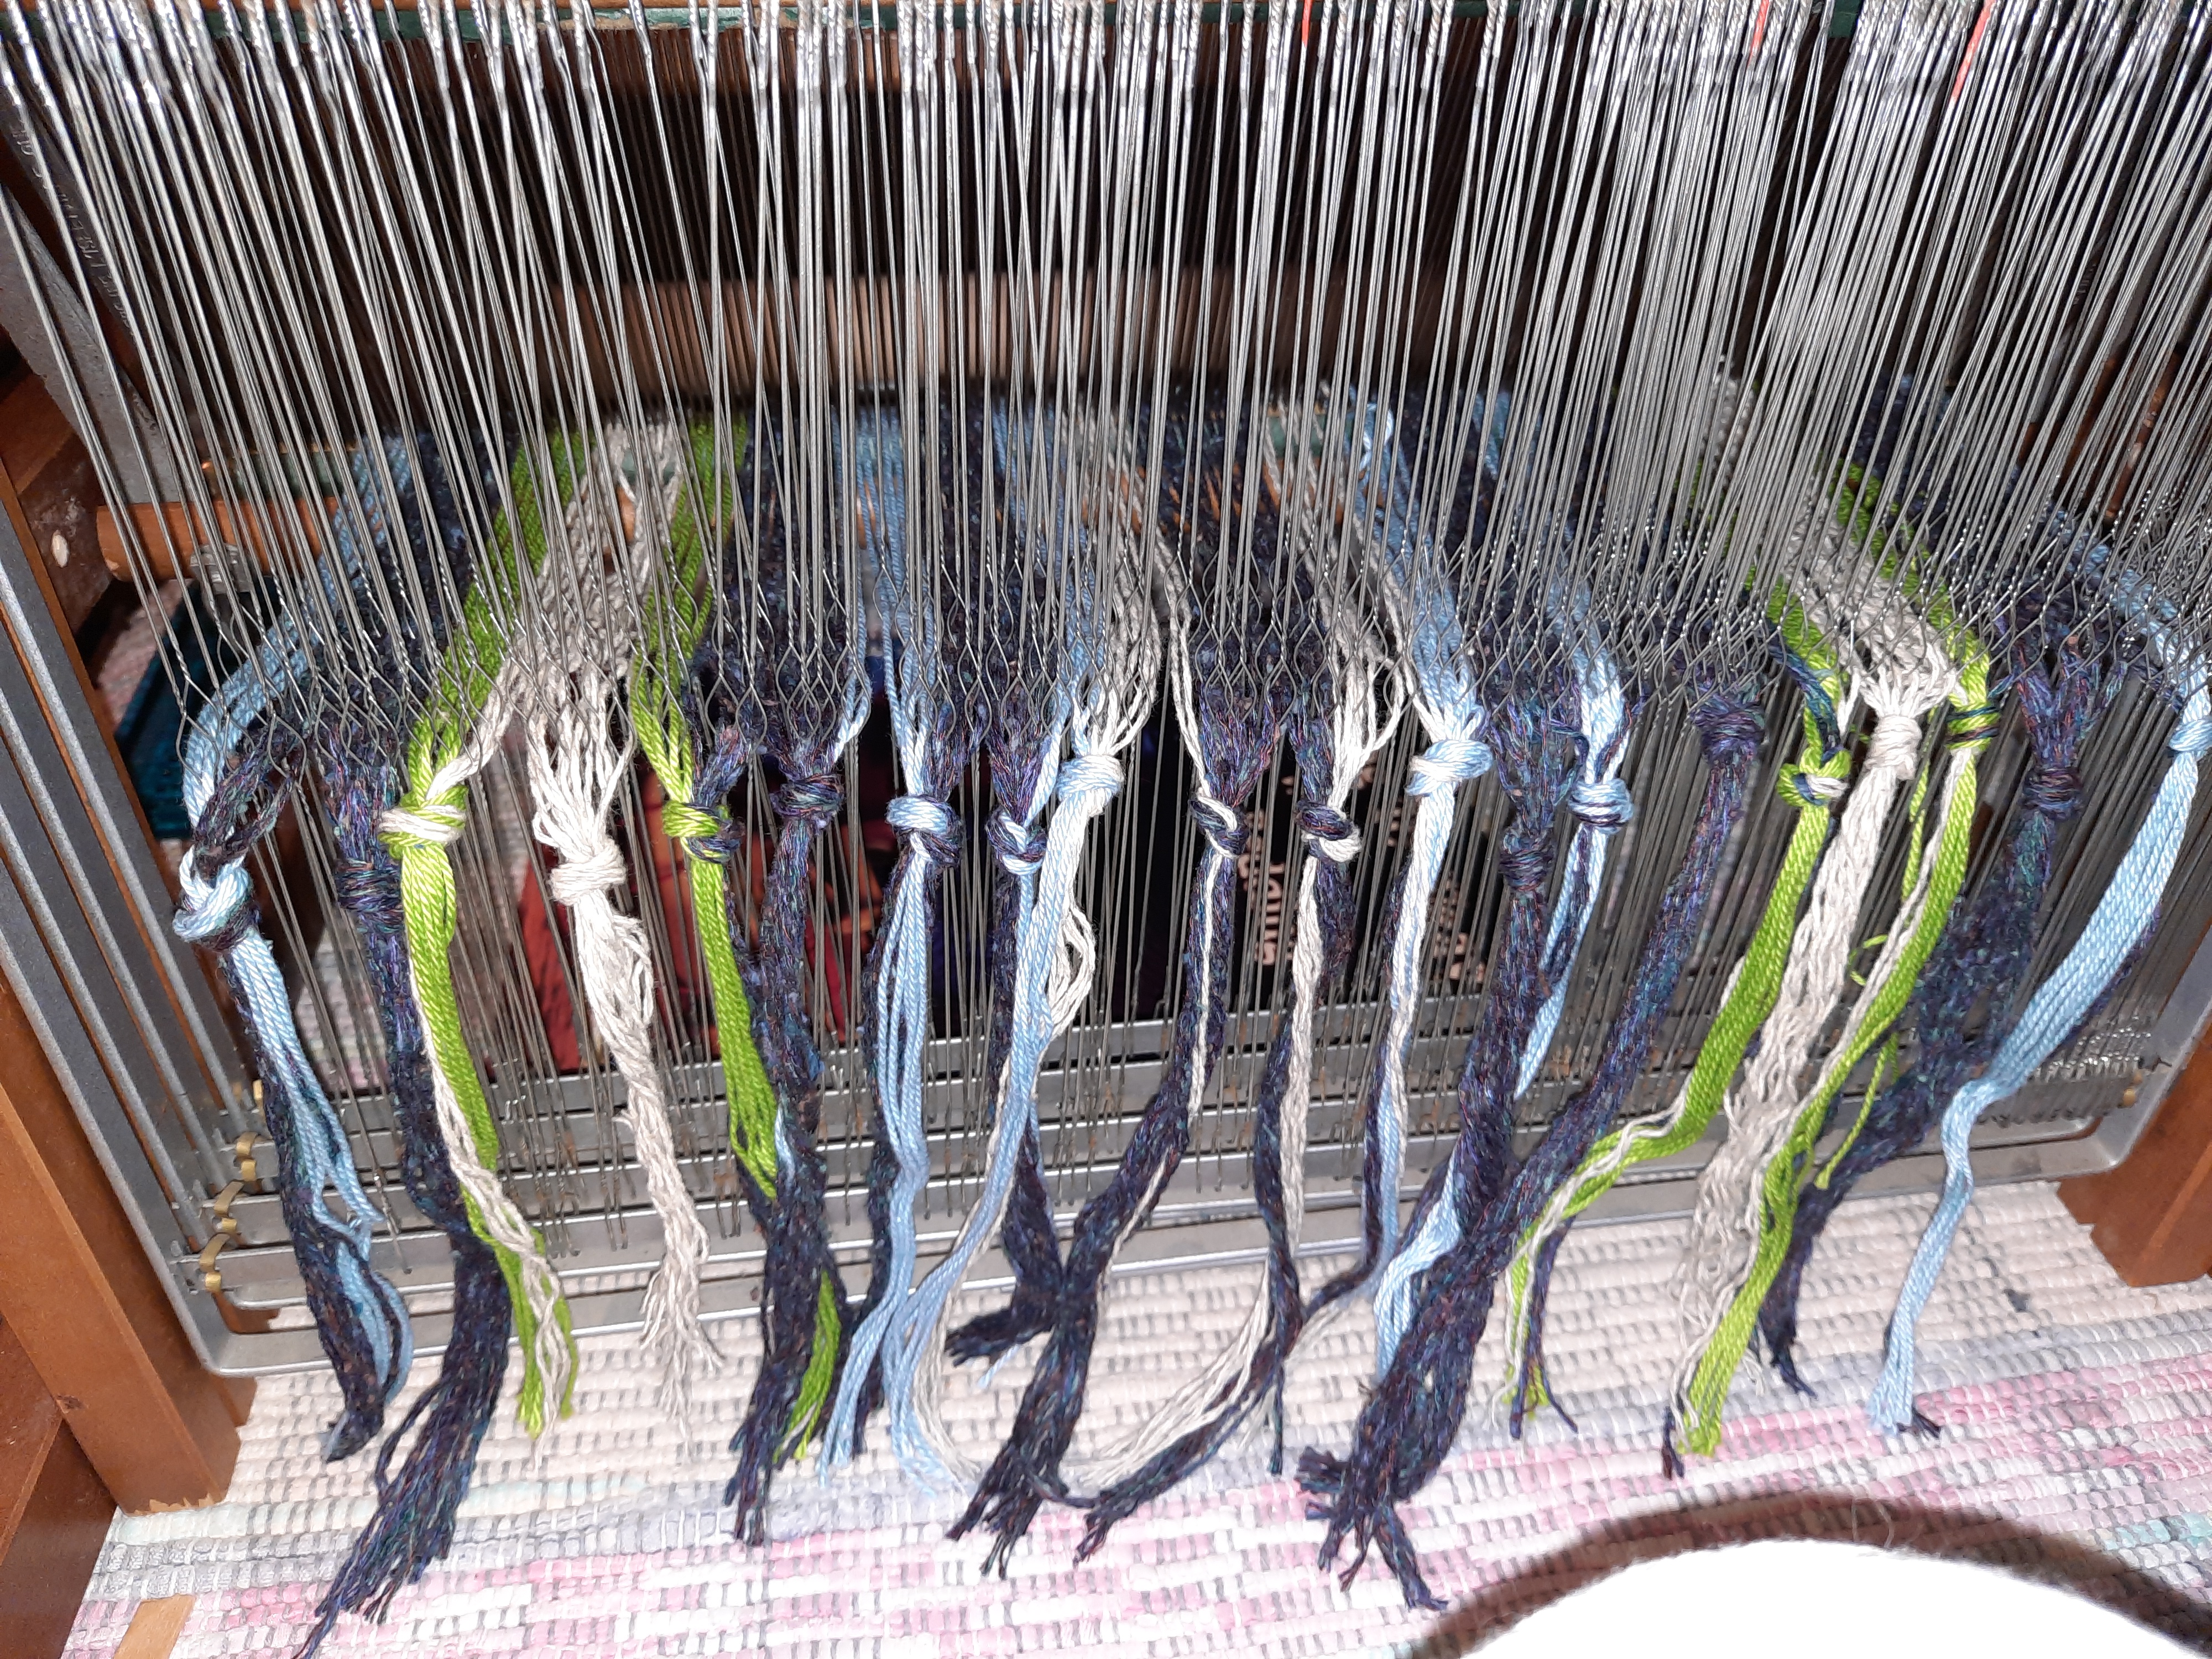
Threading the heddles went fairly smoothly and I enjoyed relearning the process. The biggest difference for me was that this was not my Nana’s antique rug loom, so it was easier.
Threading the heddlesThe warp resting on the shed stickThreading the heddles progressing
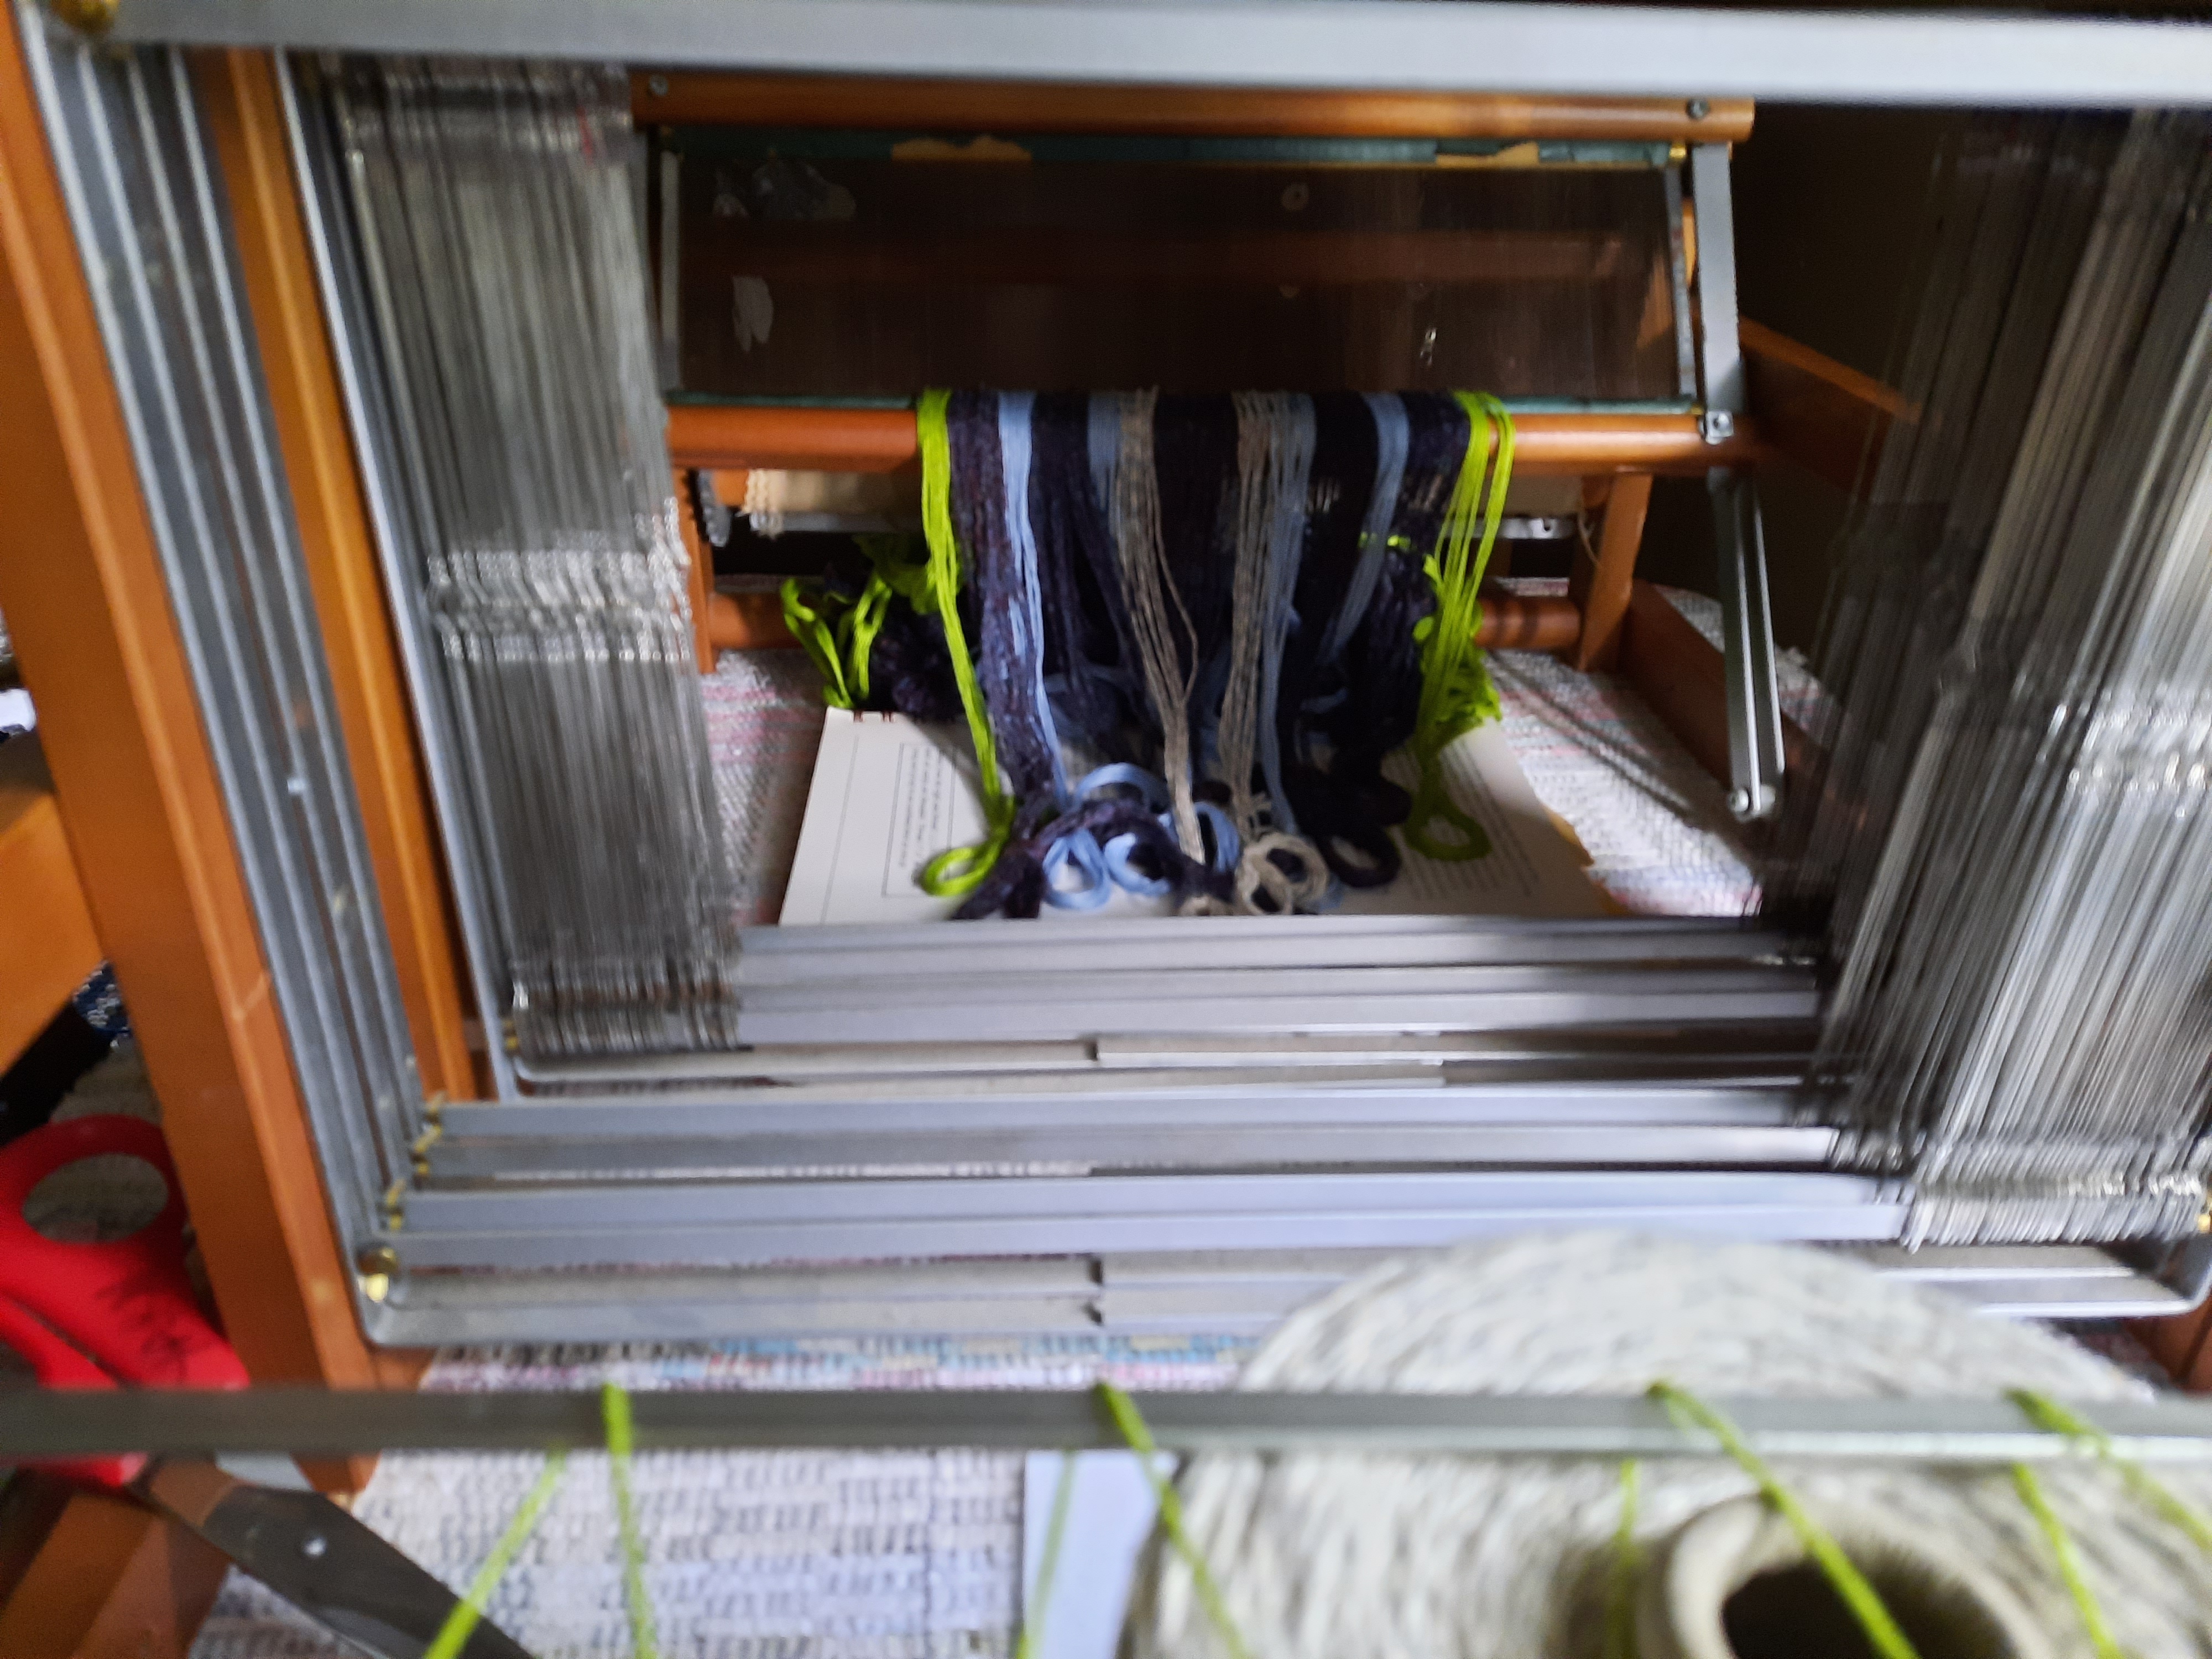
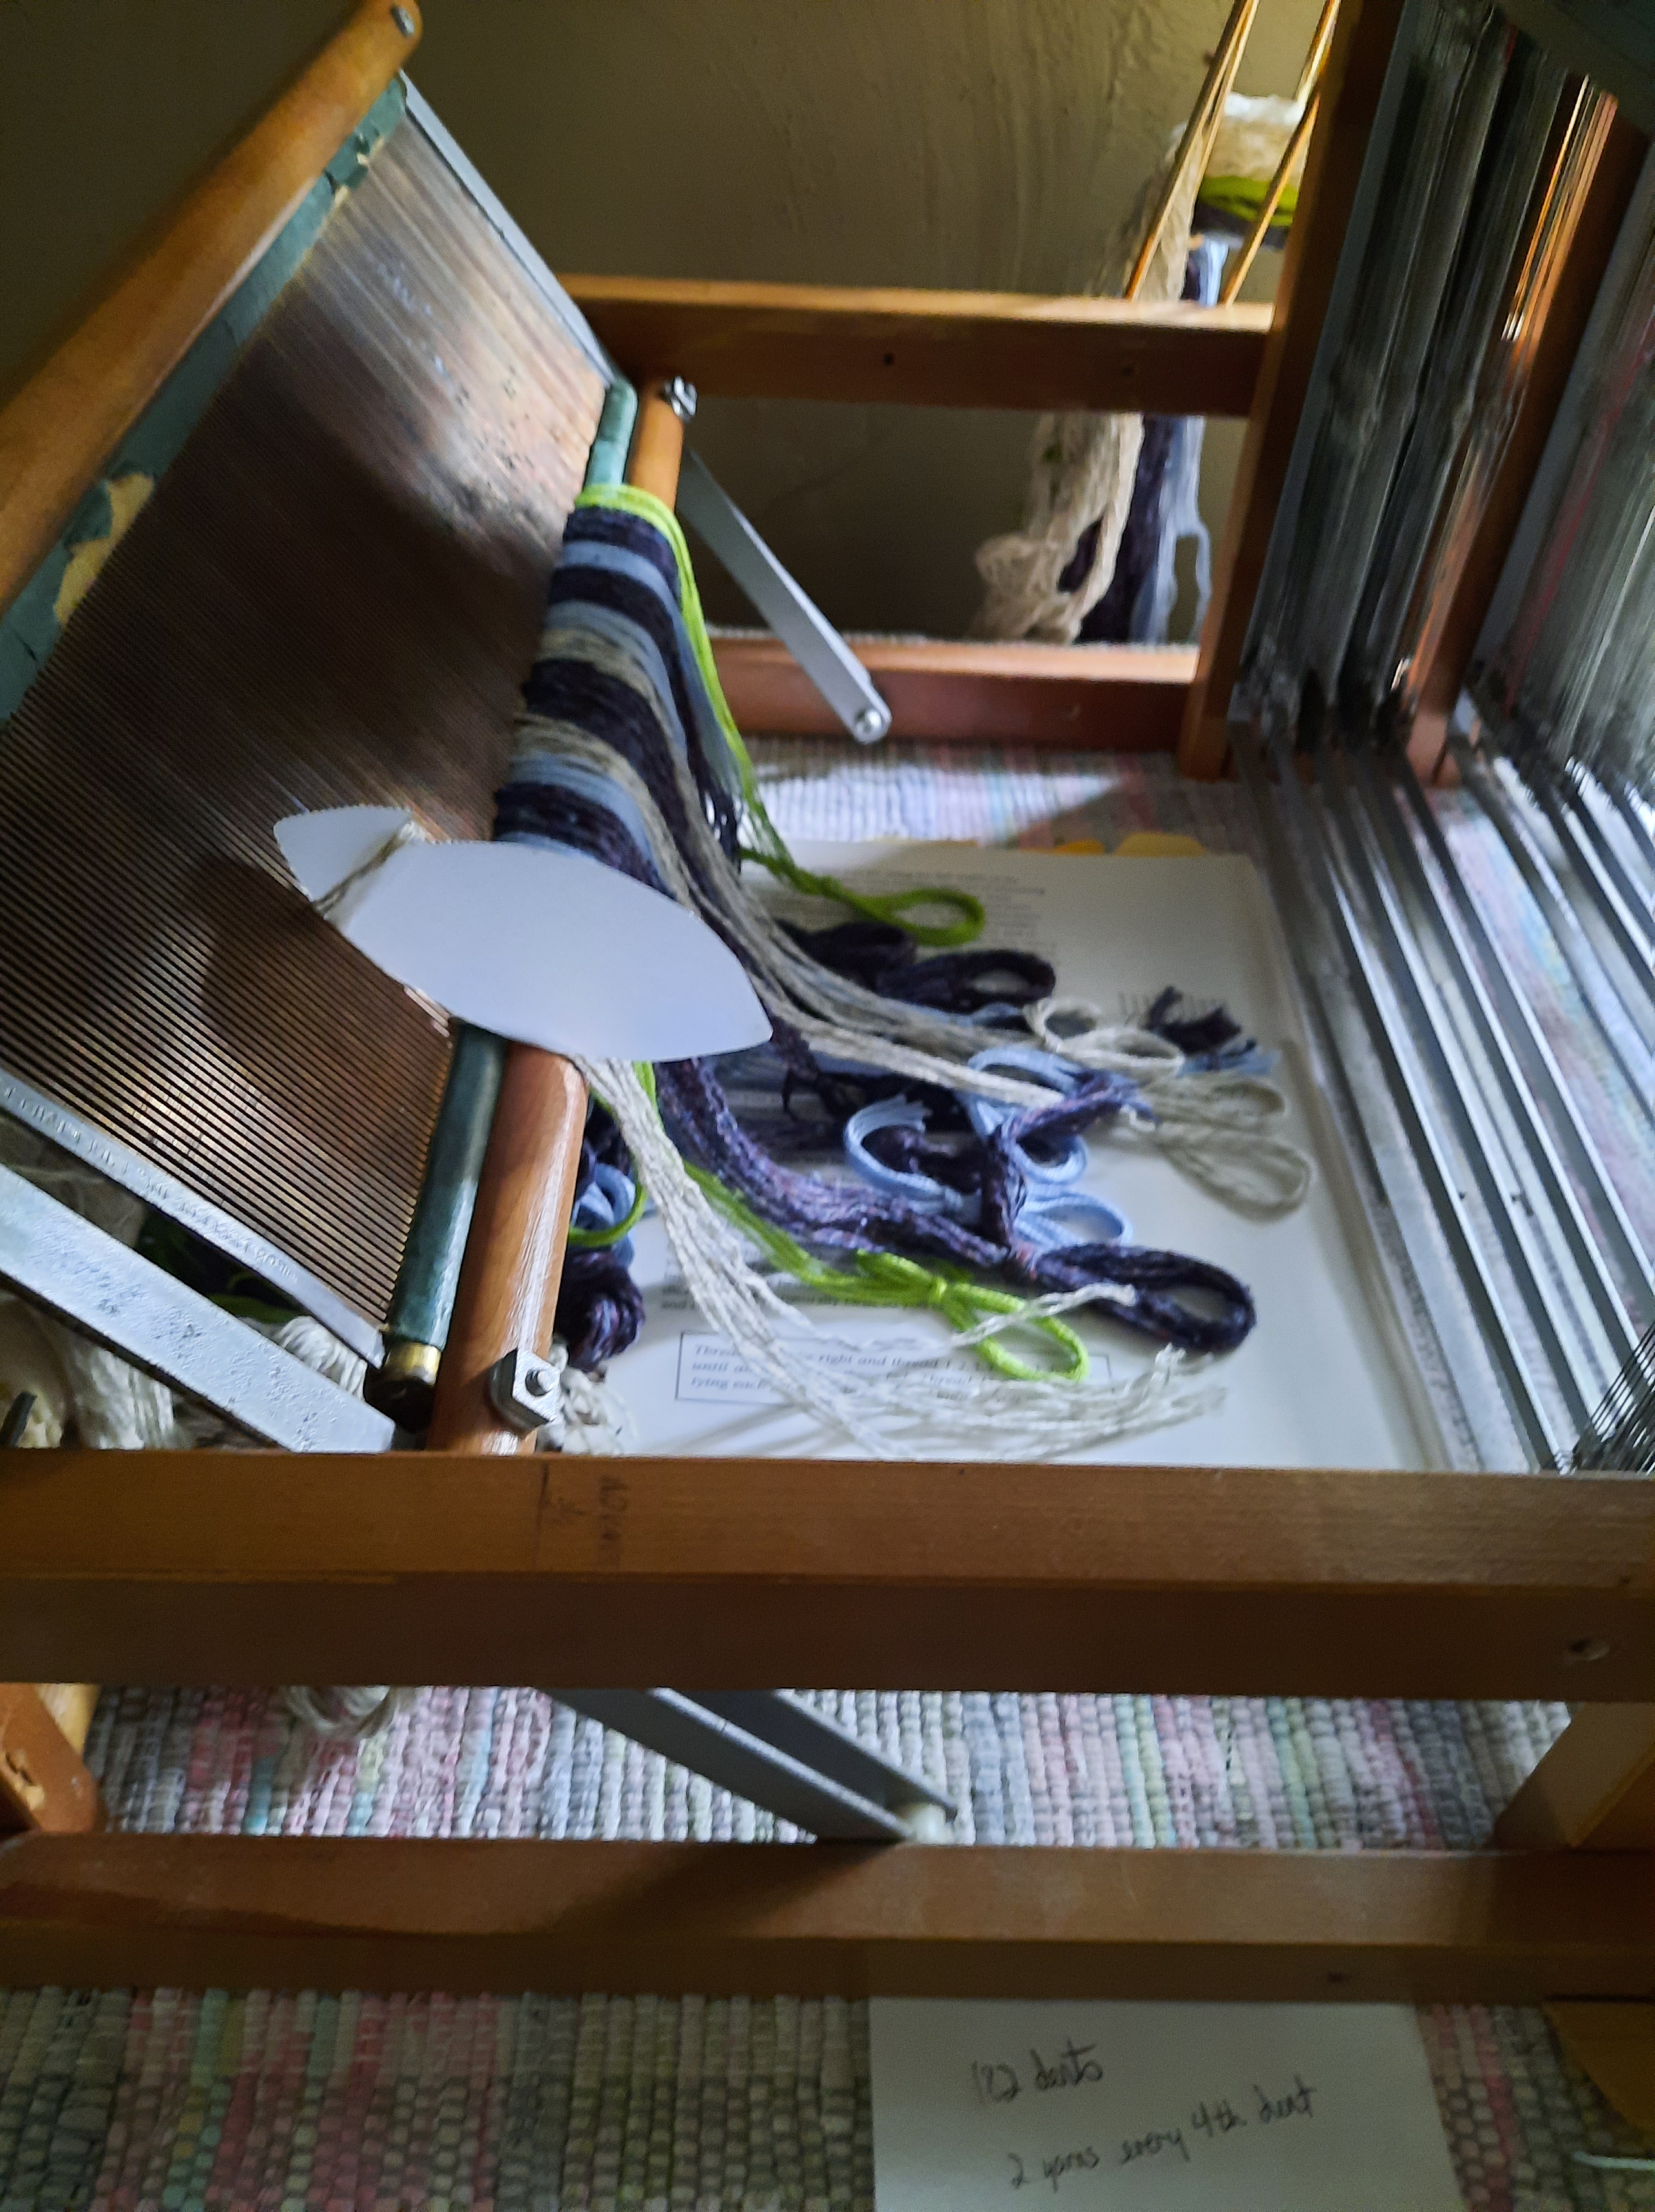
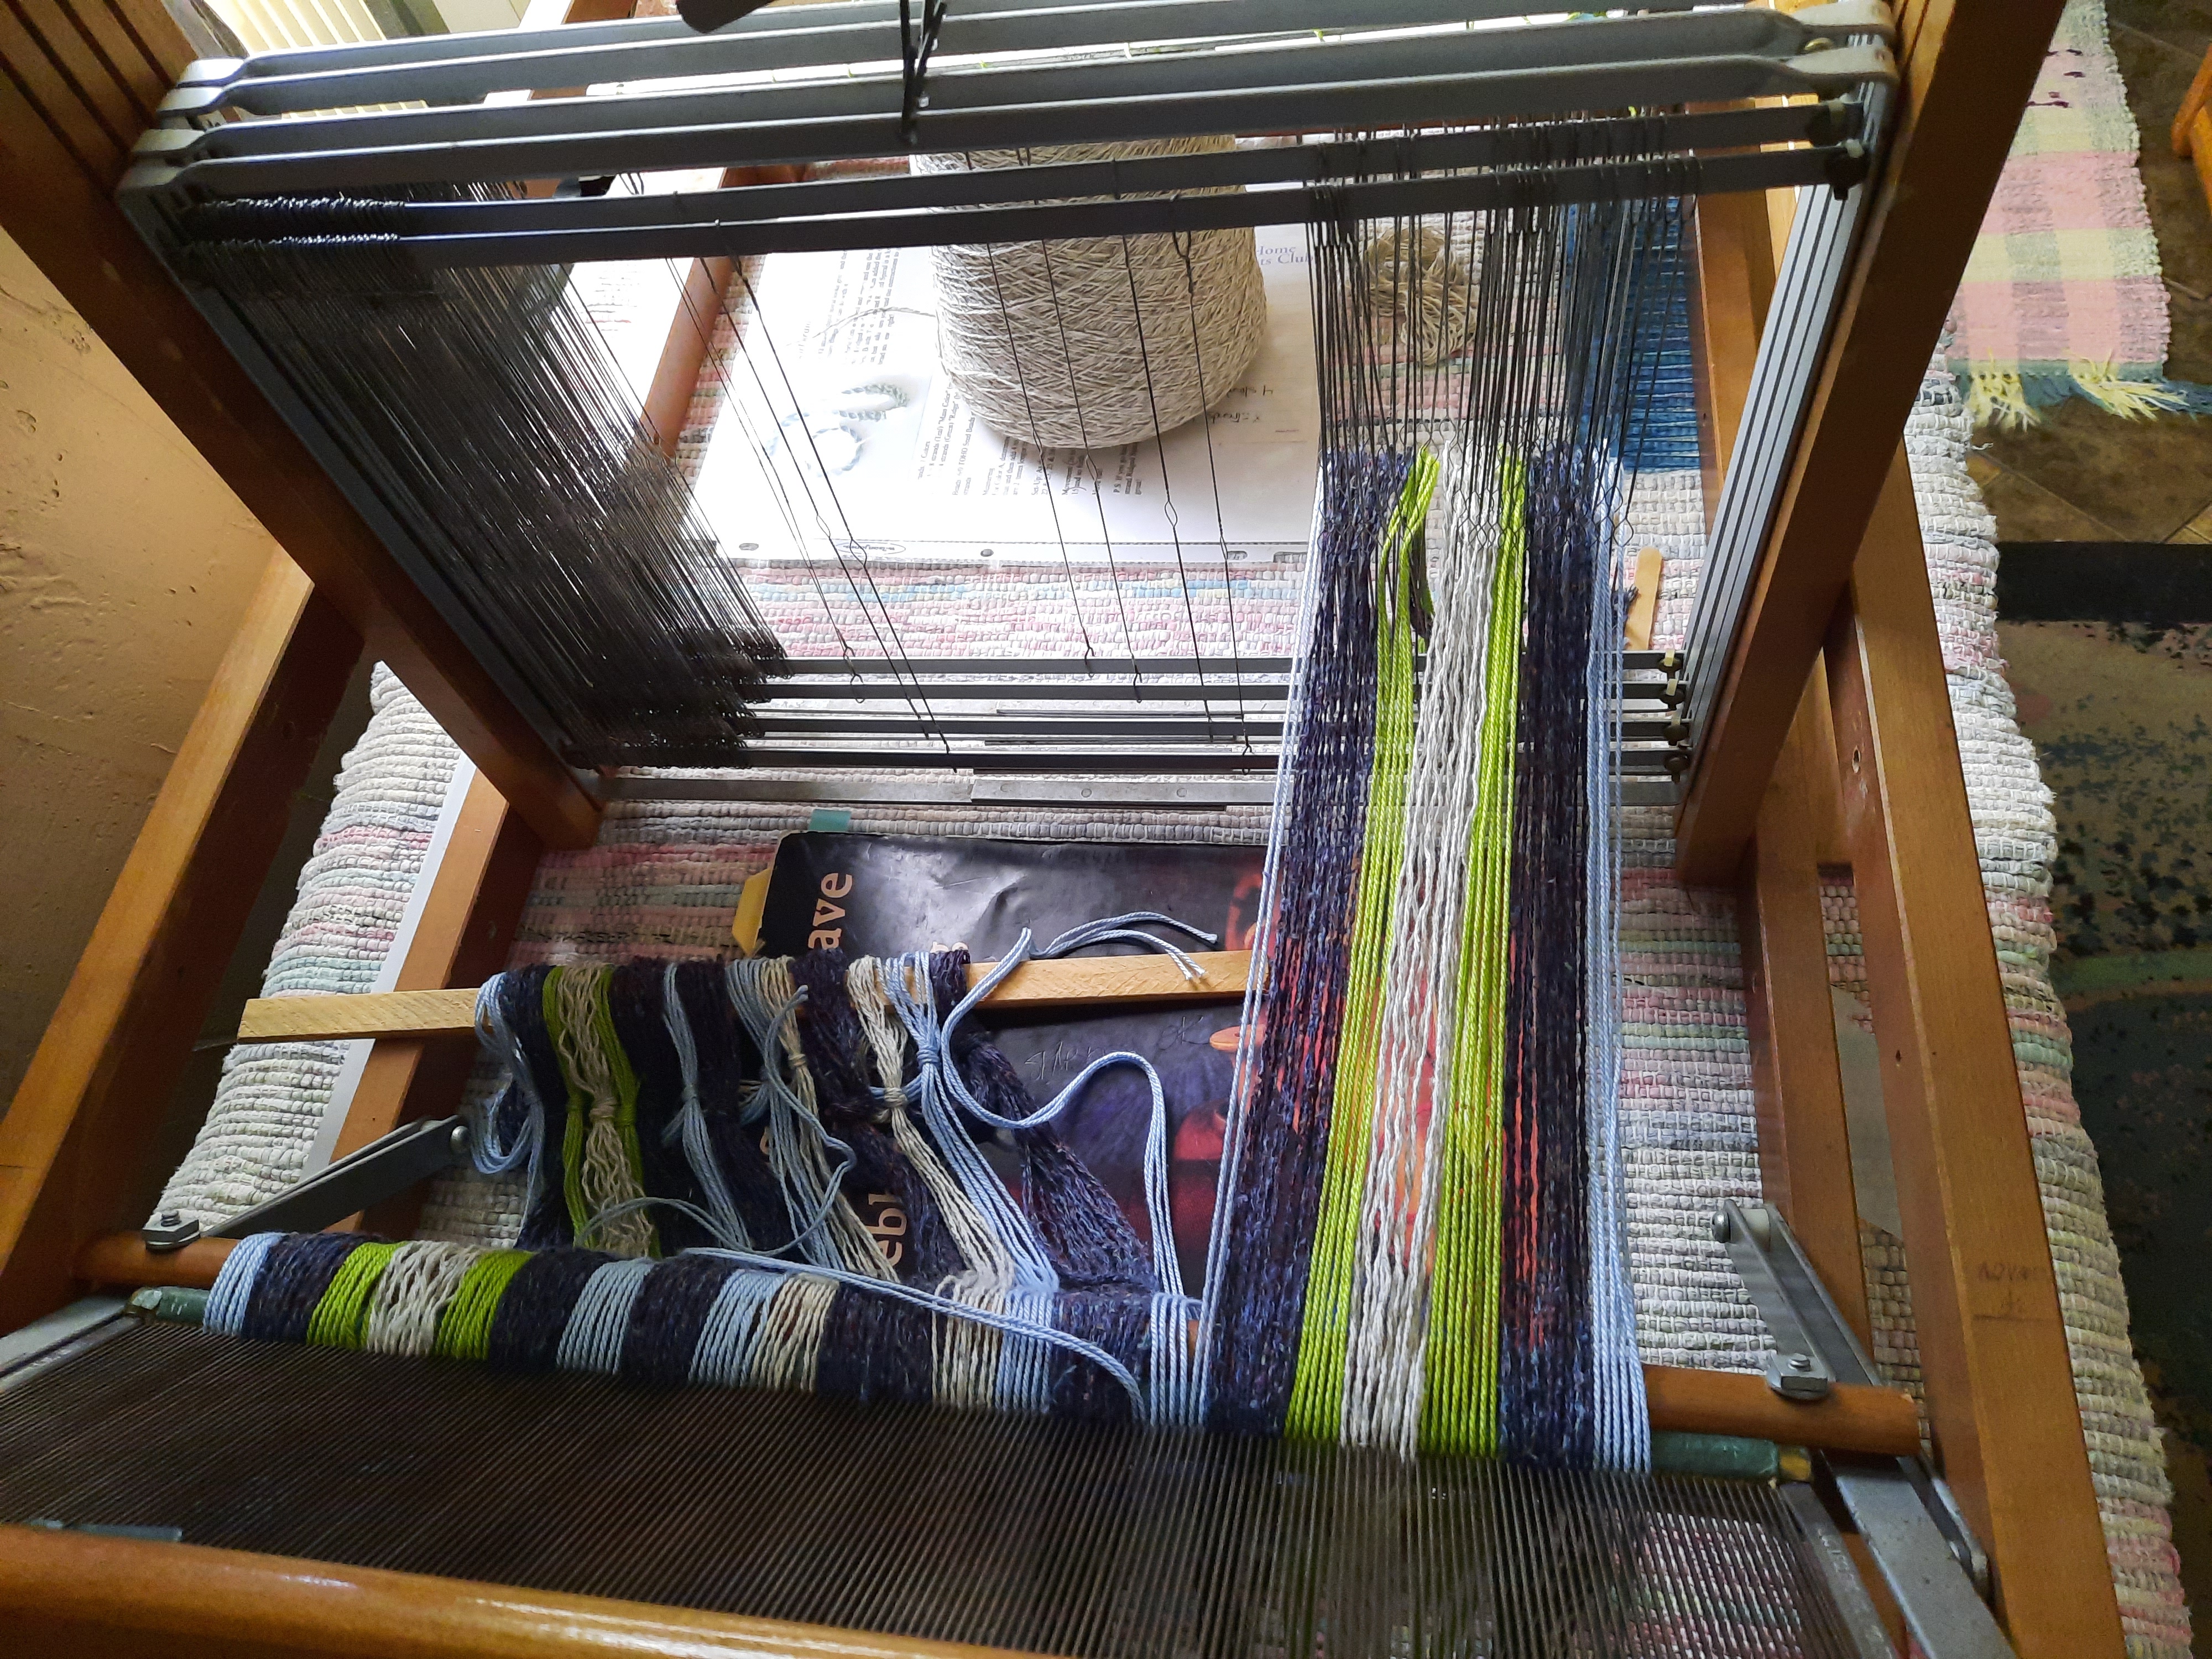
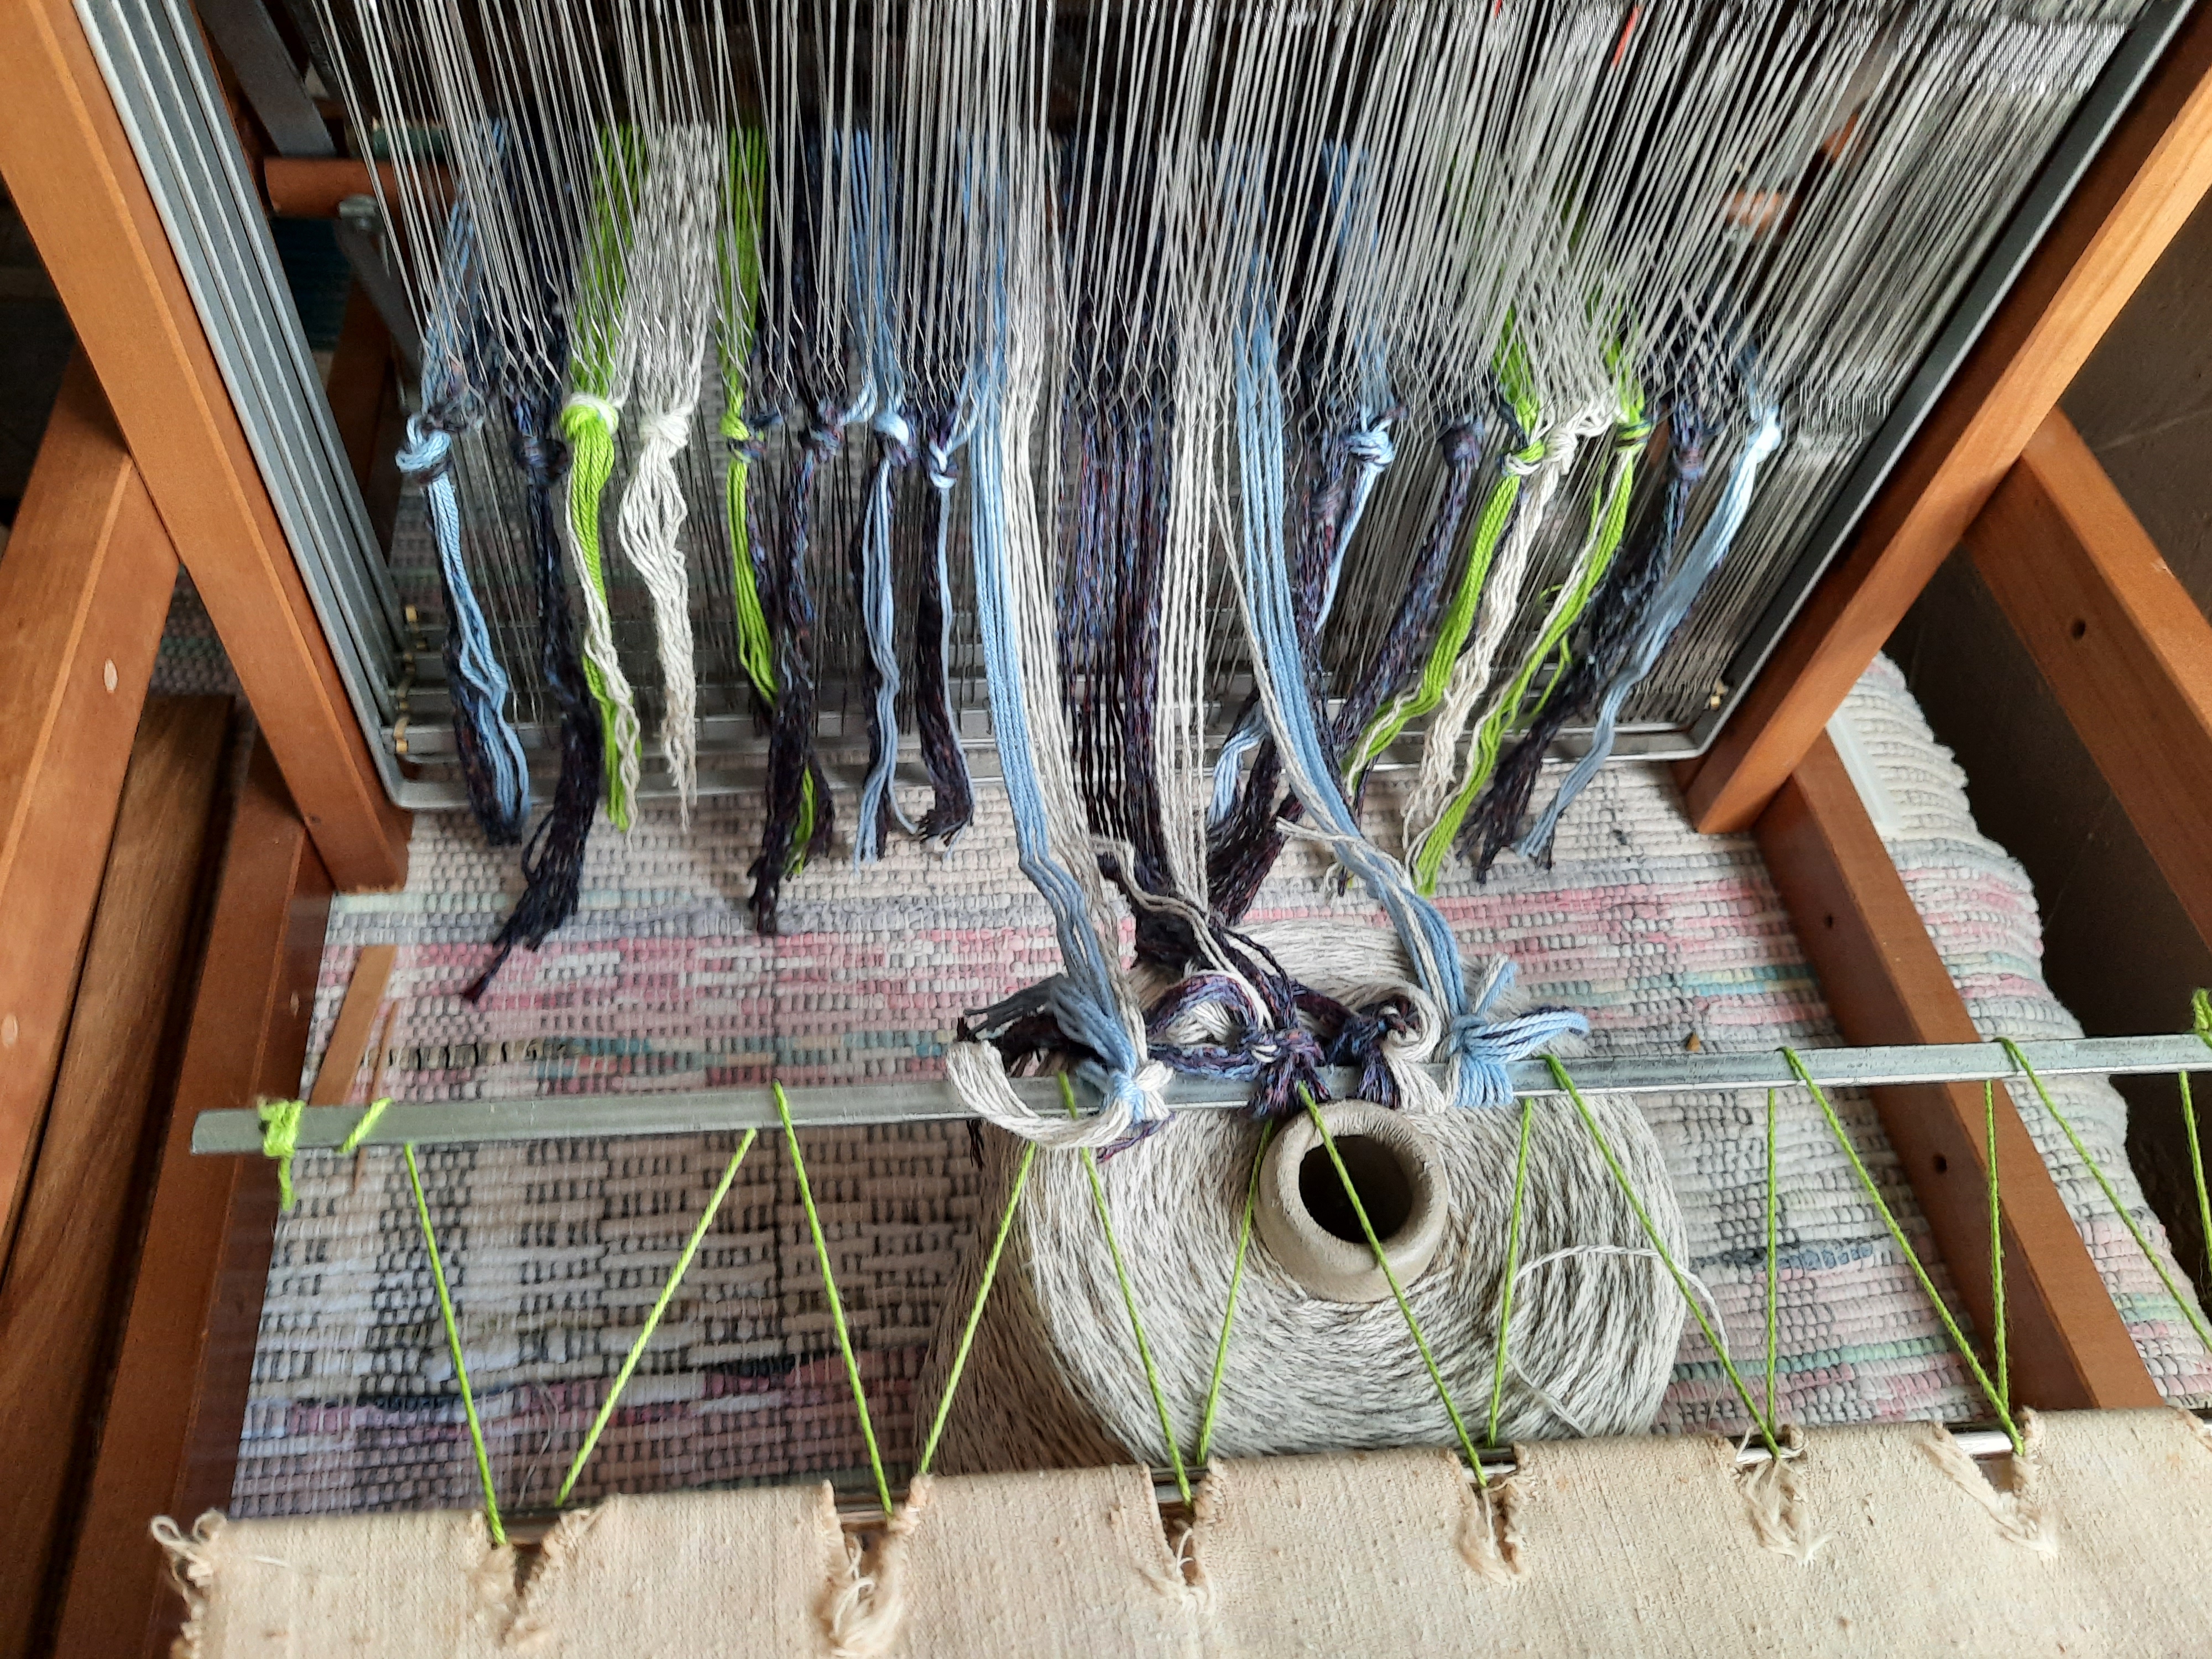
The warp is ready to tie onto the back apron! This is a very interesting process when there’s a warp puddle waiting in a feed tub.
Tying the warp onto the back rear/back apron and beaming it onto the rear warp beam progressed fairly well. It’s slow and steady work and rushing isn’t necessary or desired.
It’s time to have a cup of tea and begin the weaving!!
That’s it for now.
Get busy with creating whatn you like, want, or need. Quit sitting on our brain and get busy!
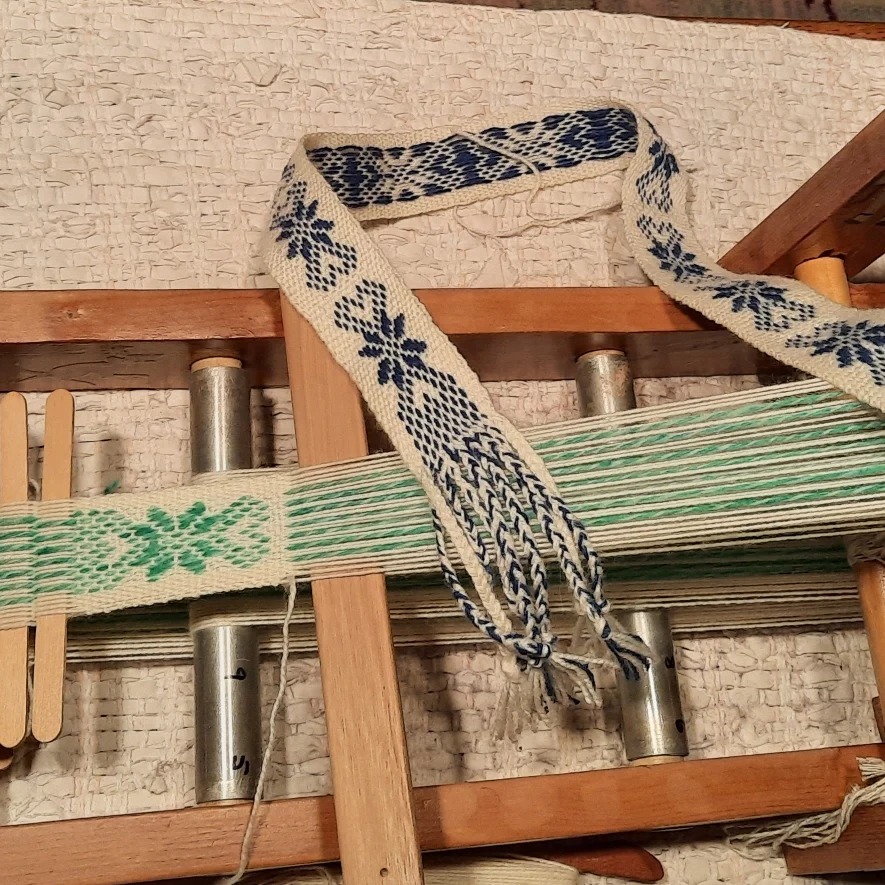
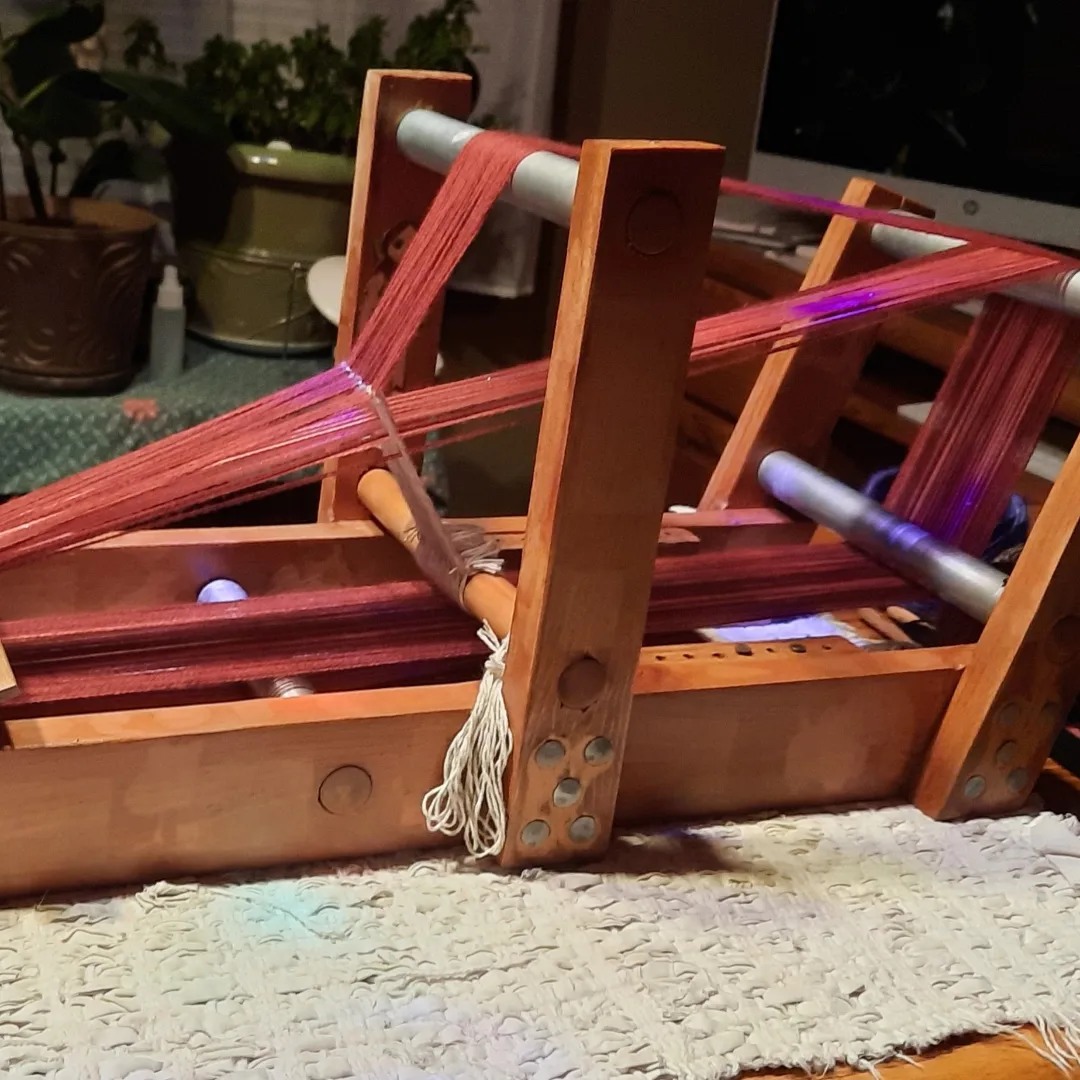
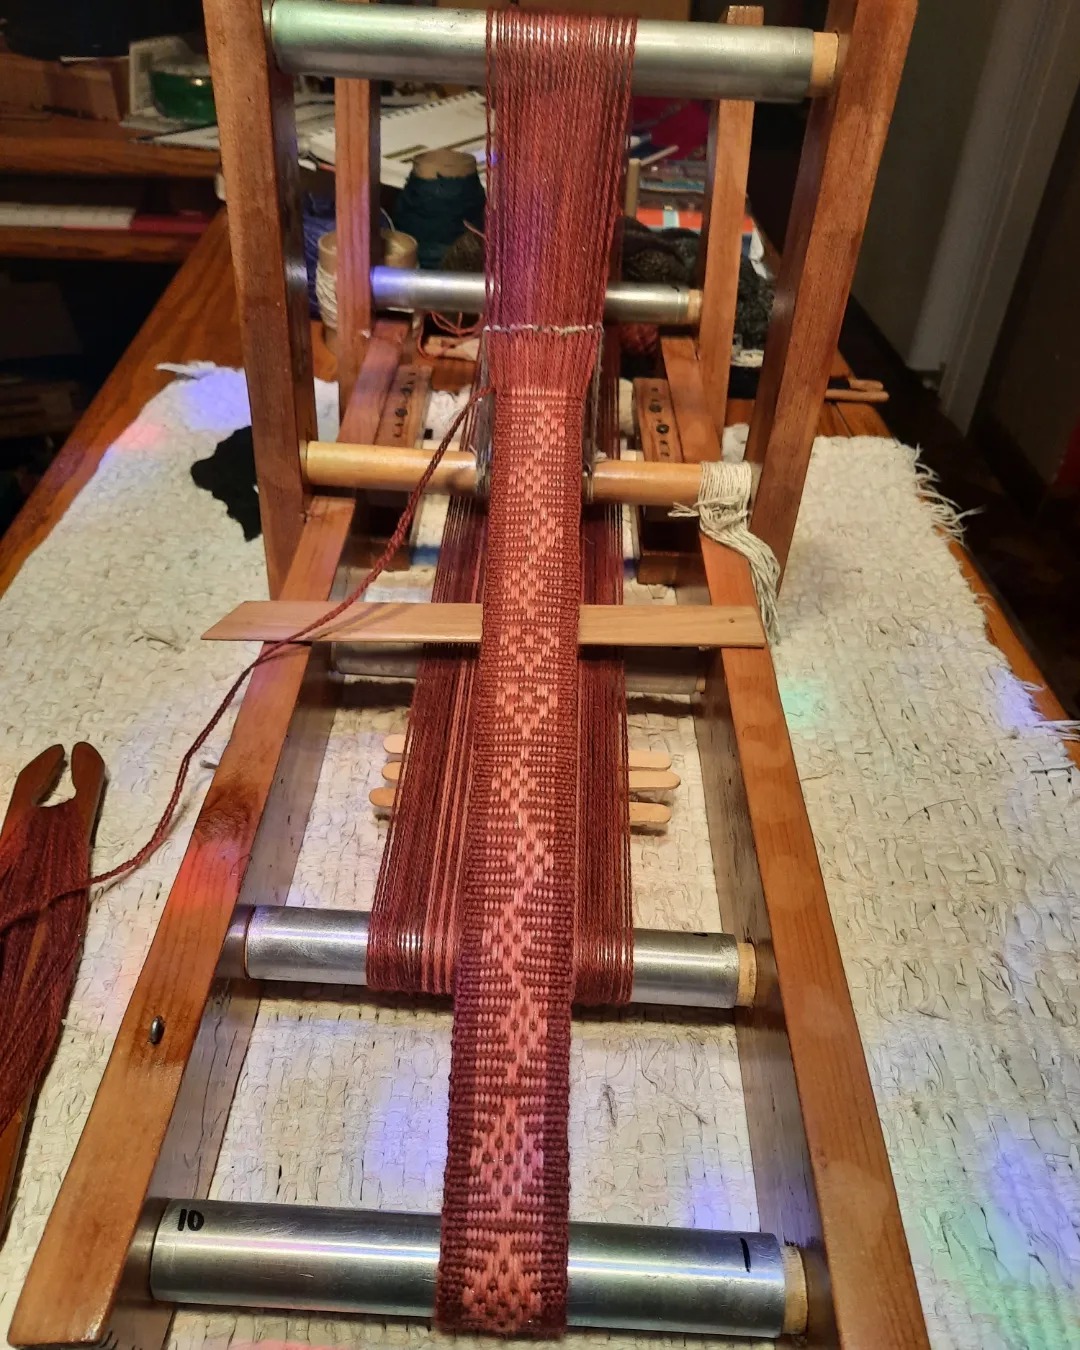
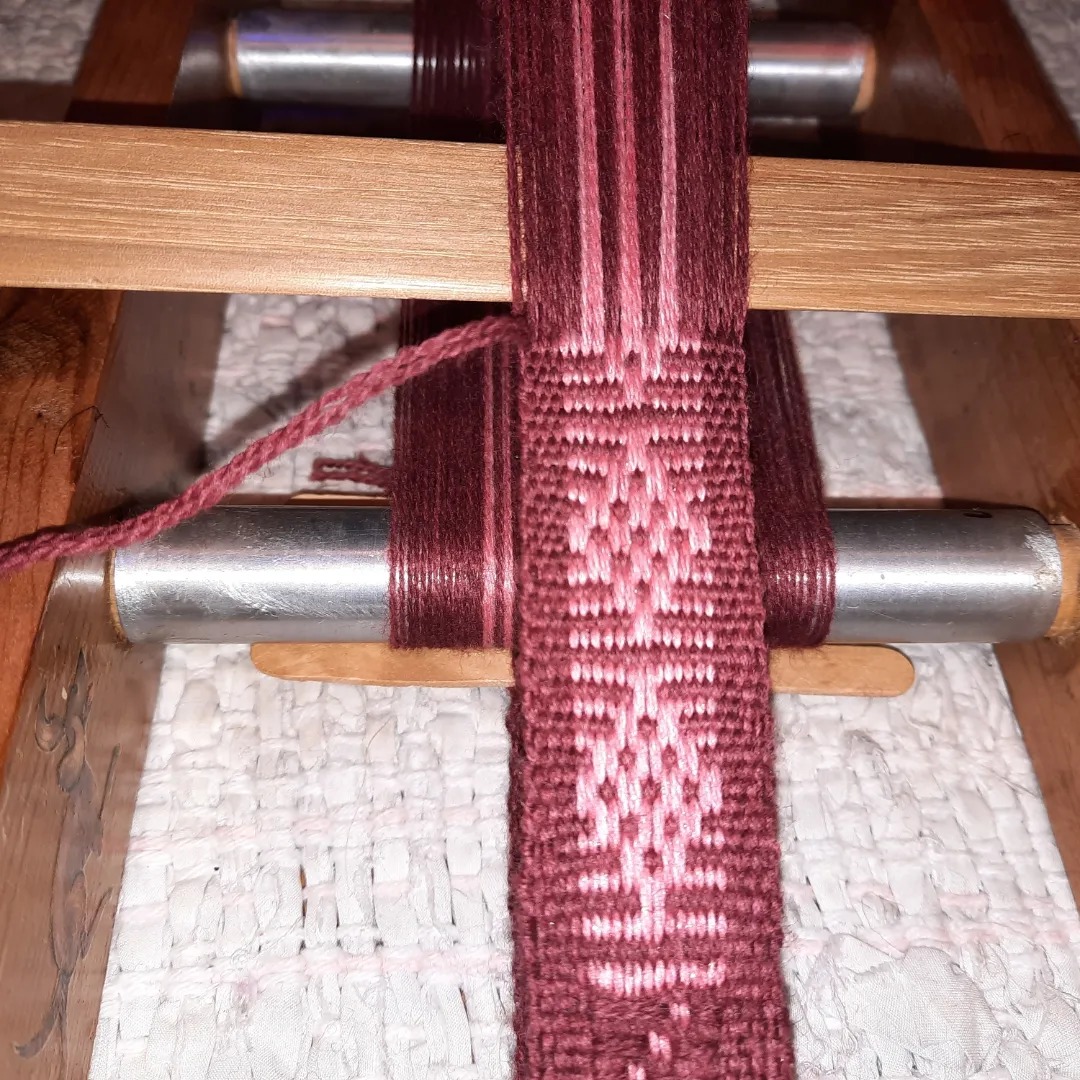
I modified a pattern from the book, The Weaver’s Inkle Pattern Directory, that looks like snowflakes and diamonds. It’s on pg. 77 and is called simply, Baltic-13 2 (it’s actually the one at the bottom of the chart on pg. 77. It’s a neat pattern, but when I started the first one I redrew it so it’s snowflakes and hearts with a 3 row space between each sequence.
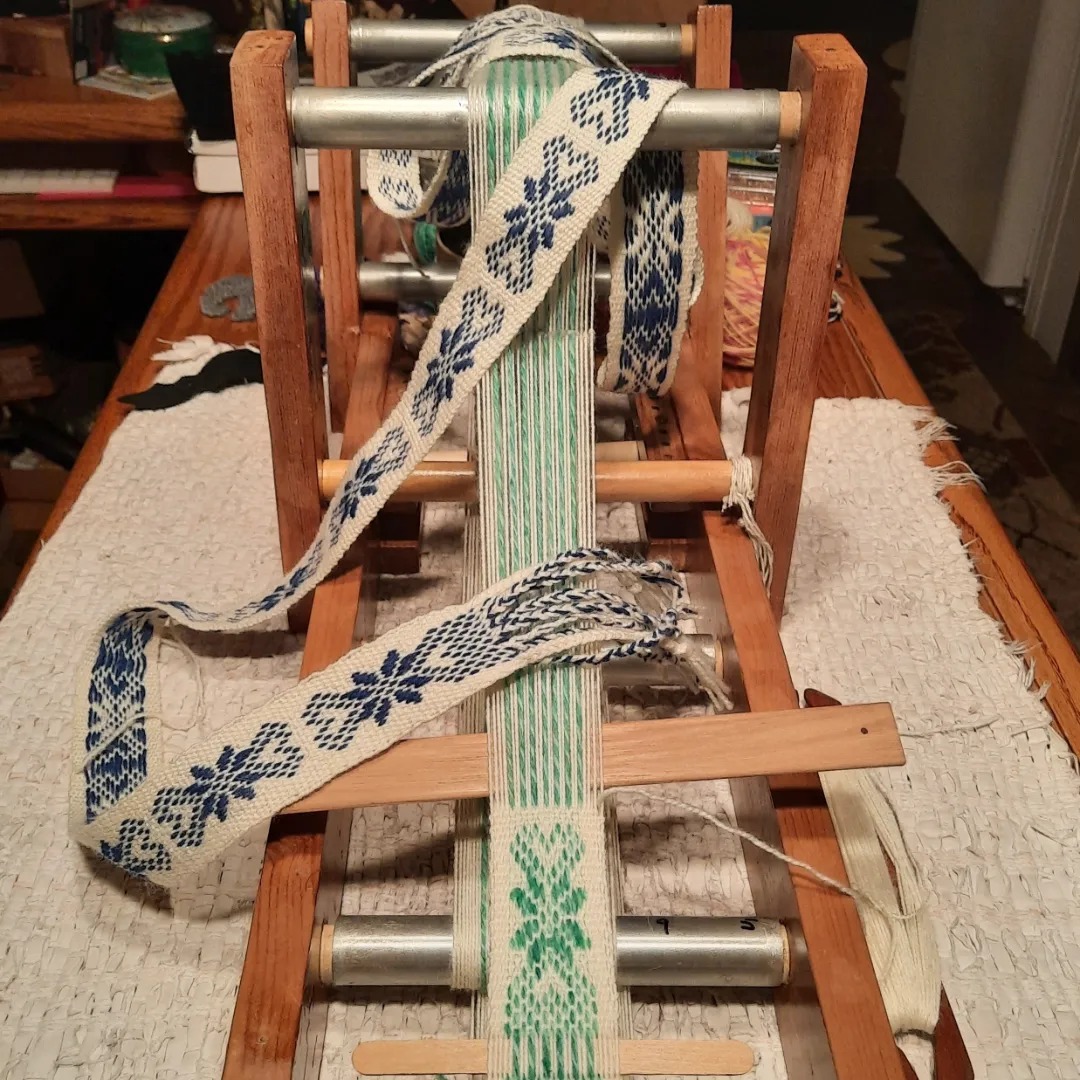
I finished the first belt using this pattern in cream white wool and royal blue sized wool. I rewarped the inkle loom with the cream white and my handspun, handdyed turquiose green wool for the next band/belt.
I graphed a draft of my derivation of the Baltic-13 2 draft and changed the colors for the next belt I will be weaving next. The next image is the weaving draft to be used with the threading chart of Baltic-13 2.
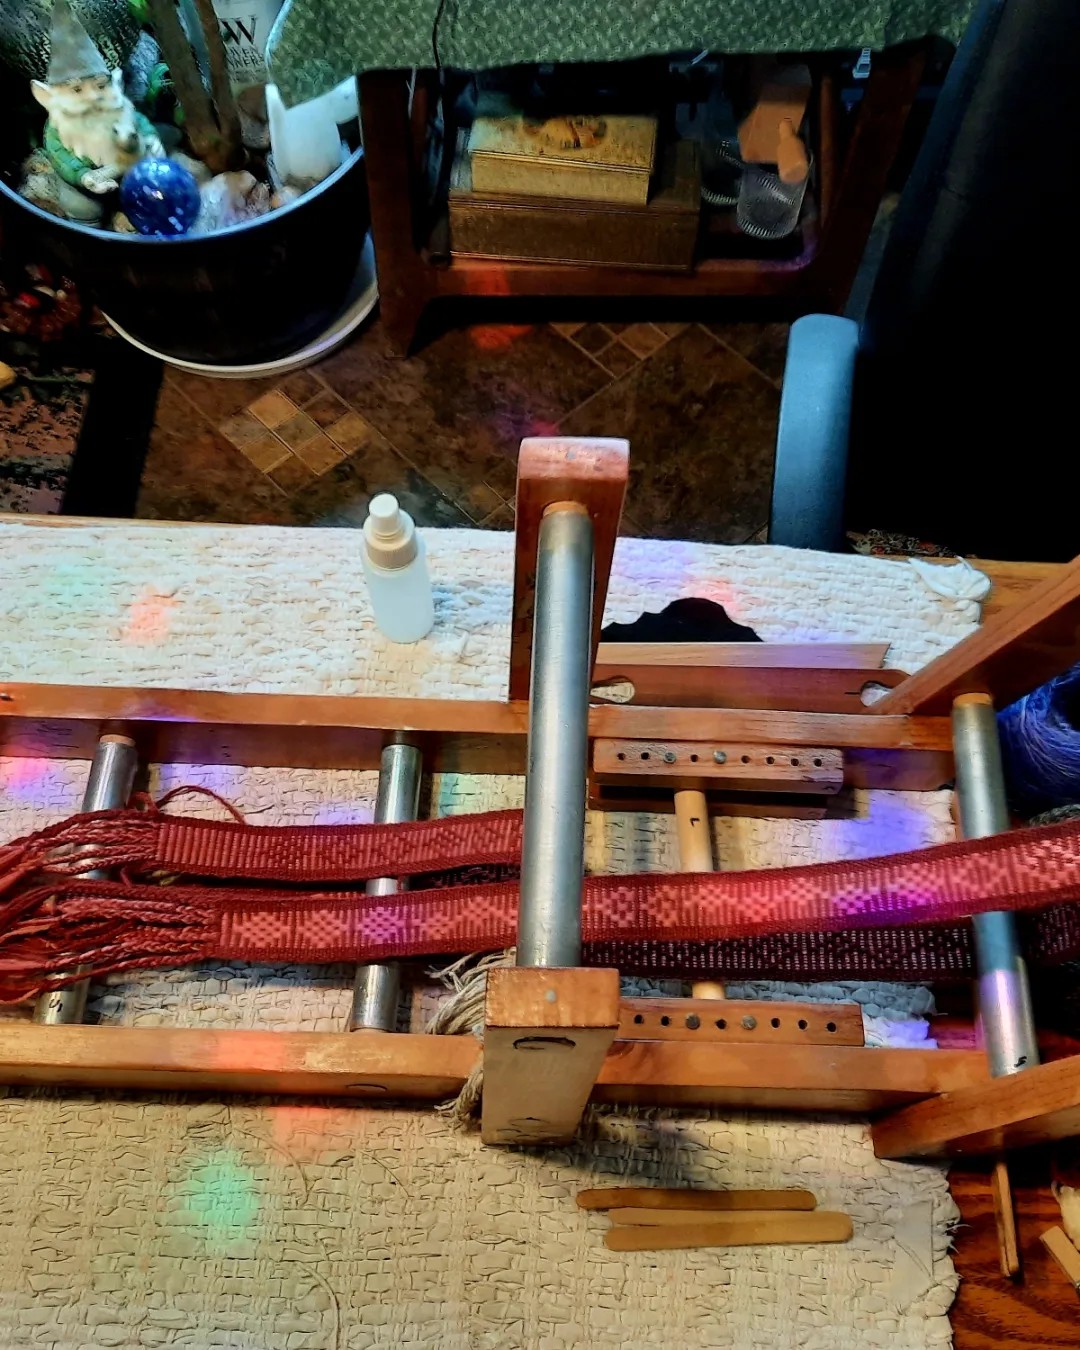
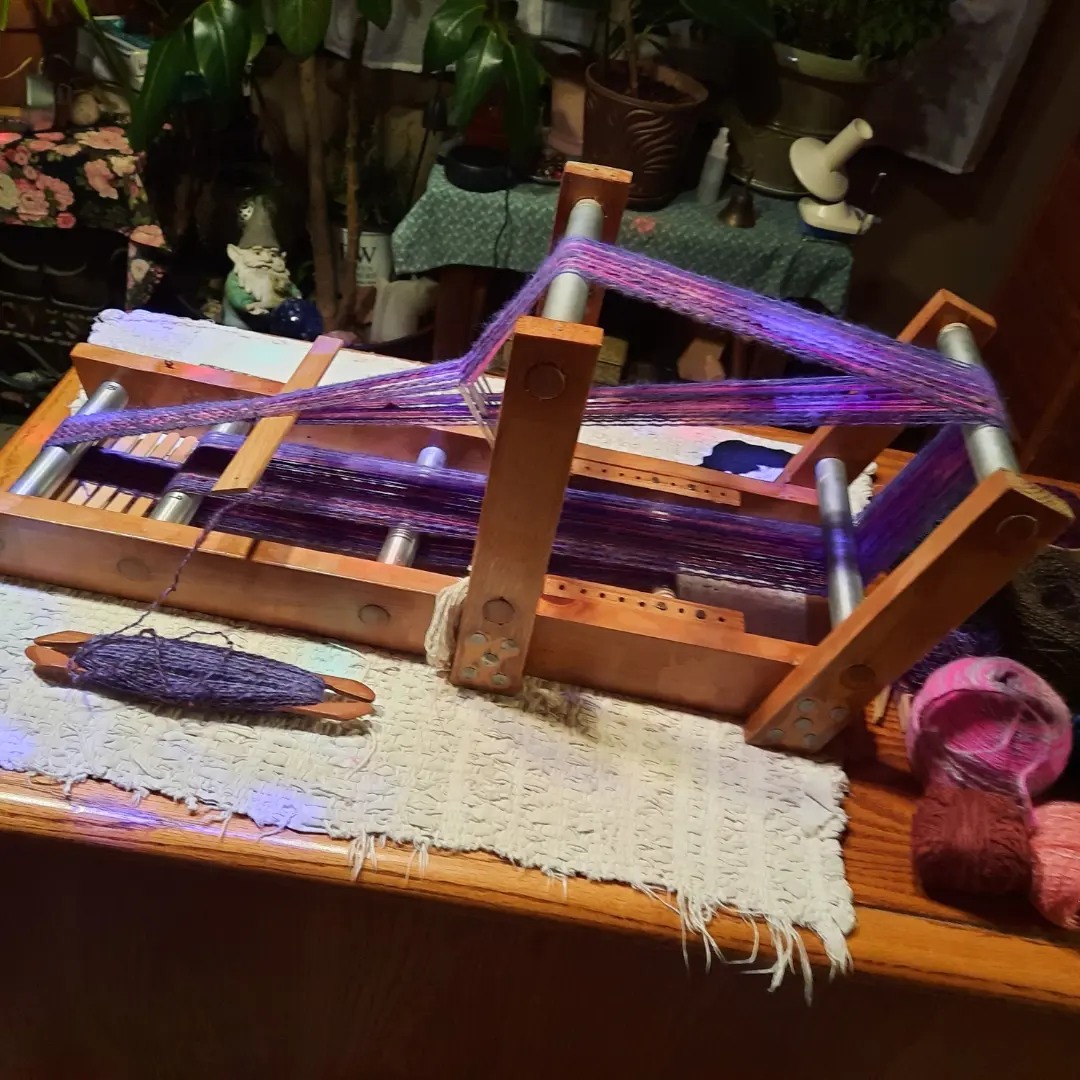
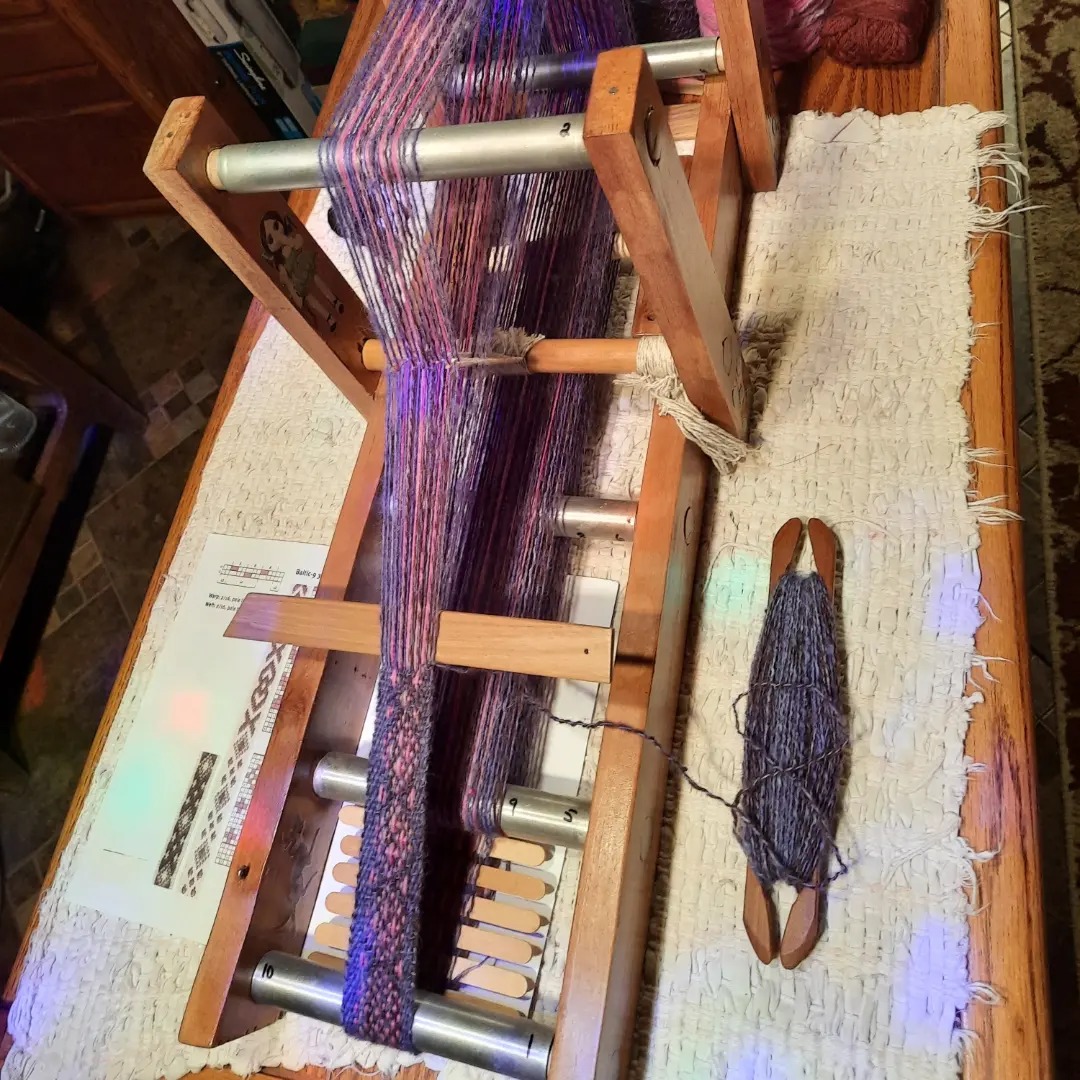
I’ve been warping the inkle loom with 9 extra warp threads (4 up and 5 down) on each side of the pattern(s) because I like more selvage on the edges. This next band/belt will be in dark violet, handspun handdyed light turquoise green, forest green, and the single outside pattern edge in hte dark violet.
When I have time, I’ll post progress pictures on facebook and instagram as I go along.
Get going and make something AMAZING!!! Feel free to use the chart for weaving, knitting, crocheting, etc.
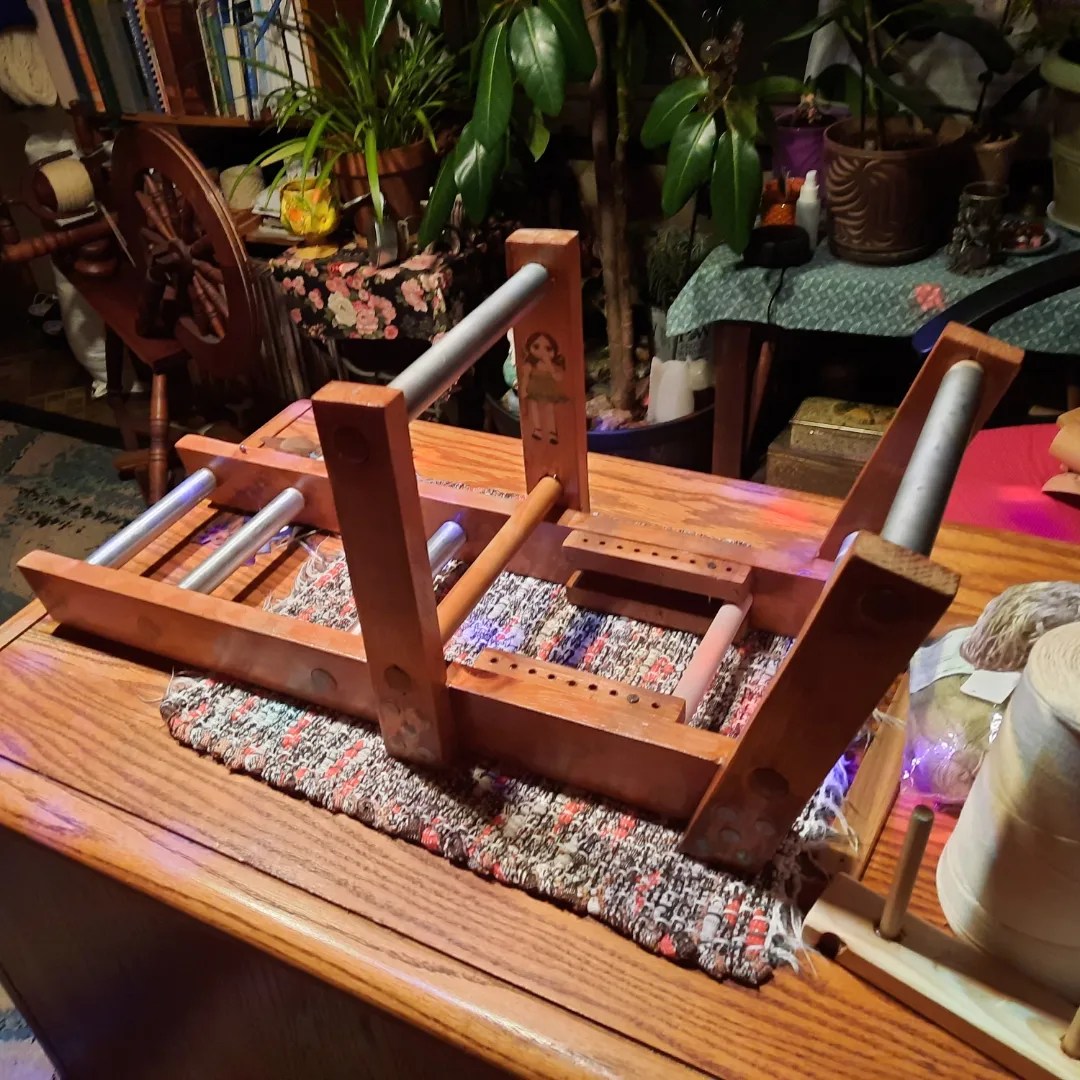
It’s been over 10 years since I started weaving on an inkle loom again. I sold the first inkle loom I had, well over 10 years ago, because there was a lot of life happening with us. Mind you, I like life happening, but not exactly the way it was doing so at that time.
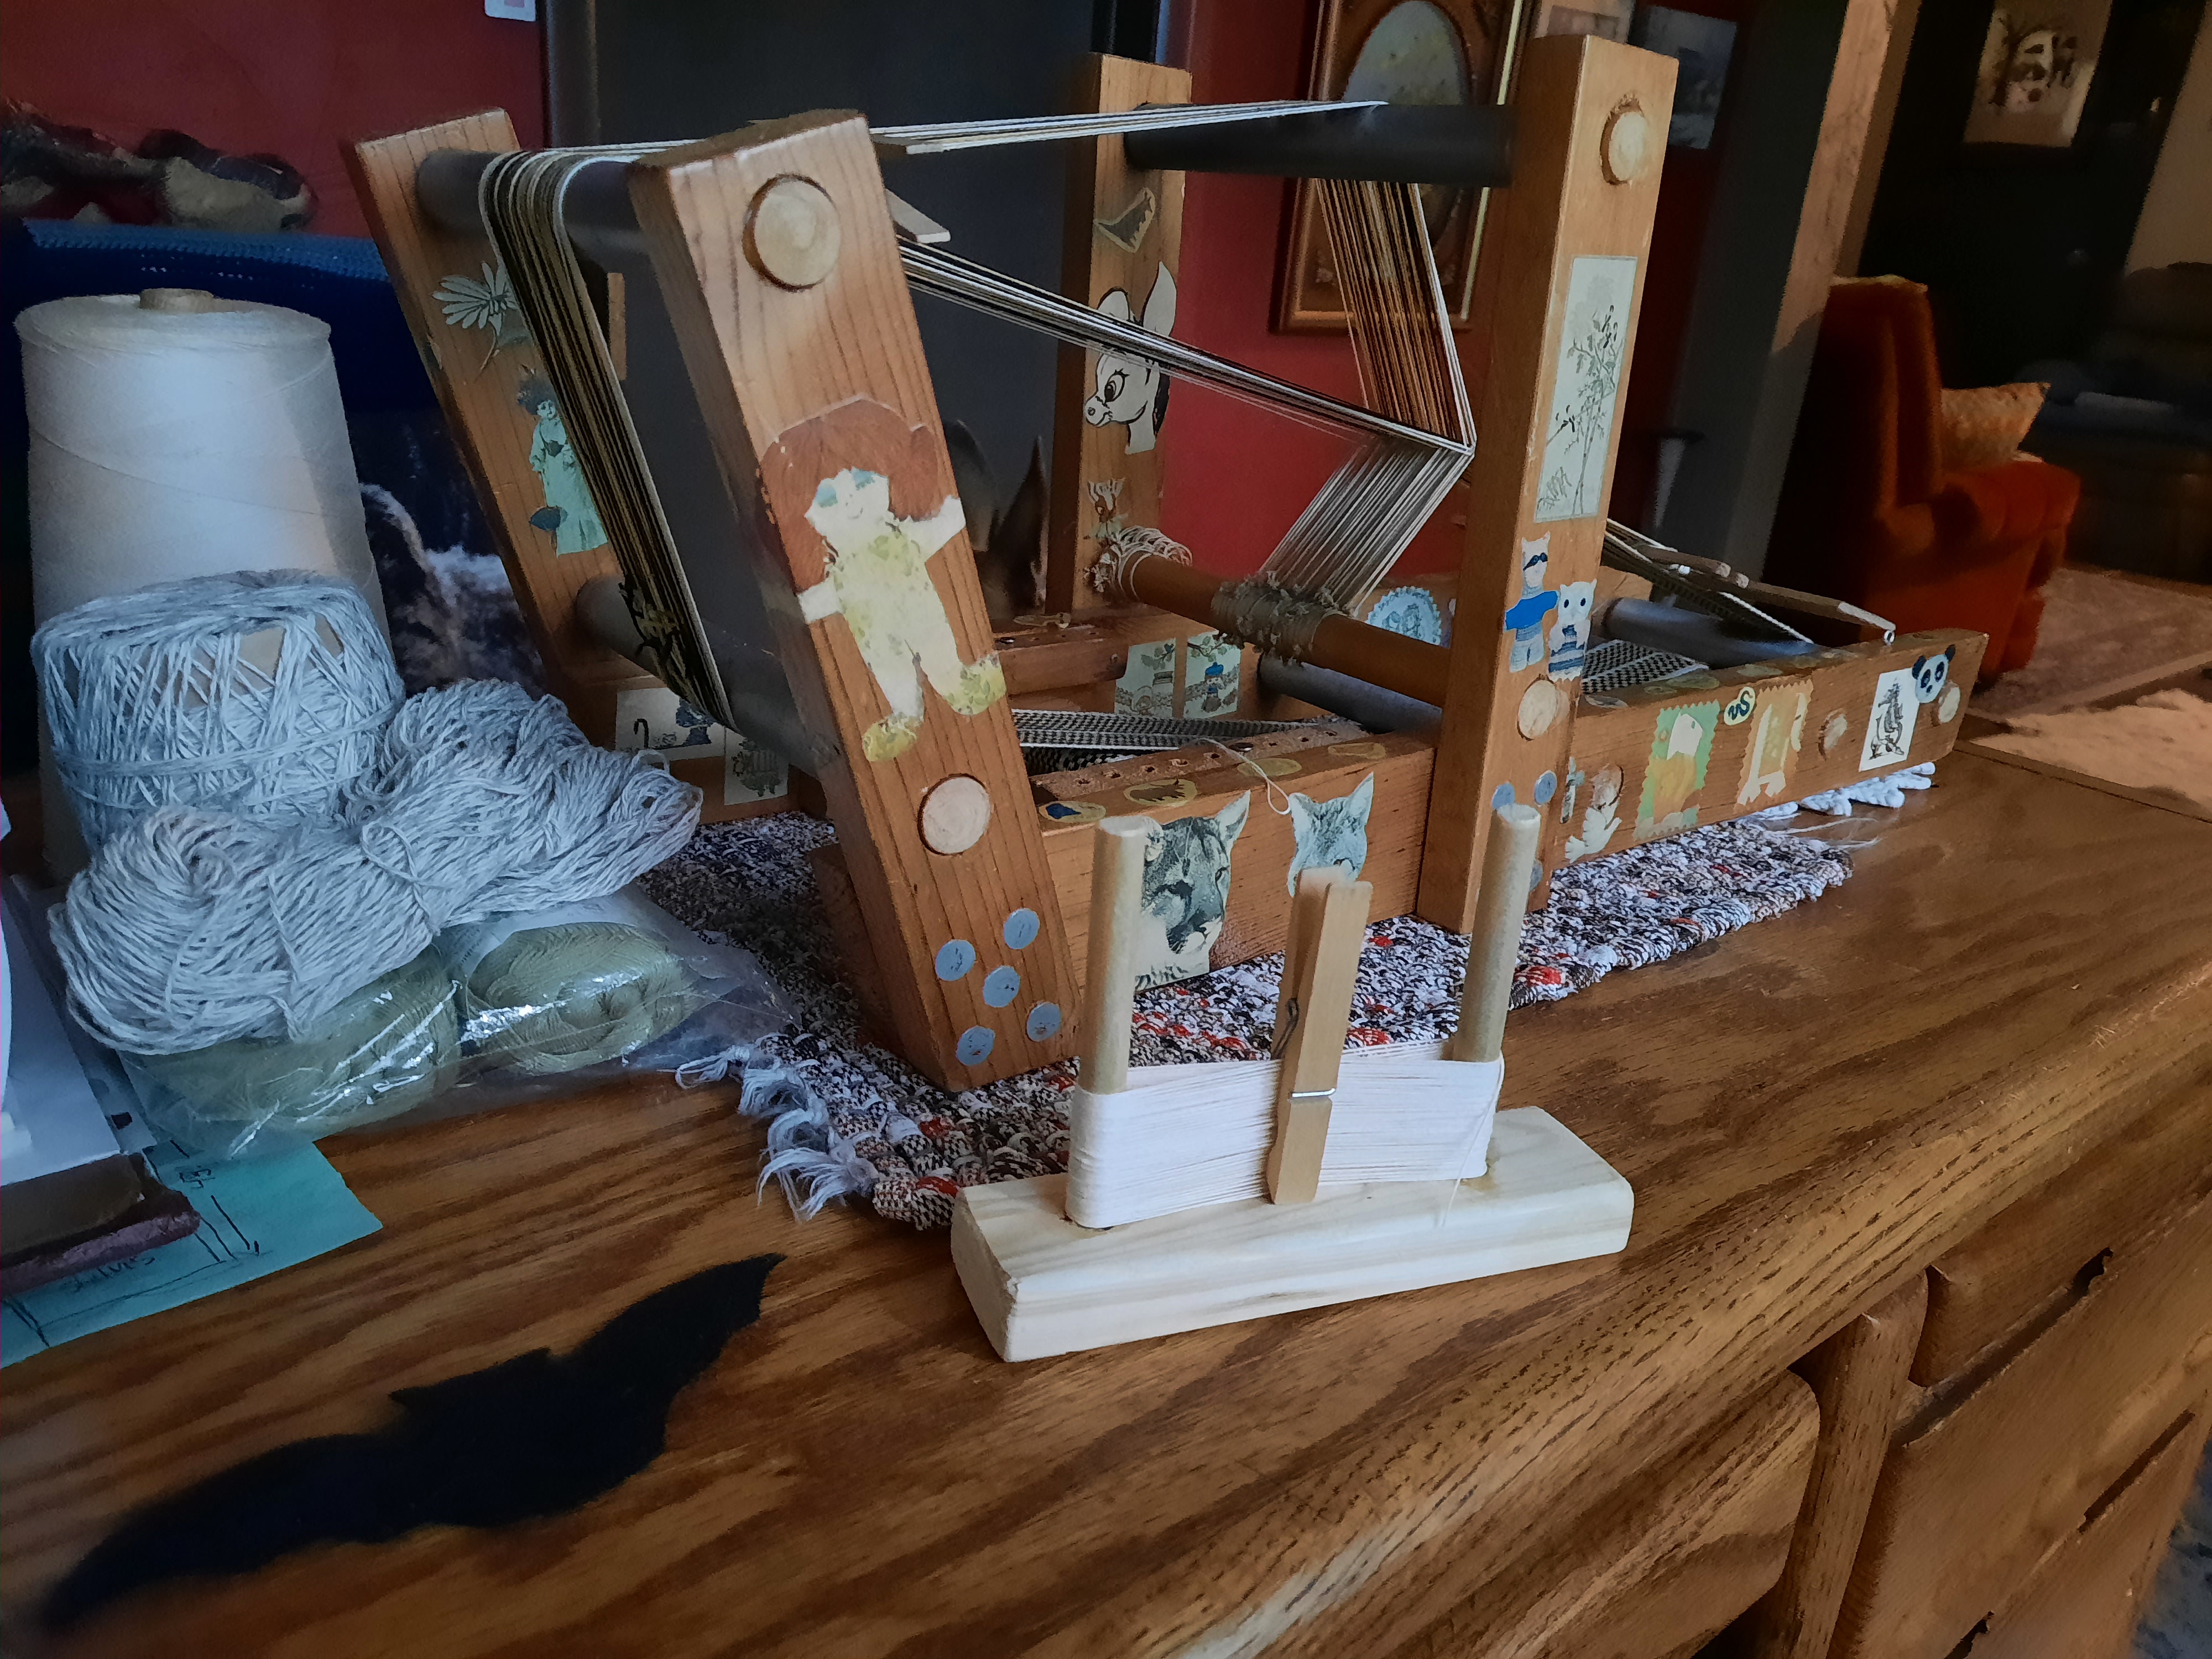
Fast forward 10+ years and about 30 weaving books later: We went to a local auction house and there were tons of weaving looms up for auction. There were floor looms, table top looms, and a couple of small looms that included an inkle loom. I was able to score a handmade inkle loom for under $10 and another loom I might discuss at a later date (after I learn how to use it).
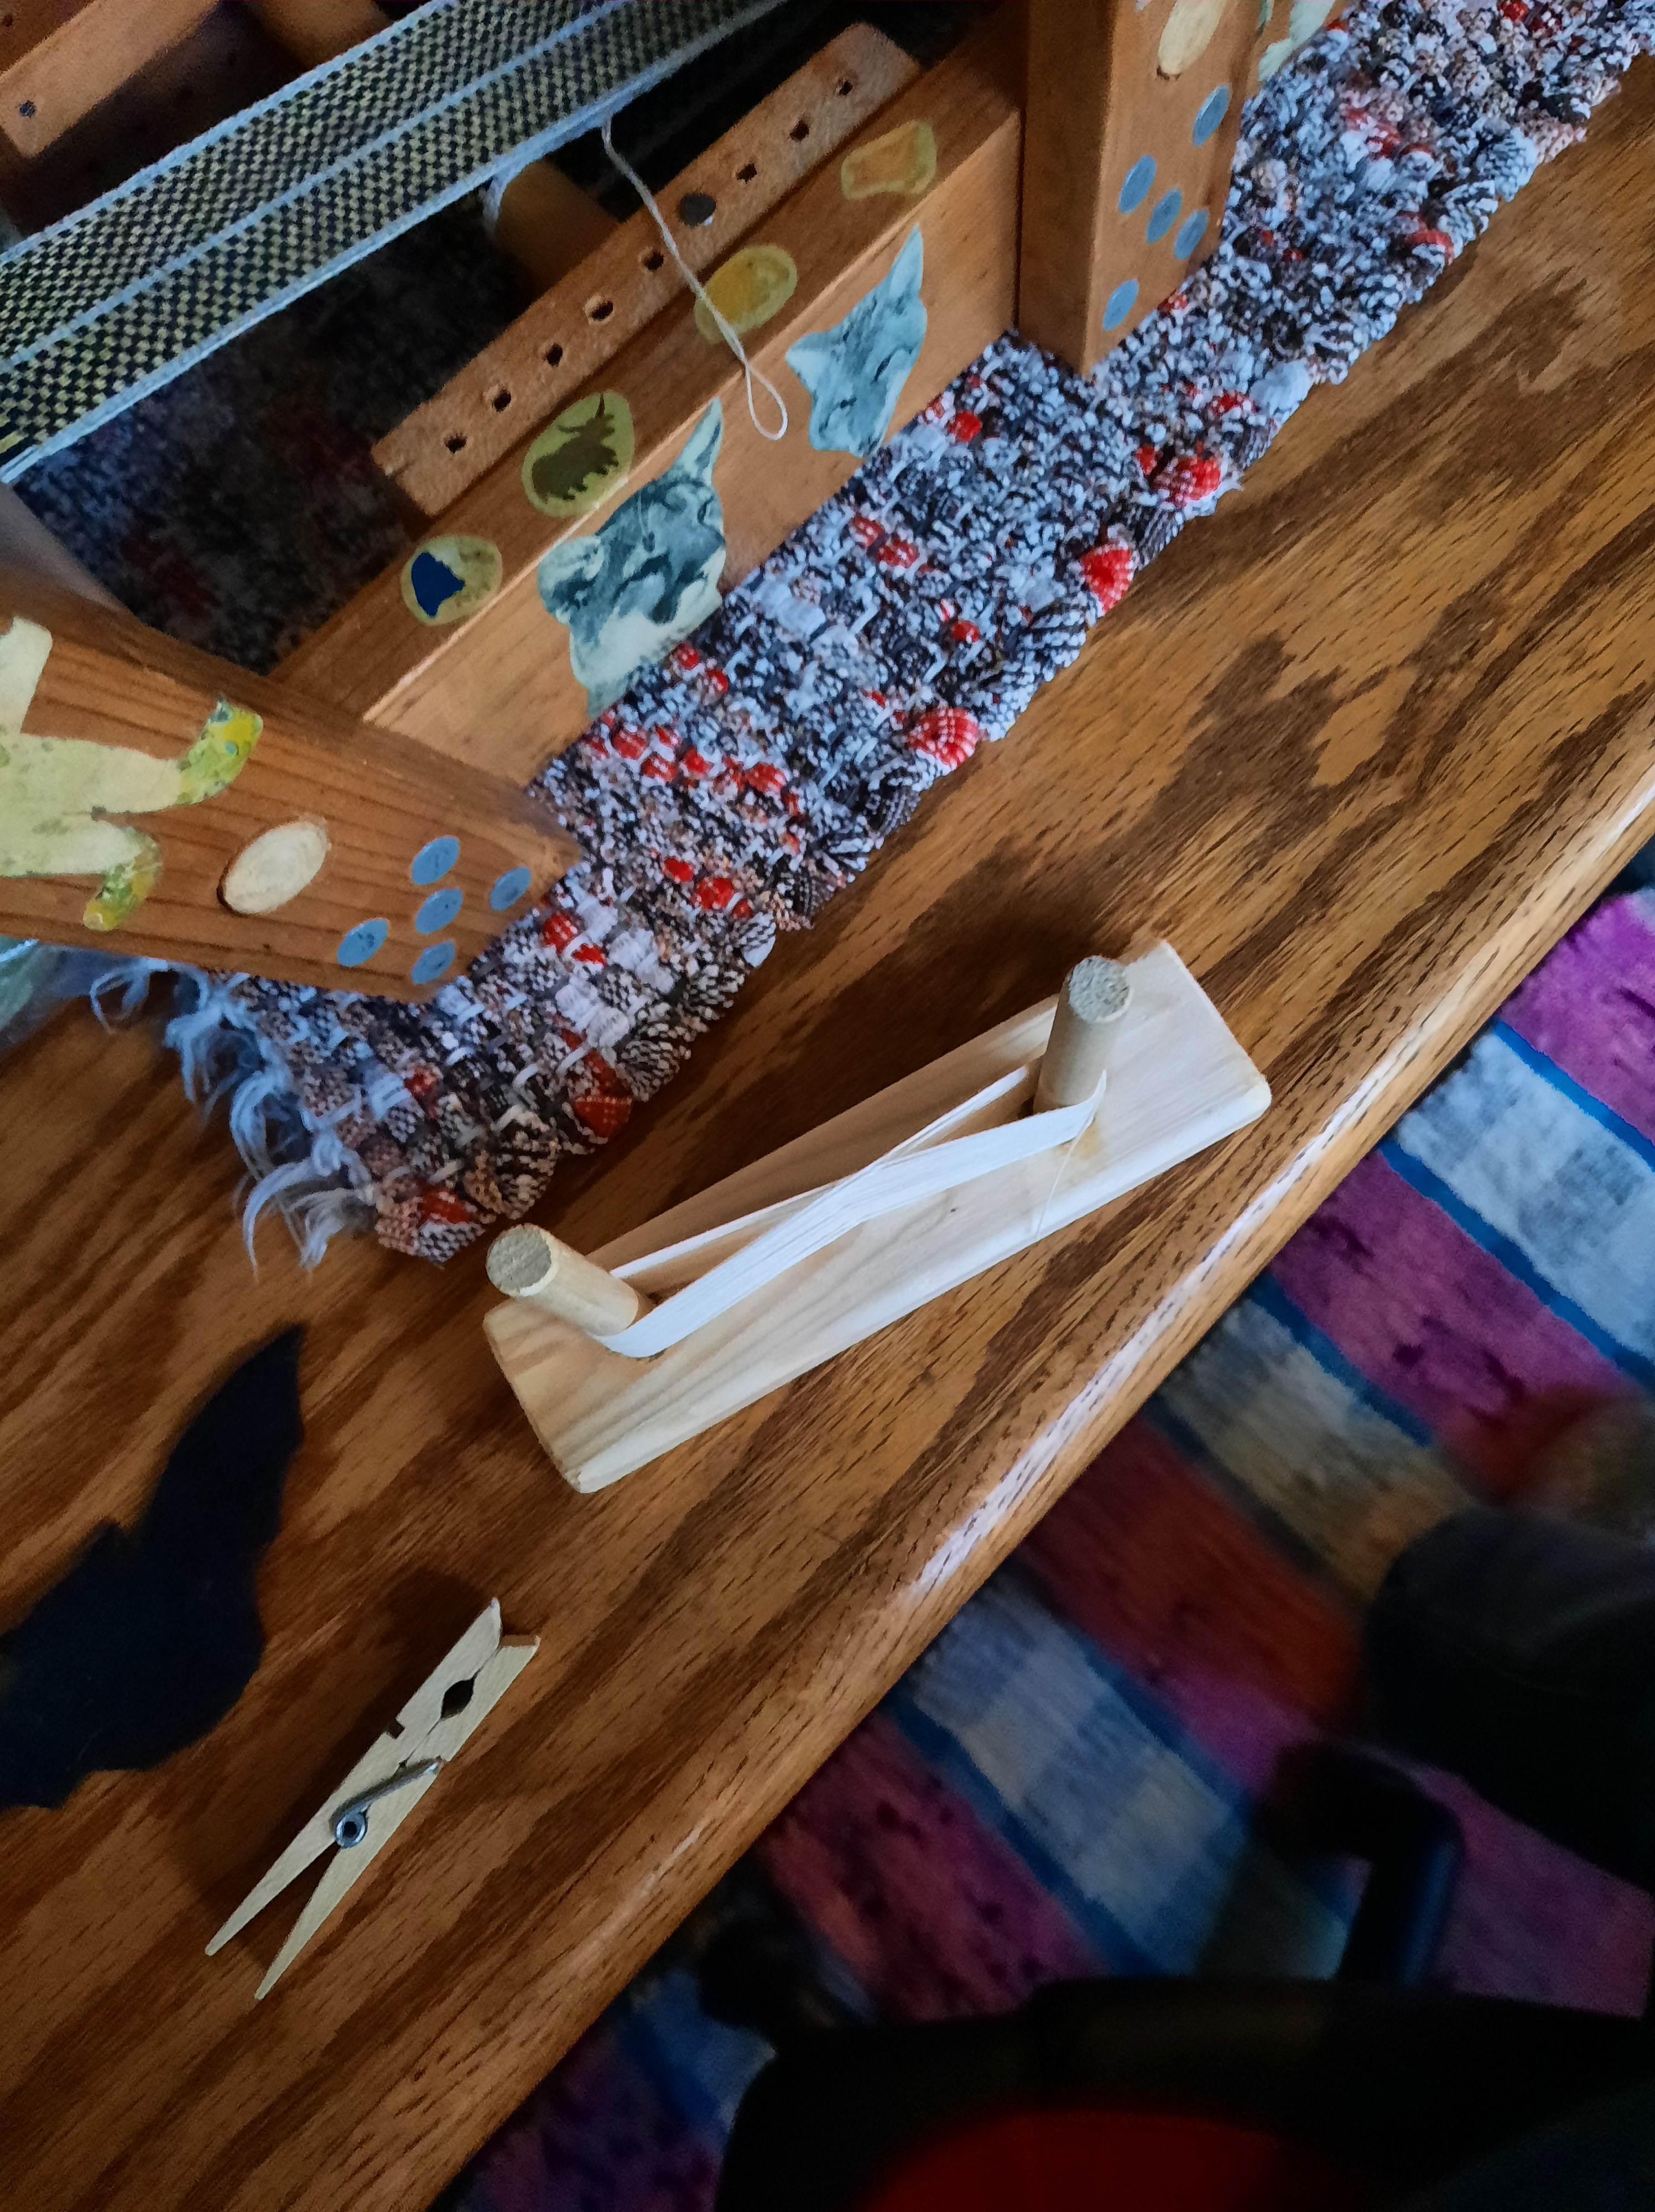
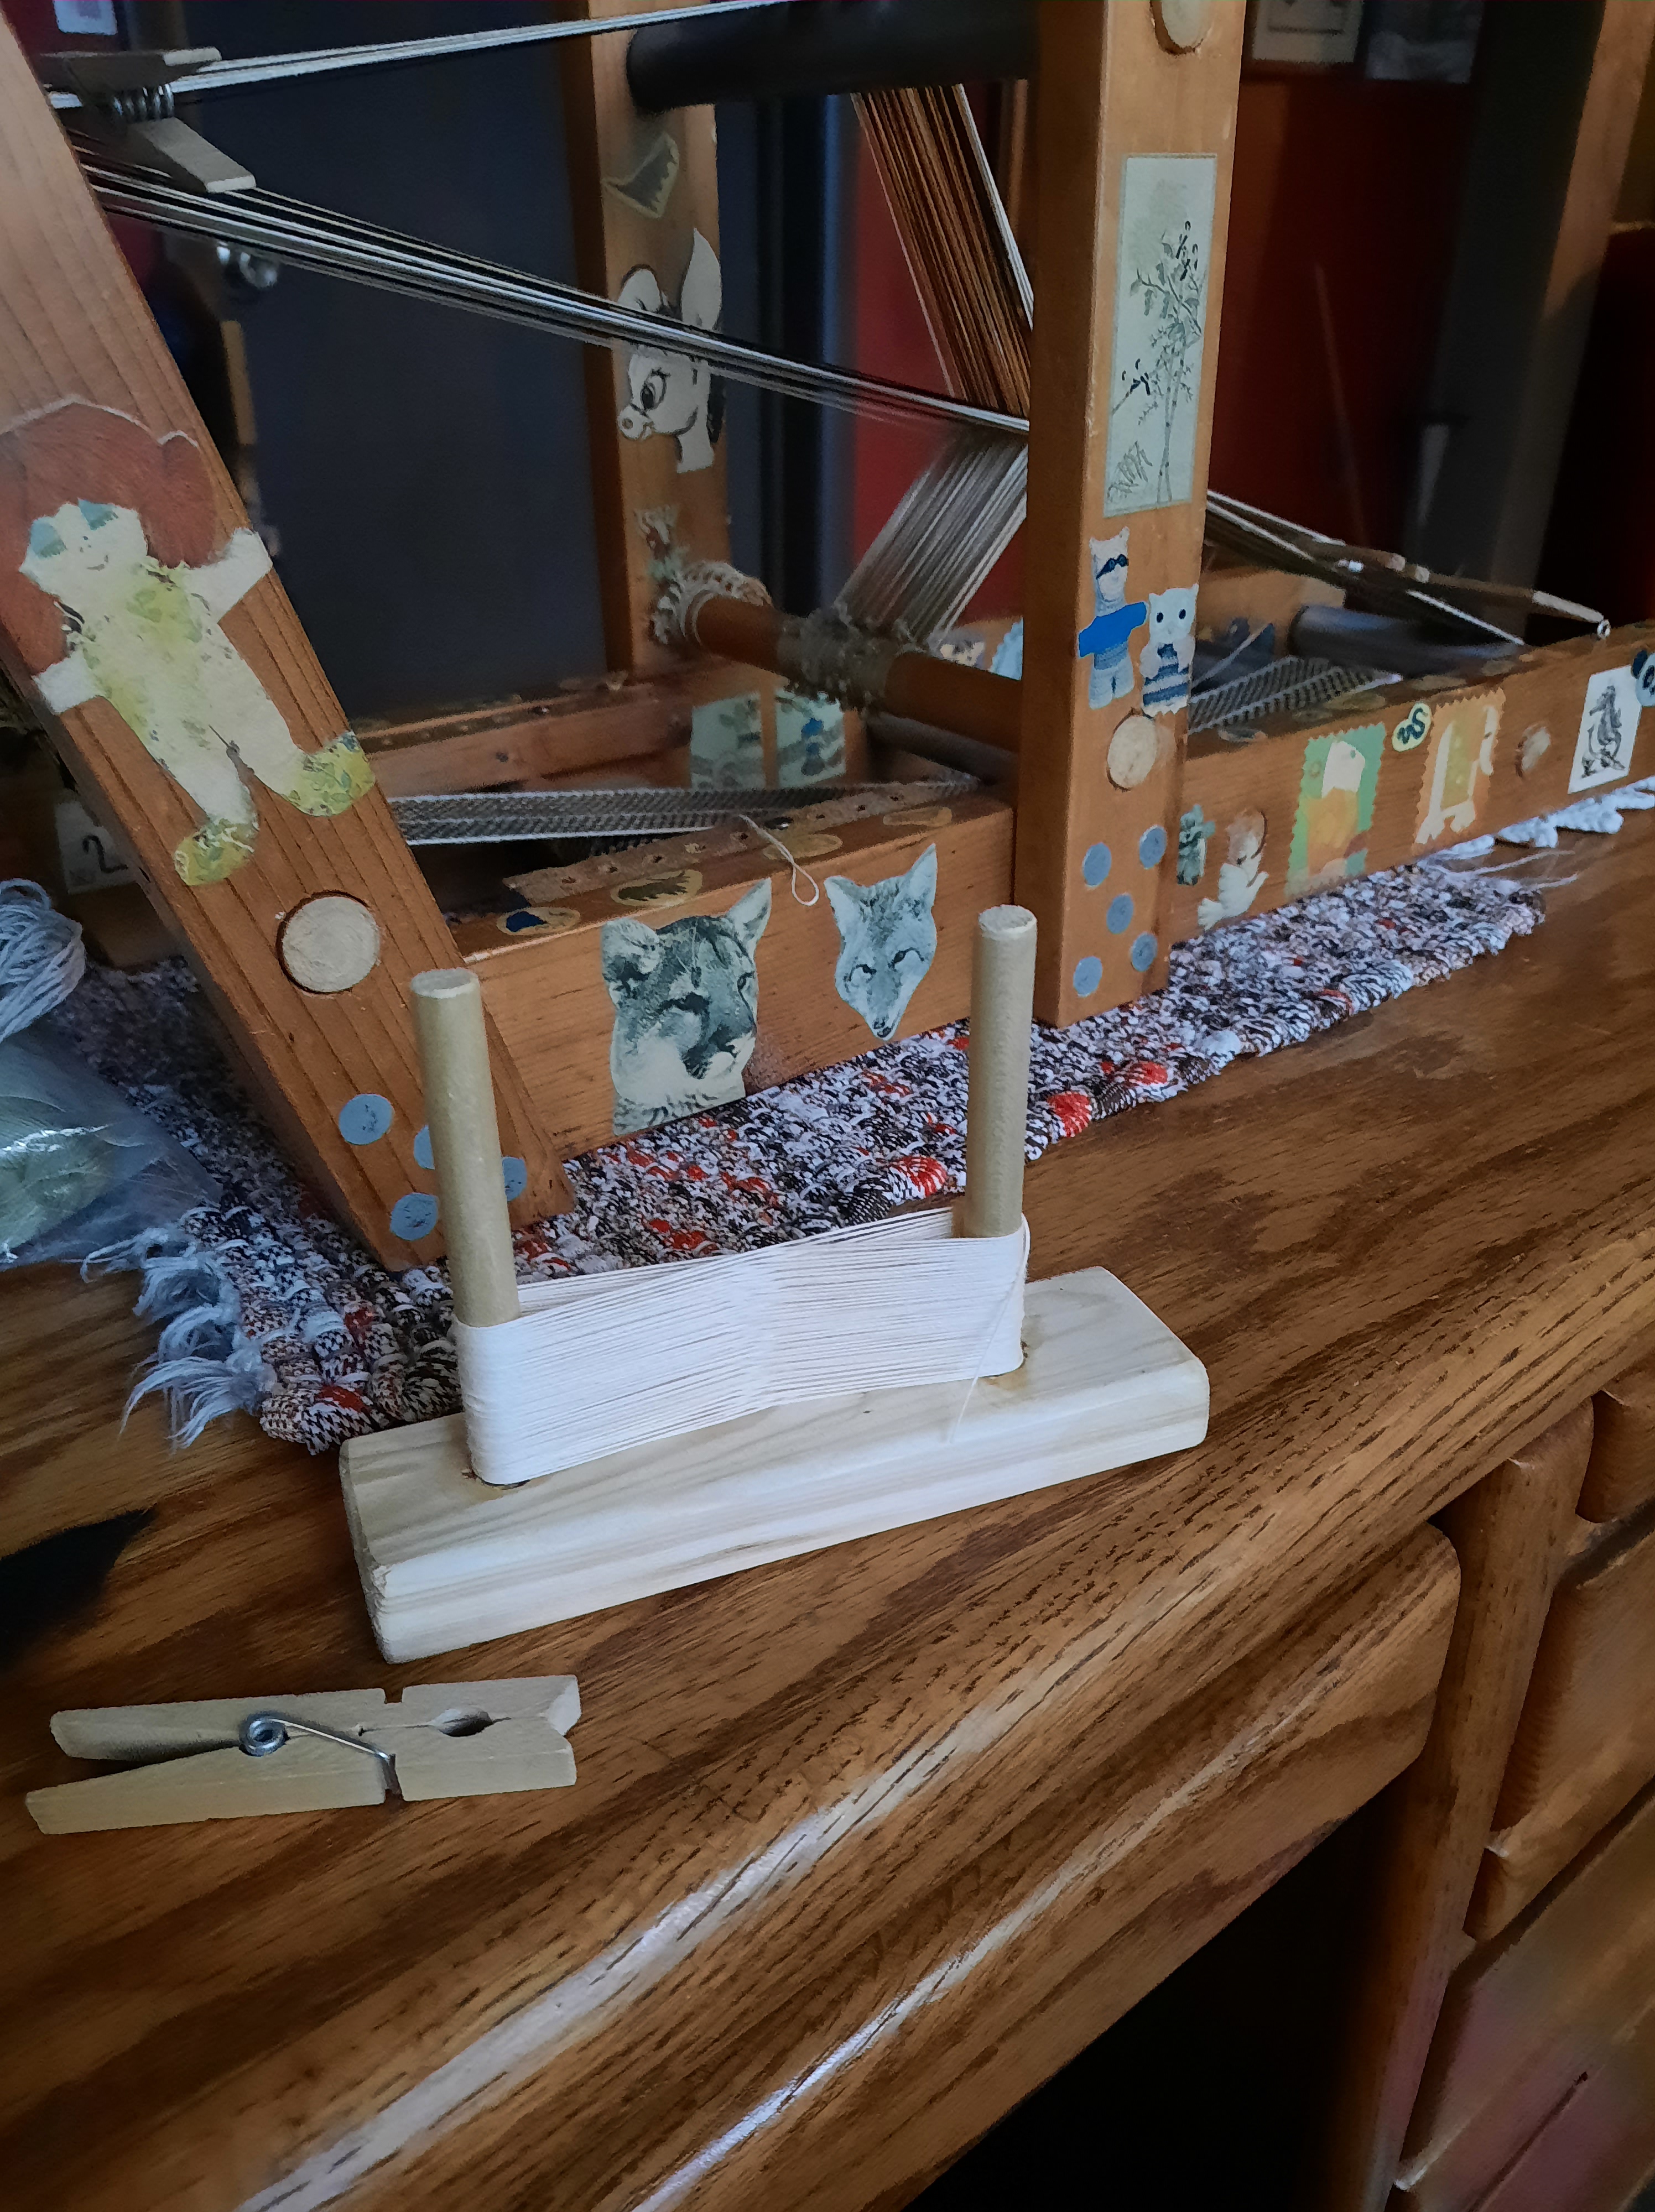
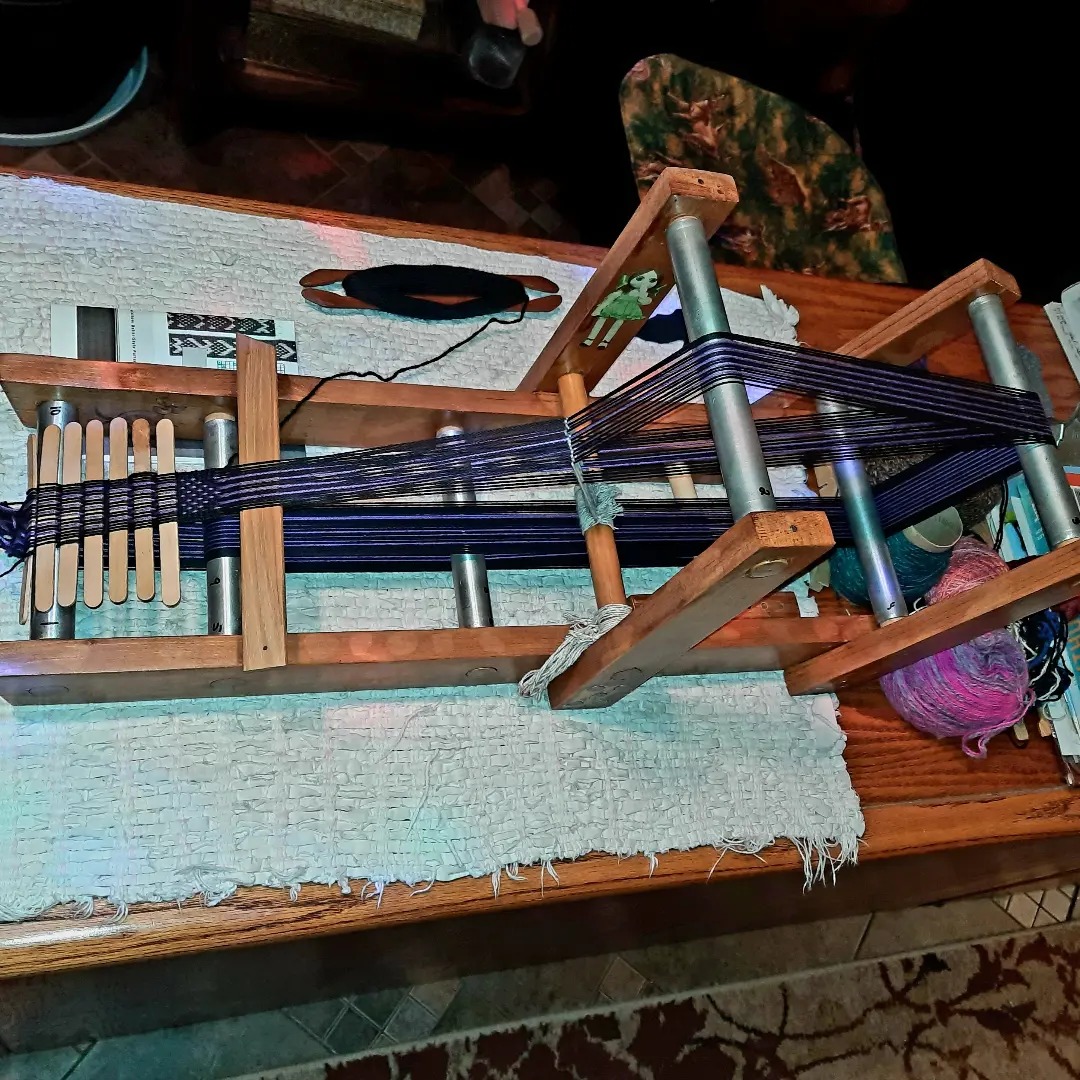
The inkle loom came with a lot of cute stickers all over it and a sample block, inkle band already in progress. I finished weaving it after I dusted, vacuumed, and cleaned the loom and band so I could finish it.
My hubby and I stripped most of the stickers off of it. I left the stickers of the little girl in the green dress and her dog on inside of the loom because I liked them. I sanded it and hubs varnished it.
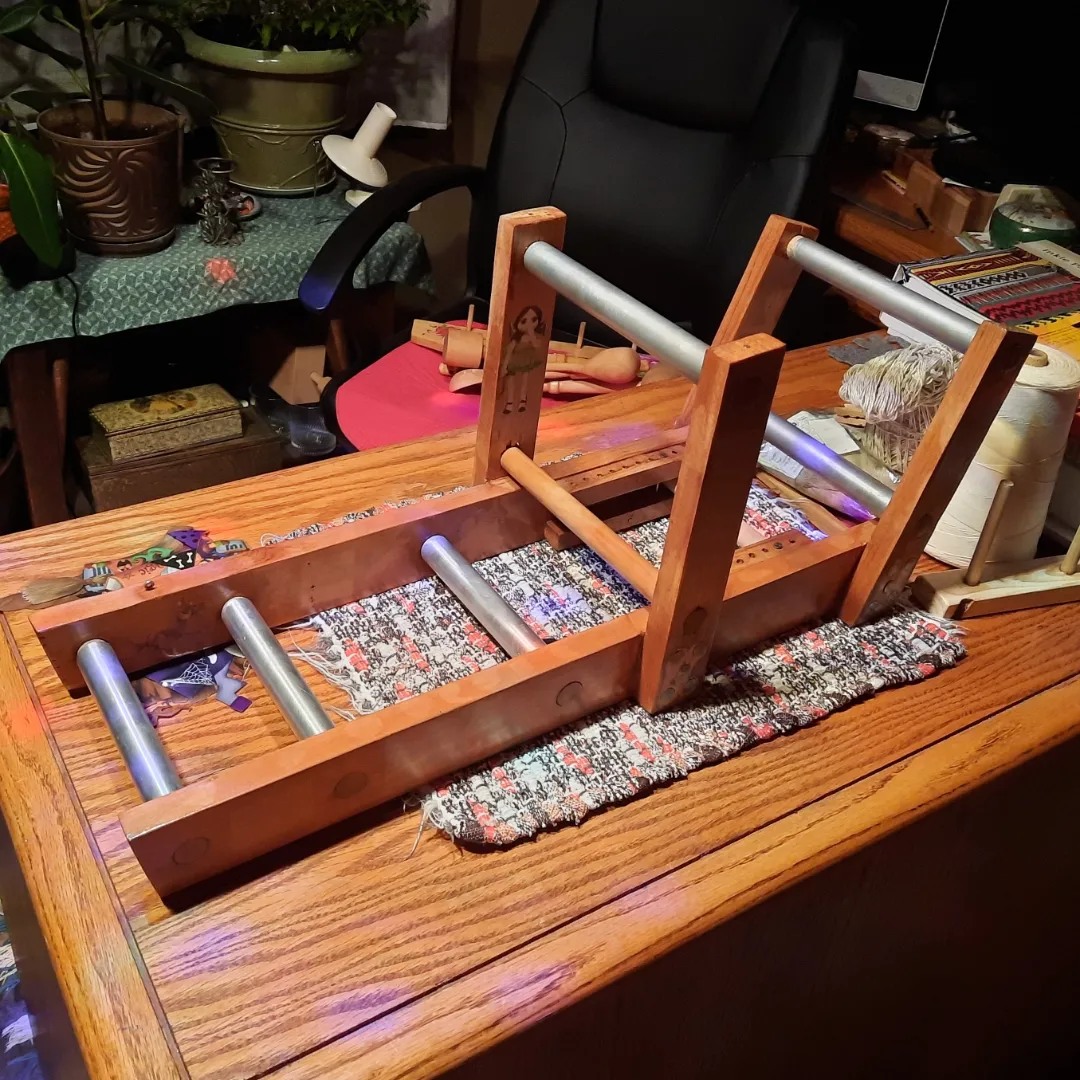
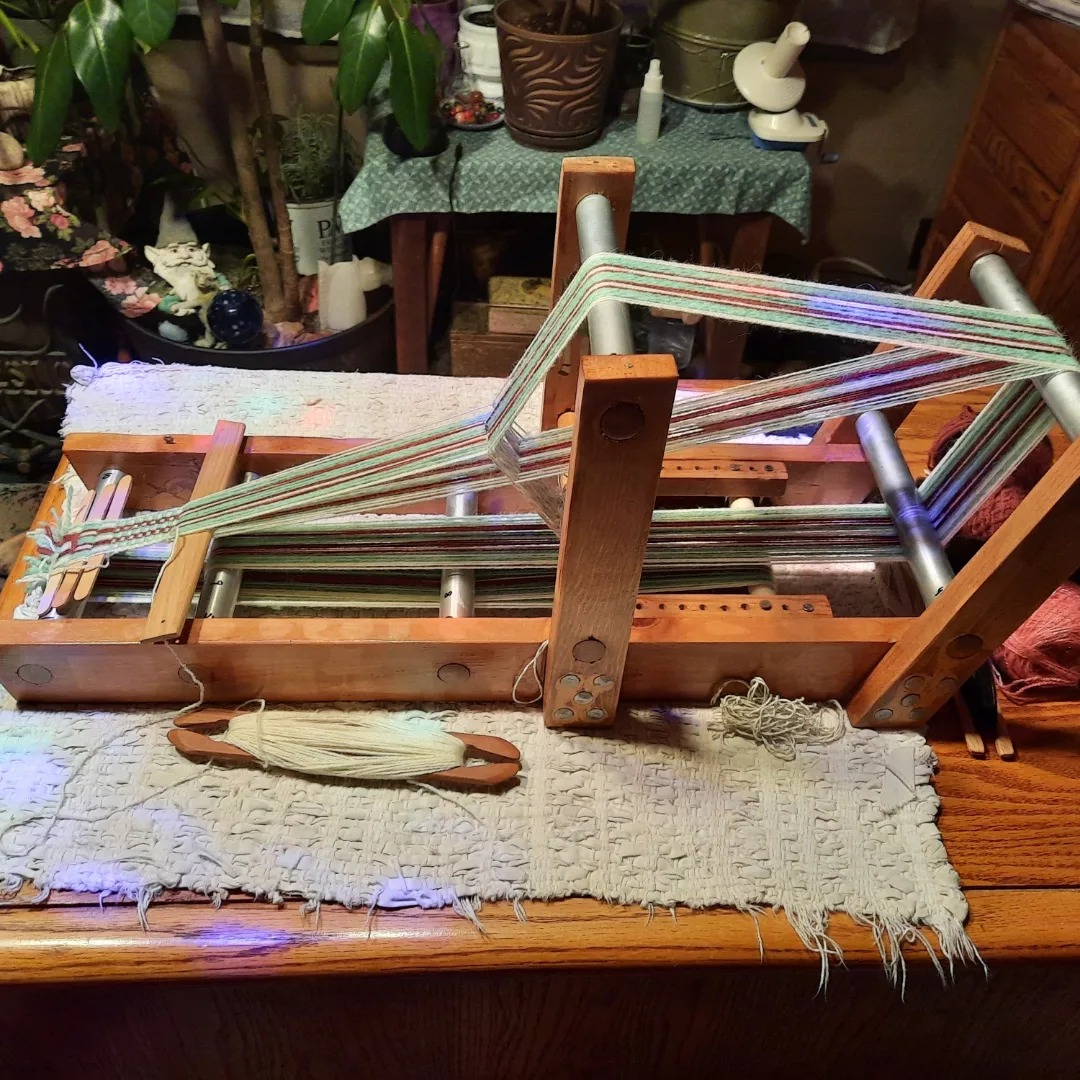
I rewarped it with rust brown and light green wool for a simple inkle band.
There’s a saying, “If you don’t use it, you’ll lose it.” I still knew the basics, but I had to relearn how to do the string heddles warping procedure.
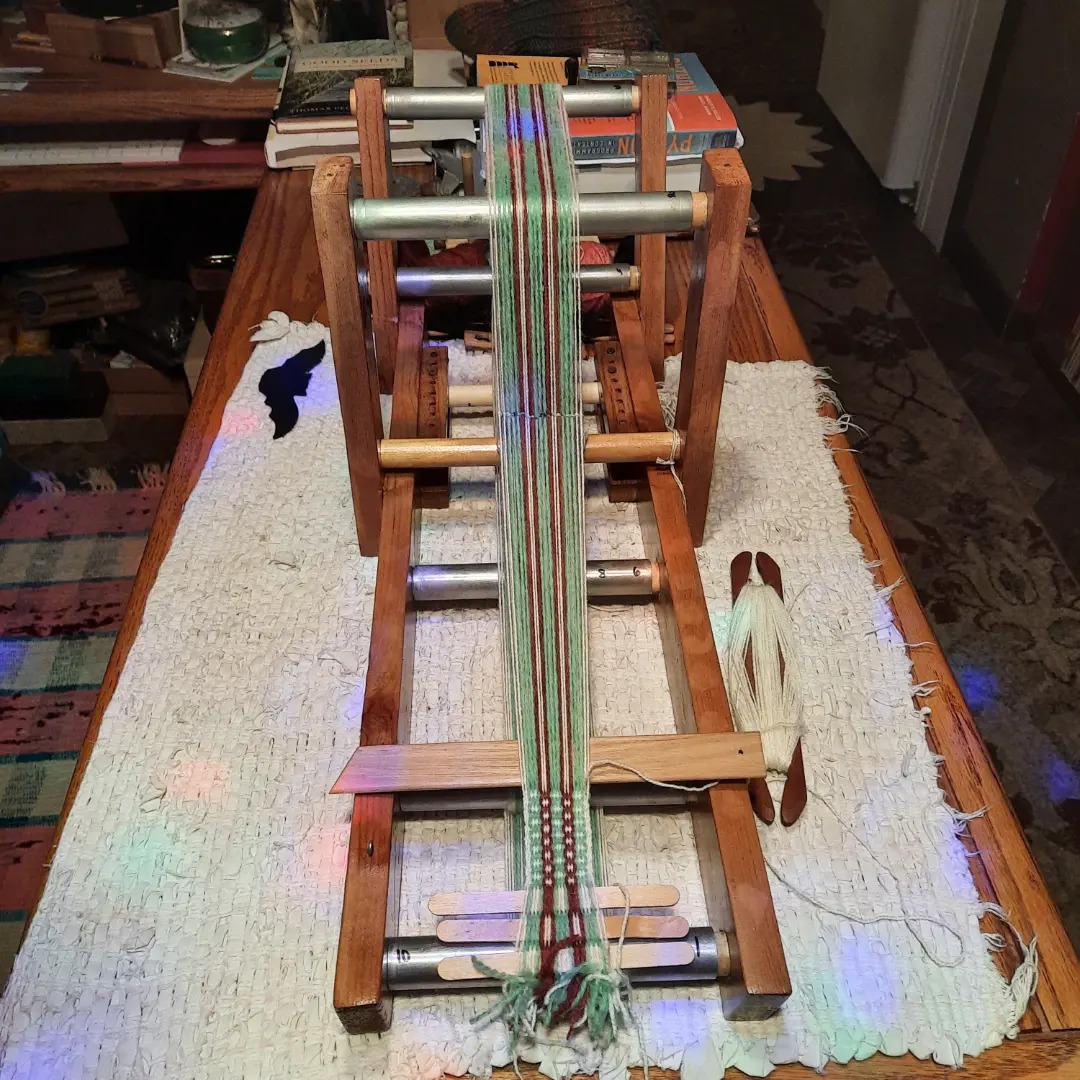
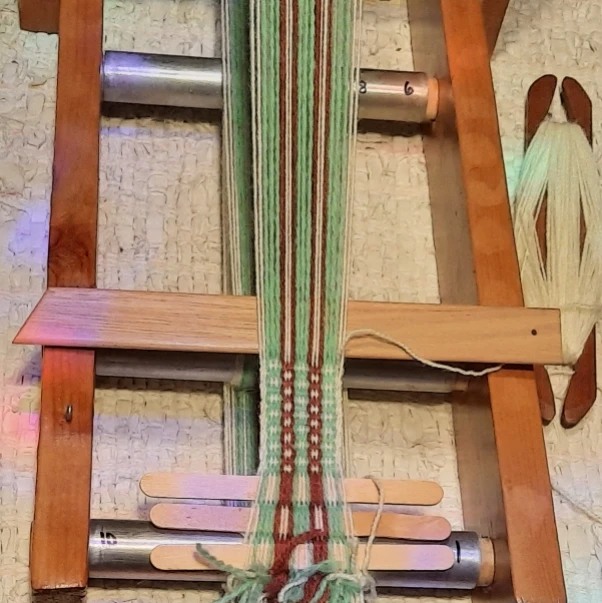
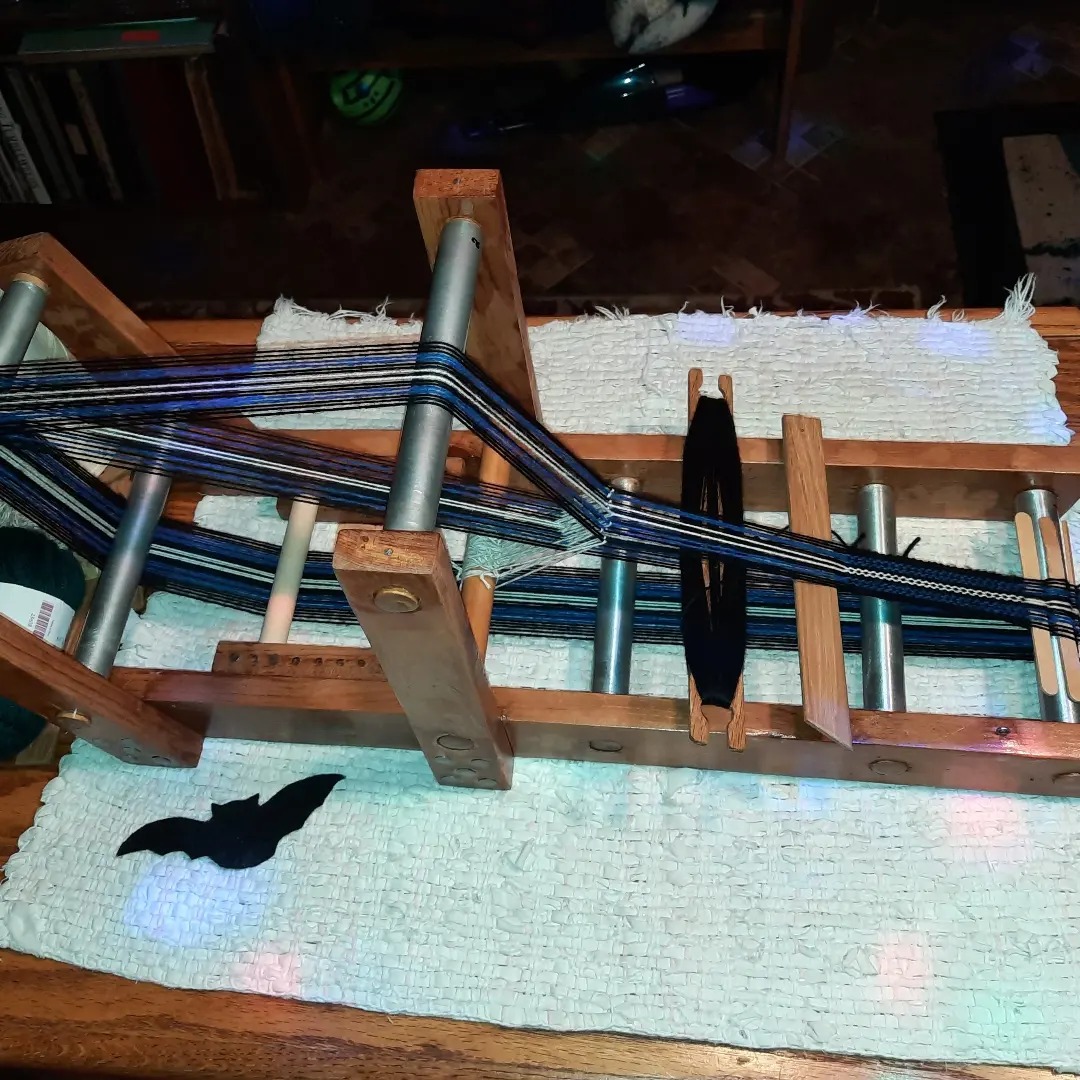
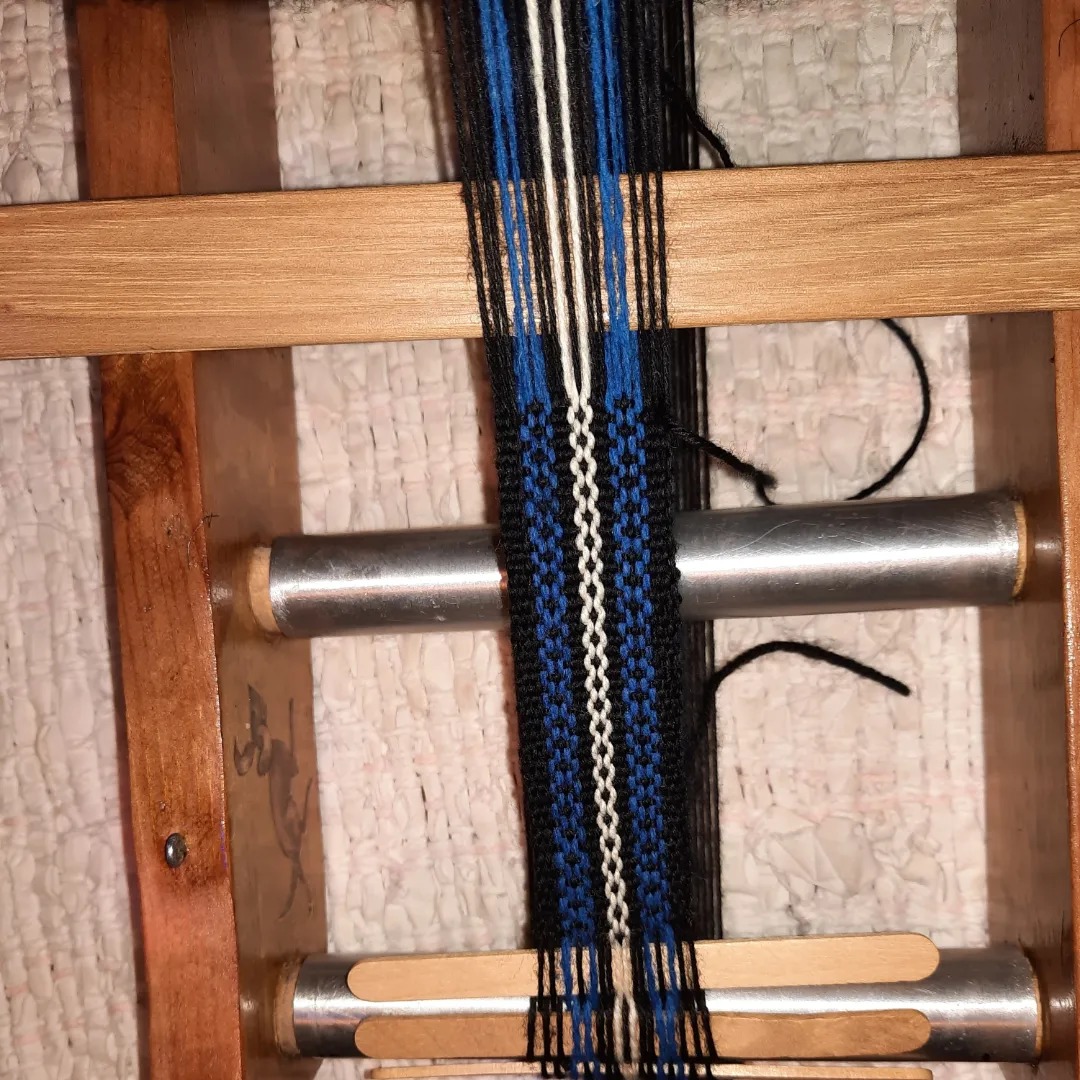
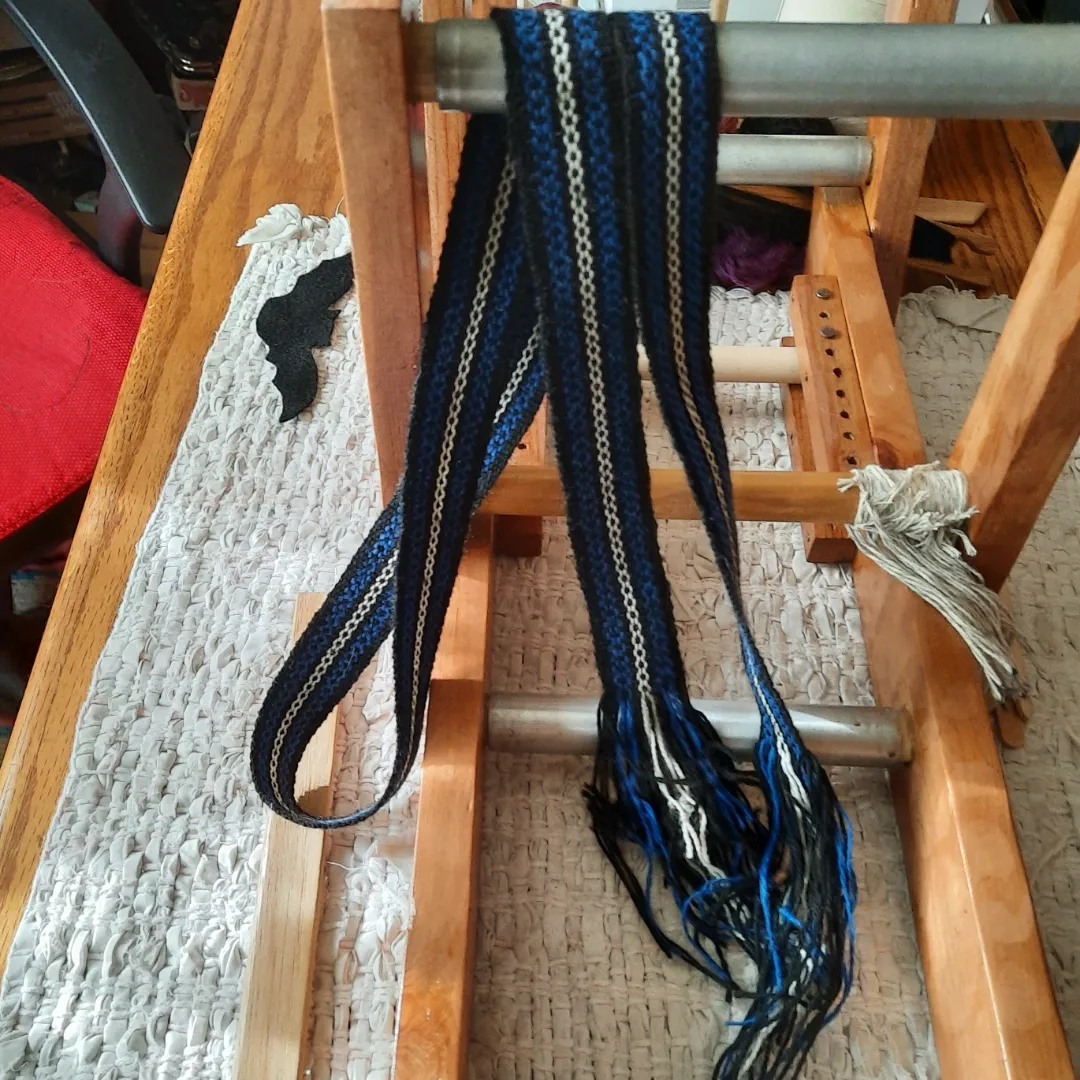
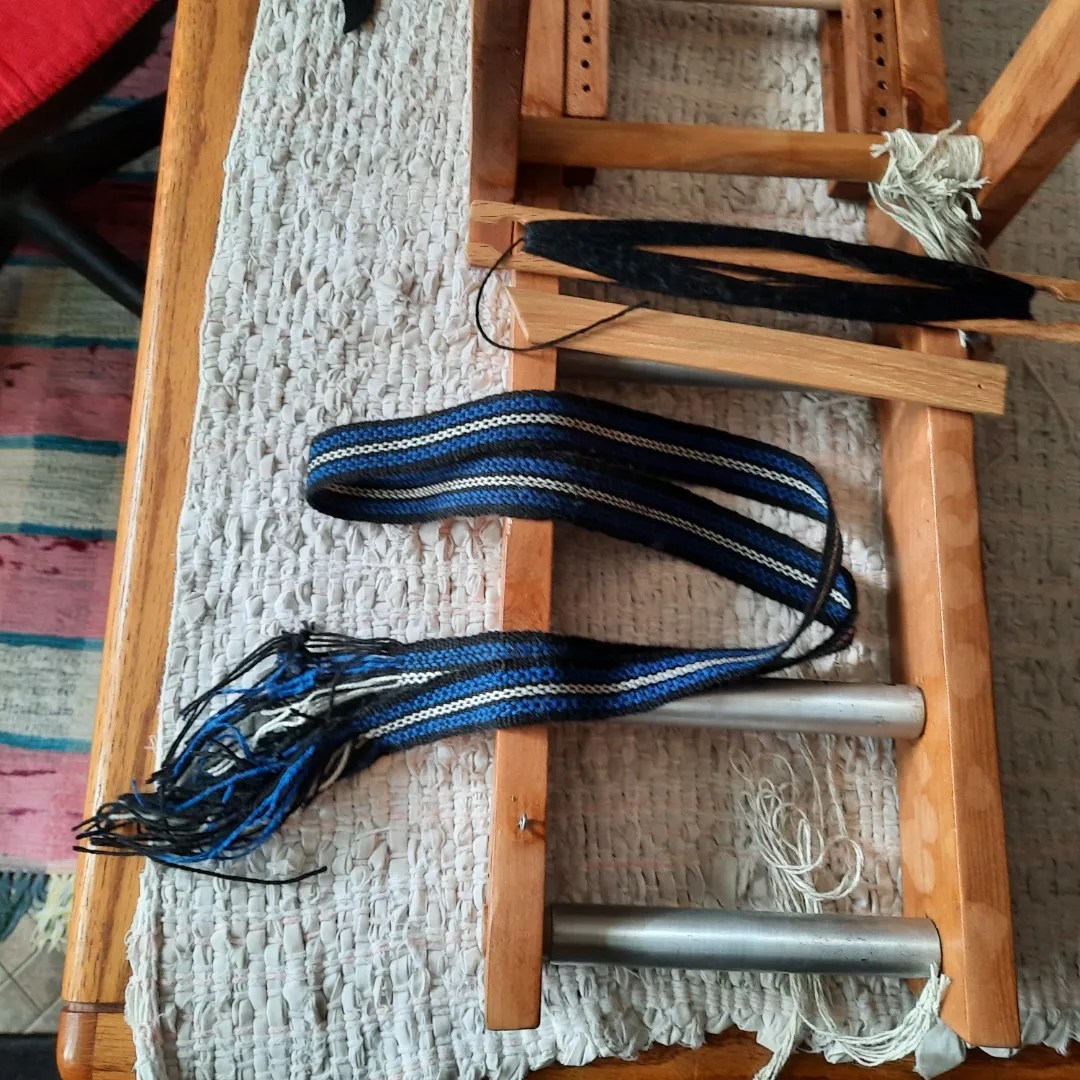
After I cut off the brown and green band, I rewarped it again, with black, blue, and white wool for another very short band because I once again forgot to place the unheddled warp threads in the right place.
With the 4th band, I feel that I’m back in the swing of it and it’s coming along quite nicely.
I dove right in and finished this Baltic style 9, diamond sampler belt with braided ends, rather quickly. I wove another sampler after that.
Obviously, I need to weave in the ends on this one, but otherwise I’m pleased with it because it’s woven using my handspun wool yarn! This is made of 2 Baltic style 9 samples from the book, “The Weaver’s Inkle Pattern Directory”.
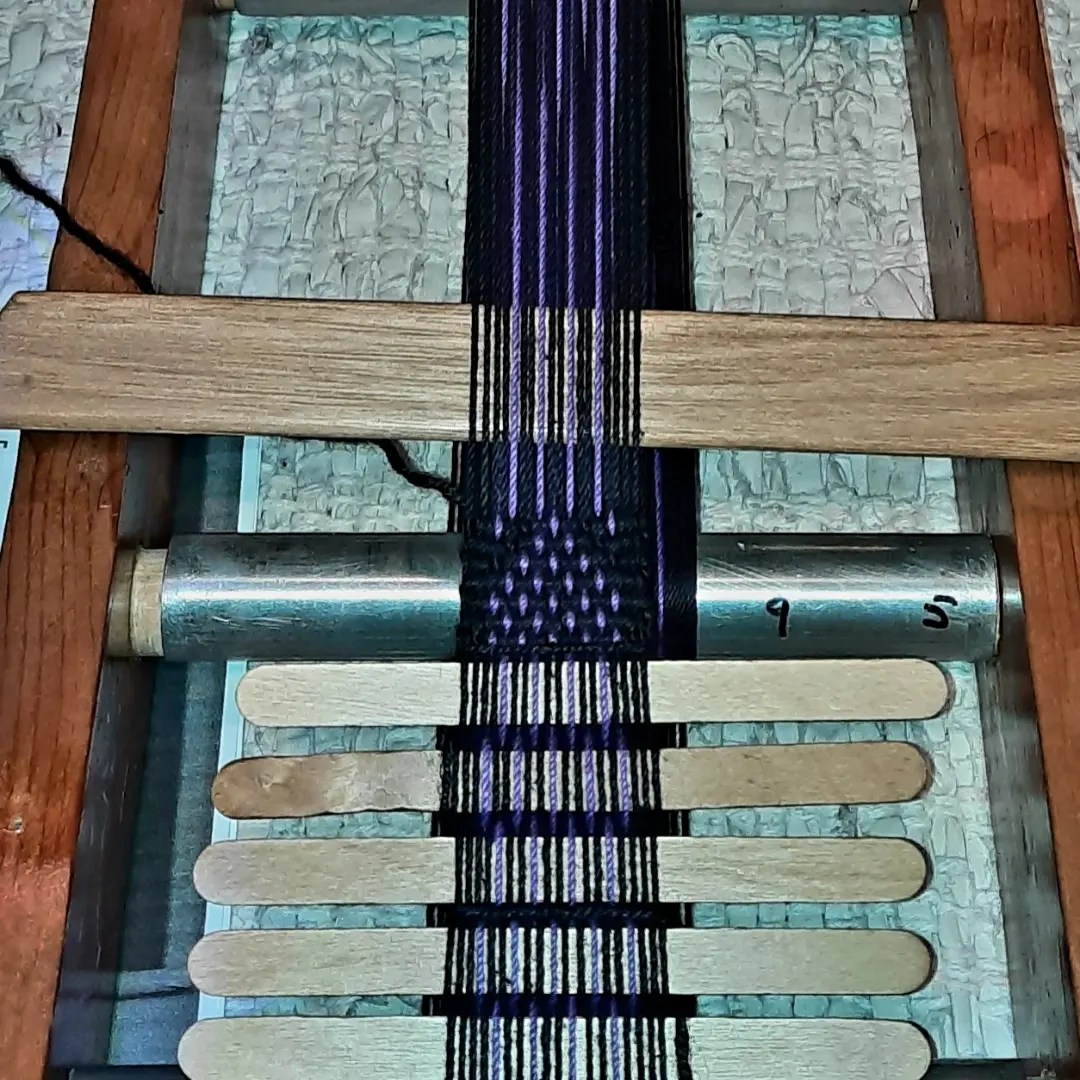
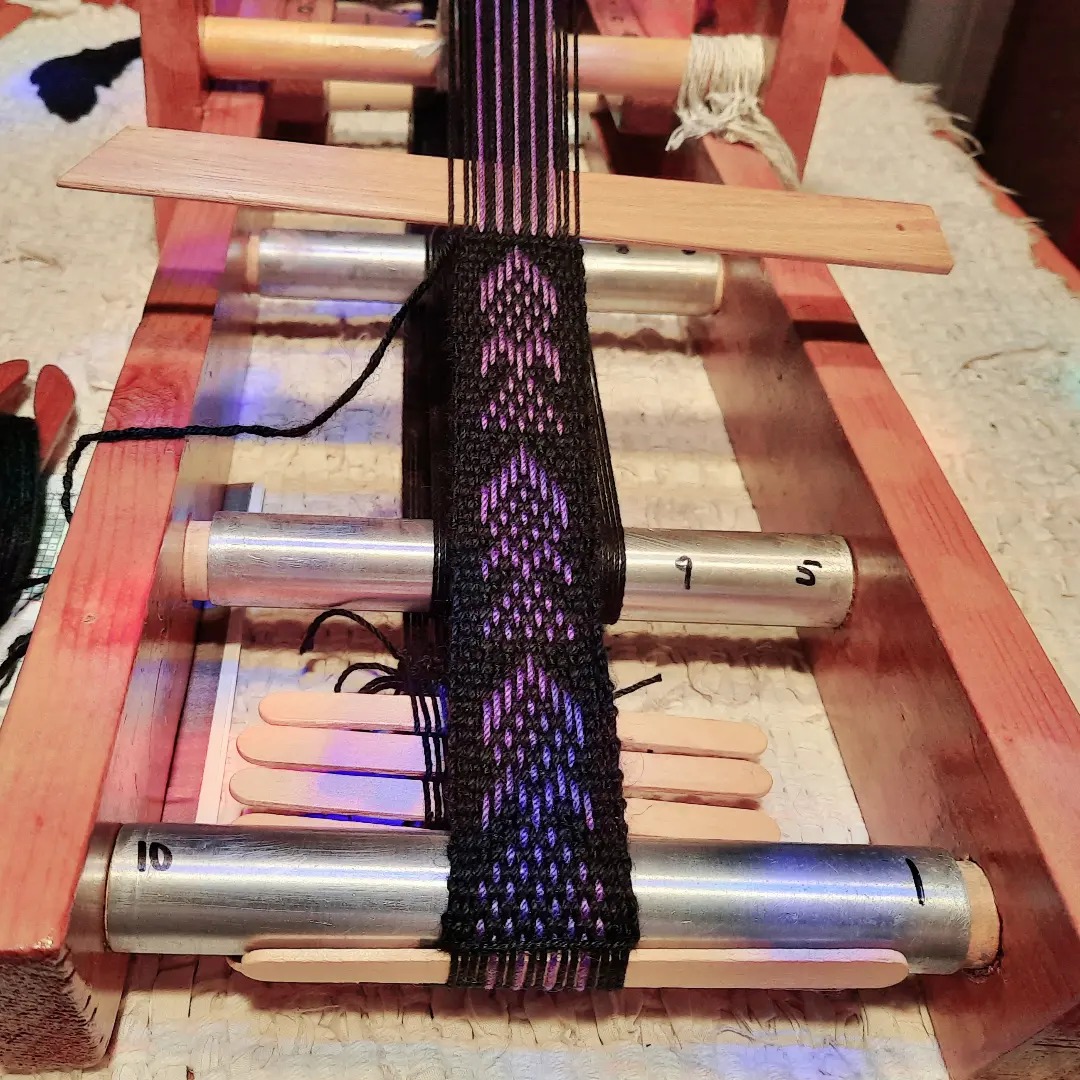
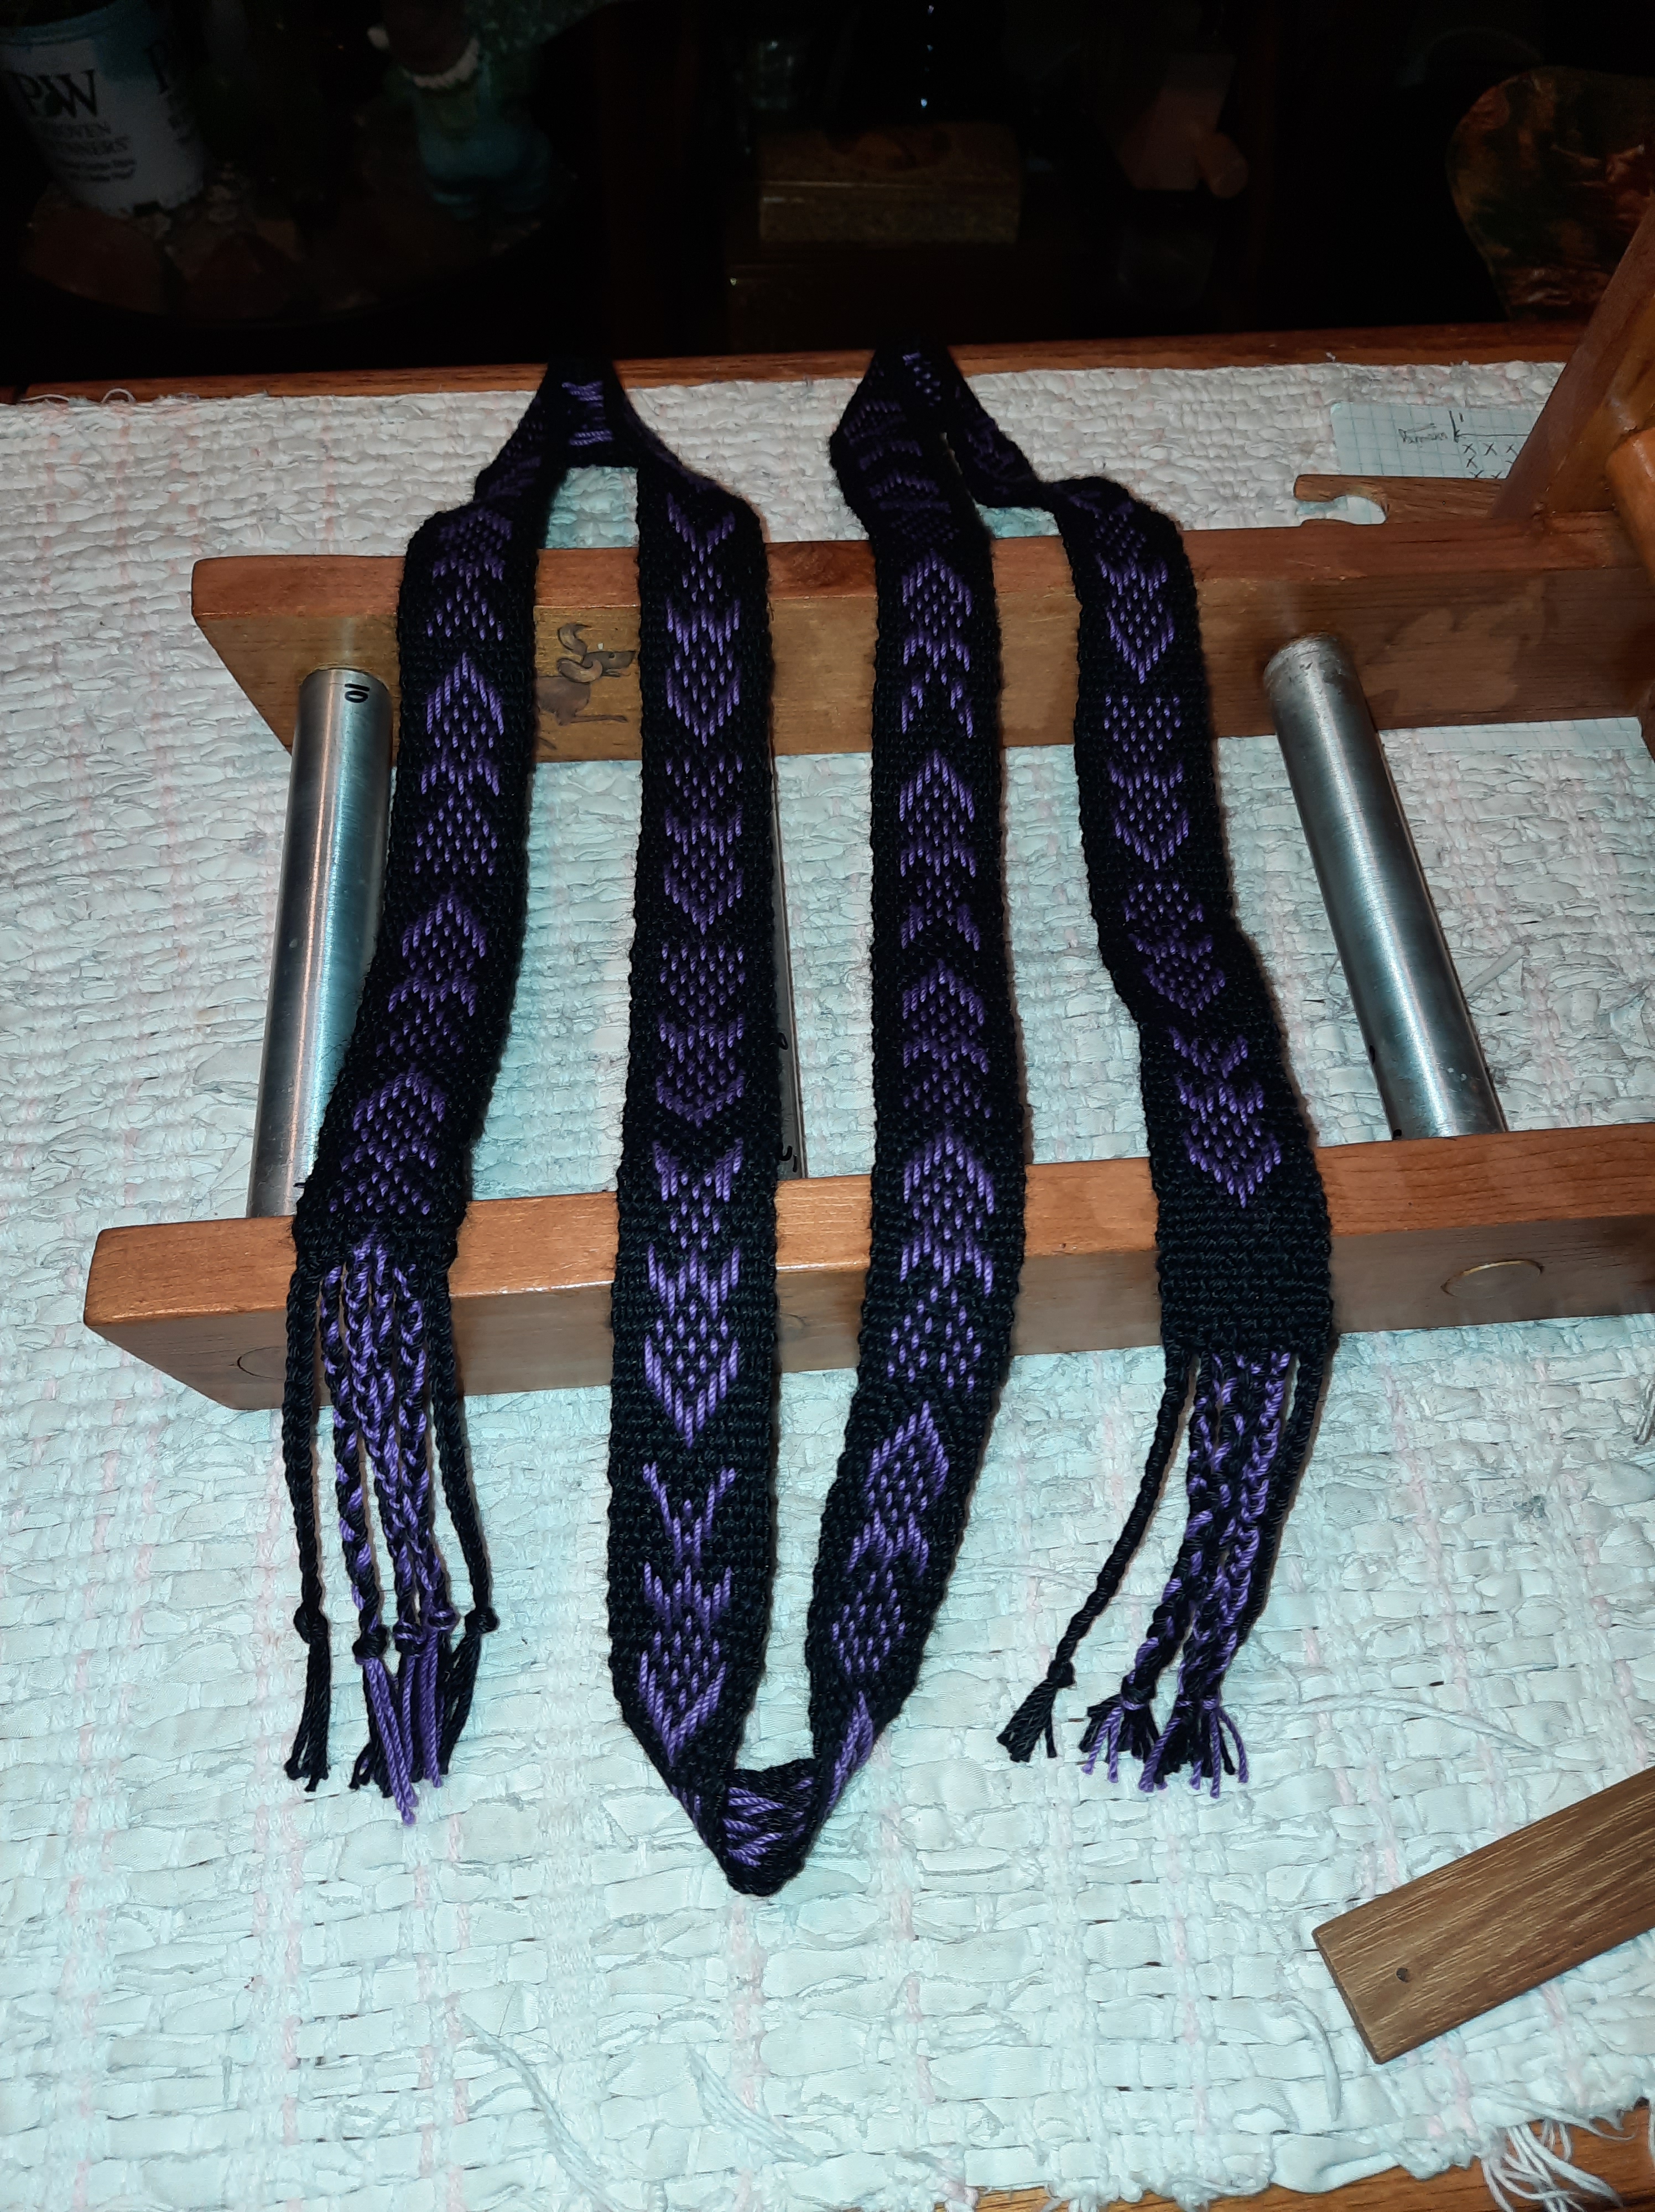
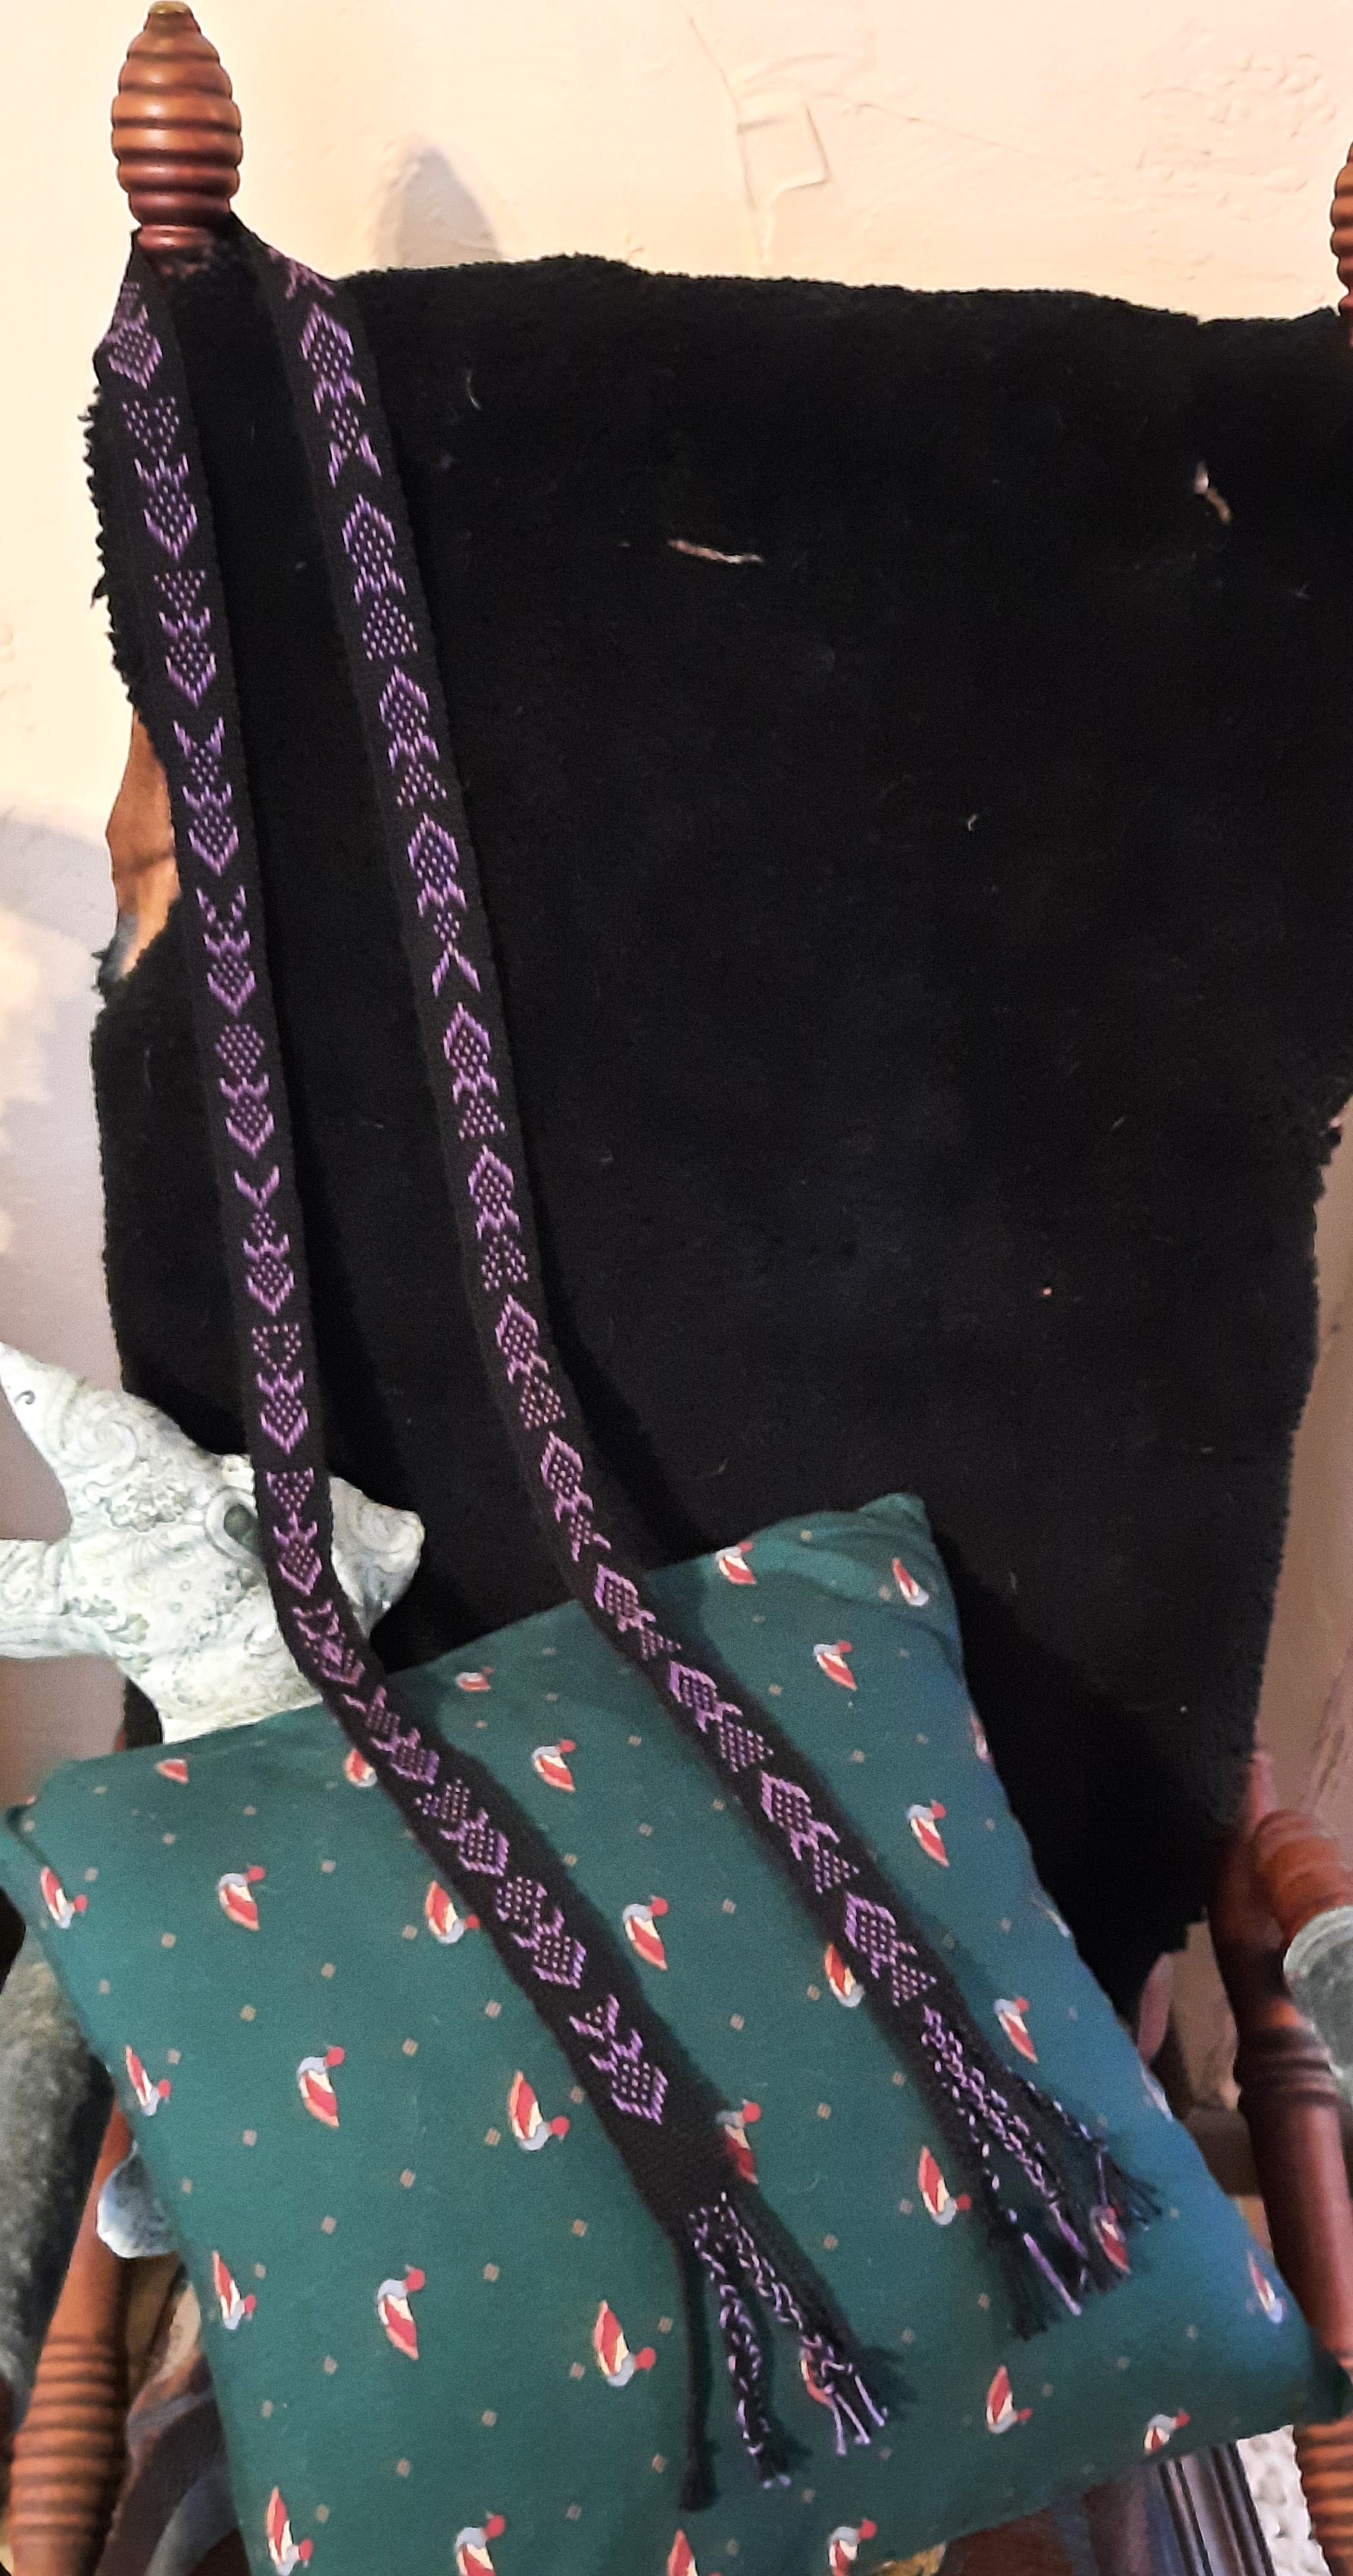
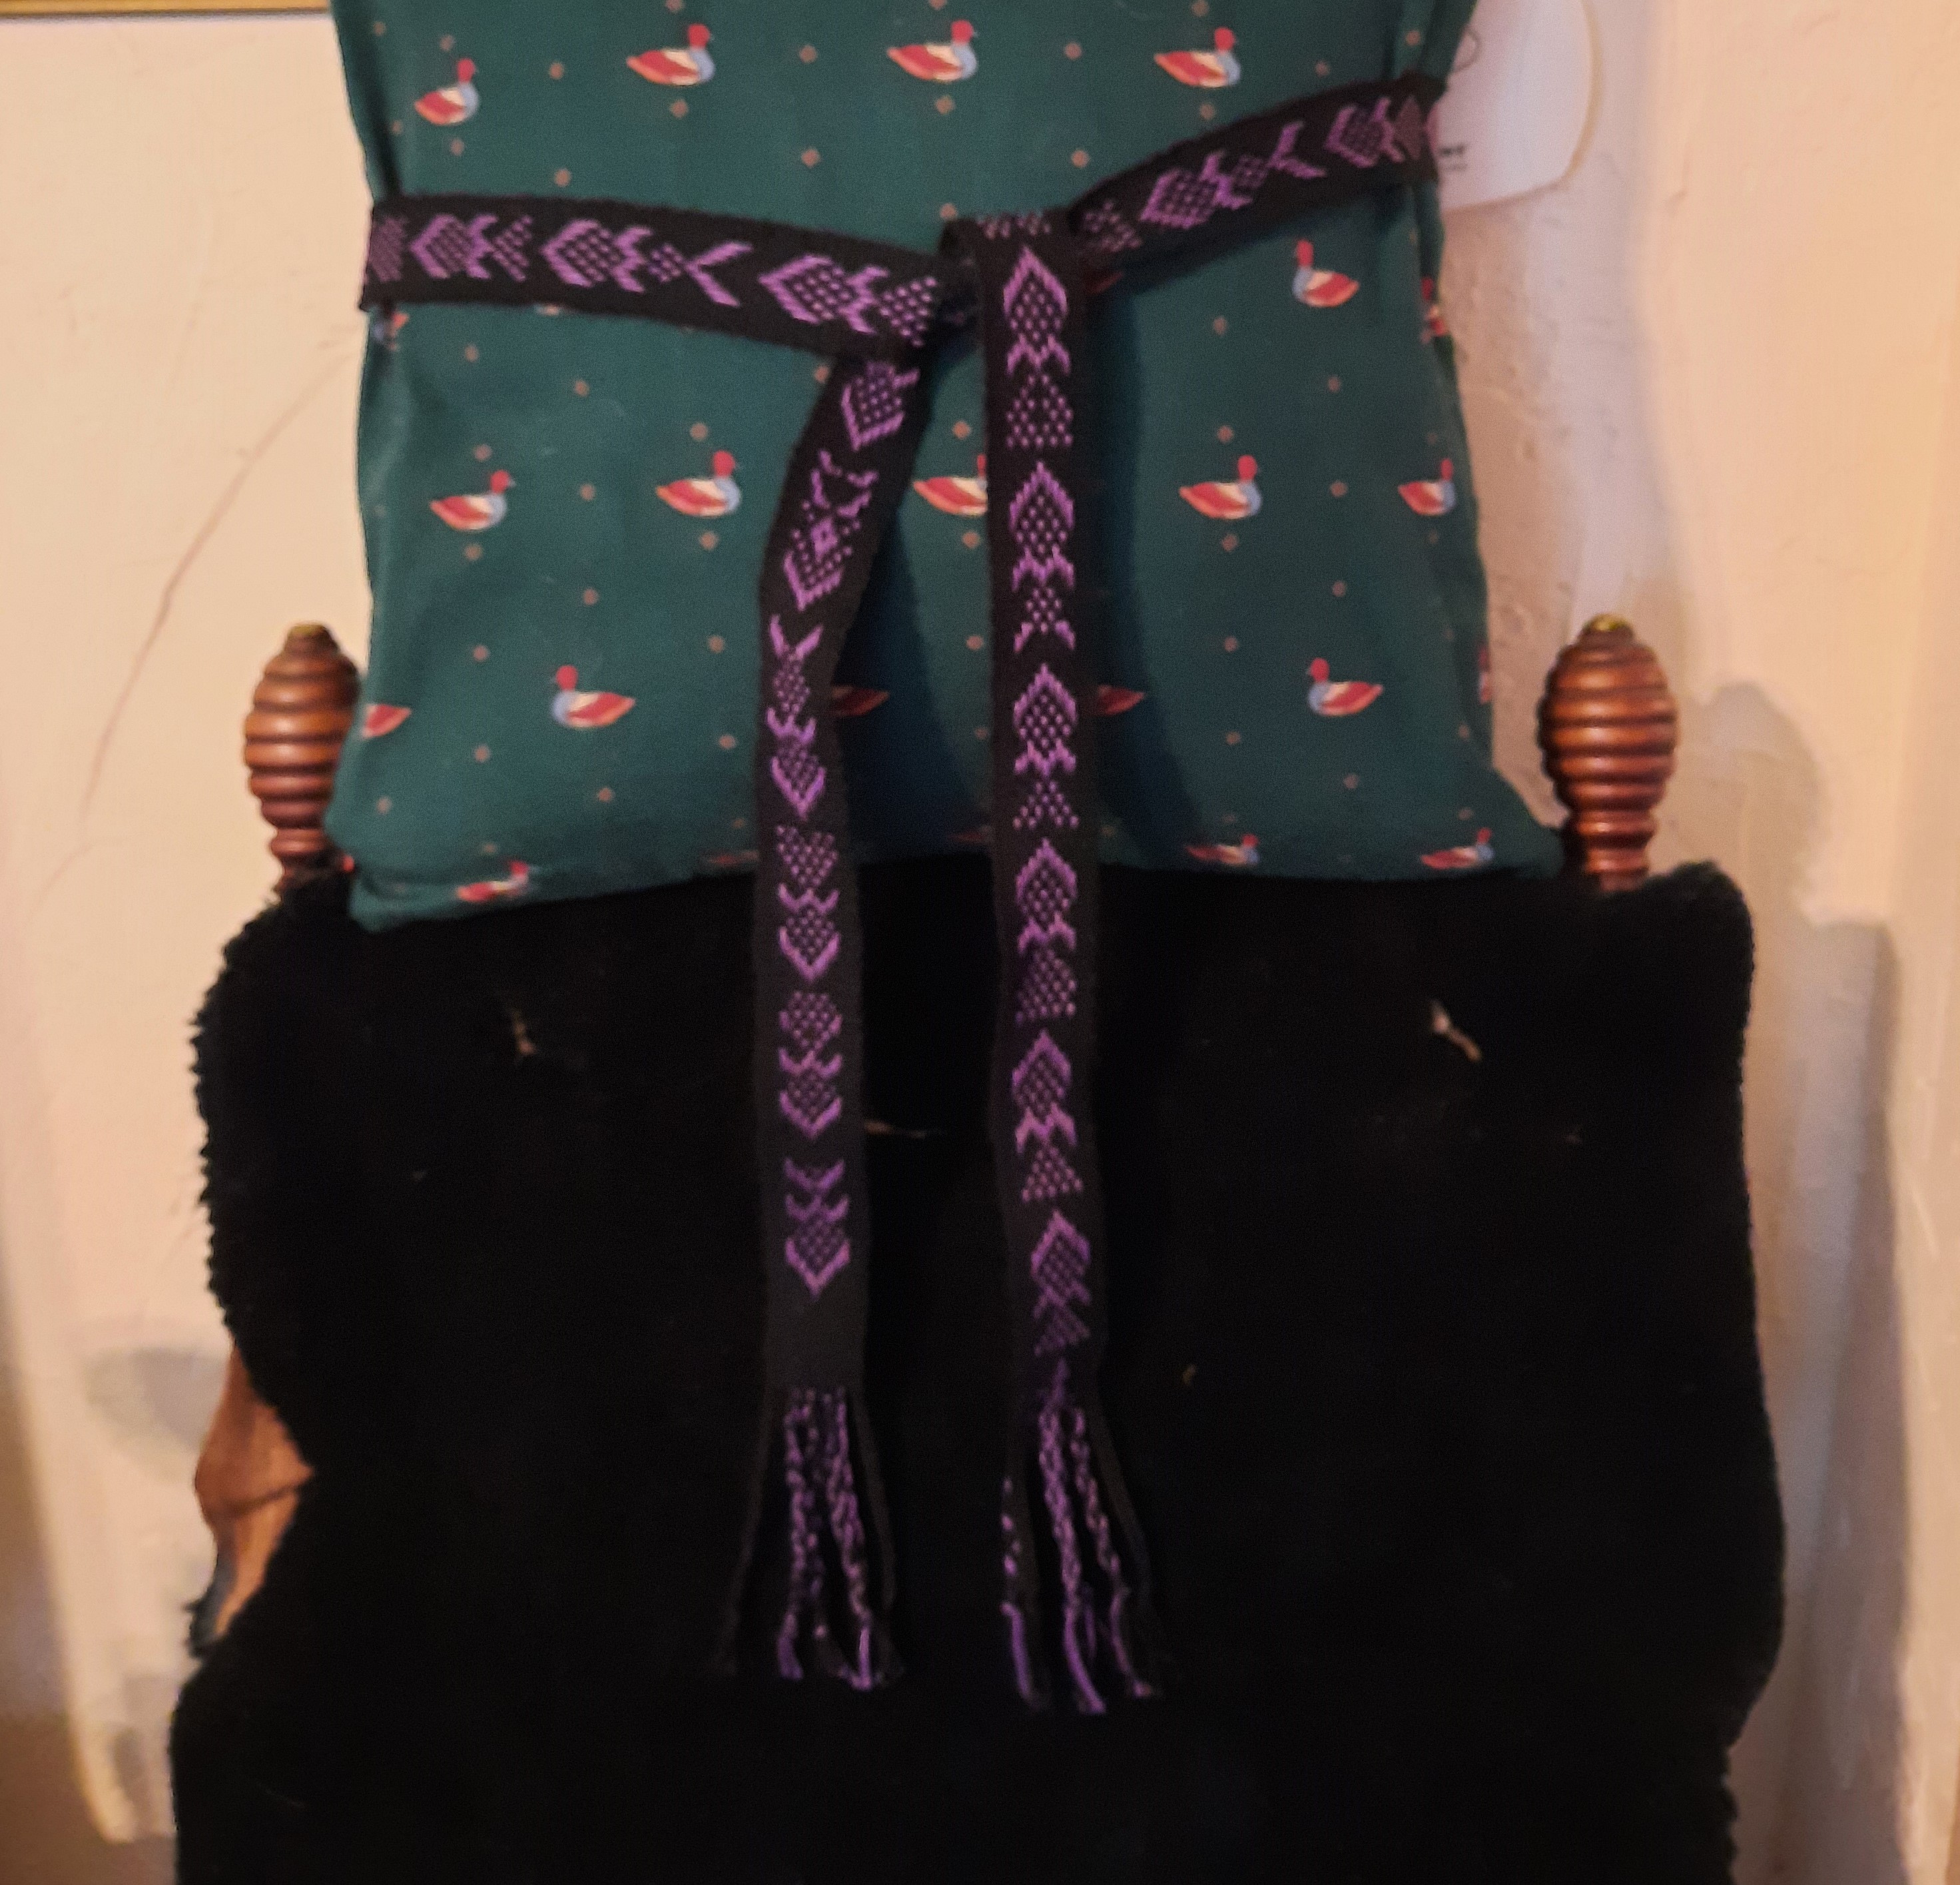
This black and purple band became completely a Baltic style 9 freestyle. It’s fishes! Every shape of fish I could graph on paper because I needed to see every variation!
This fish band is my fav right now, however it is listed in my Etsy shop for sale right now along with the rust brown and pink diamond band!!
Get busy and make something! Anything!! It doesn’t matter what it is so long as you give it a go!!!
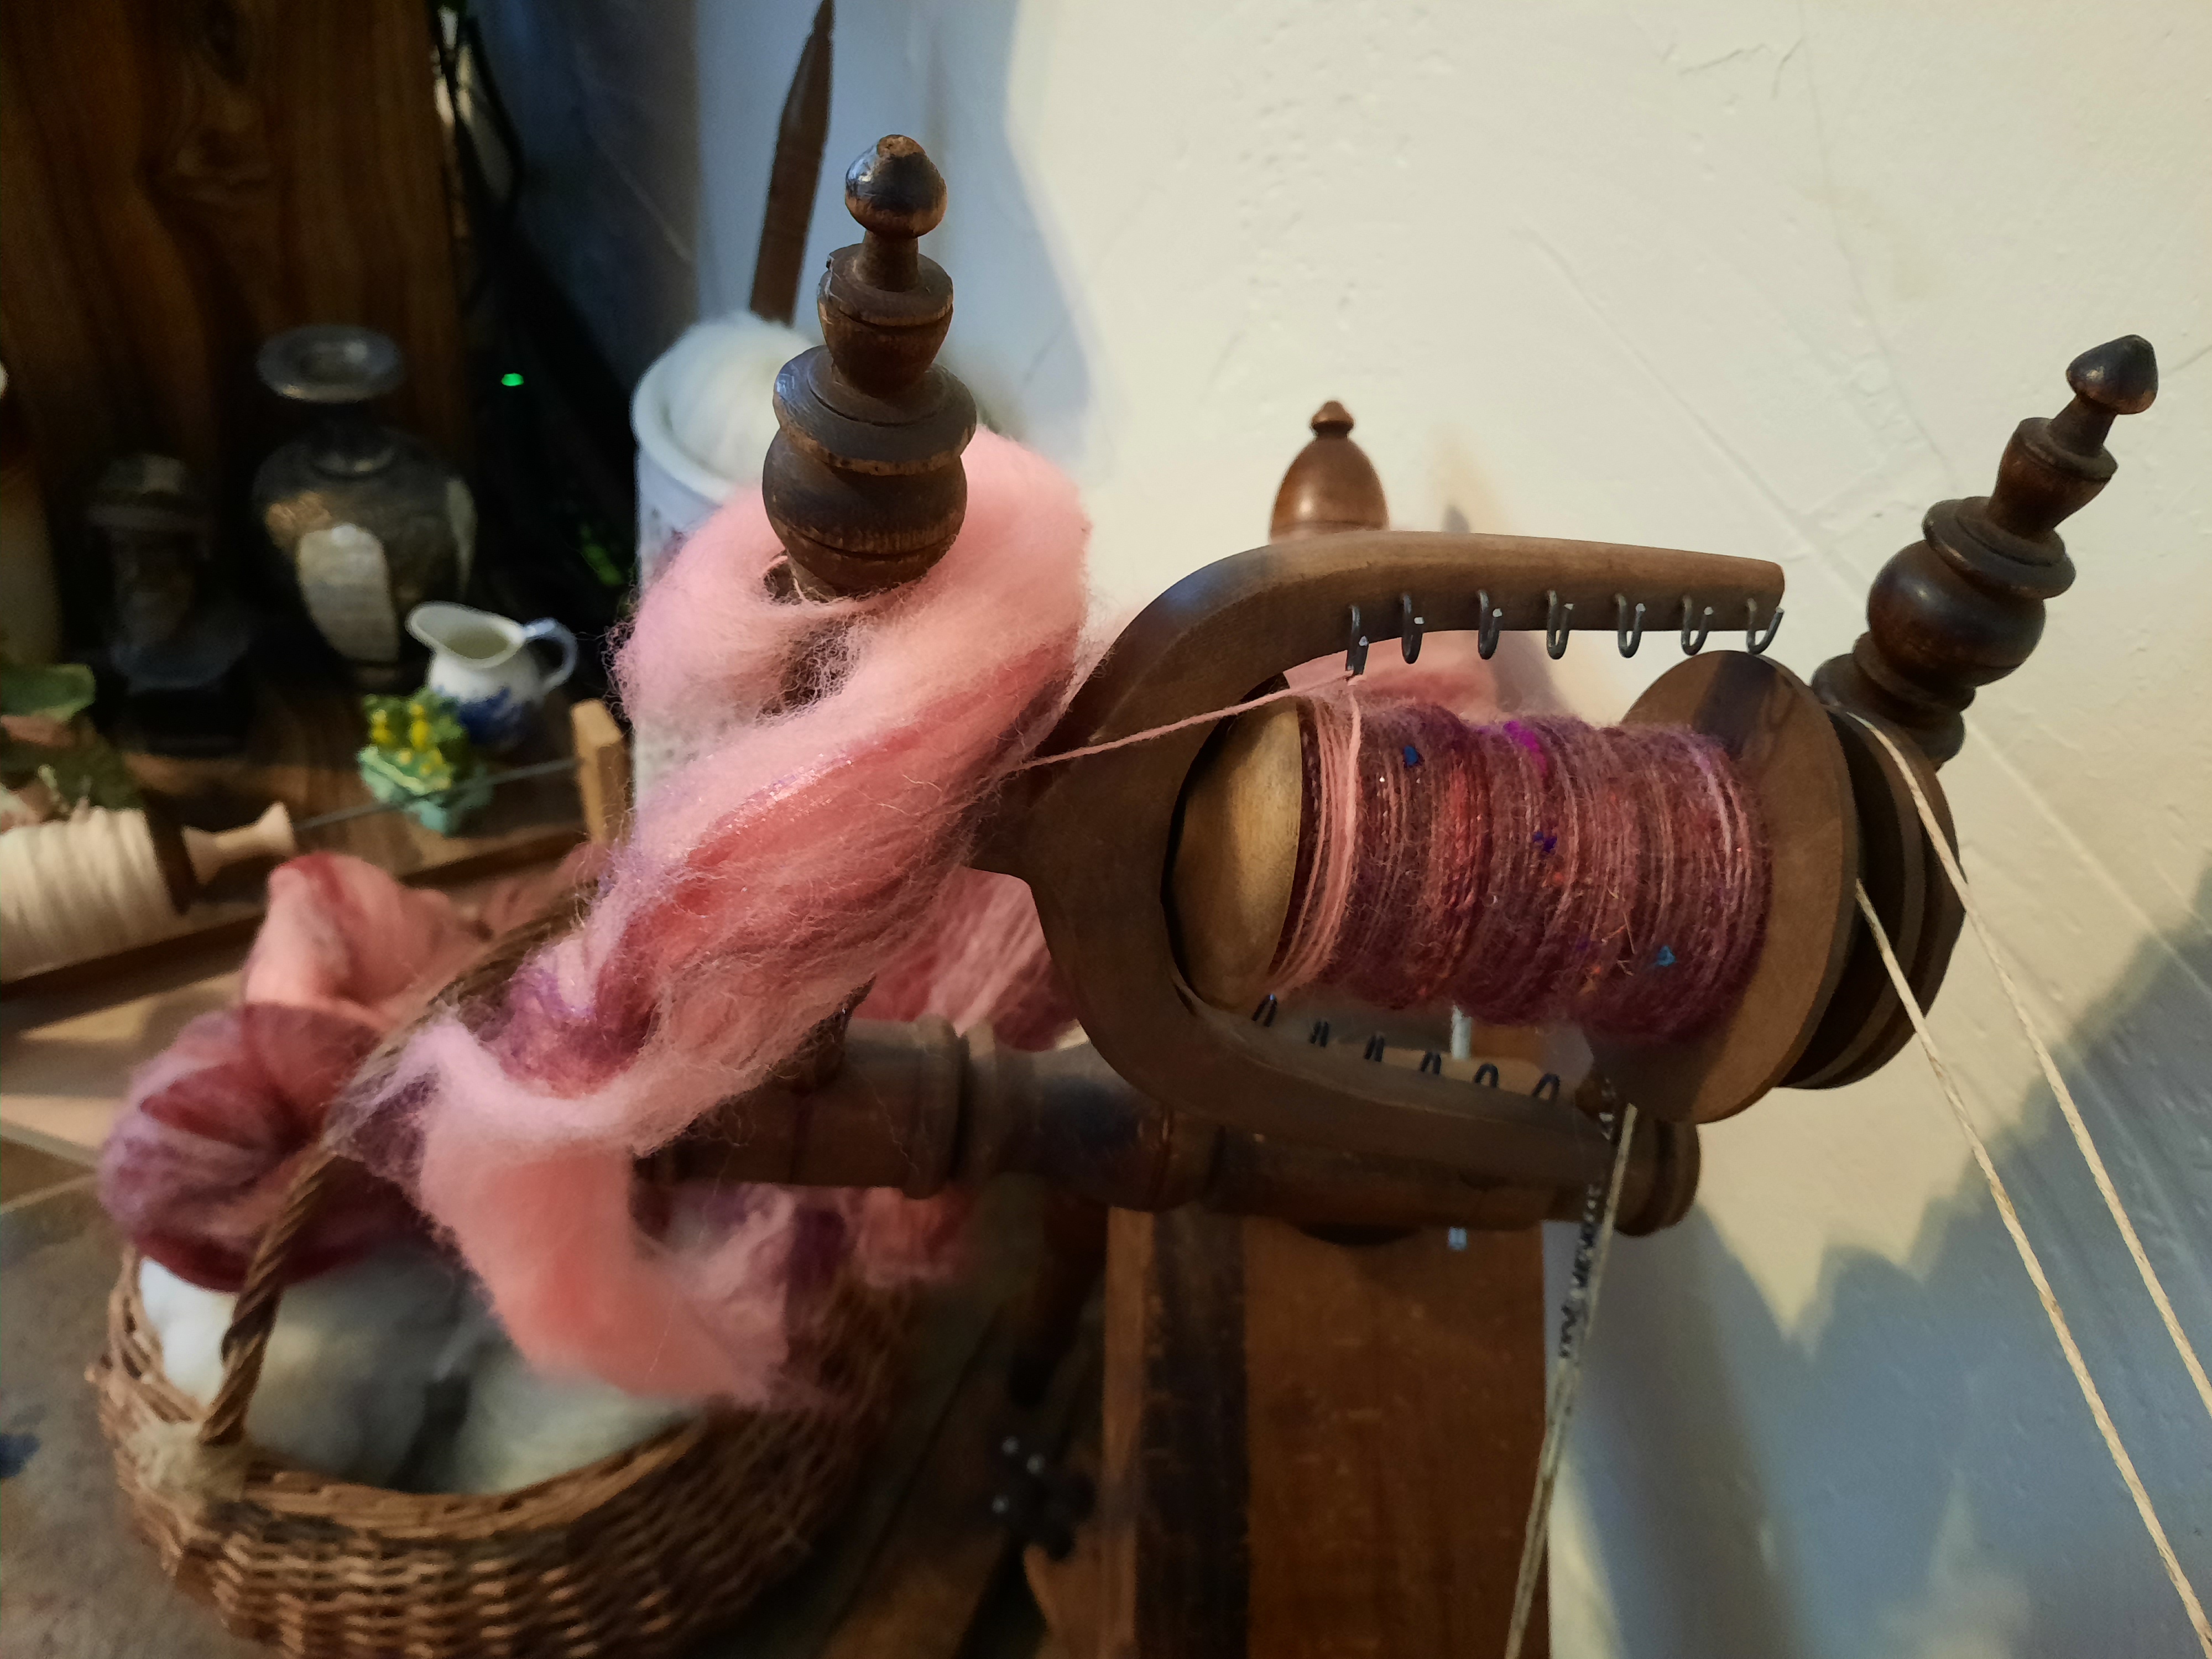
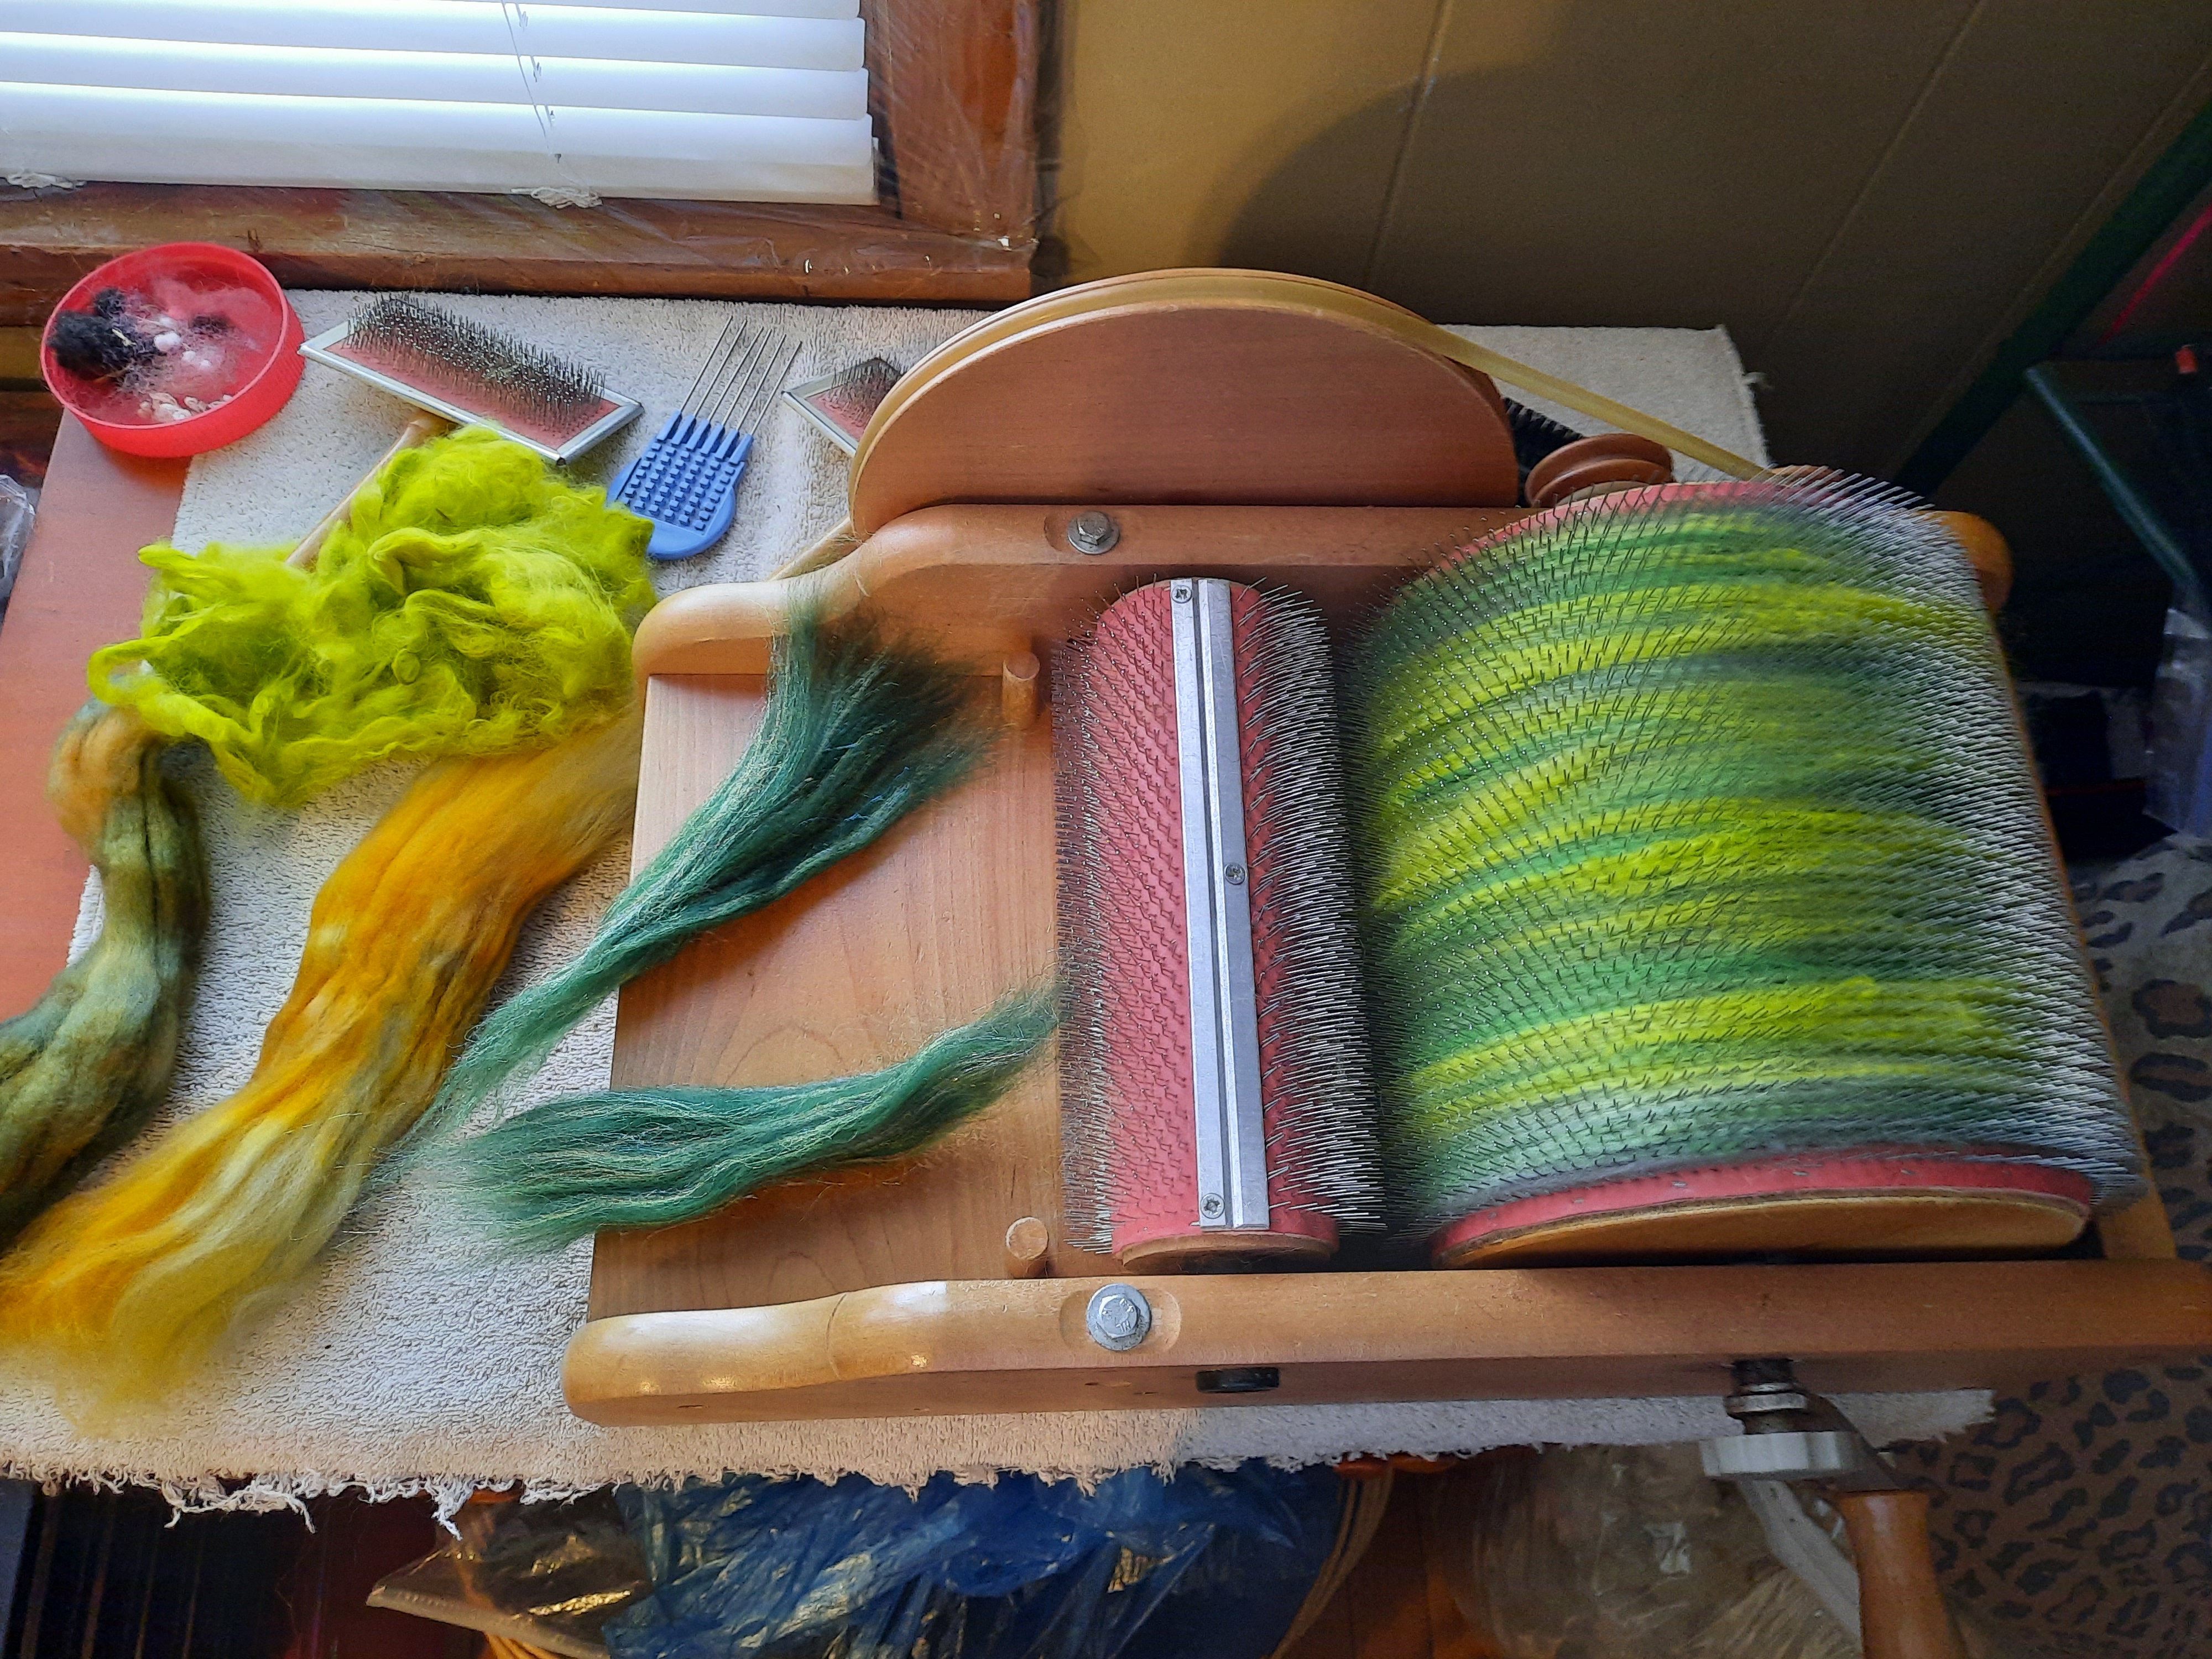
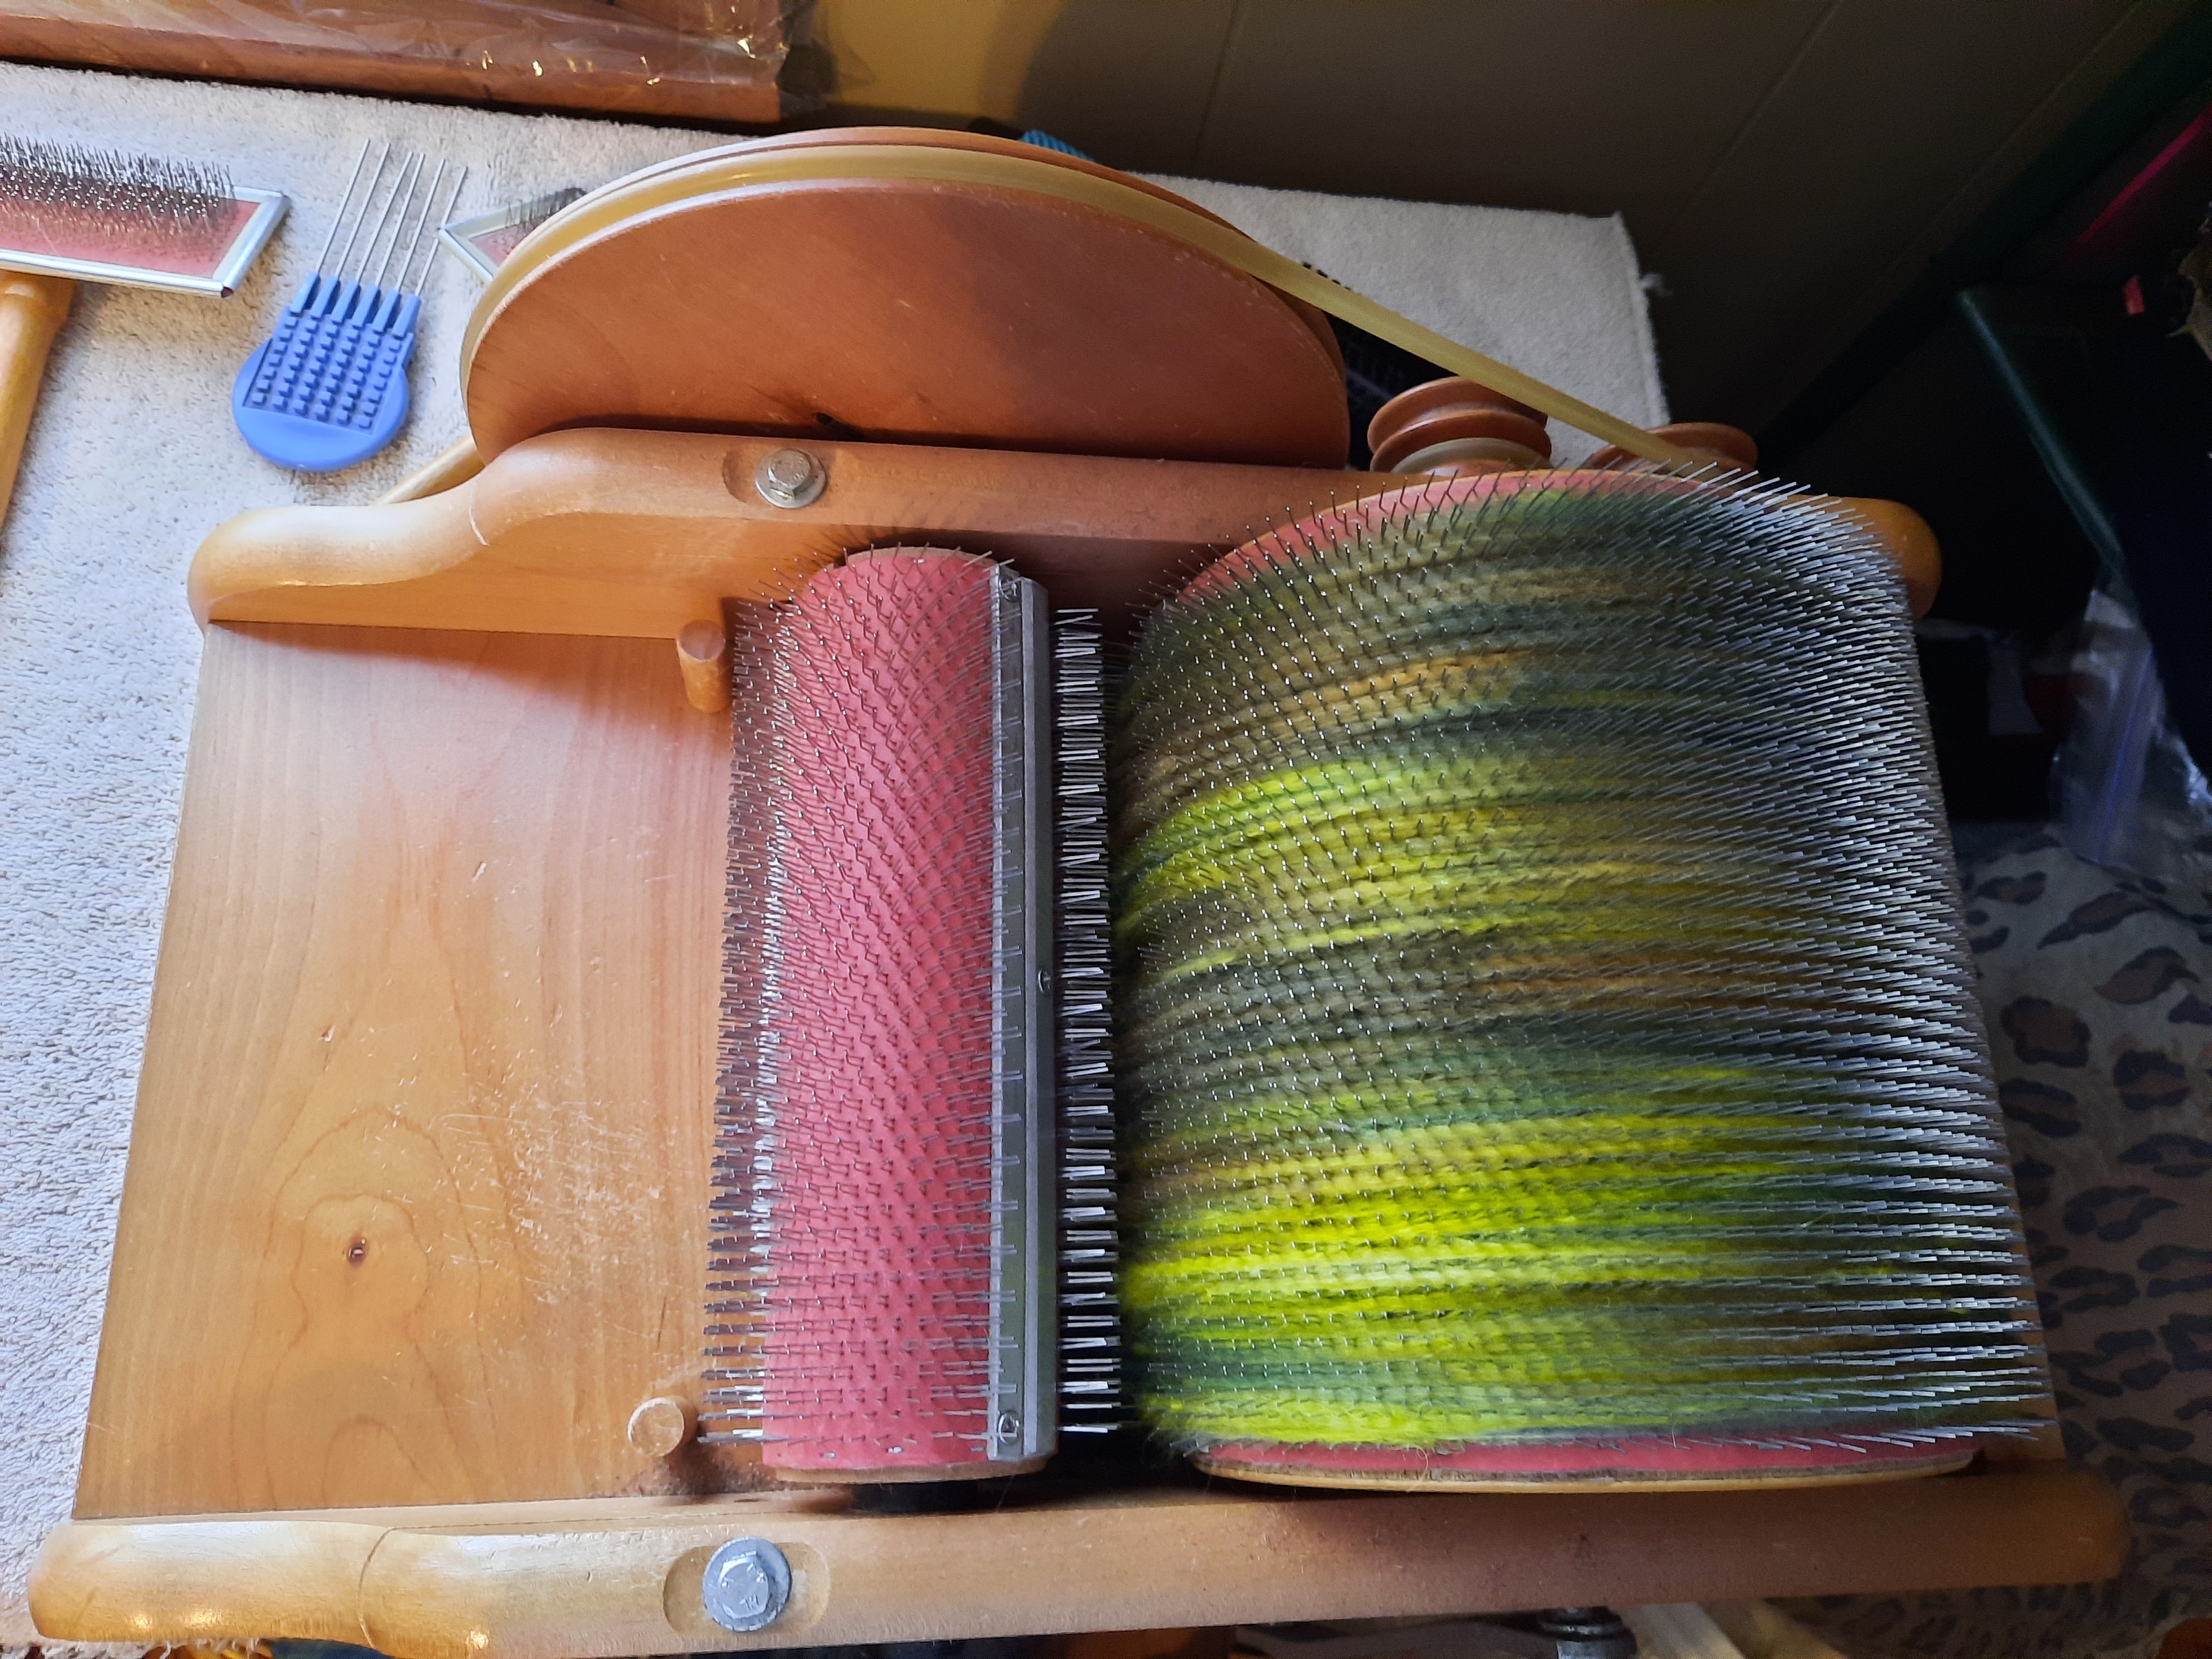
Today was one of those damp dreary days without color. It’s on these days that I create my own colors and blends. I wanted to dye fiber,but I also wanted to be working in my studio. I love how these turned out and can’t wait to spin them into yarn!!
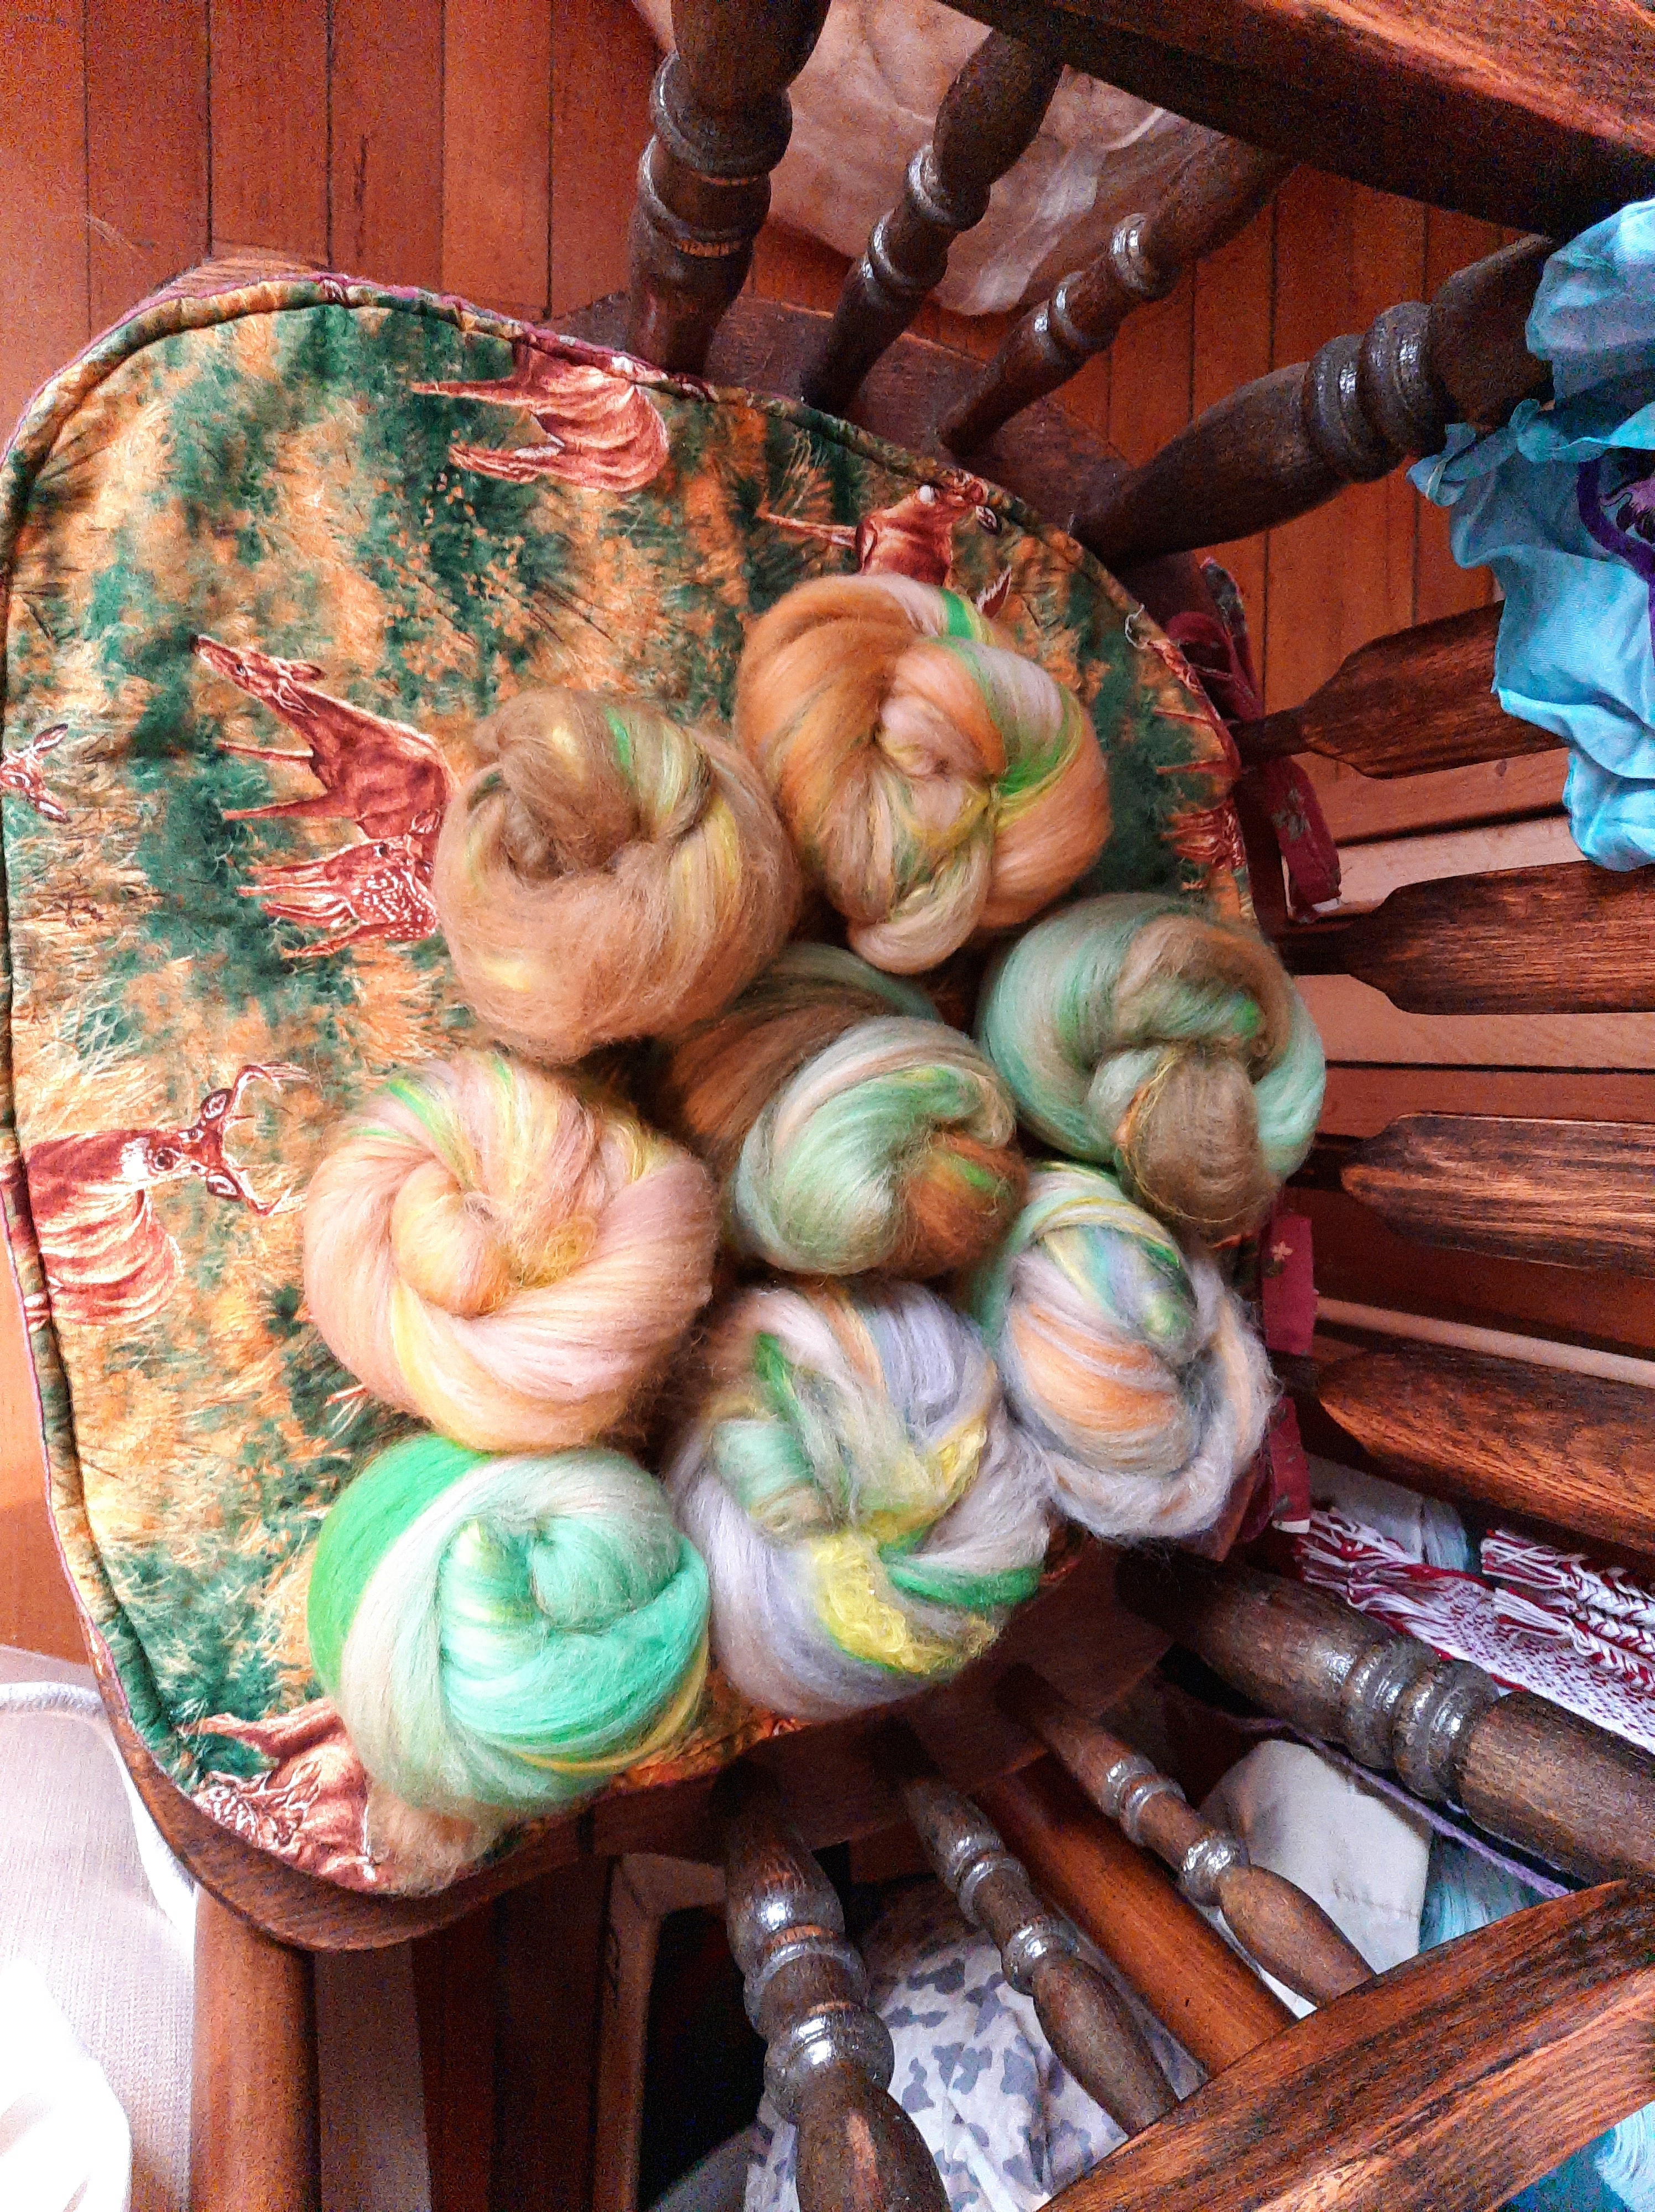
Red, Pink, and Burgundy batts waiting for their turn to be spun. The Art Batts Being SpunGreen, Gold, and Other Sparkling Fibers Ready for CardingThe Carding Process 1The Carding Process 2Ready to Doff and Twist Into Loose KnotsDoffing in Progress Eight Batt Knots Ready to Spin!!
What are you making/ creating??
For those who don’t follow me on Instagram or Twitter, here’s a photo of my beautiful dog.